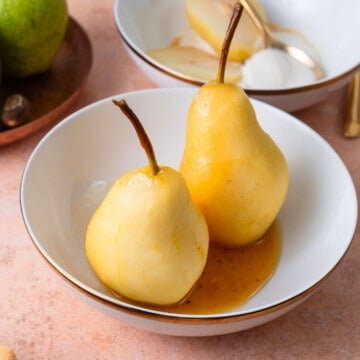
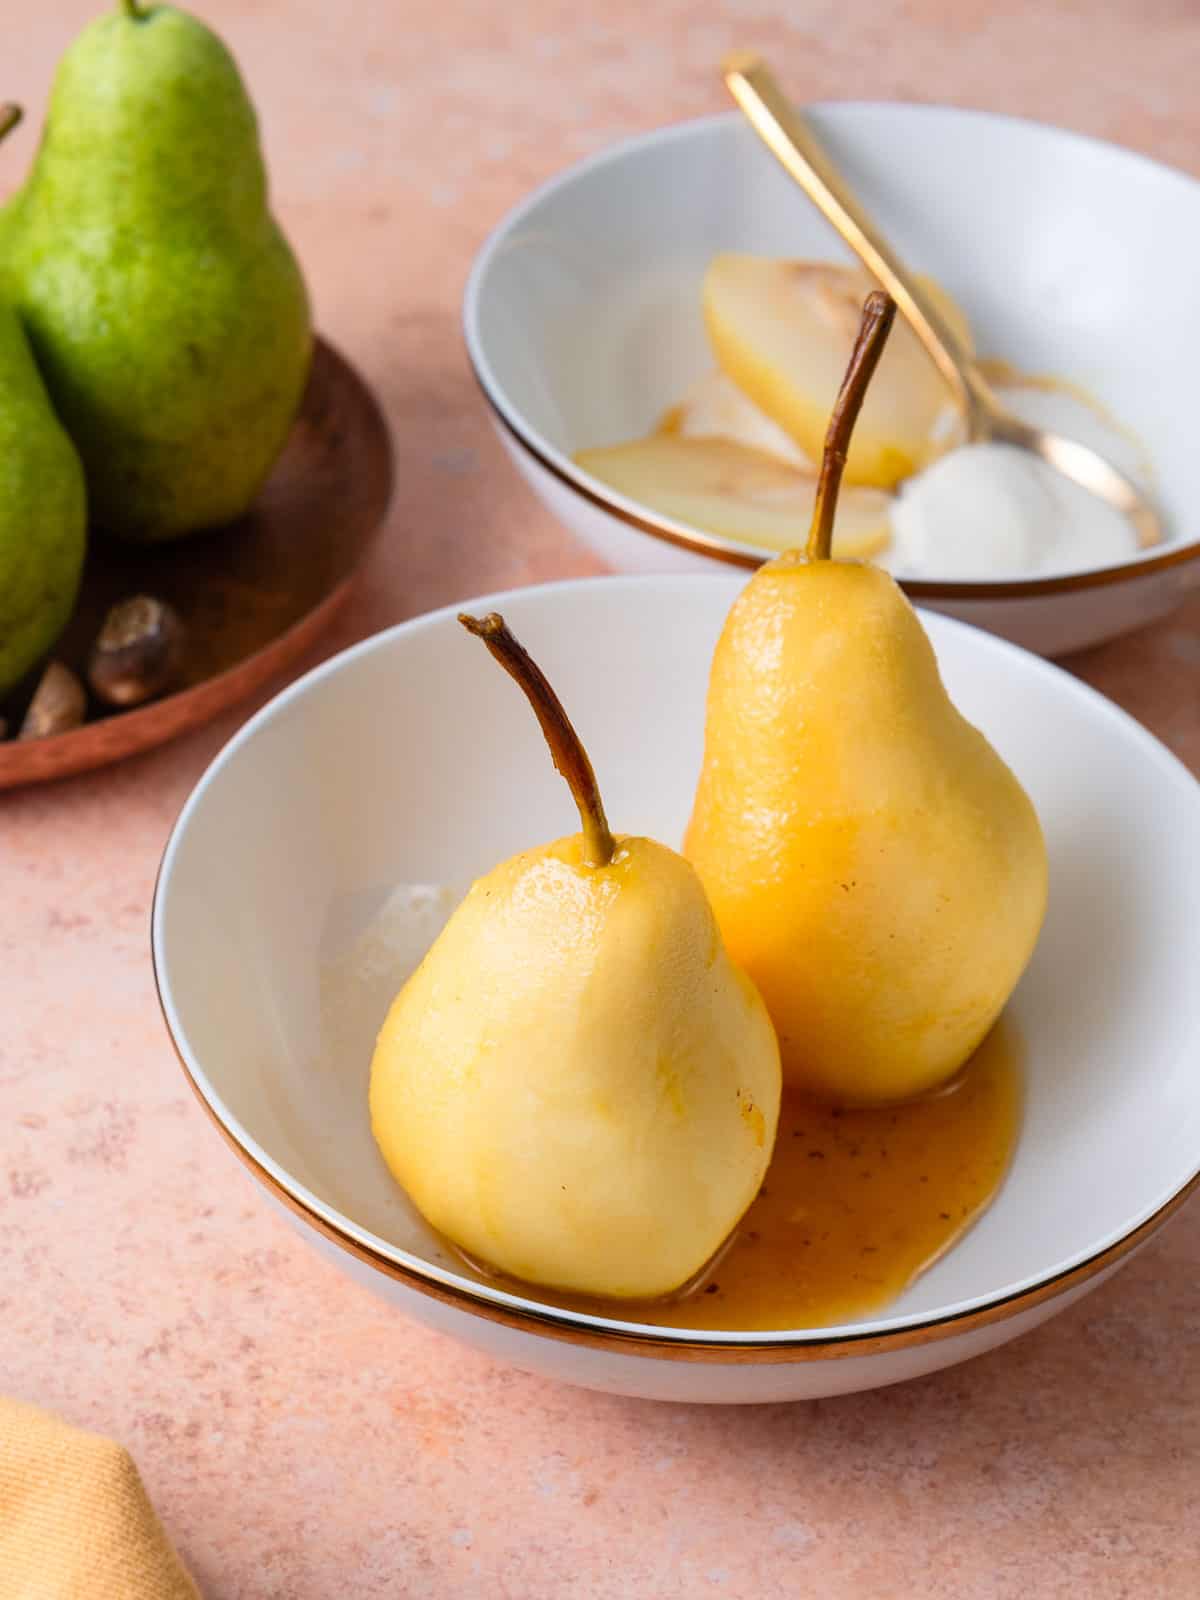
White wine poached pears delicately combines the subtle sweetness of fall pears with warm cinnamon and nutmeg and a bright twist of fresh orange zest. Serve alongside your favorite ice cream with a generous drizzle of that sweet white wine caramel sauce.
🍐 About This Recipe
White wine poached pears is a classic dessert that just needs a handful of ingredients and can be made in under 30 minutes!
The sweet pears gently simmer in a fragrant mixture of white wine, cinnamon, and nutmeg, infusing them with a warm and aromatic layer of flavor. And the addition of fresh orange zest gives the entire poaching liquid a sweet and citrusy flavor that is truly irresistible!
If you love pears as much as I do, add a few wedges to roasted chicken with pears or making pear sangria! Or to go with a sweet pear dish try my Pear Ginger Cake.
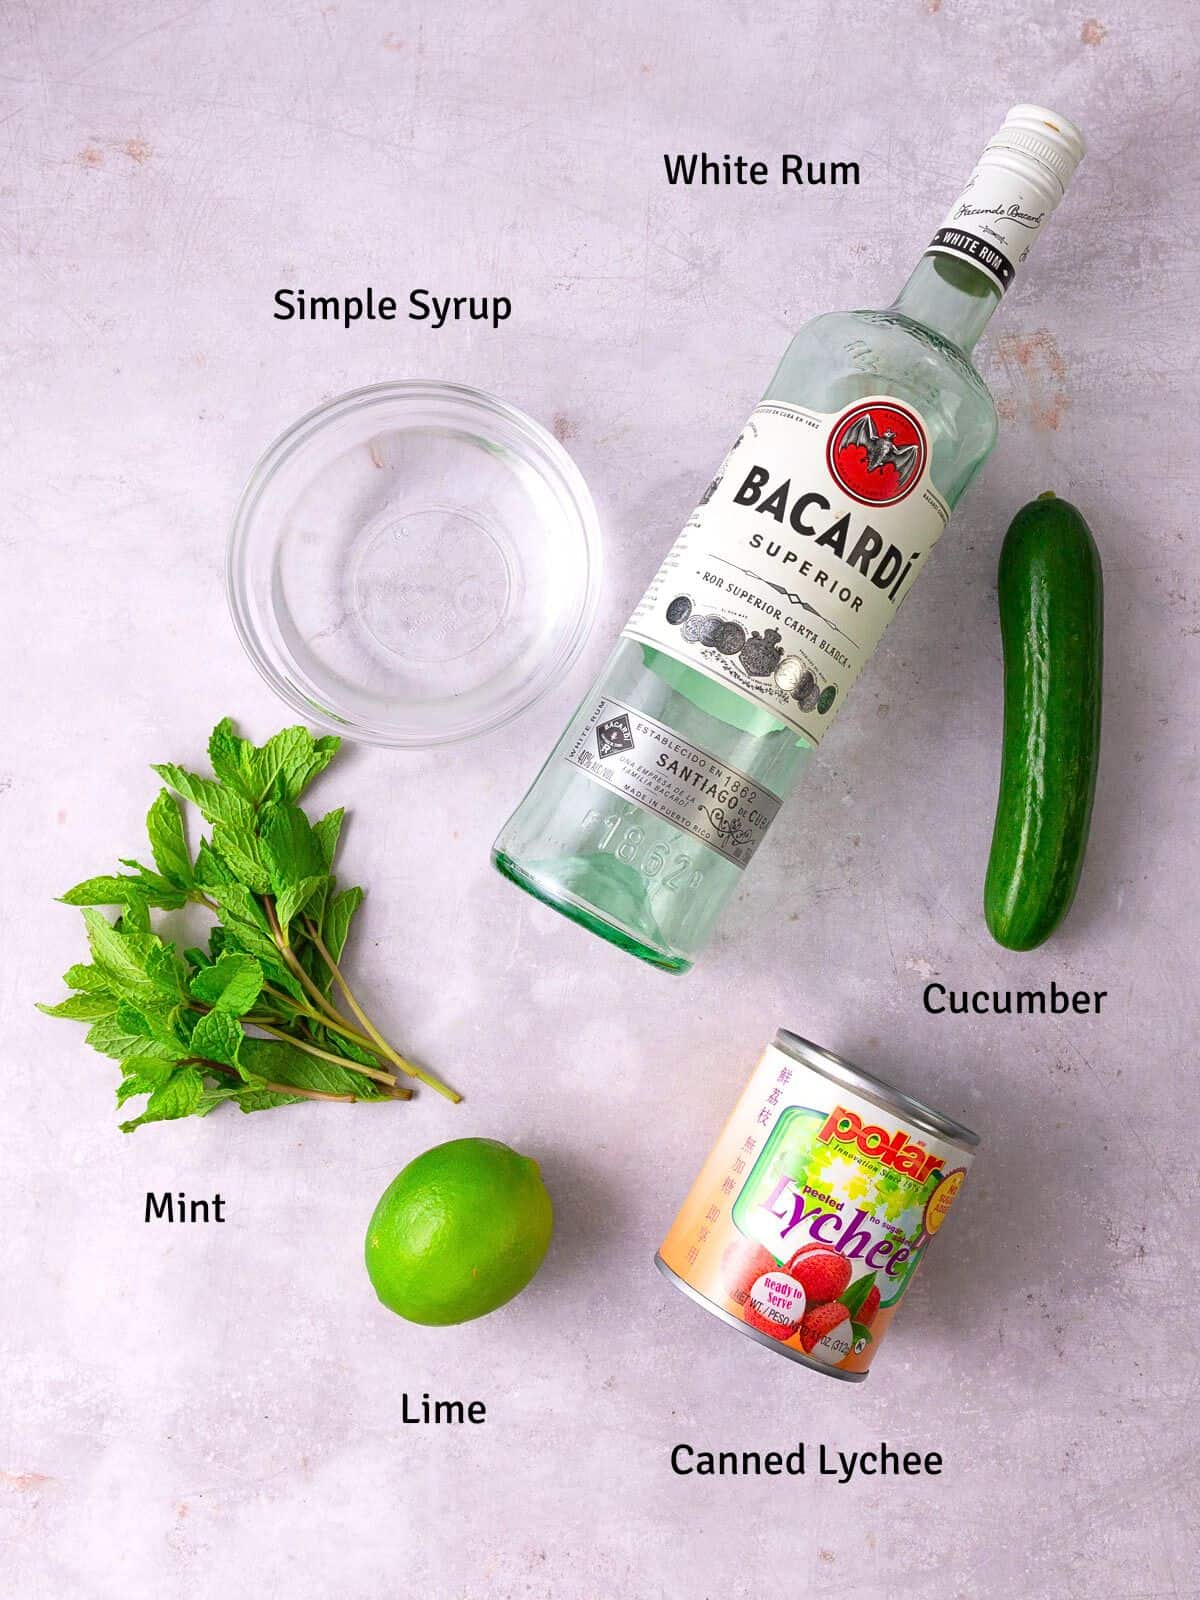
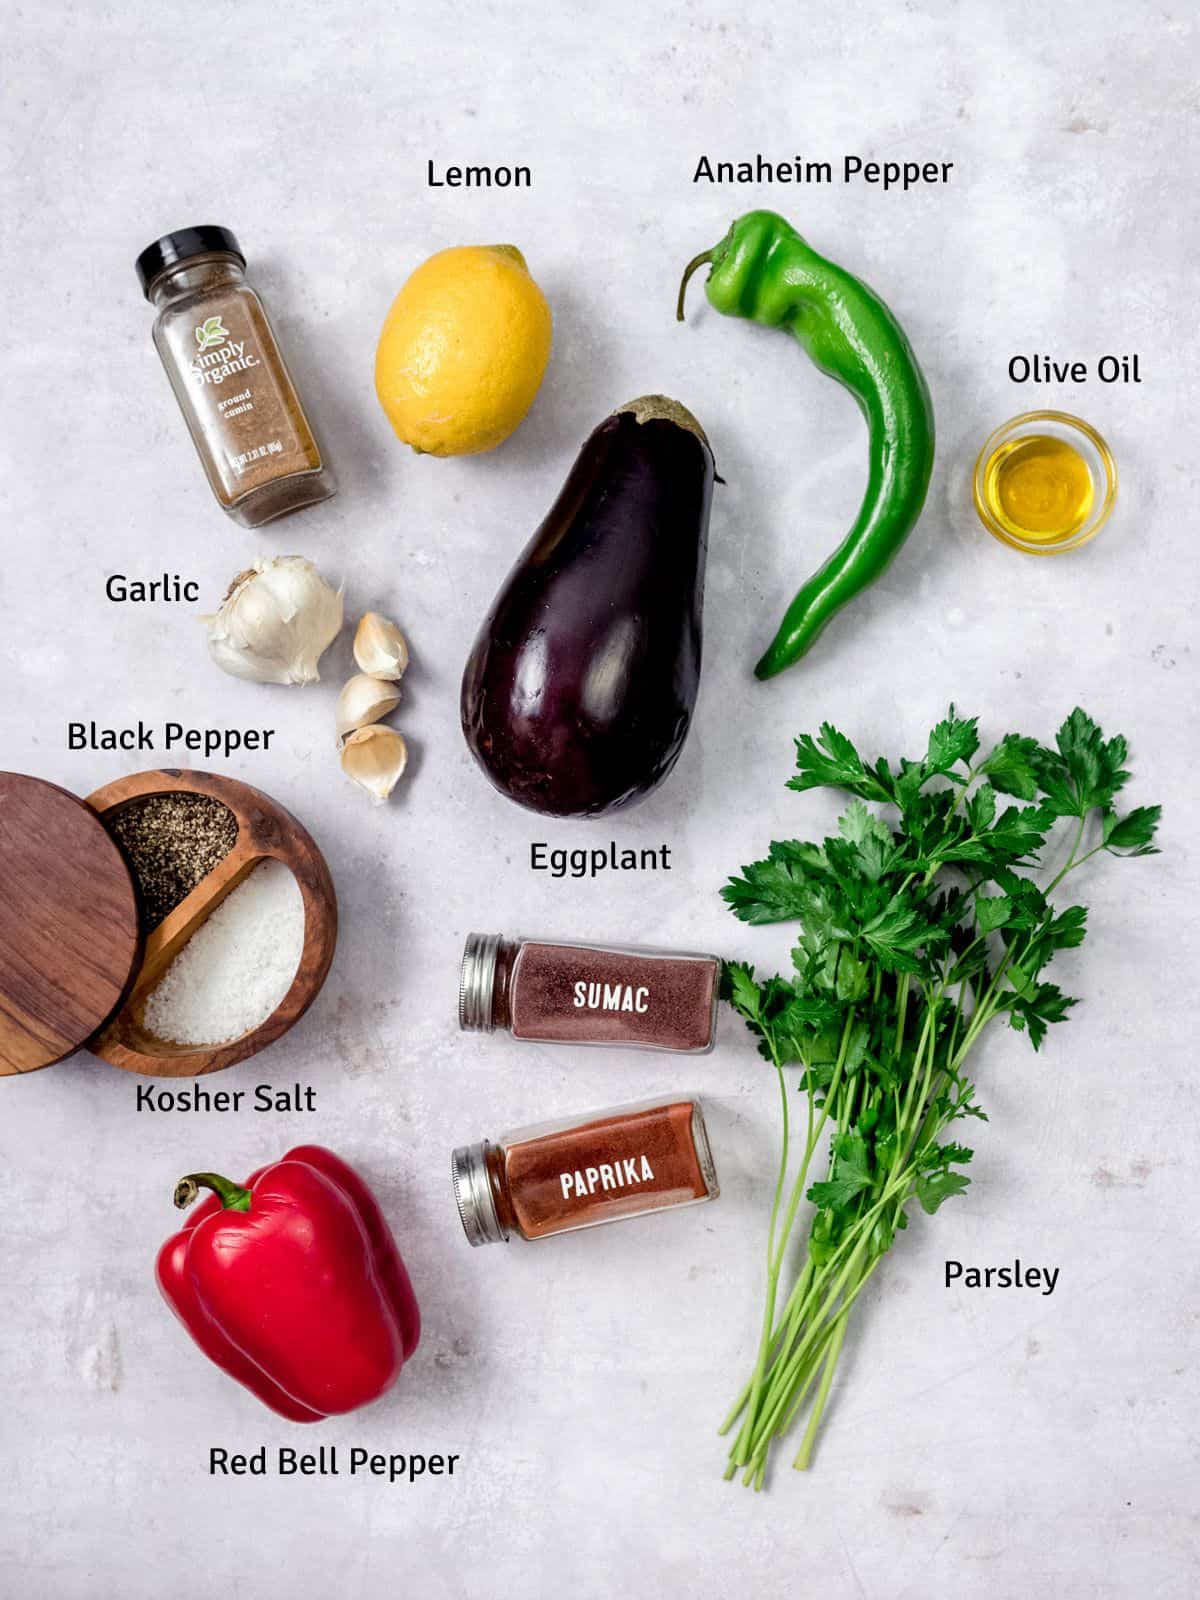
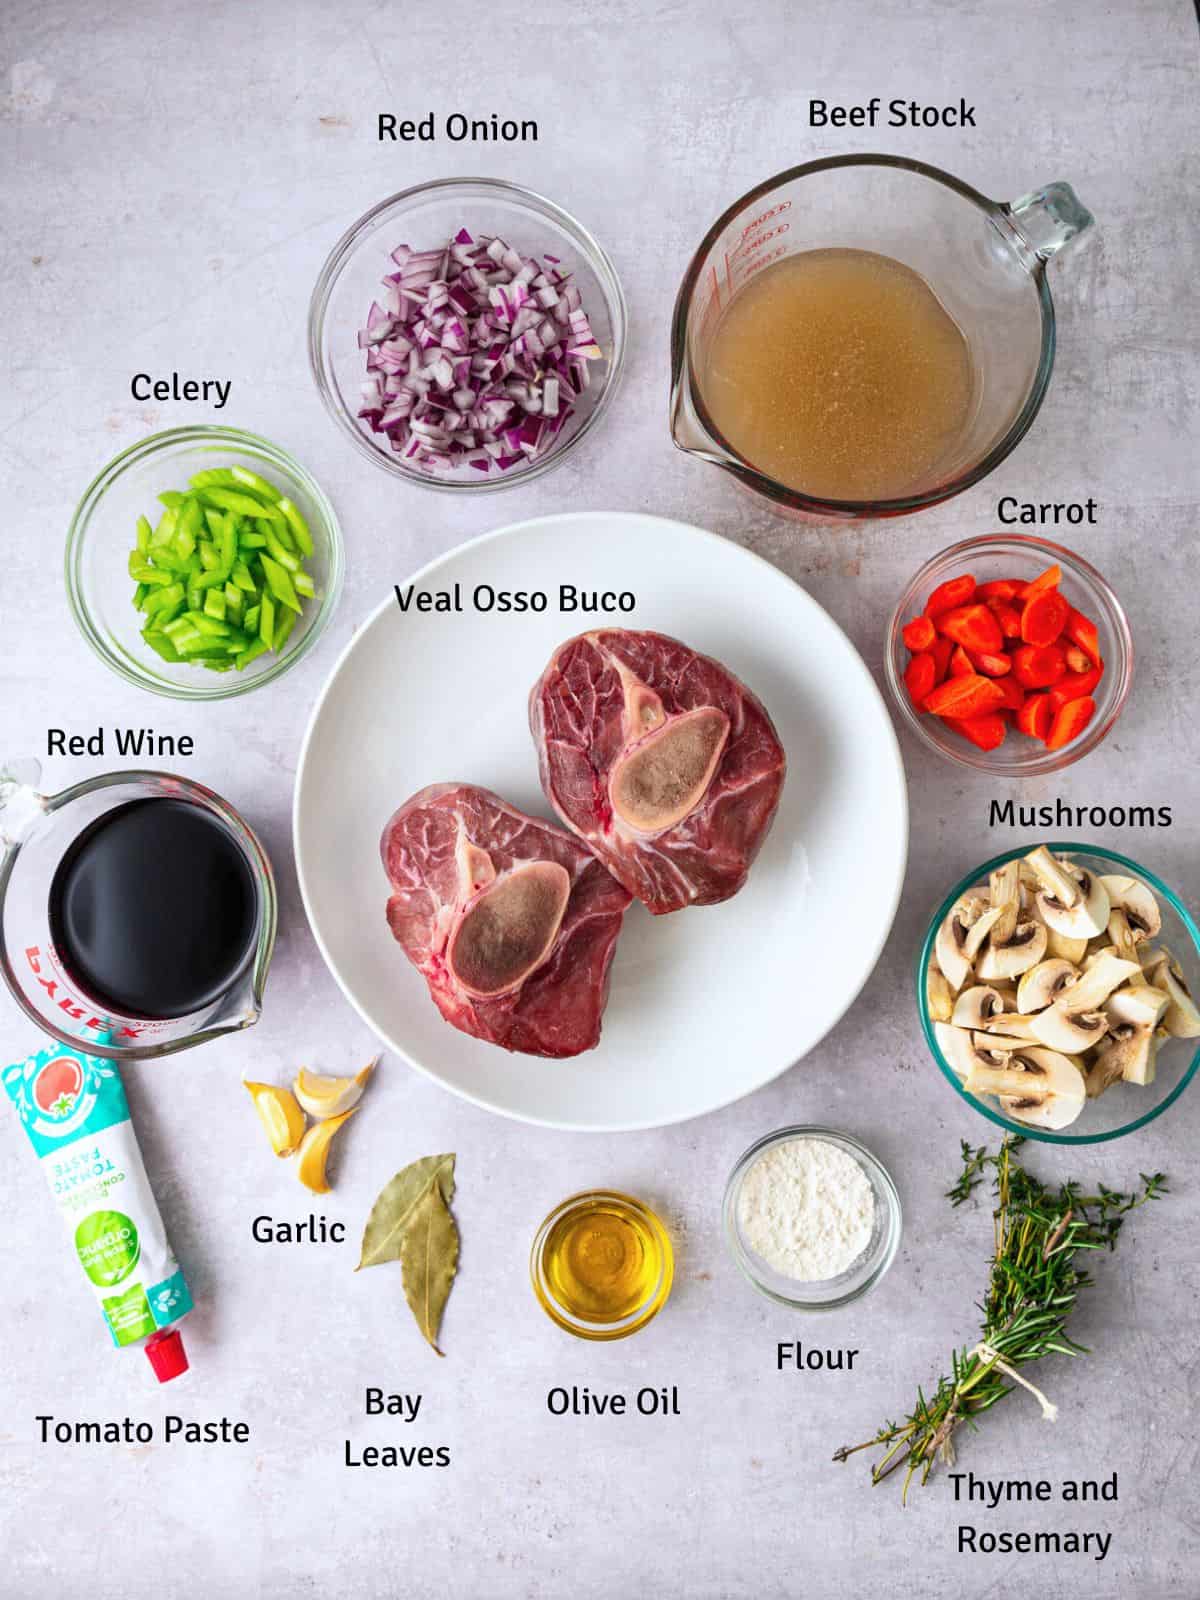
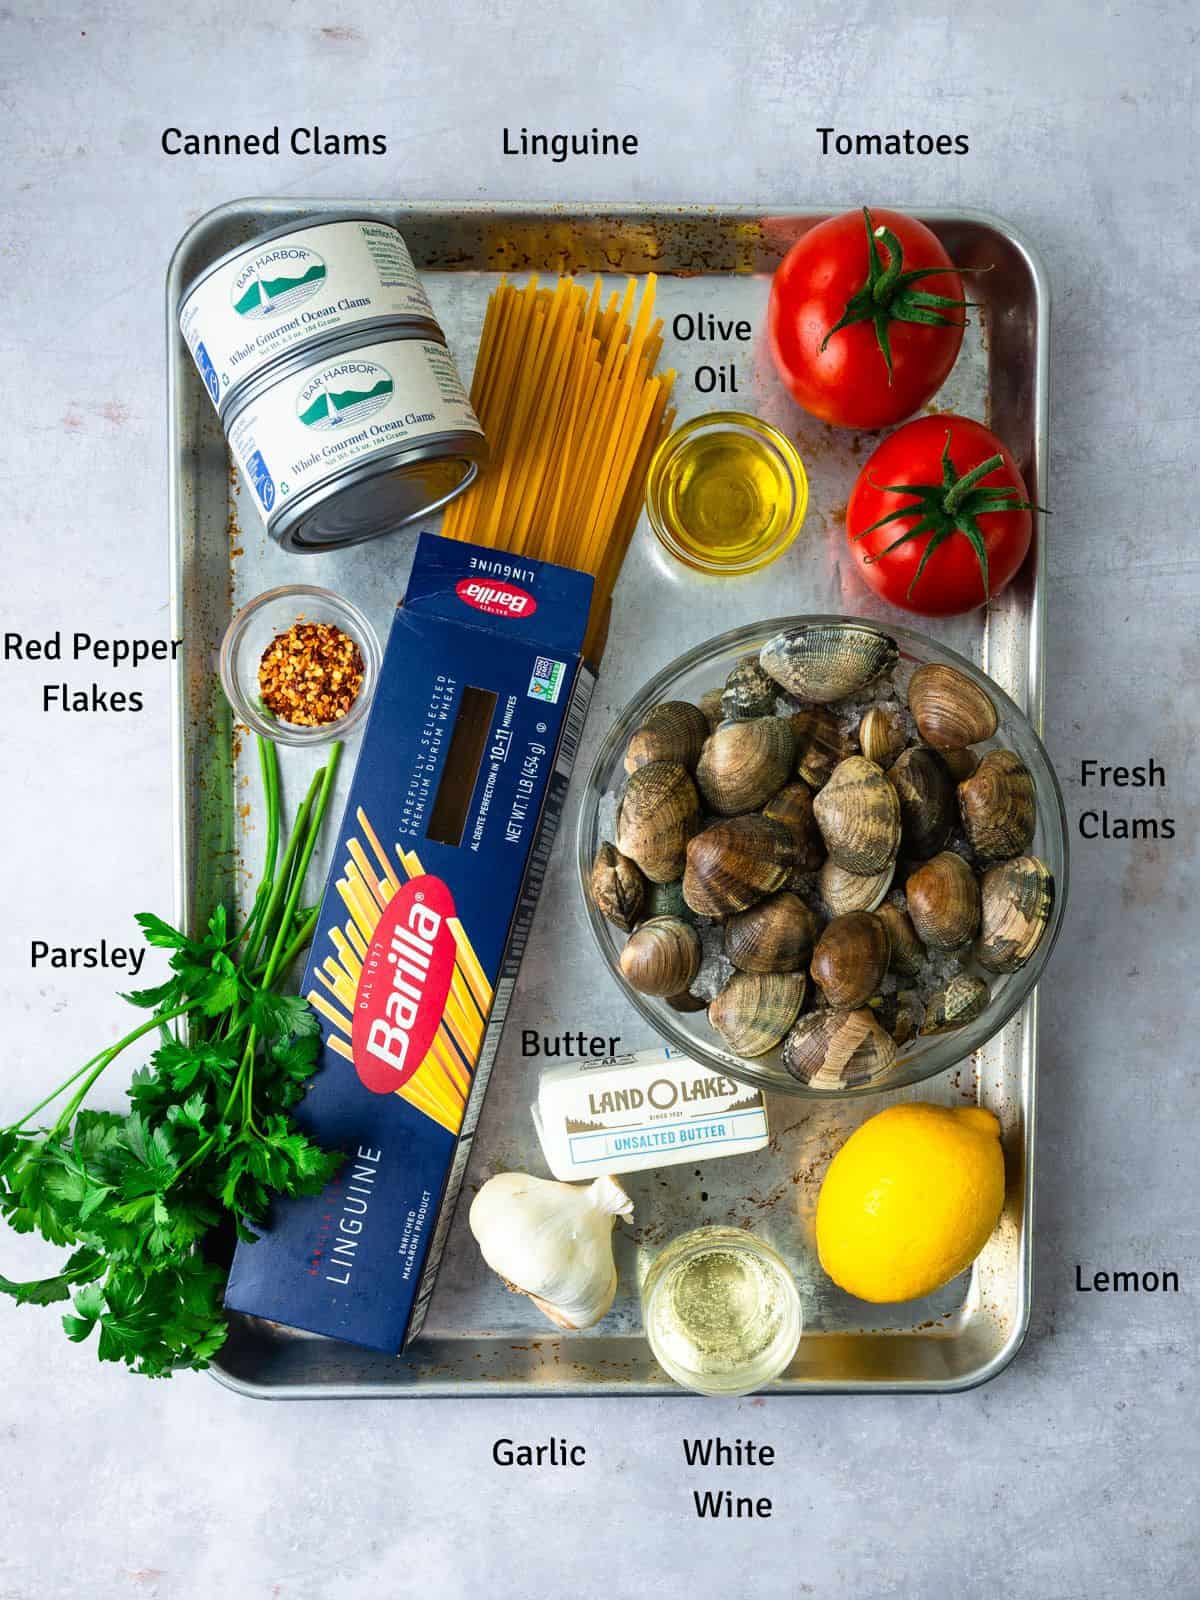
📋 Ingredients
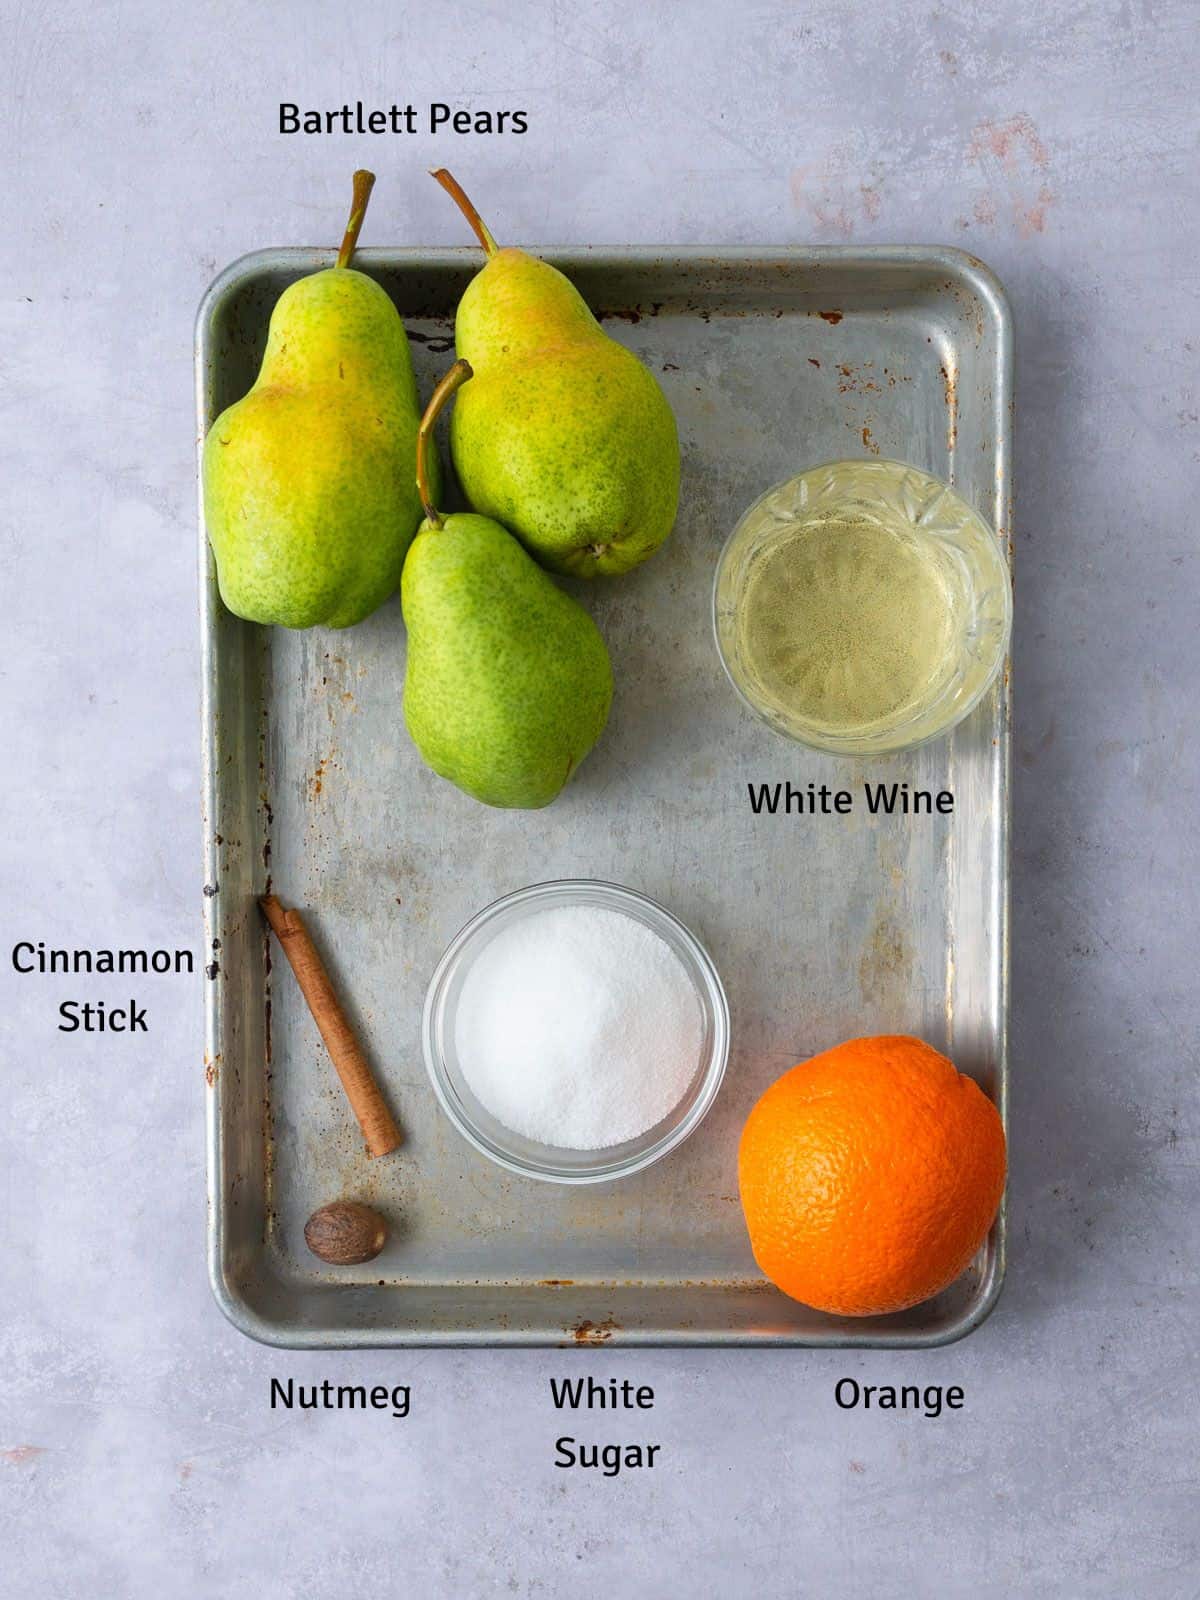
- Pears: Bartlett pears are used in this poached pears recipe for their sweetness and seasonality. Look for firmer peaches without any blemishes or bruising.
- White Wine: Use a light white wine such as Pinot Gris or Vino Verde.
- Sugar: Simple white sugar is all you need to create a delicious reduced white wine sauce.
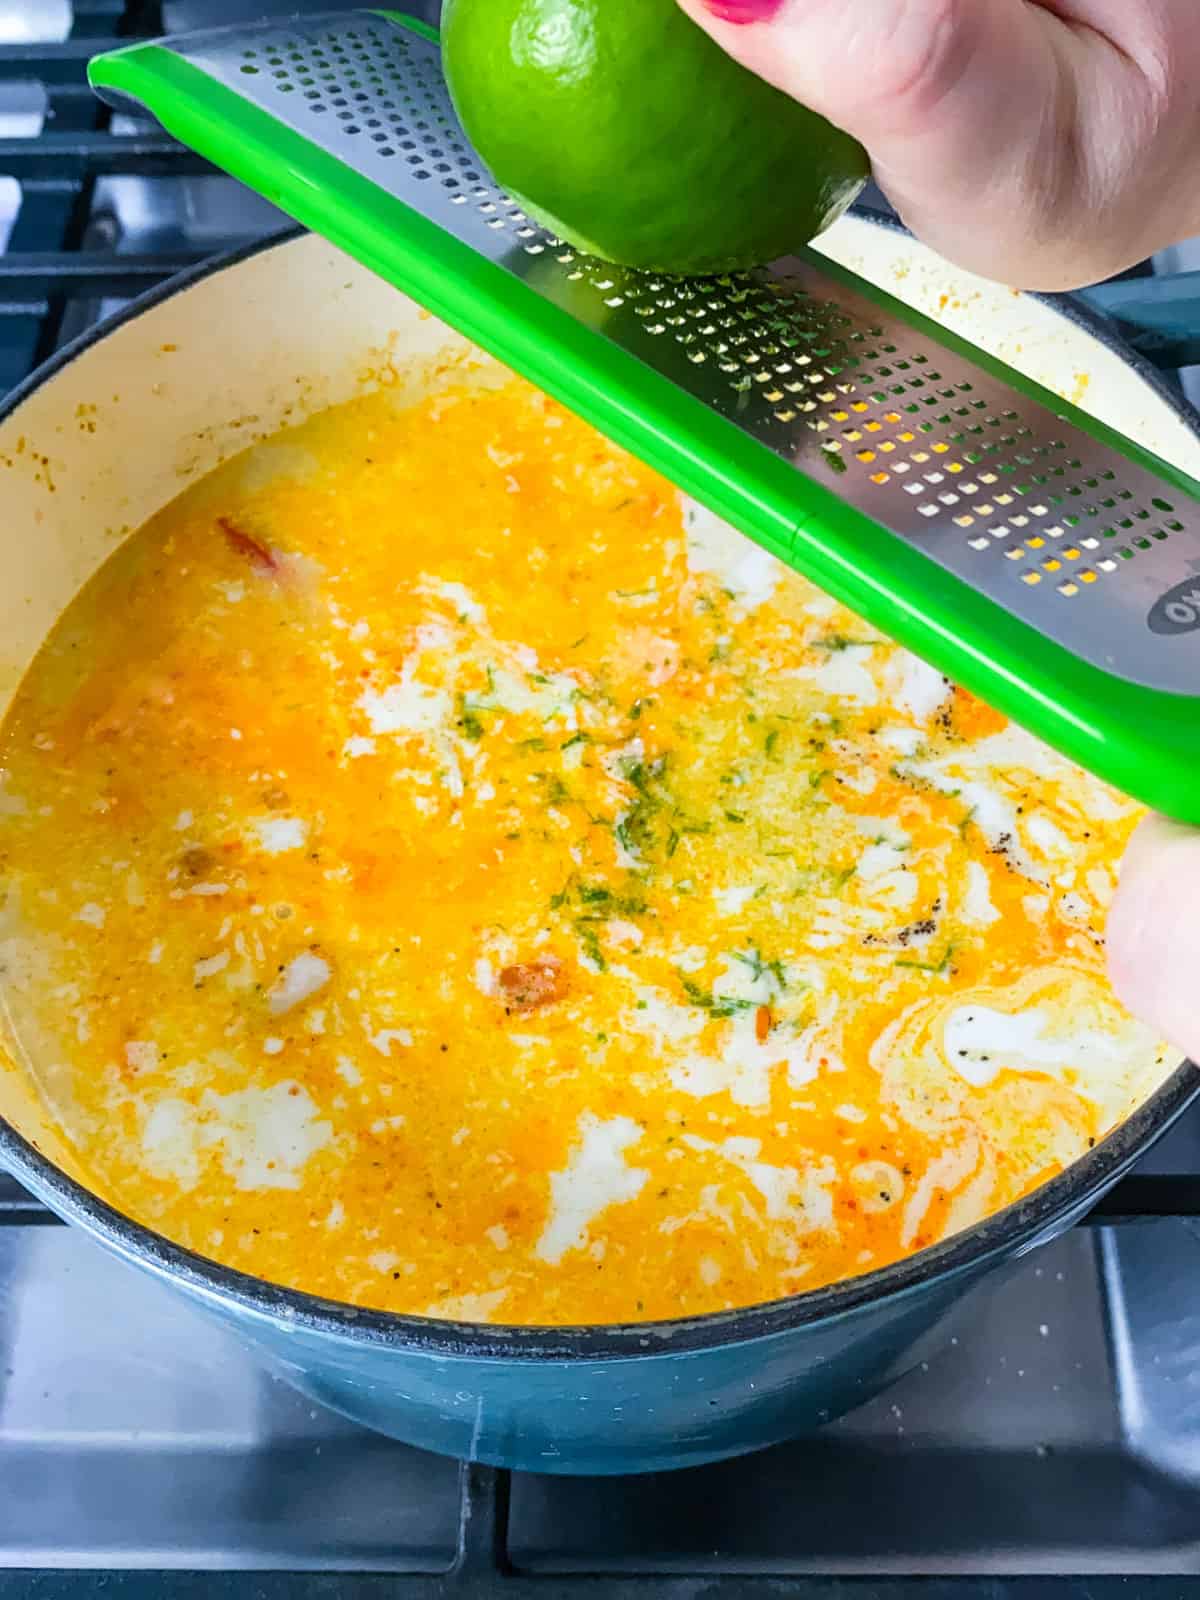
- Orange: Use a whole navel orange or cara cara orange and use a vegetable peeler to peel a few strips of the zest to steep in the poaching liquid. Then add freshly squeezed orange juice to the liquid.
- Cinnamon and Nutmeg: Both of these offer a warm layer of flavor to the wine poached pears. You can either use a cinnamon stick or ½ teaspoon of ground cinnamon with ¼ teaspoon of ground nutmeg.
See recipe card for full information on ingredients and quantities.
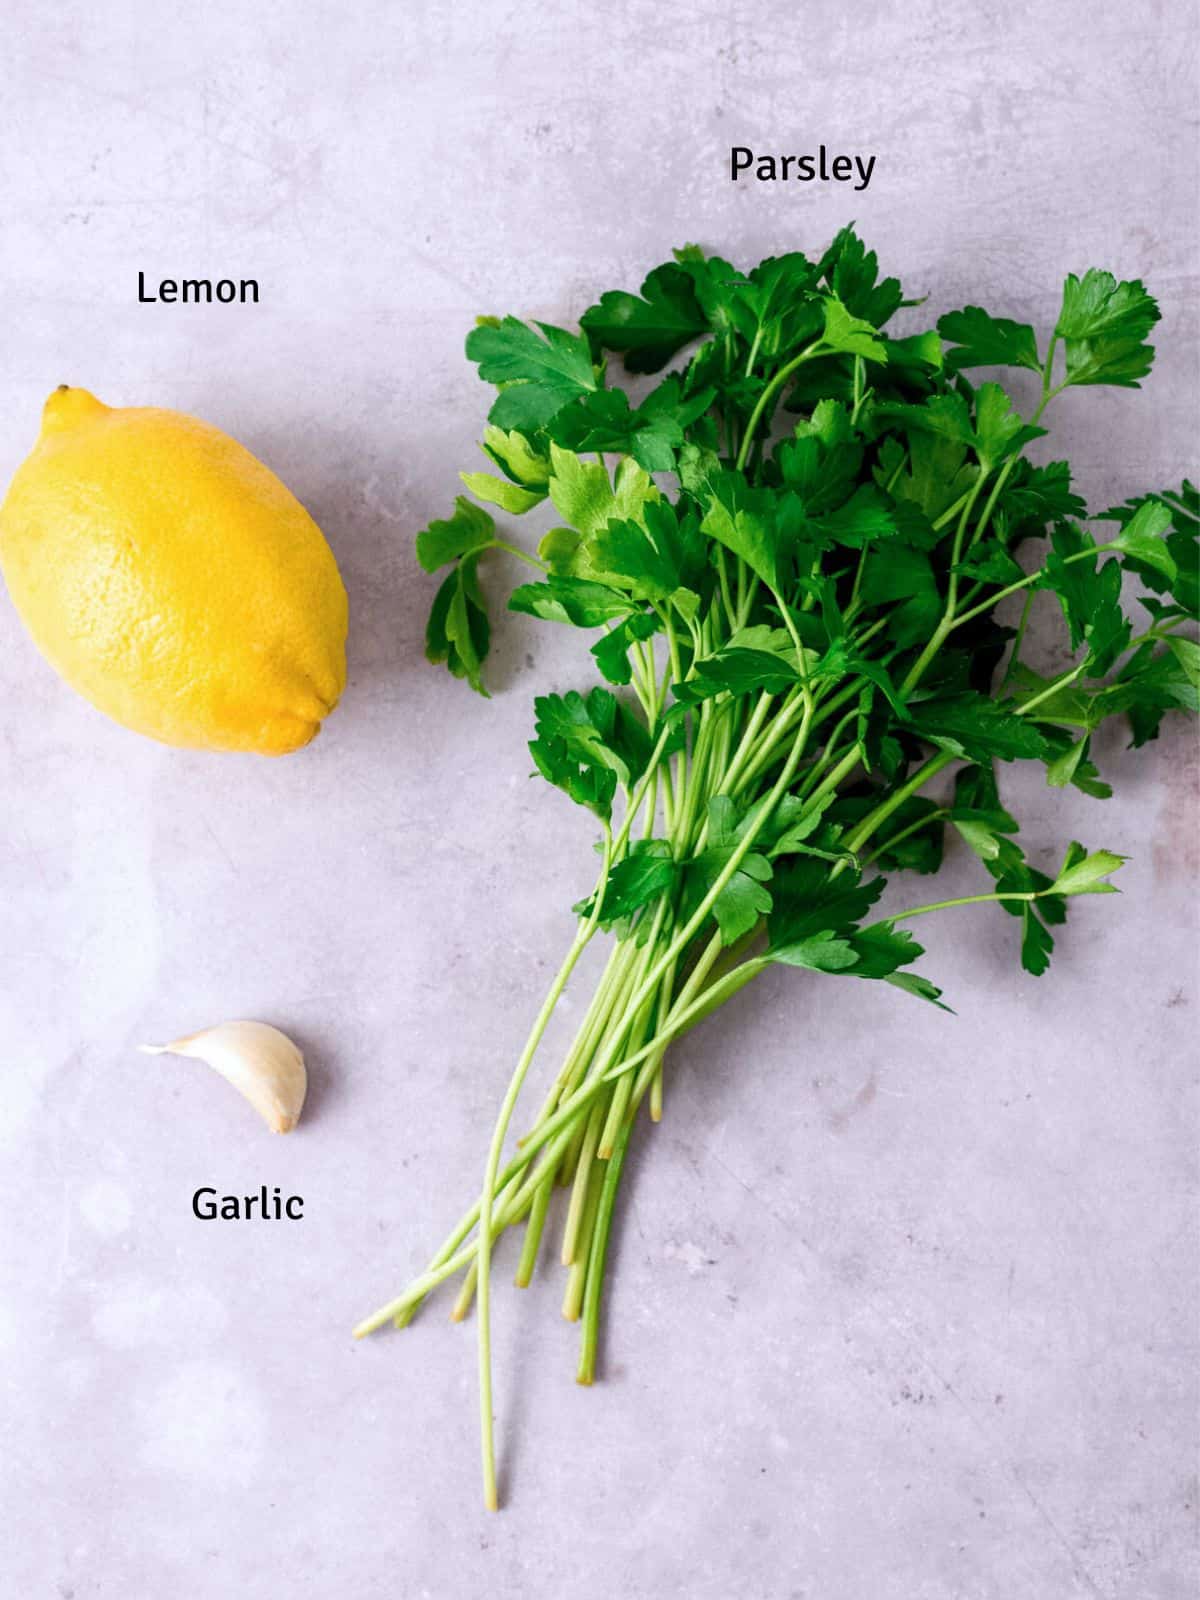
🍋 Substitutions and Variations
- Instead of orange, substitute with lemon or blood orange.
- Add a splash of vanilla extract or vanilla bean paste.
⏲️ Instructions
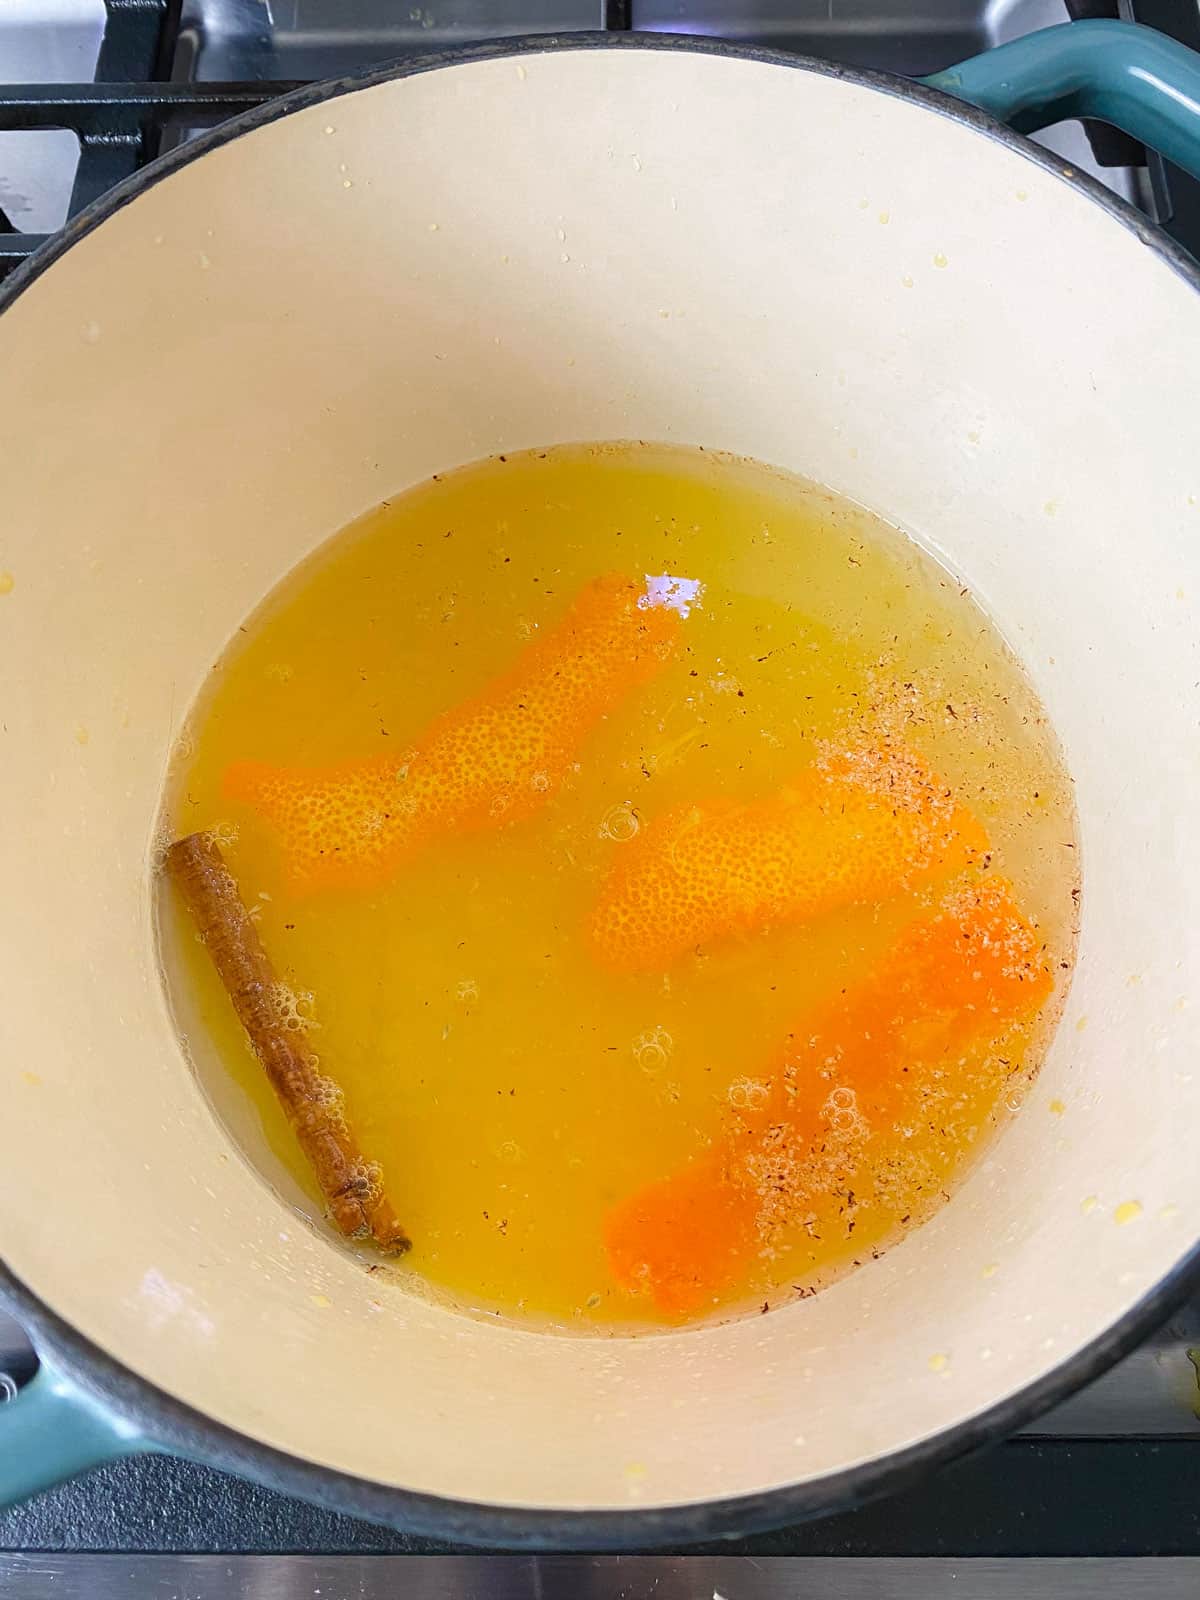
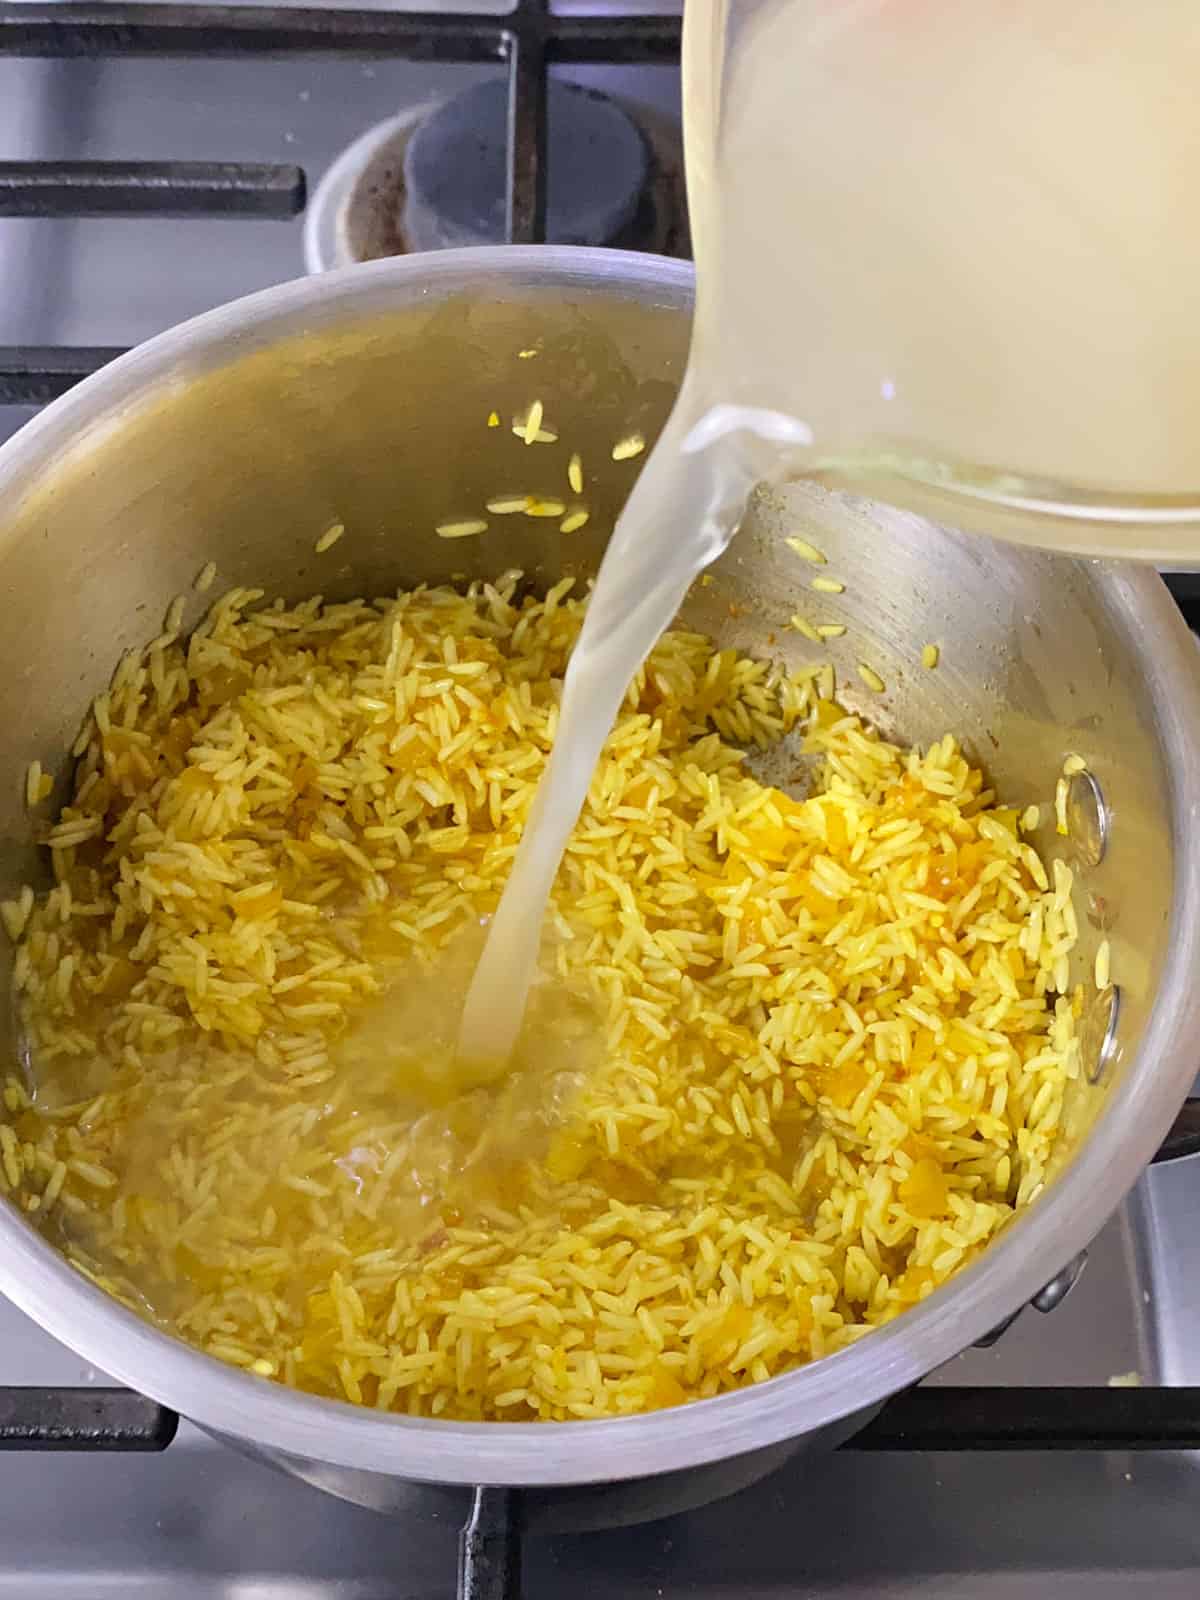
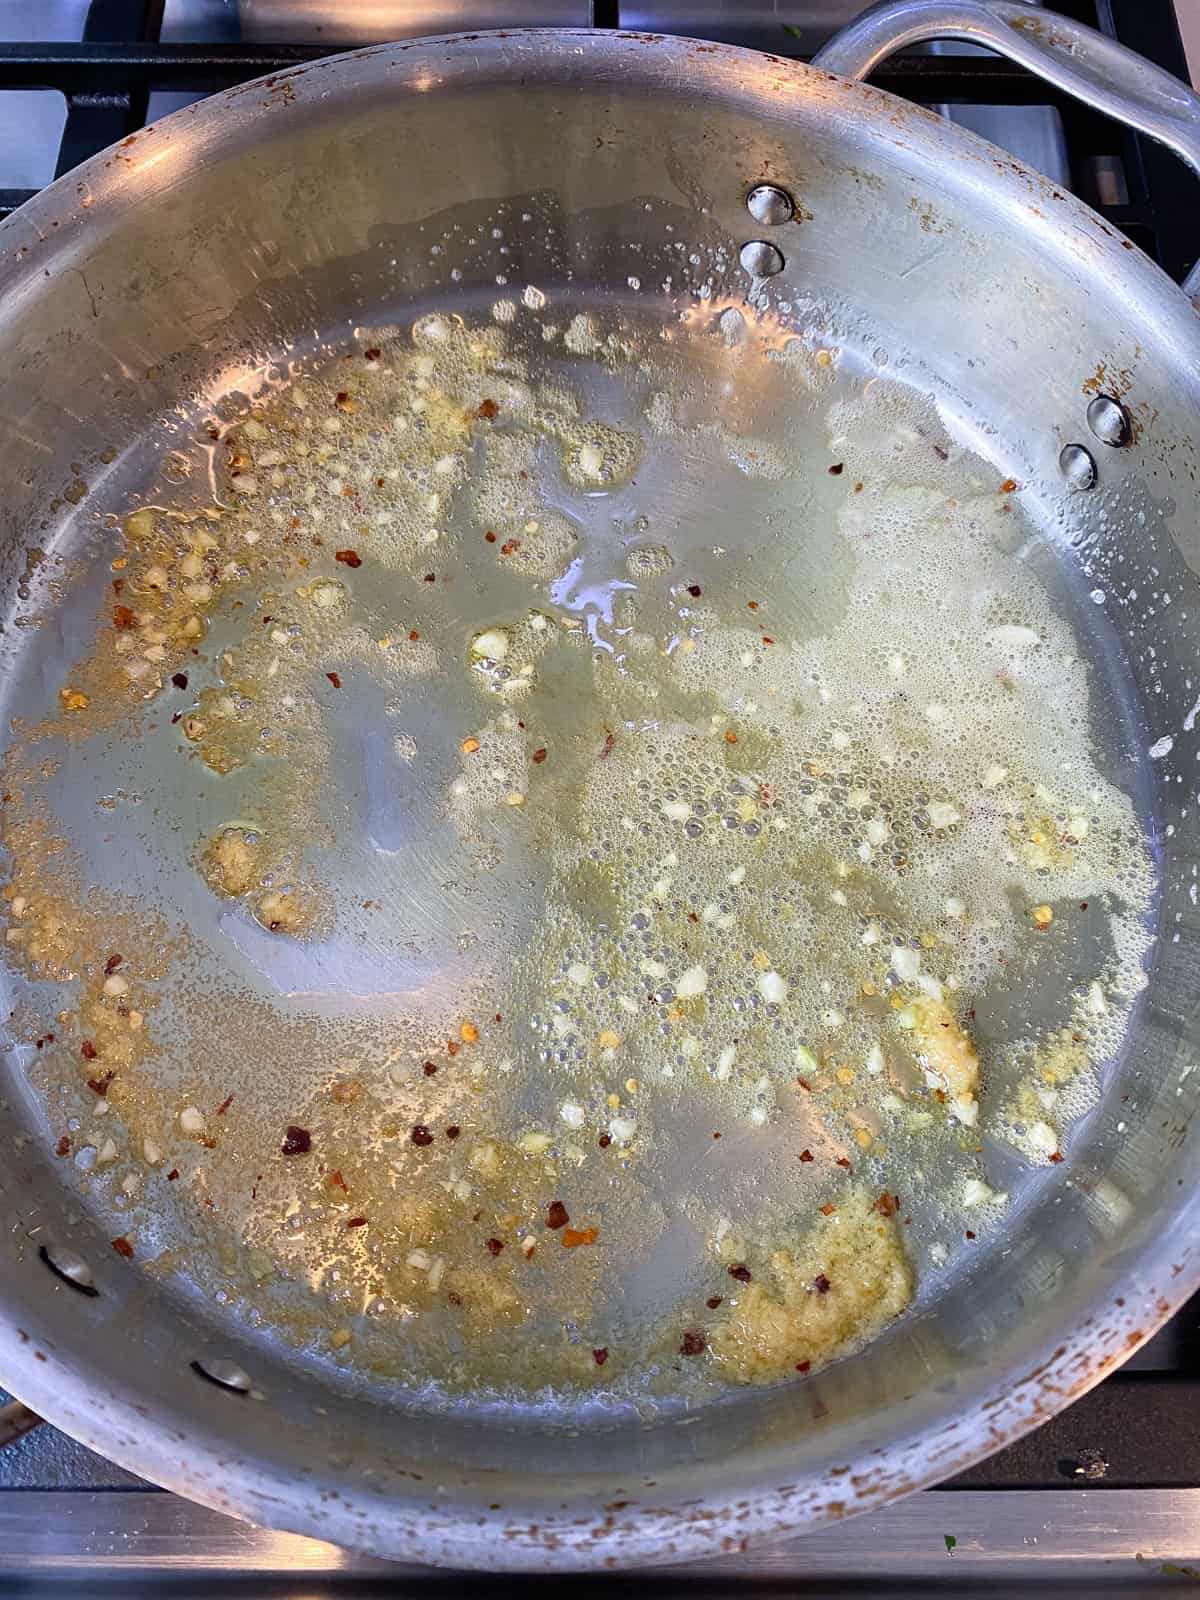
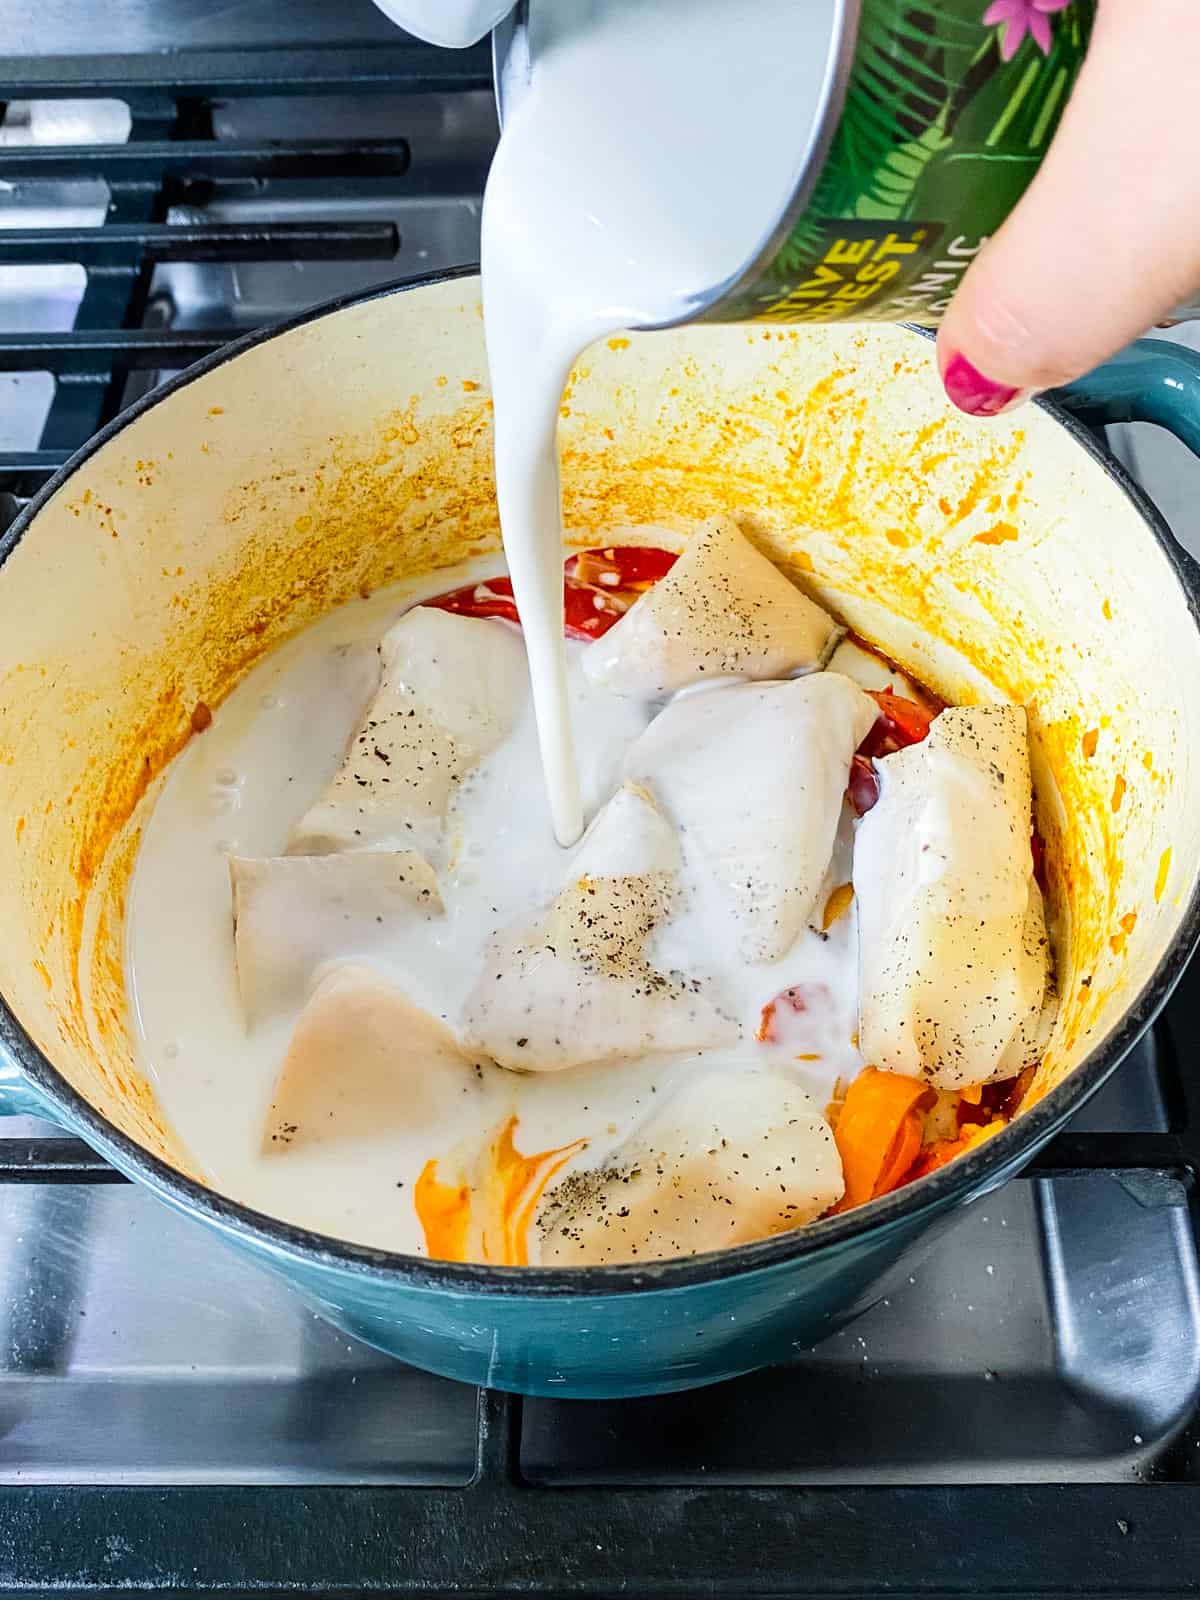
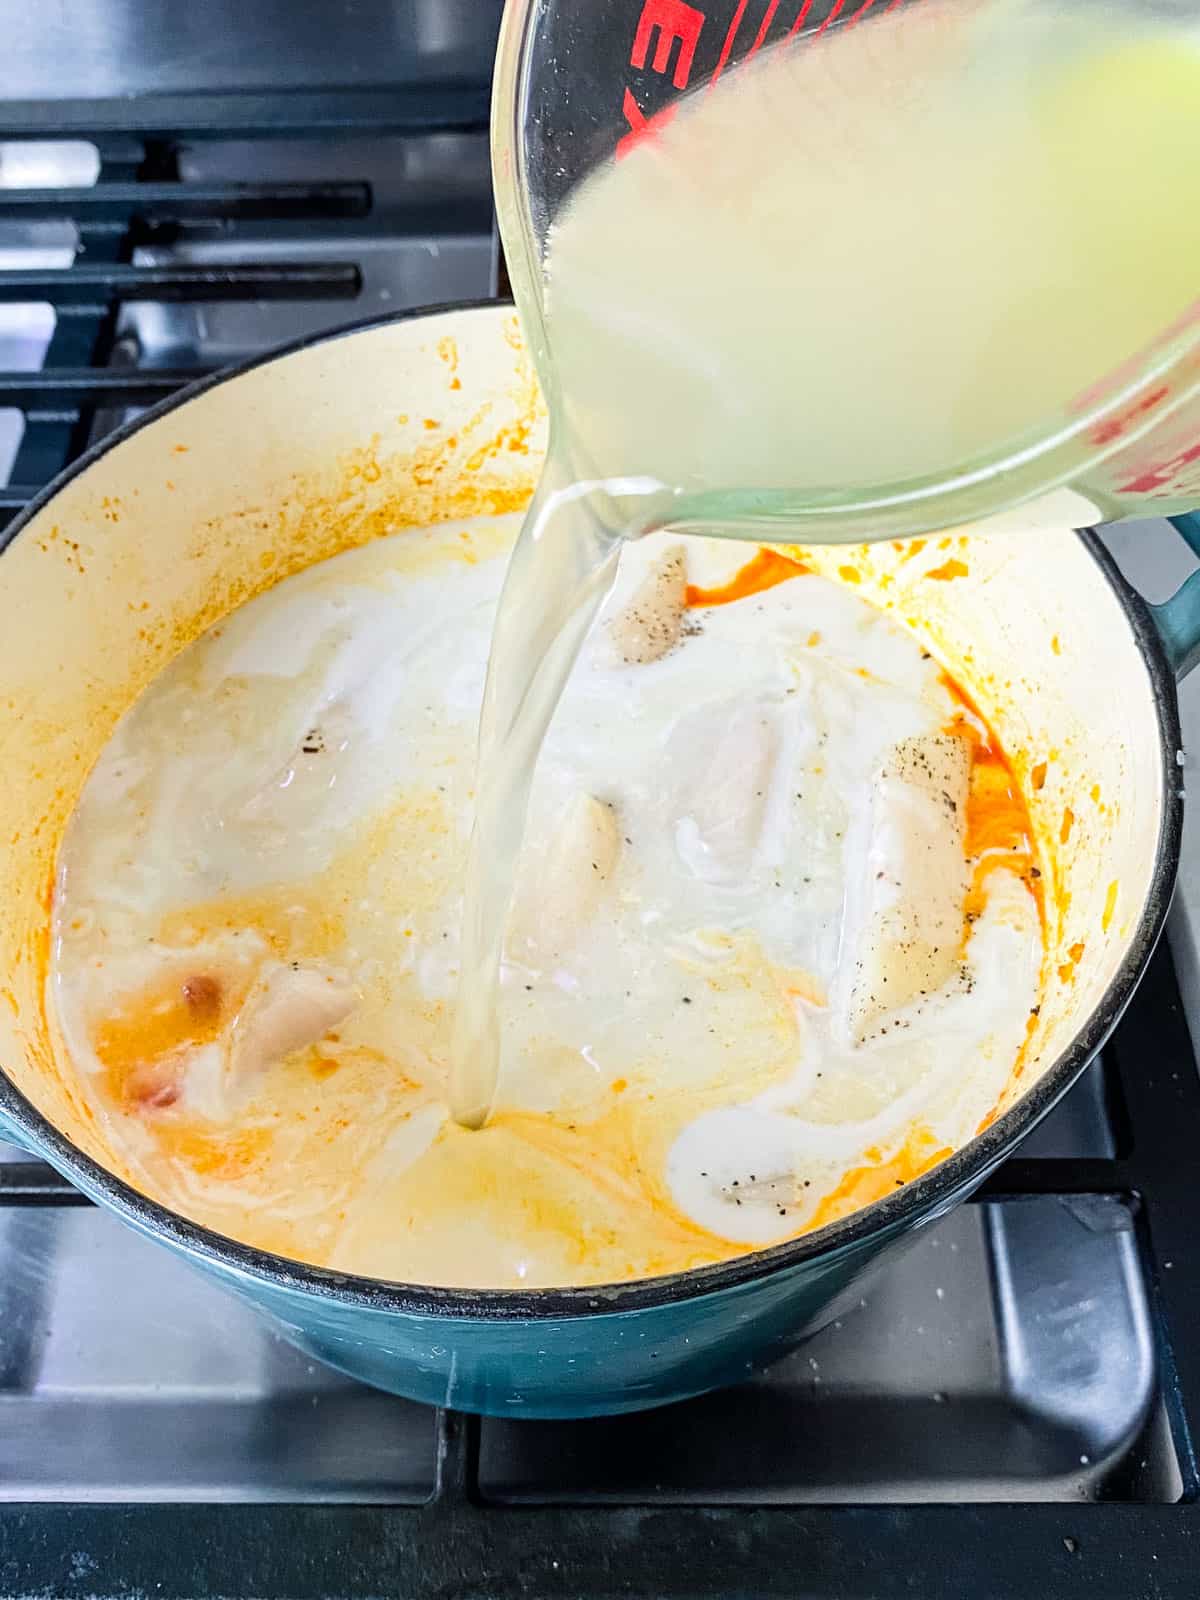
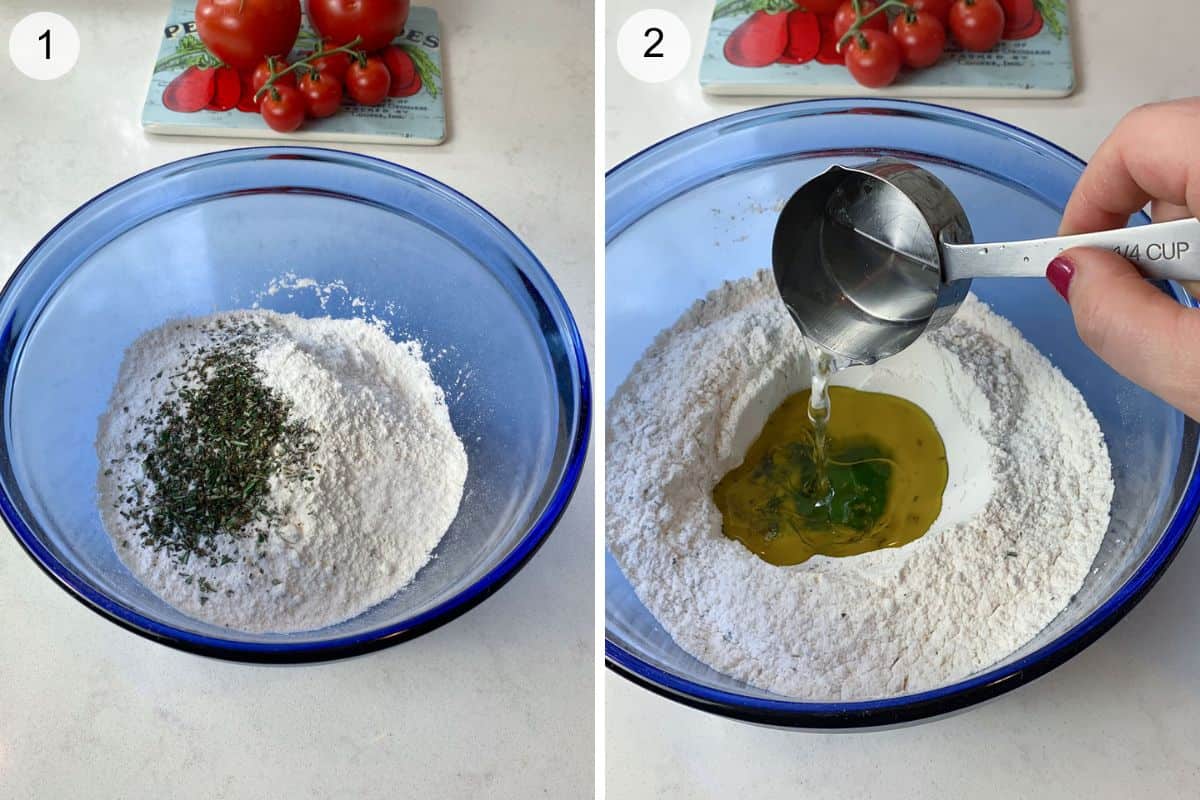
Step 1: To a medium sized pot, add the white wine and water, sugar, orange peel and orange juice, cinnamon stick and grated nutmeg. Whisk everything together.
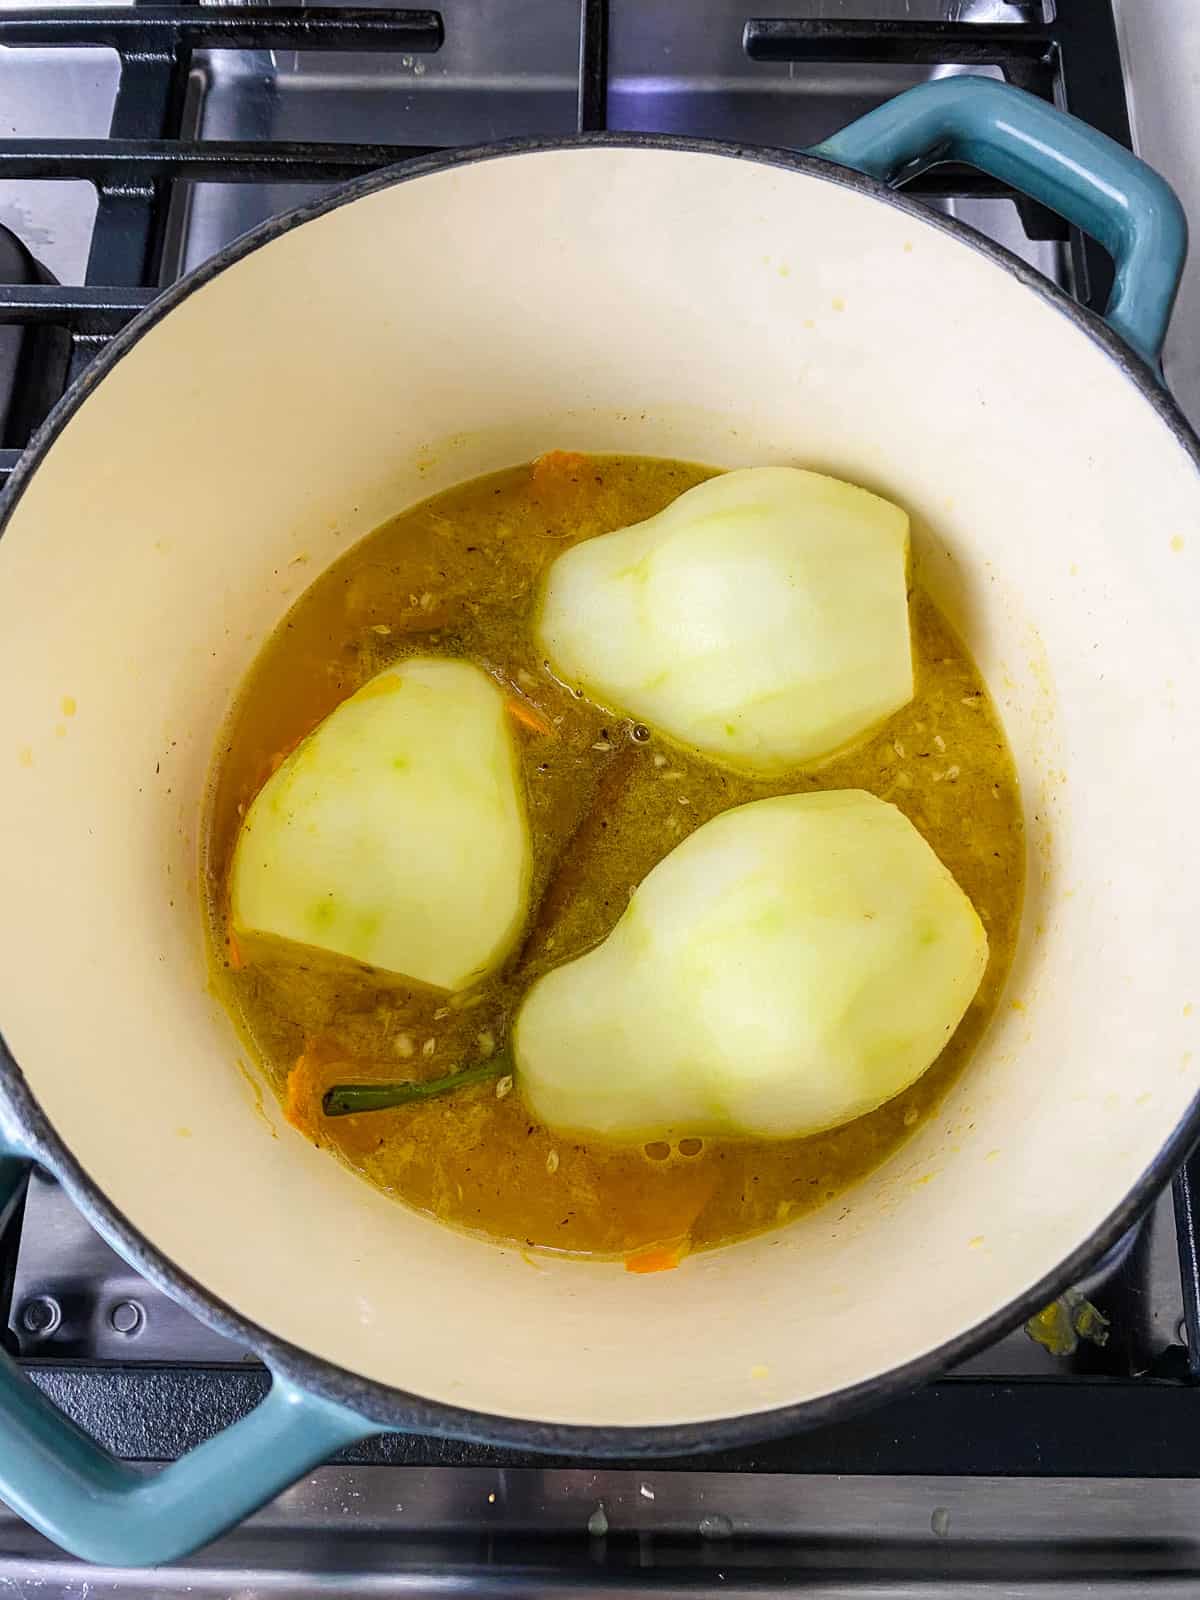
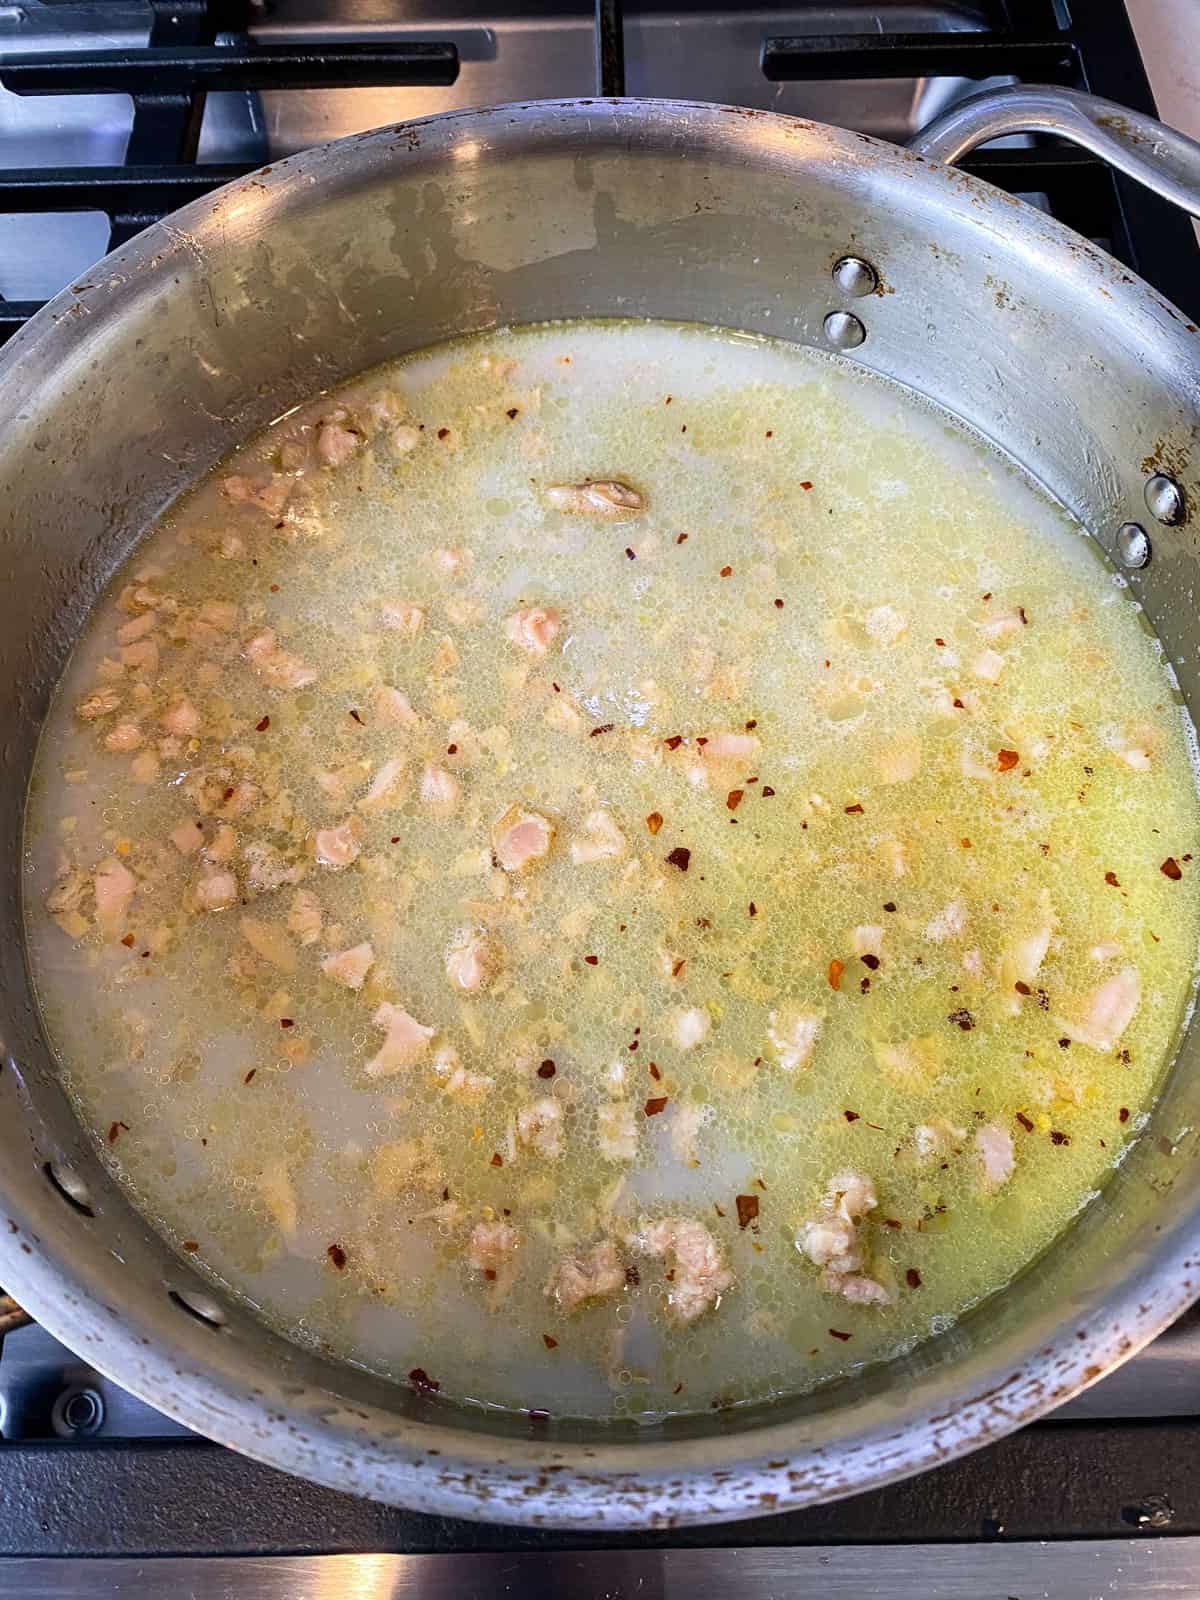
Step 2: Add the peeled pears into the liquid and bring to a strong simmer.
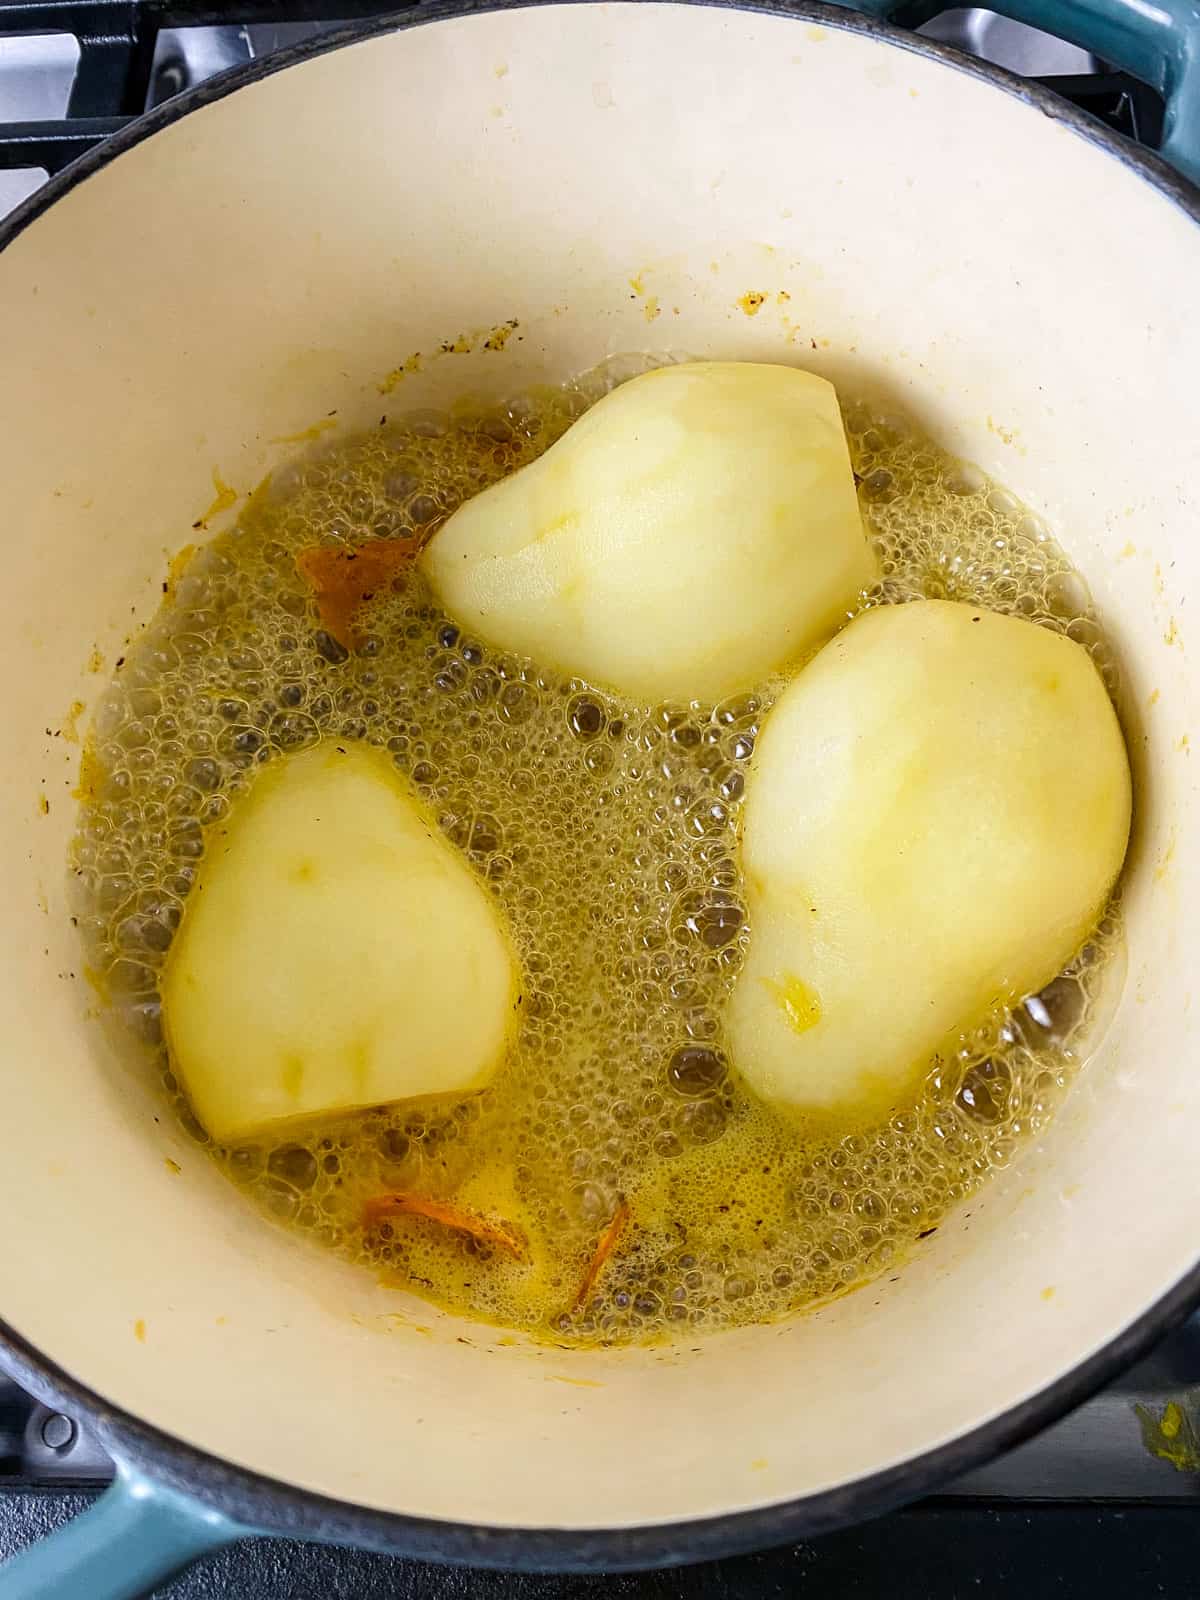
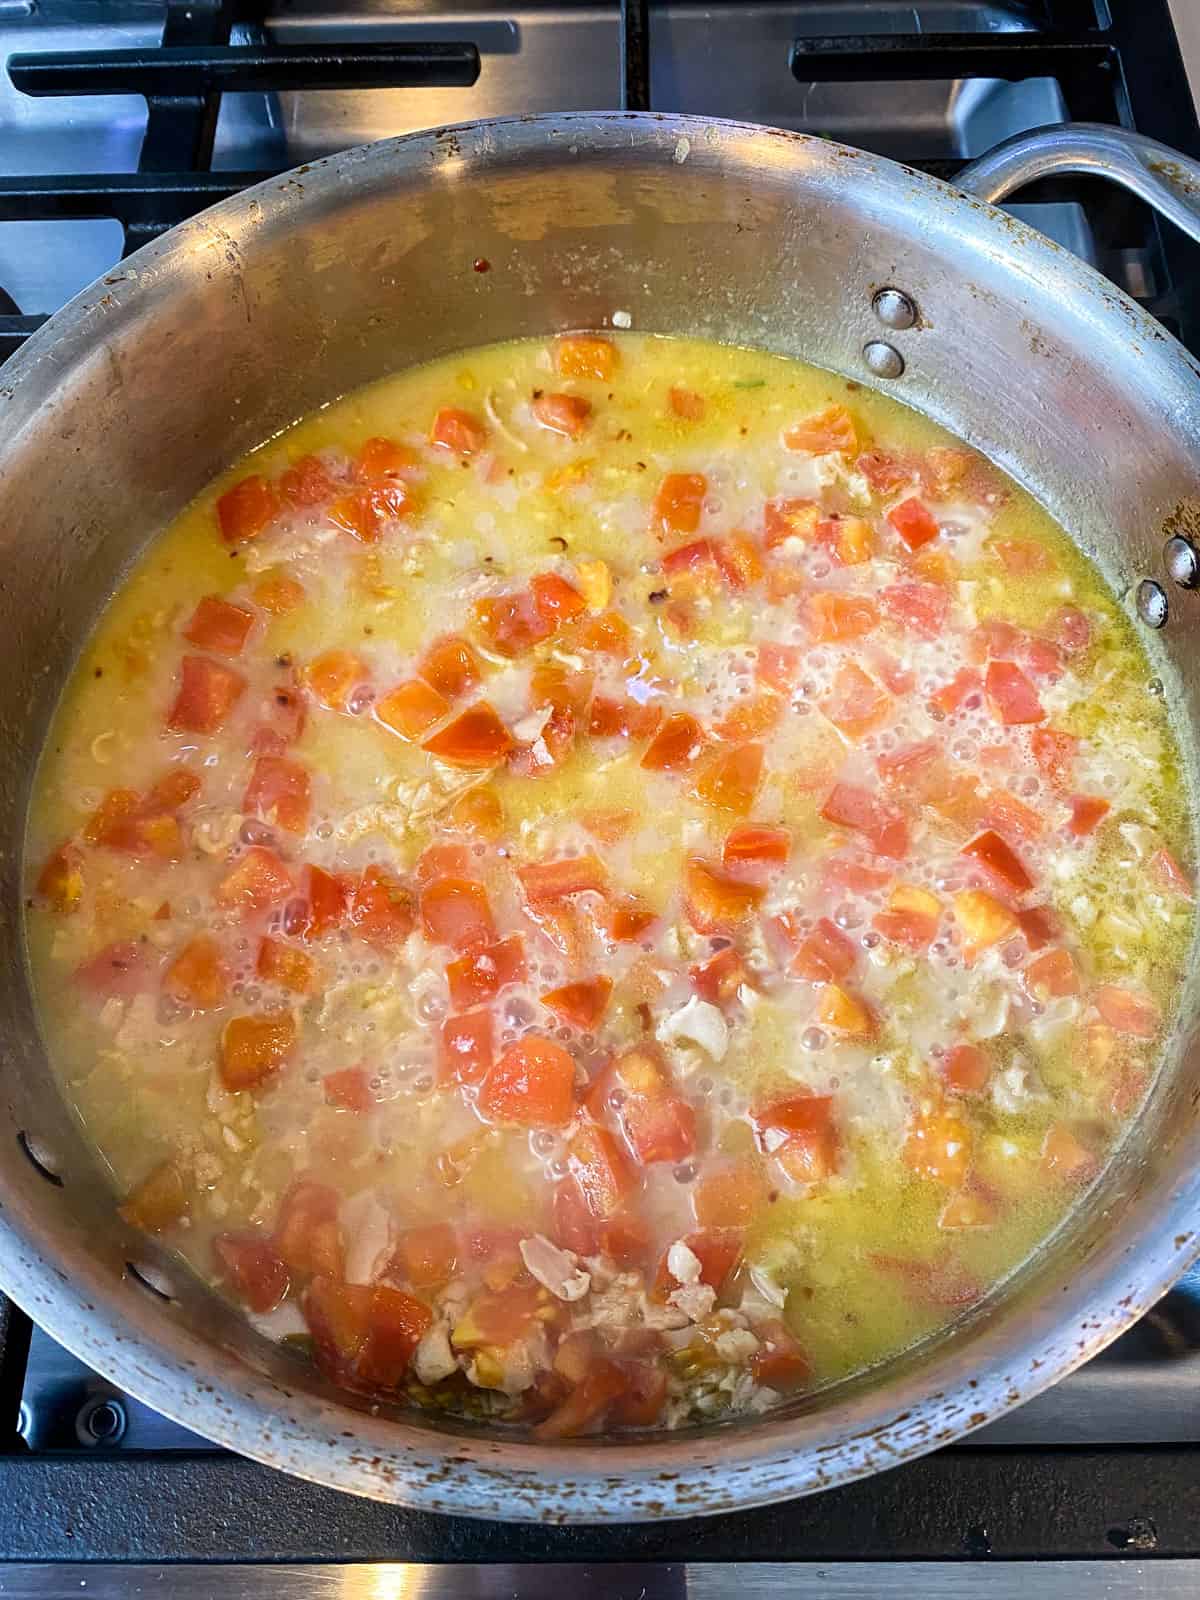
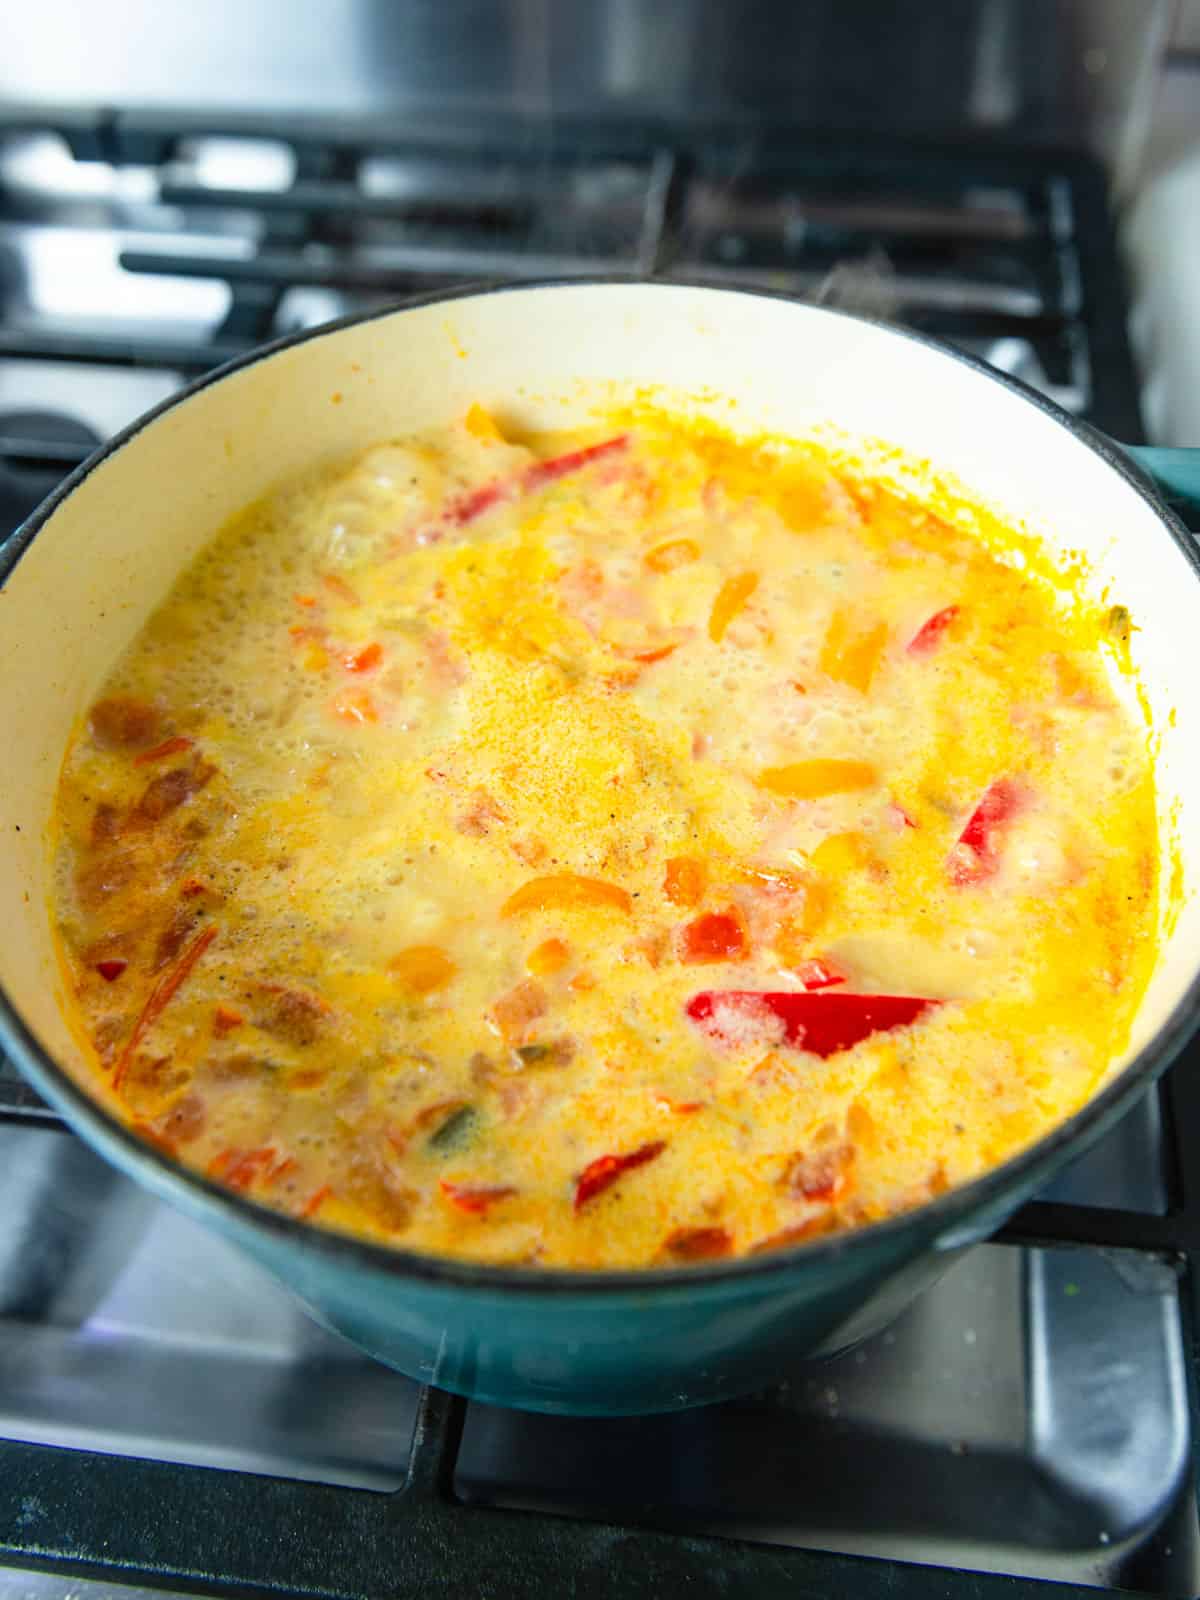
Step 3: Cook the pears in the poaching liquid until the pears are tender and easily pierced with a knife. Turn the pears every so often to cook evenly.
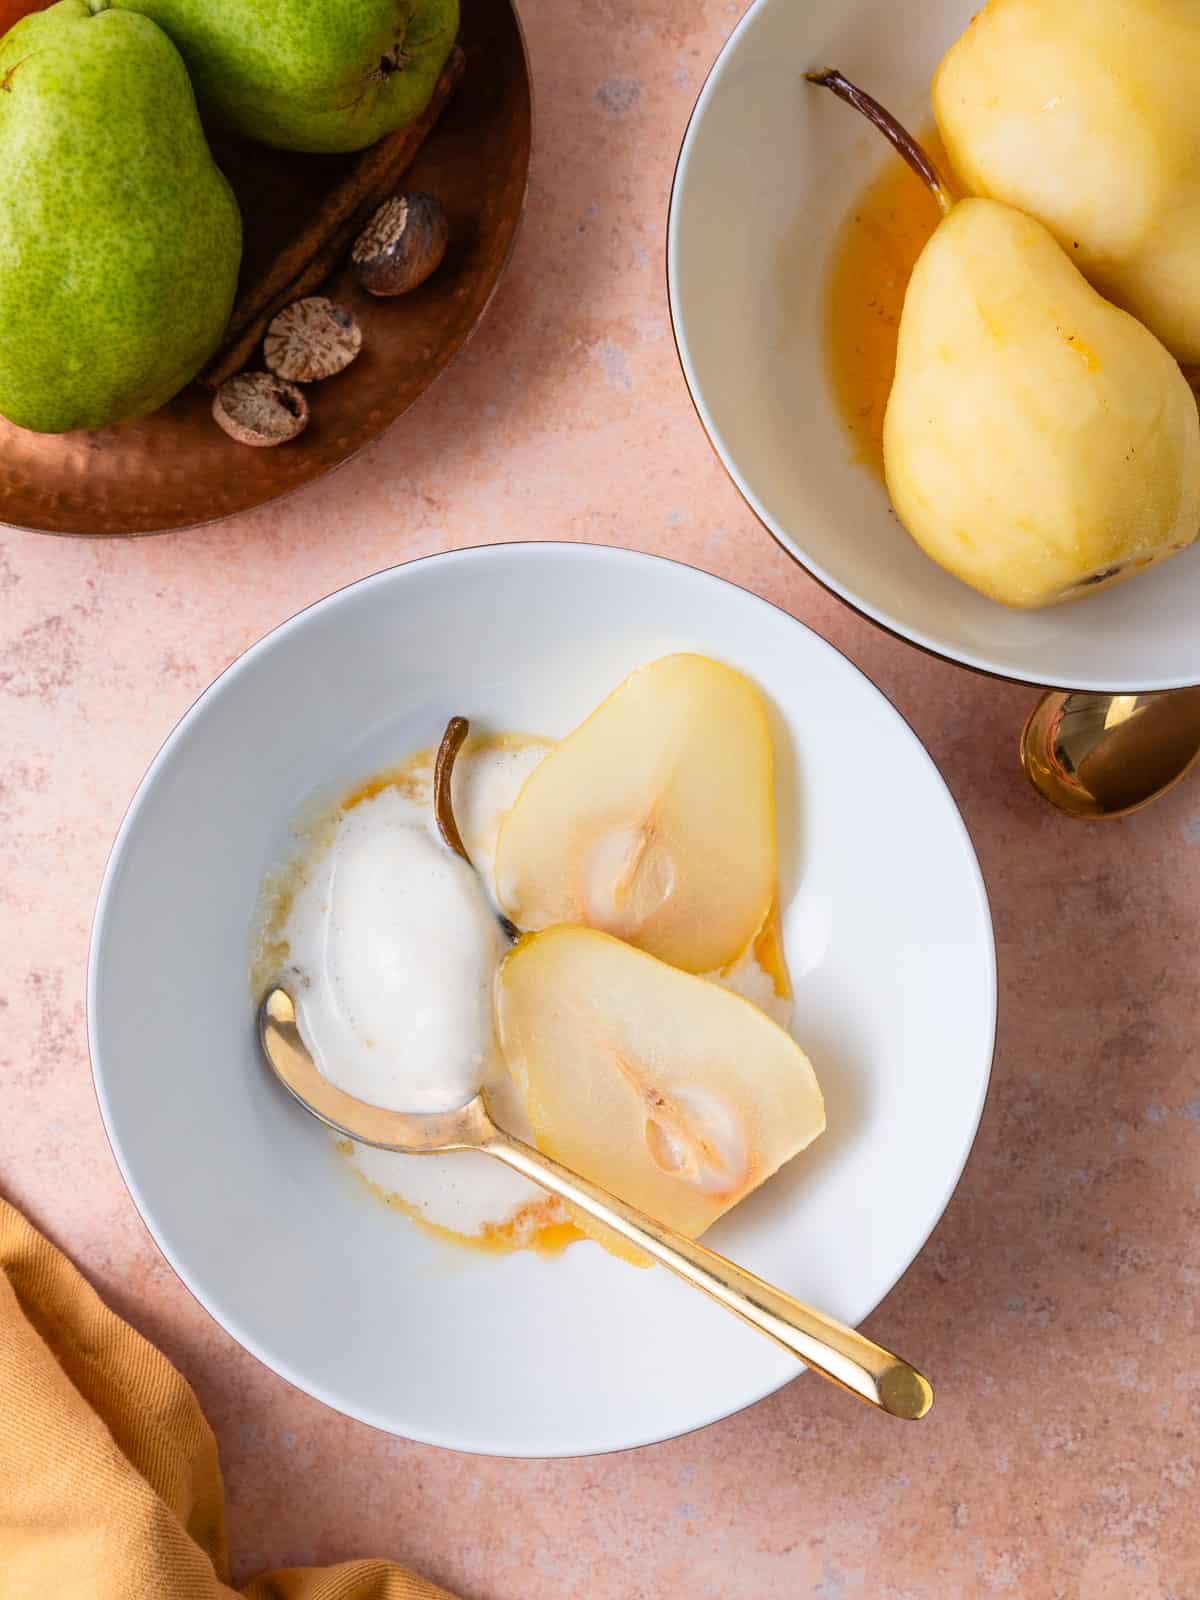
Step 4: Serve the wine poached pears with vanilla ice cream and spoon over the reduced wine sauce.
📍 Recipe Tips
- Look for firmer pears will hold up to the poaching and not get too "soft".
- Firmer pears may need a few extra minutes of cooking, test by poking a knife in the center and if it easily goes through, the pears are ready!
- if the caramel is reducing too quickly, add a ½ cup of water and continue poaching.
- Turn the pears every so often, making sure all of the sides cook evenly.

Recipe FAQs
Serve wine poached pears with vanilla ice cream, creamy ricotta cheese, creme fraiche or mascarpone cheese.
You don't have to peel the pears before poaching, however peeling them will give a better mouthfeel and overall texture.
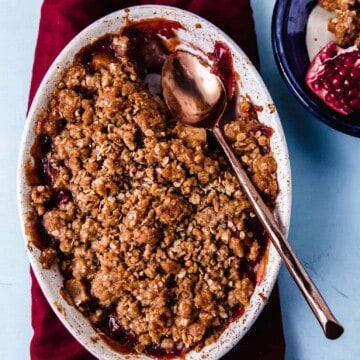
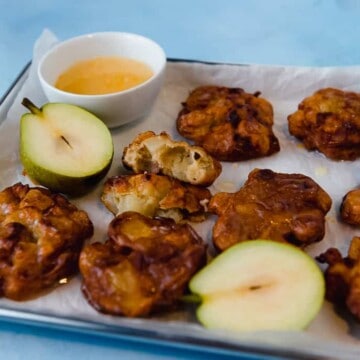
More Pear Recipes to Try

Love this recipe? Please leave a 5-star 🌟🌟🌟🌟🌟rating in the recipe card below & a review in the comments section further down the page.

White Wine Poached Pears
Ingredients
- 3 bartlett pears peeled
- 1 cup white wine
- ½ cup water
- ⅓ cup sugar
- 3 strips of orange peel
- ½ cup orange juice
- 1 cinnamon stick
- ¼ teaspoon freshly grated nutmeg
- Vanilla ice cream for serving
Instructions
- To a medium sized pot, add the white wine, water, sugar, orange peel and orange juice, cinnamon stick and nutmeg.
- Give the mixture a stir, then add the peeled pears into the poaching liquid.
- Cook the peaches on medium heat or a strong simmer for about 25 minutes until the pears can be easily pierced with a knife and the sauce has thickened.
- Keep an eye on the pears and turn them every so often so they cook evenly. If the sauce is caramelizing too quickly, reduce the heat.
- Once done, serve the poached pears with vanilla ice cream and pour reduced caramel around the pears.
Notes
- Look for firmer pears will hold up to the poaching and not get too "soft".
- Firmer pears may need a few extra minutes of cooking, test by poking a knife in the center and if it easily goes through, the pears are ready!
- if the caramel is reducing too quickly, add a ½ cup of water and continue poaching.
- Turn the pears every so often, making sure all of the sides cook evenly.