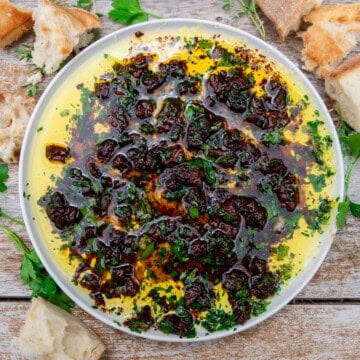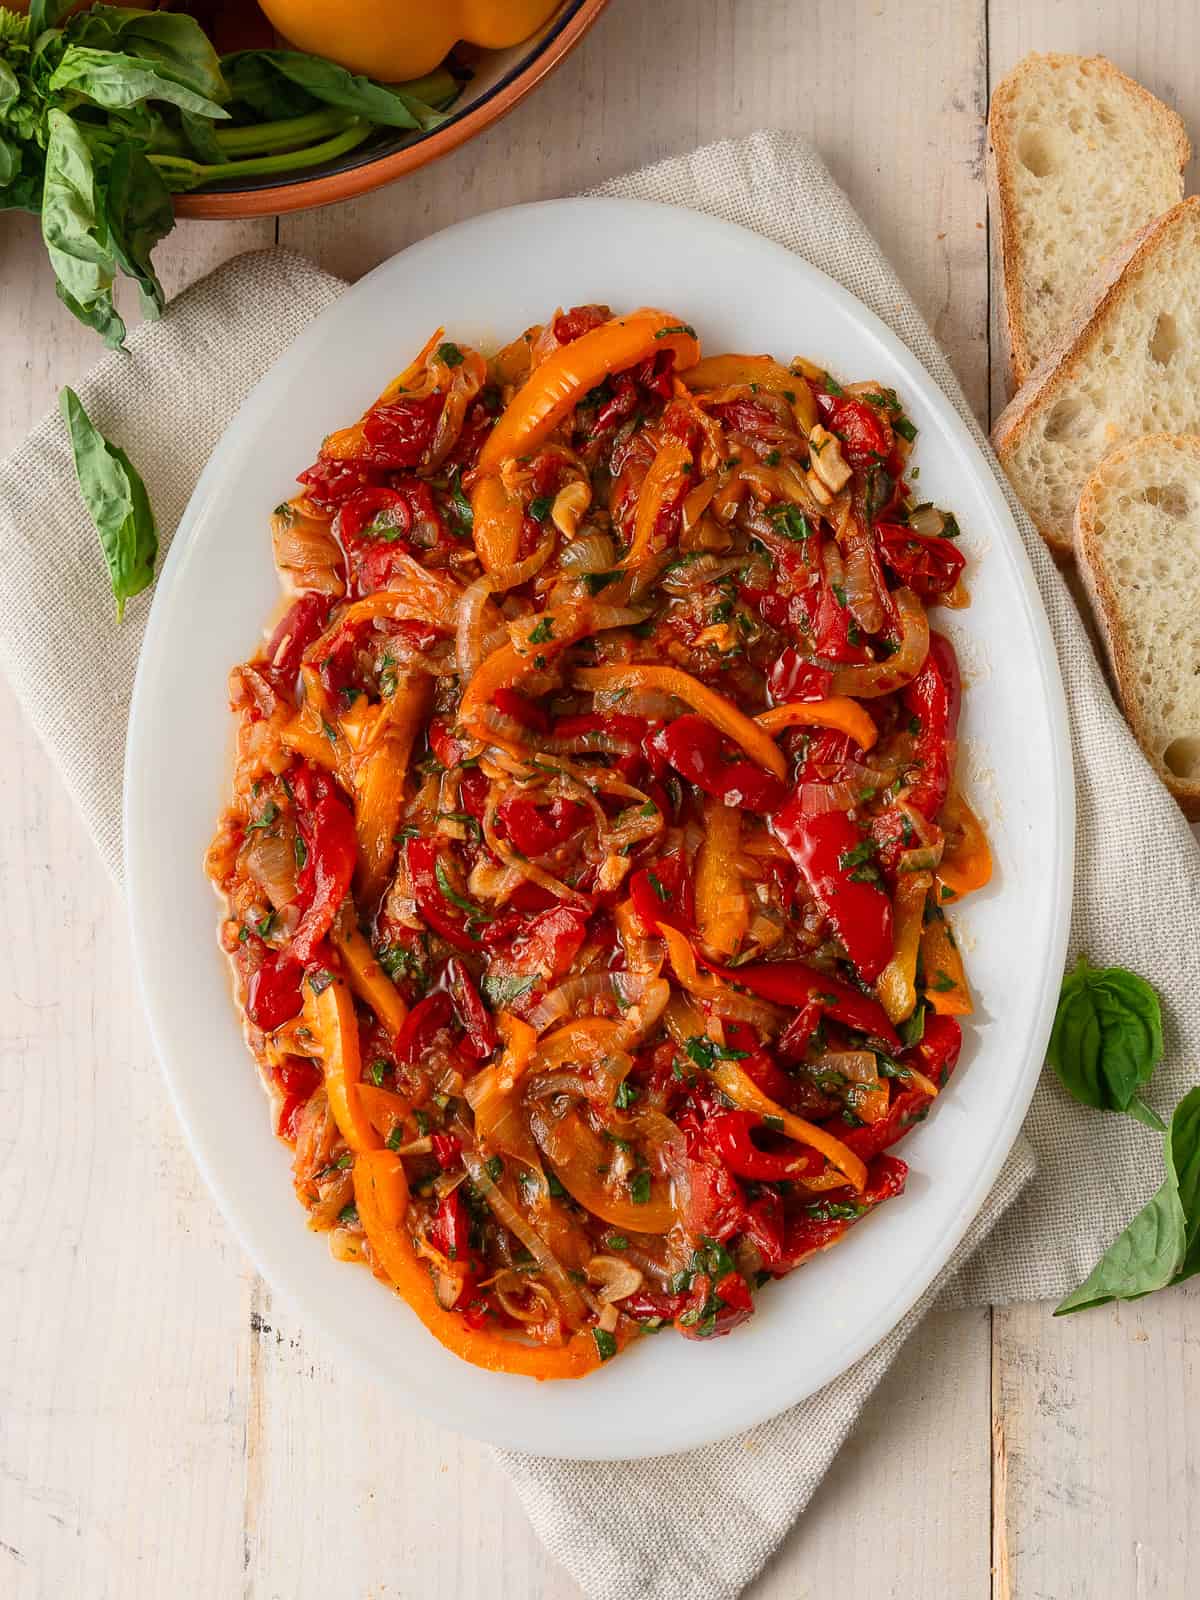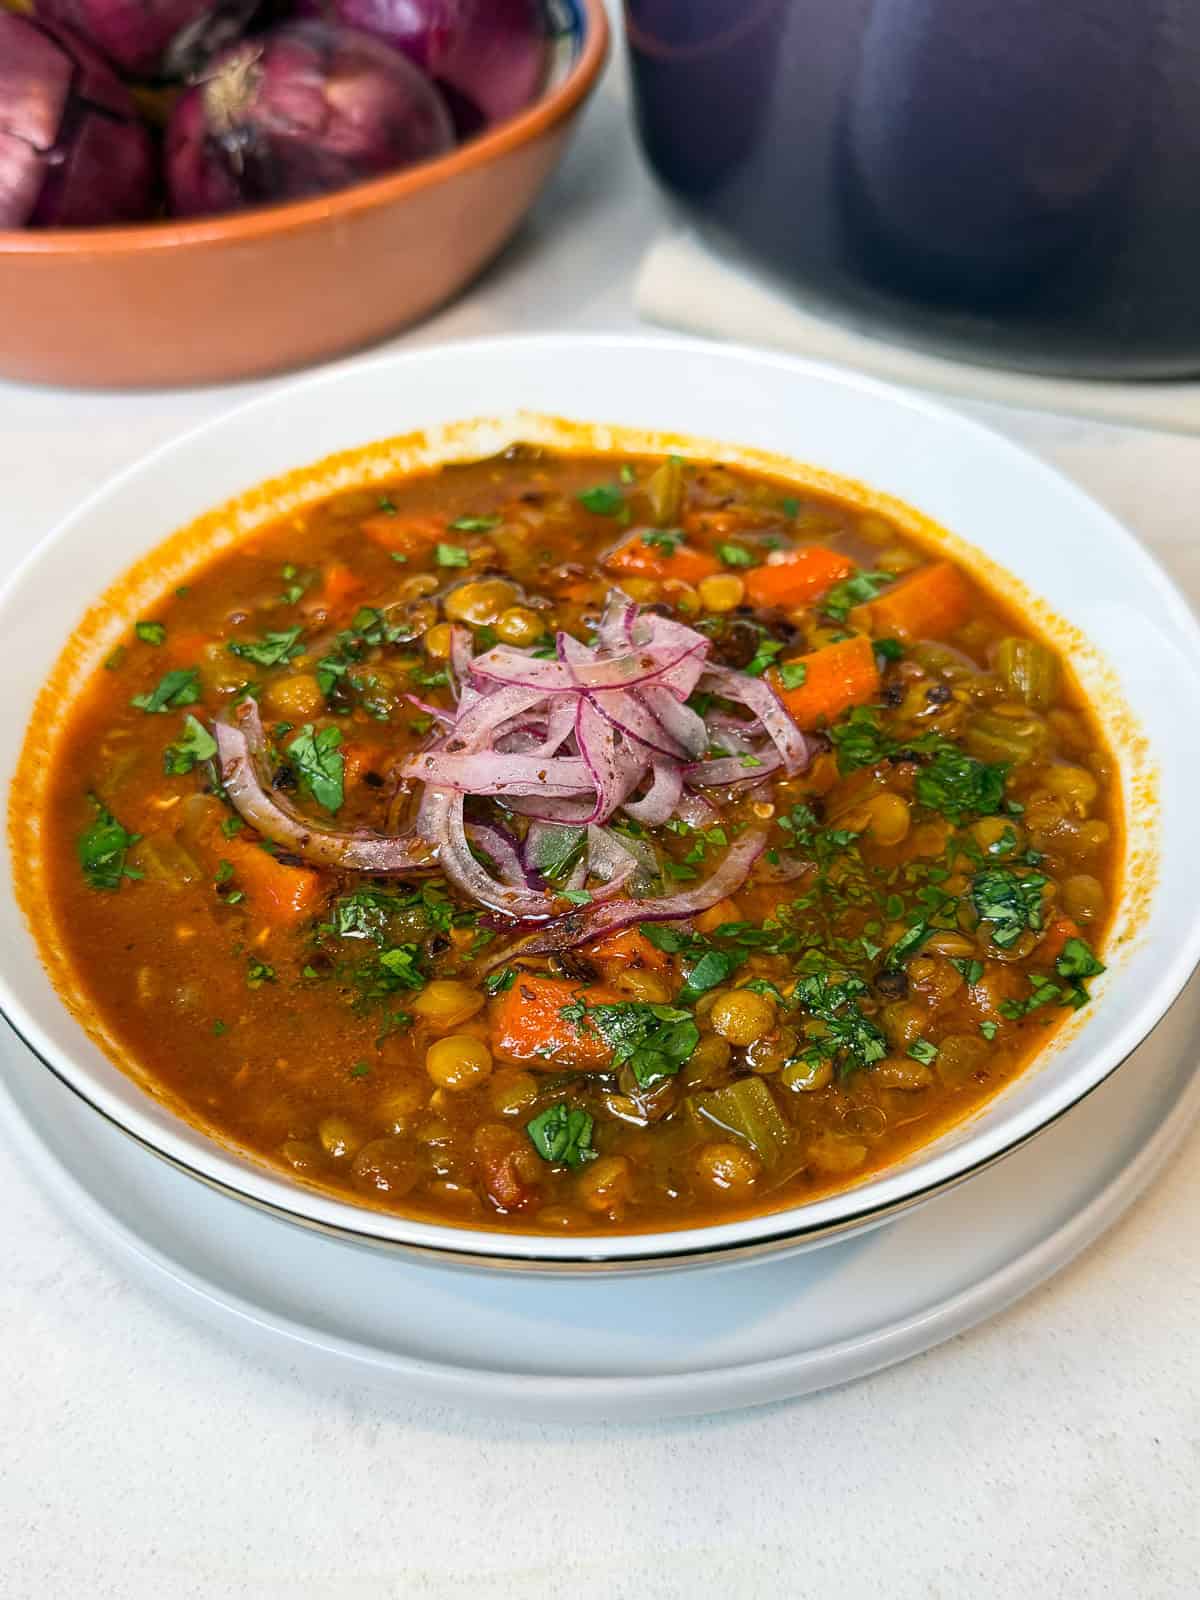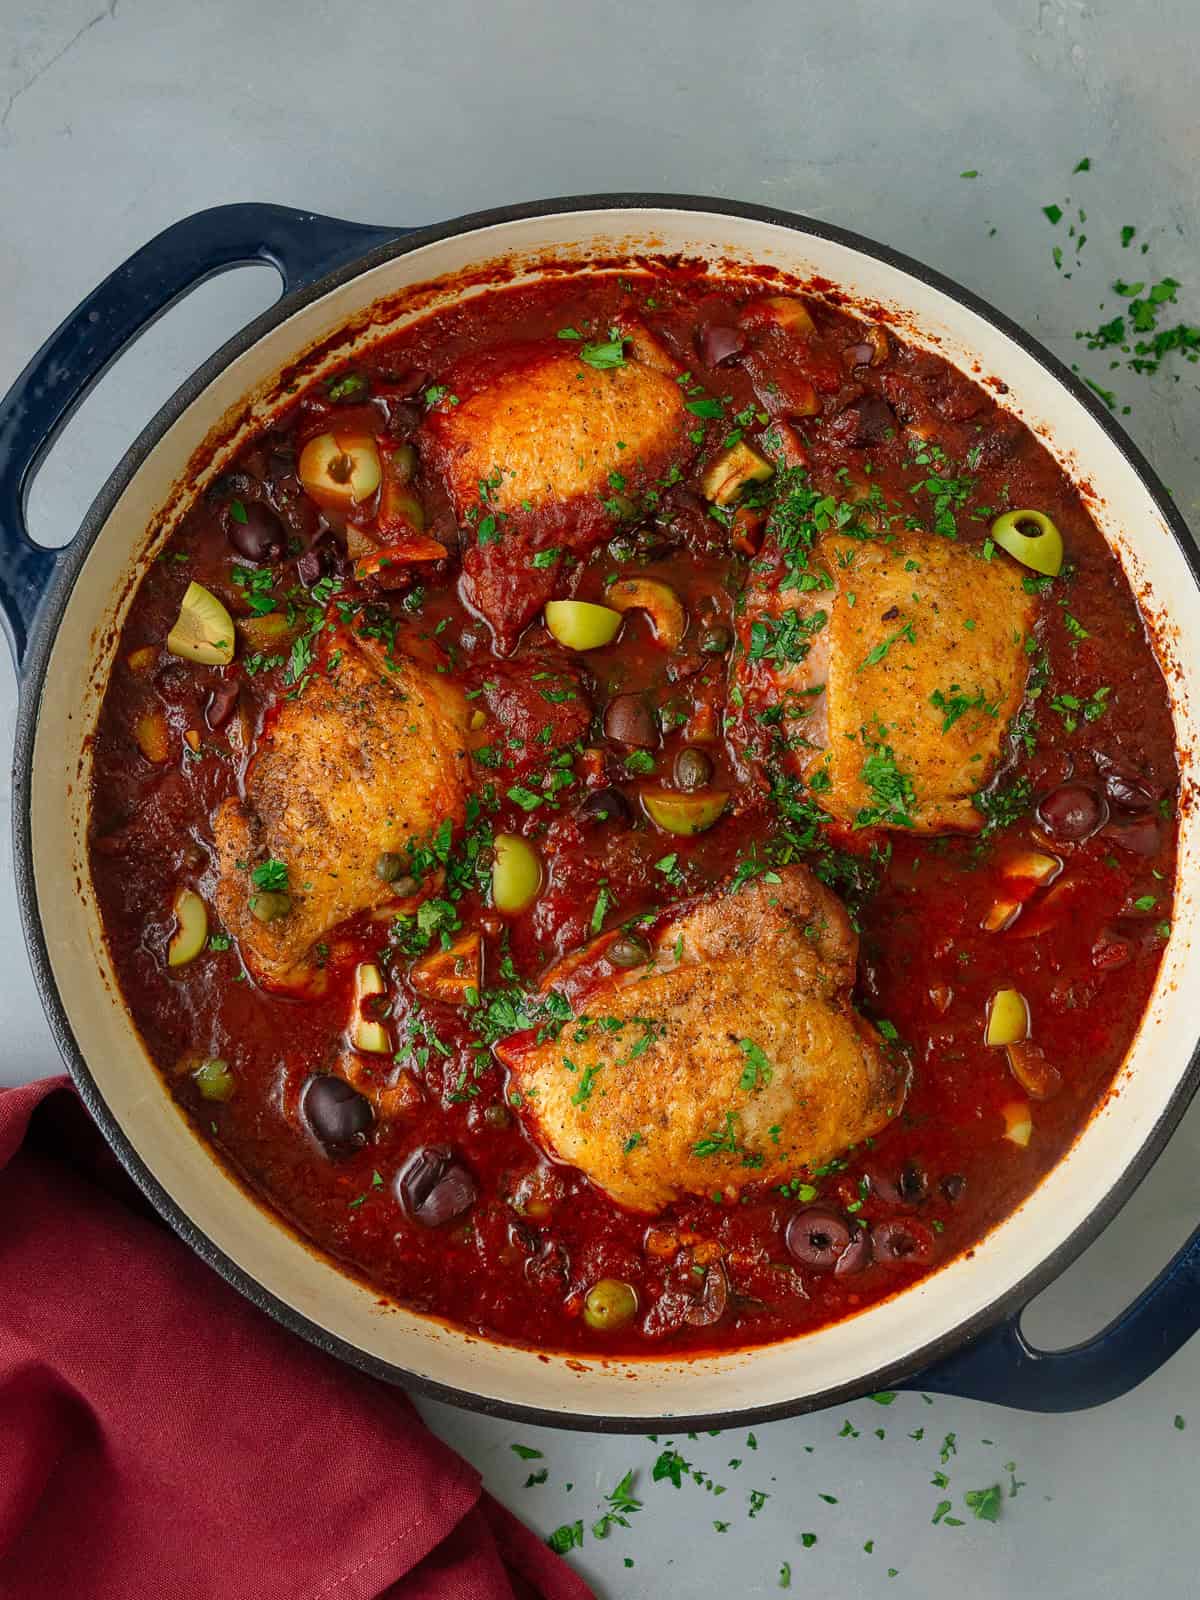
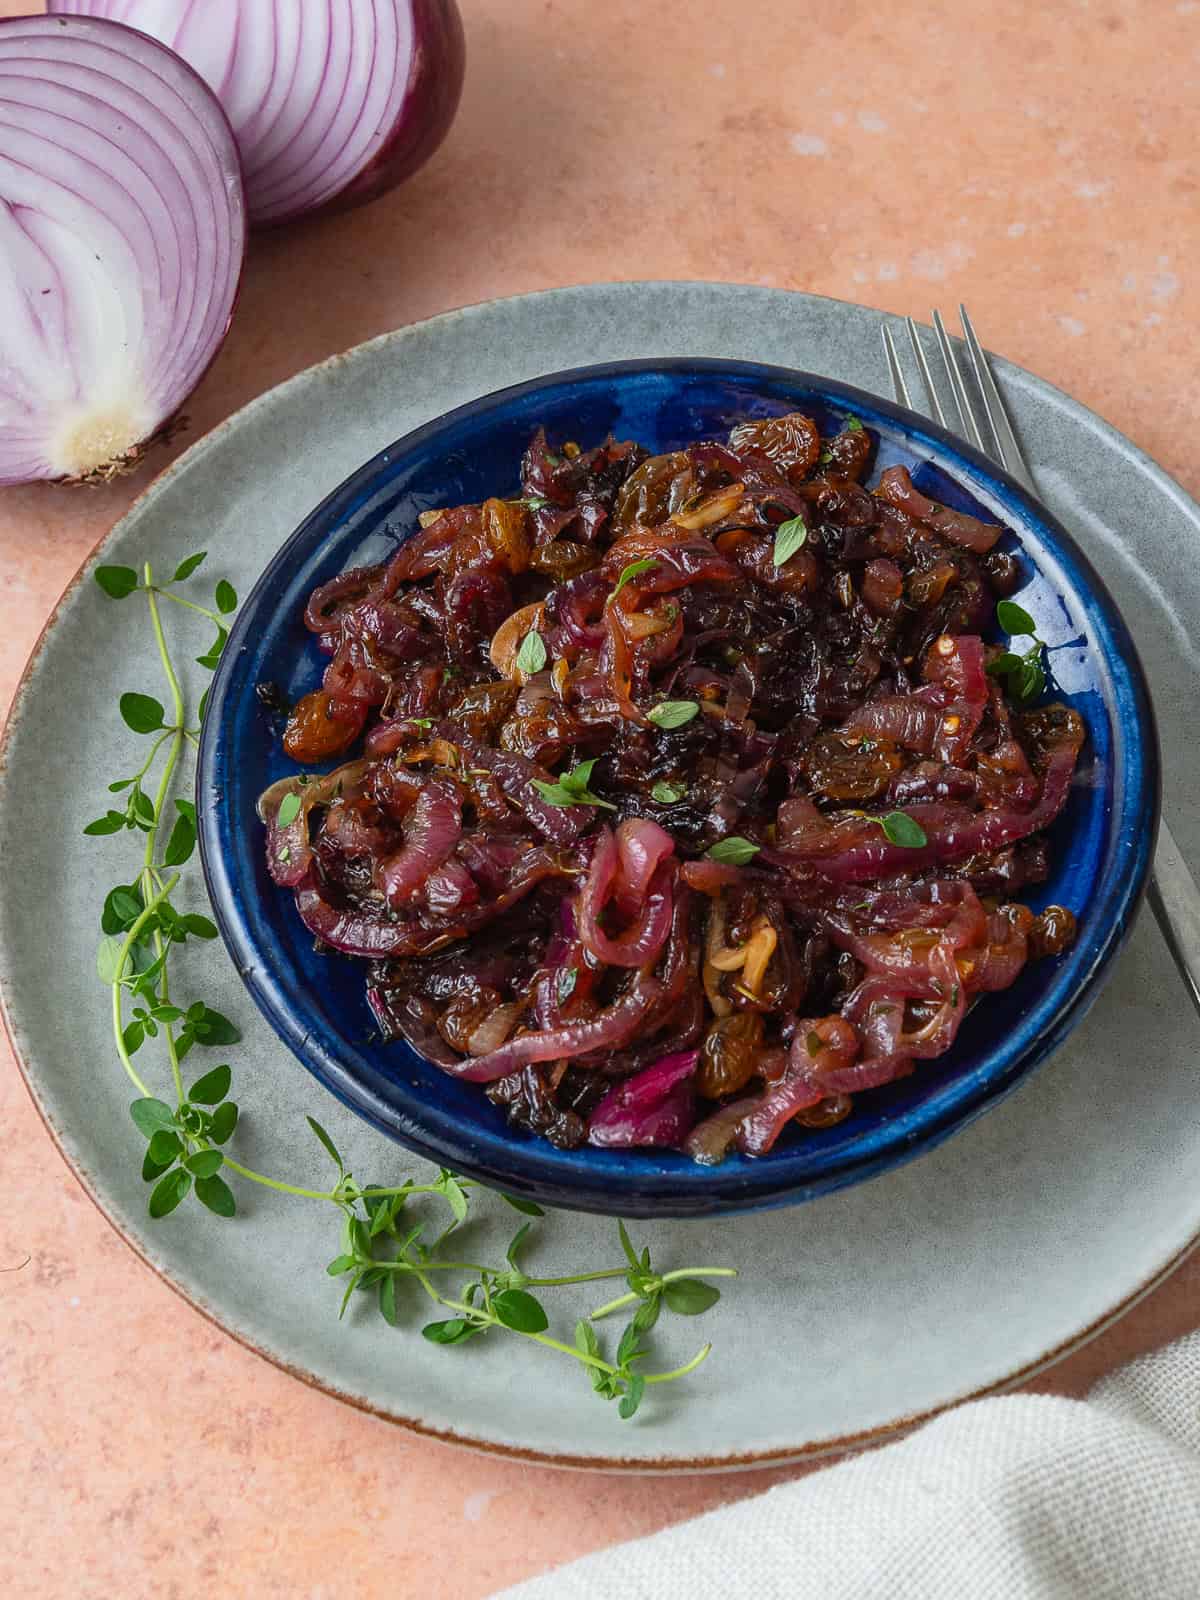
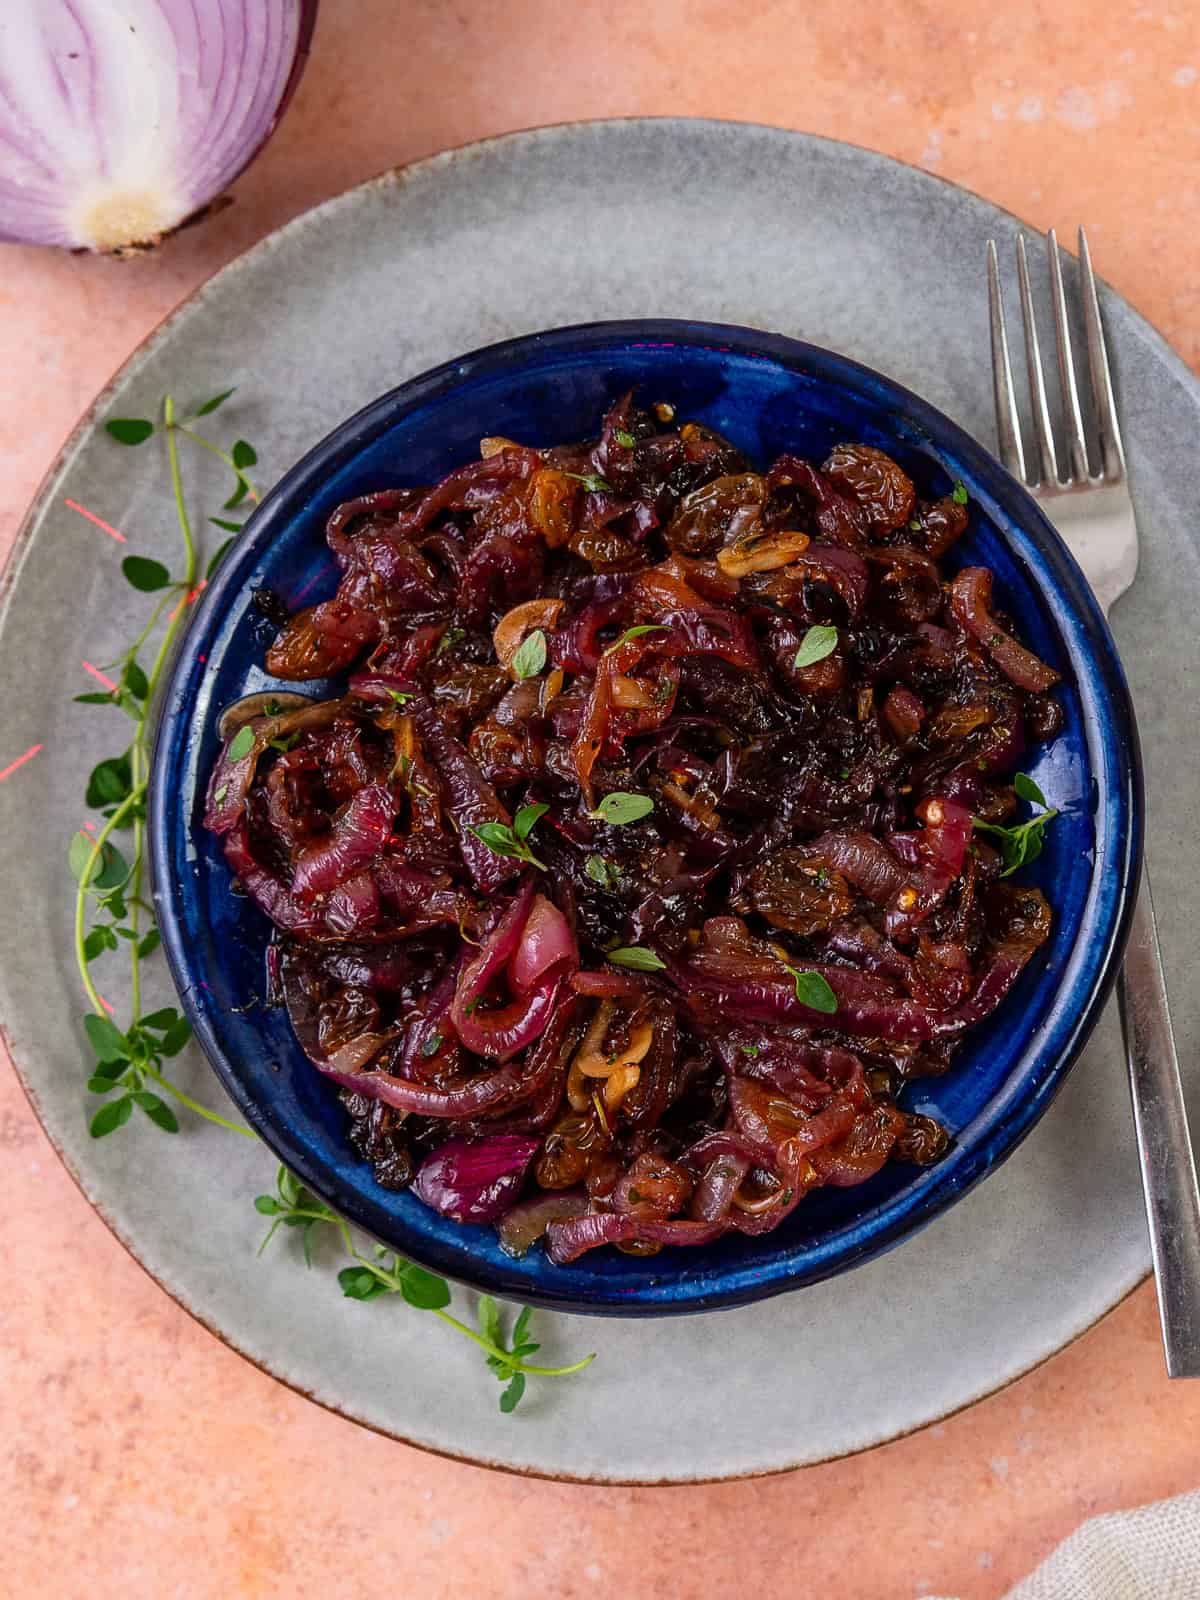
Sweet, tangy and ready in 20 minutes this, Sicilian onion agrodolce is a delicious condiment made with red onions, honey, vinegar and golden raisins. It's delicious spooned over grilled fish or steak or served with crusty bread as part of an antipasto platter.
What Is Onion Agrodolce?
Agrodolce is an Italian condiment that literally translates to "sweet and sour ("agro" means sour and "dolce" means sweet). It's a classic Sicilian cooking style that balances something sweet, like honey, with something tangy, such as vinegar.
While agrodolce can be made with everything from vegetables to fruit, this onion agrodolce is one of my favorites. Unlike traditional caramelized onions, agrodolce isn't cooked until deeply browned. Instead, the red onions become soft and glossy while still holding their shape and bite. And the combination of honey, red wine vinegar and golden raisins creates layers of sweet, tangy and savory flavor with a delicious jammy texture.
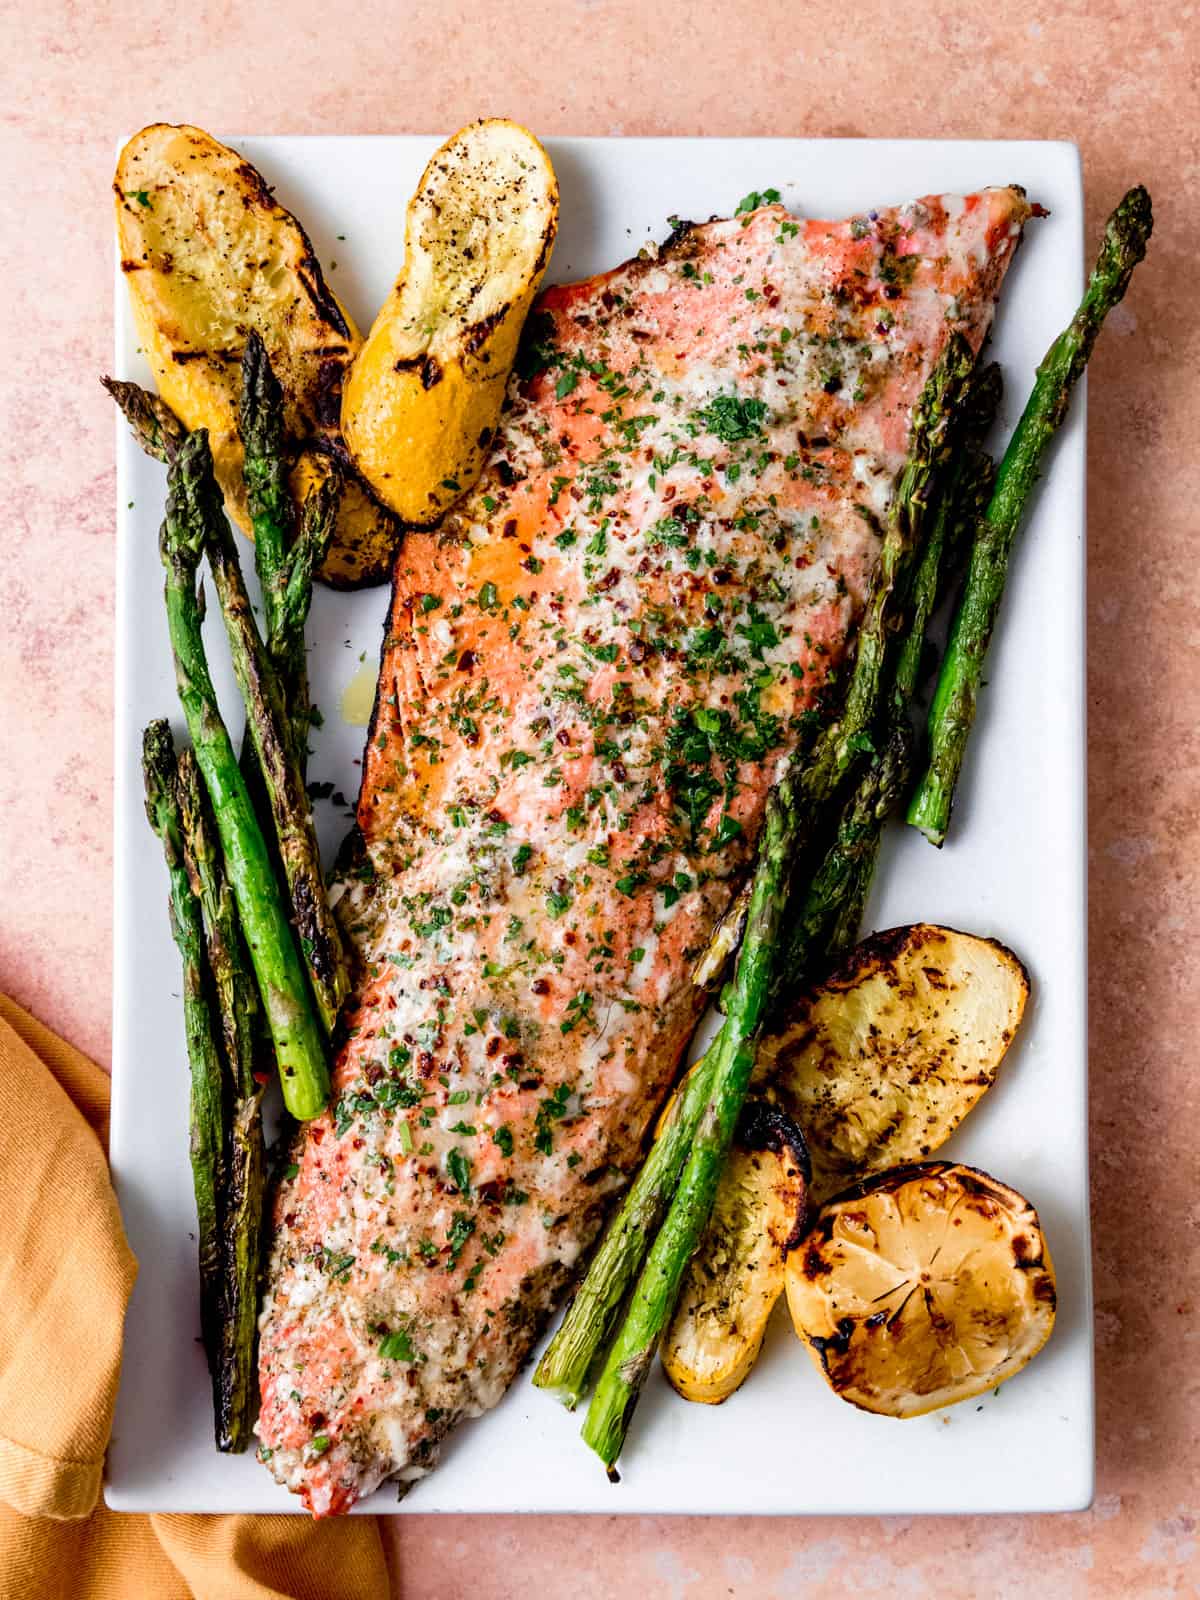
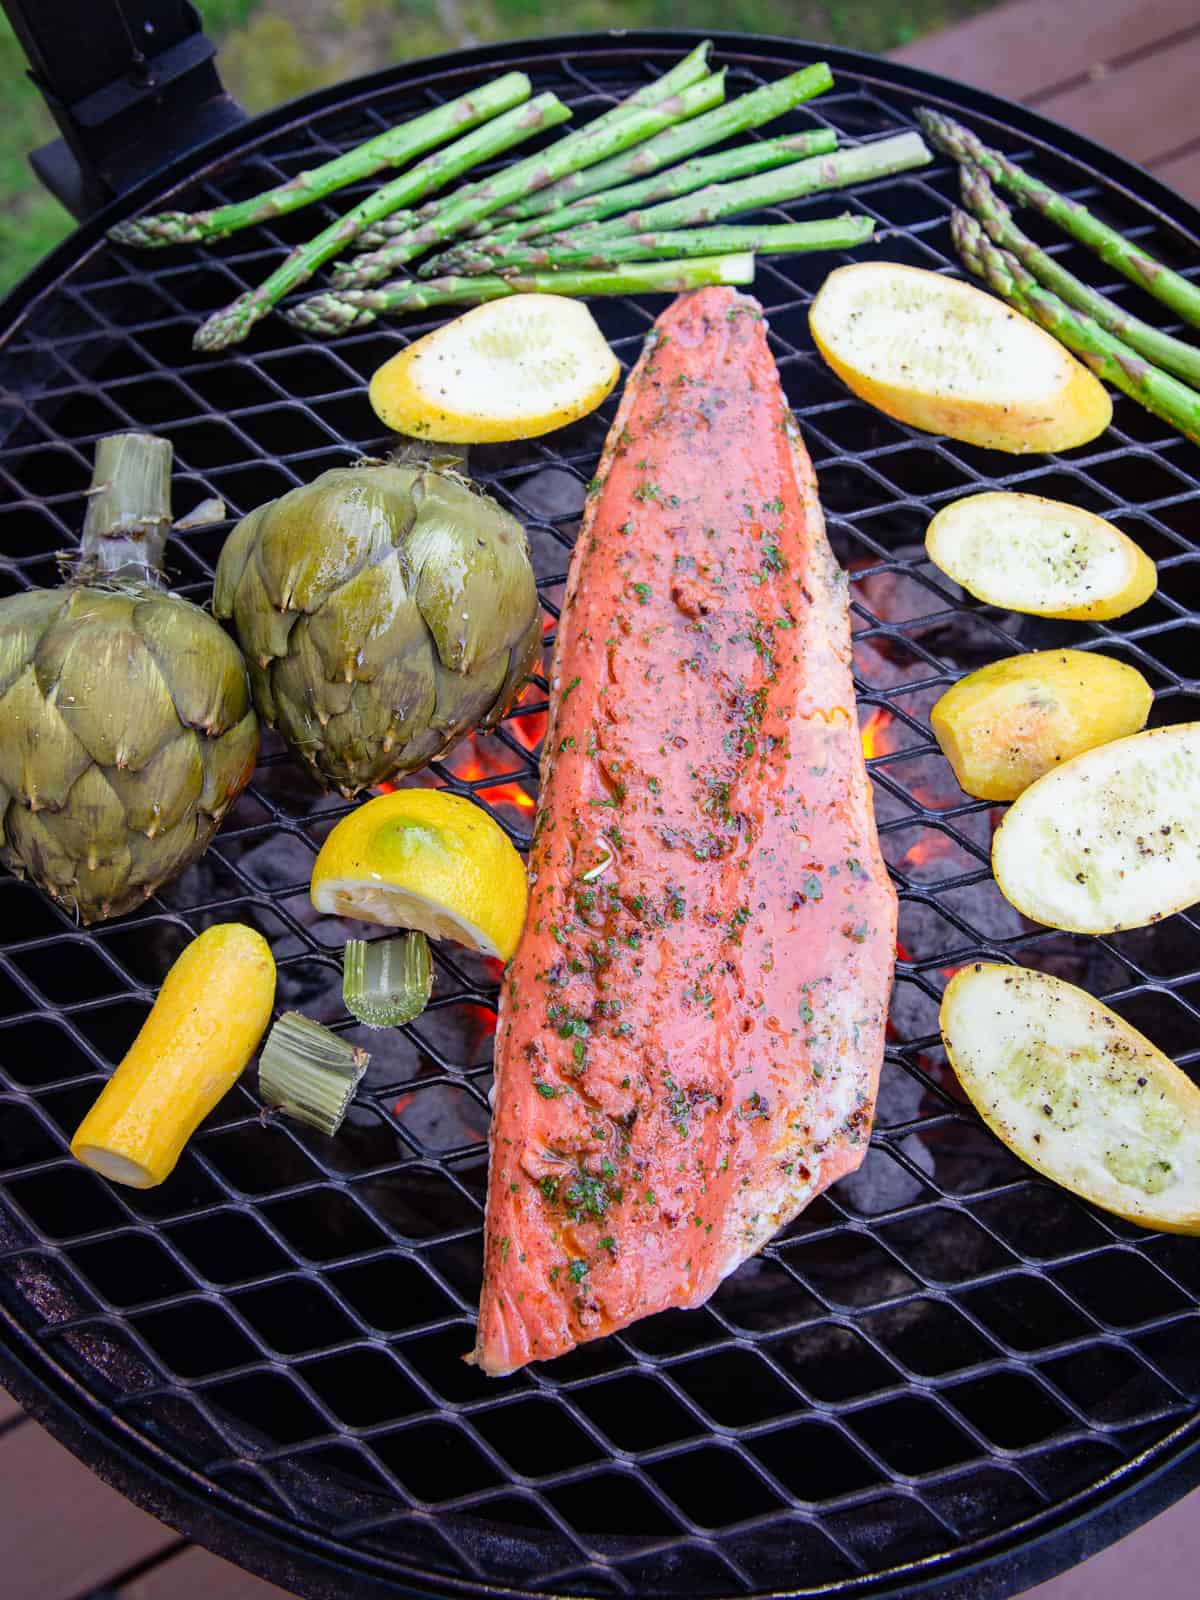
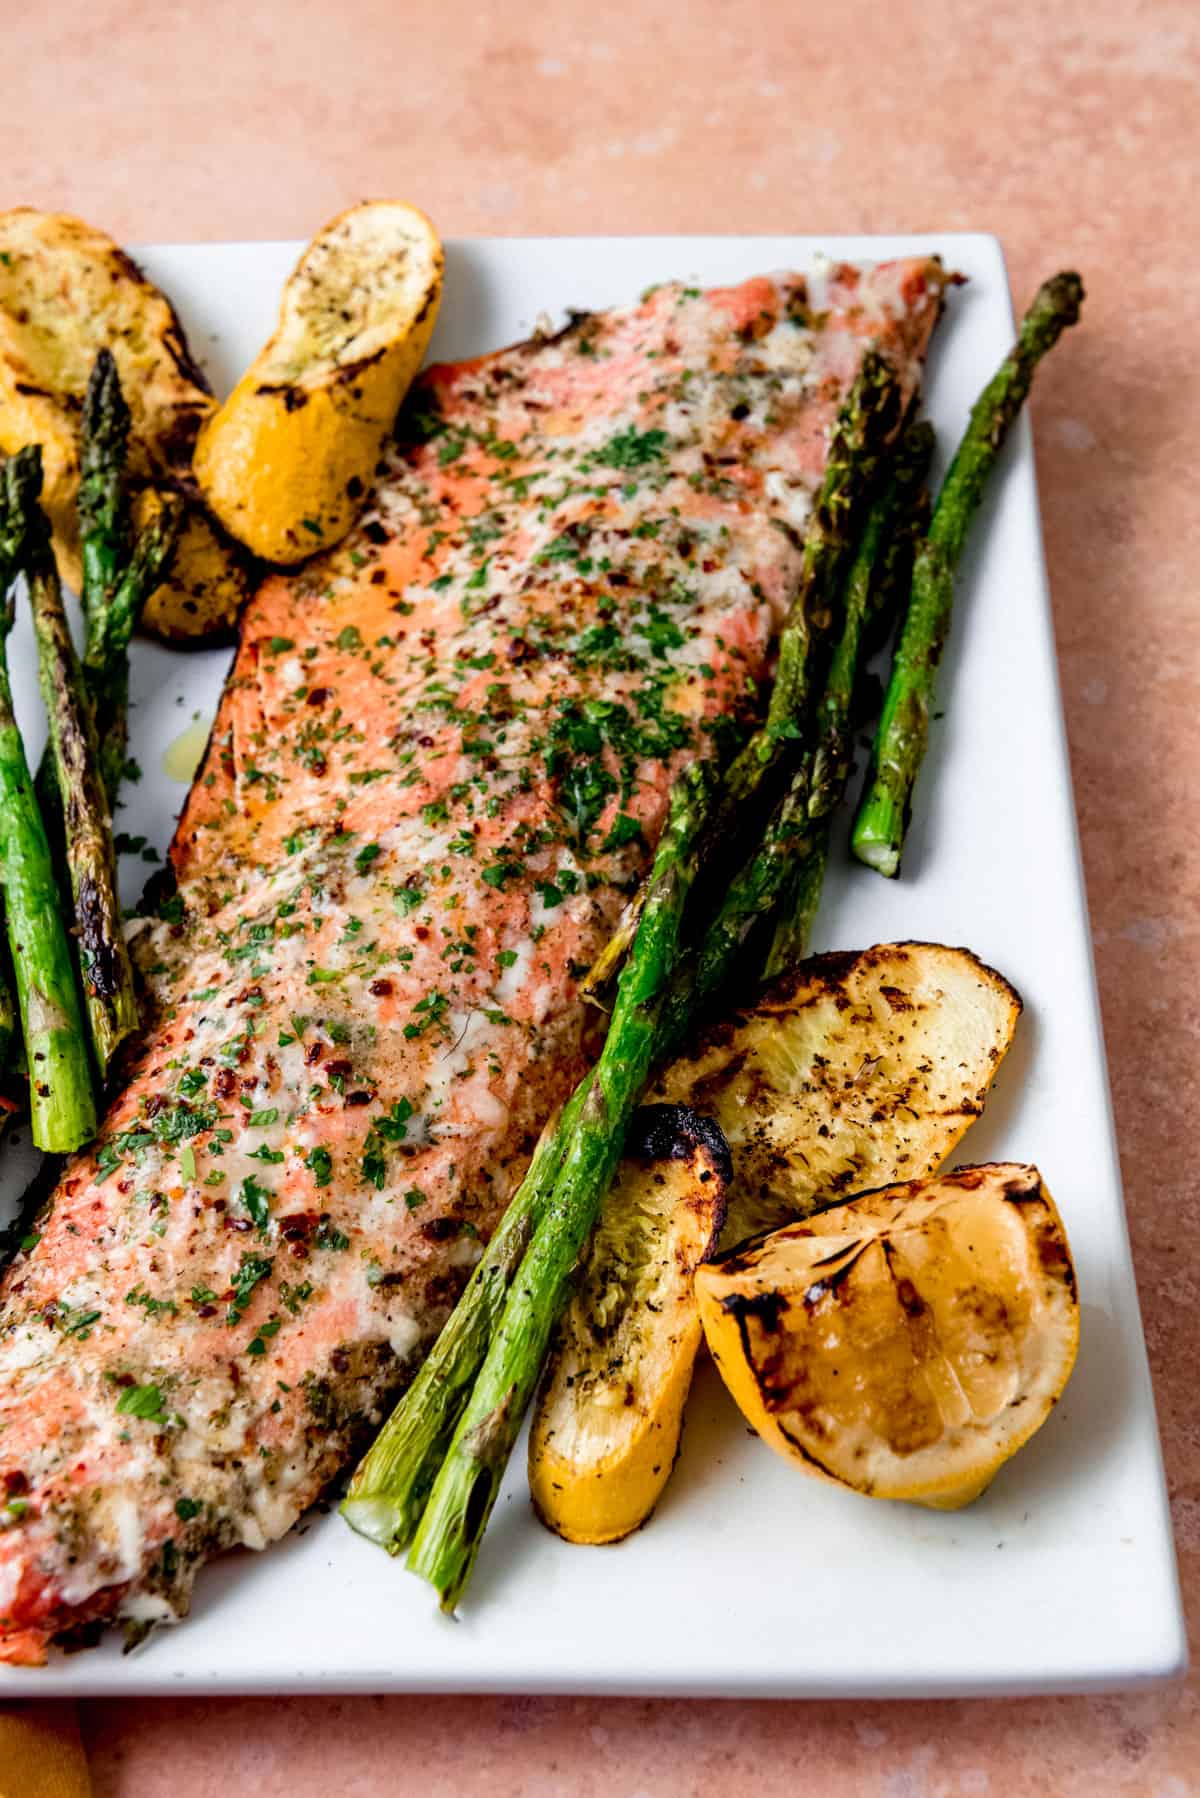
And the best part is that it only takes 20 minutes! Serve agrodolce with grilled salmon, grilled steak or simply with crusty bread to soak every sweet and tangy bite.
📋 Ingredients
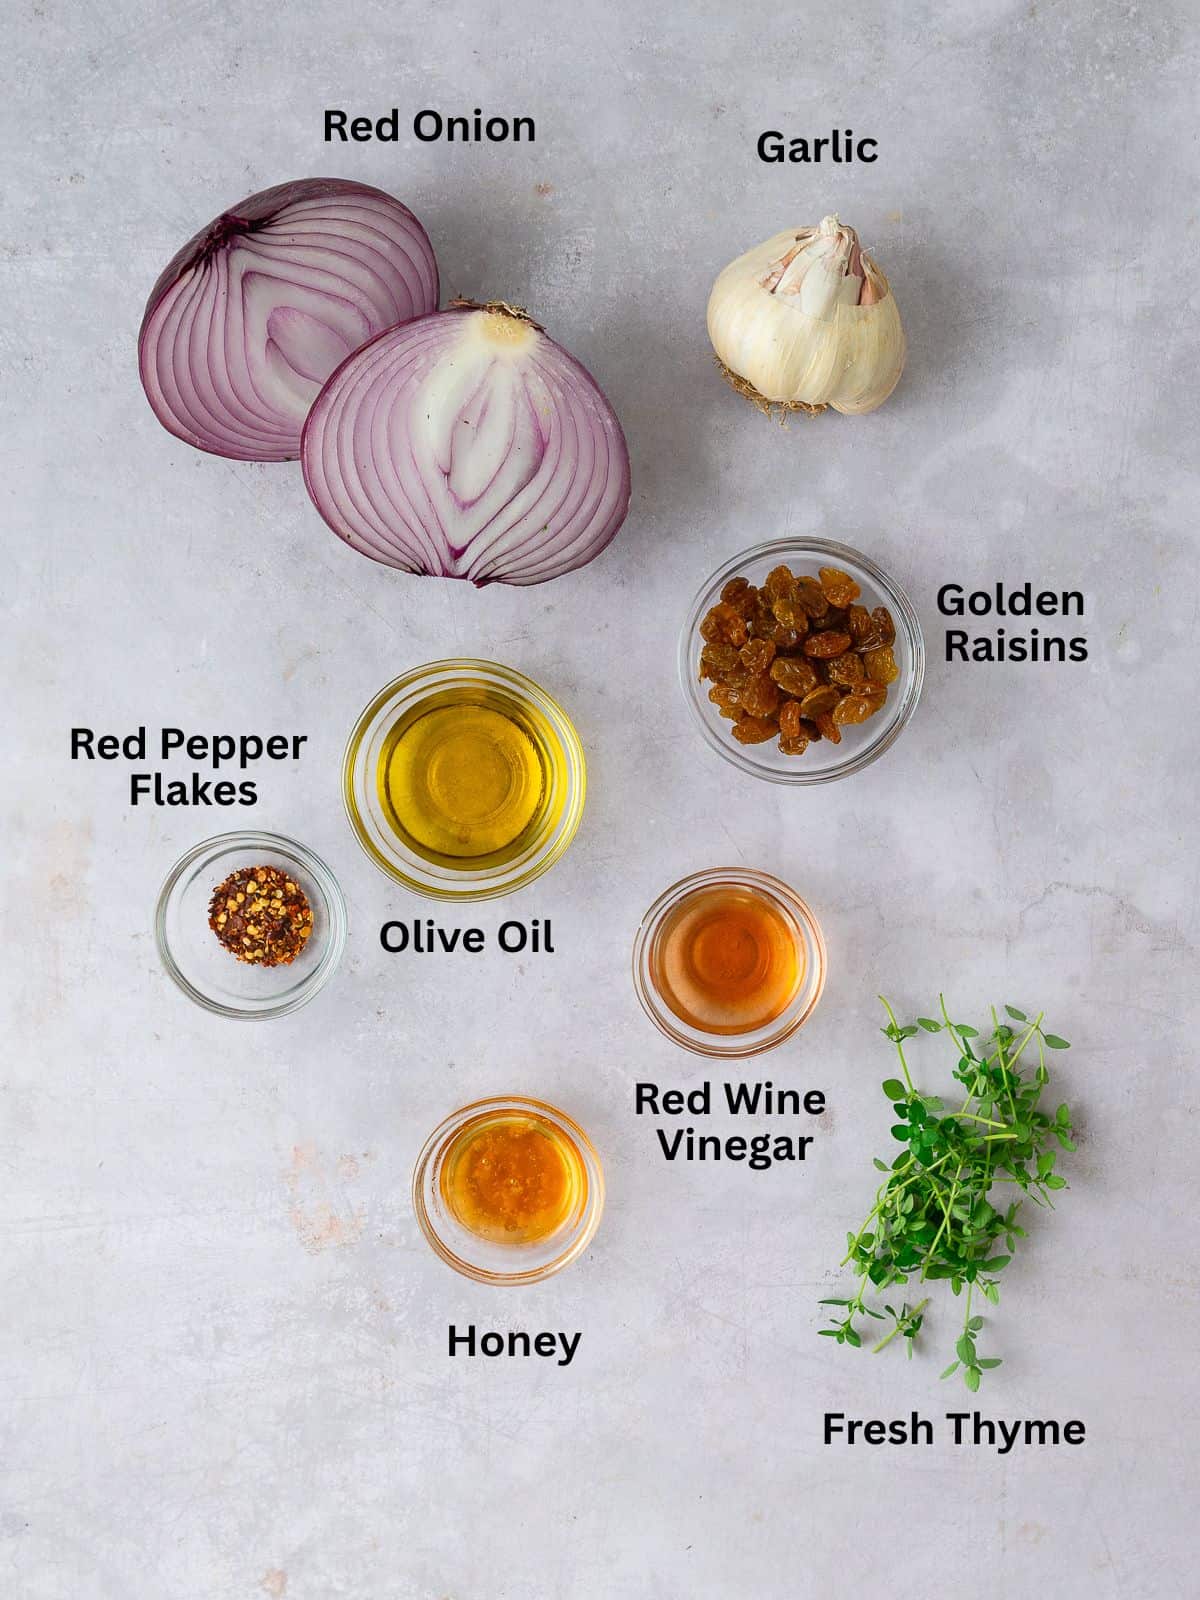
- Red Onions: Red onions are sweet and become wonderfully tender while holding their shape.
- Garlic: Fresh garlic adds a savory layer of flavor that works so well with the honey and onions. Look for garlic bulbs with tight cloves for the best flavor.
- Golden Raisins: Golden raisins are little bursts of sweetness throughout the agrodolce that become soft and plump as they're cooked.
- Honey: Honey adds a delicious sweetness and a glossy consistency to the agrodolce.
- Fresh Thyme: Thyme adds an earthy, aromatic note that complements the sweet red onions well. Fresh parsley or rosemary would also be delicious.
- Red Wine Vinegar: This is what gives the agrodolce its signature tang. Added toward the end of cooking, the vinegar brightens the agrodolce and balances its sweetness.
See recipe card for full information on ingredients and quantities.
🍋 Substitutions and Variations
Use Different Onions
- Sweet onions
- Shallots
- Cipollini onions
- Pearl onions
Try Different Fruits
- Dried figs
- Chopped dates
- Dried apricots
- Fresh cherries, peaches, nectarines, or other stone fruit
Make It Your Own
- Add maple syrup instead of honey.
- Swap in sherry vinegar or white balsamic vinegar.
- Add toasted pine nuts, chopped pistachios or slivered almonds for crunch.
- Stir in Aleppo pepper, Calabrian chiles or hot honey for extra heat.
- Instead of thyme, substitute with fresh rosemary or parsley.
⏲️ Instructions
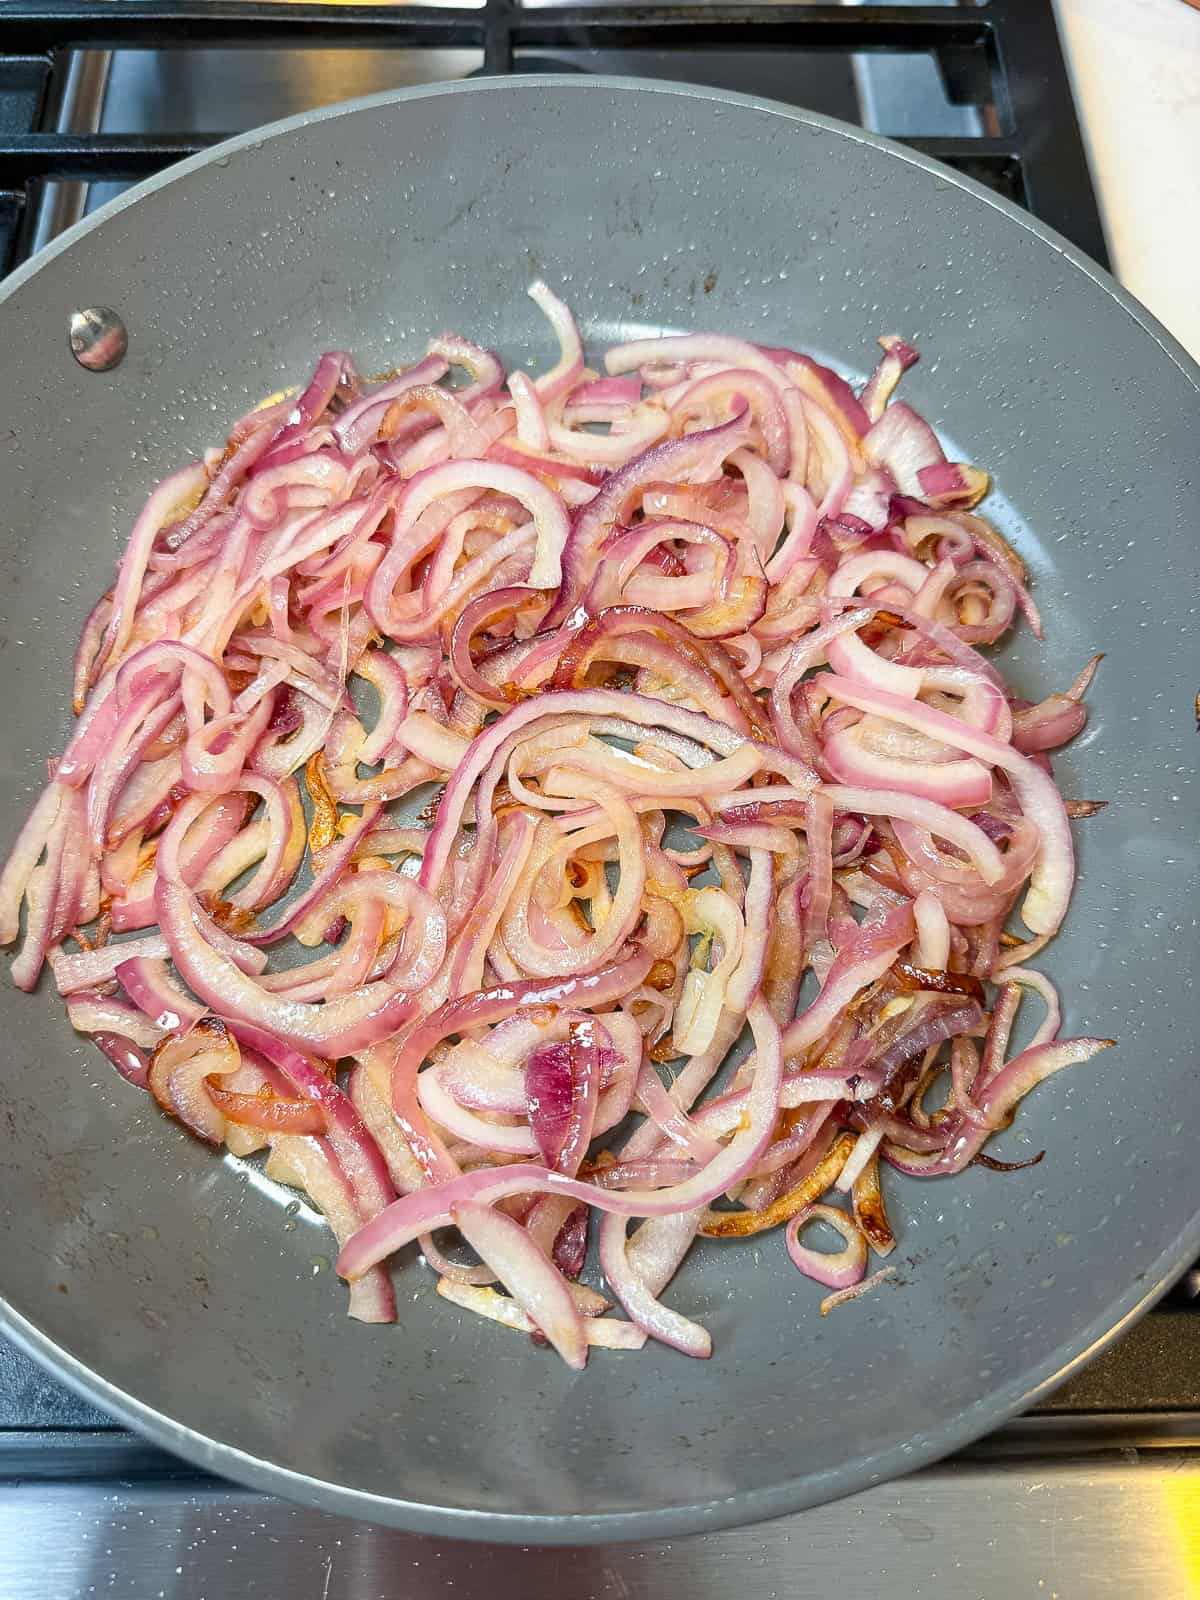
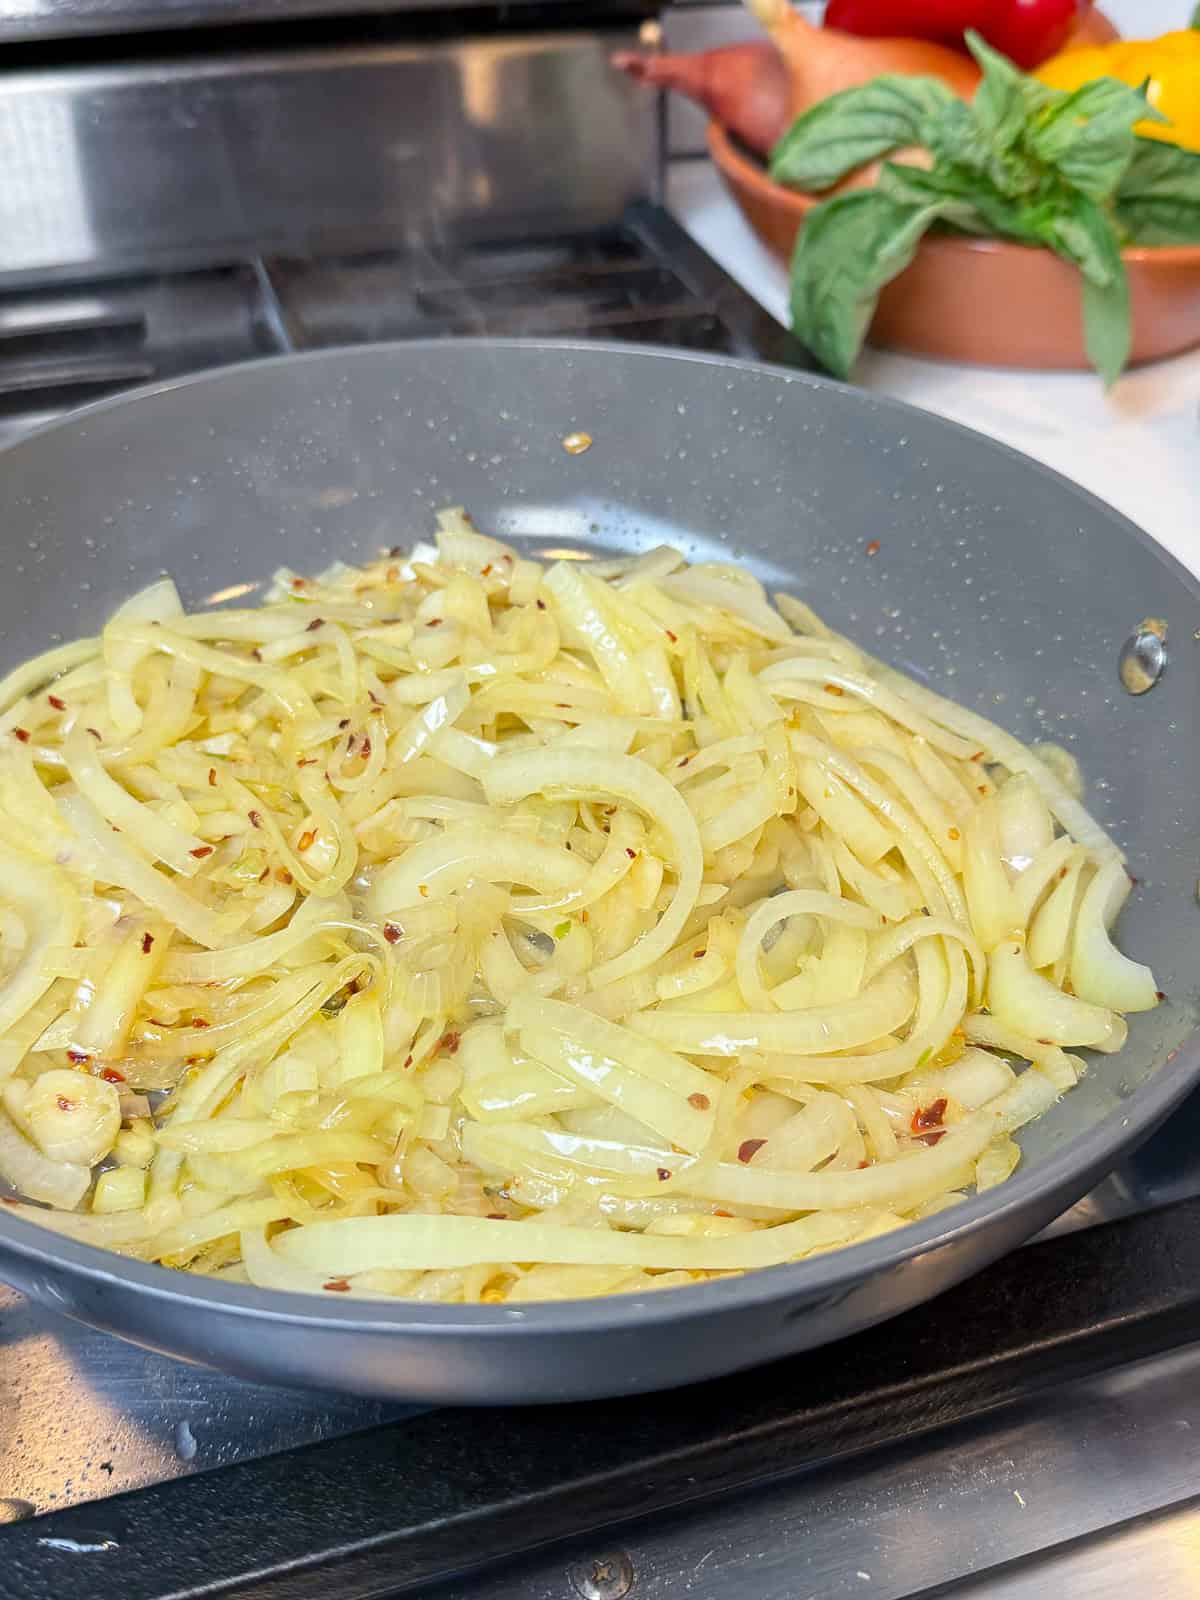
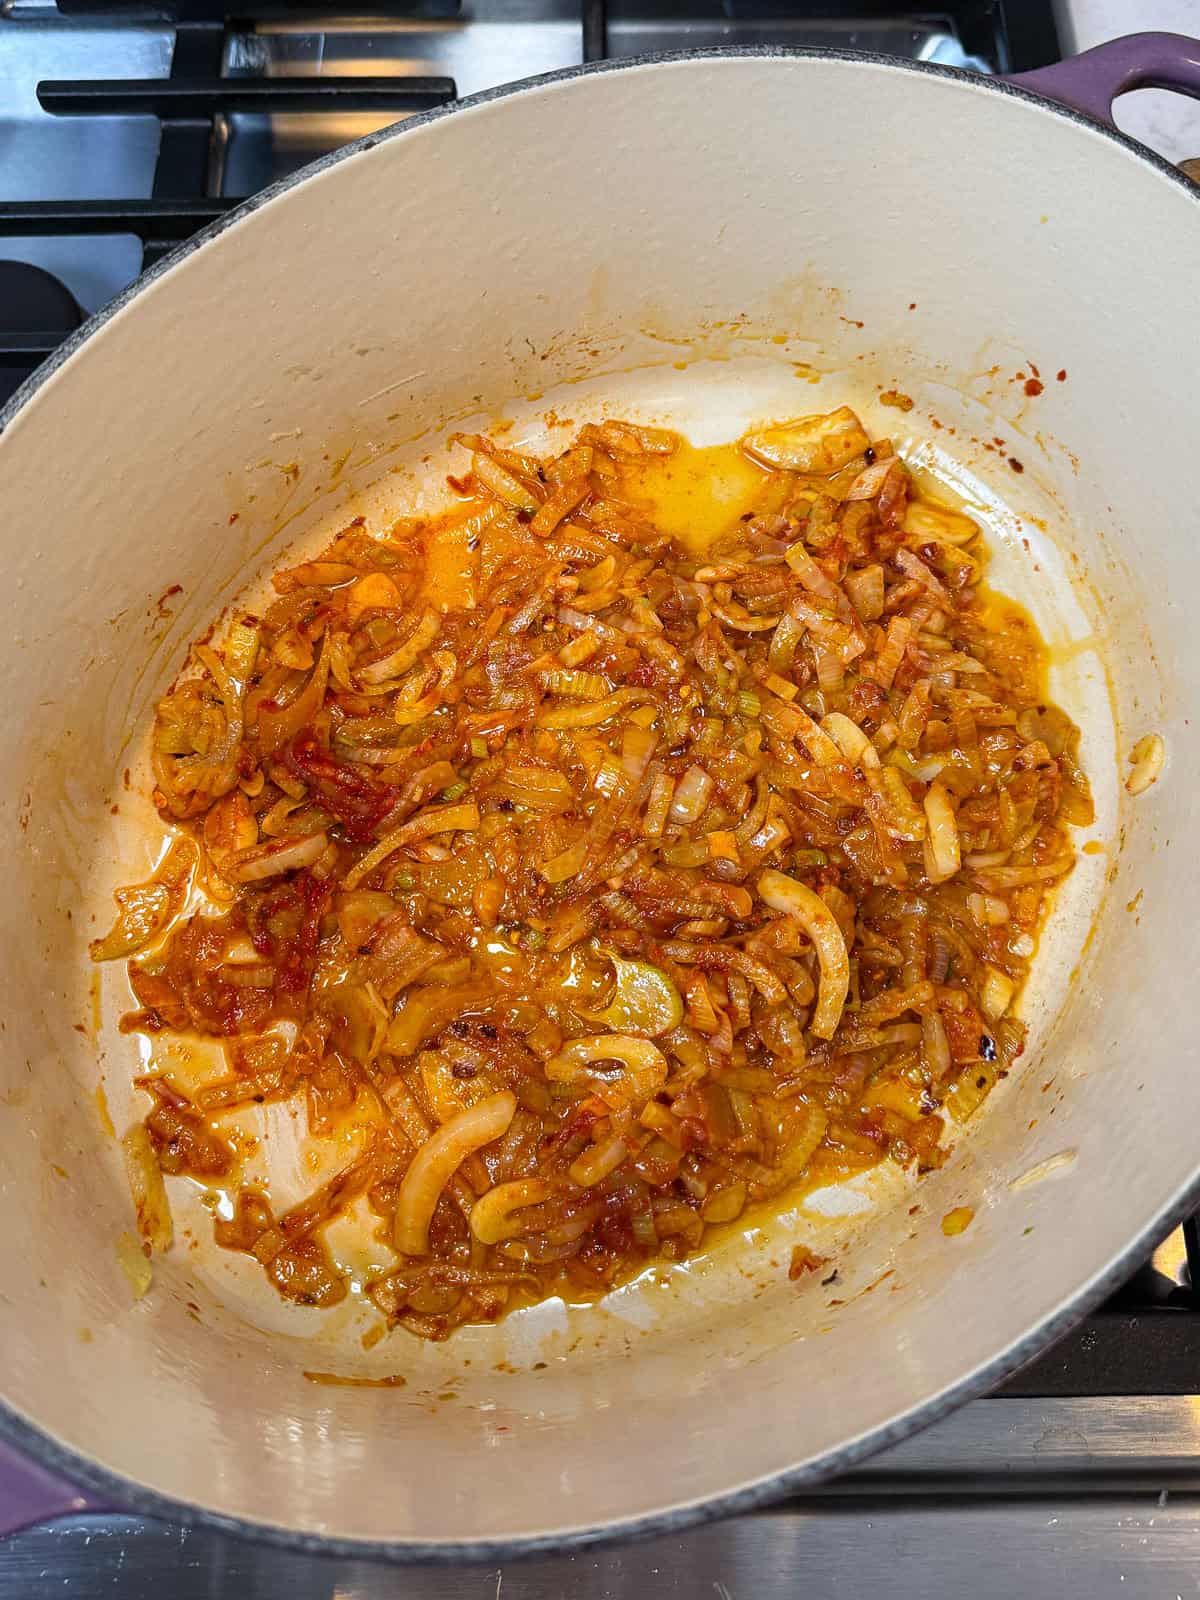
Saute the Onions. Add the sliced red onions to olive oil and sauté until they begin to soften. This gives the onions a head start while still holding their shape.
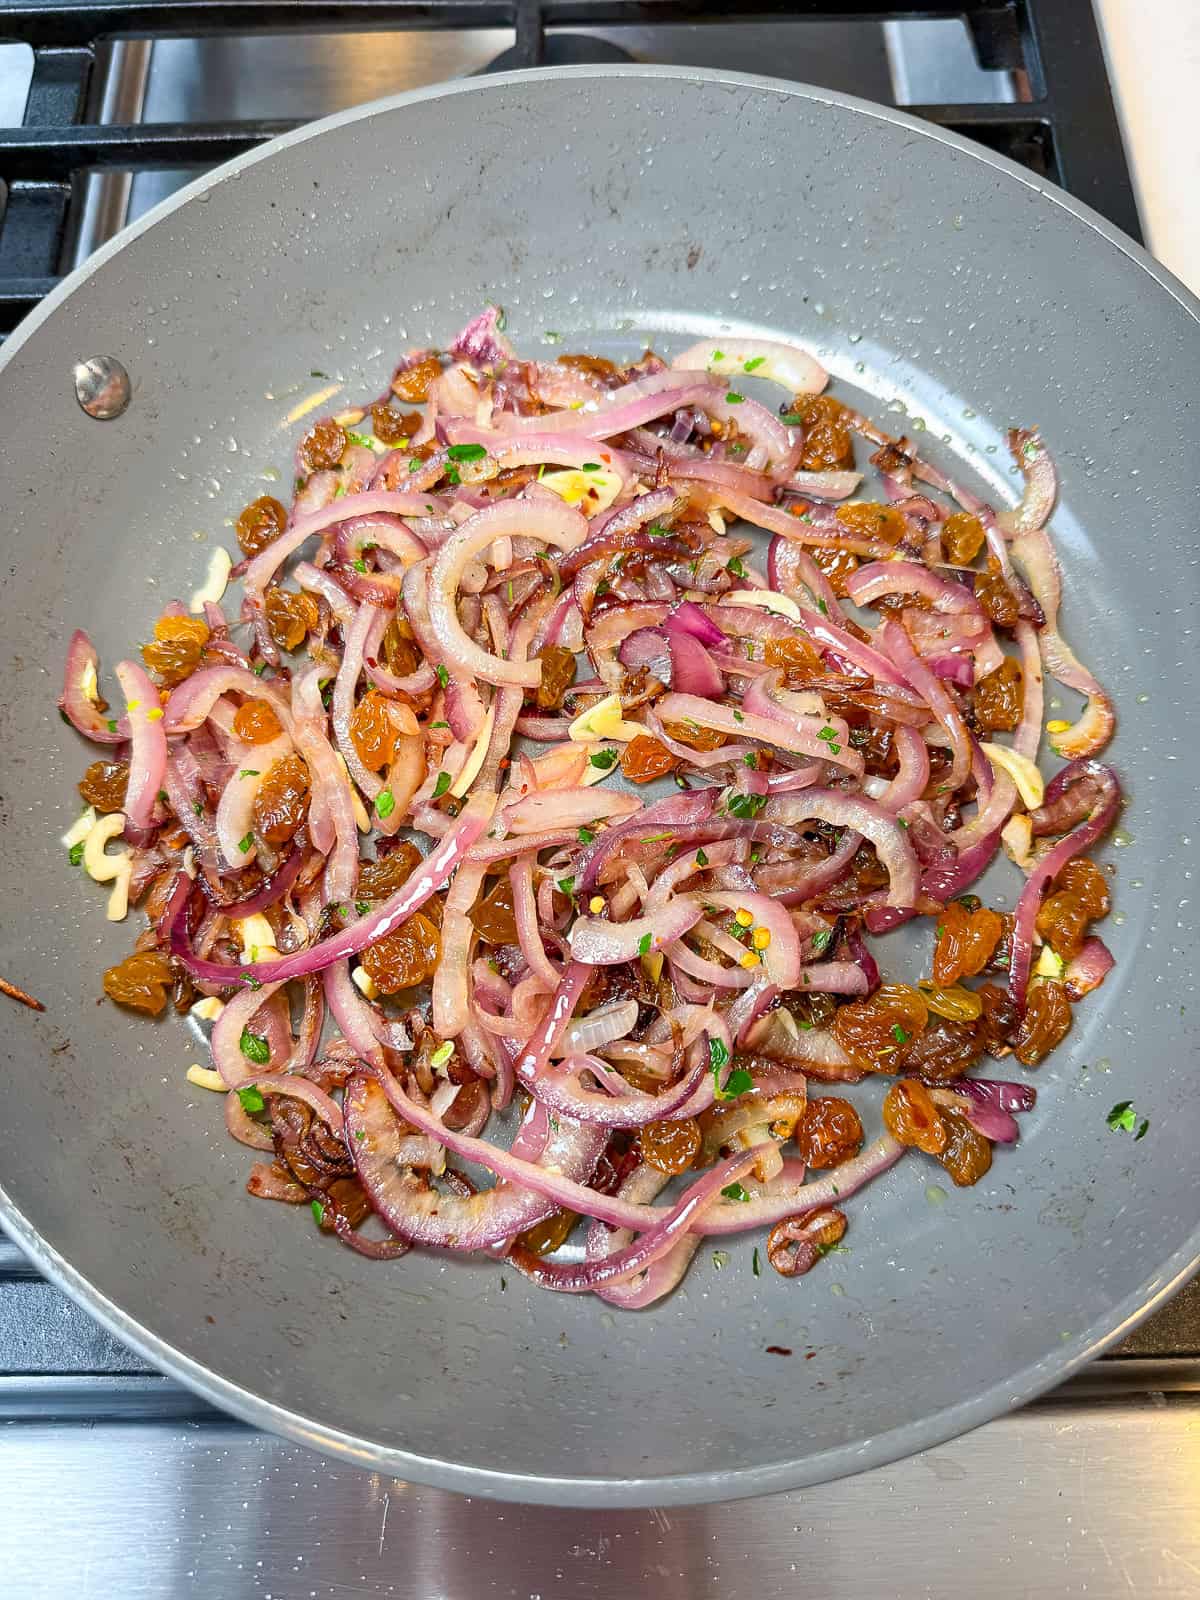
Add the aromatics. Stir in the sliced garlic, red pepper flakes, golden raisins, and fresh thyme. Continue cooking until the garlic is fragrant and the raisins begin to soften.
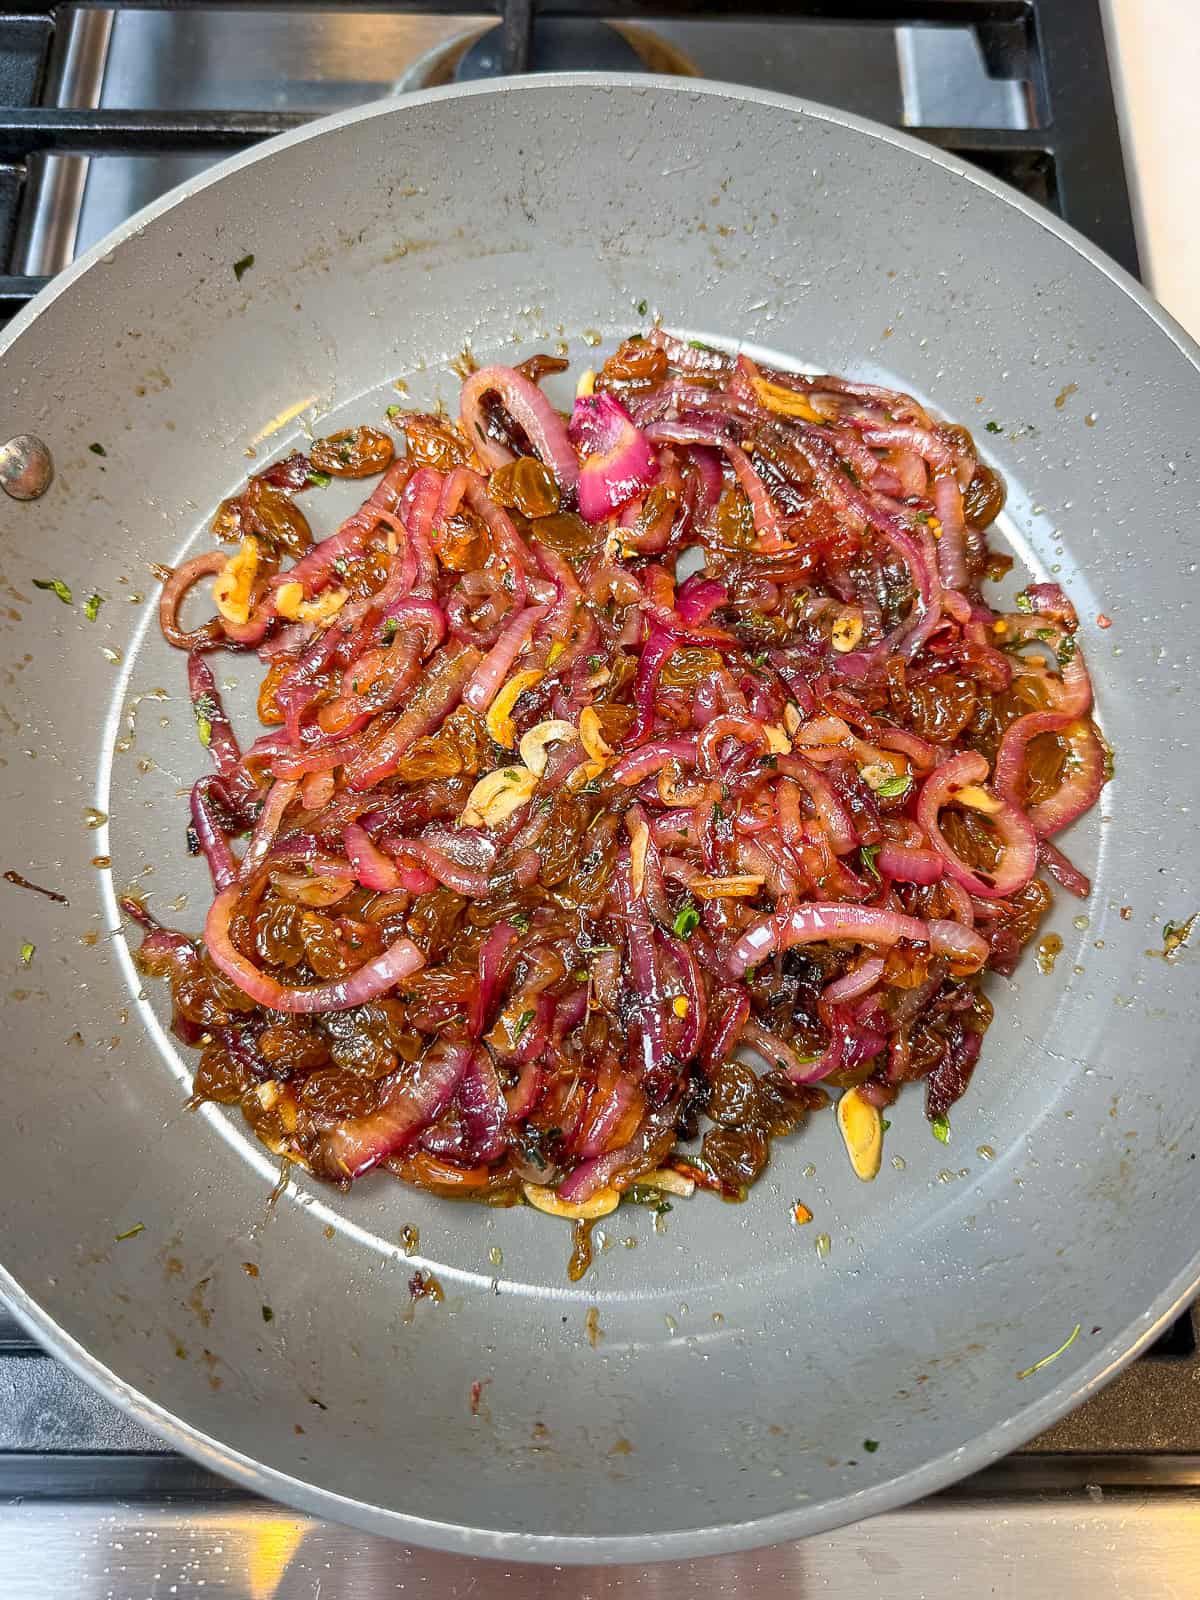
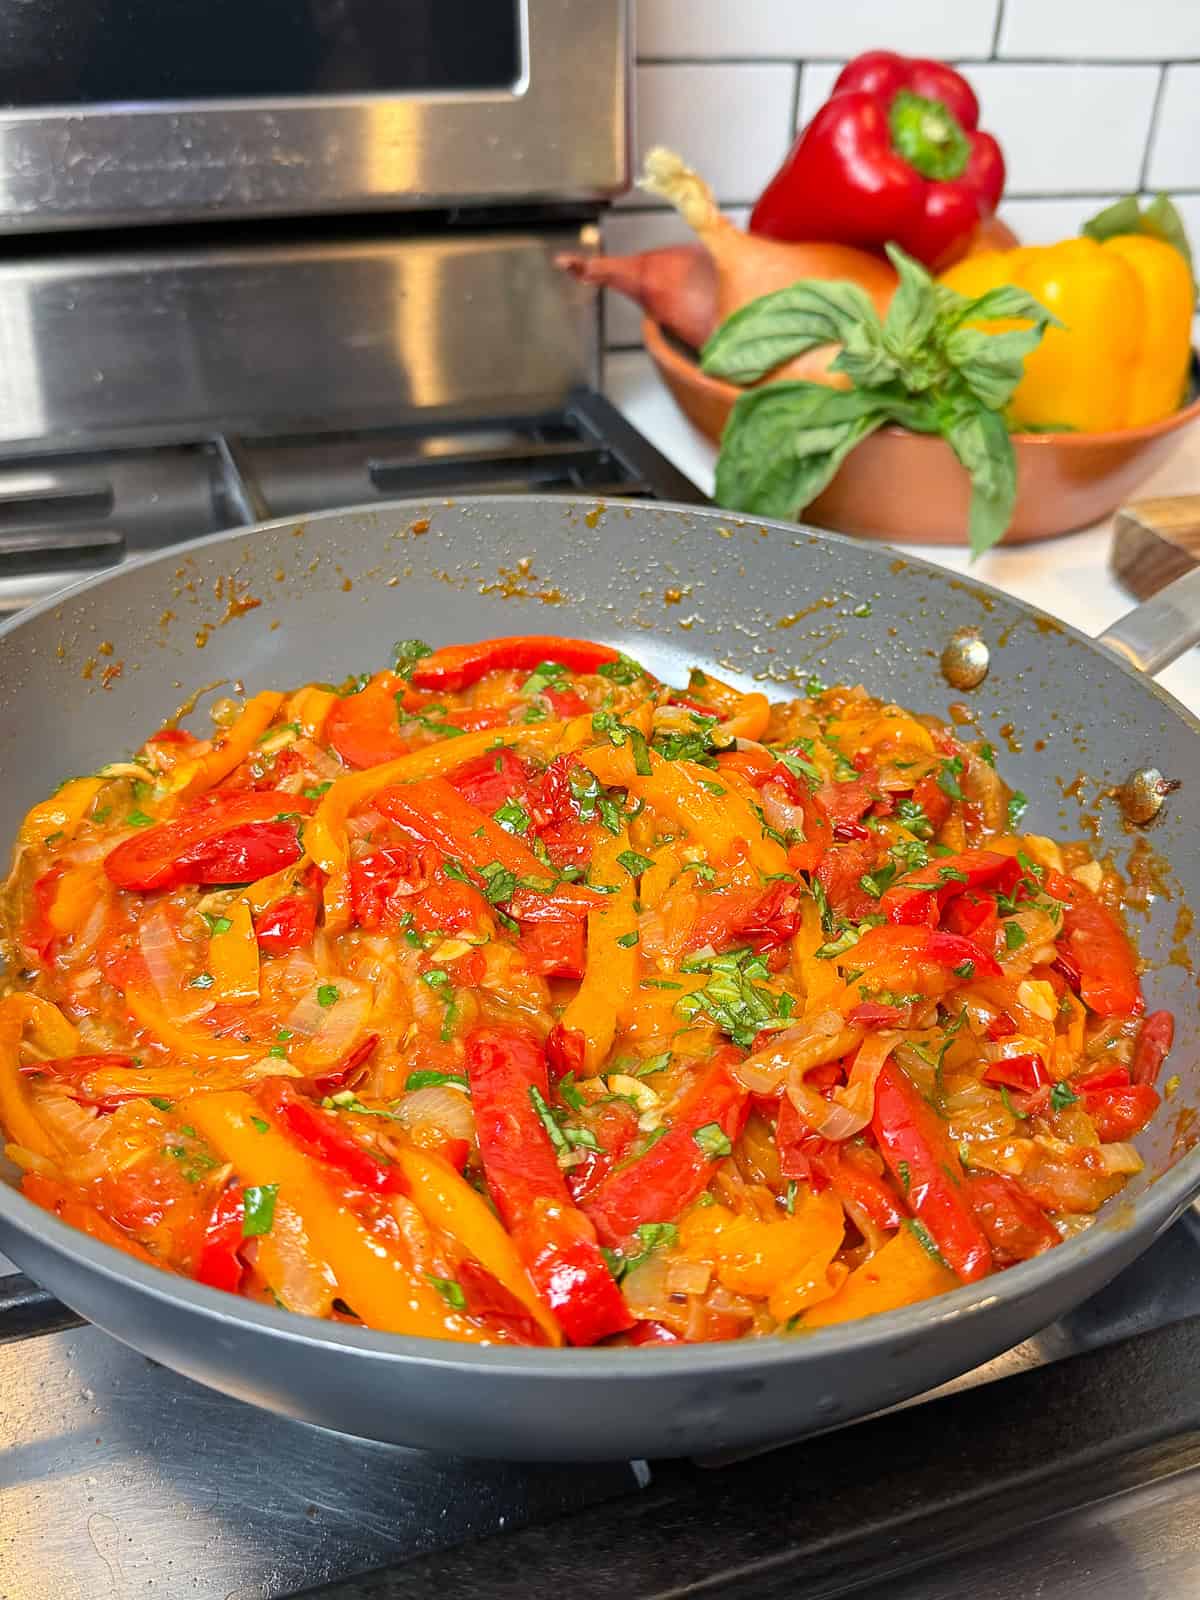
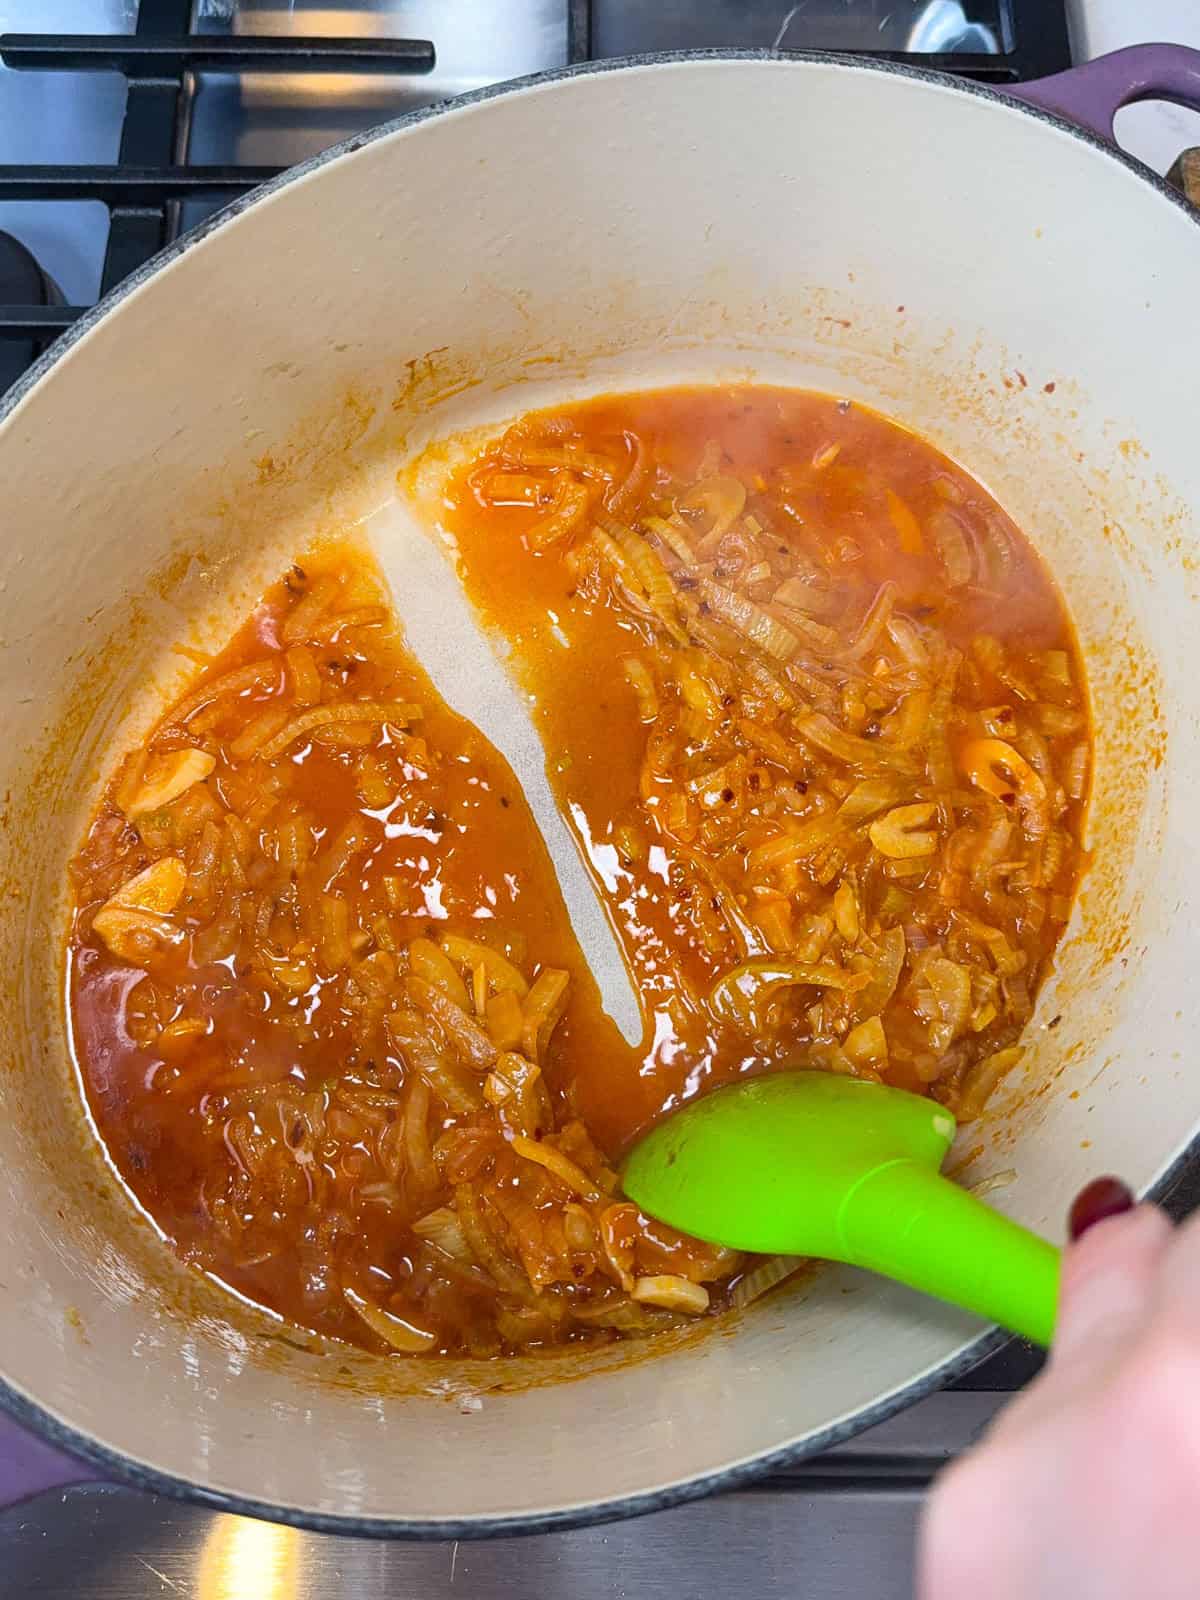
Saute until glossy. Add the honey and red wine vinegar, then continue cooking until the onions become tender, and coated in the sweet and tangy glaze.
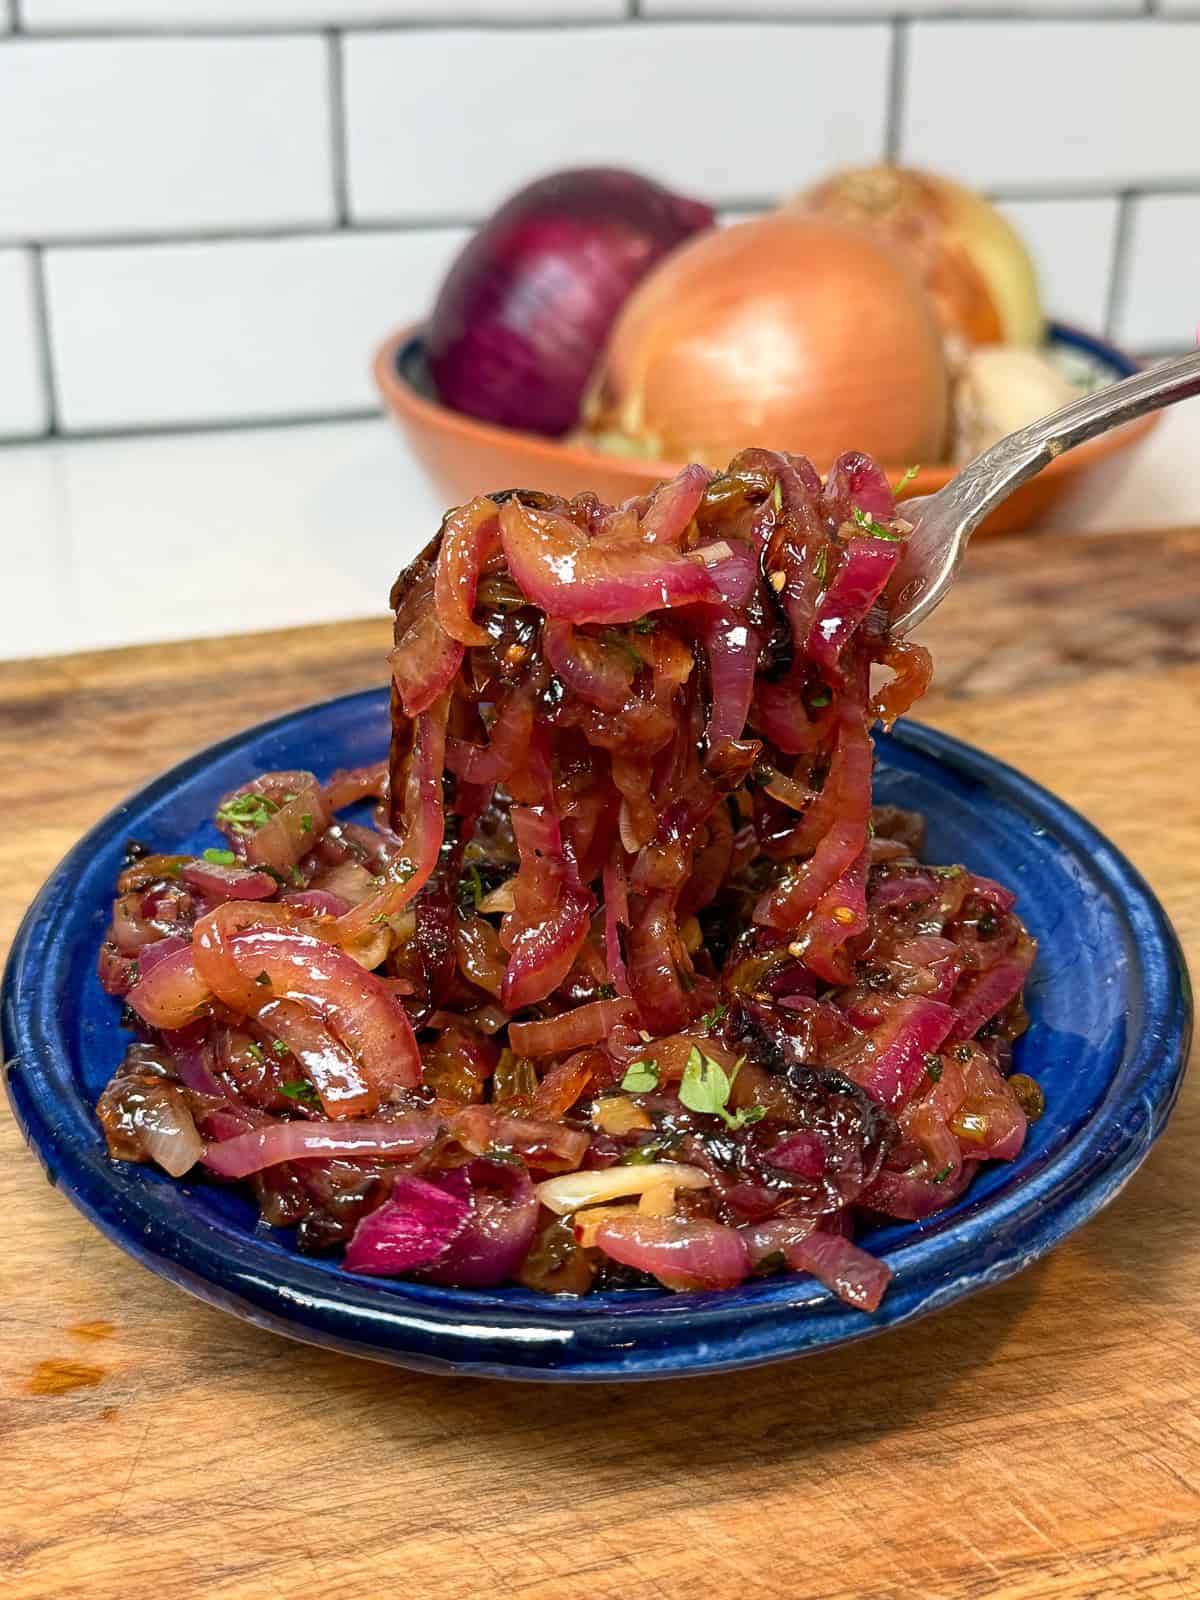
Serve. Transfer the onion agrodolce to a serving bowl and garnish with fresh thyme. Serve warm or at room temperature with grilled meats, seafood, vegetables, or crusty bread.
📍 Recipe Tips
- Slice the onions evenly: Slice the onions about ¼ inch thick so they hold their shape when sautéed.
- Add vinegar at the end: Stir in the red wine vinegar during the last minute of cooking to keep things bright and tangy.
- Adjust taste as needed: Add another drizzle of honey or red pepper flakes for heat or if you prefer a tangier flavor, add another splash of vinegar.
- Serve warm or at room temperature: Onion agrodolce is delicious at any temperature.
Serving Suggestions
Sicilian onion agrodolce is a fantastic condiment to serve alongside proteins or as an antipasto. Here are a few ideas:
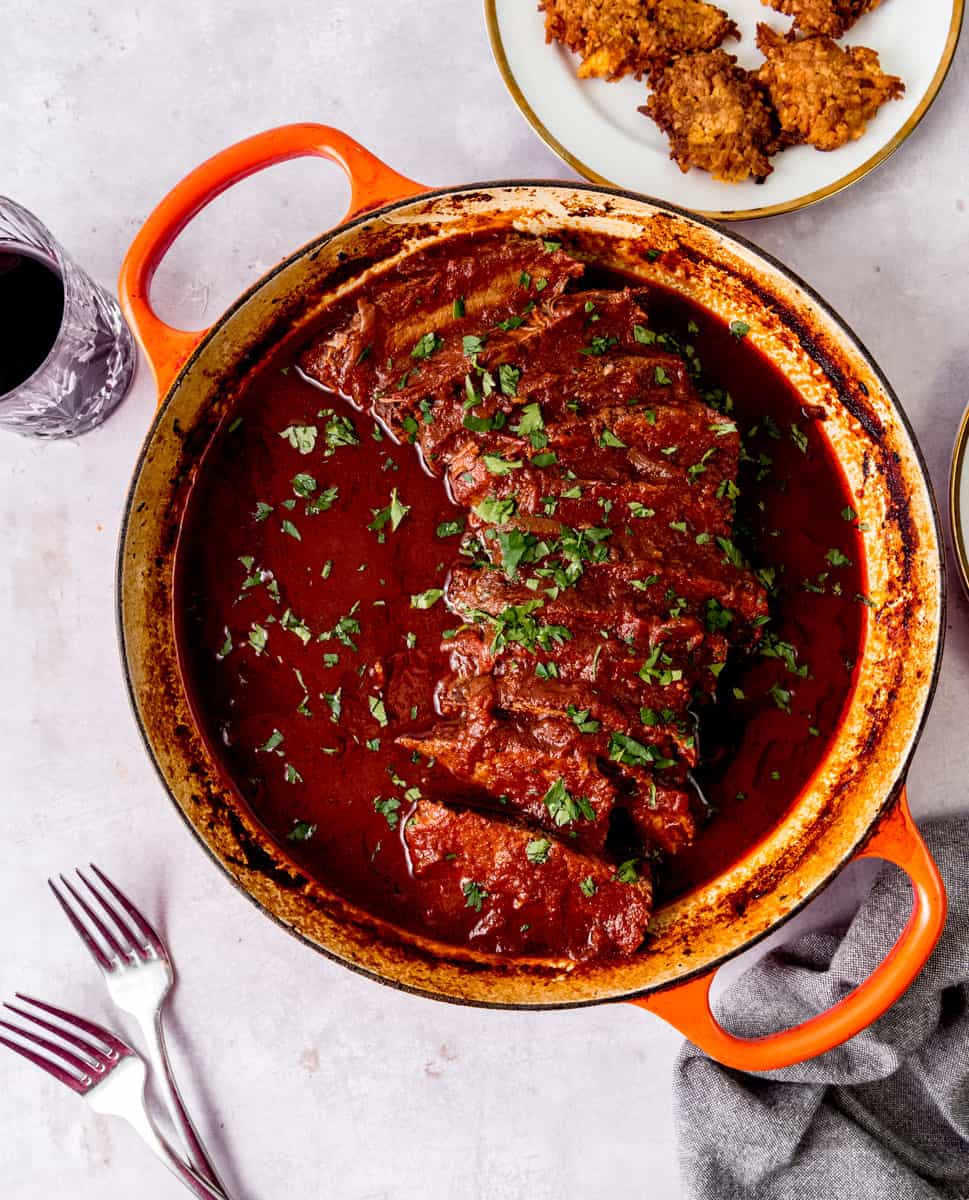
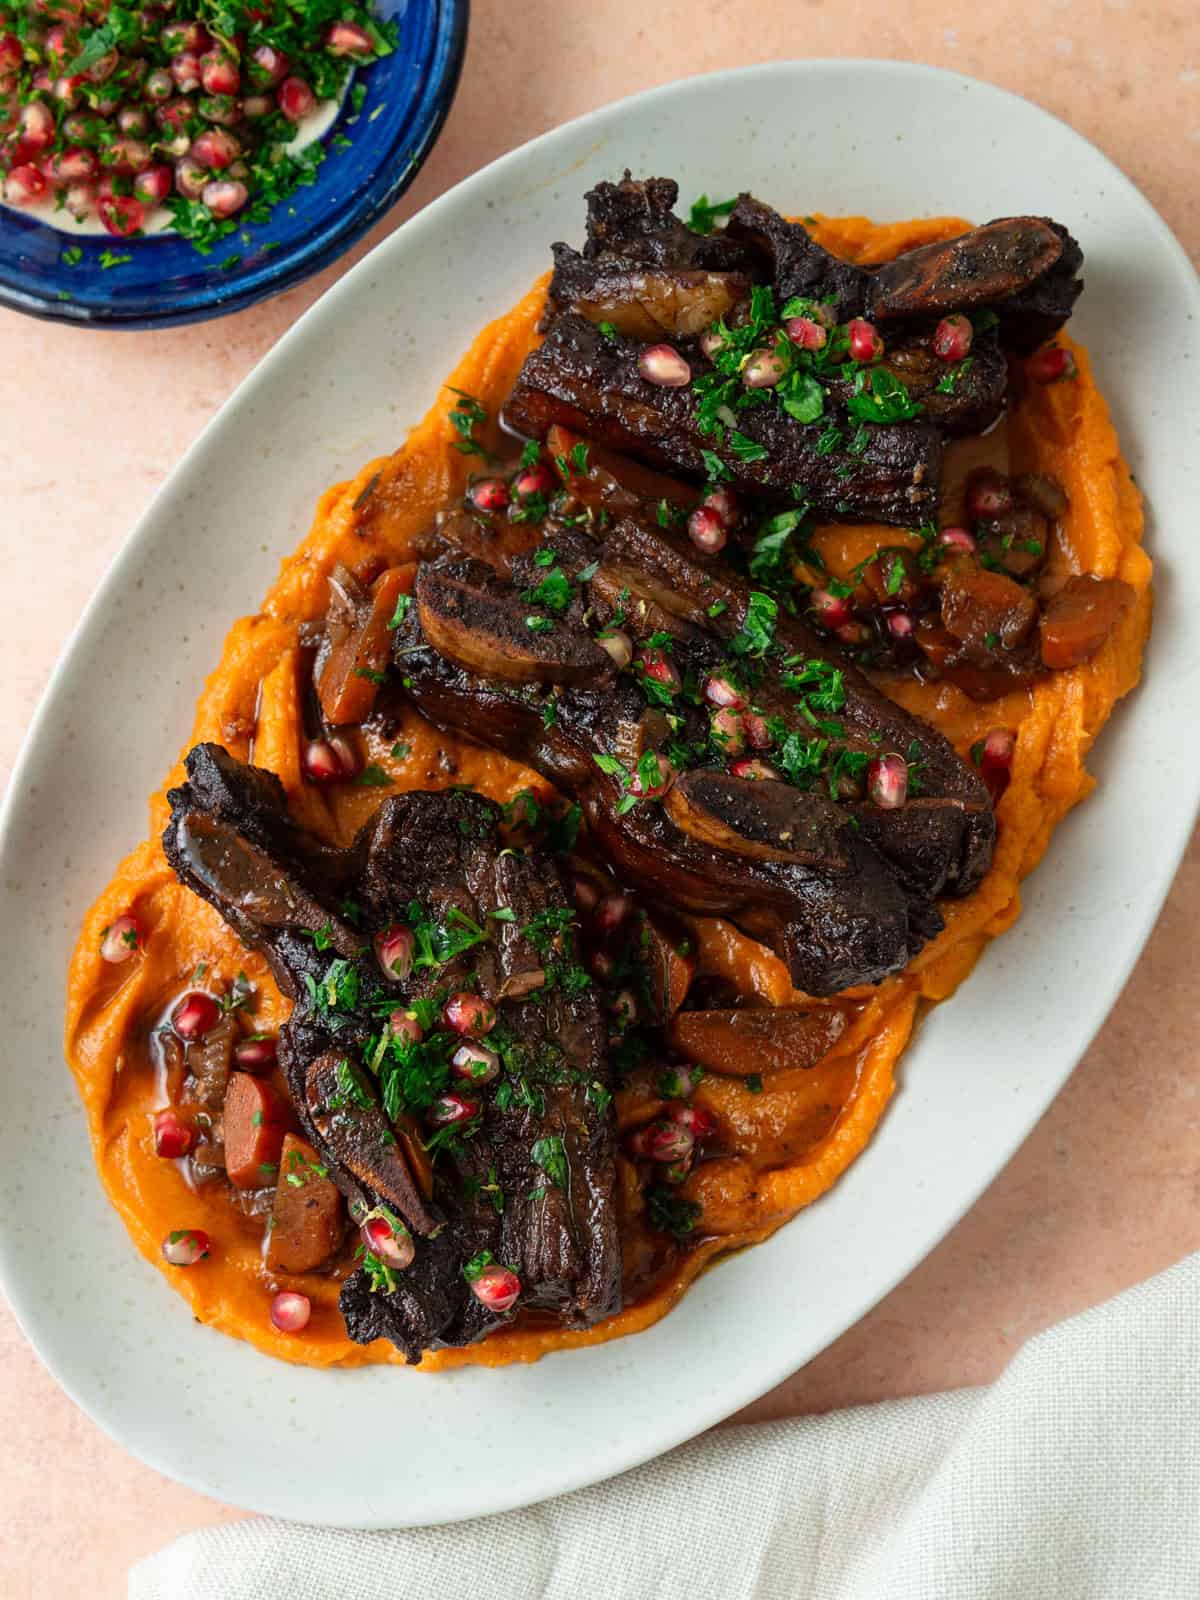
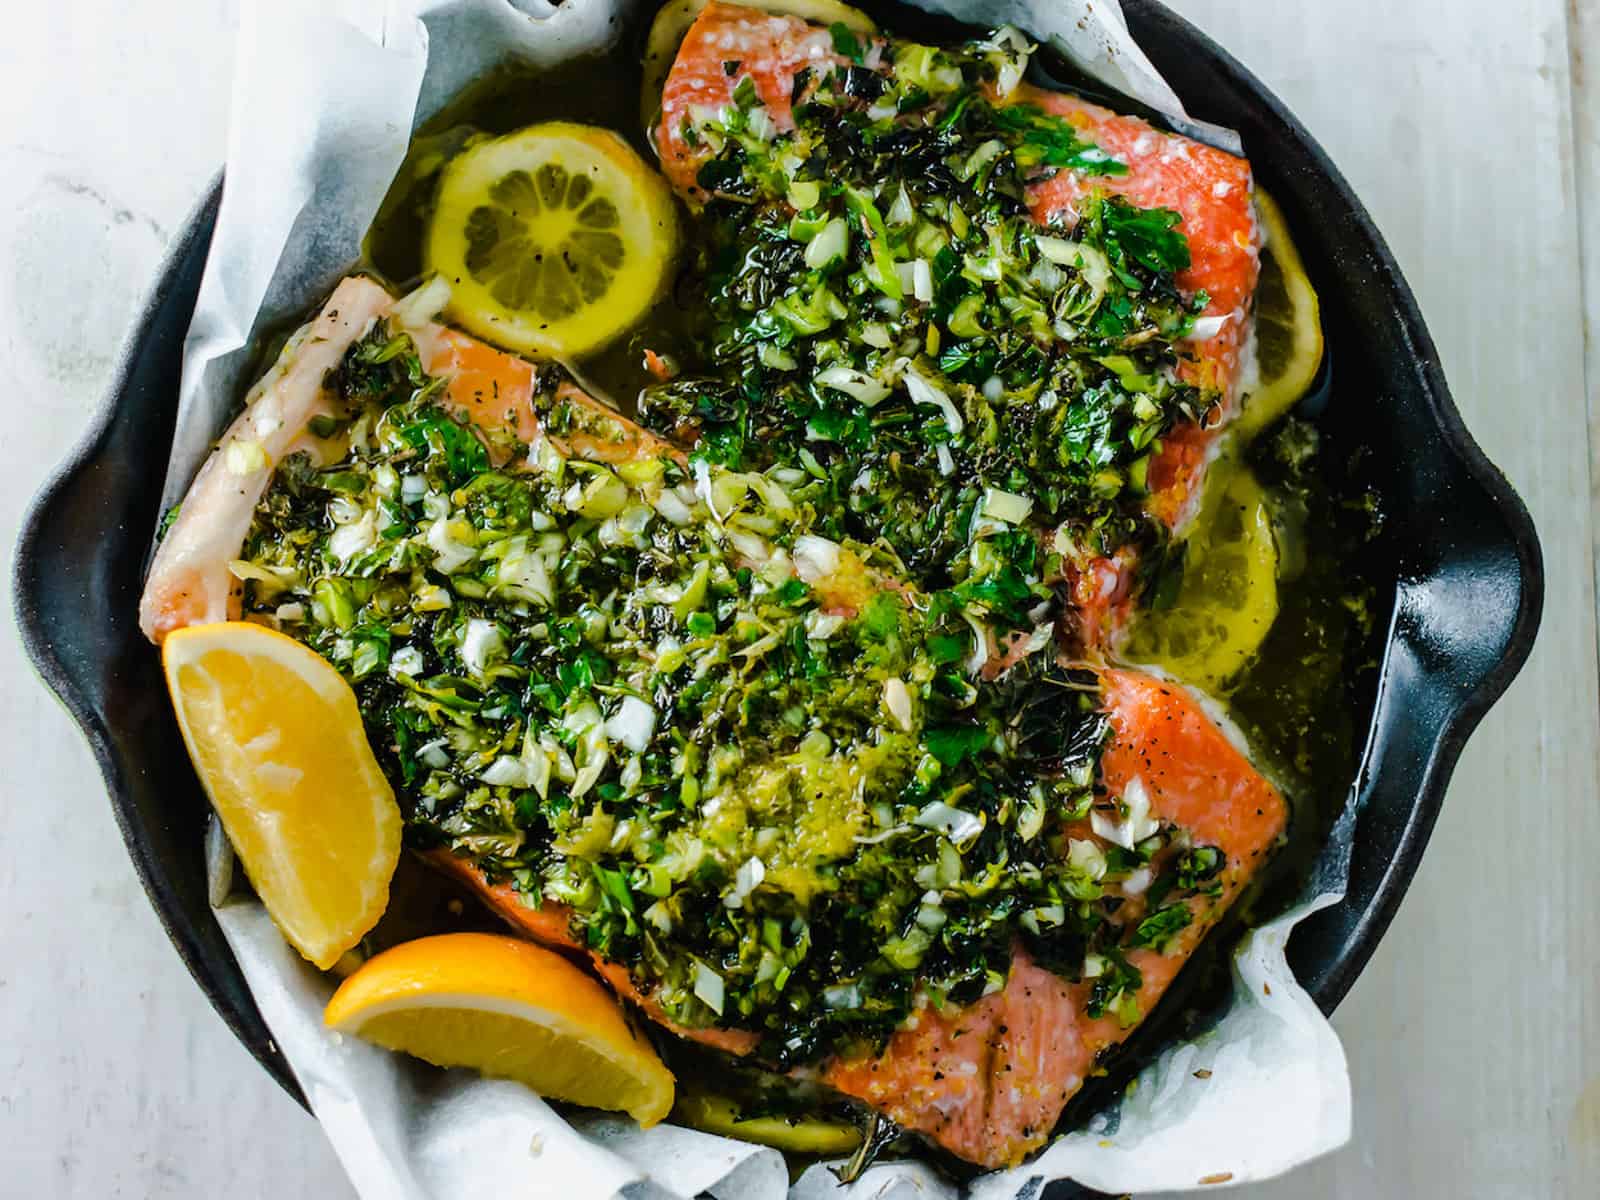
- Over Grilled Salmon
- With Grilled Flank Steak
- Spoon over Seared Pork Chops
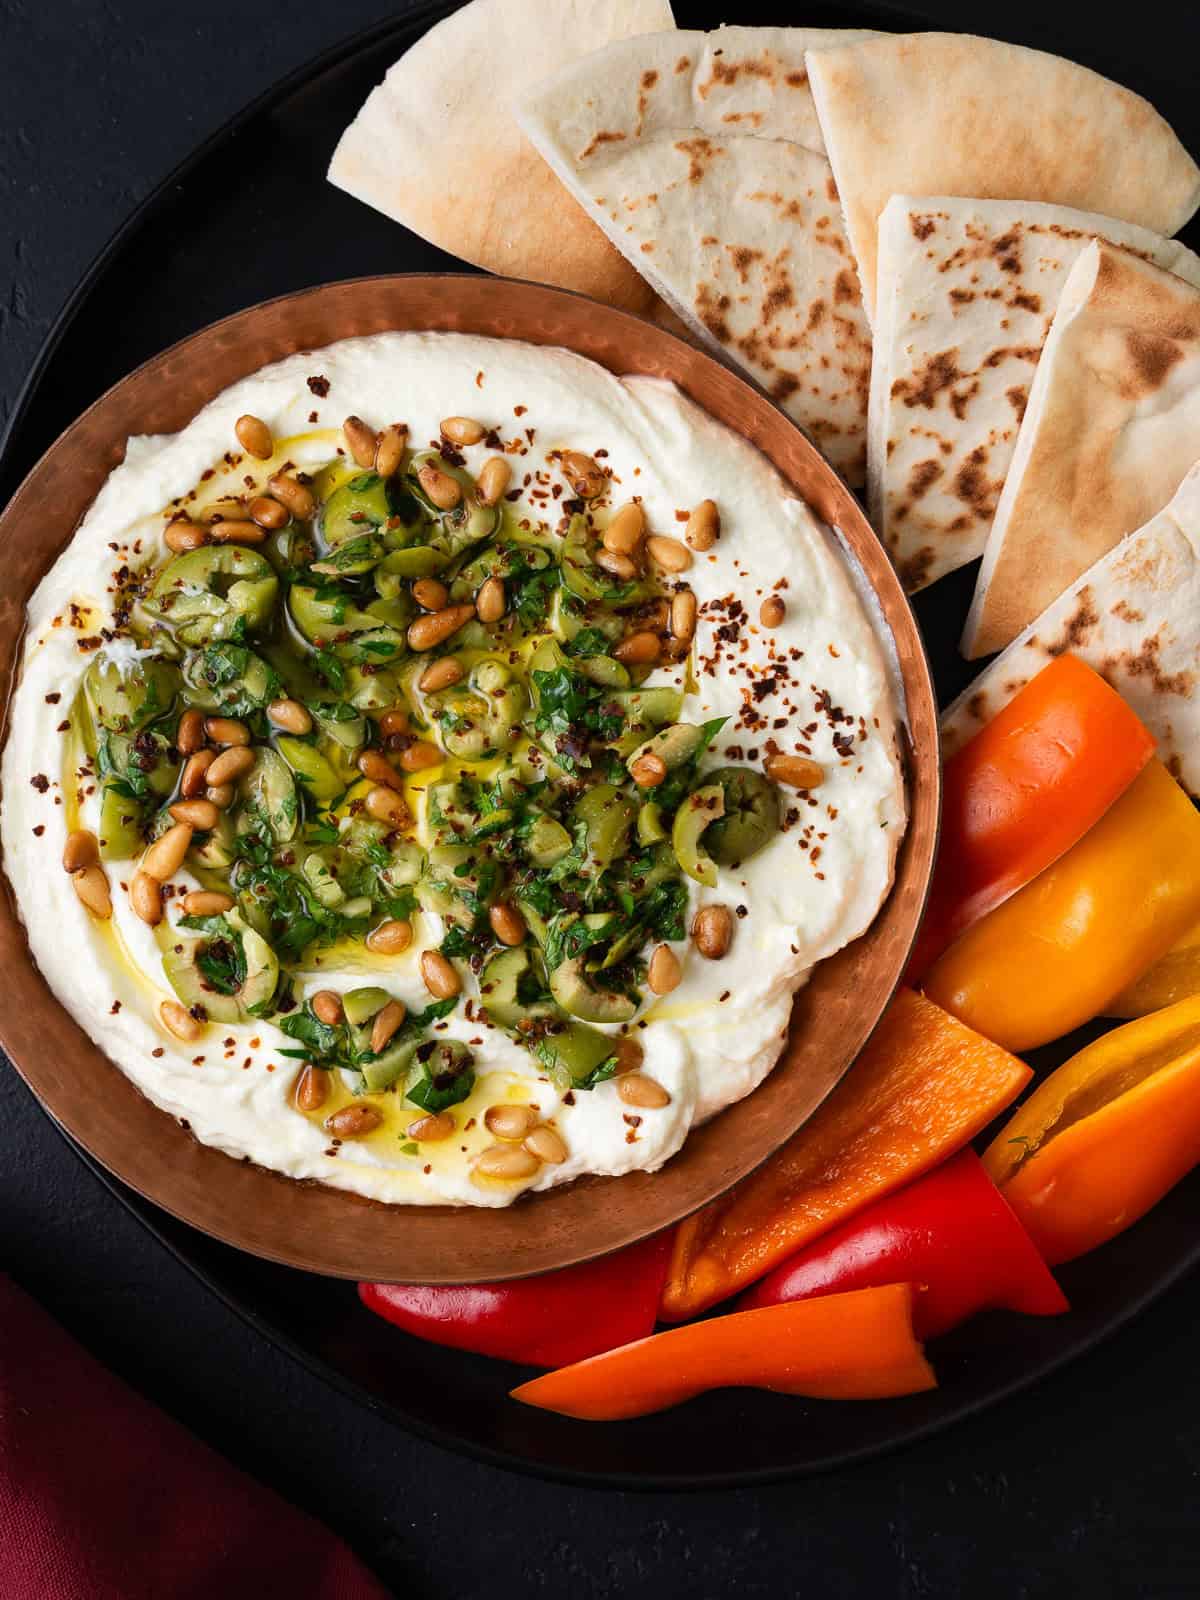
- Serve on toasted crostini with Whipped Feta Dip
- Serve with creamy burrata
- Add to a Beef Milanesa Sandwich or Nicoise Sandwich in place of pickled onions
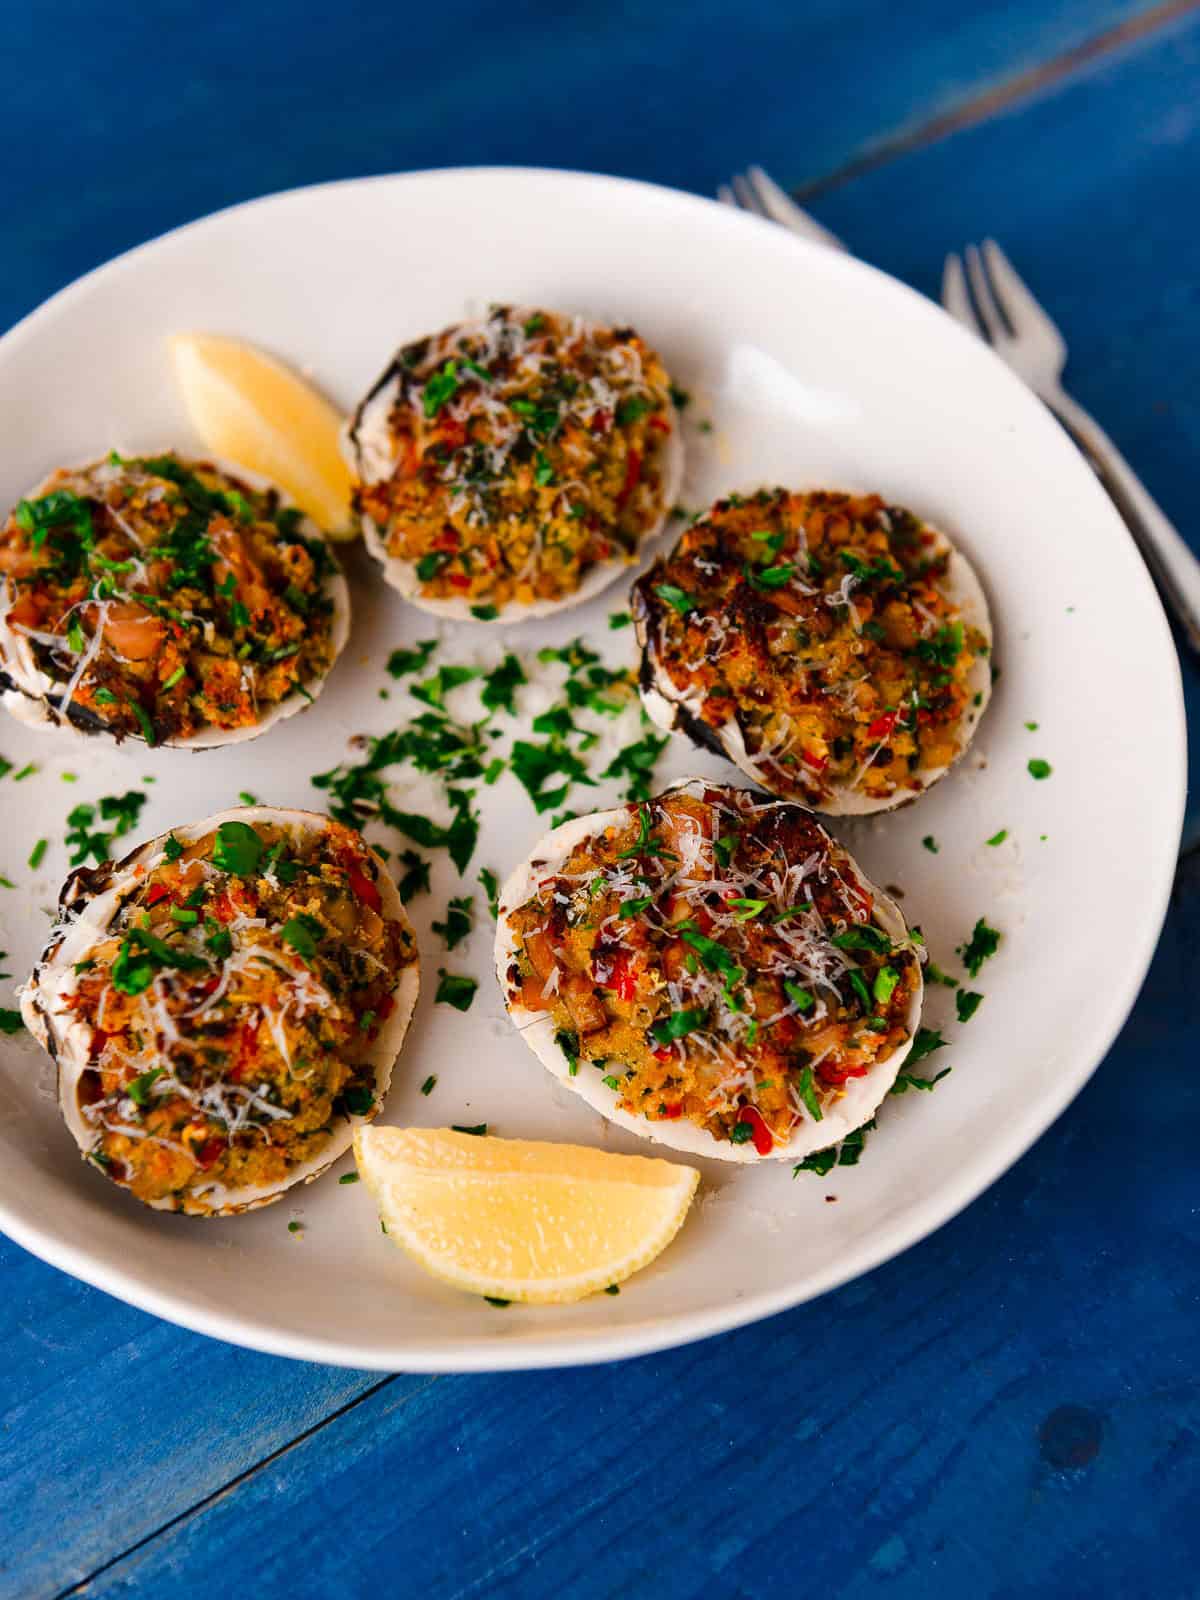
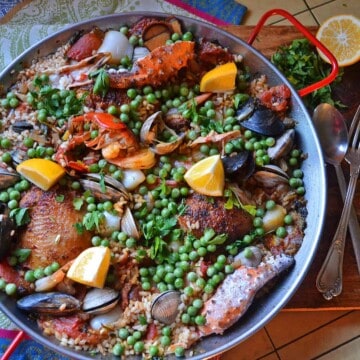
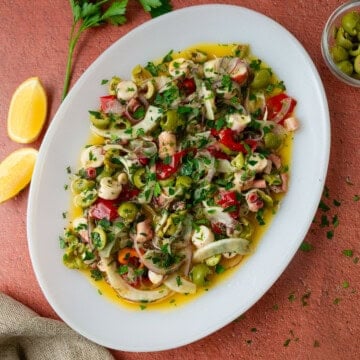
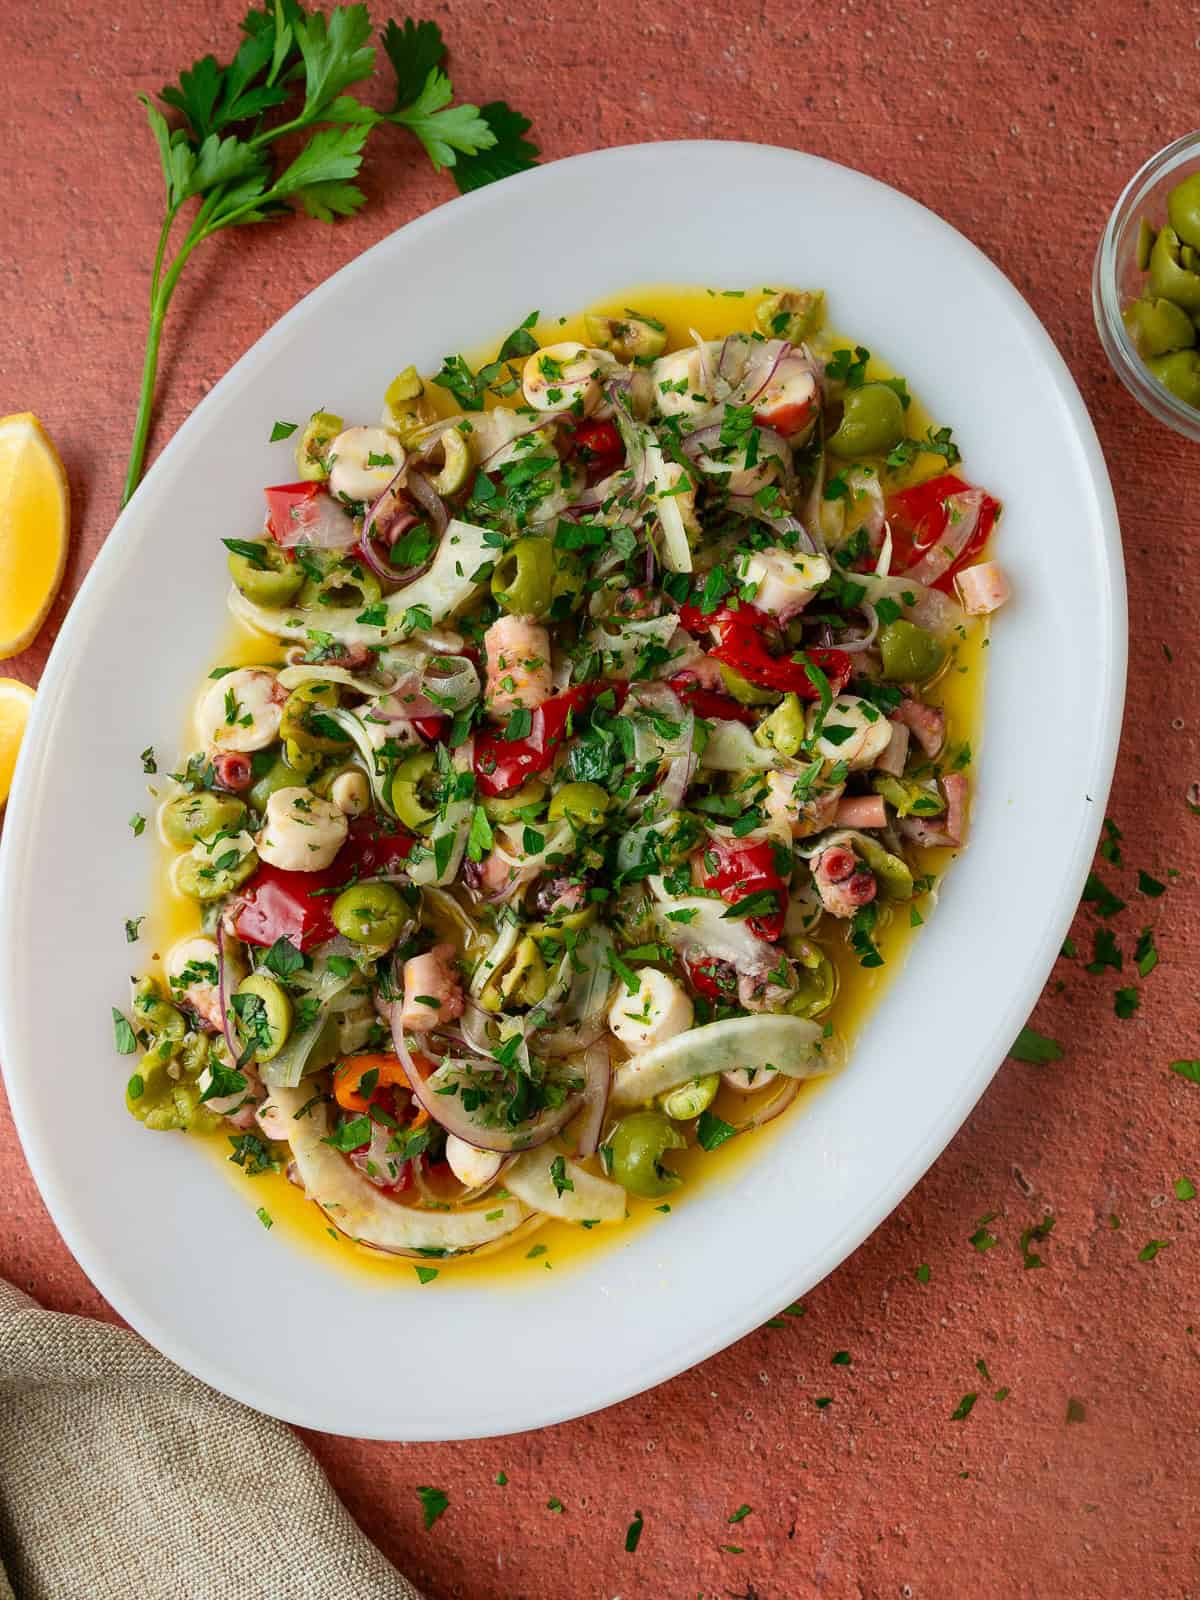
More Delicious Onion Recipes


Love this recipe? Please leave a 5-star 🌟🌟🌟🌟🌟rating in the recipe card below & a review in the comments section further down the page.

Sicilian Onion Agrodolce
Equipment
Ingredients
- 3 tablespoons extra virgin olive oil
- 1 large Peri and Sons red onion halved and thinly sliced
- 2 garlic cloves thinly sliced
- ½ teaspoon red pepper flakes
- 1 teaspoon fresh thyme leaves plus more for garnish
- ¼ cup golden raisins
- 2 tablespoons honey
- 2 tablespoons red wine vinegar
- ½ teaspoon kosher salt
- ¼ teaspoon black pepper
To Serve
- Grilled sourdough or ciabatta
- Grilled steak or fish
- Olive oil for finishing
Instructions
- Heat the olive oil in a large skillet over medium heat. Add the sliced red onion and sauté for 8–10 minutes, stirring occasionally, until the onions begin to soften.
- Add the sliced garlic, red pepper flakes, golden raisins, and fresh thyme. Continue sautéing for another 4–5 minutes, allowing the garlic to become fragrant and the raisins to soften.
- Stir in the honey and red wine vinegar, then season with kosher salt and black pepper. Continue cooking for another 4–5 minutes, stirring occasionally, until the onions are tender and the mixture becomes glossy, jammy, and lightly caramelized.
- Transfer the onion agrodolce to a serving bowl and garnish with additional fresh thyme leaves.
- Serve warm or at room temperature with grilled steak or fish, crusty bread, or as part of a Mediterranean-style antipasto platter.
Notes
- Slice the onions evenly: Slice the onions about ¼ inch thick so they hold their shape when sautéed.
- Add vinegar at the end: Stir in the red wine vinegar during the last minute of cooking to keep things bright and tangy.
- Adjust taste as needed: Add another drizzle of honey or red pepper flakes for heat or if you prefer a more sour flavor, add another splash of vinegar.
- Serve warm or at room temperature: Onion agrodolce is delicious at any temperature.