Hanukkah is all about celebrating the miracle of oil and gathering with friends and family, and of course… plenty of fried food! This Hanukkah menu brings together traditional favorites and fun twists, with a few playful touches to set the mood.
[feast_advanced_jump_to]🍴Appetizers
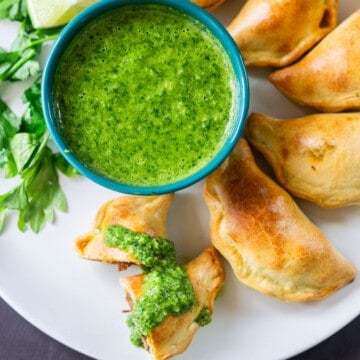
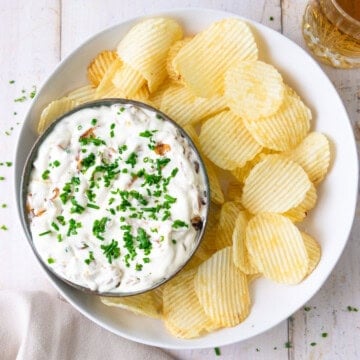
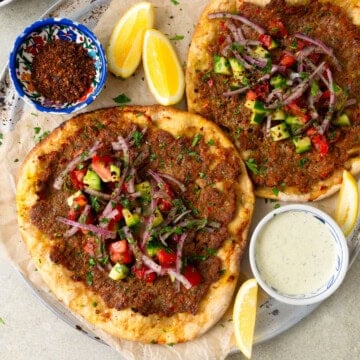
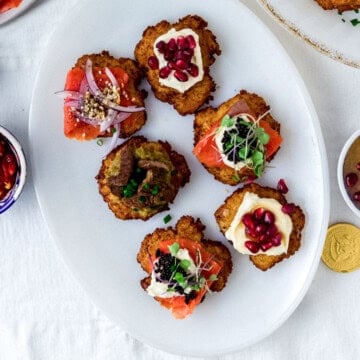
Classic Potato Latkes: It wouldn't be a Hanukkah party without Mom's Classic Potato Latkes! Or if you feel a bit more creative, have fun with Salt and Vinegar Potato Latkes or make a Latke Bar with different toppings to choose from.
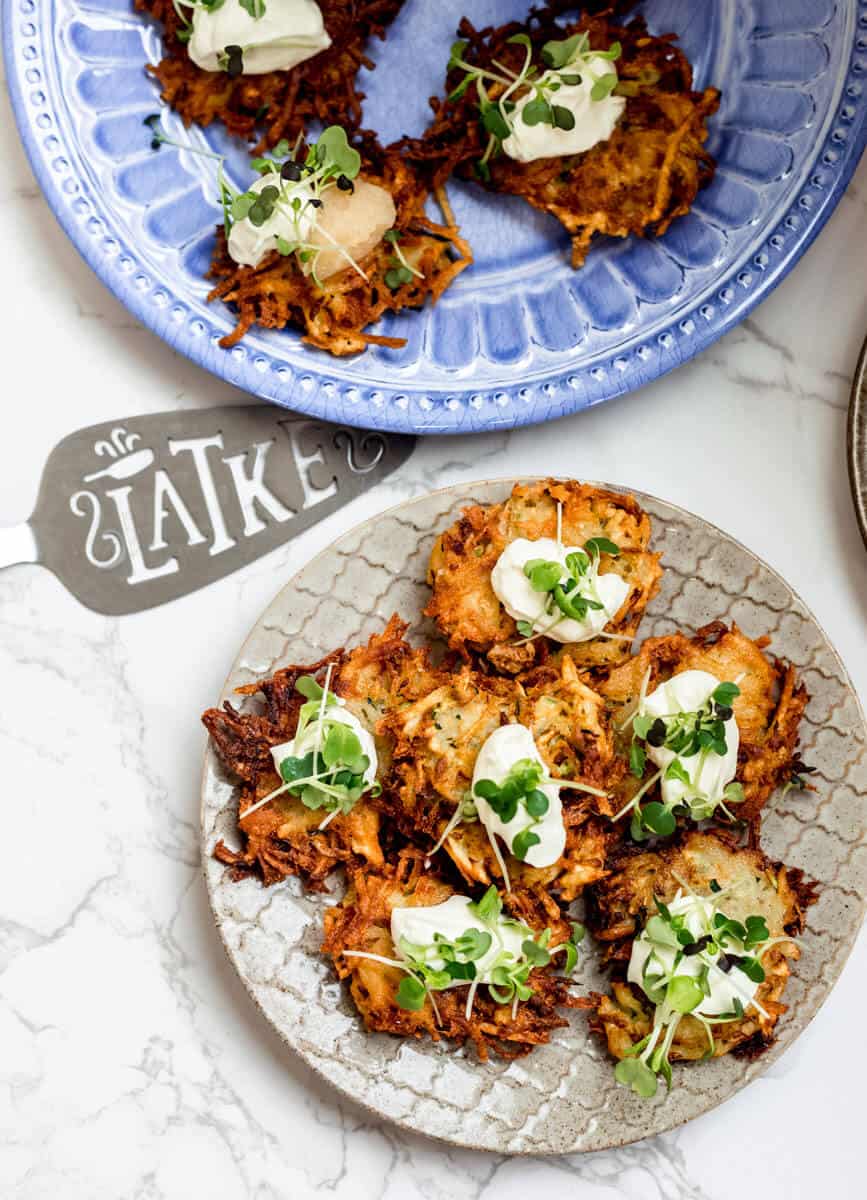
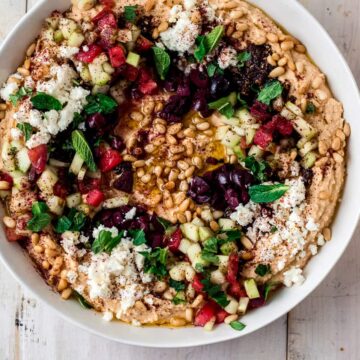
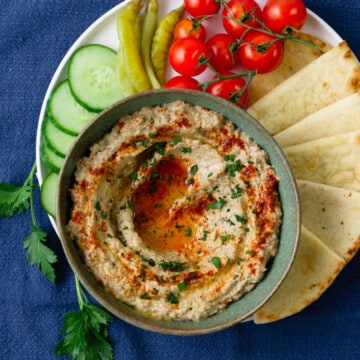
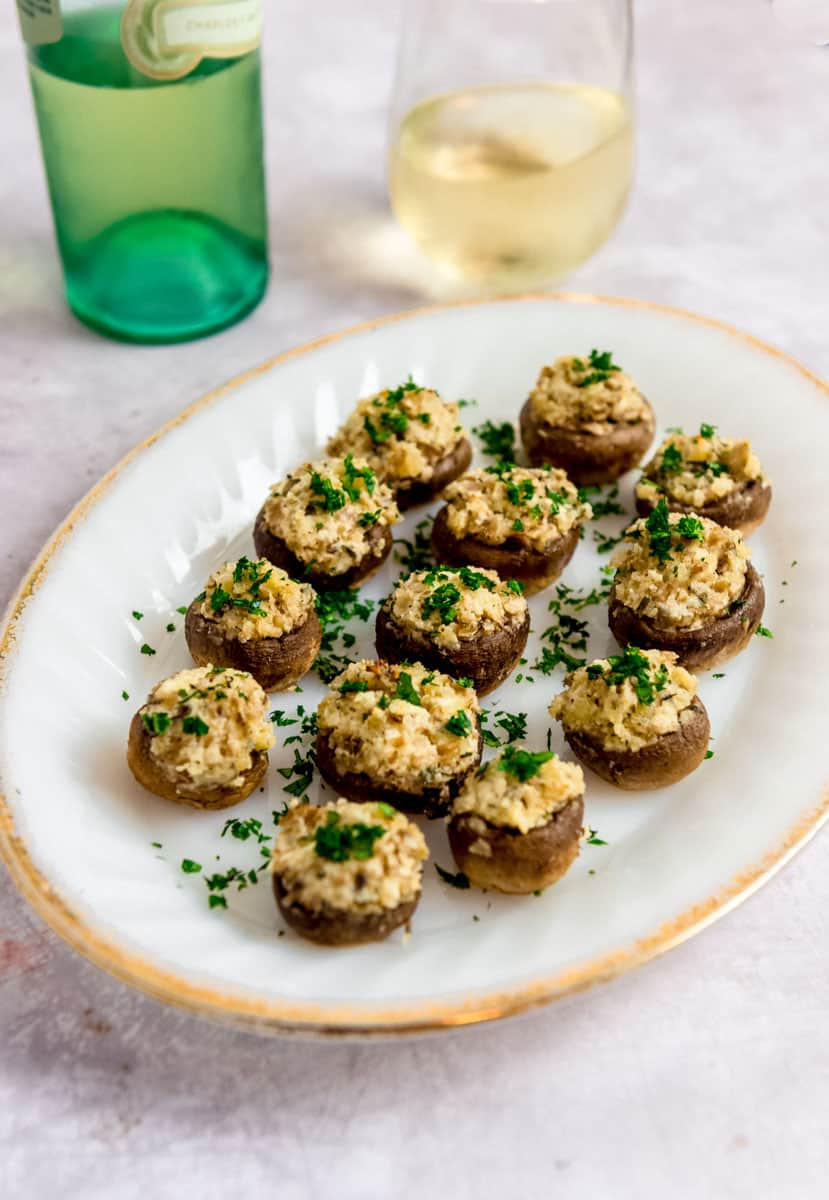
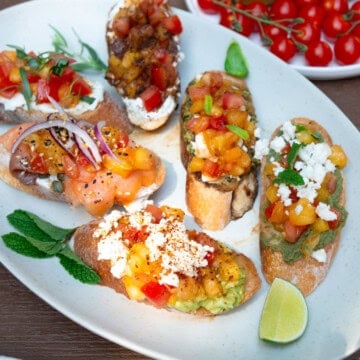
Chicken Liver Pâté (Optional): Chopped liver or chicken liver pâté is often seen around Jewish holiday dinners. This version brings in bright Mediterranean flavors with lemon zest, capers and fresh herbs.
Serve with crackers, crostini or top a dollop onto latkes.

🍽️ Main Dish Options
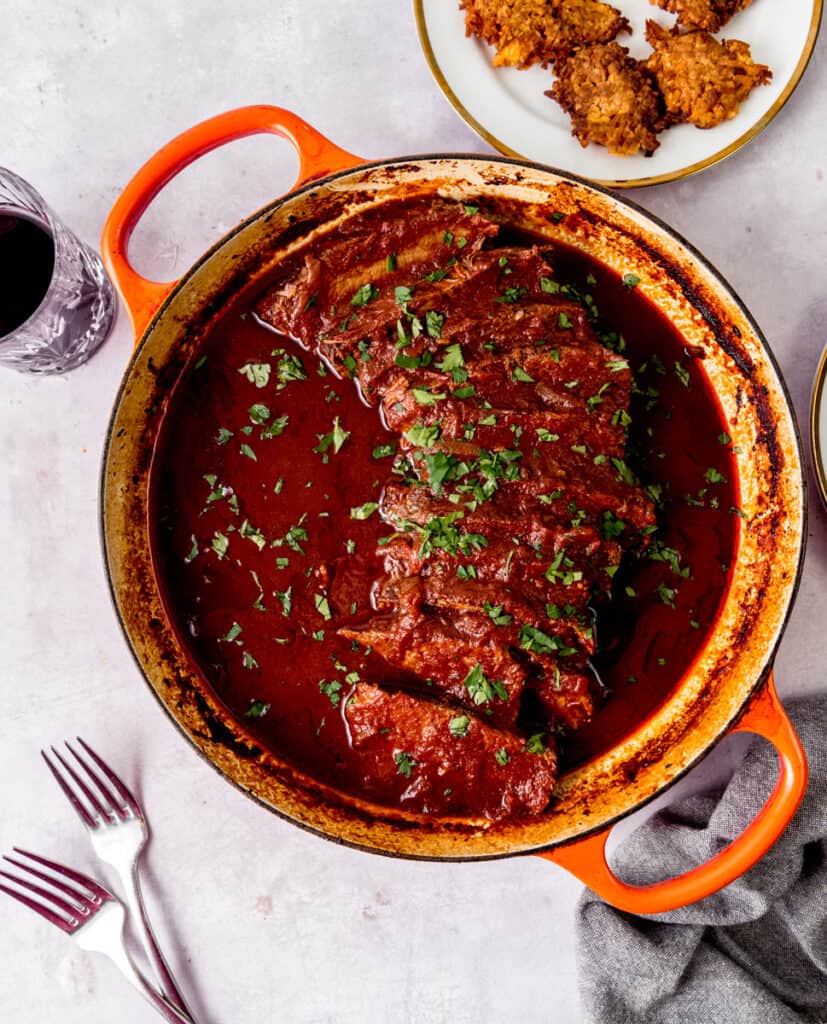
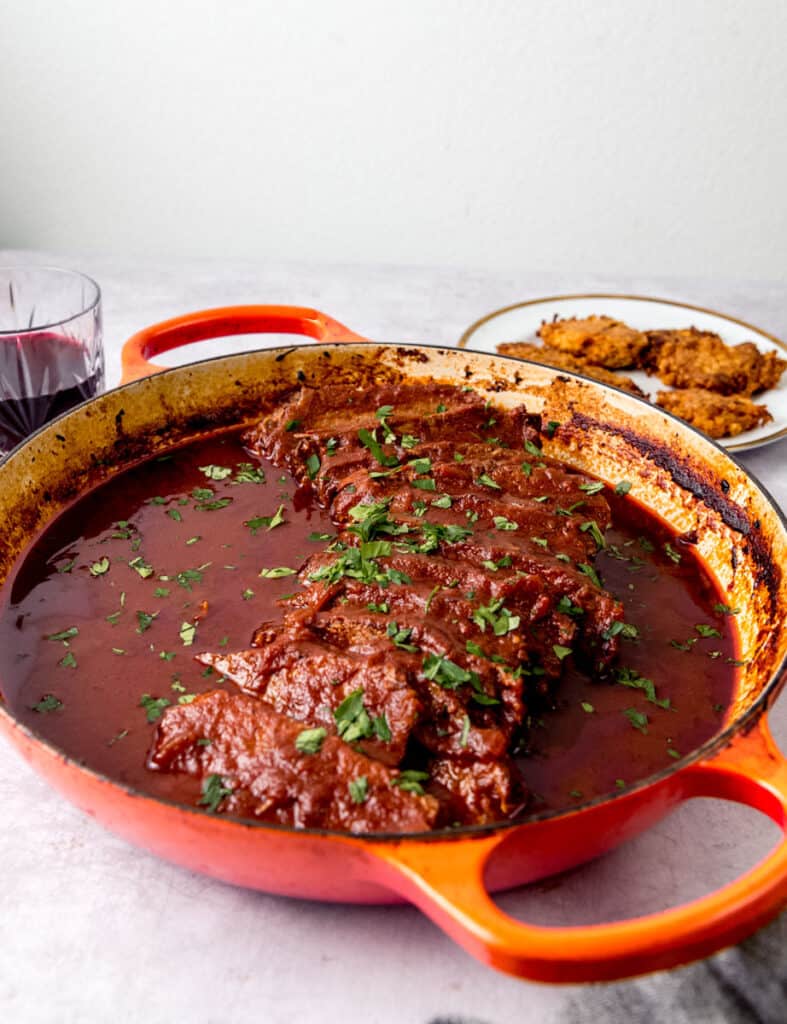
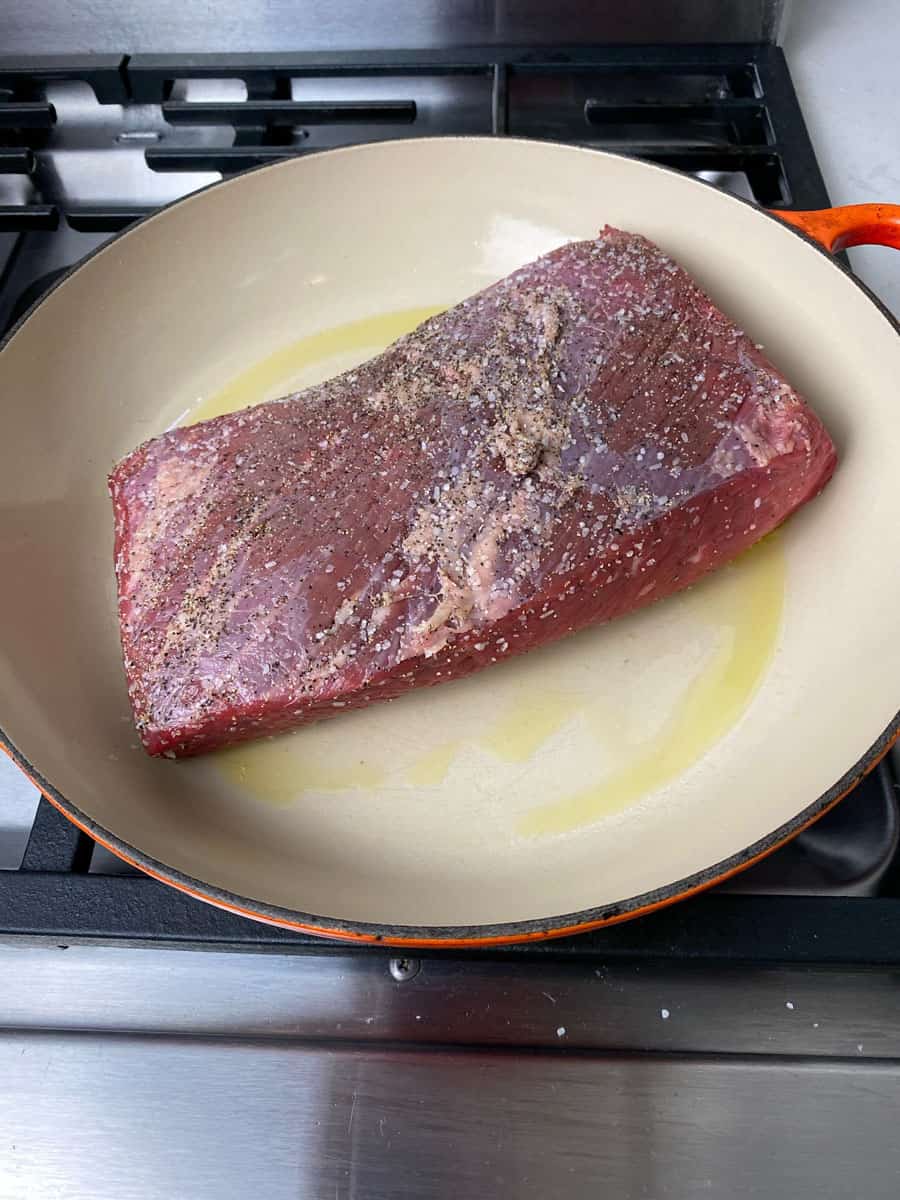
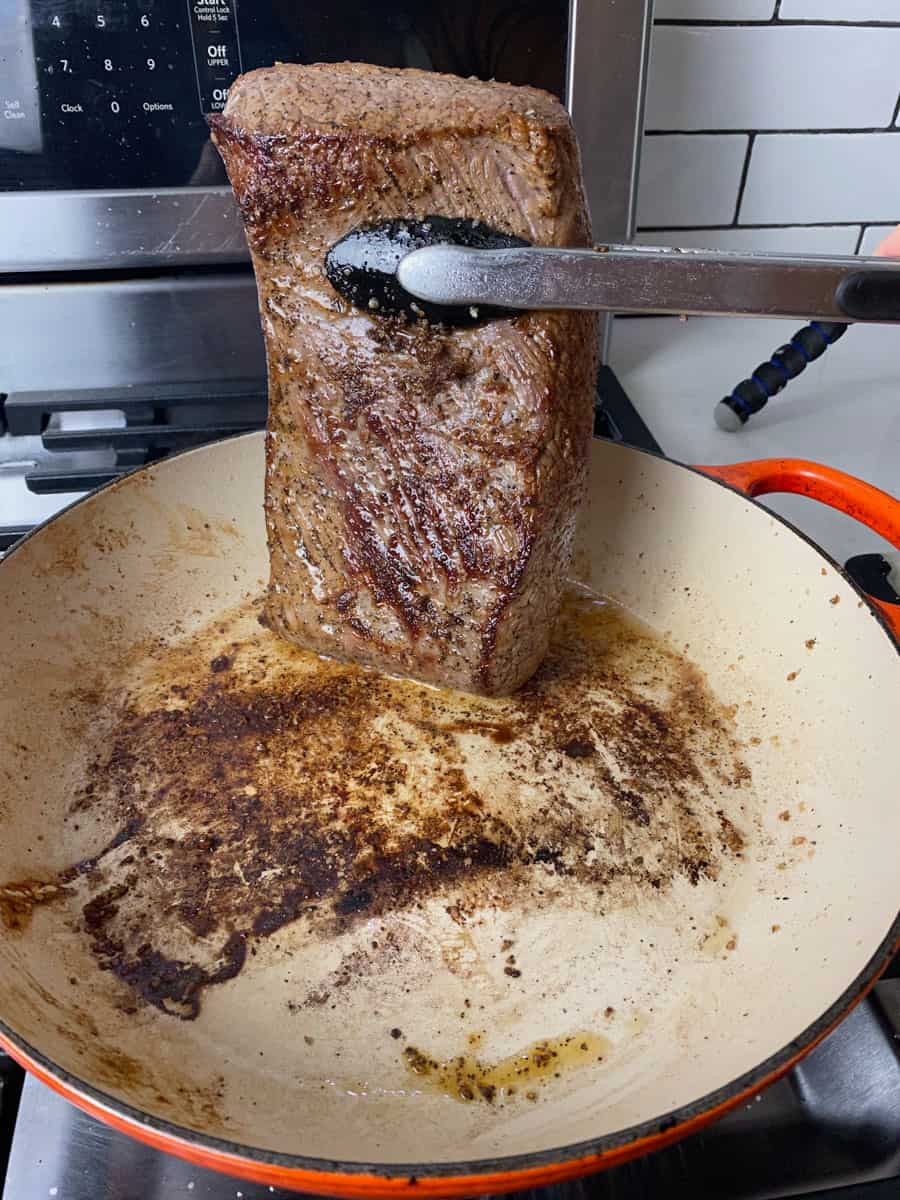
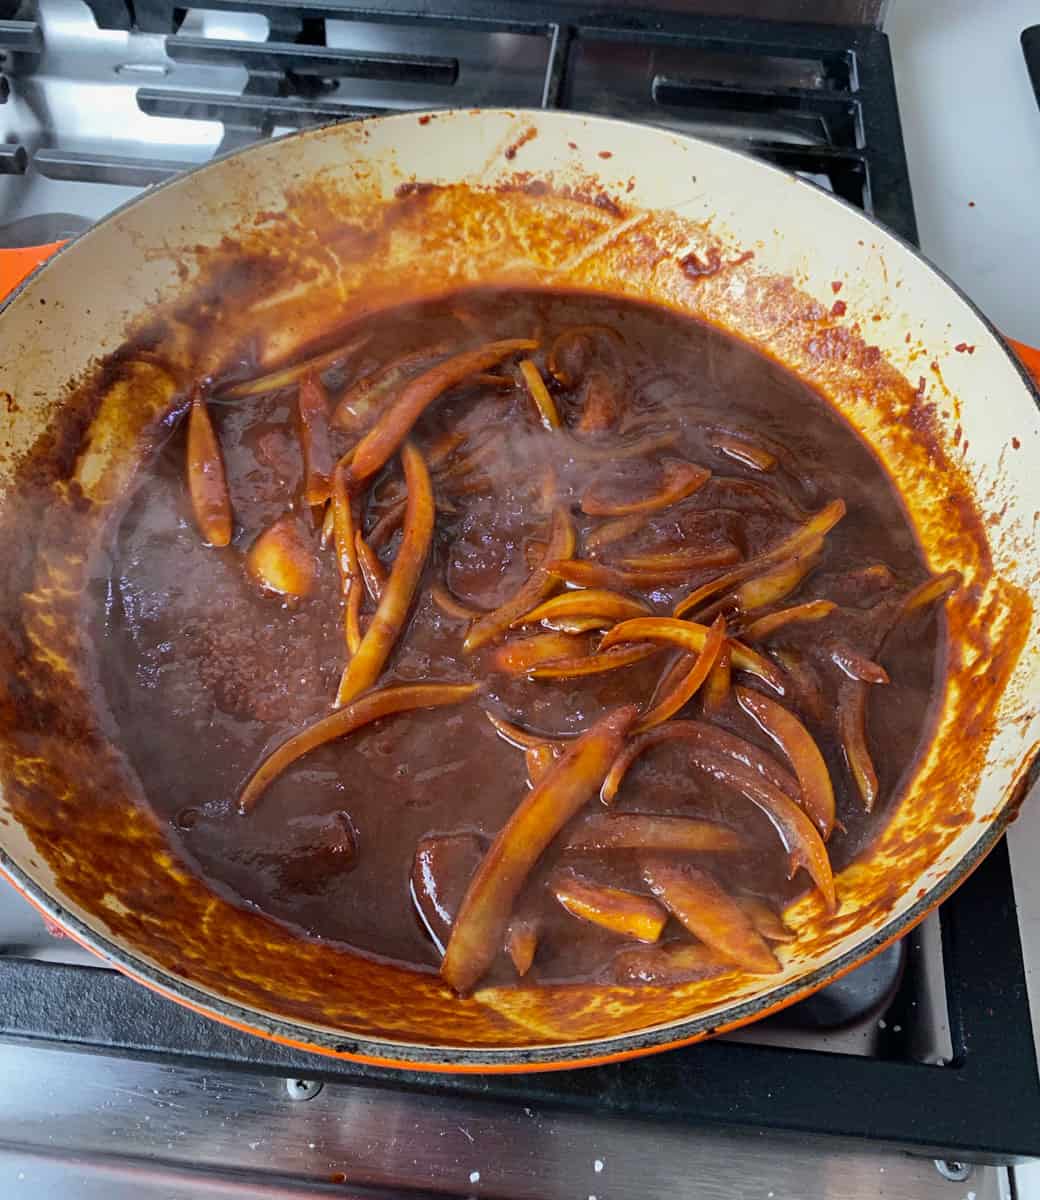
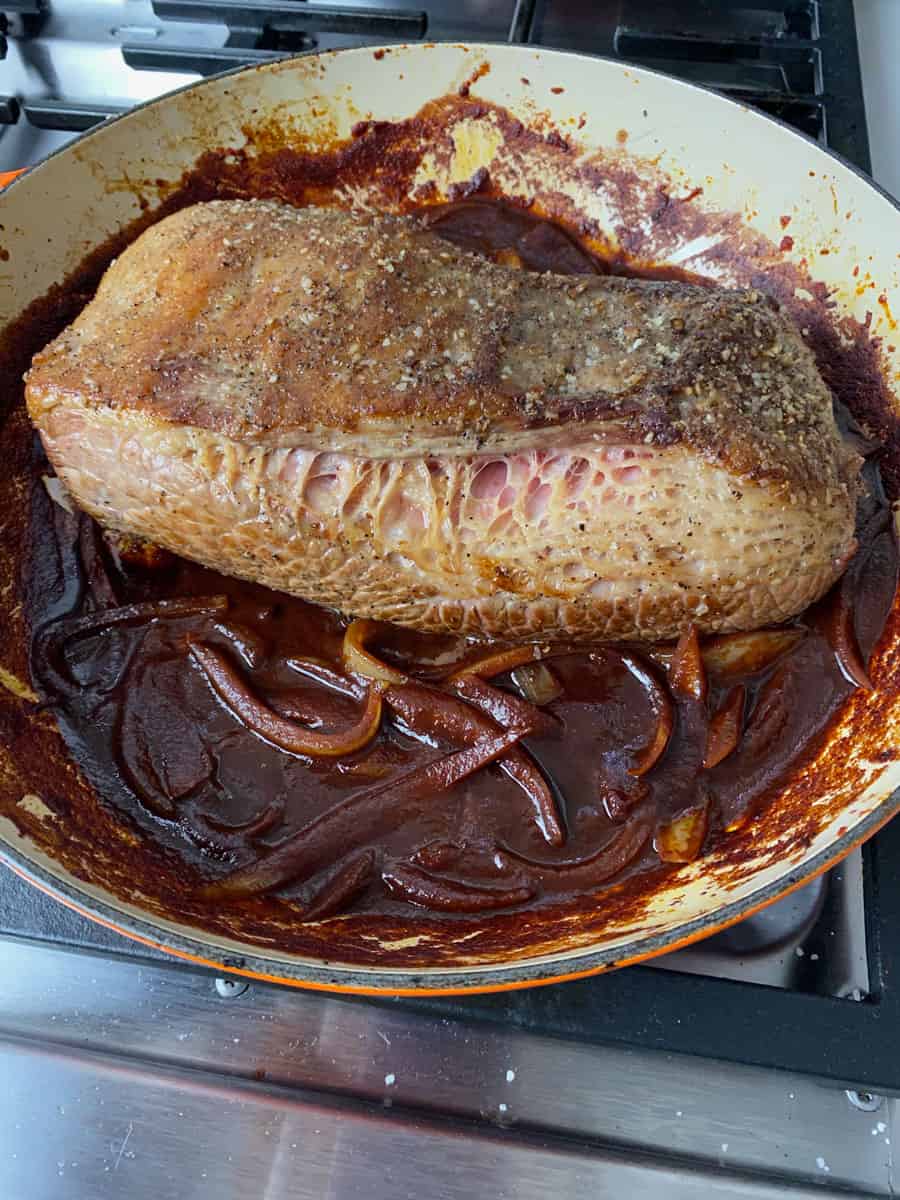
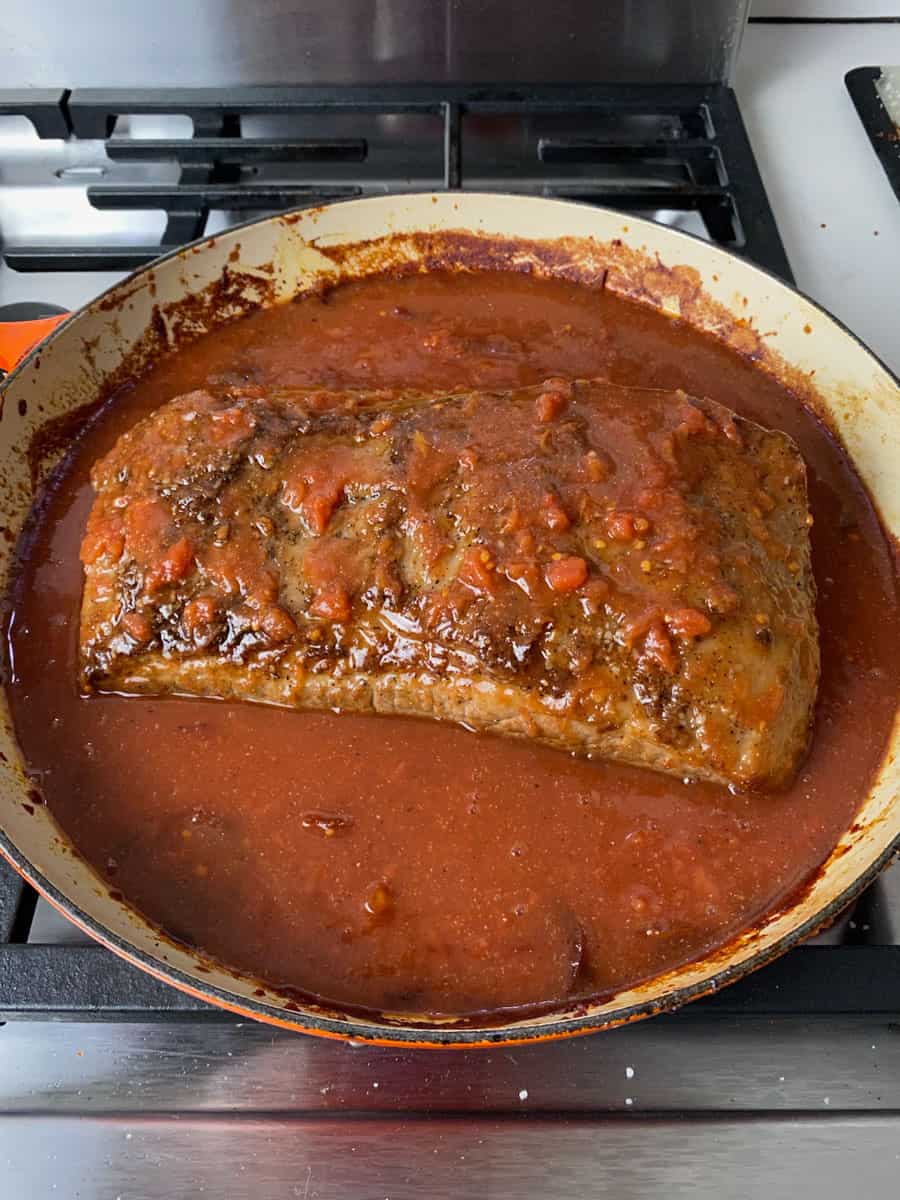
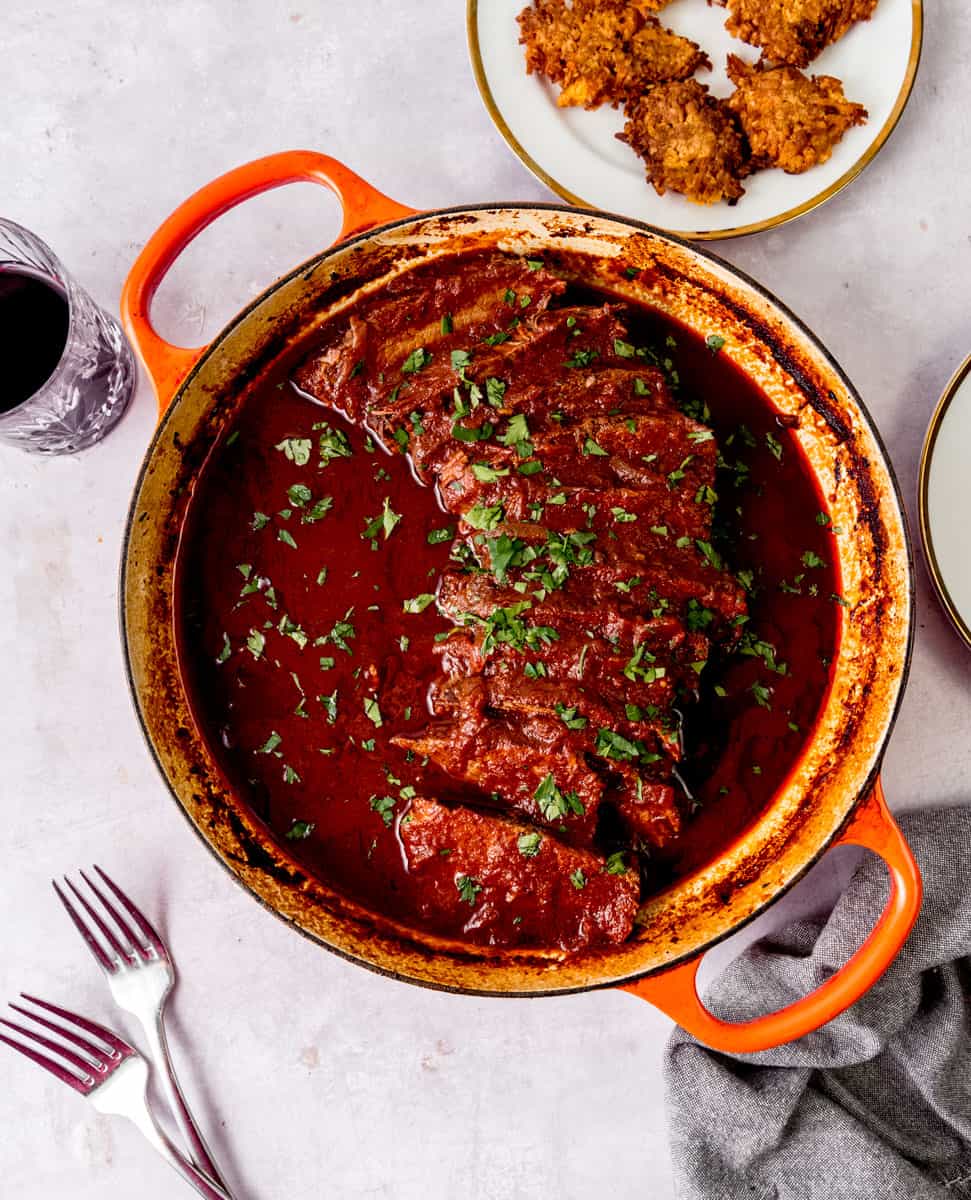
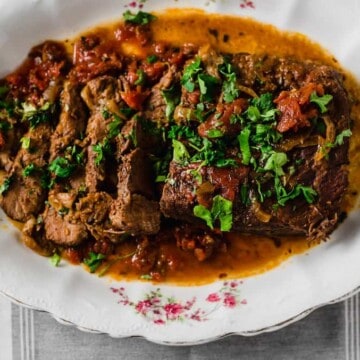
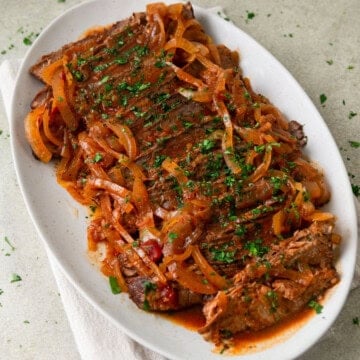
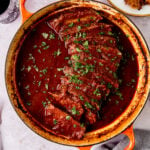
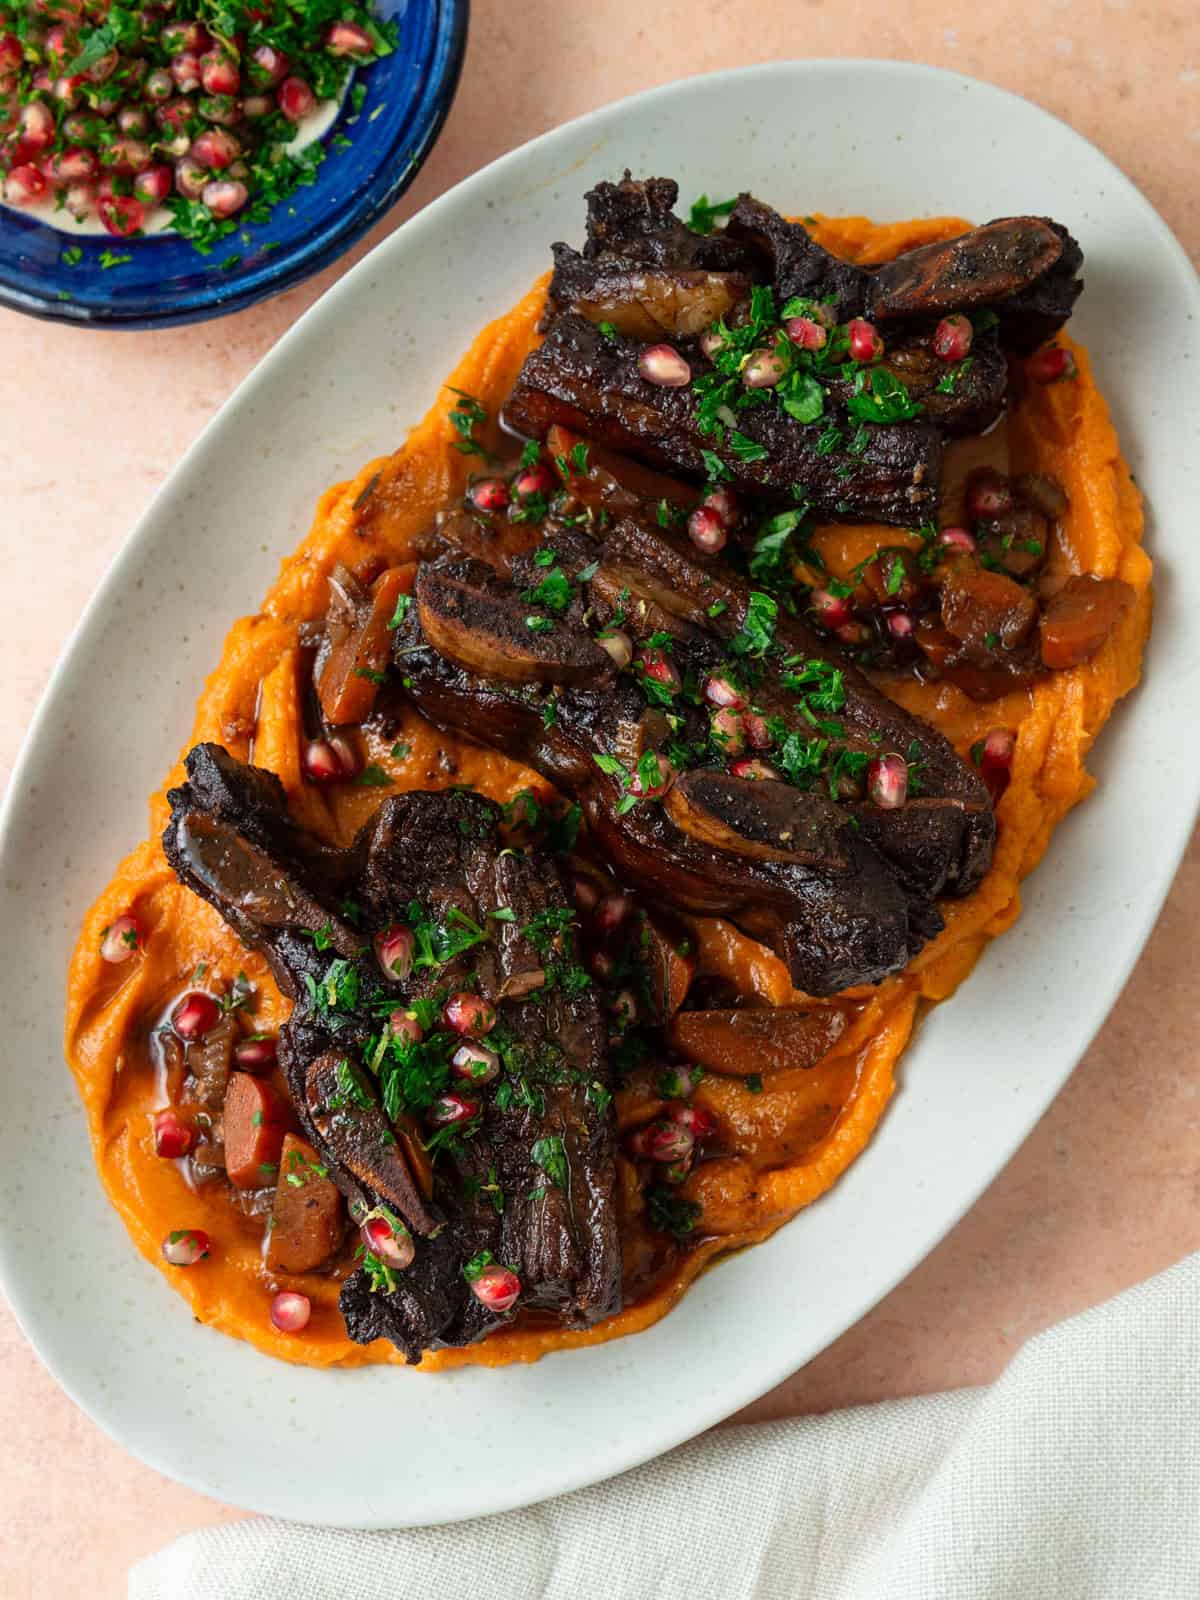
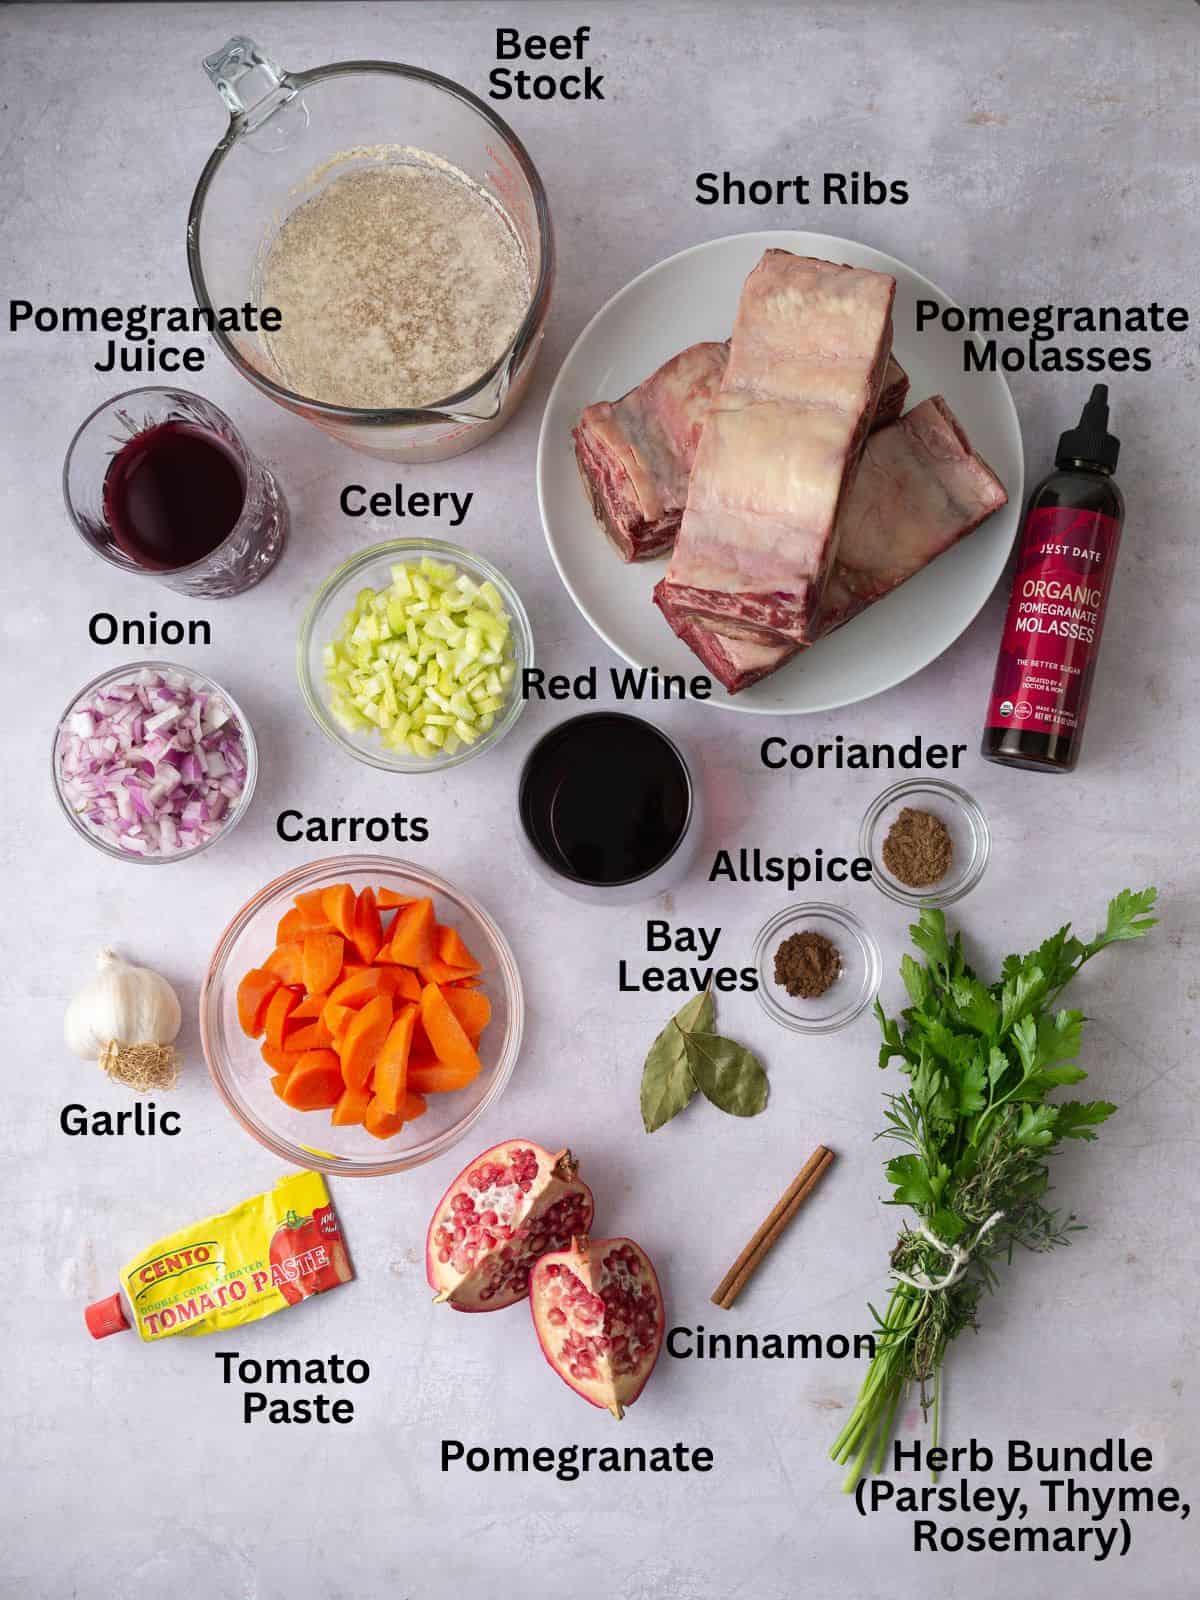
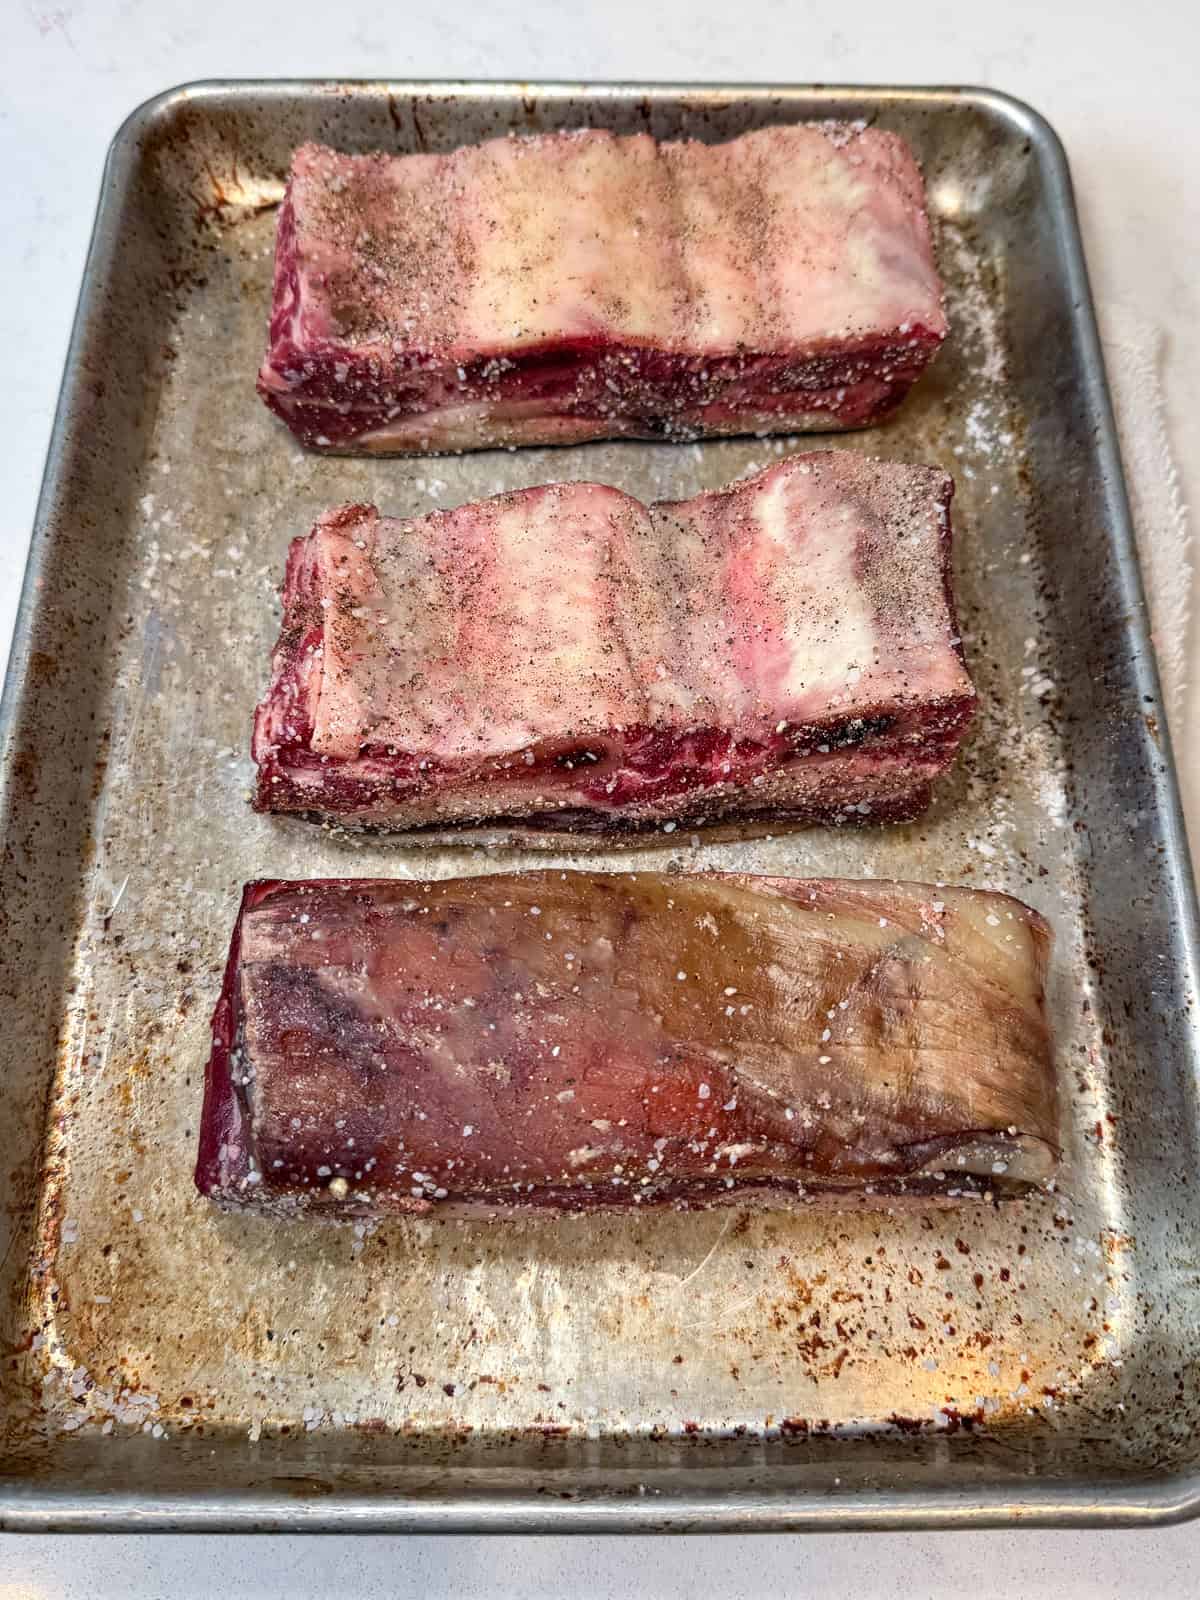
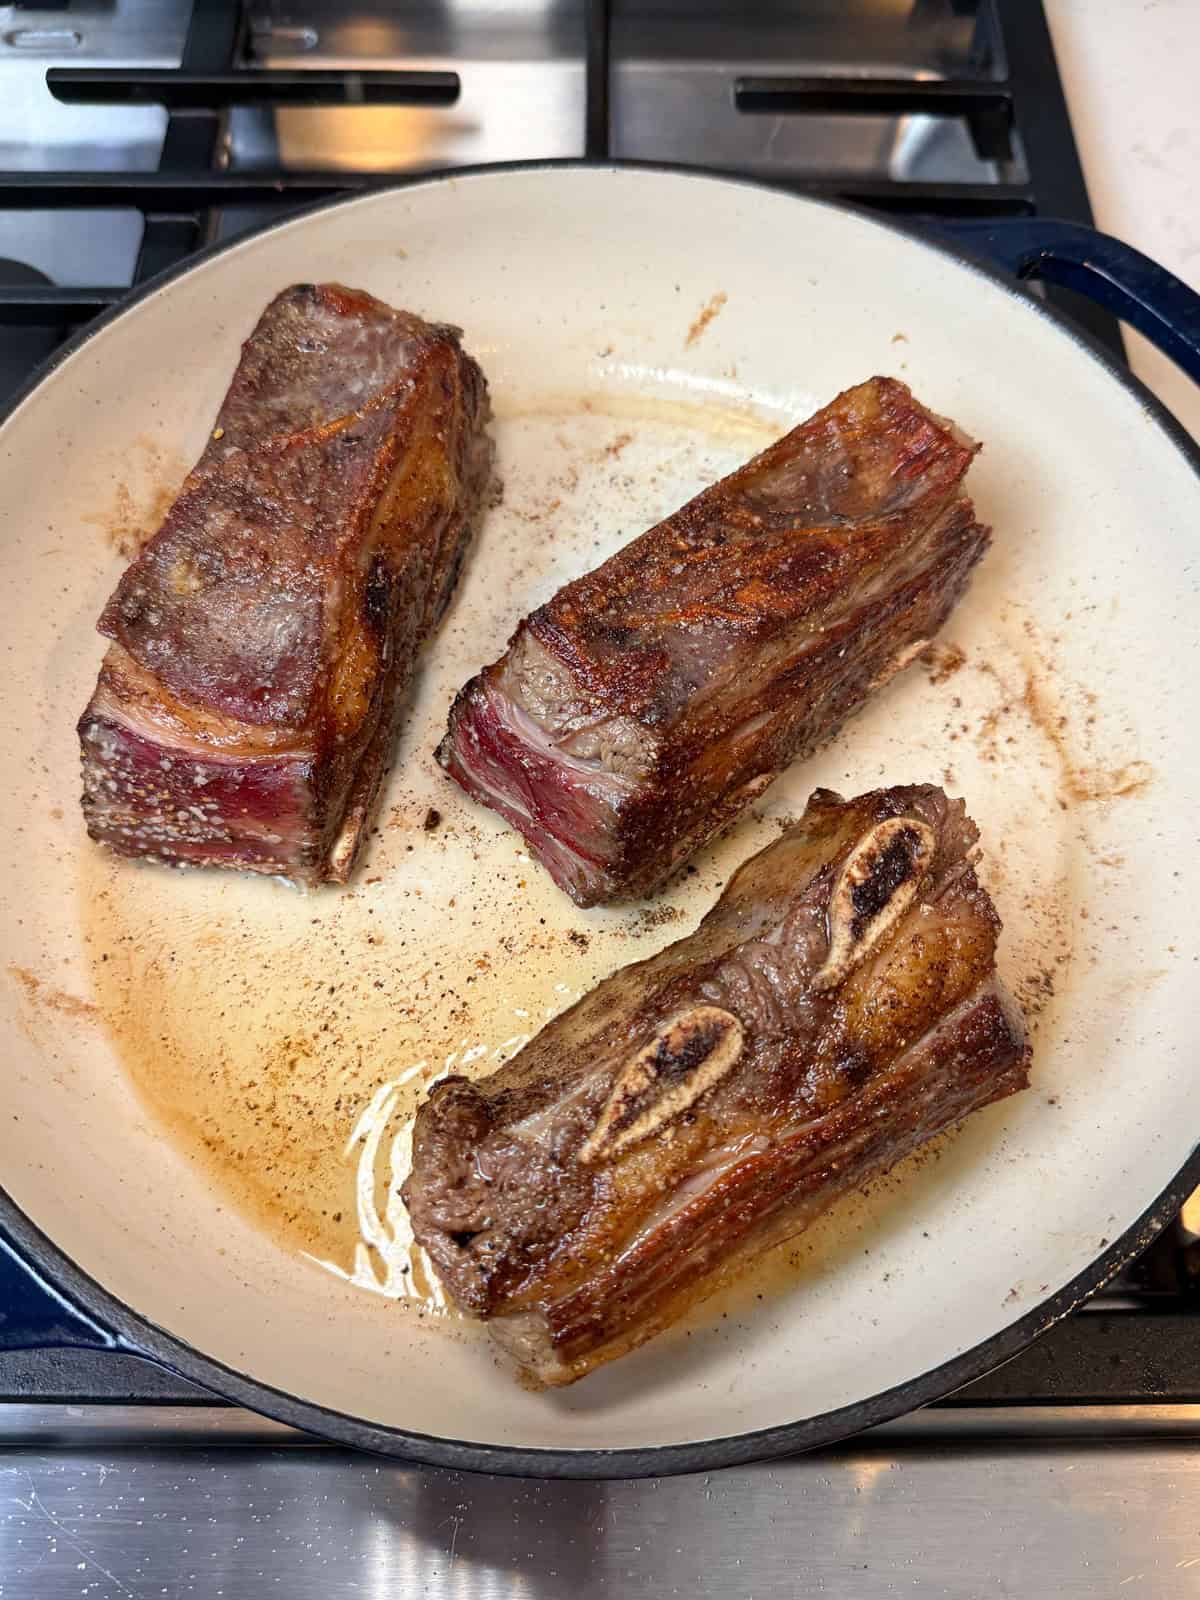
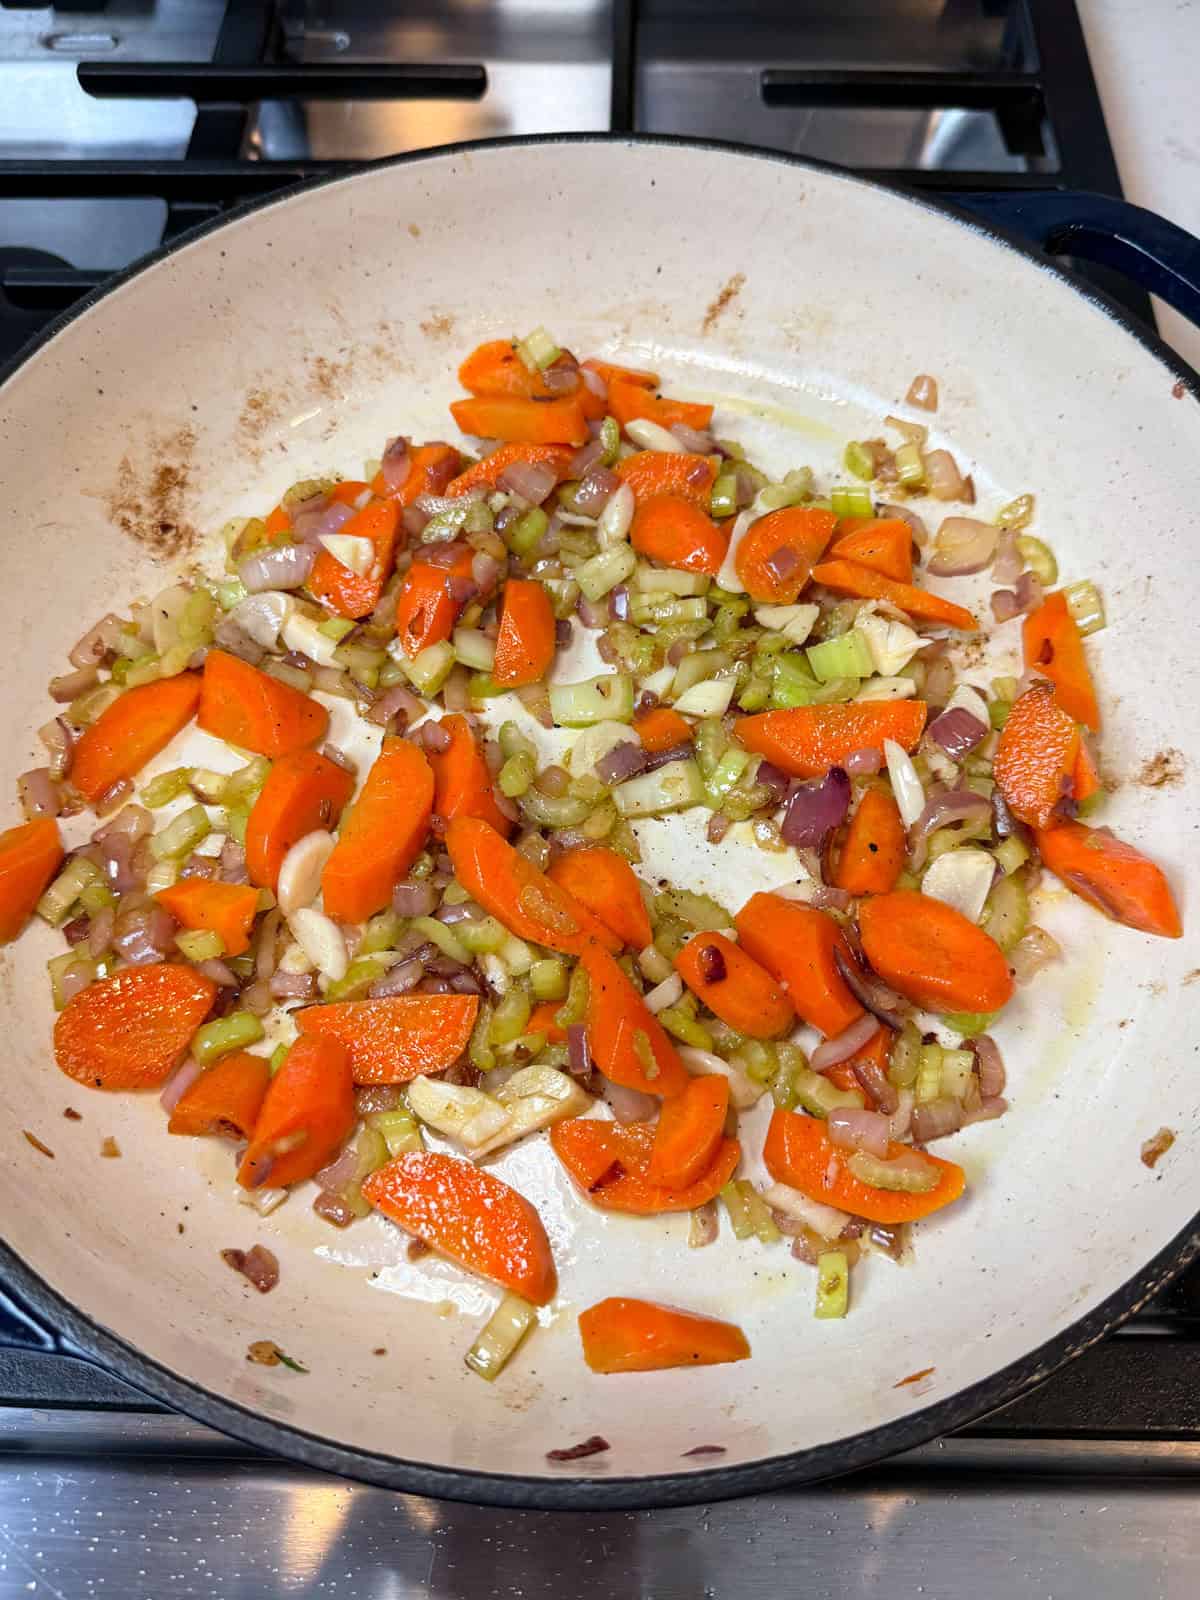
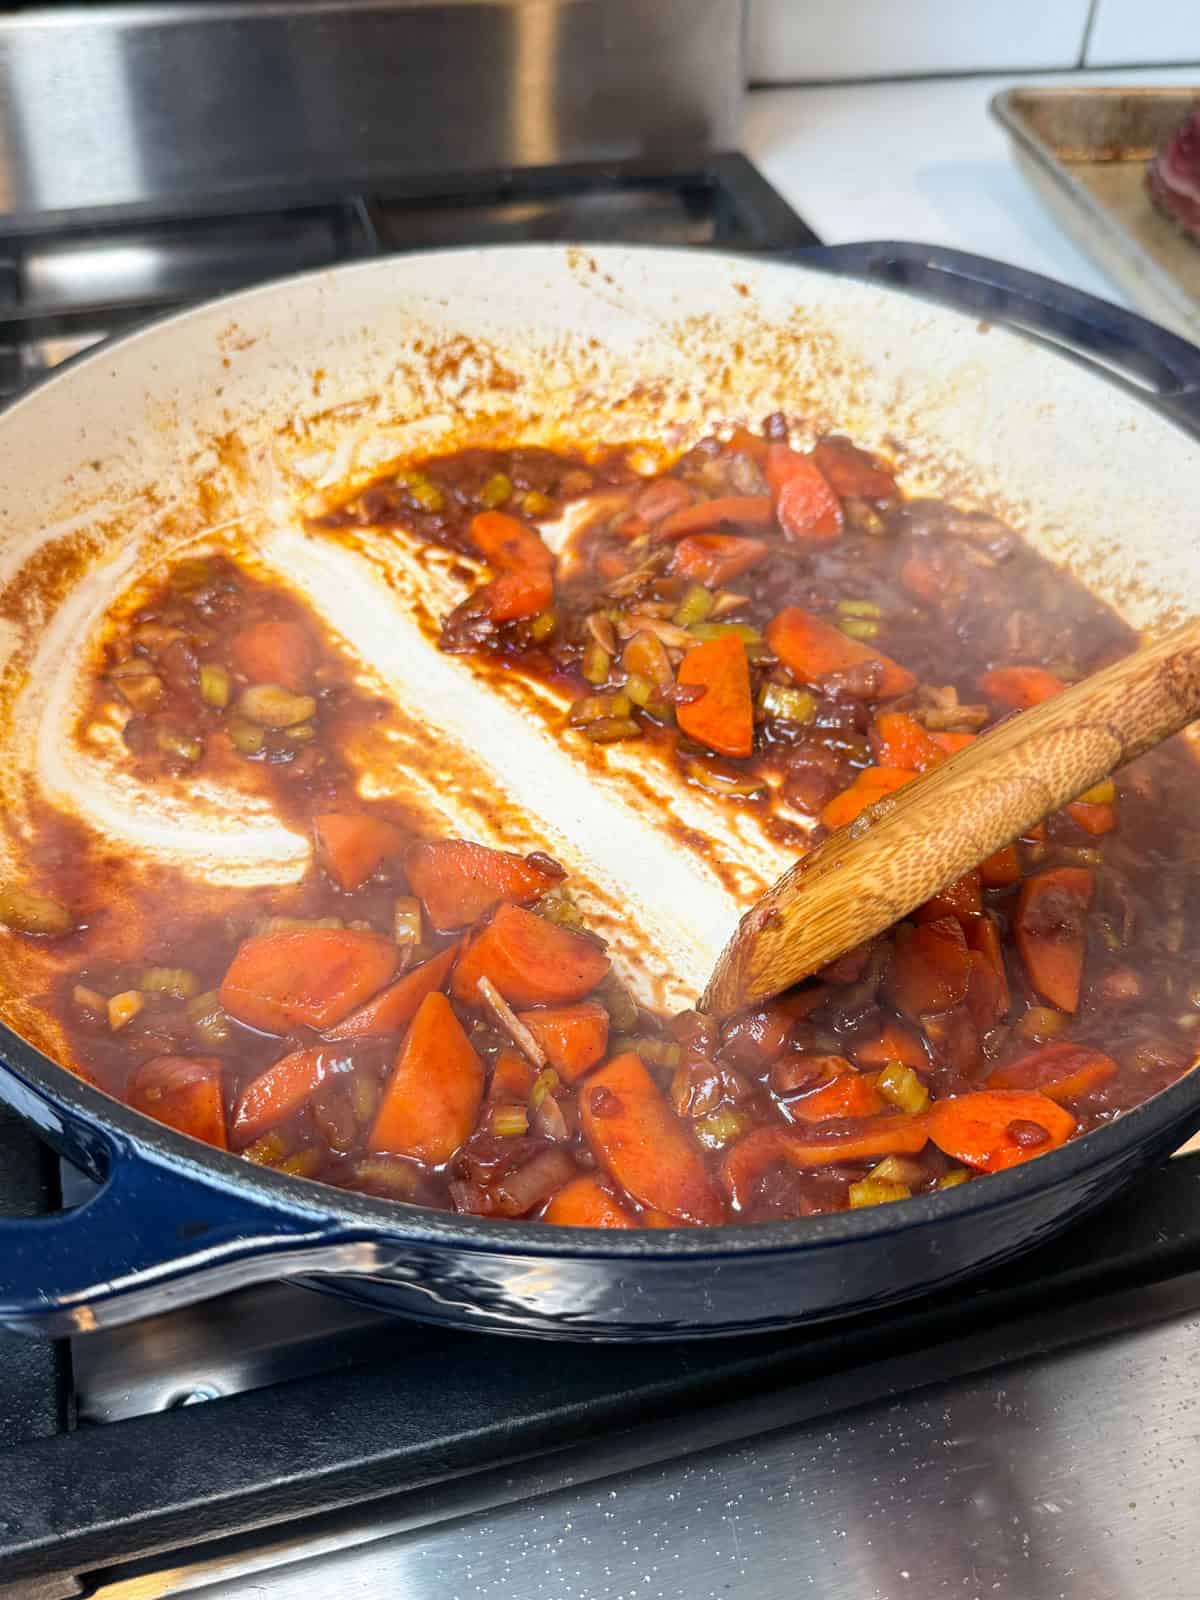
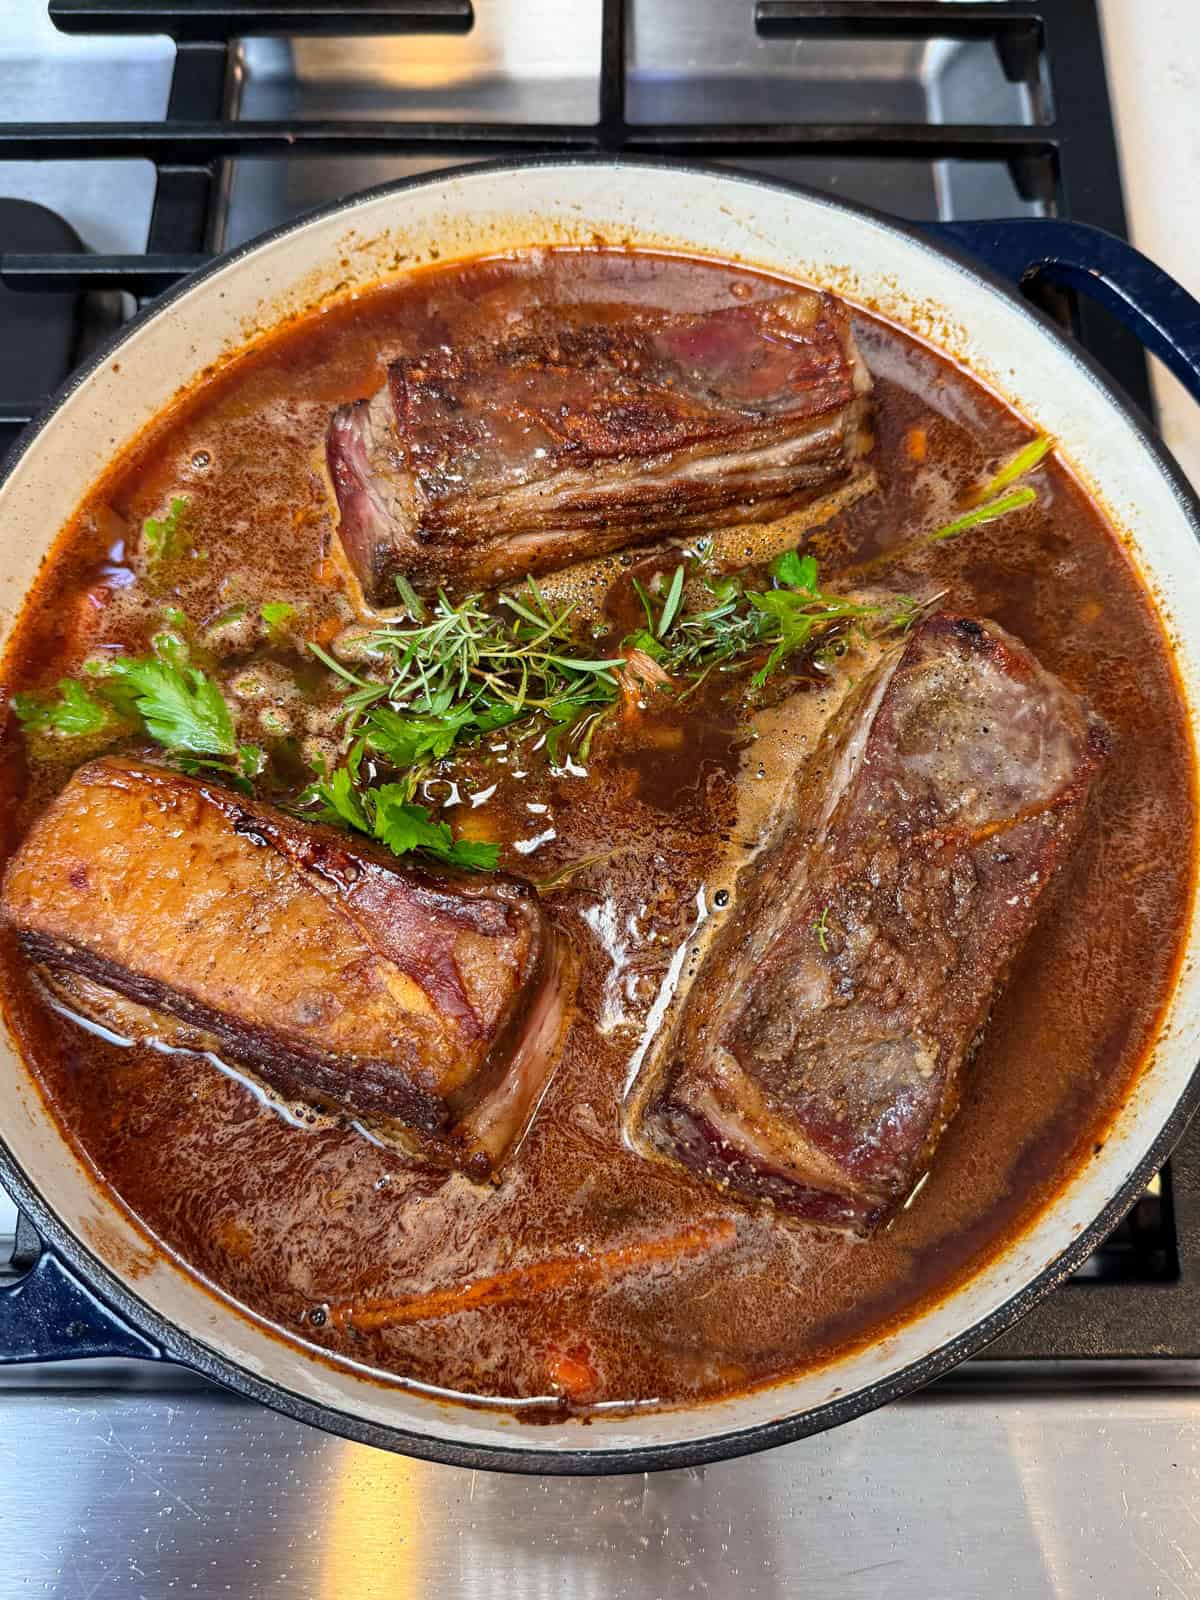
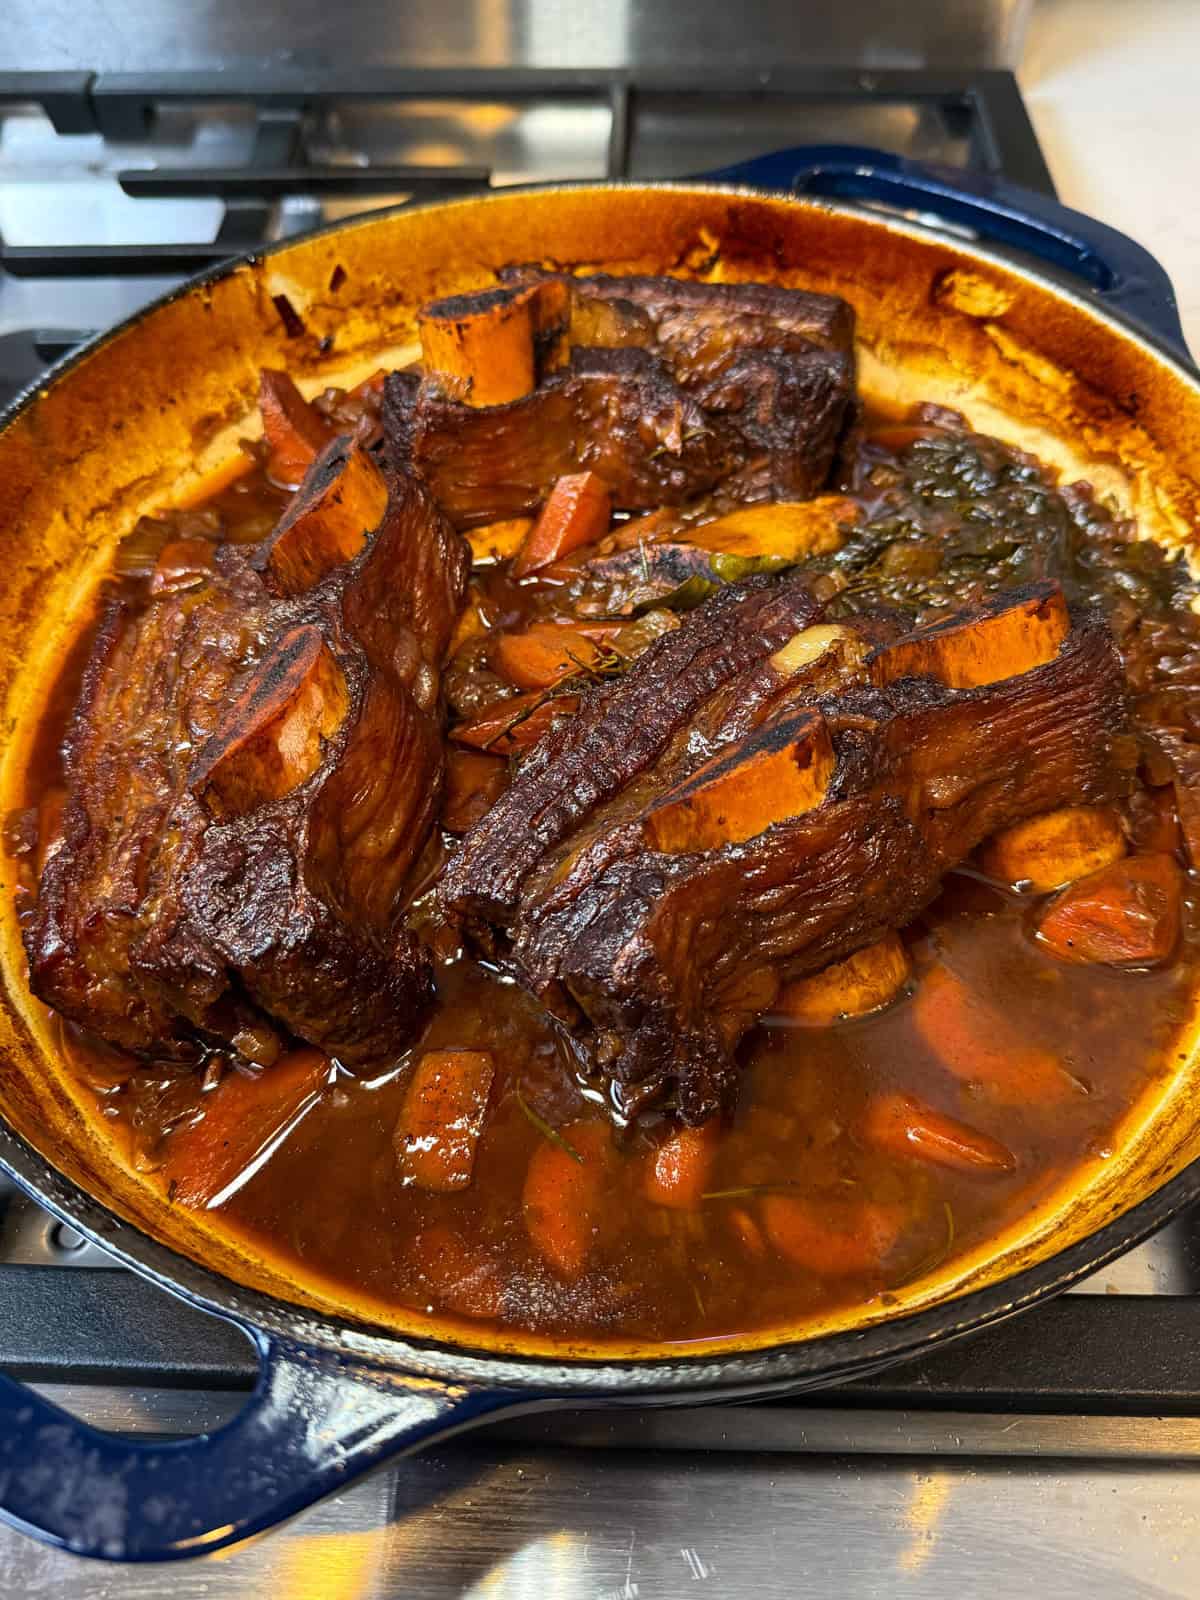
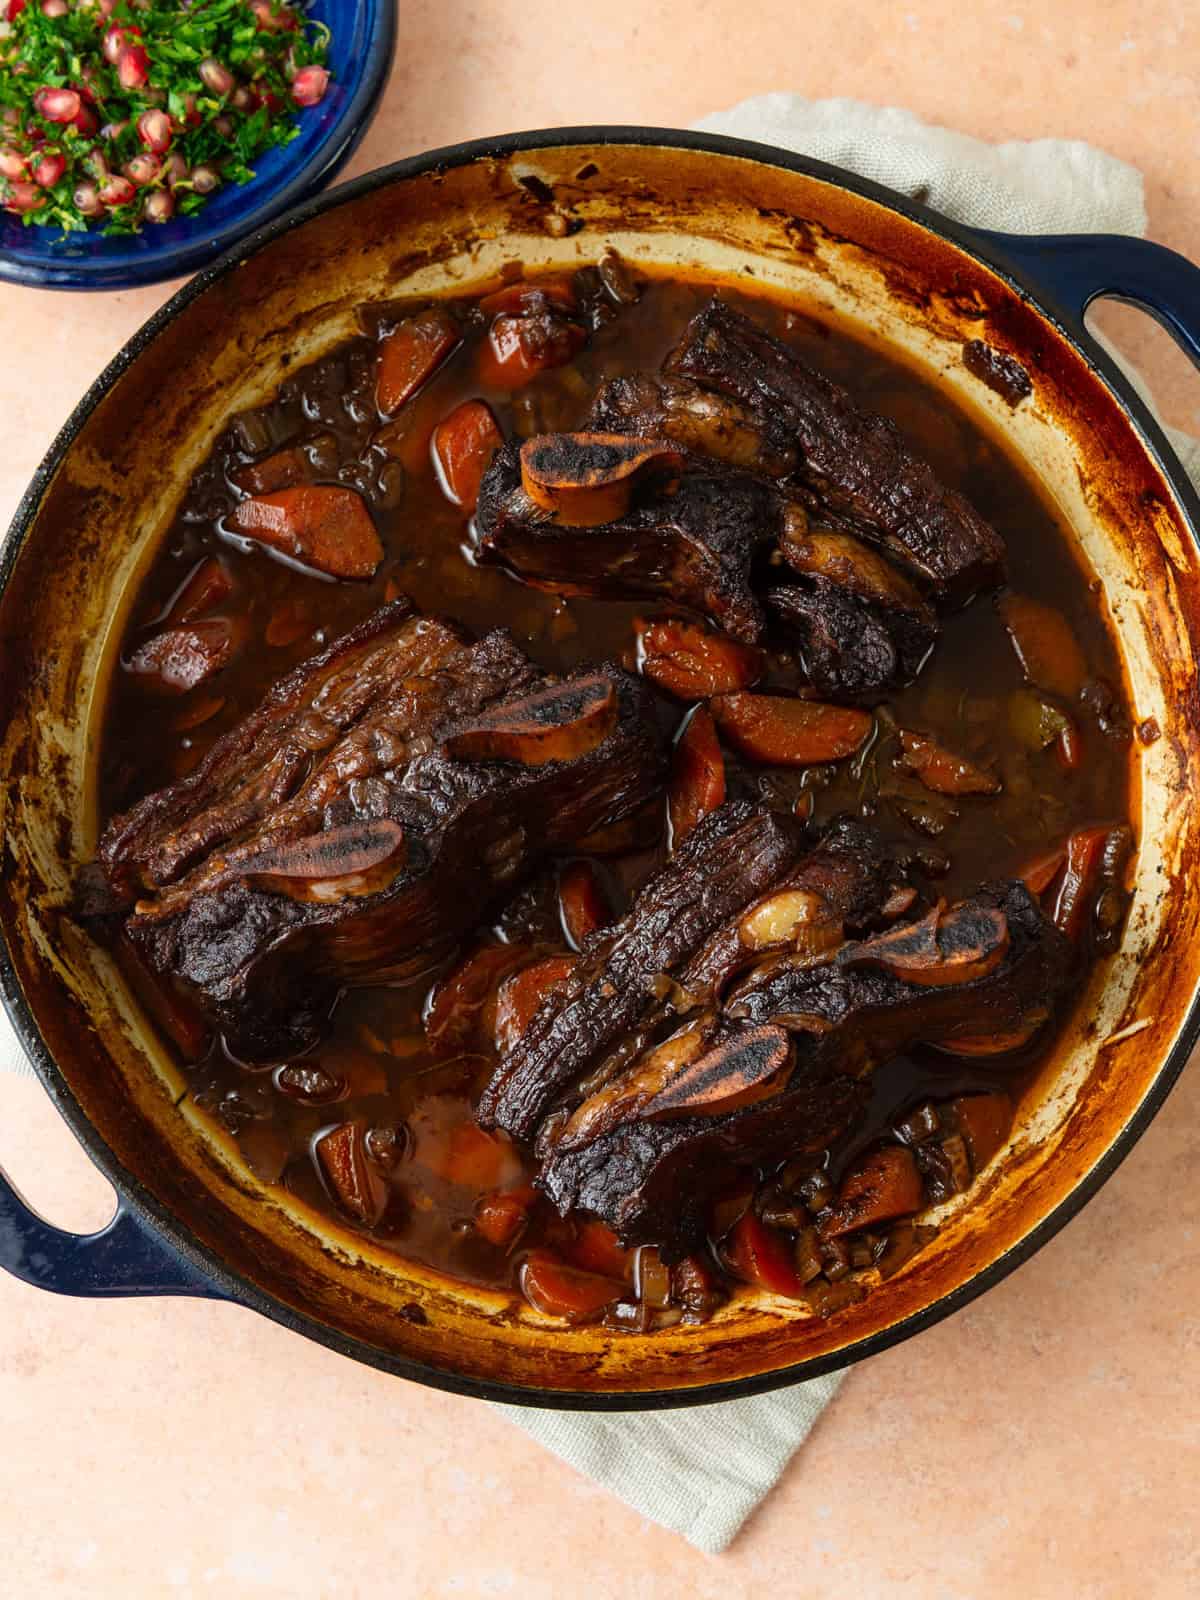
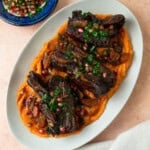
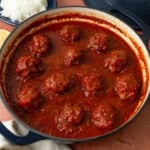
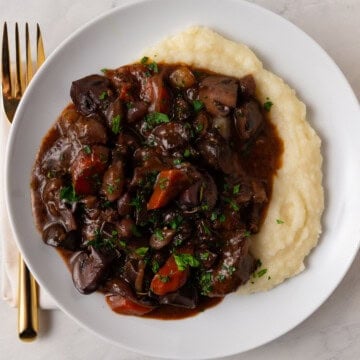
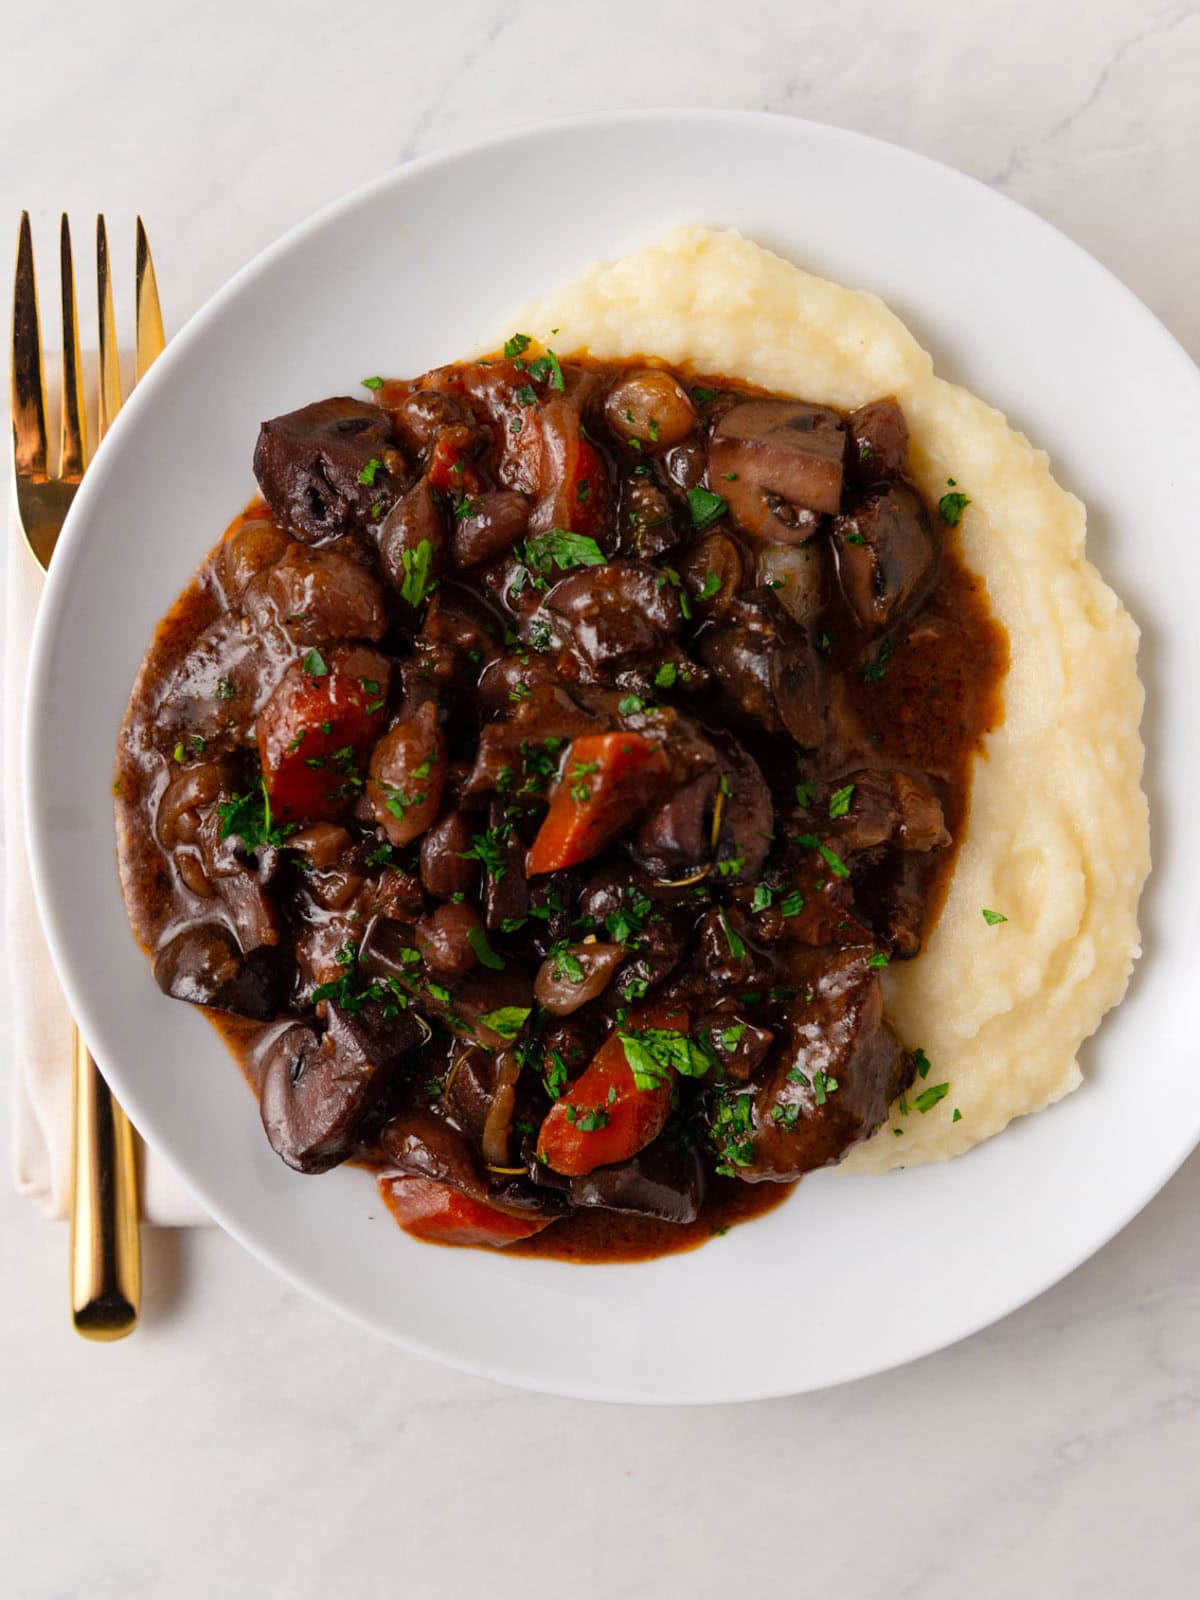
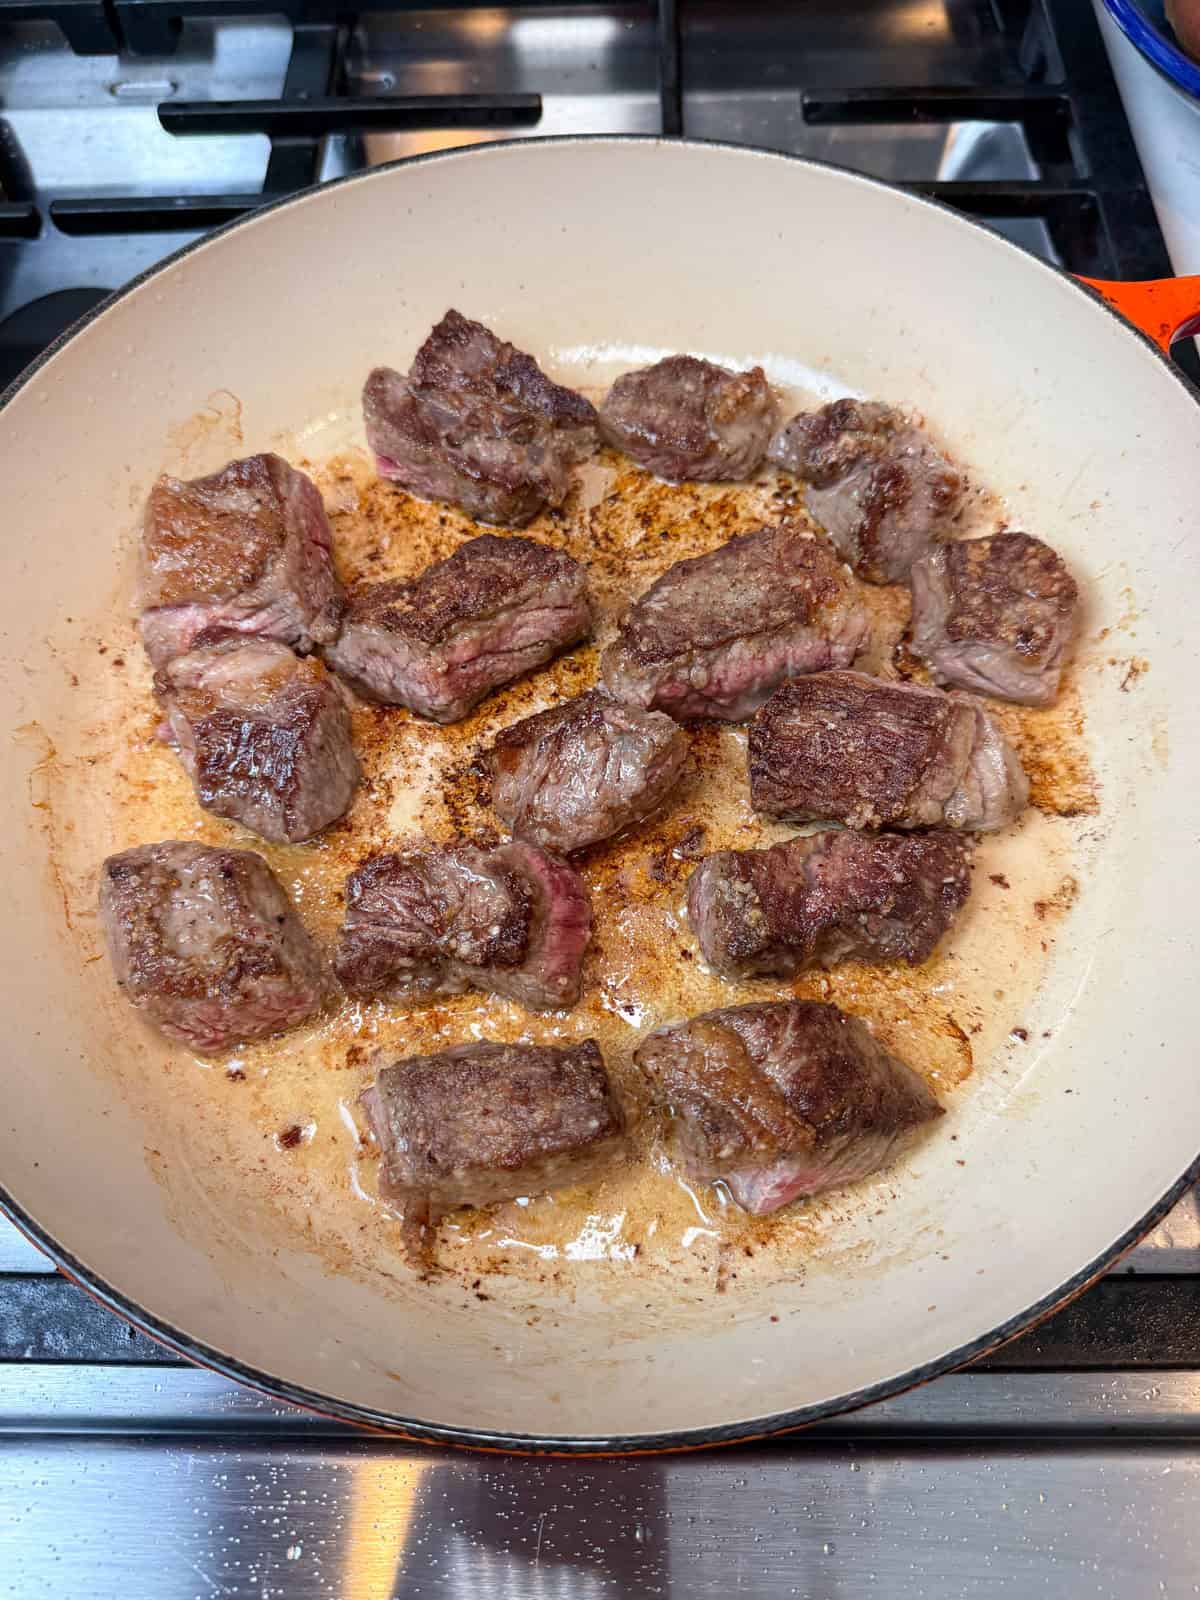
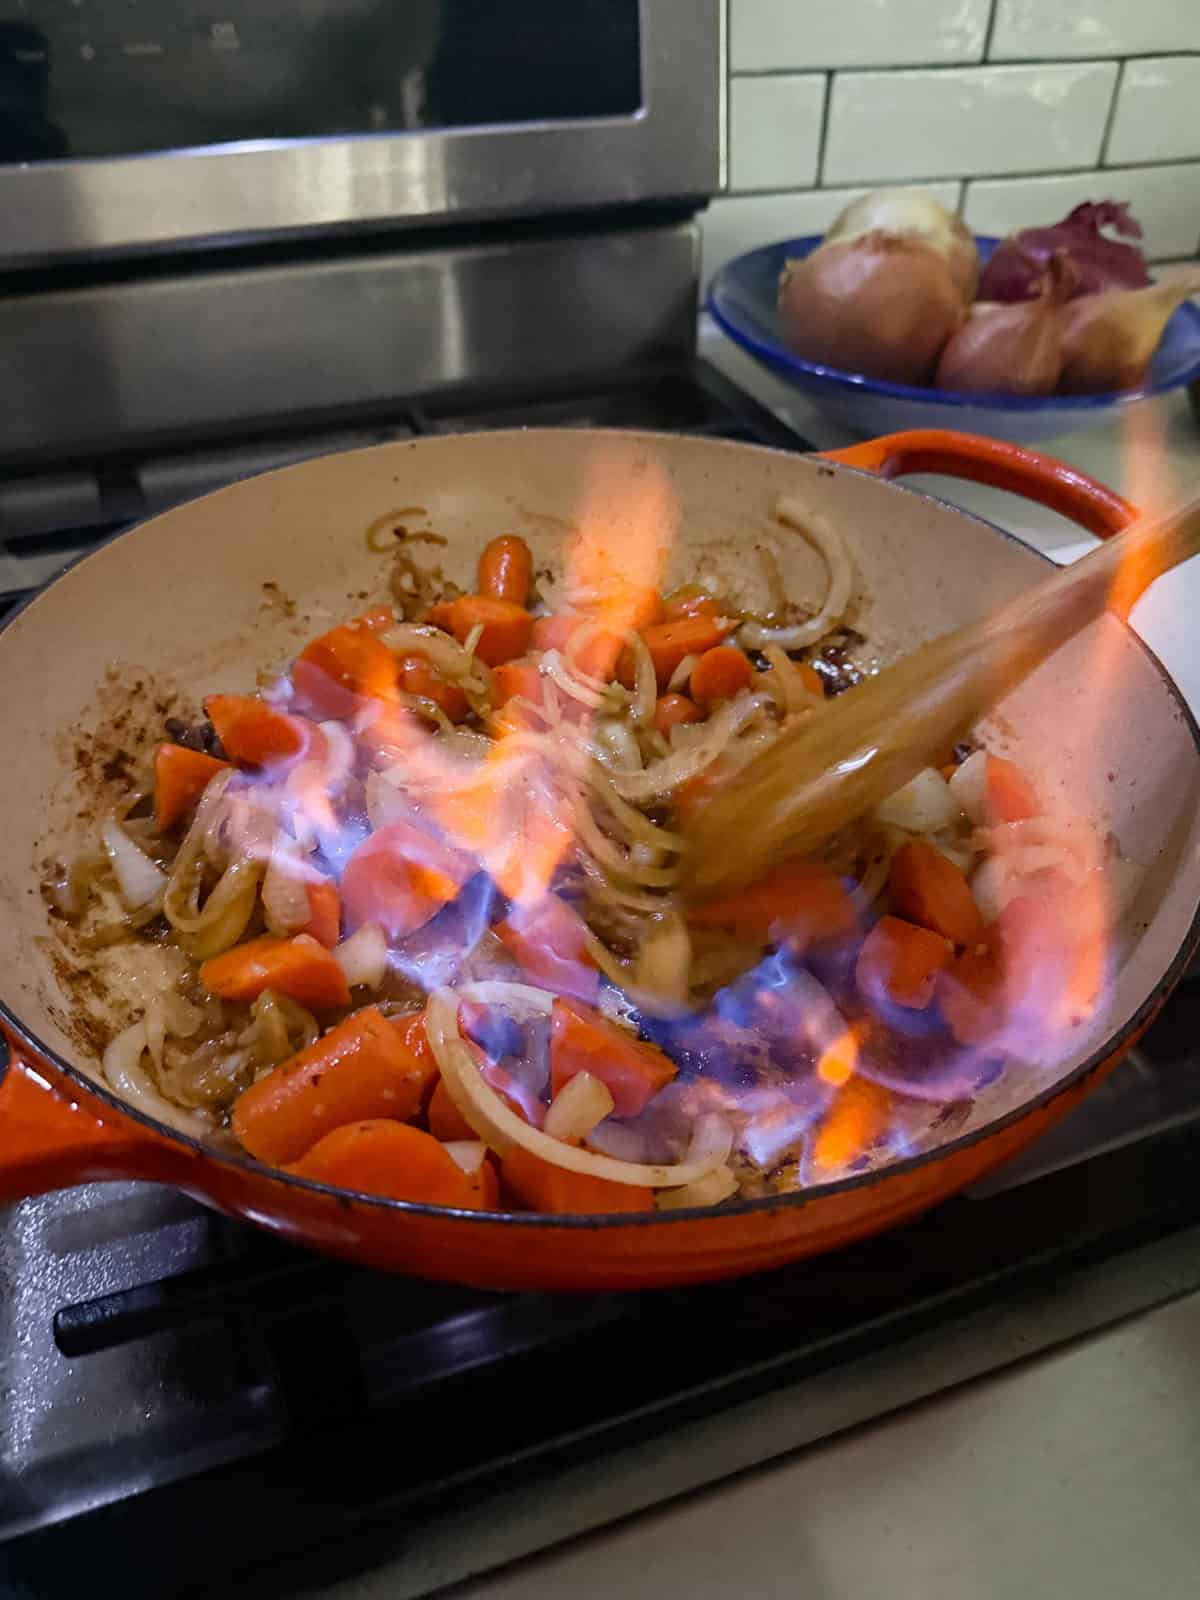
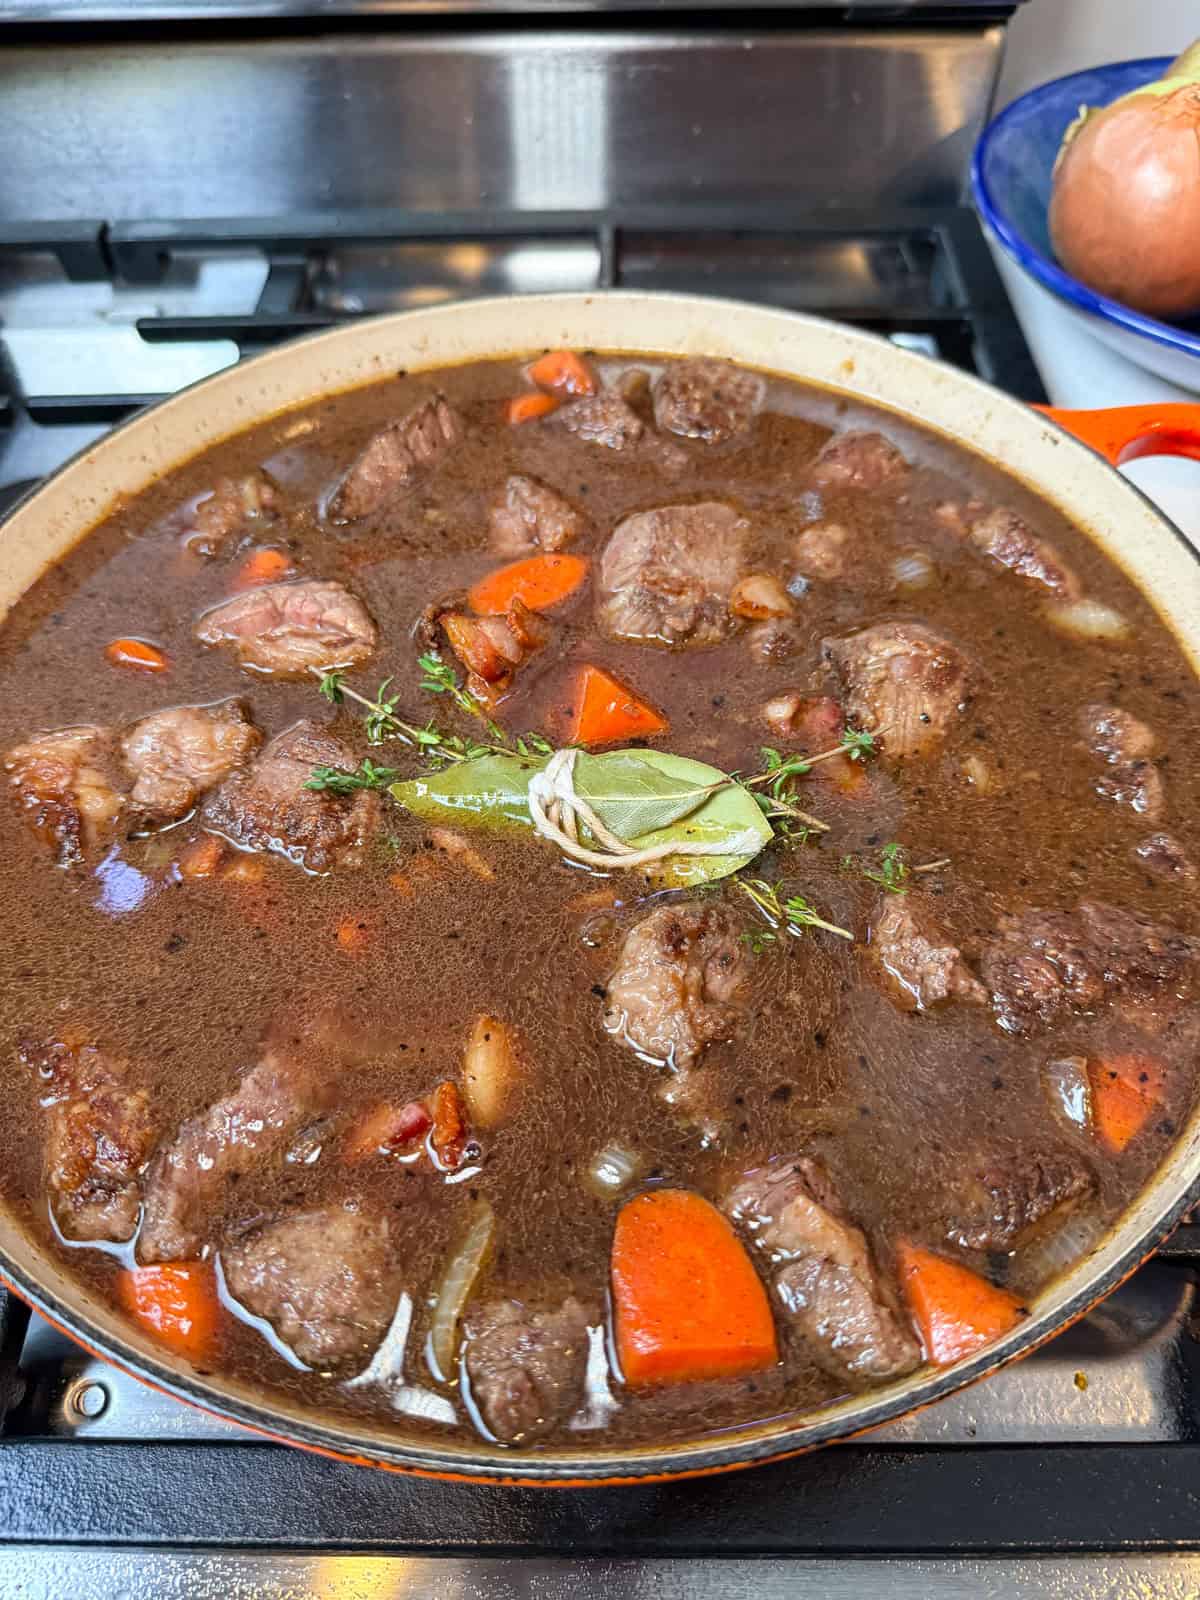
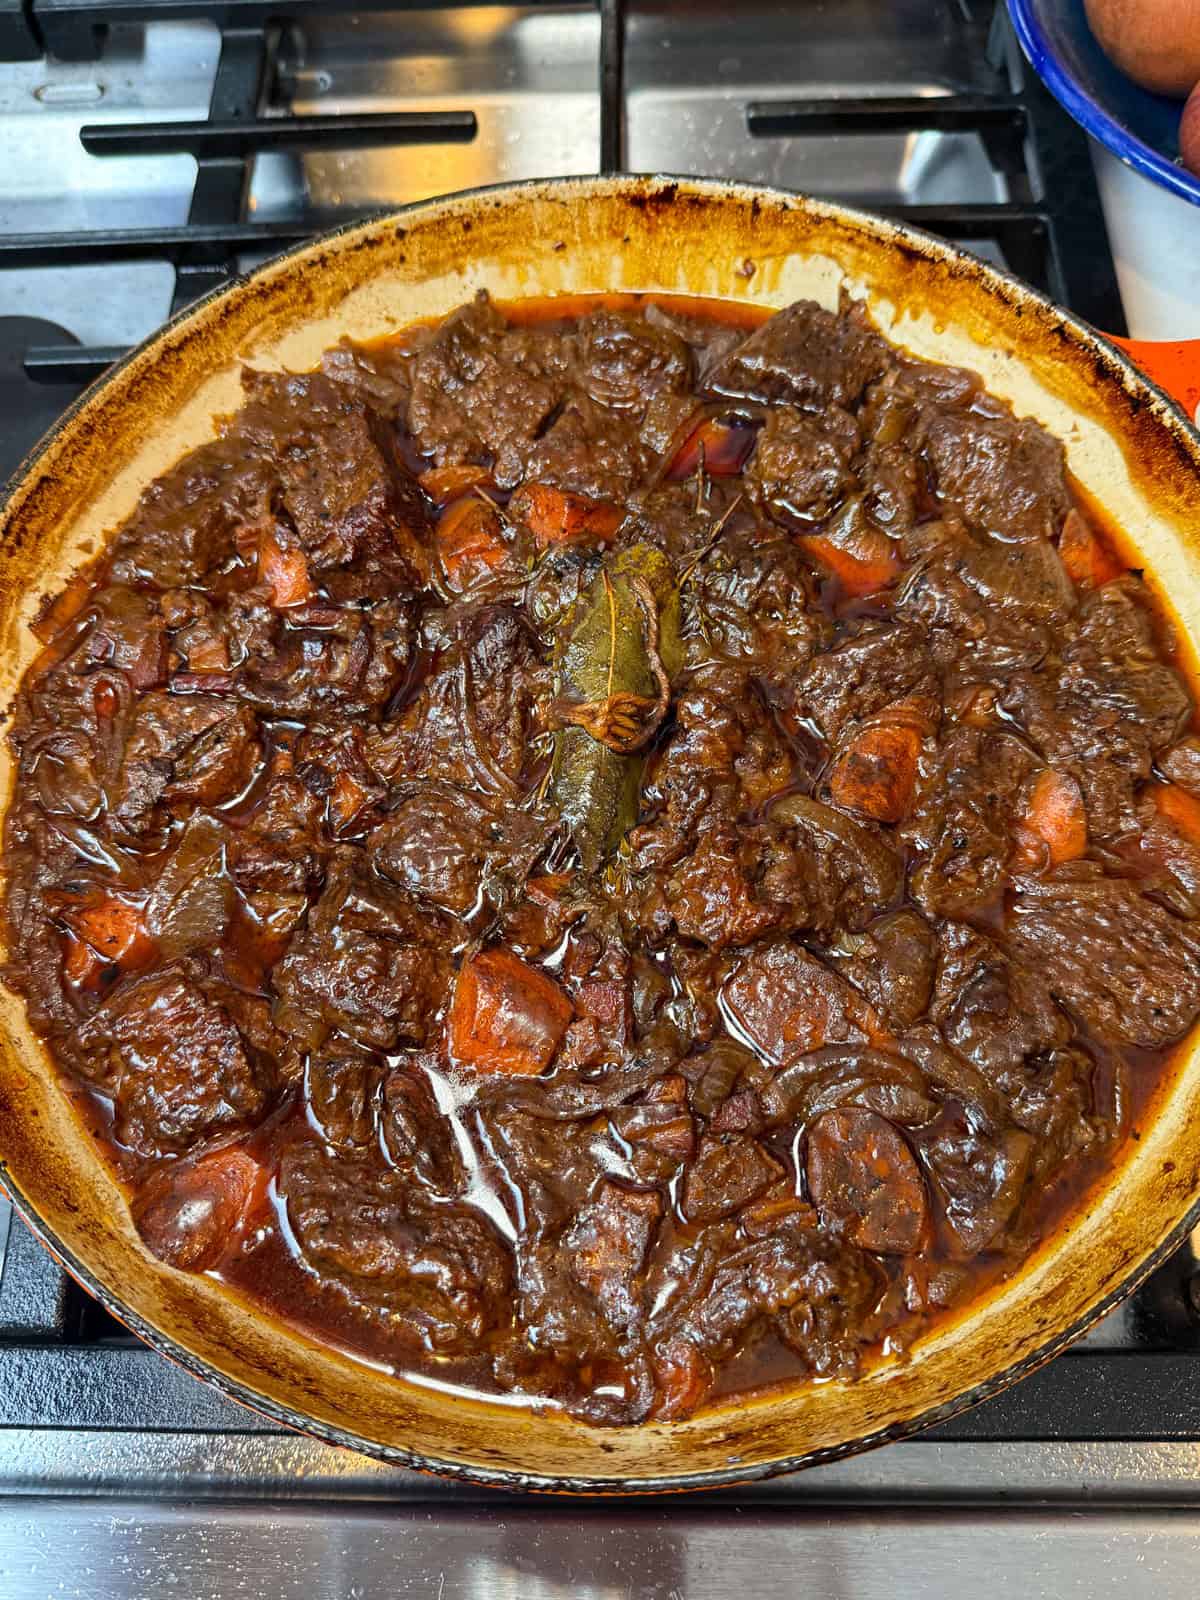
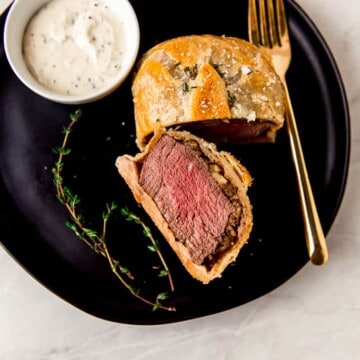
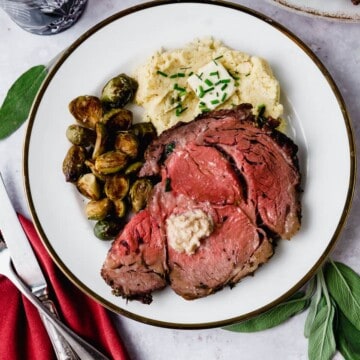
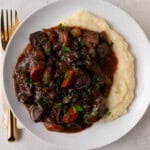
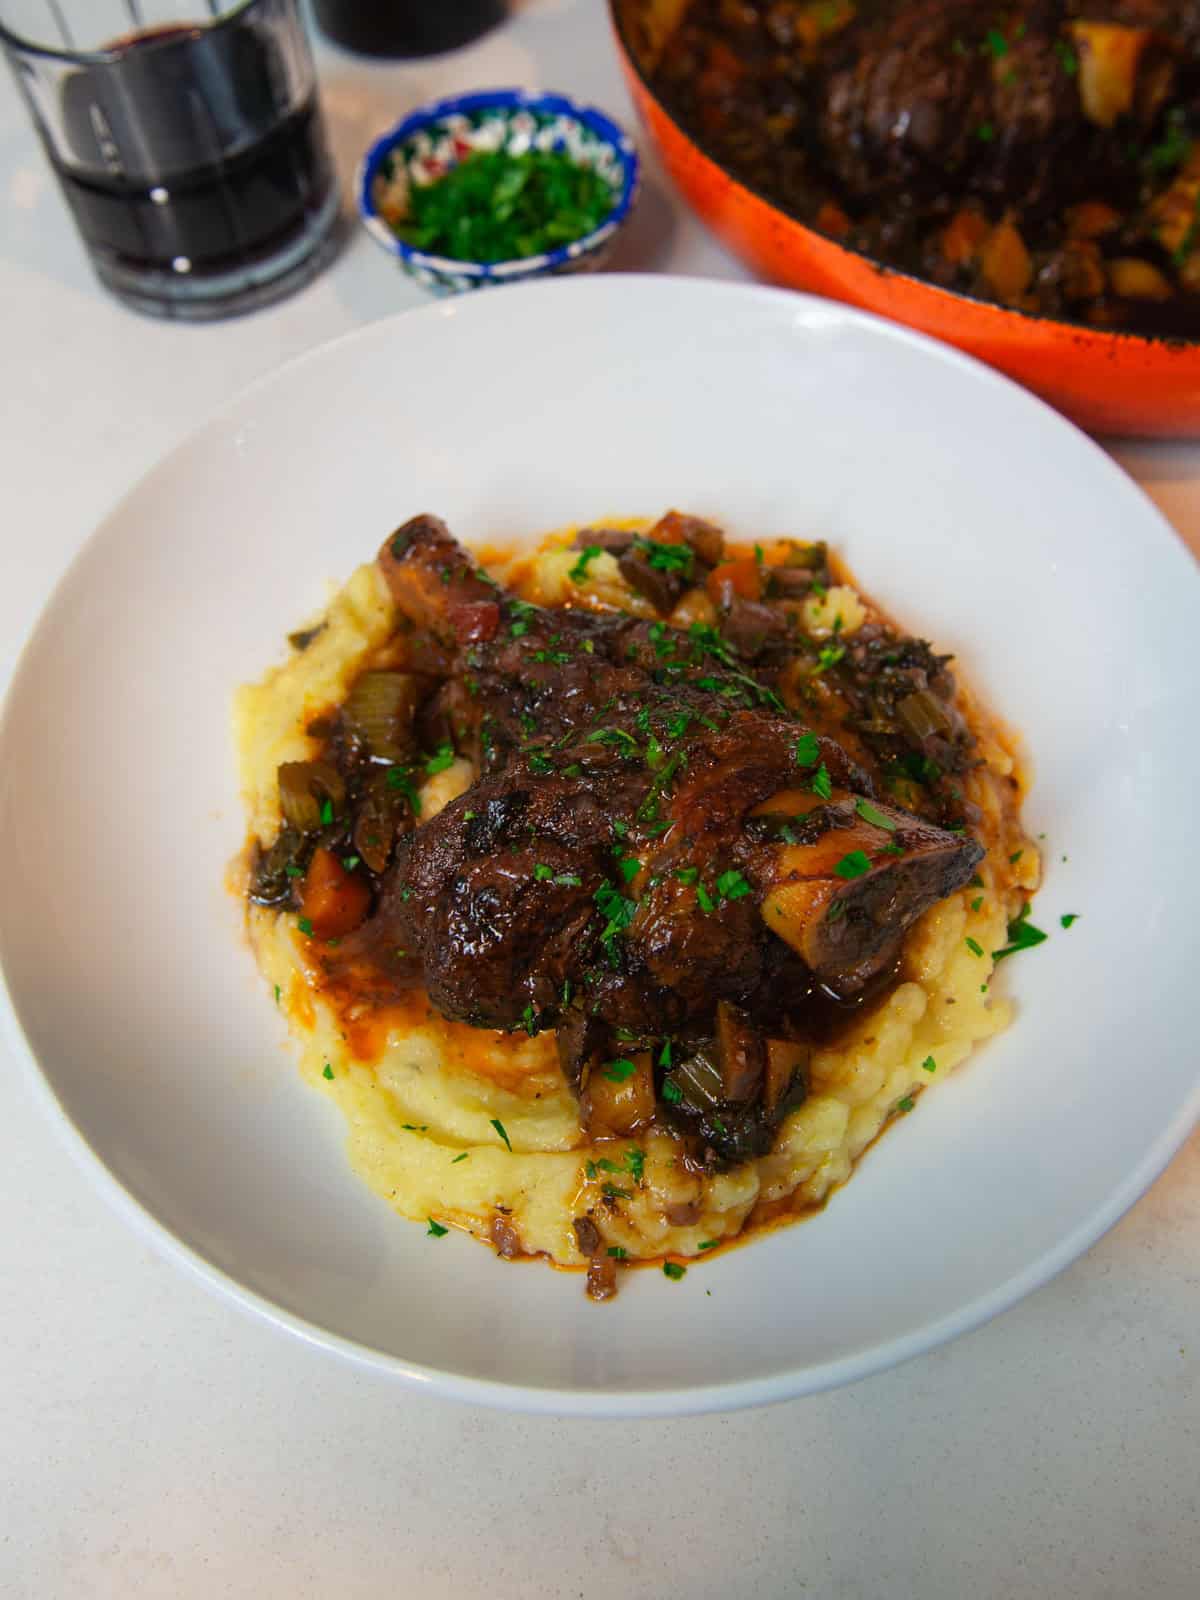
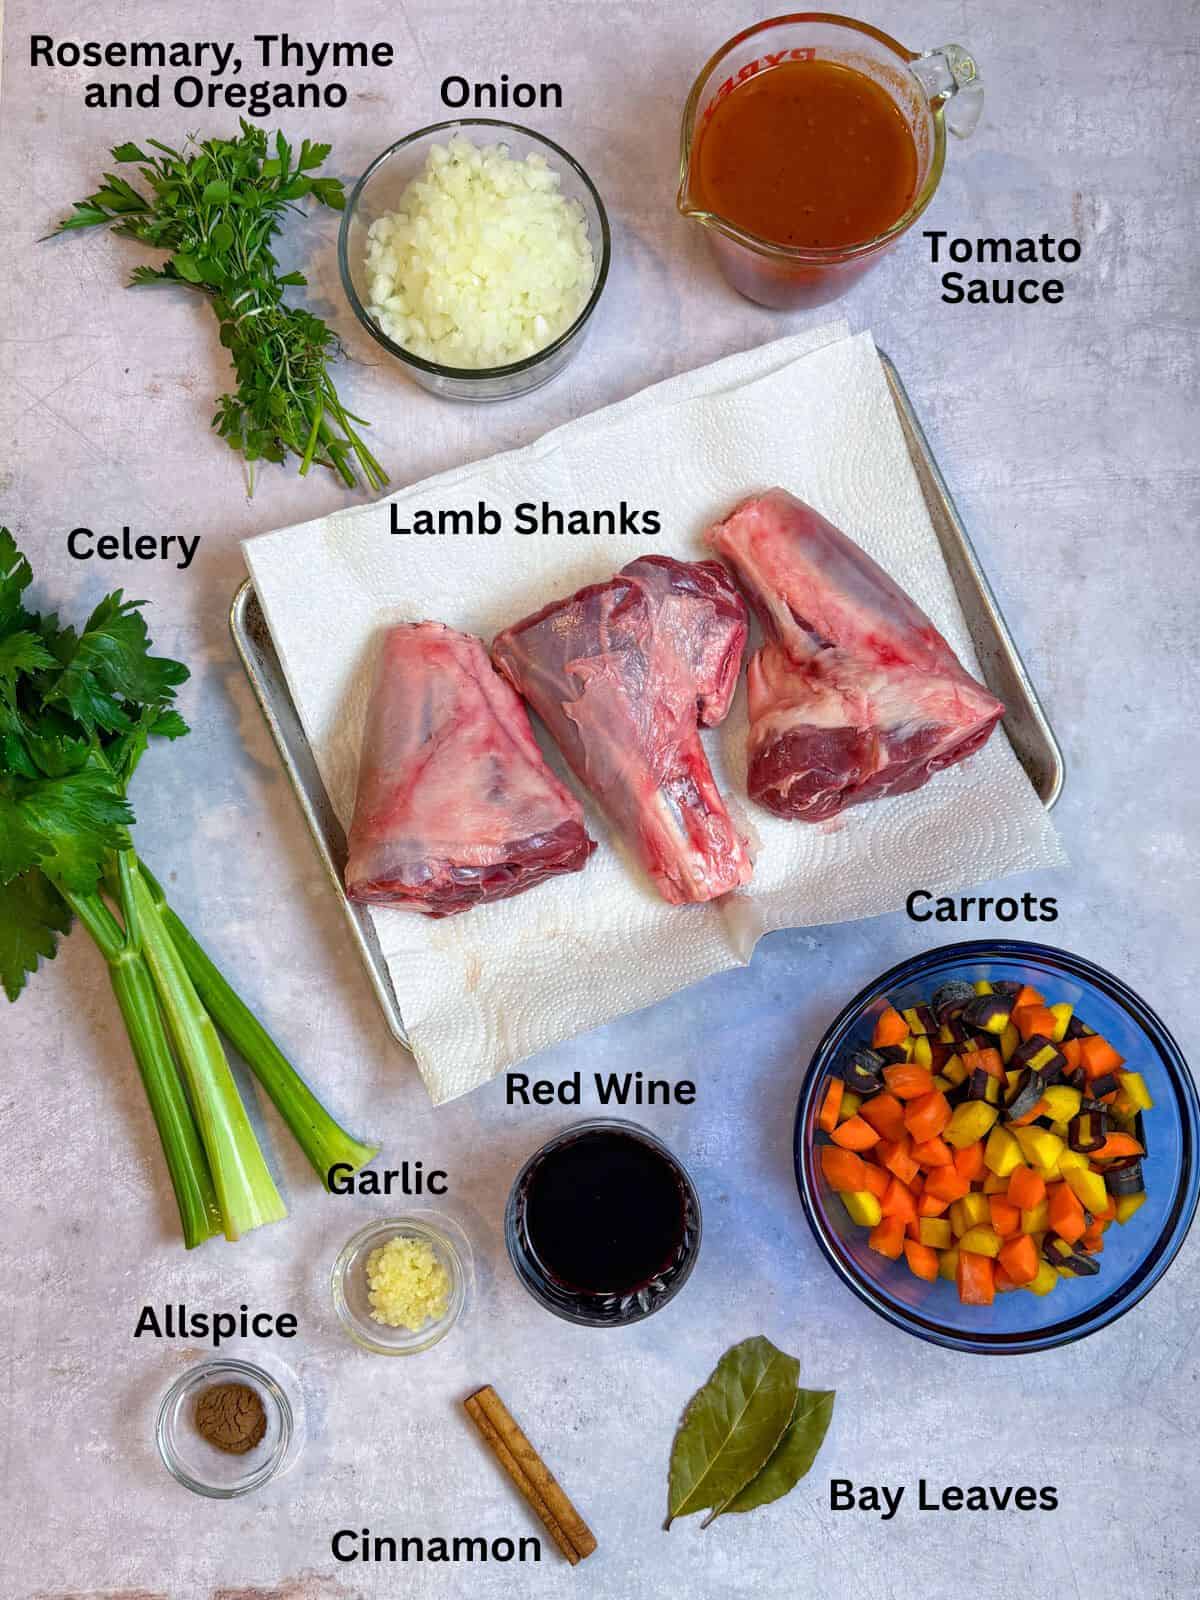
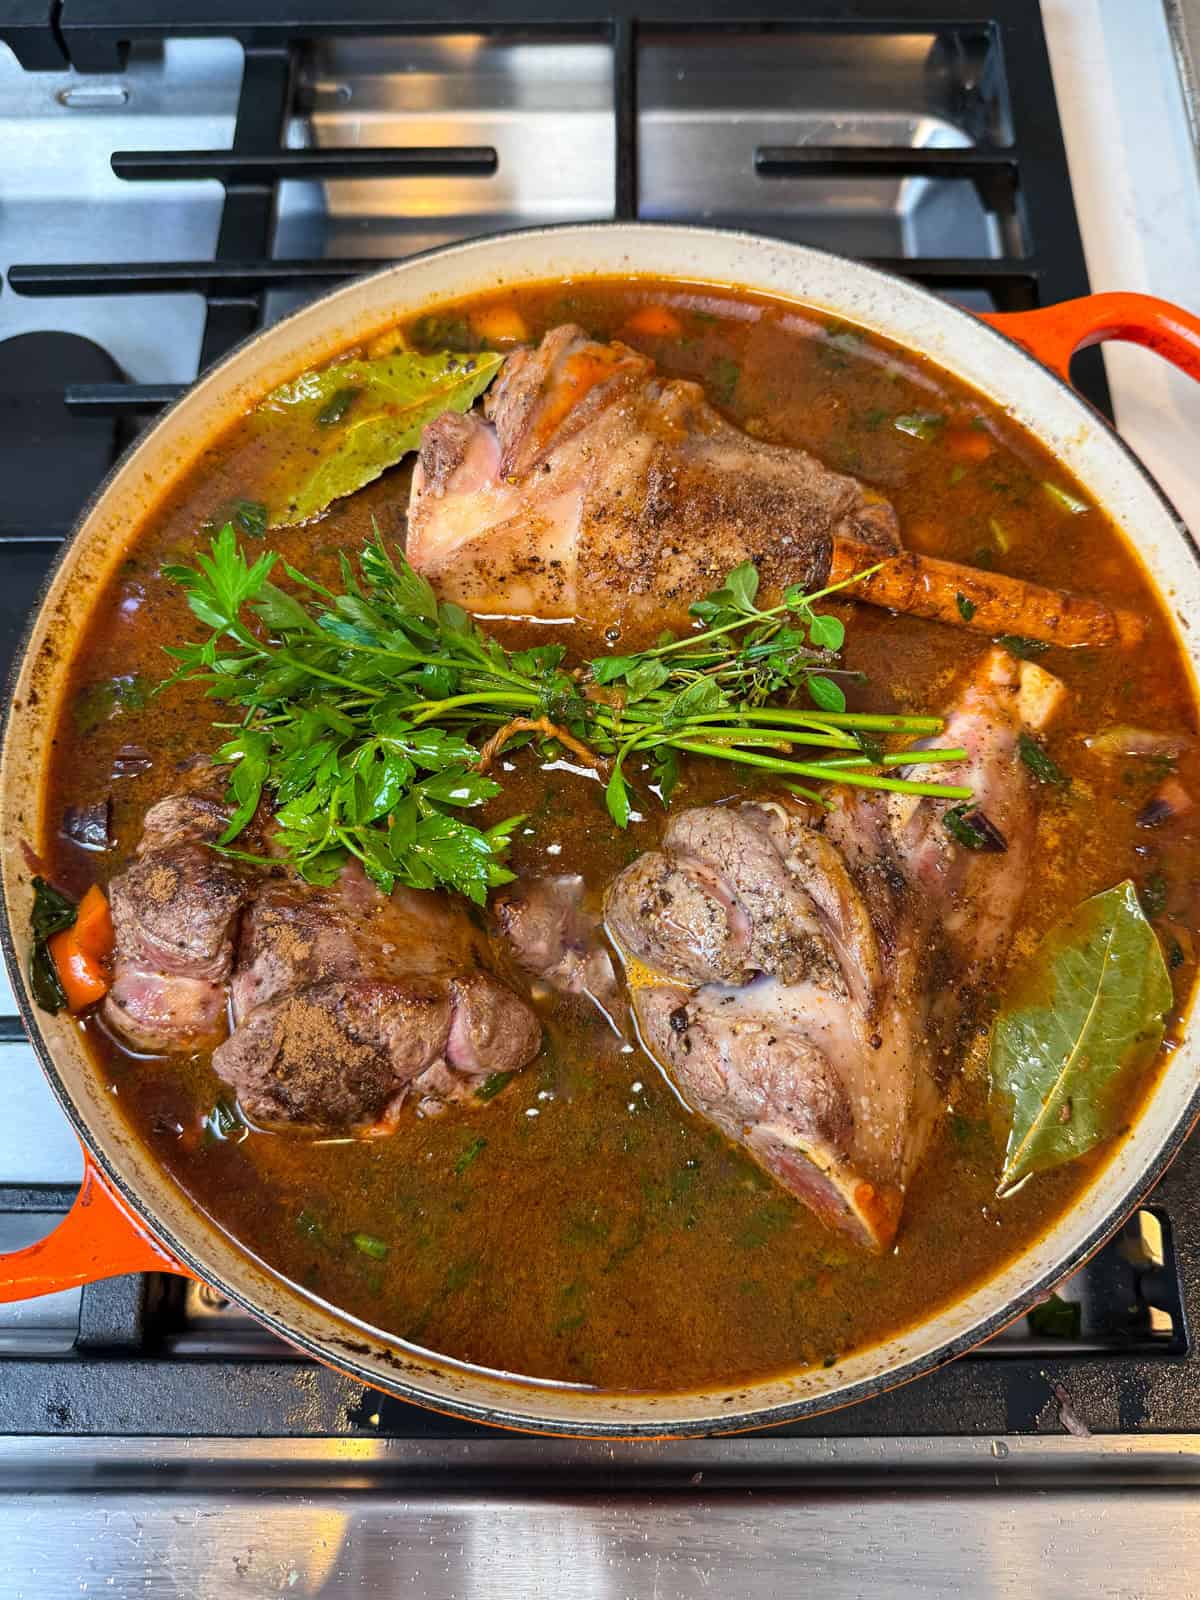
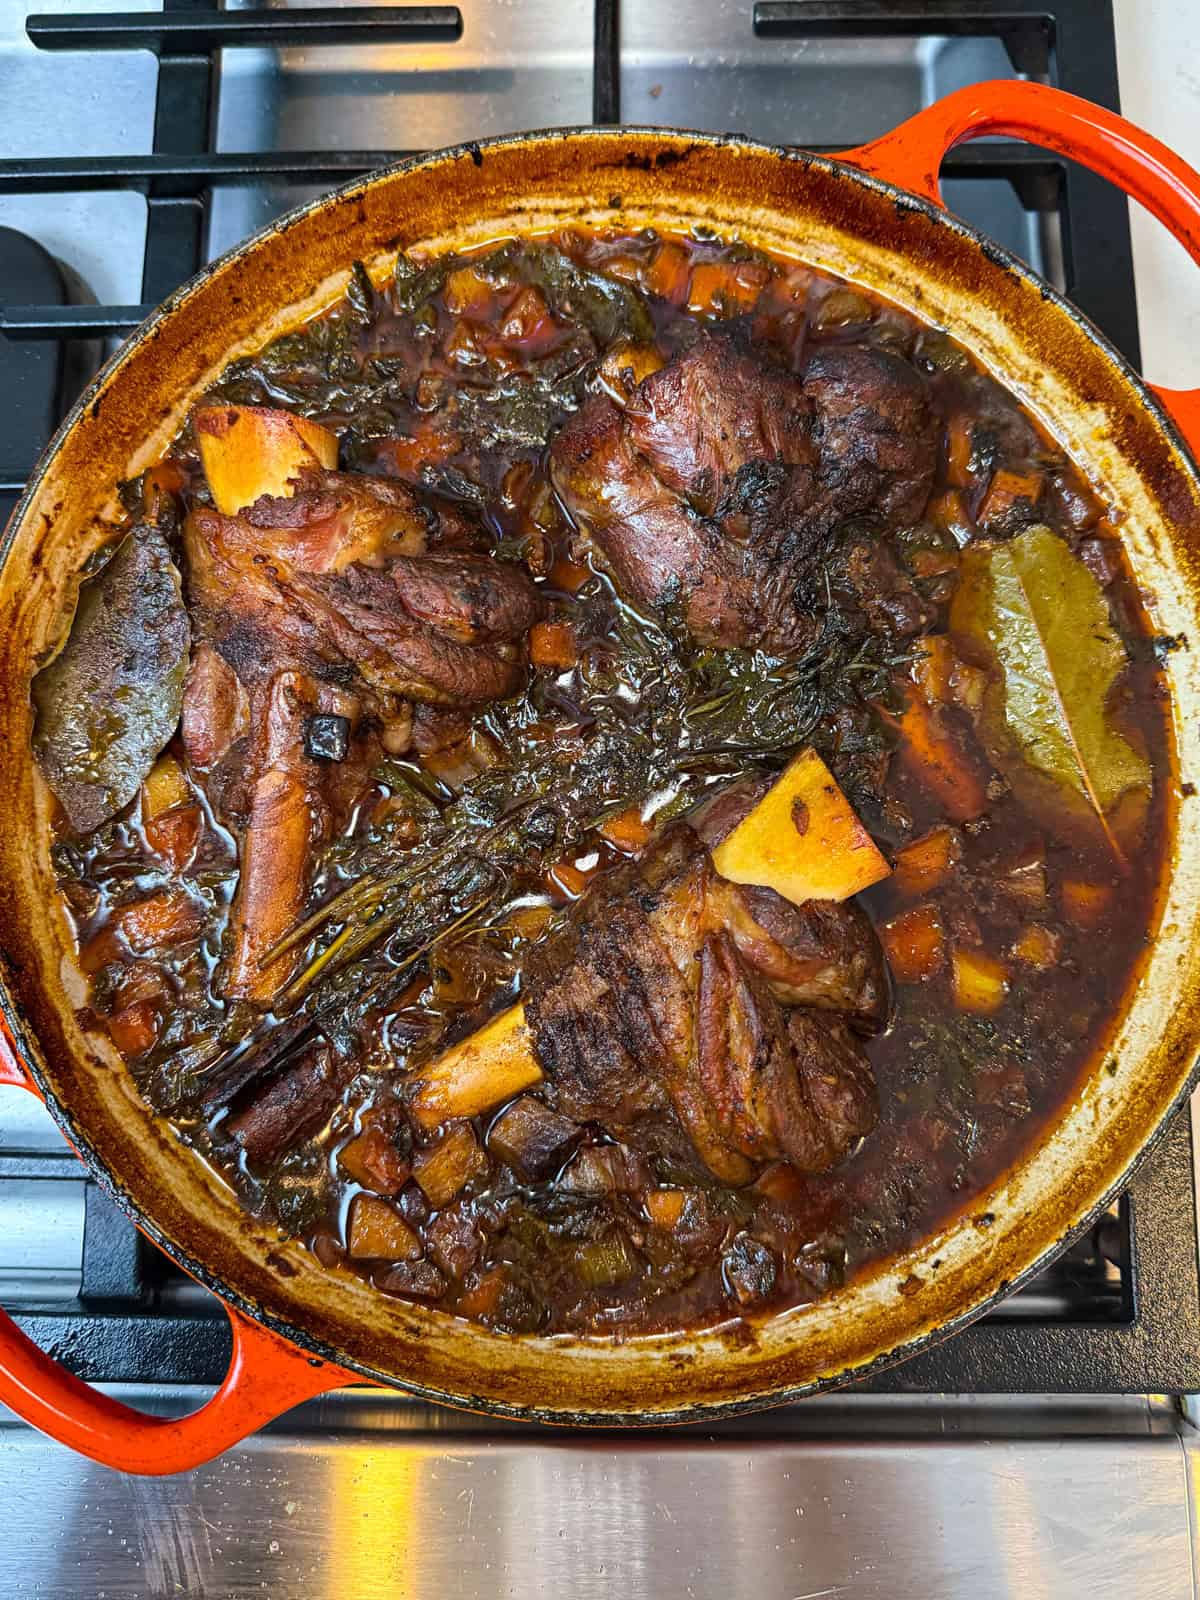
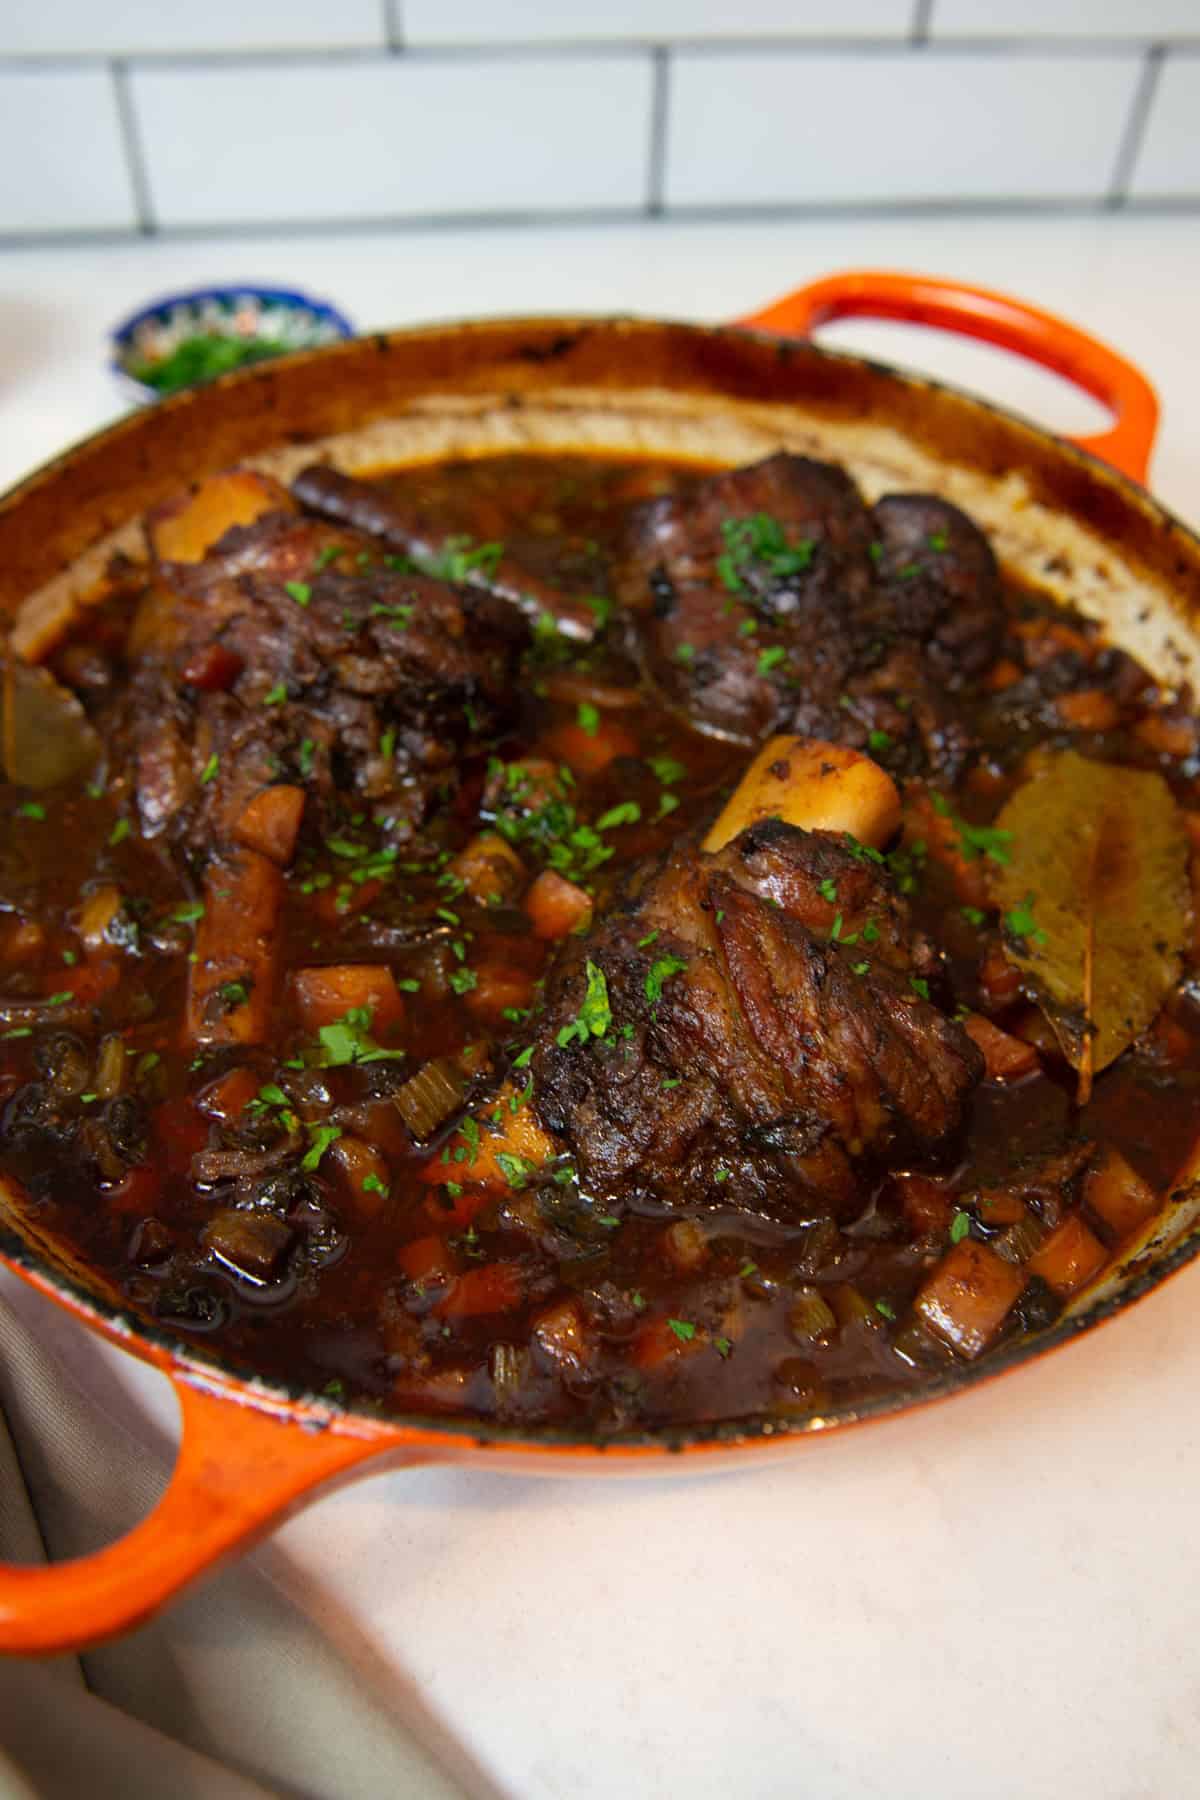
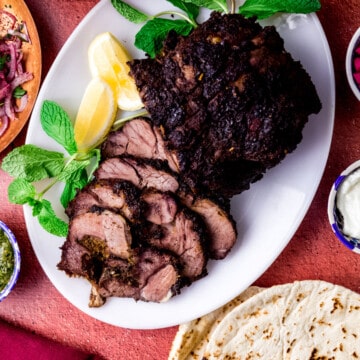
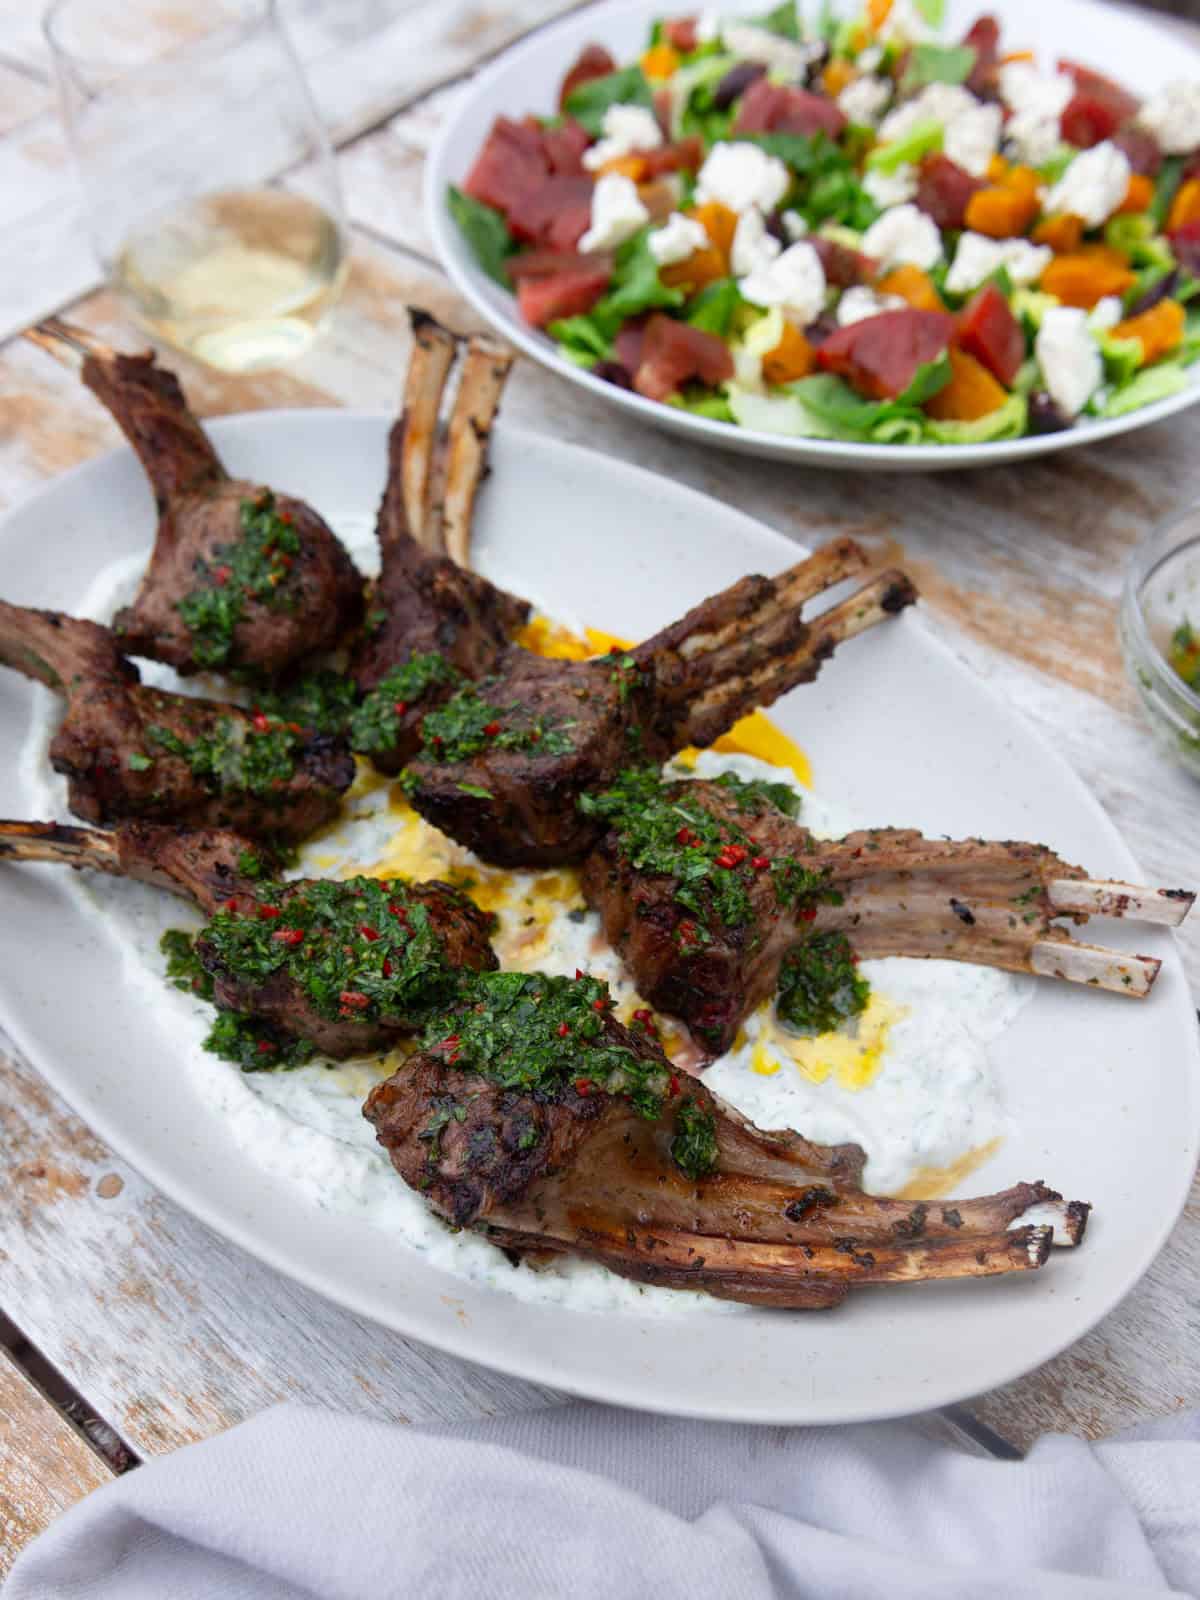
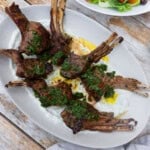
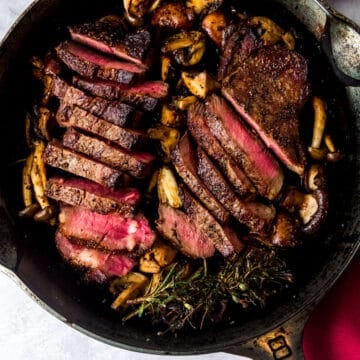
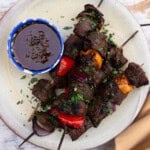
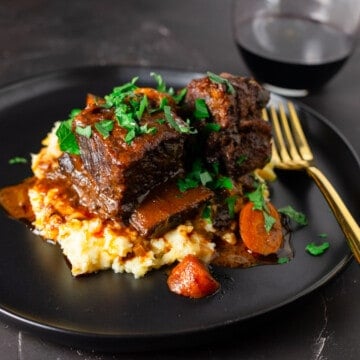
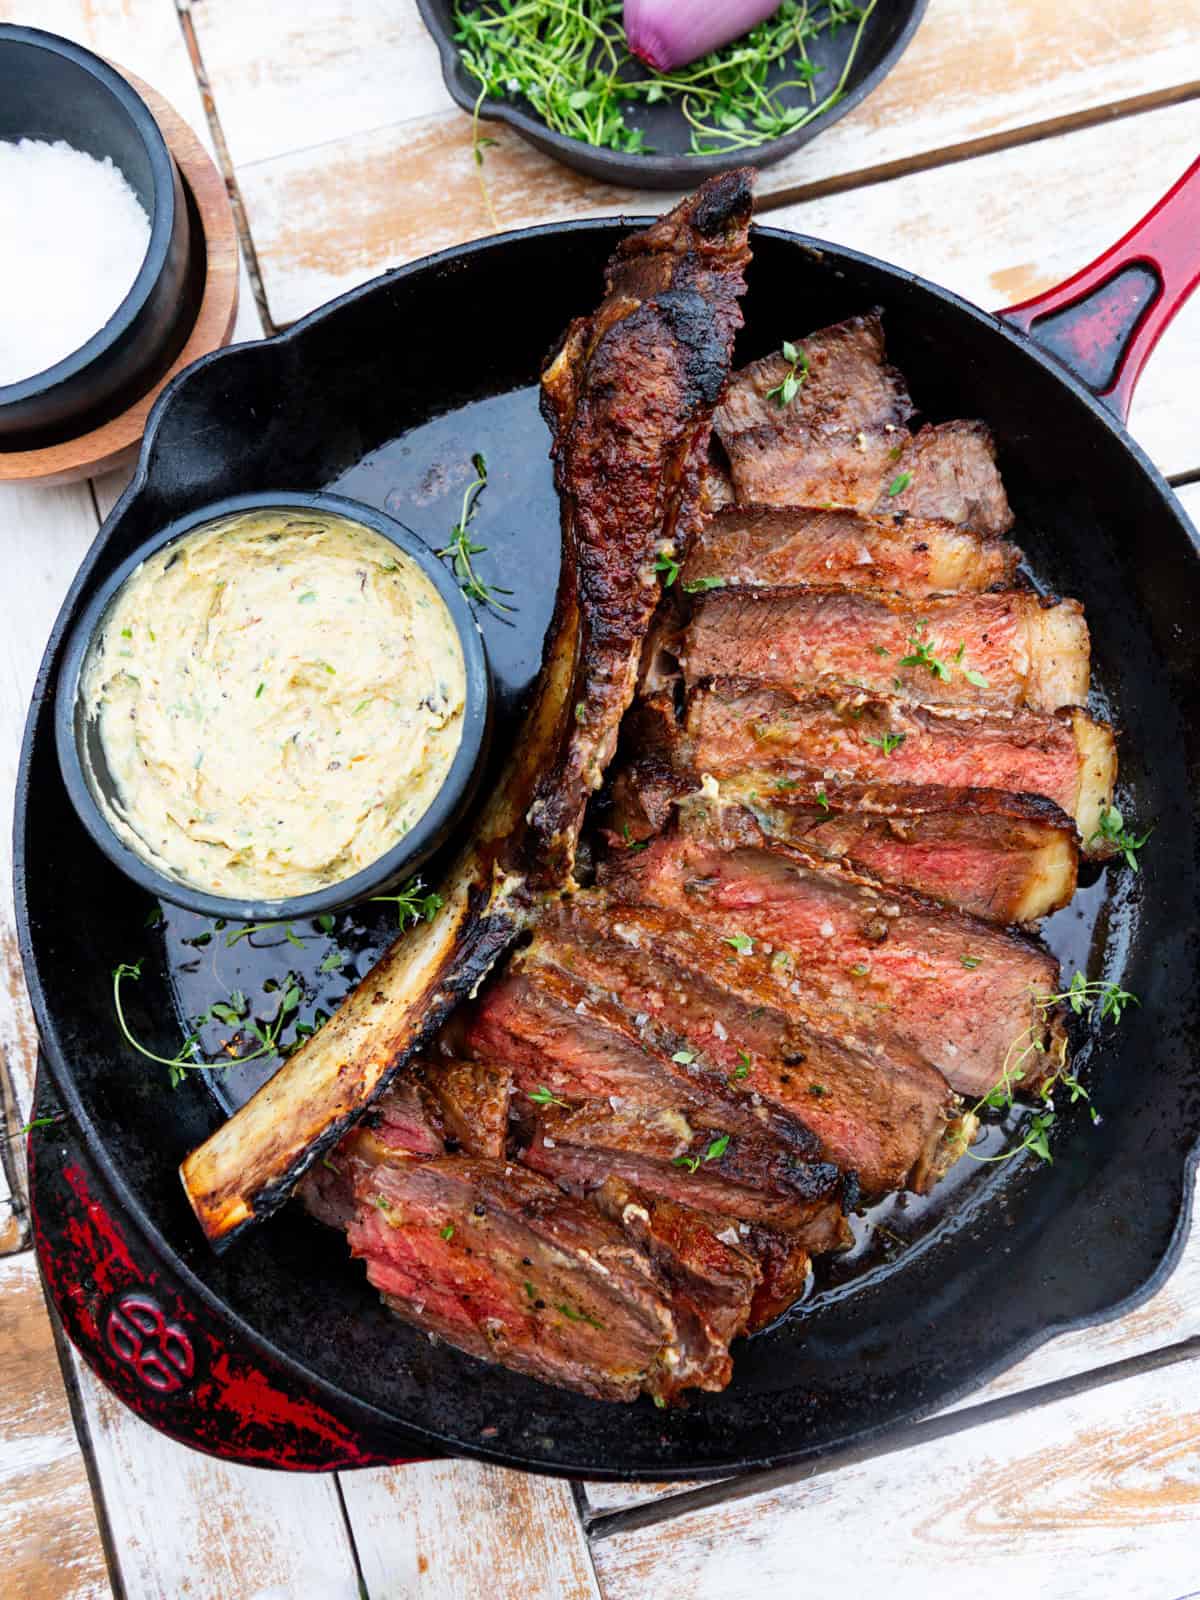
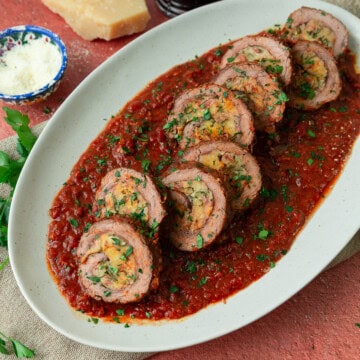
Pomegranate Braised Short Ribs (Meat Option): Rich, tender, deeply flavorful short ribs braised with sweet and tangy pomegranate and red wine. Serve over creamy sweet potatoes for a stunning holiday main course.

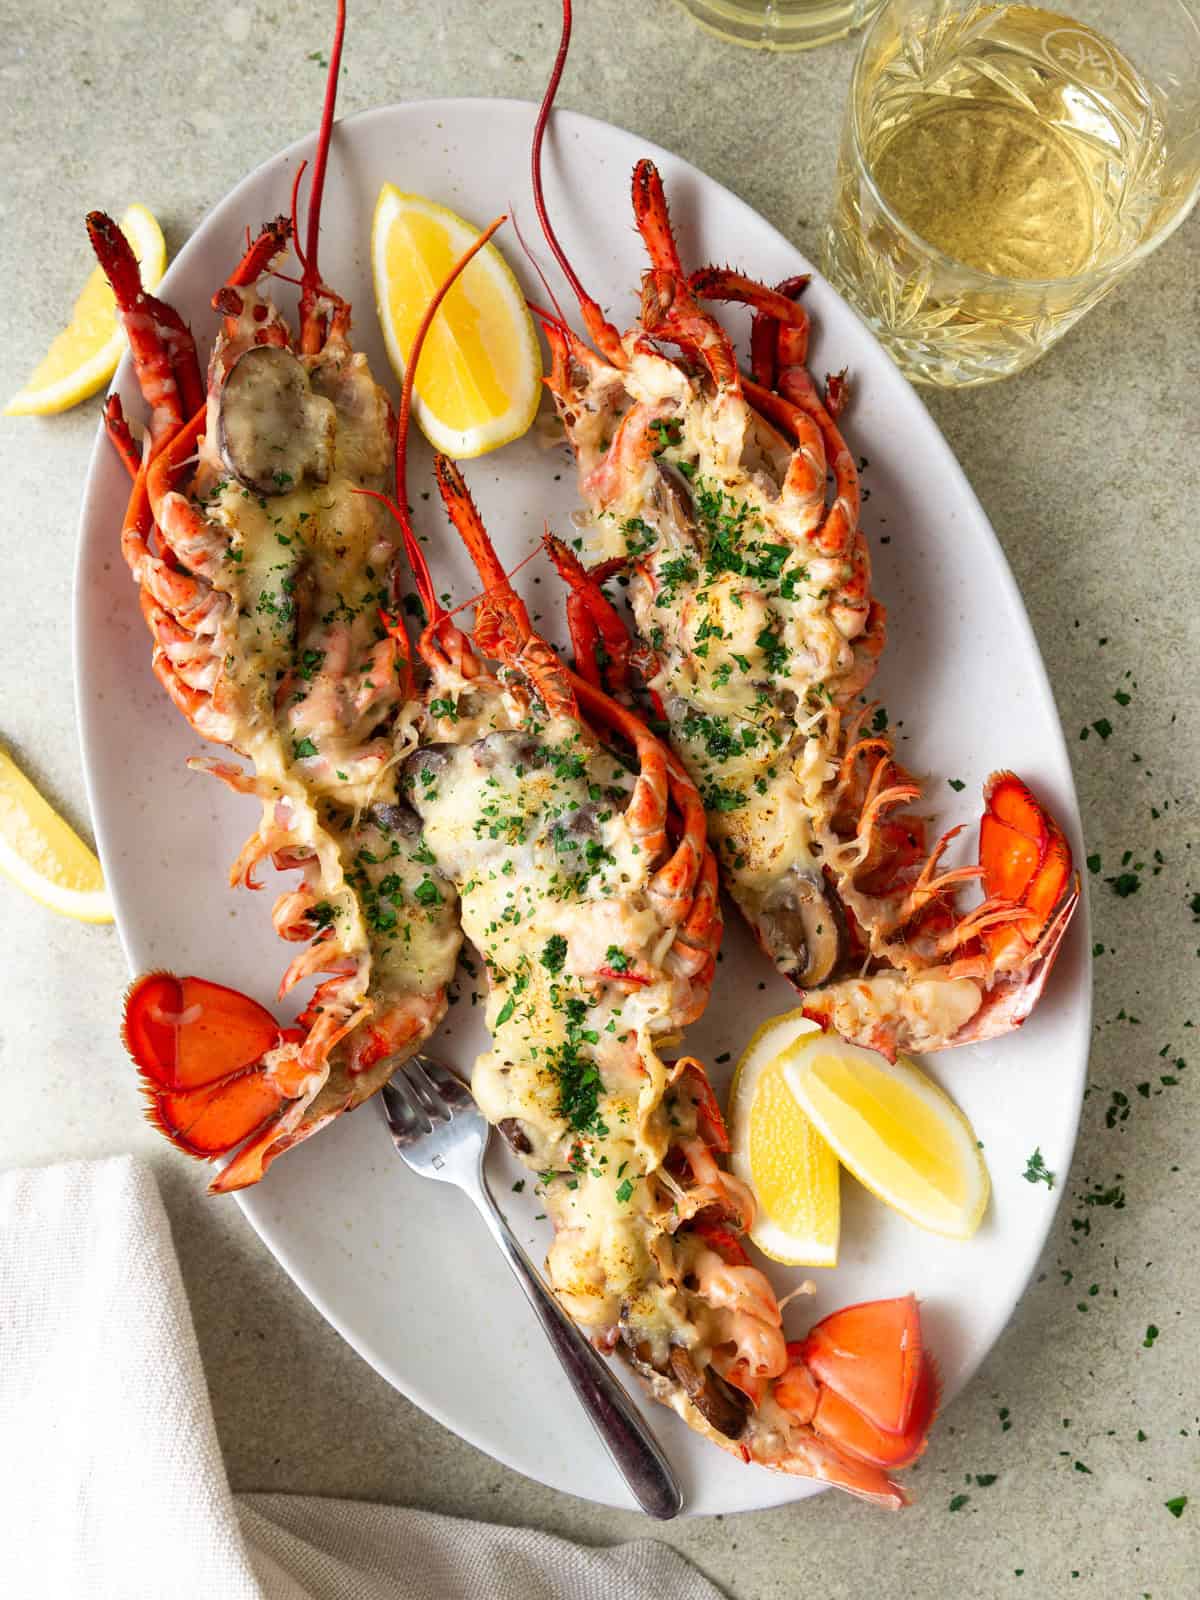
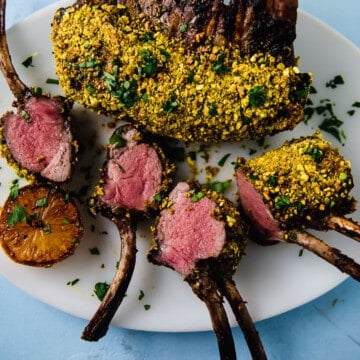
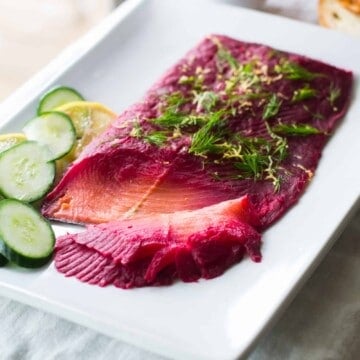
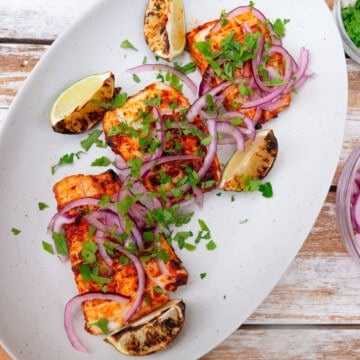
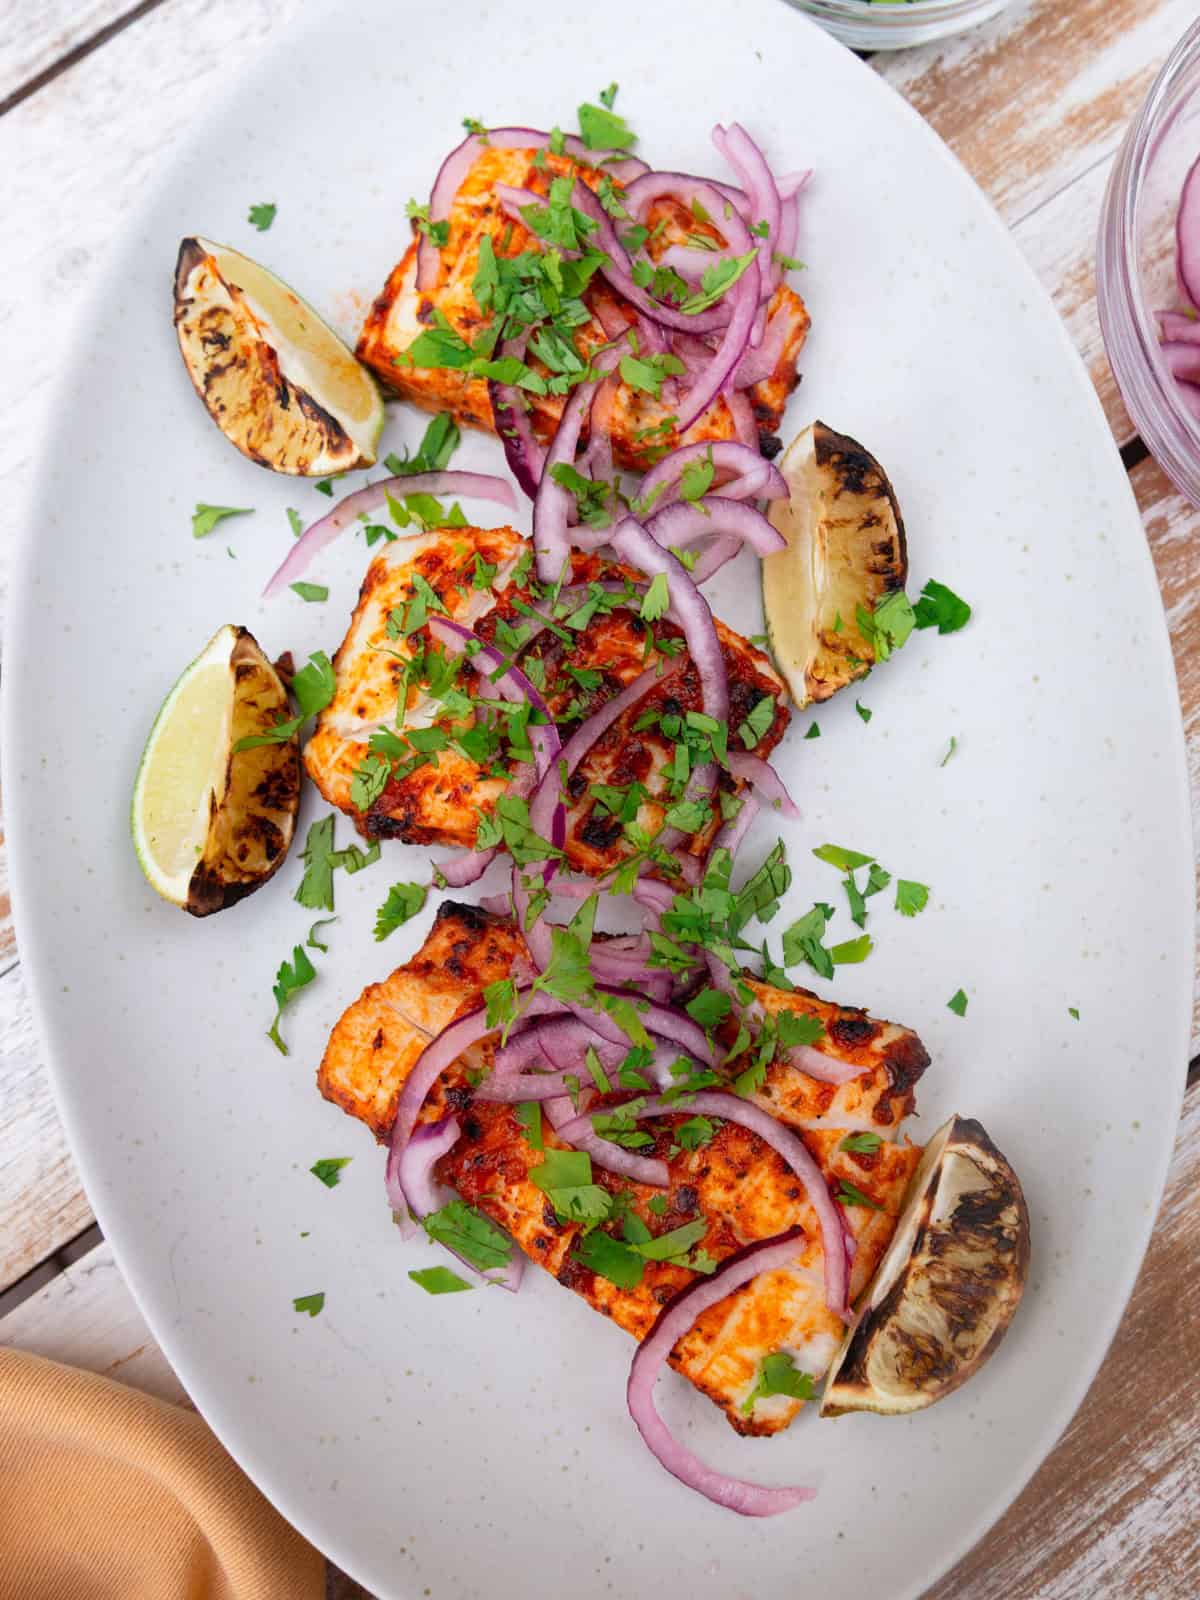
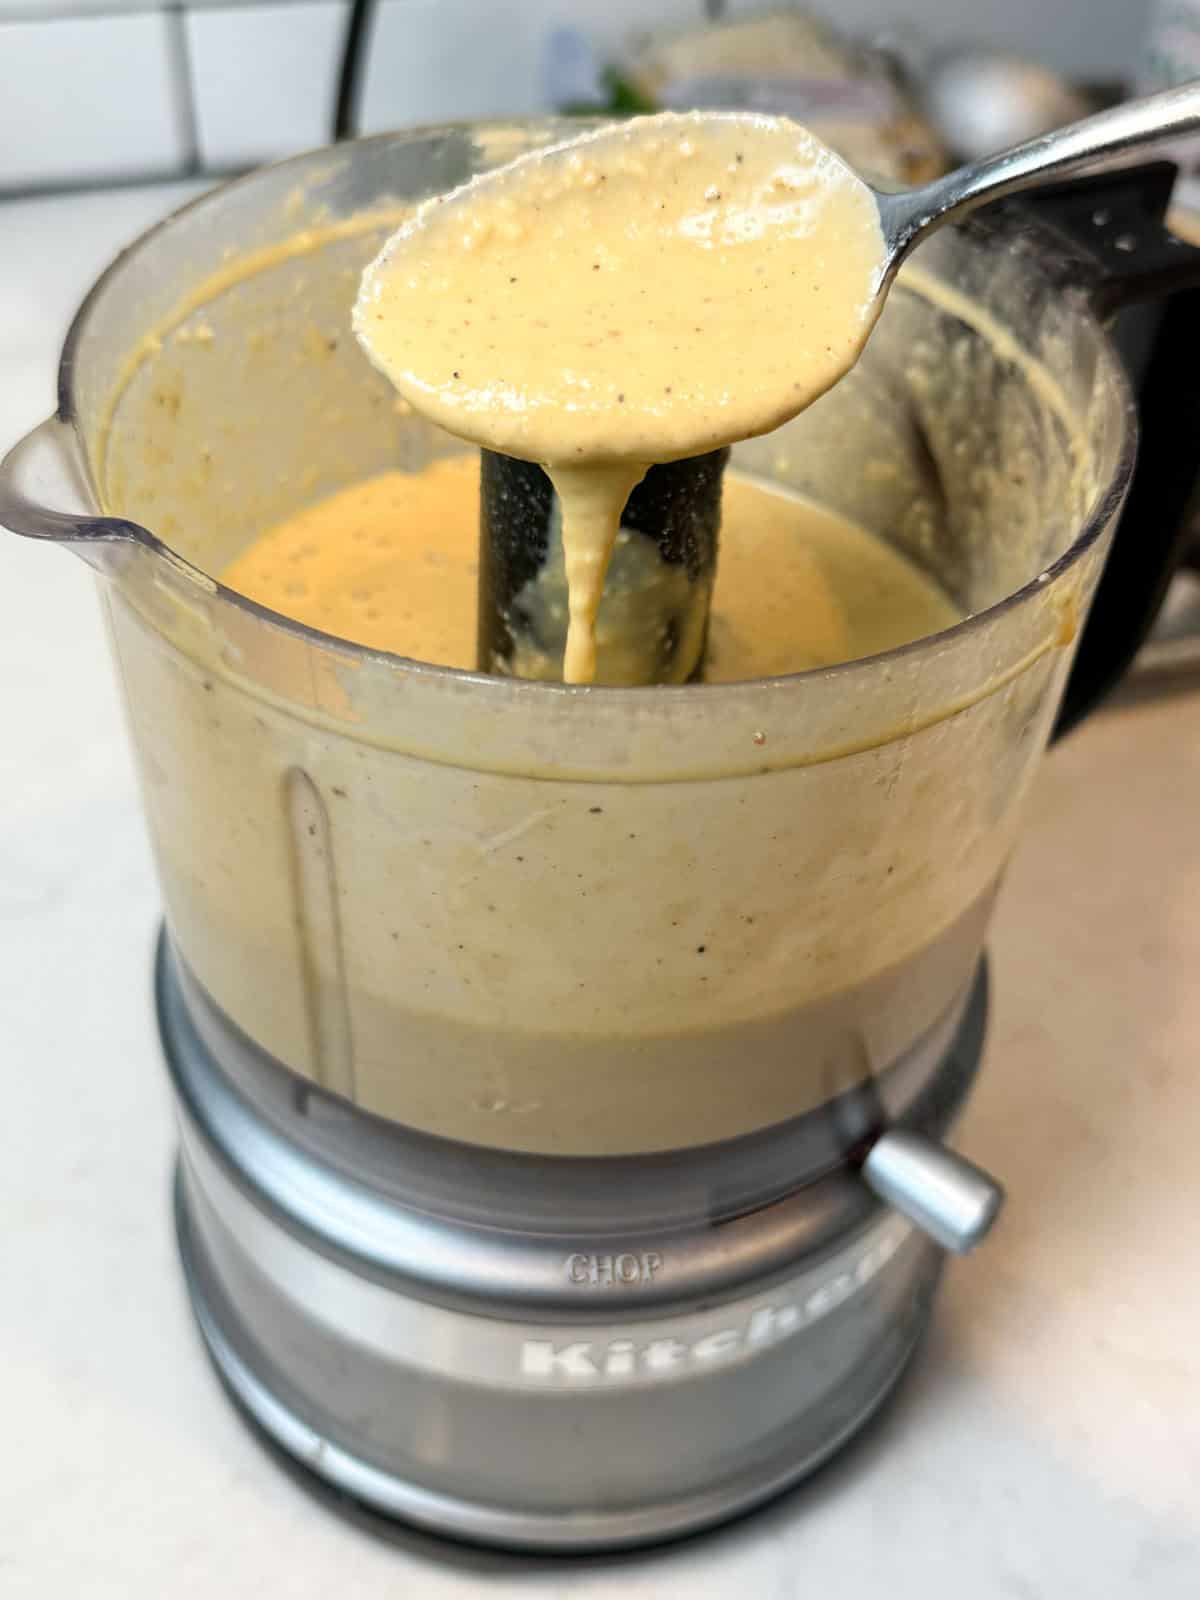
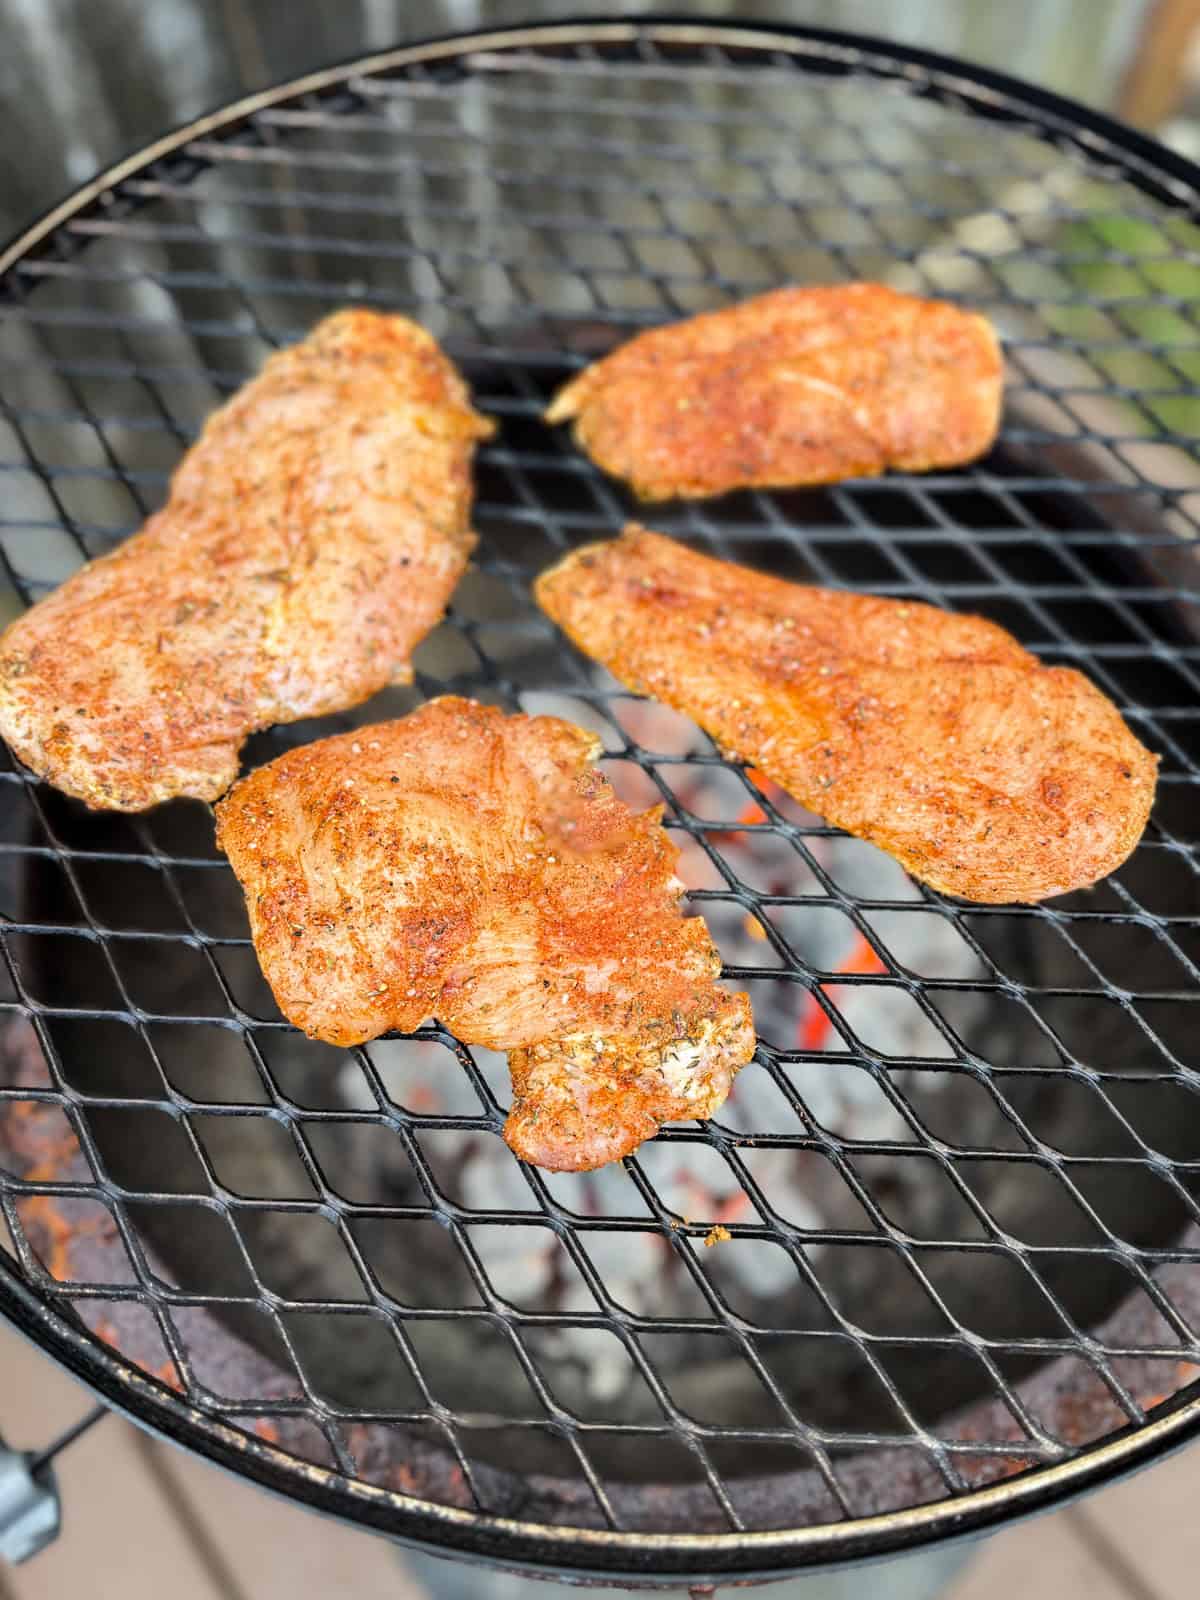
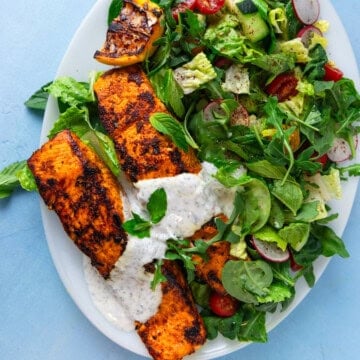
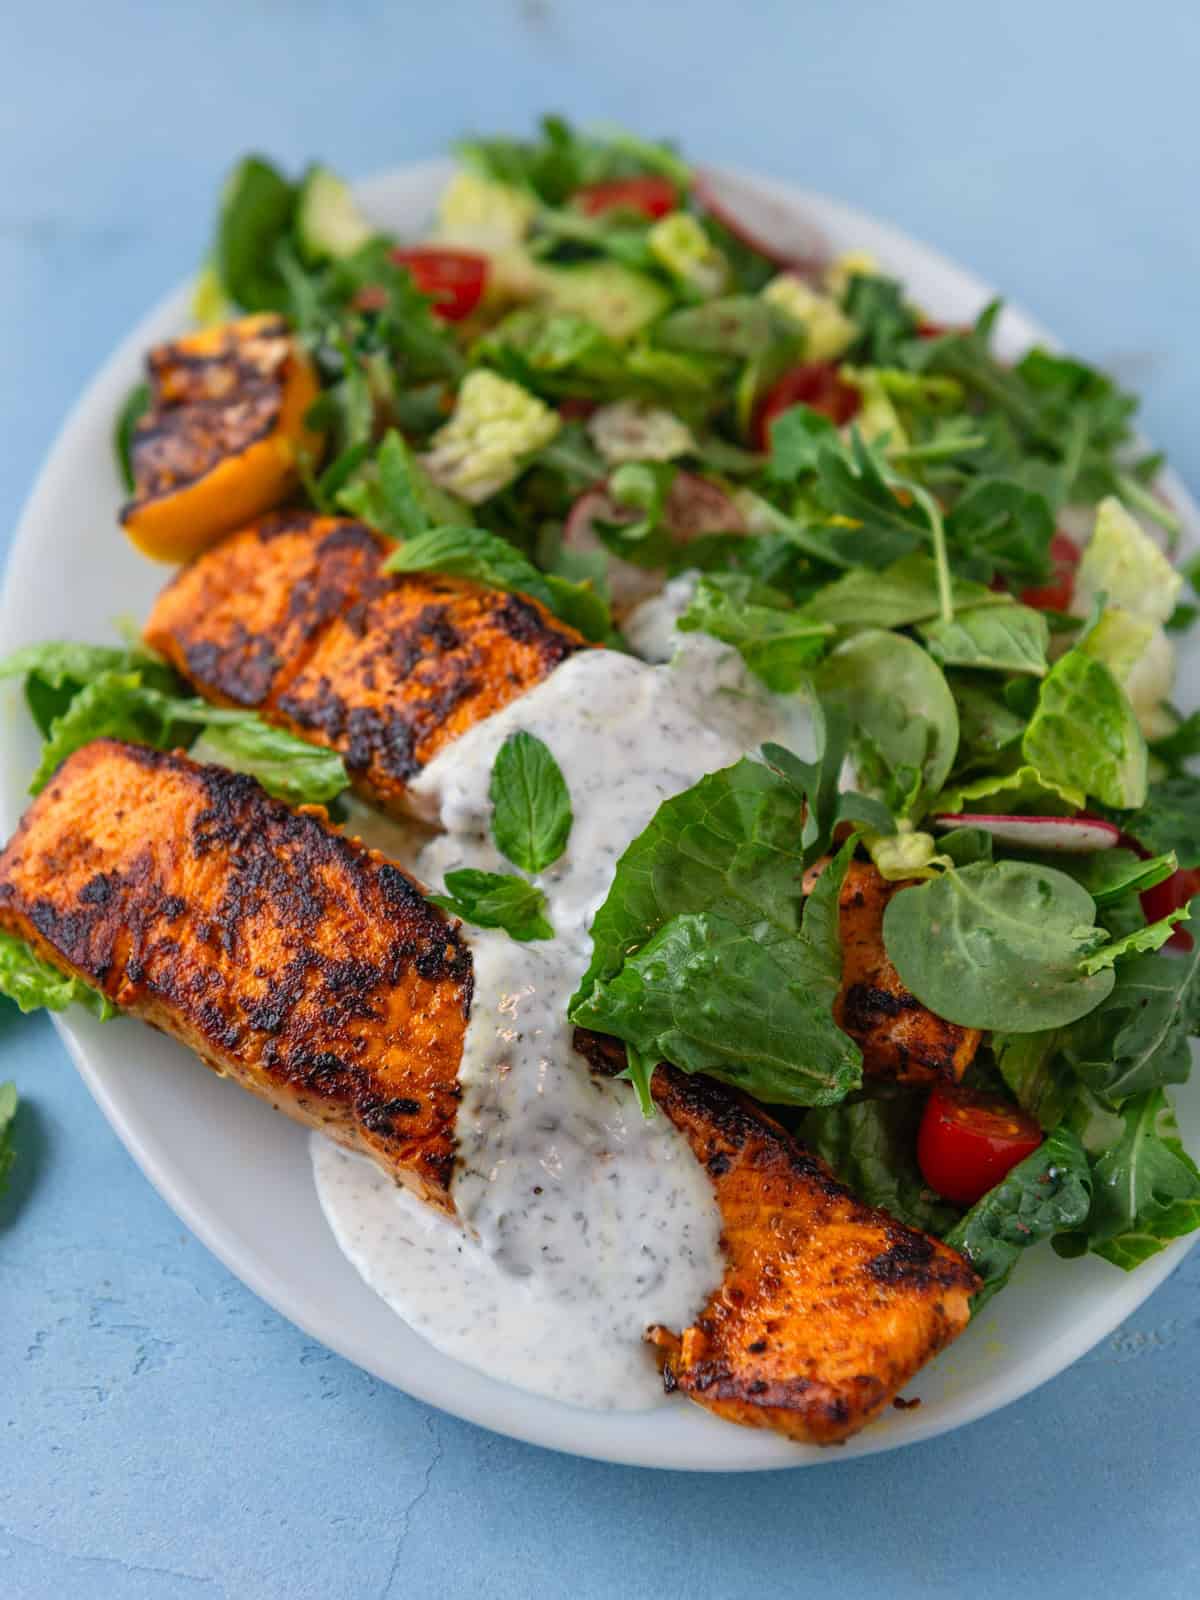
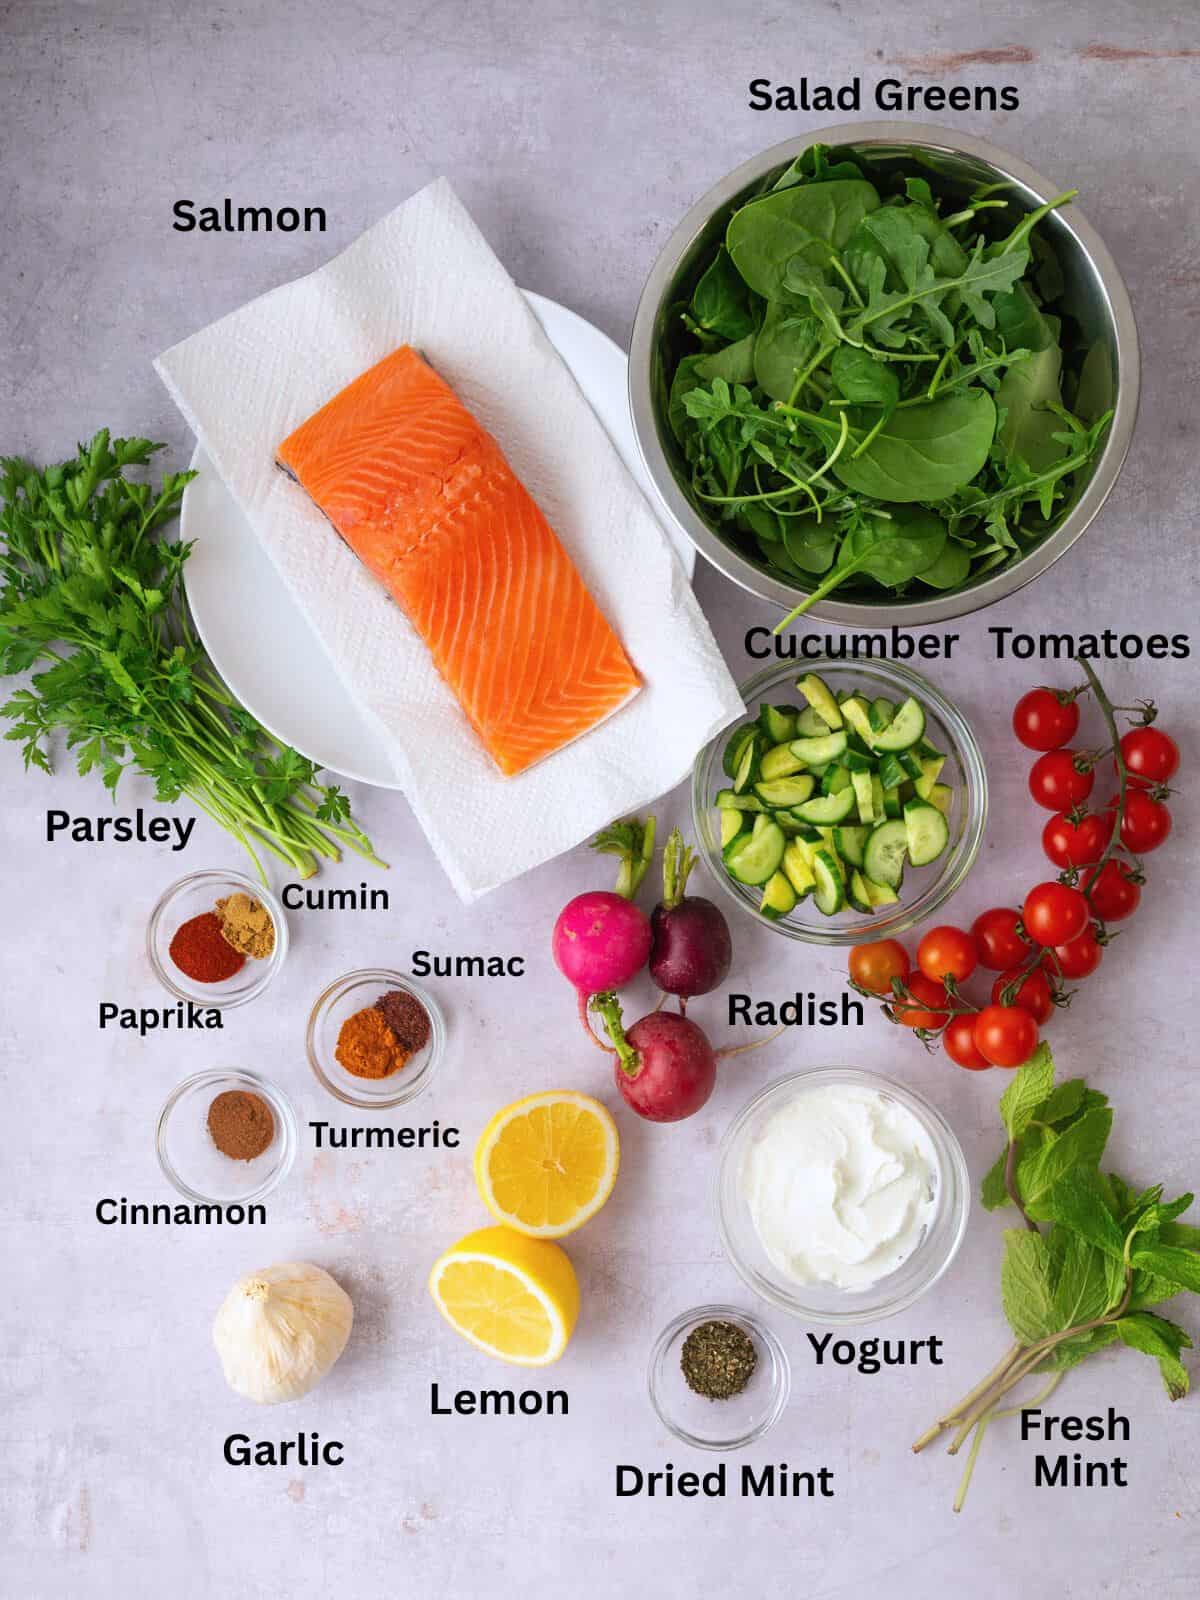
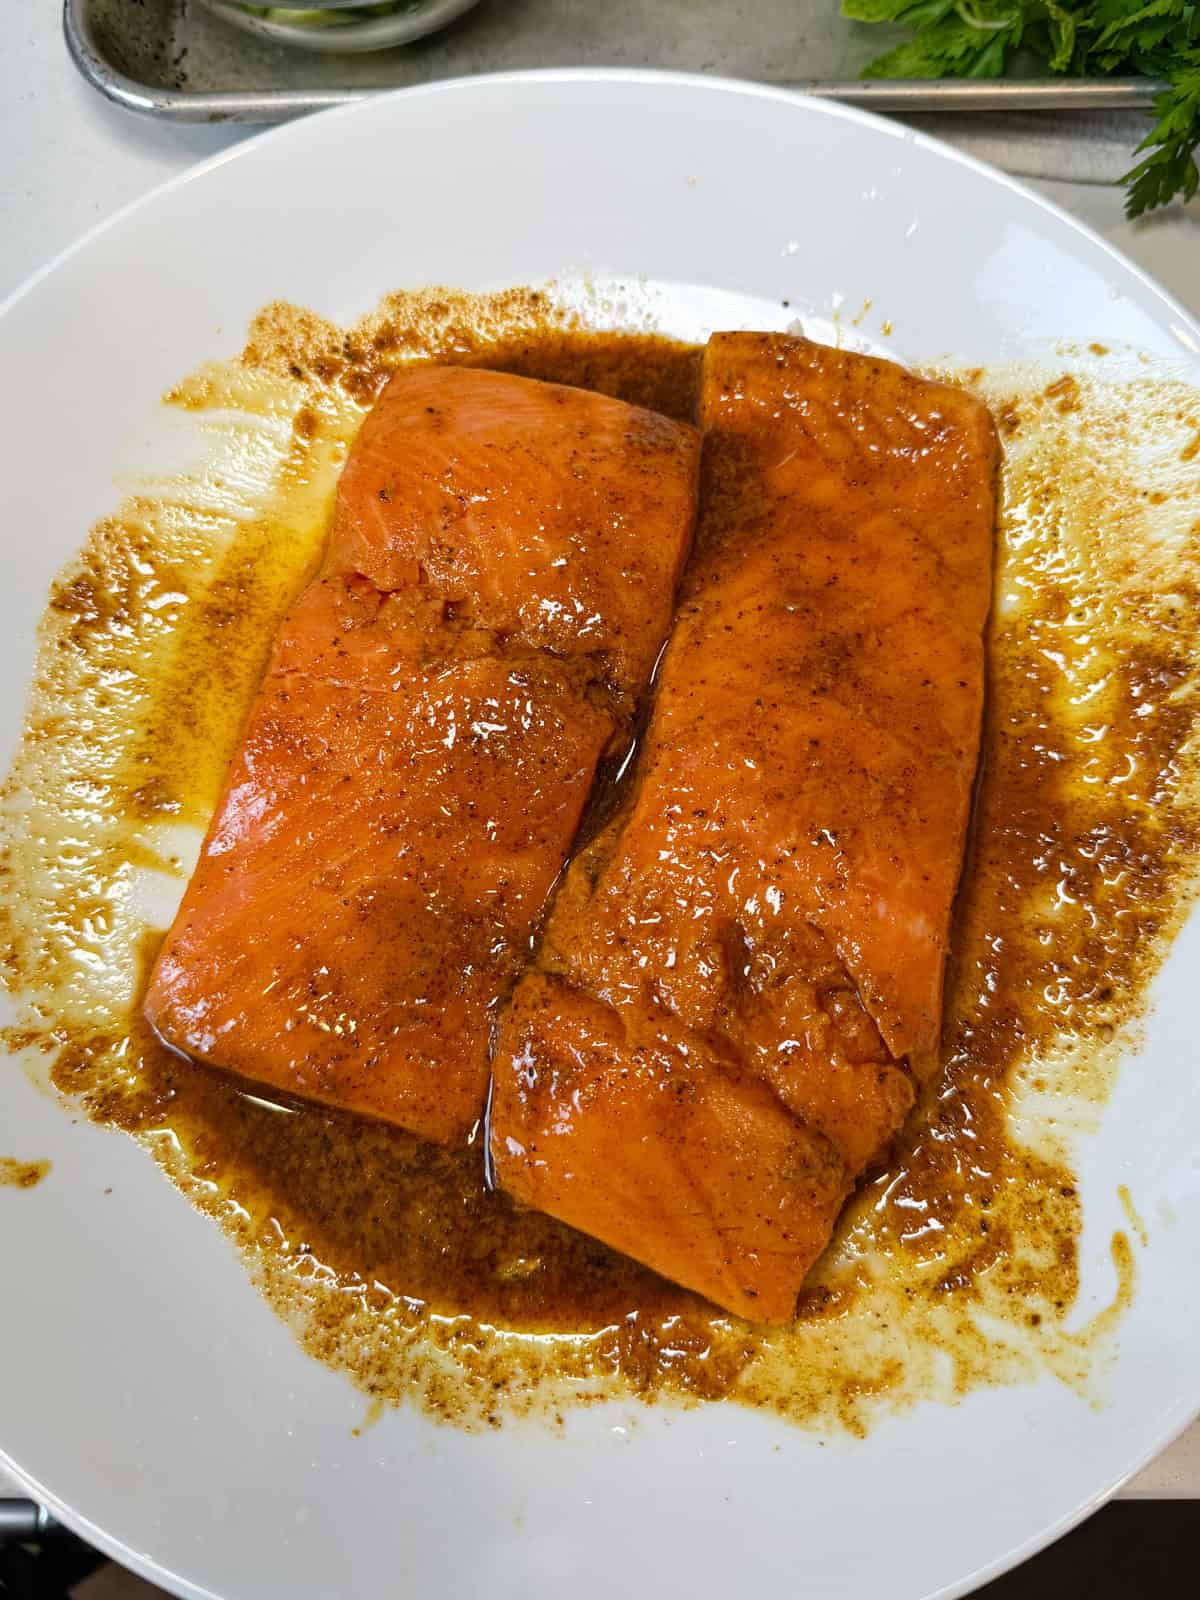
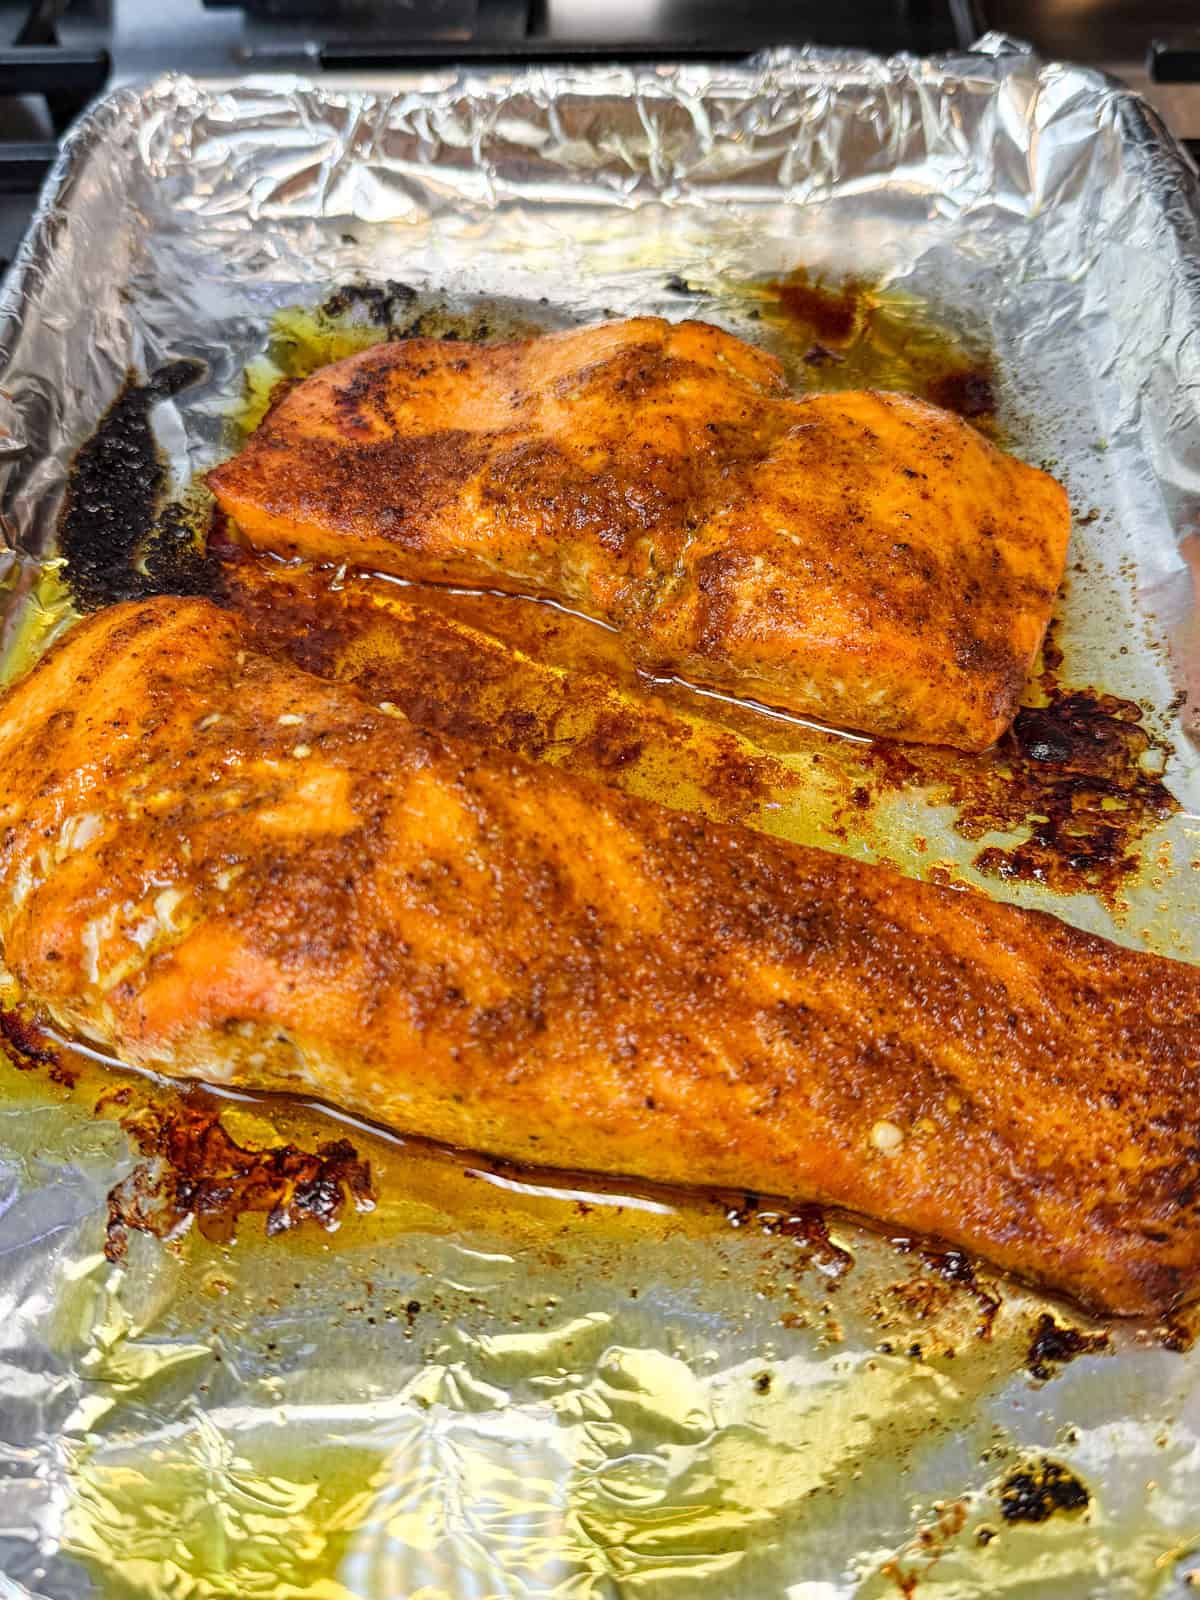
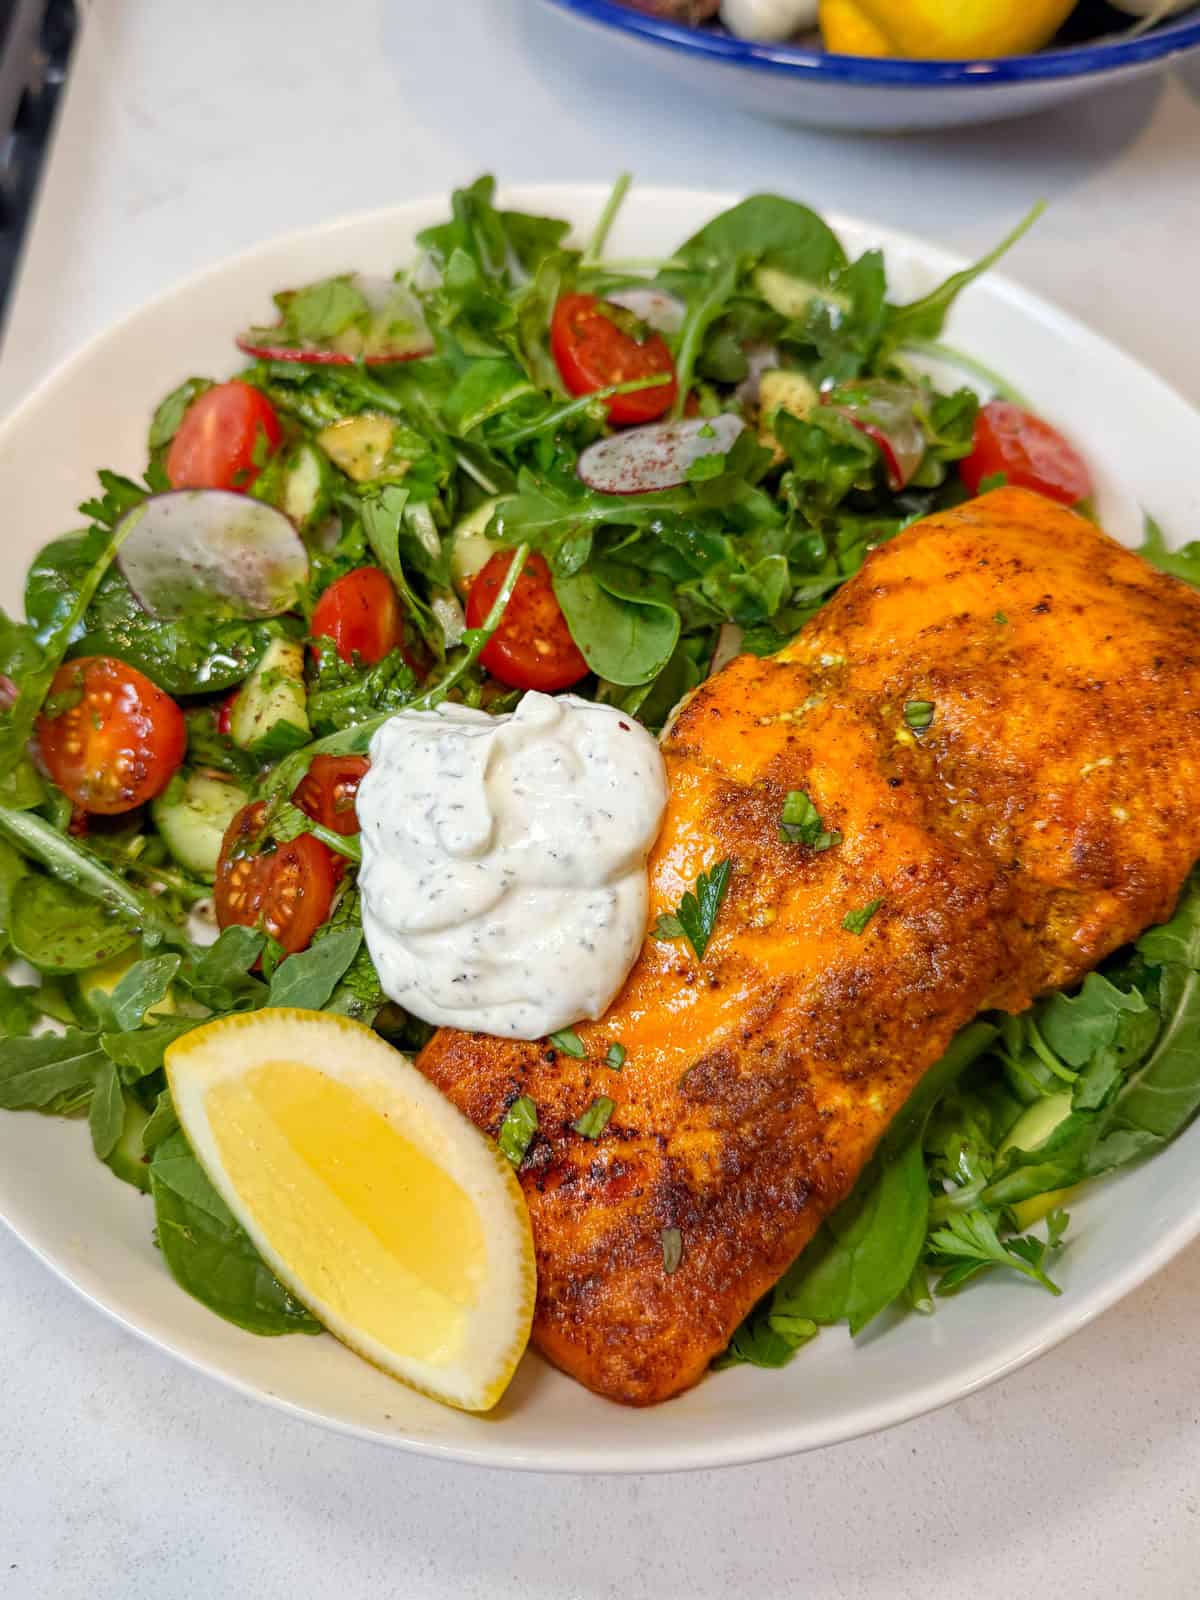
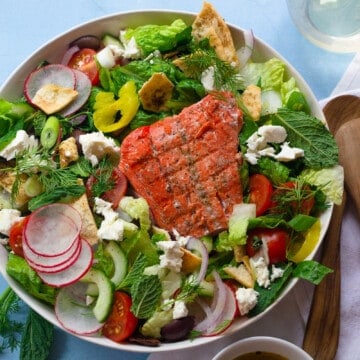
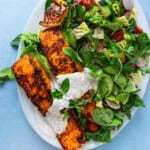
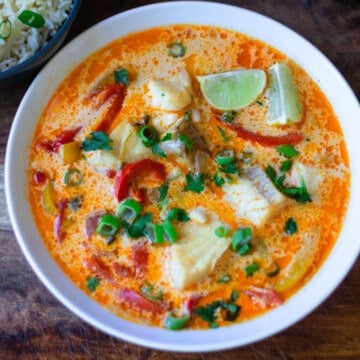
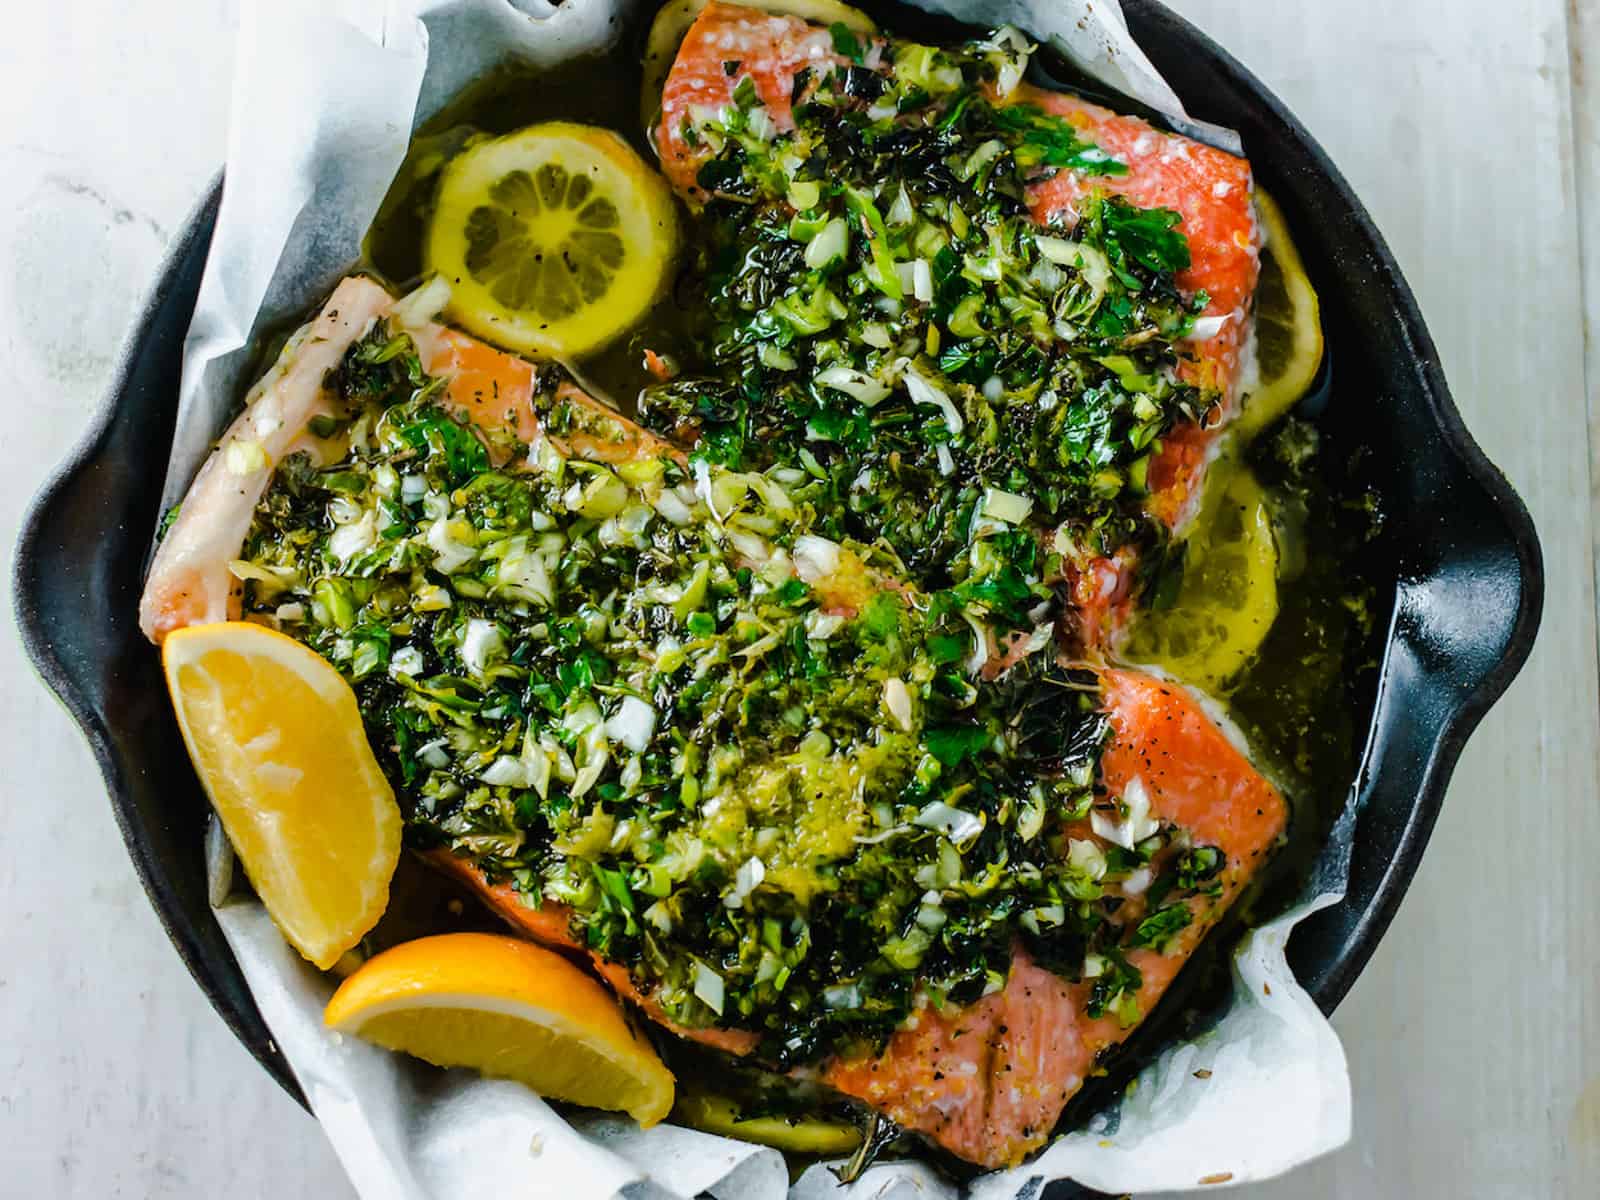
Herb Crusted Salmon (Seafood Option): A bright mixture of lemon juice, white wine and fresh herbs coats the salmon beautifully. The result is a tender, bright seafood main that everyone loves!
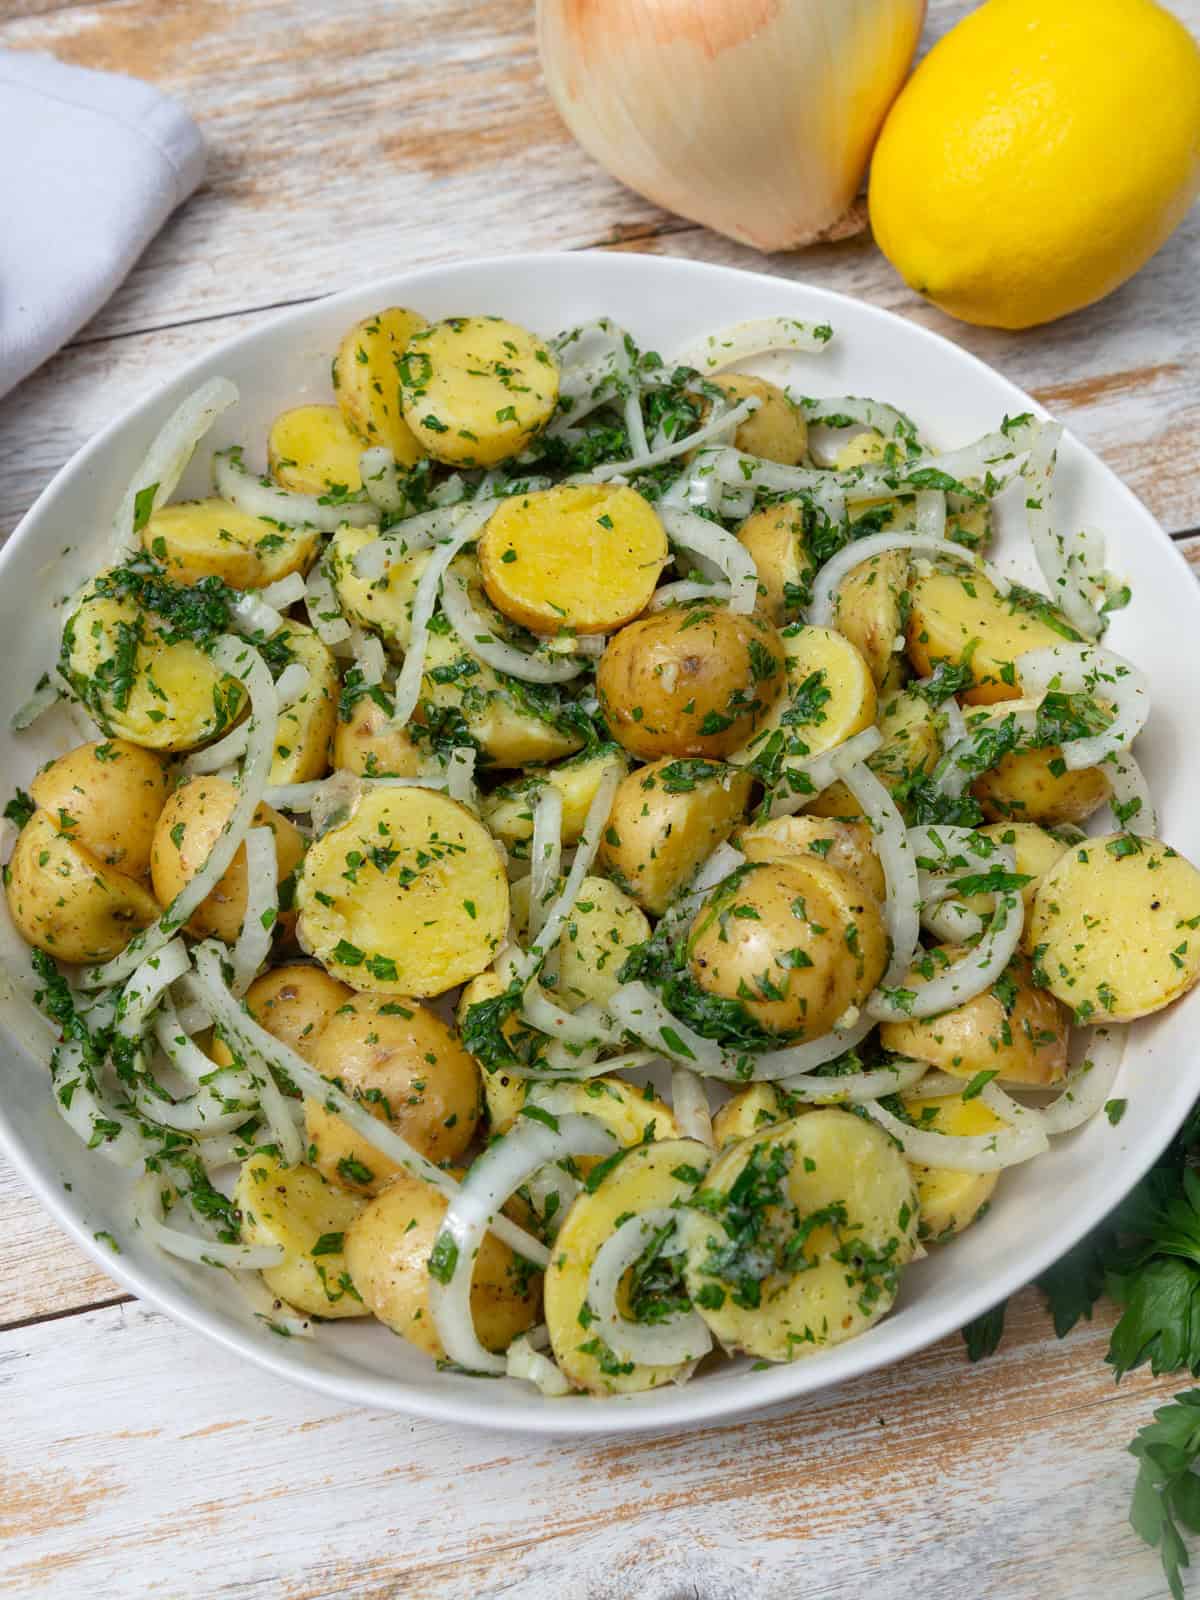
🥗 Side Dishes
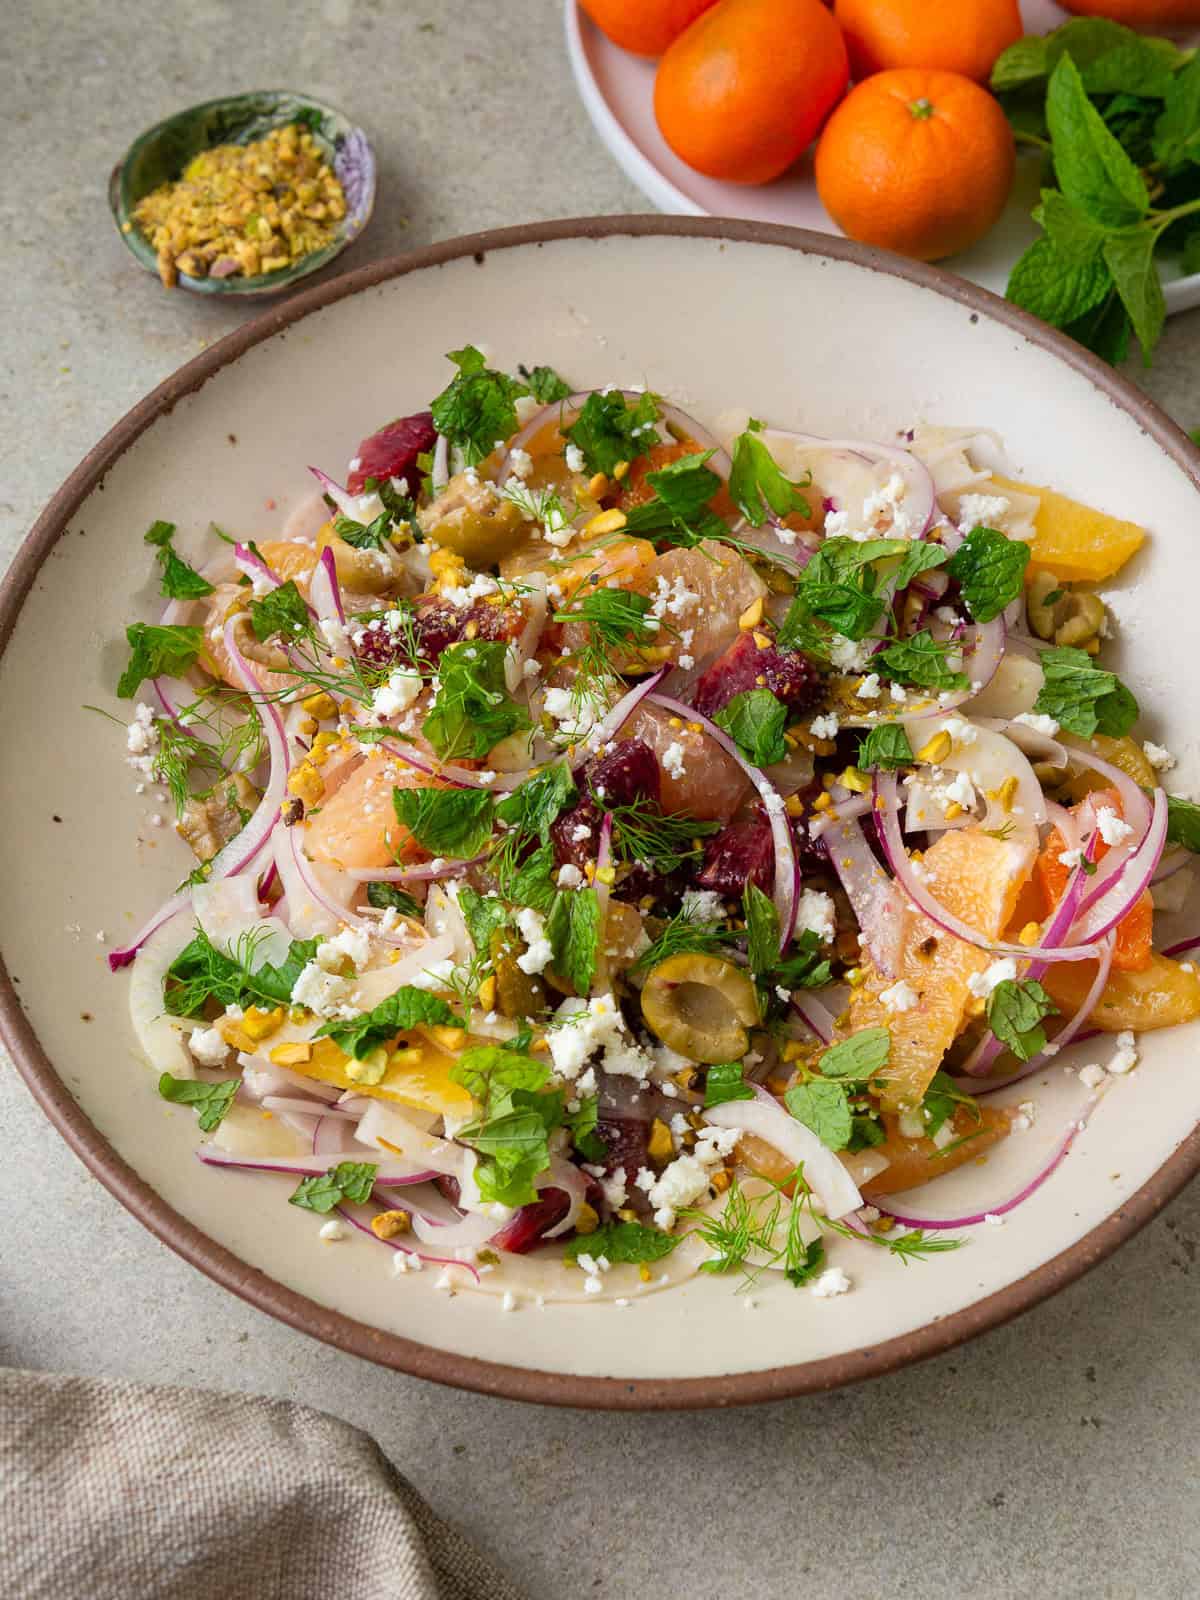
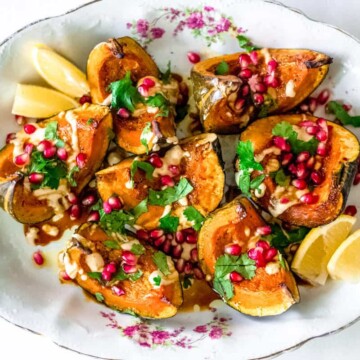
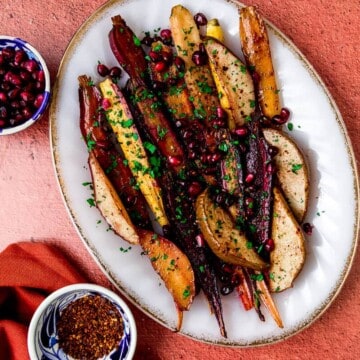
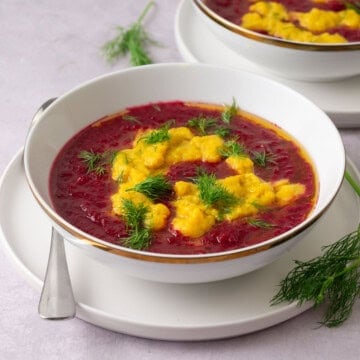
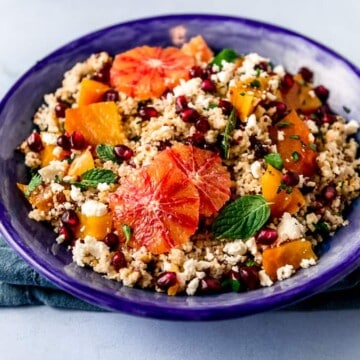
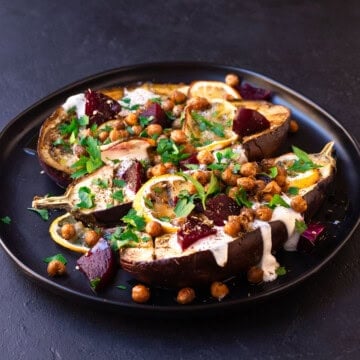
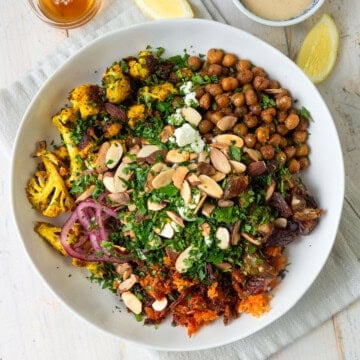
Roasted Carrots with Pomegranate and Pears: Colorful, lightly sweet, and beautiful next to the braised short ribs. Look for rainbow carrots for a striking side dish.

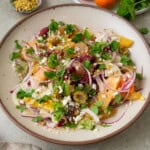
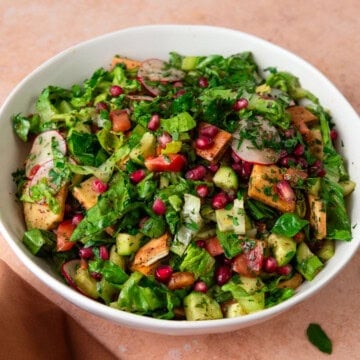
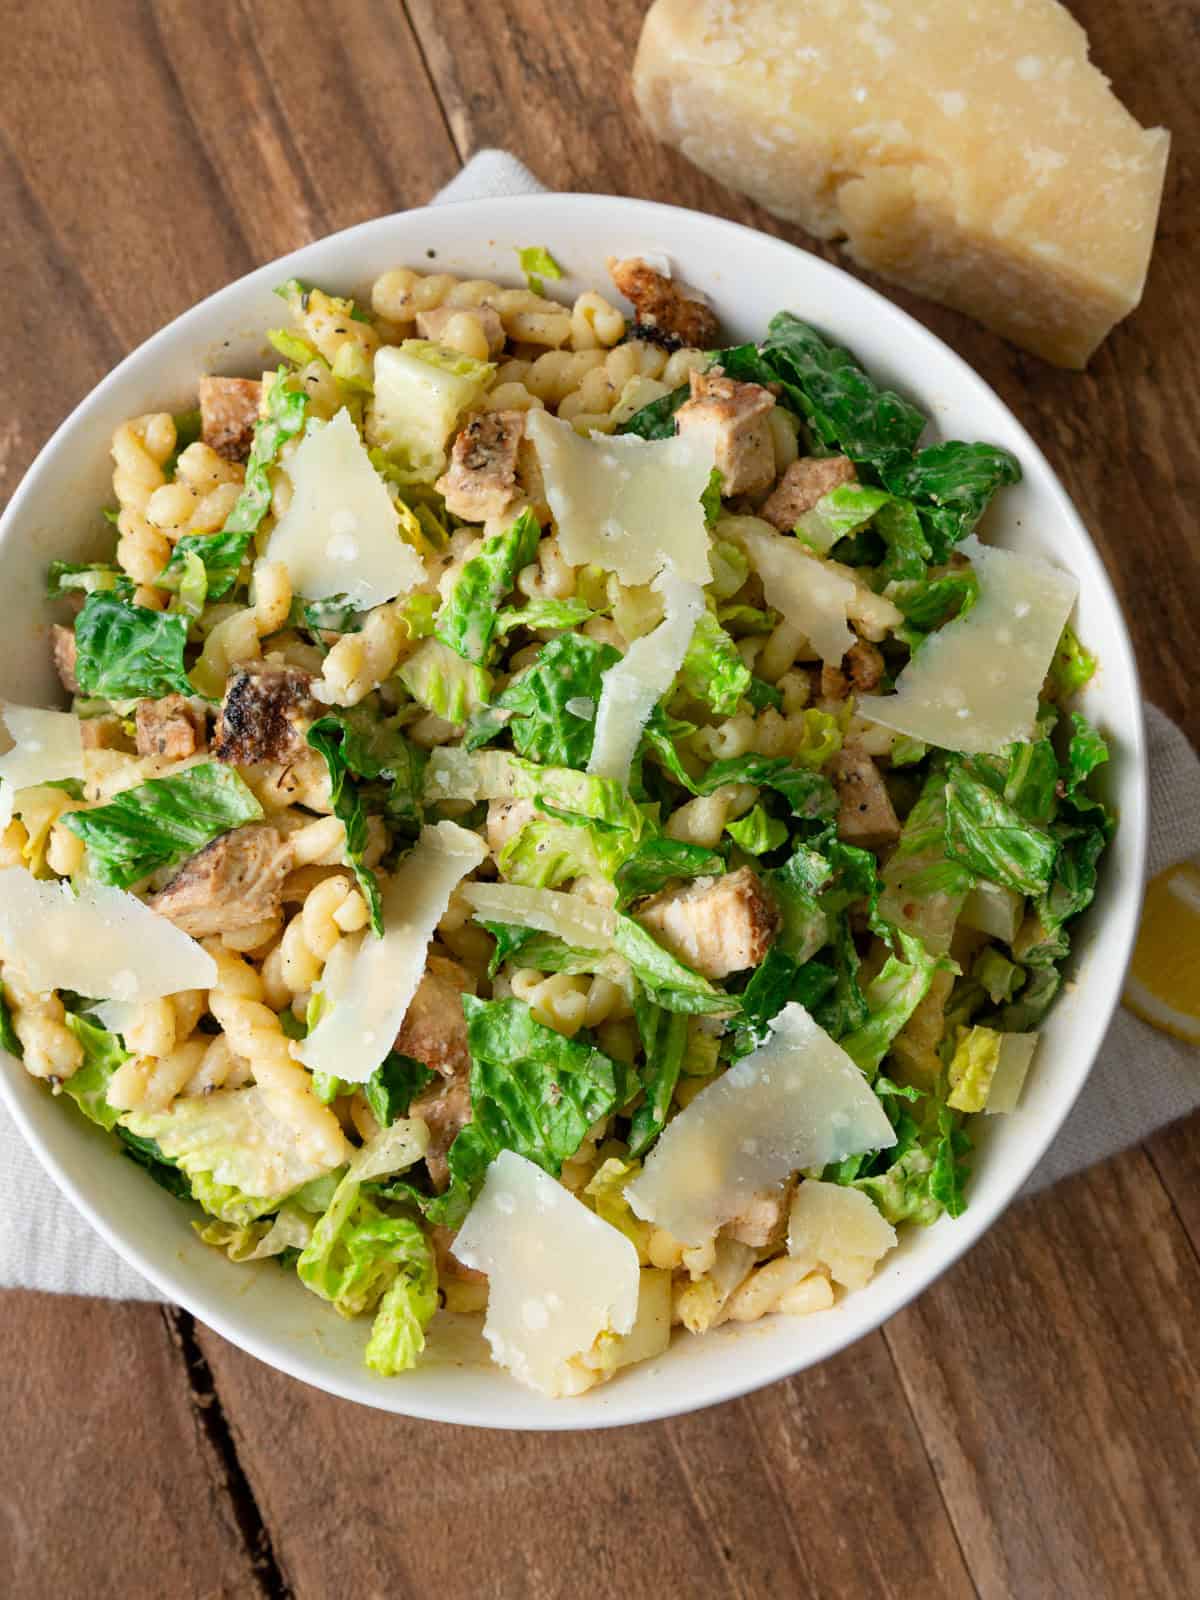
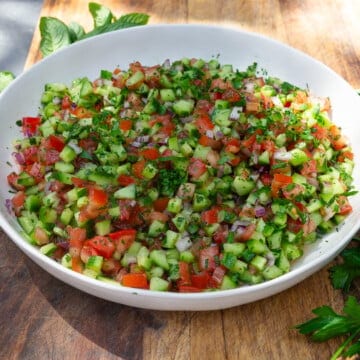
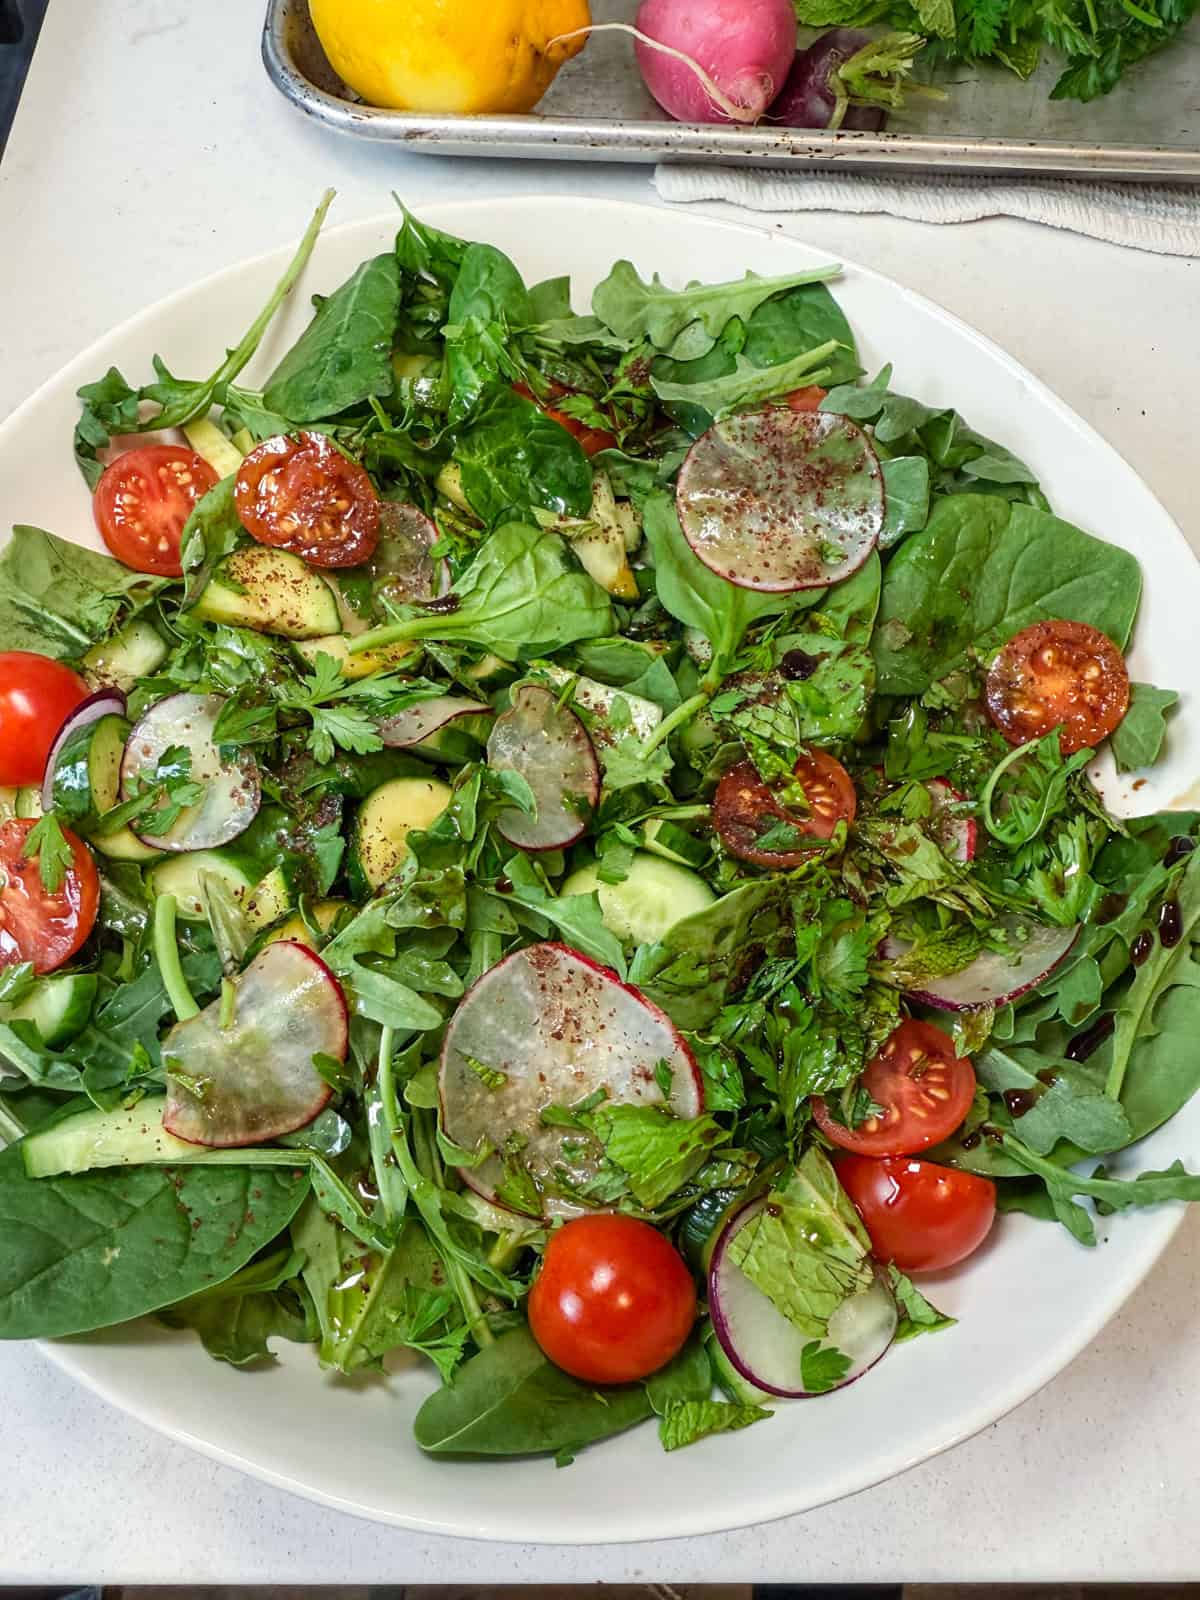
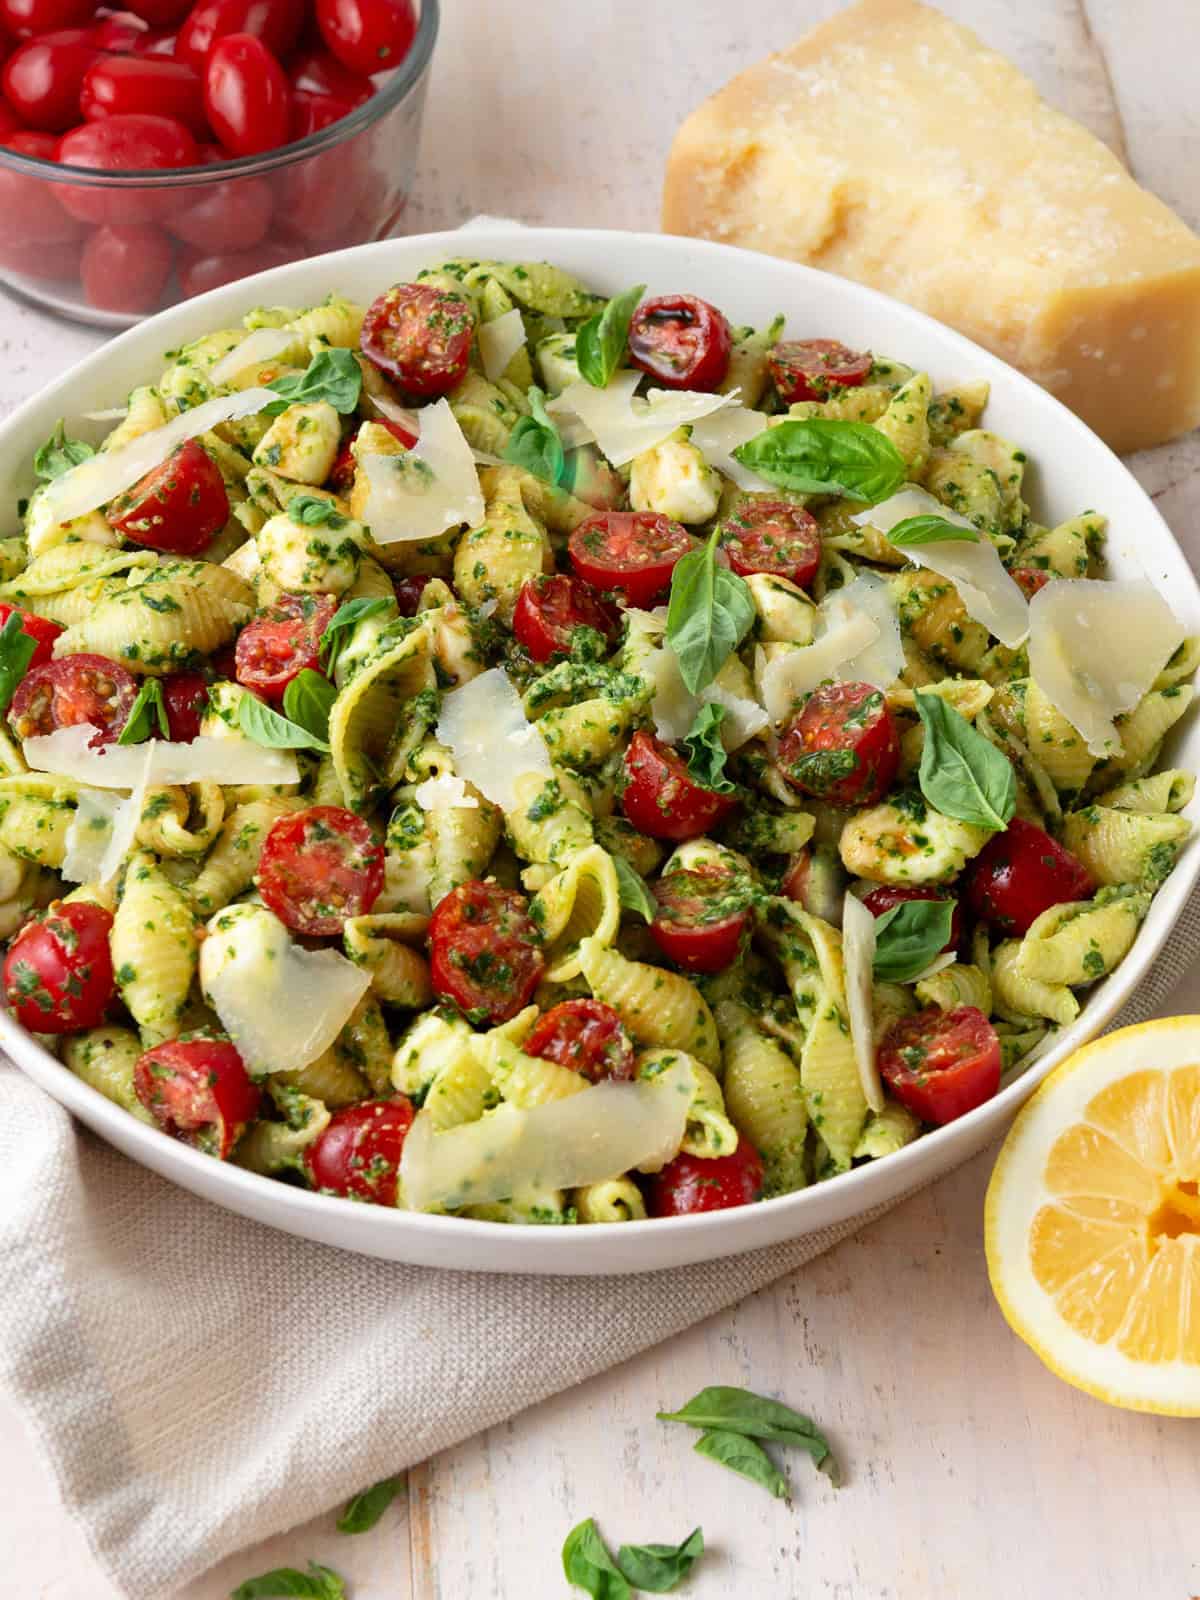
Kale Tabbouleh with Pomegranate and Quinoa: Kale tabbouleh is a twist on the popular Mediterranean salad, with nutty quinoa that is tossed with a tangy pomegranate vinaigrette.
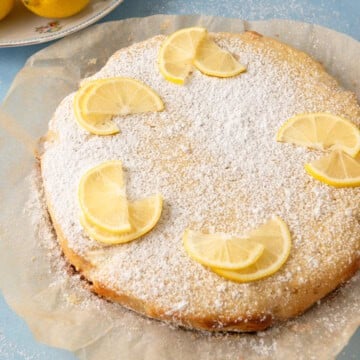
🍩 Dessert
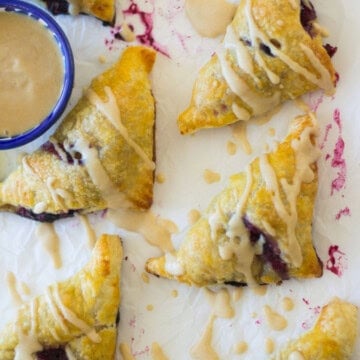
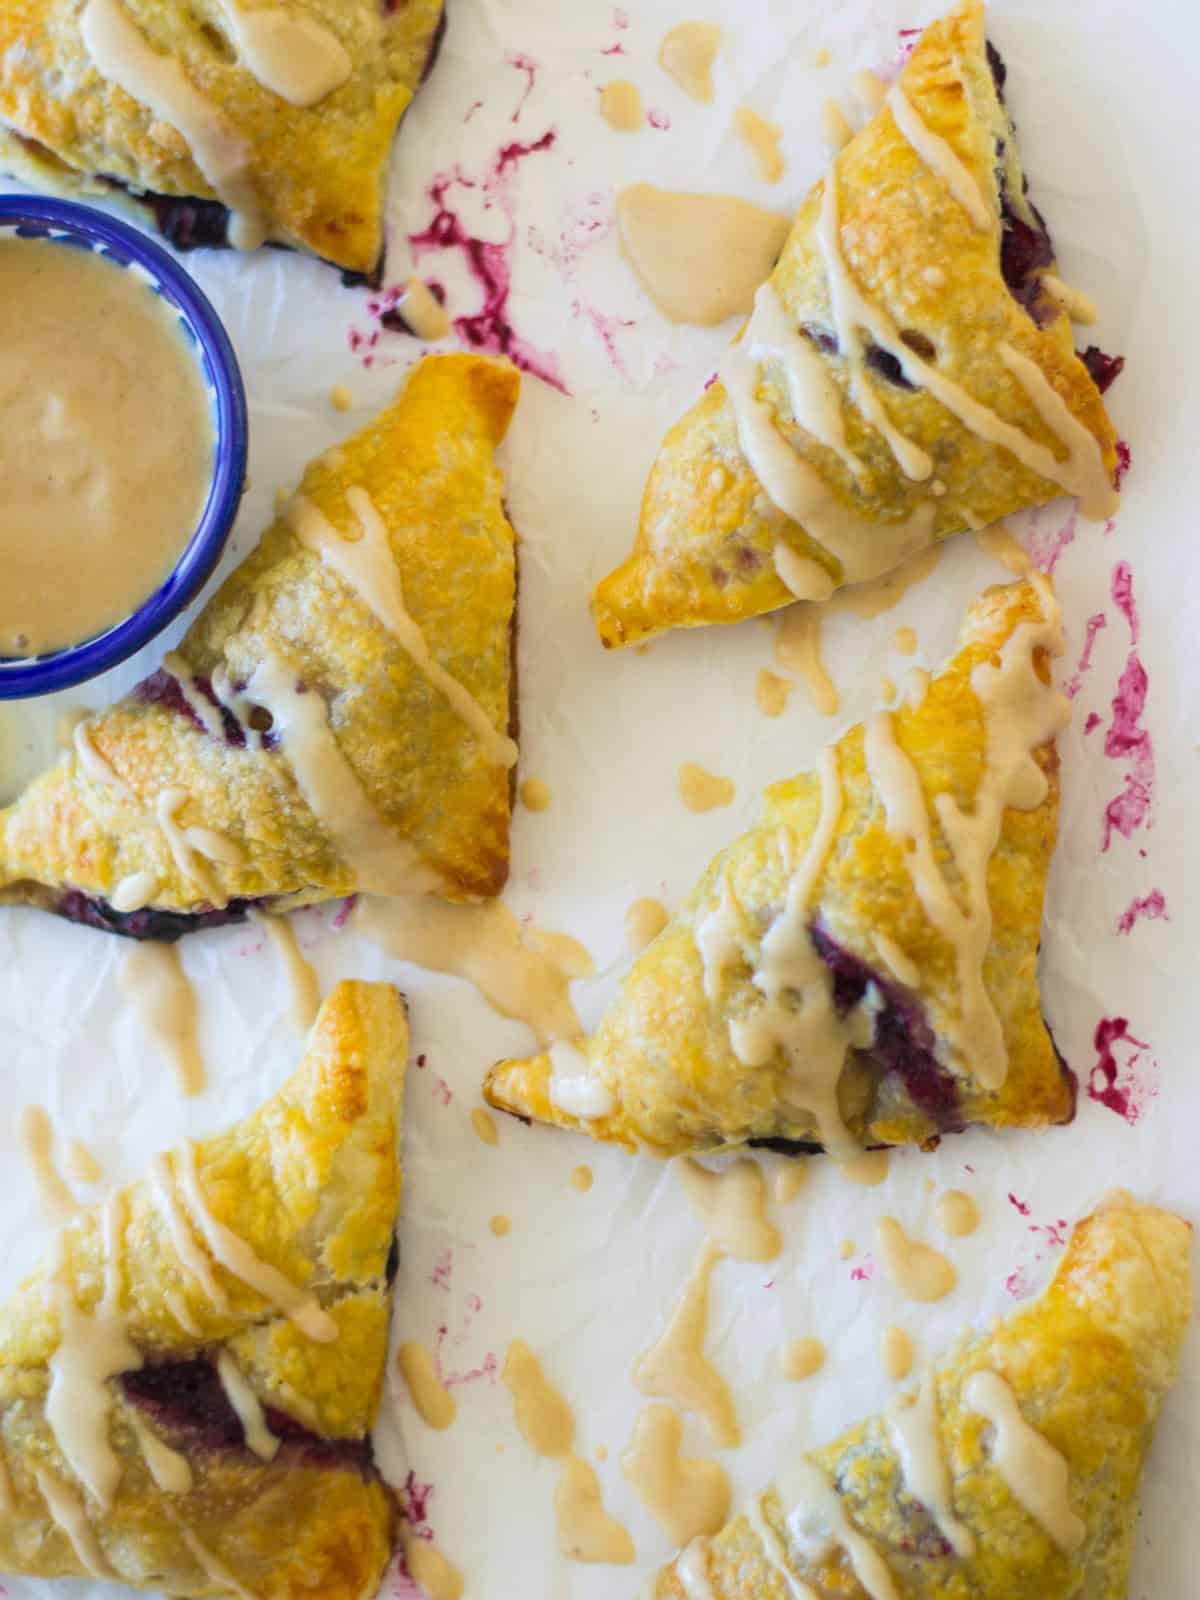
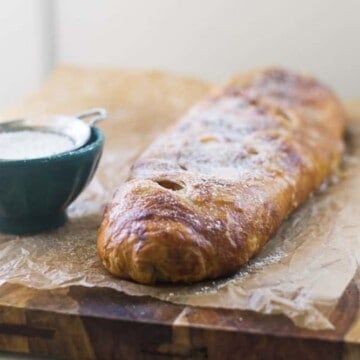
Donuts aka sufganiyot are a must for the Hanukkah season!
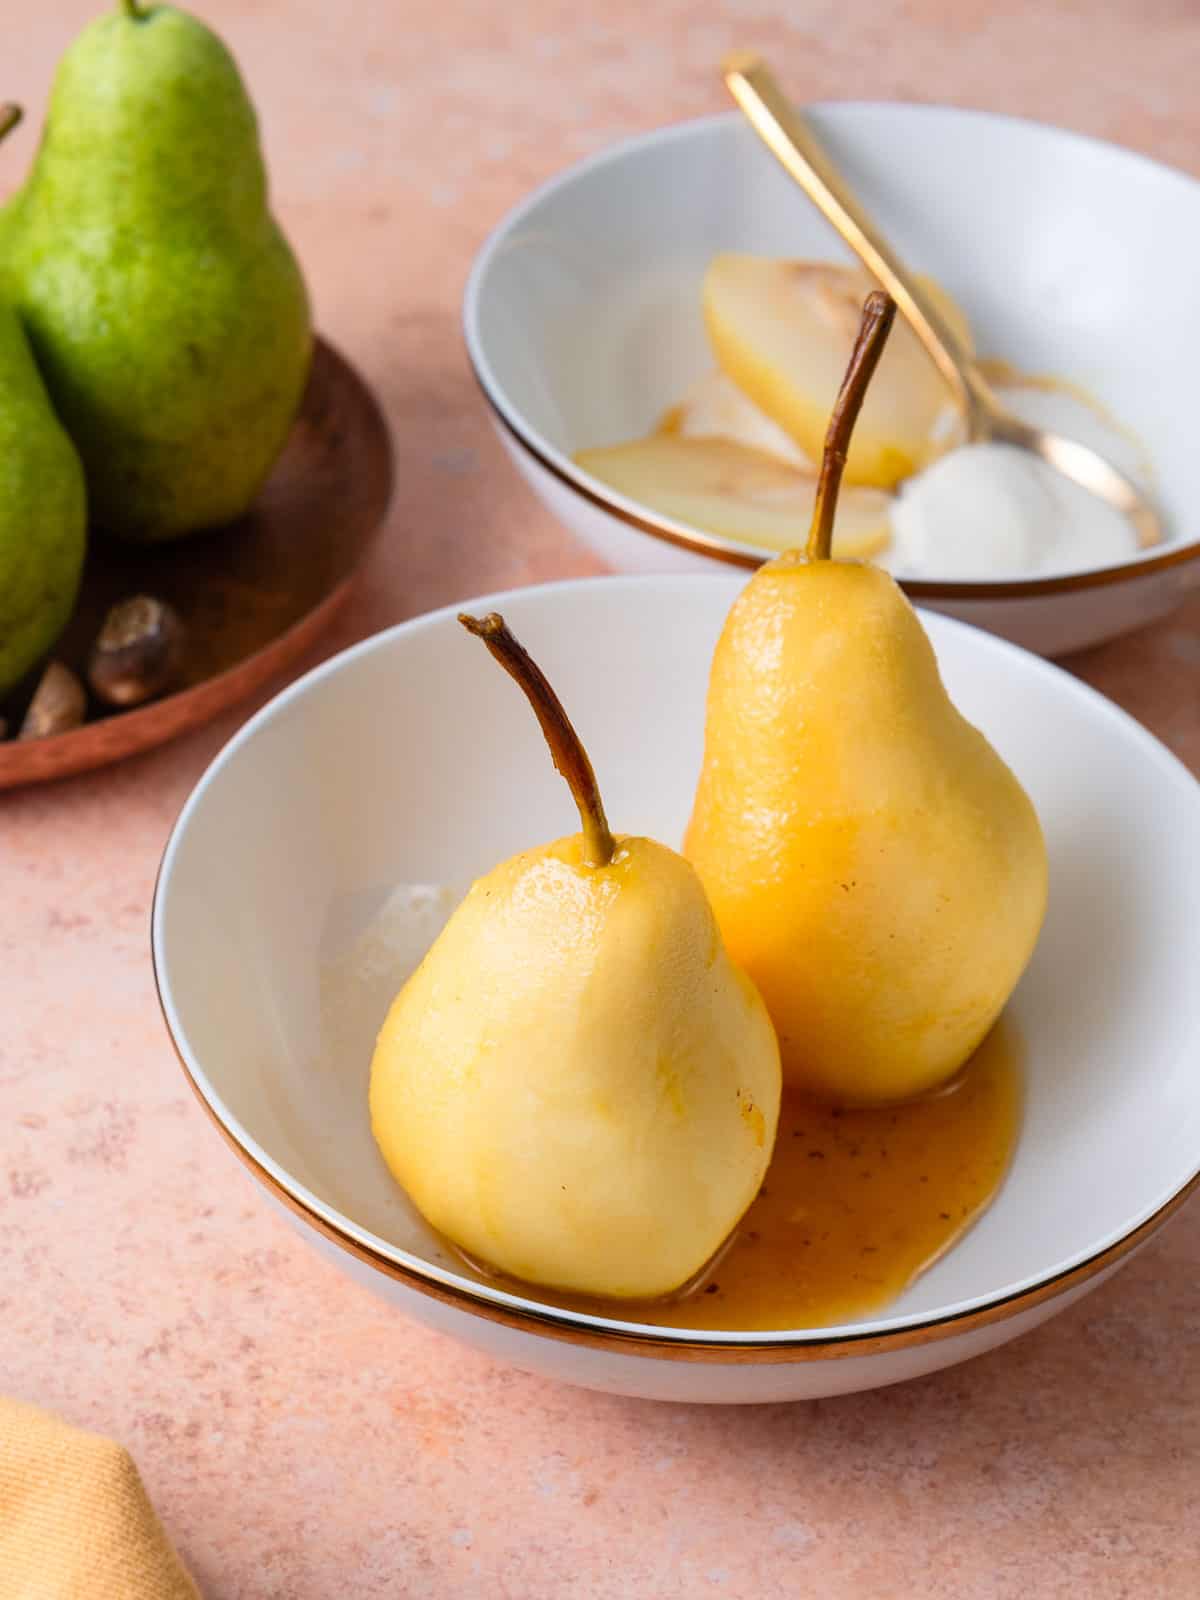
Pear Donuts with Vanilla and Cinnamon: Sweet pears are cooked down with brown sugar, vanilla and cinnamon, then piped into perfectly pillowy fried donuts.

🍷 Drink Pairings
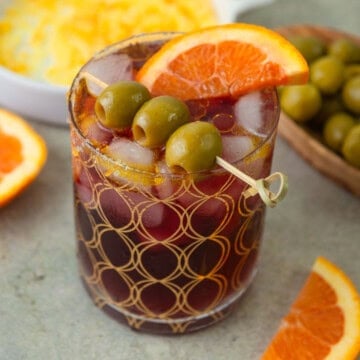
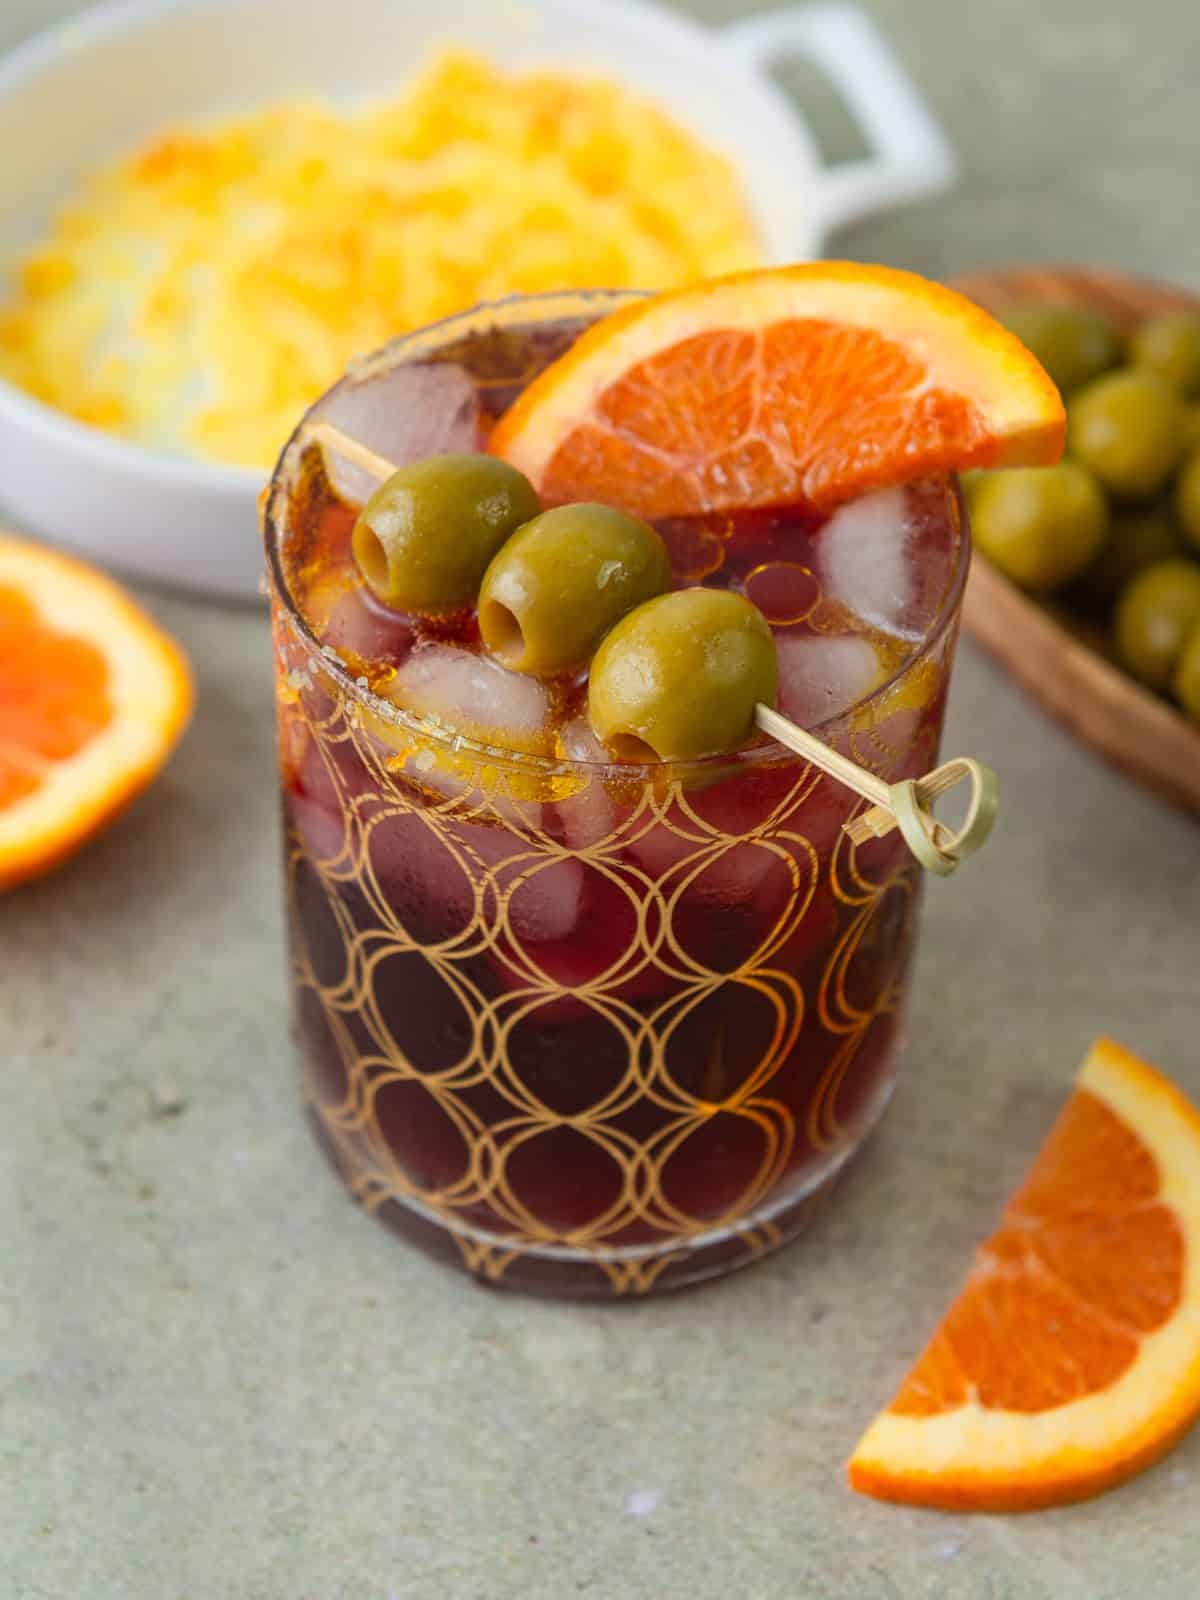
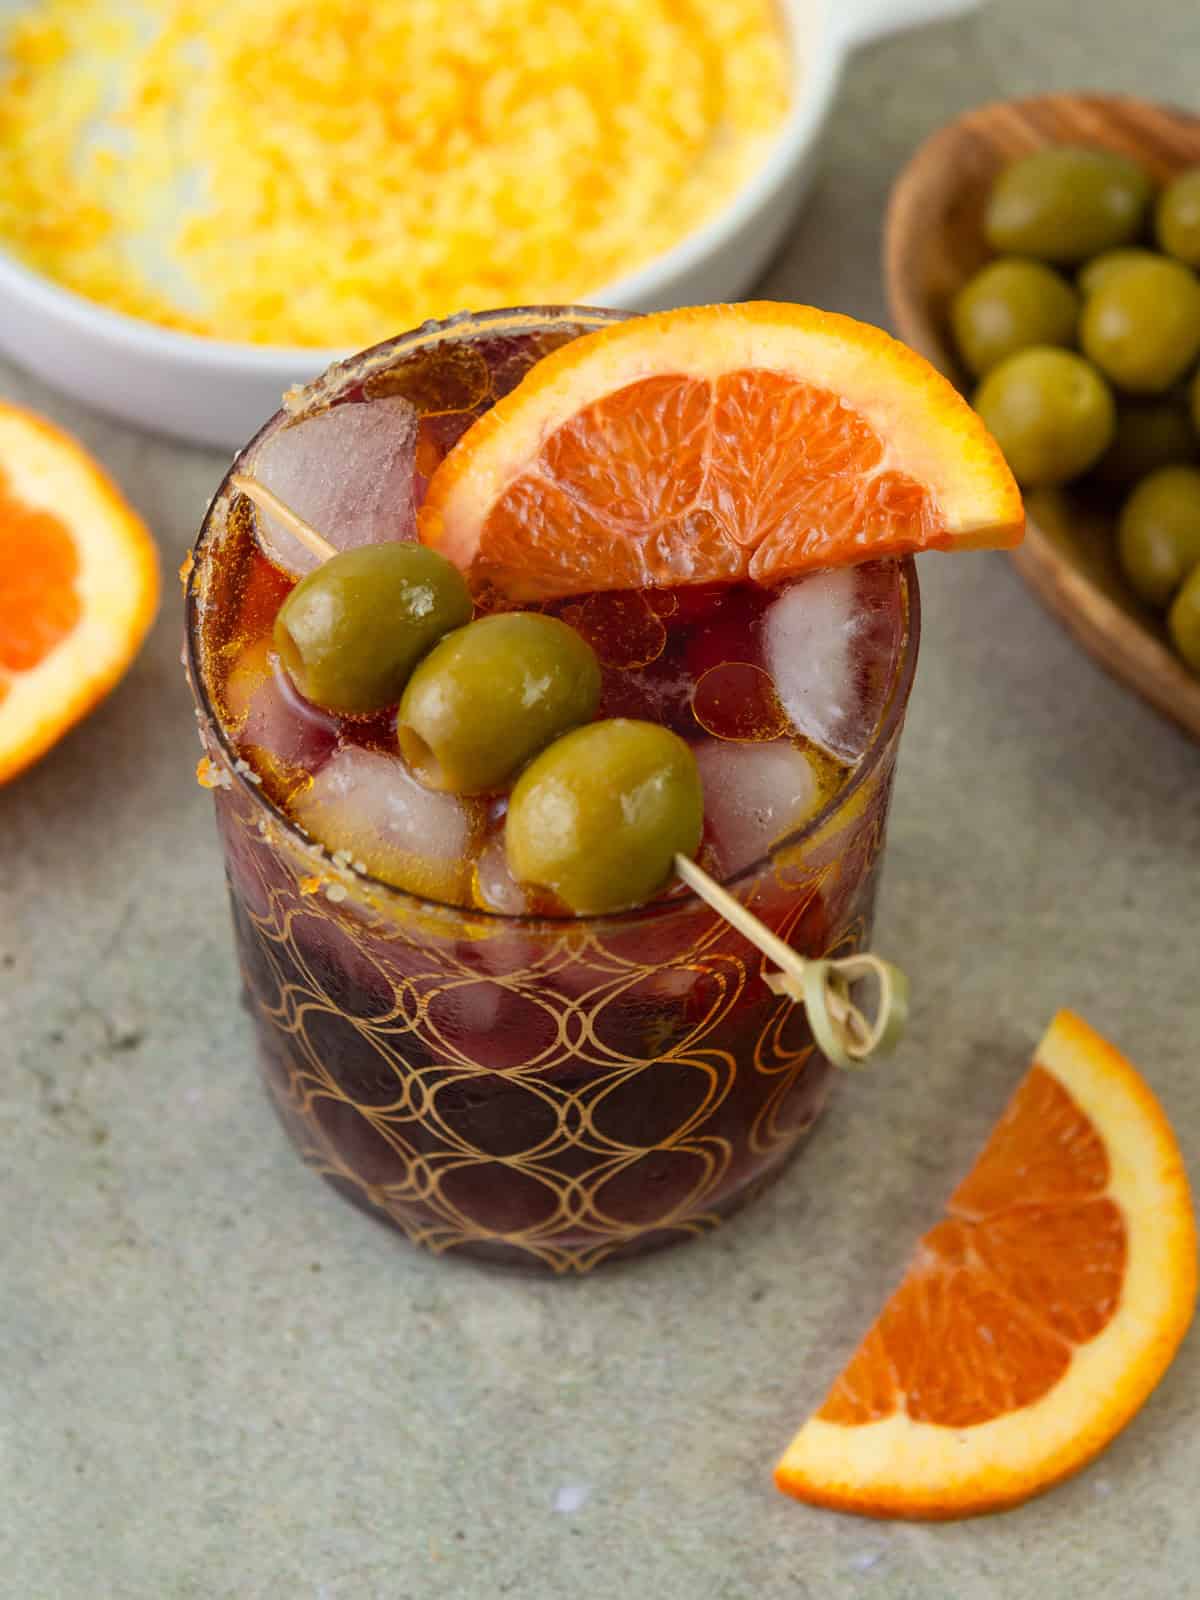
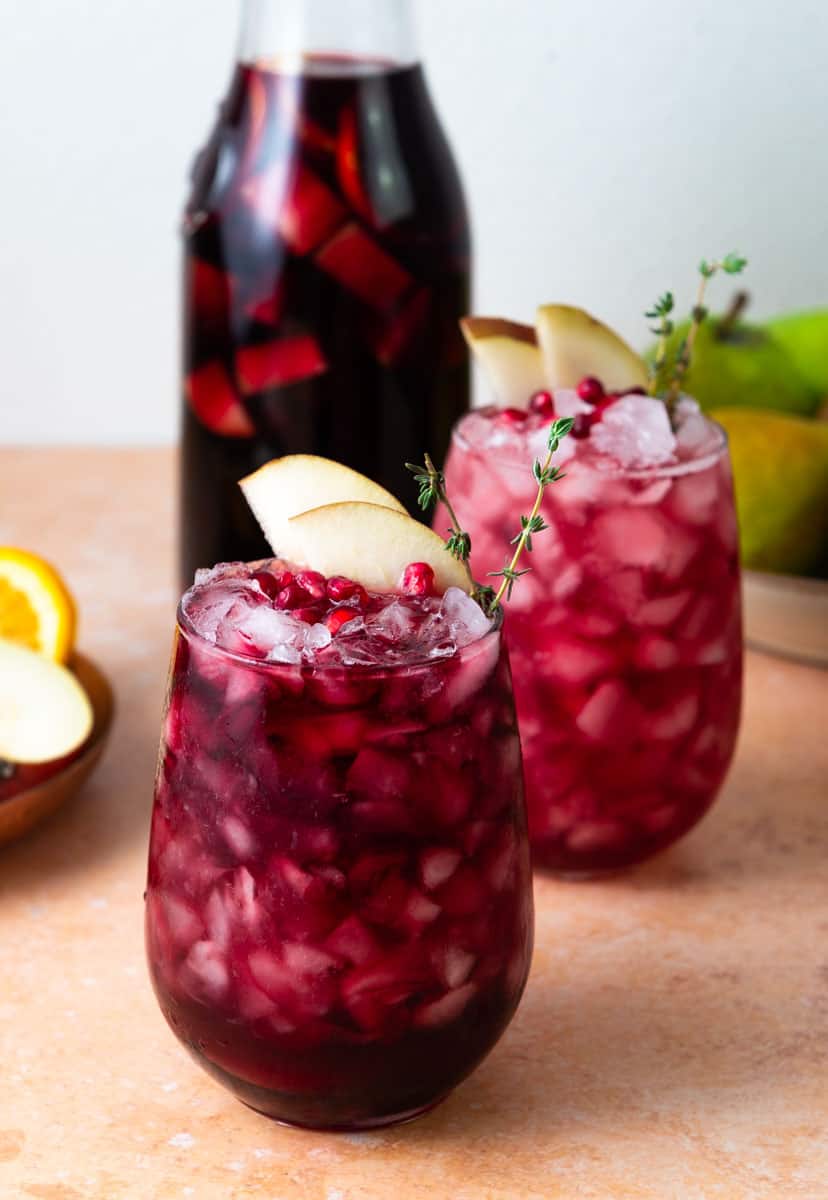
Pomegranate Red Wine Sangria: This is such a good option for a batch cocktail! Just keep it chilled and add sparkling water before serving for a little fizz.
Wine Suggestions
- For Short Ribs: A medium-bodied red like Pinot Noir or Merlot complements the richness and sweet-sour notes of the pomegranate braised short ribs.
- For Salmon: A crisp, citrusy white such as Sauvignon Blanc or Chablis balances the fresh herbs and lemon in the herb-crusted salmon.
Non-Alcoholic Option
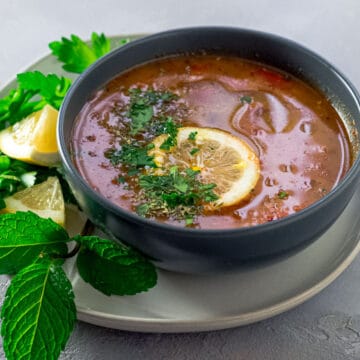
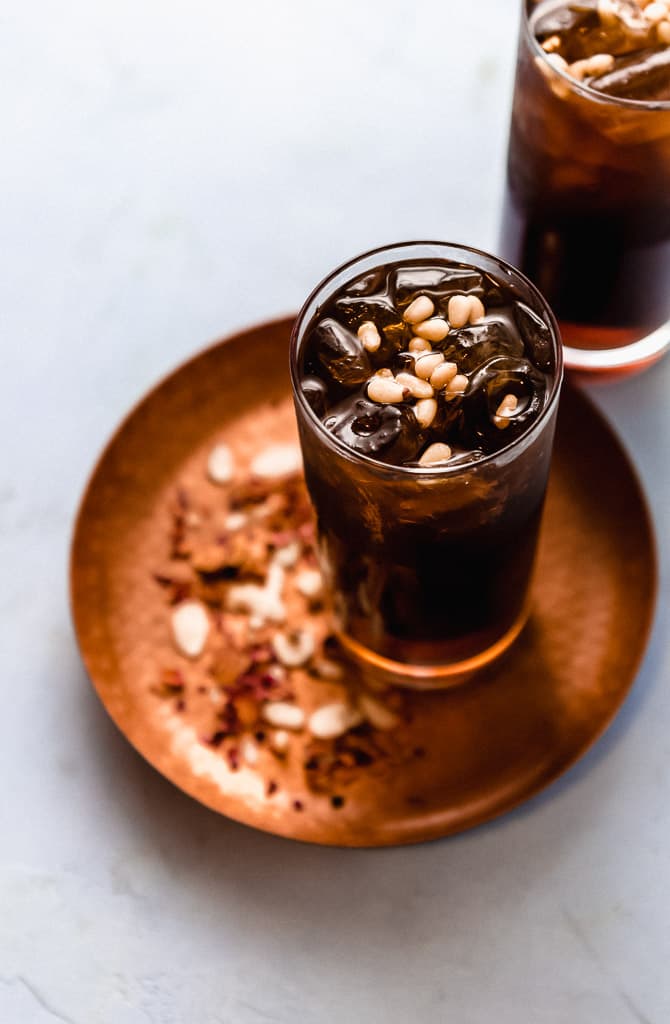
- Jallab (Date & Molasses Drink): Lightly sweet and floral, this Middle Eastern drink pairs beautifully with fried latkes and rich mains.
- Or simply sparkling water with a splash of pomegranate juice and add a twist of citrus.
🎉 Fun Extras for the Table
- Dreidel Game: Classic, easy, and fun for all ages! Learn how to play dreidel and what the letters mean.
- Scatter gelt on the table and to use during the dreidel game.
- Menorah Lighting: If it’s one of the nights of Hanukkah, lighting the menorah together is a simple way to honor the holiday and create a warm, festive atmosphere.
📋 Make-Ahead Tips
- Short Ribs: Make 1–2 days ahead, so they get even better as they sit.
- Latkes: Fry earlier in the day or day before and reheat on a wire rack in the oven until warmed through.
- Pâté: Can be made the day before.
- Salads: Prep components ahead; toss right before serving.
- Dessert fritters: Best served fresh, but the batter can be made ahead of time.