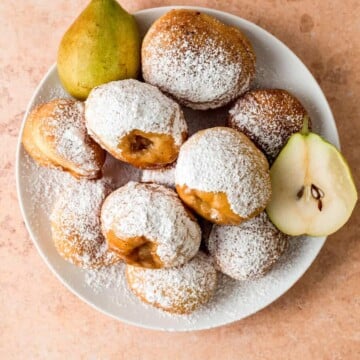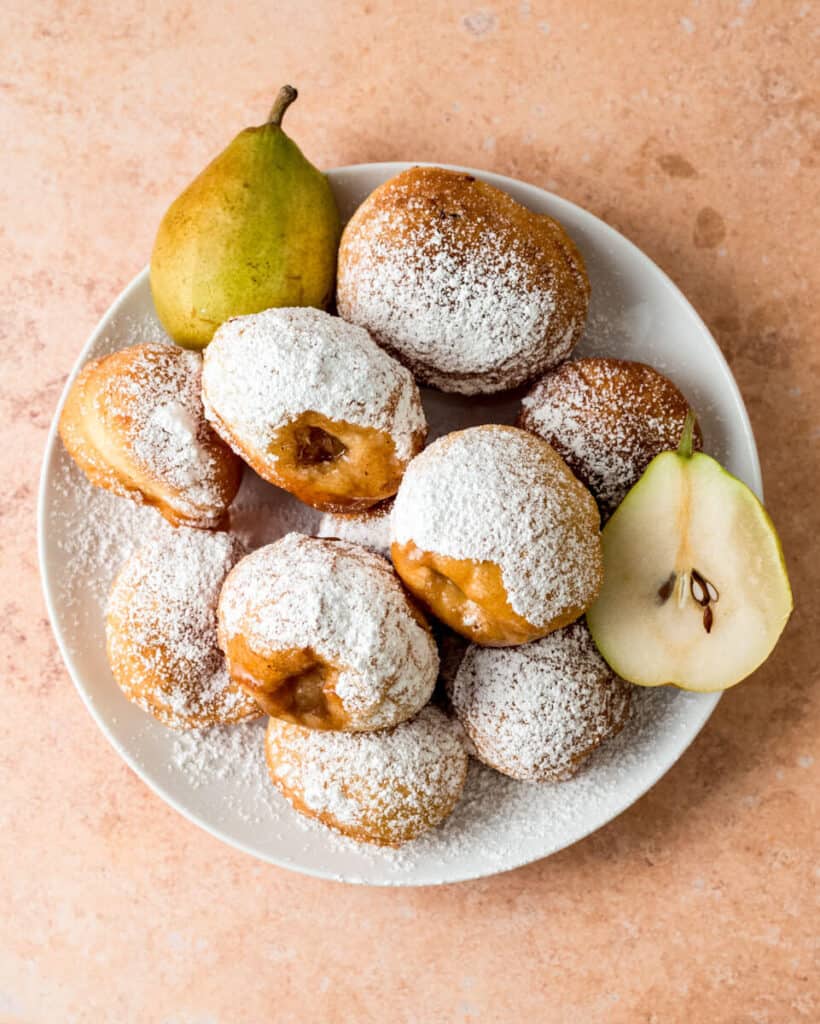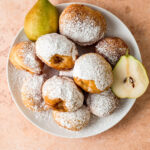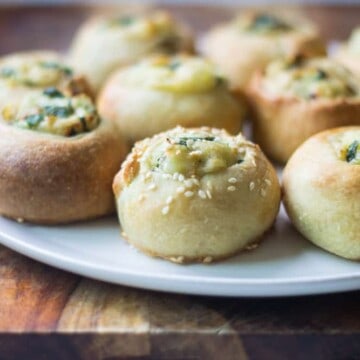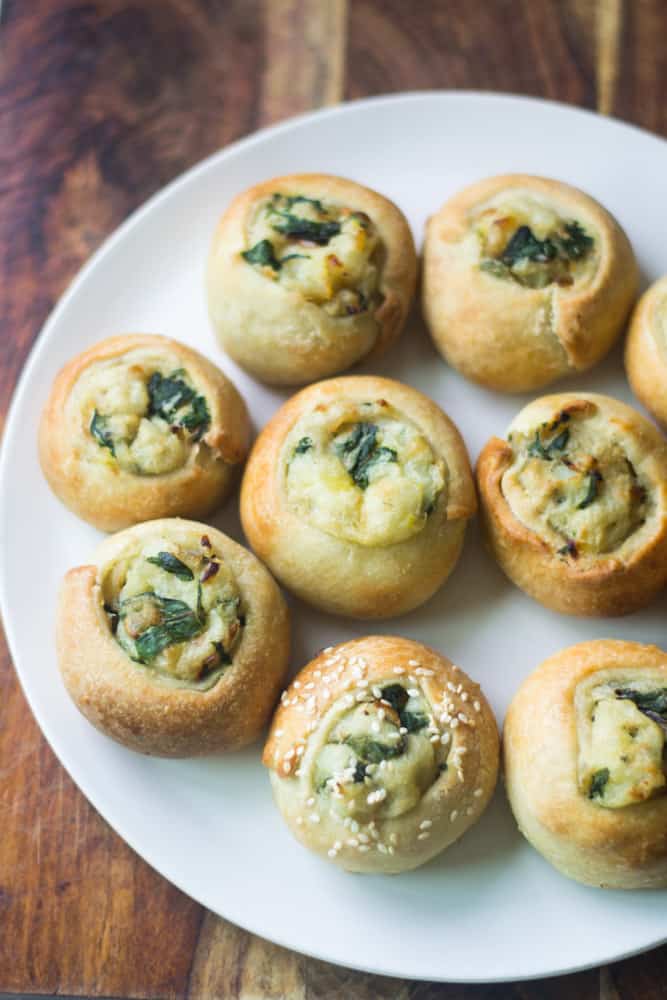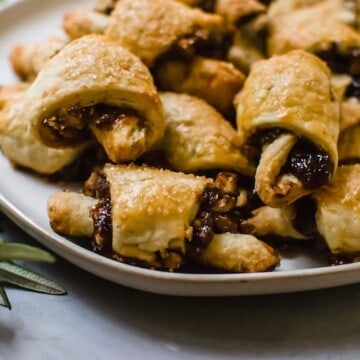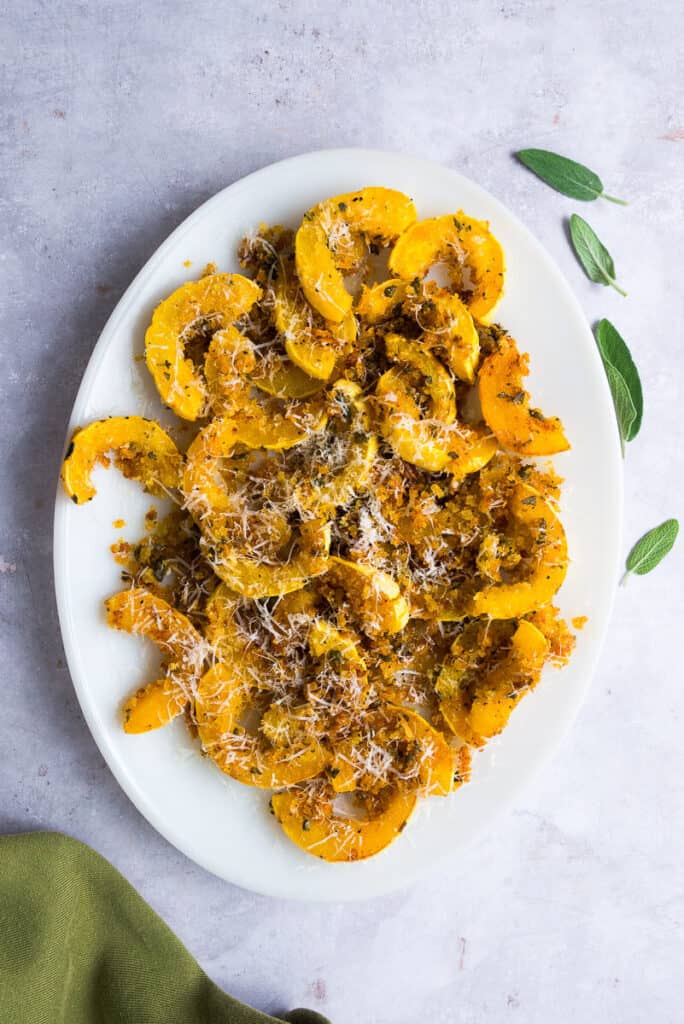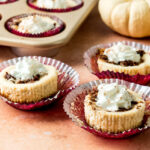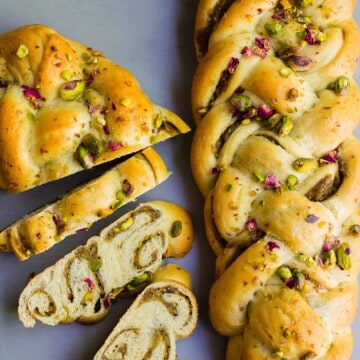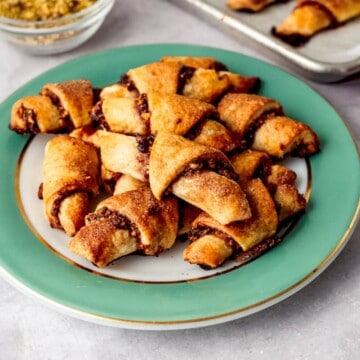
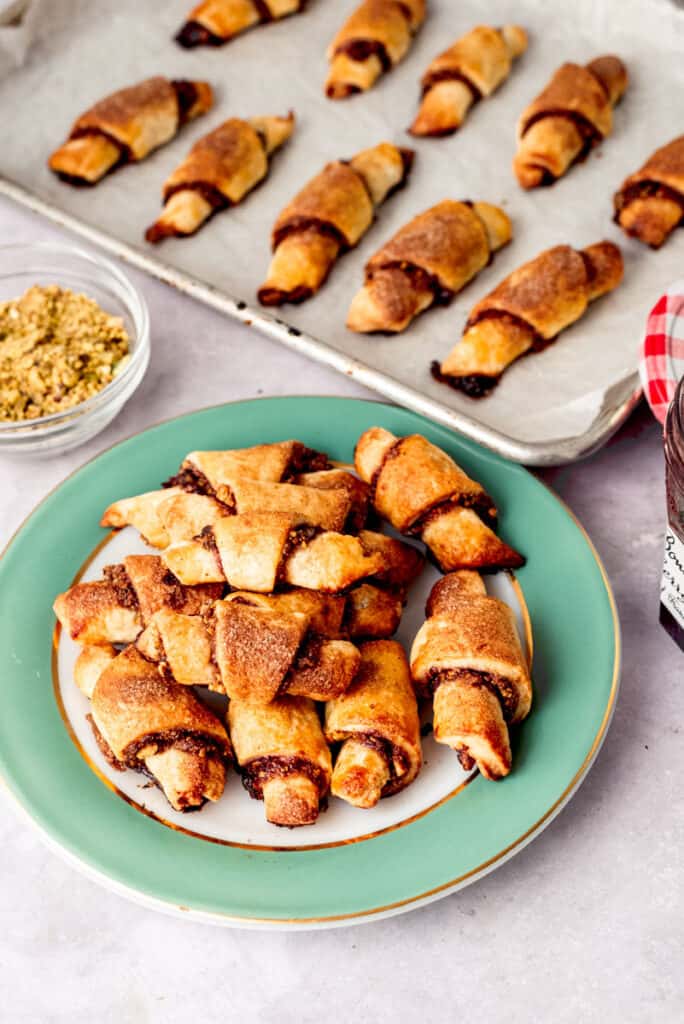
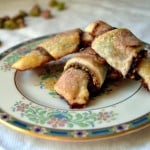
These award winning cherry and pistachio rugelach always make an appearance during the holiday season! This festive twist on traditional rugelach are filled with a thin layer of tart cherry preserves and nutty pistachios with warm cinnamon that are rolled up in a decadent cream cheese dough.
What are Rugelach?
Rugelach are traditional Jewish cookies that are rolled with a fruit and nut mixture. Usually, rugelach are made with a cream cheese based dough and rolled with a fruit jam and chopped nuts. There are also Israeli rugelach, which are instead made with a yeasted dough and brushed with a simple syrup.
These cherry pistachio rugelach were one of the first rugelach flavors I made over 10 years ago Since then, I've had fun with different twists on rugelach and always make them during Hanukkah, such as chocolate raspberry rugelach and even a savory herb and cheese rugelach which is really delicious!
Award Winning Rugelach
My cherry pistachio rugelach are a 2 times award winning rugelach! The recipe was submitted, made and won the L.A. Times Cookie Contest and when we lived in Southern California, a local holiday cookie contest in Long Beach.
These rugelach are rolled with green pistachios and deep red cherry preserves, showcasing a "marriage" of Christmas colors but baked for Hanukkah as well.
They are traditional, with a twist, melt in your mouth thanks to the decadent cream cheese dough and have a light sweet layer of brightness from the fresh orange zest.
Why you Love this Recipe
- Rugelach have a decadent cream cheese dough that is irresistible!
- The pistachio and cherry combination is not only delicious but striking enough to serve during the holidays.
- The dough is fool proof and easy to make ahead and freeze easily.
Rugelach Ingredients
Dough Ingredients
- Cream Cheese: The base of rugelach dough that creates a creamy texture to the cookie. Use full fat cream cheese that is at room temperature so it's easier to mix.
- Unsalted Butter: Butter and cream cheese get creamed together as the first step. Make sure the butter at room temperature as well.
- Sugar: Just a tough of sugar is added to the dough for a hint of sweetness.
- Vanilla Extract: I like adding a hefty teaspoon of vanilla extract to the dough to give it depth of flavor.
- Flour: Simple: all-purpose flour is all you need for these cookies.
Rugelach Filling
- Cherry Preserves: Bon Maman makes fantastic cherry preserves, which is what is used in this recipe. The preserves will have whole fruit in them, so make sure to run it through a small food processor or blender for a few seconds t smooth out the consistency.
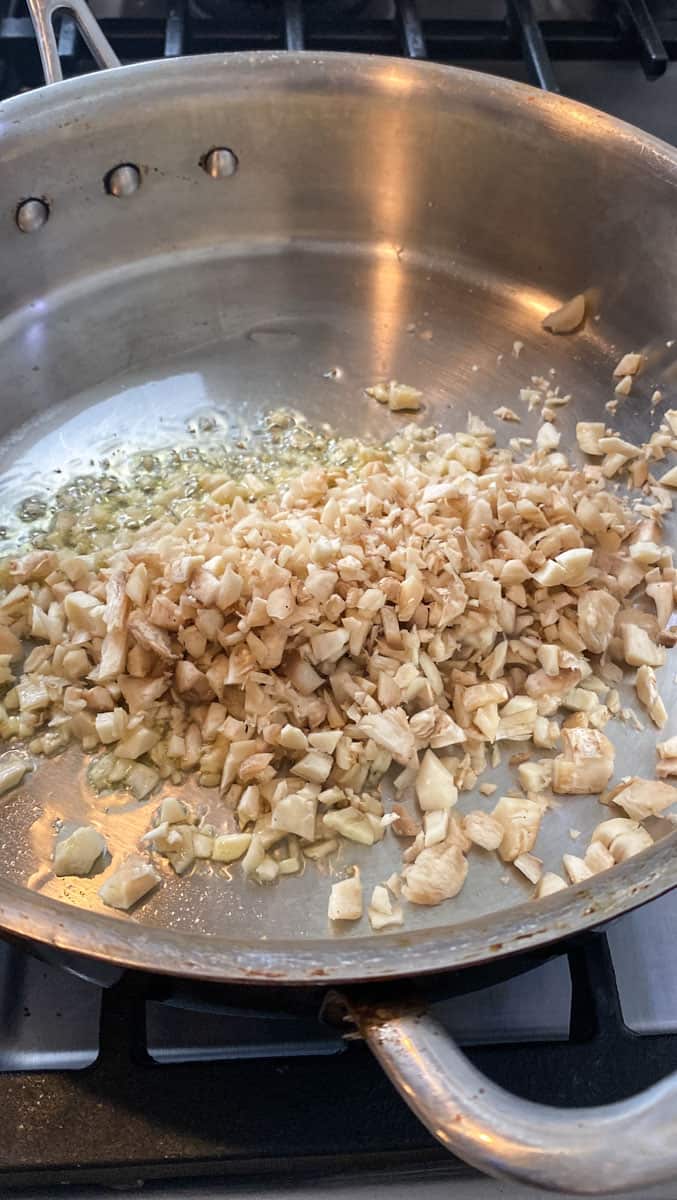
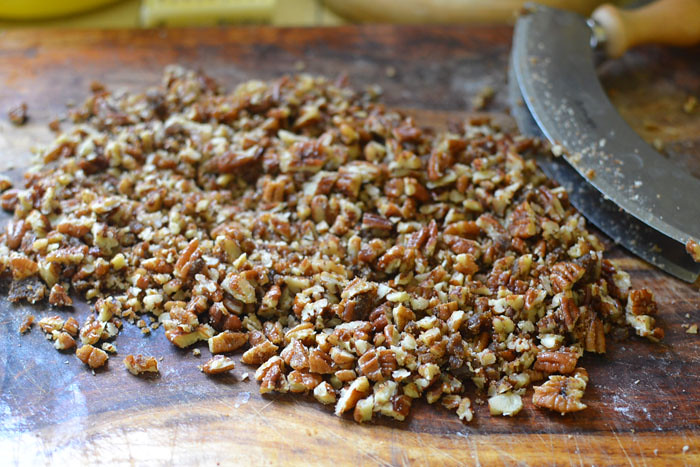
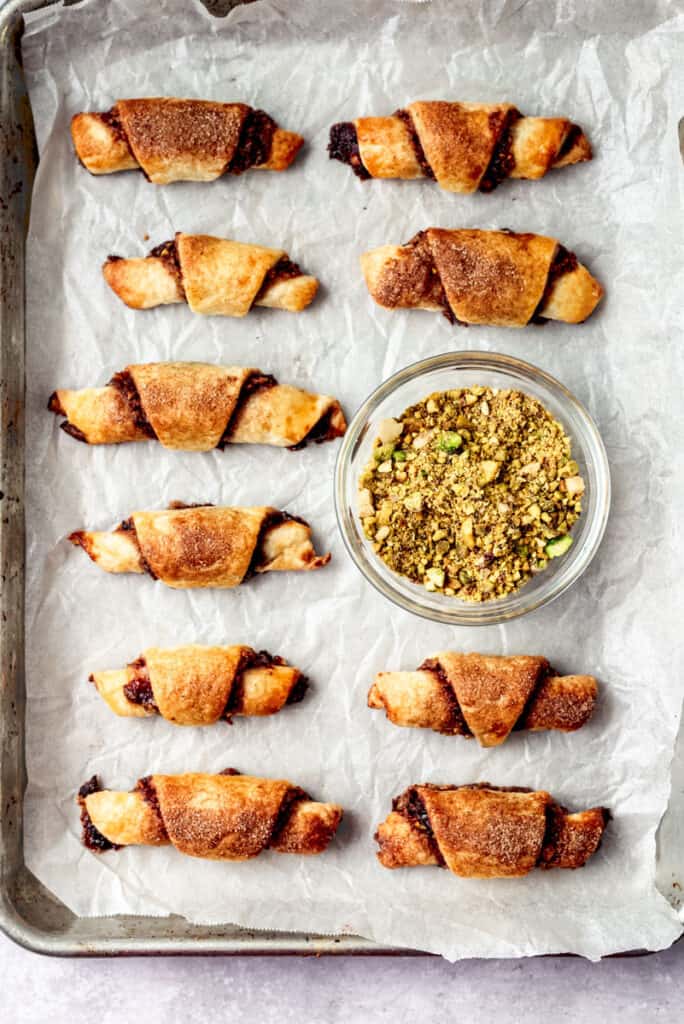
- Chopped Pistachios: Unsalted chopped pistachios are chopped enough so there are no large pieces of nuts. The pistachios offer a beautiful green color against the deep red cherry preserves.
- Brown Sugar: This is added to the pistachio mixture for added sweetness.
- Cinnamon and Nutmeg: Warm spices are added to the pistachio nut mixture.
- Orange Zest: A touch of fresh orange zest brightens the deeper cherry preserves.
How to Make Rugelach
Make the Dough
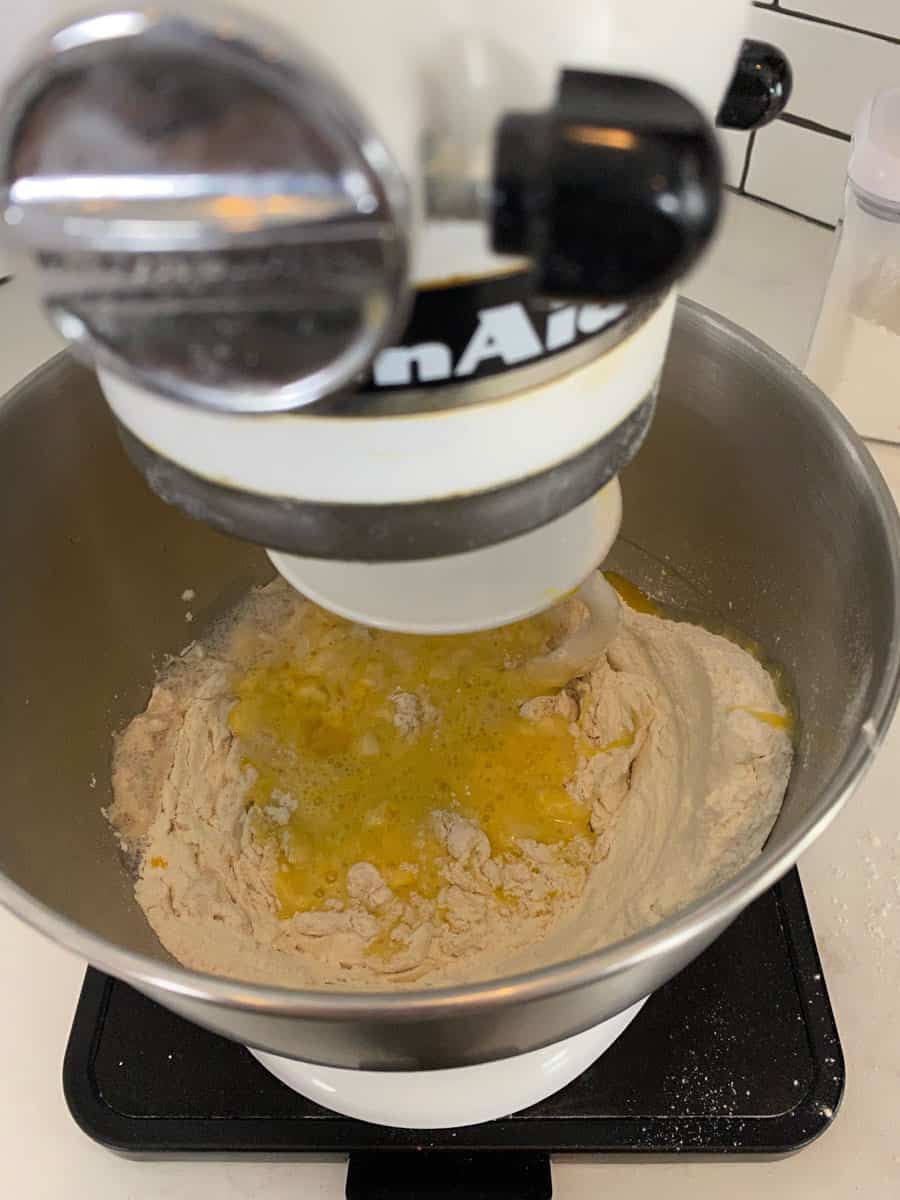
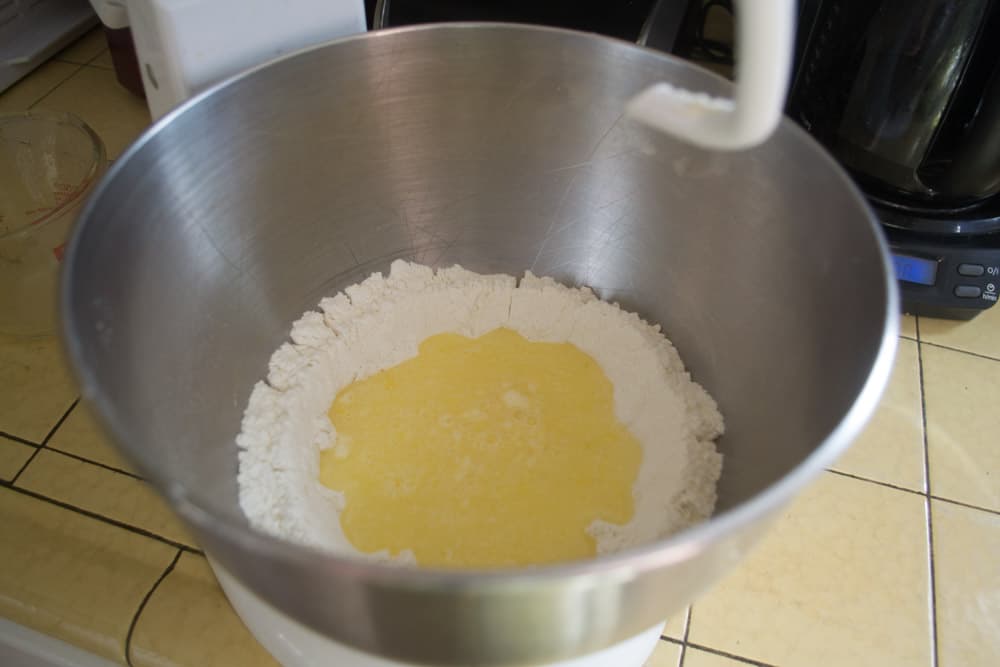
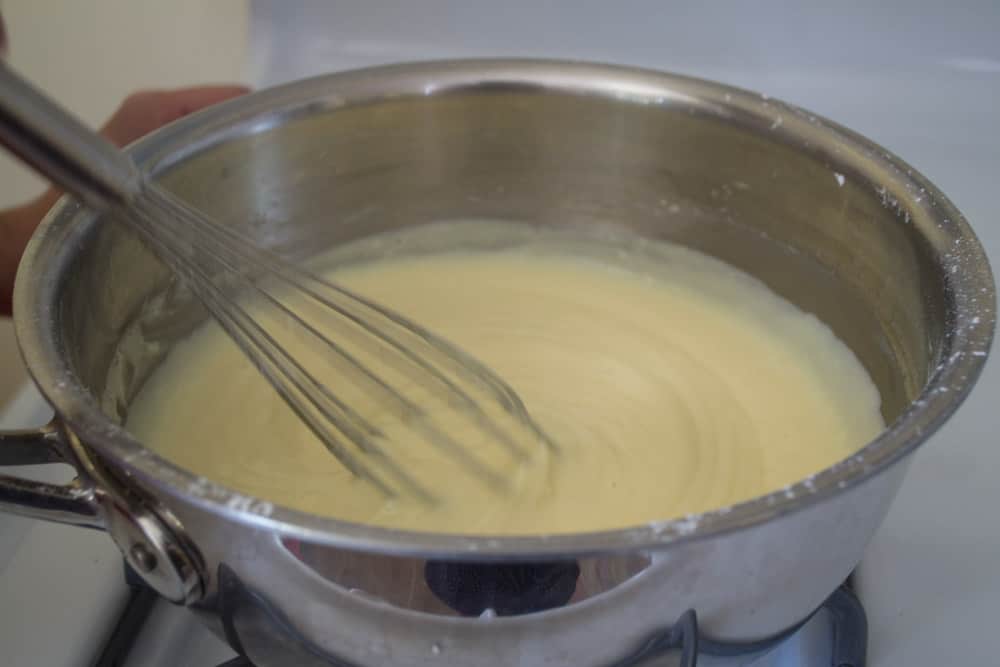
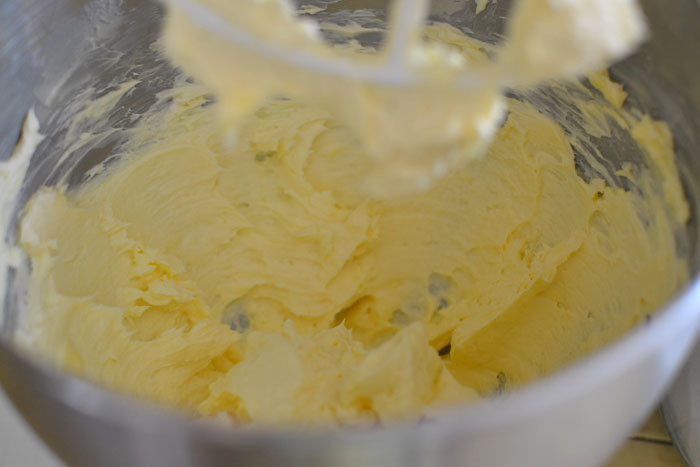
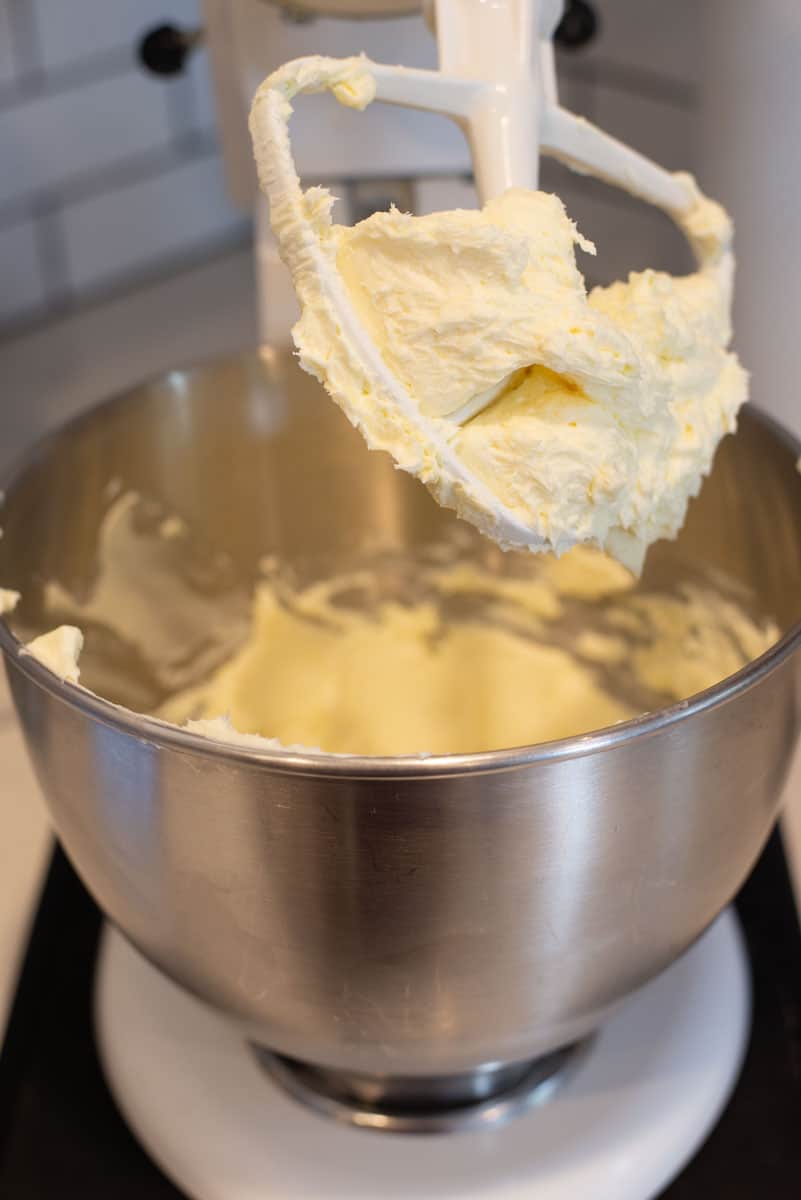
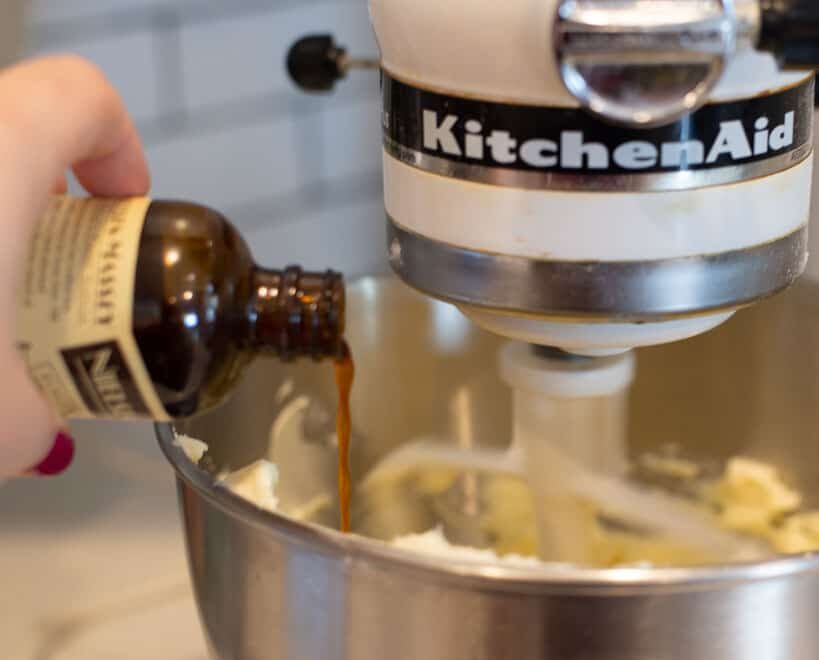
- Cream butter and cream cheese in stand mixer with a paddle attachment until very creamy. Then add the sugar and vanilla and mix well.
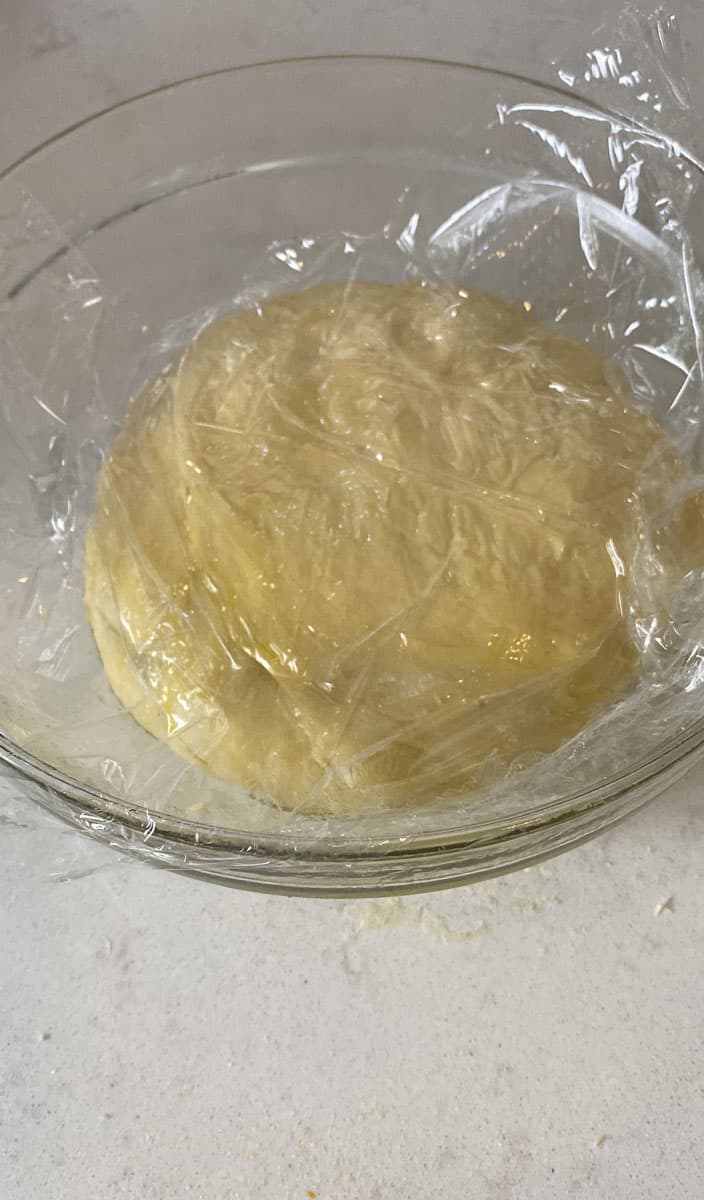
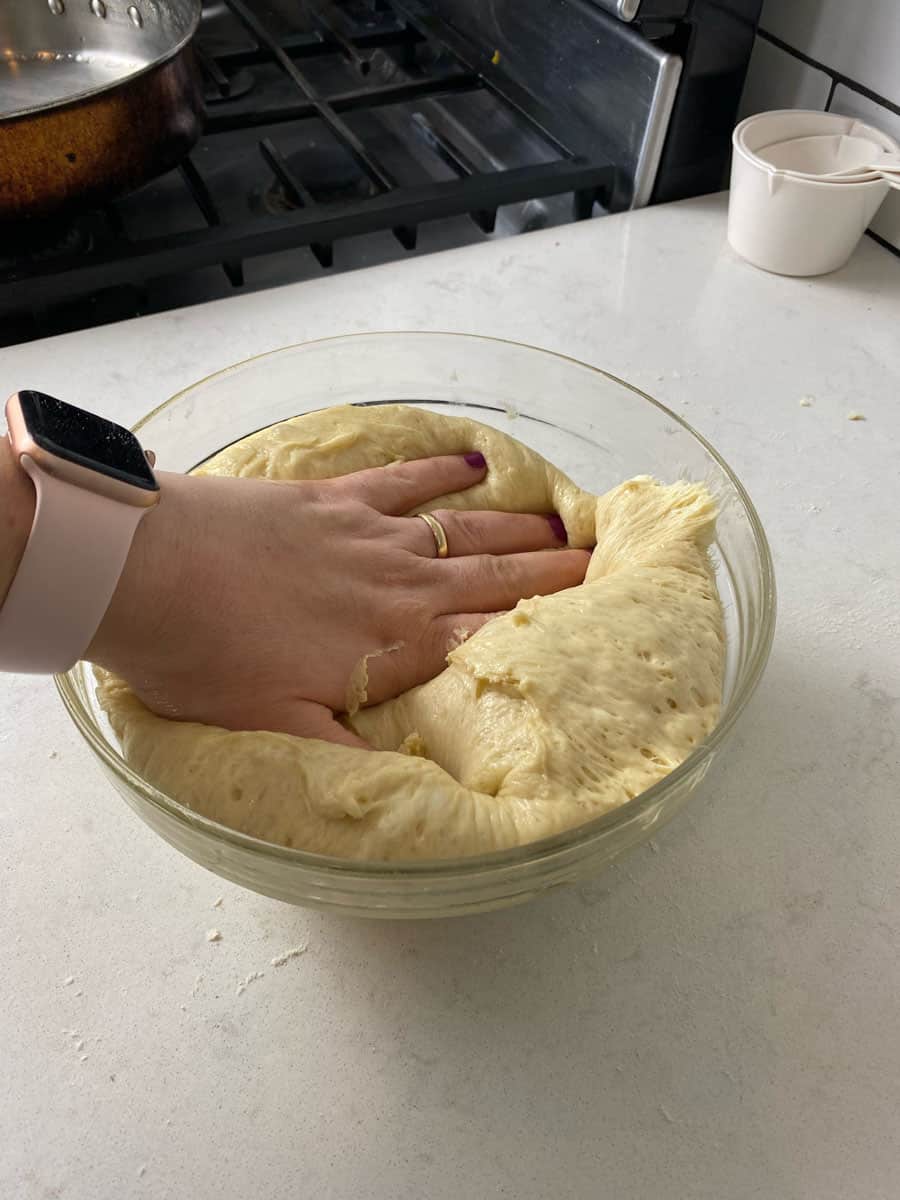
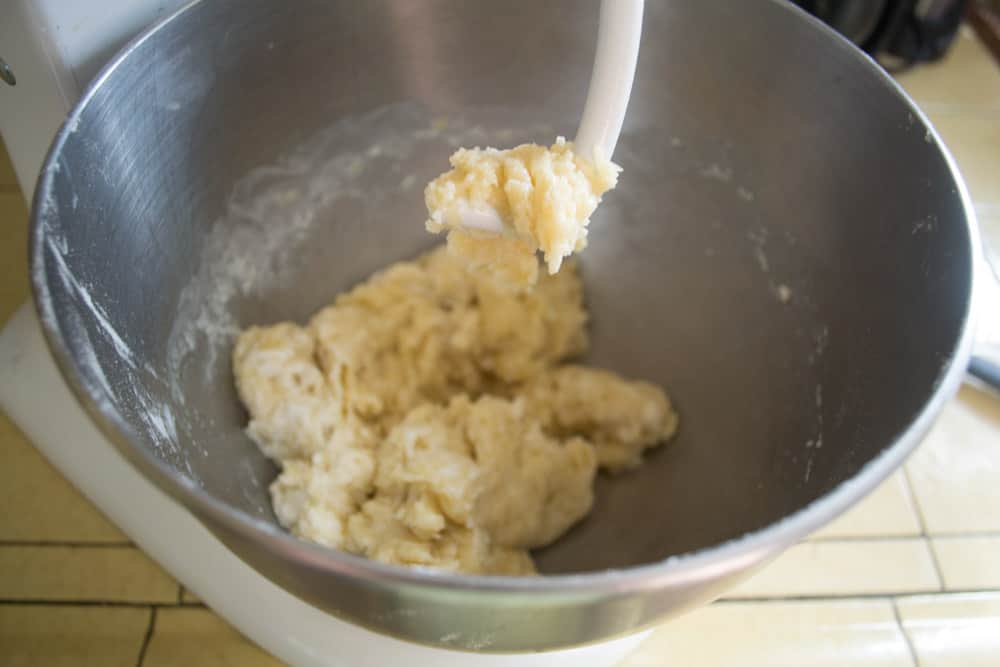
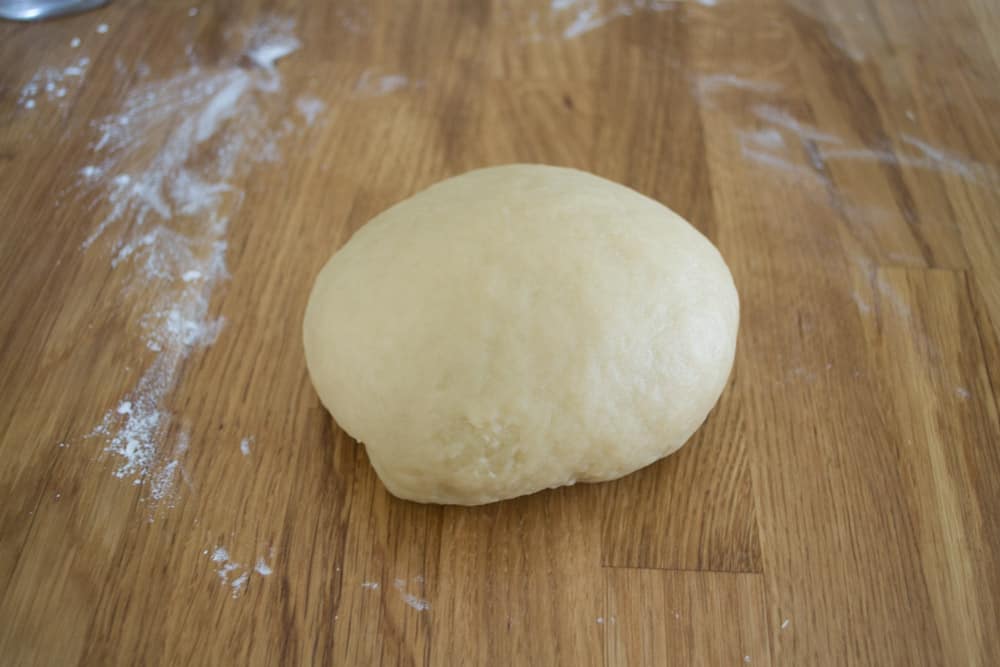
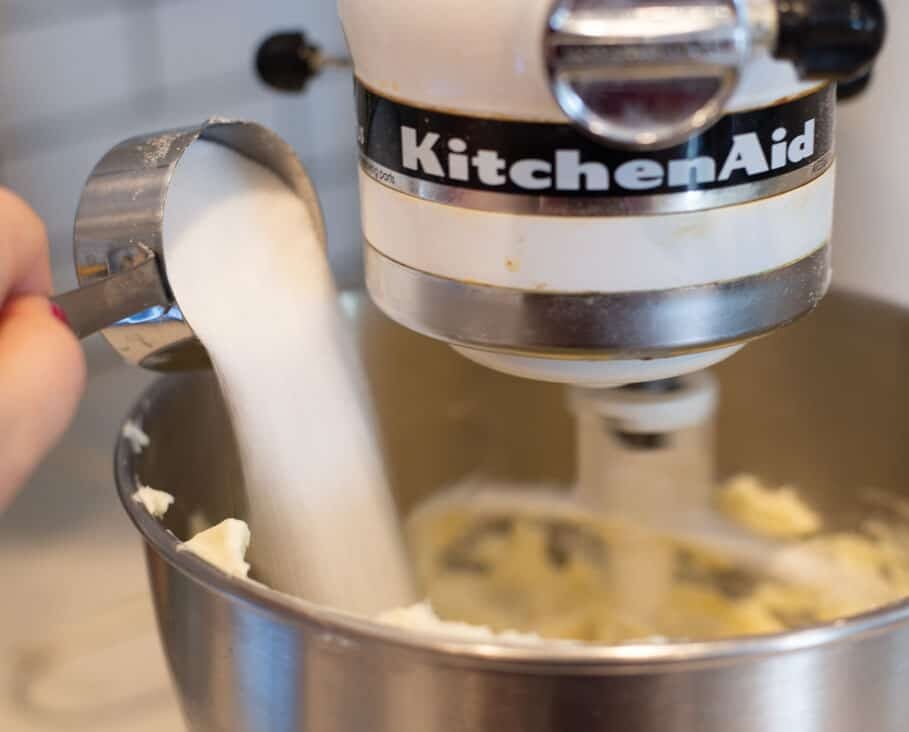
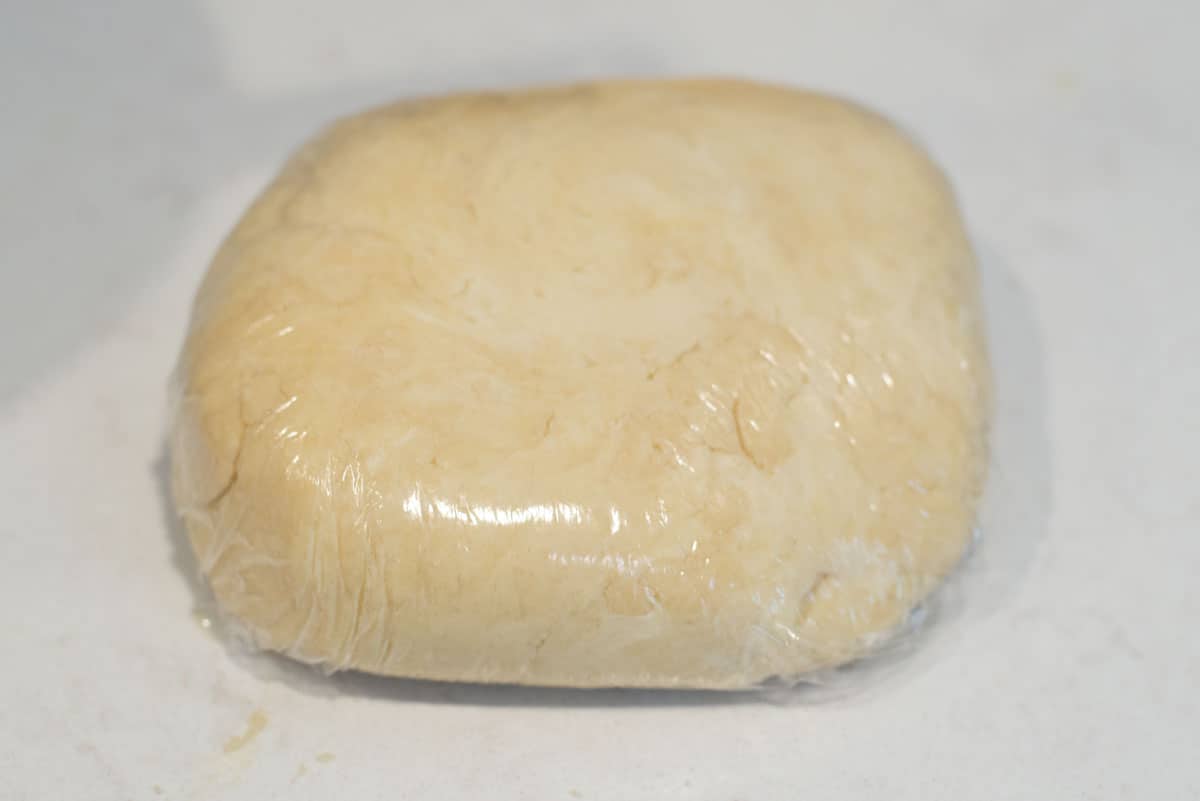
- Slowly add the flour in and until just combined. Dump the dough onto a lightly floured surface and form into a ball and wrap in plastic wrap. Refrigerate the dough for at least 30 minutes.
Make the Filling
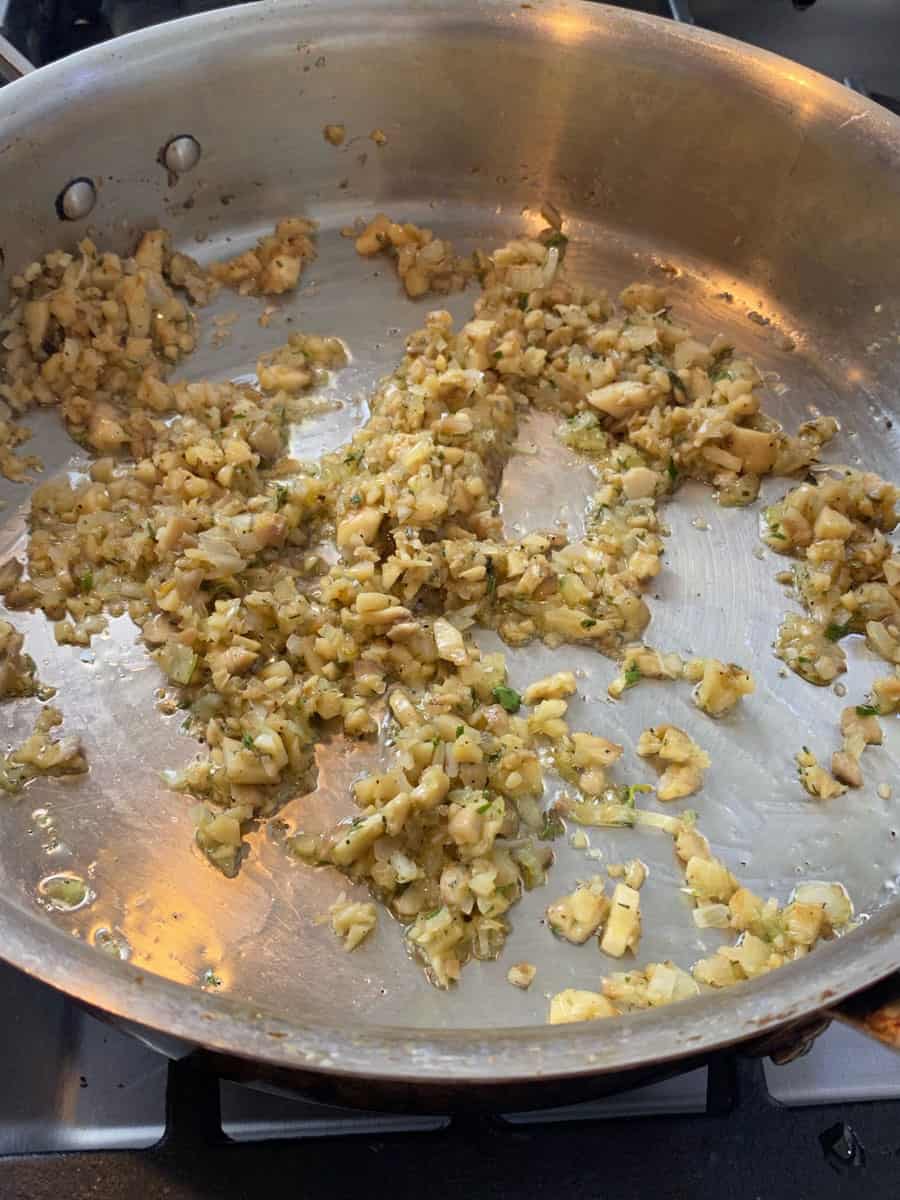
- Add the chopped pistachios to a bowl, along with the brown sugar, cinnamon and nutmeg and mix well.
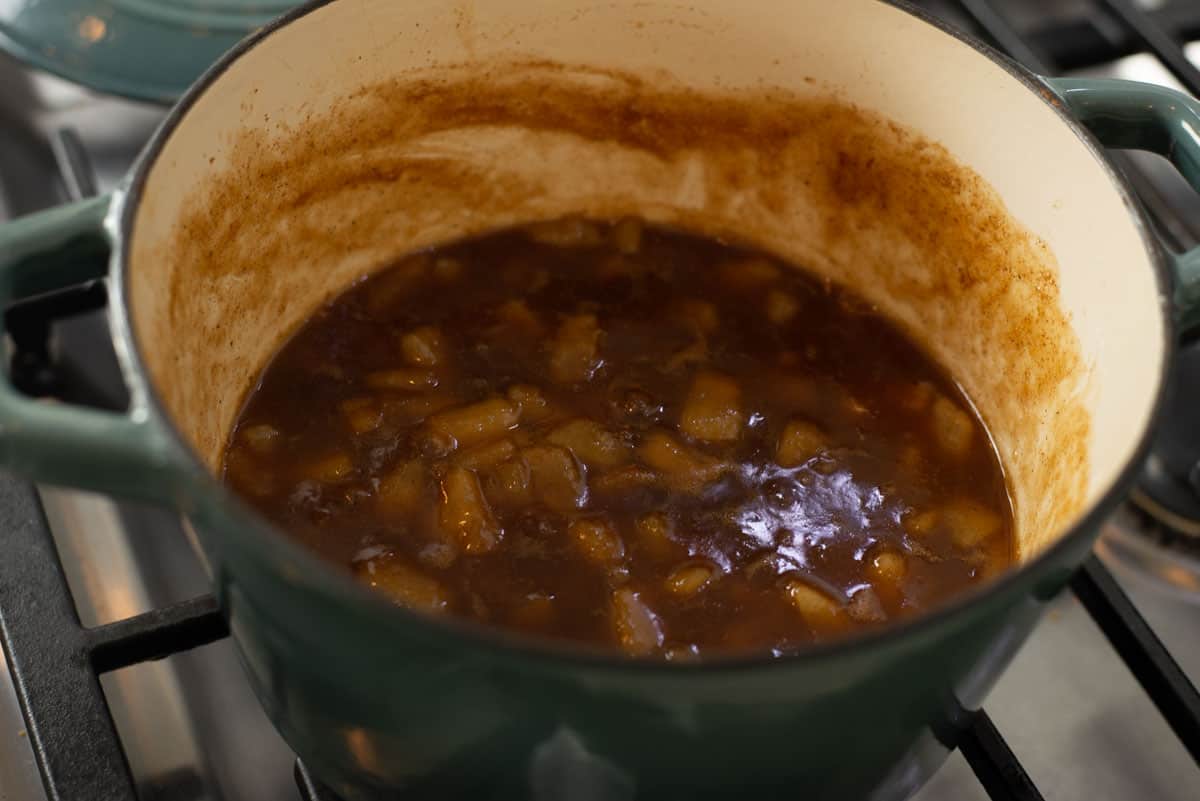
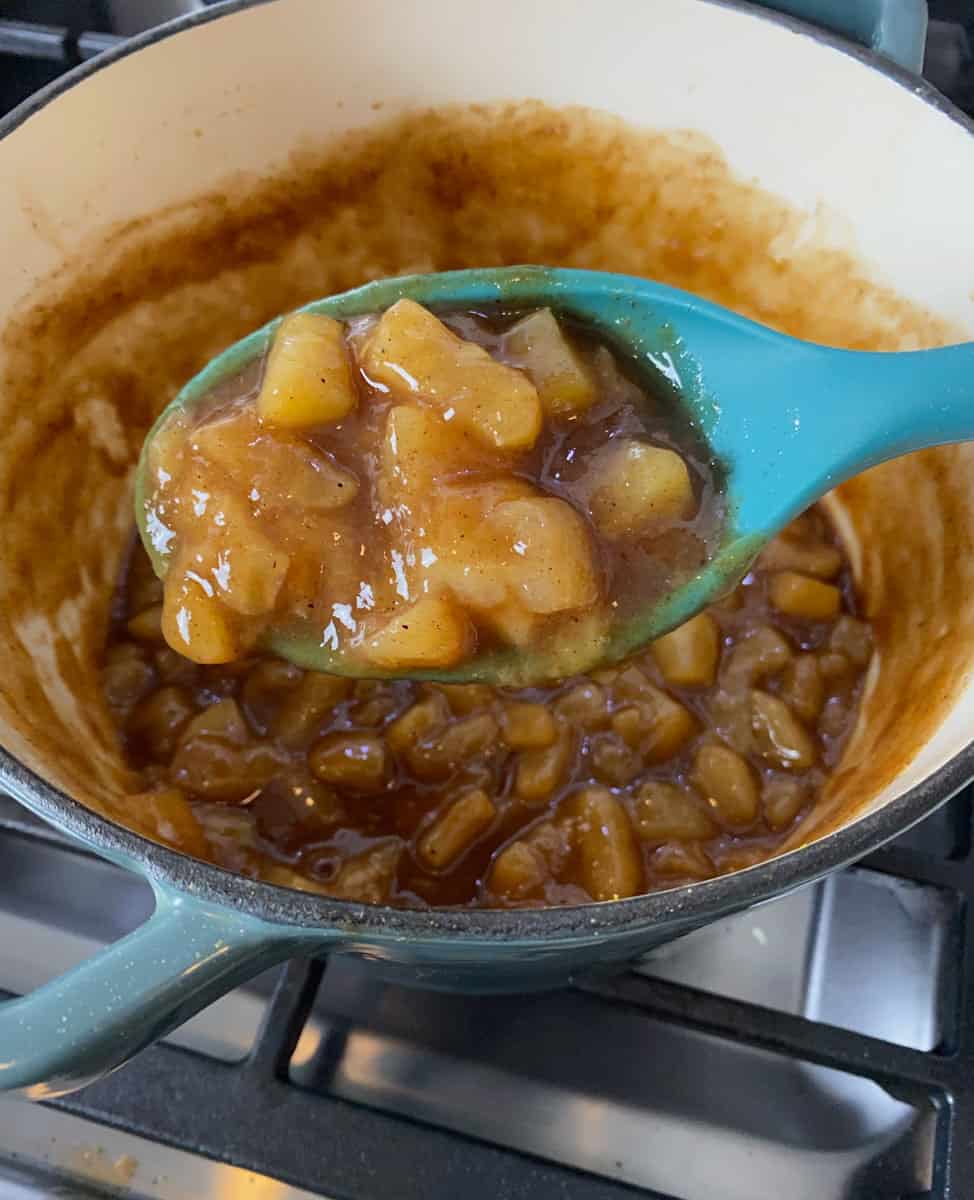
- Pulse the cherry preserves in a food processor or blender until smooth and there are no large fruit pieces.
- Transfer preserve to a bowl and add orange zest and stir well.
Roll, Form and Bake the Rugelach
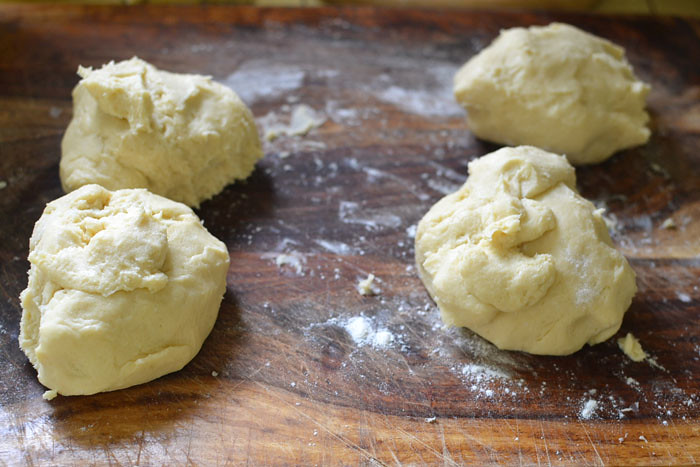
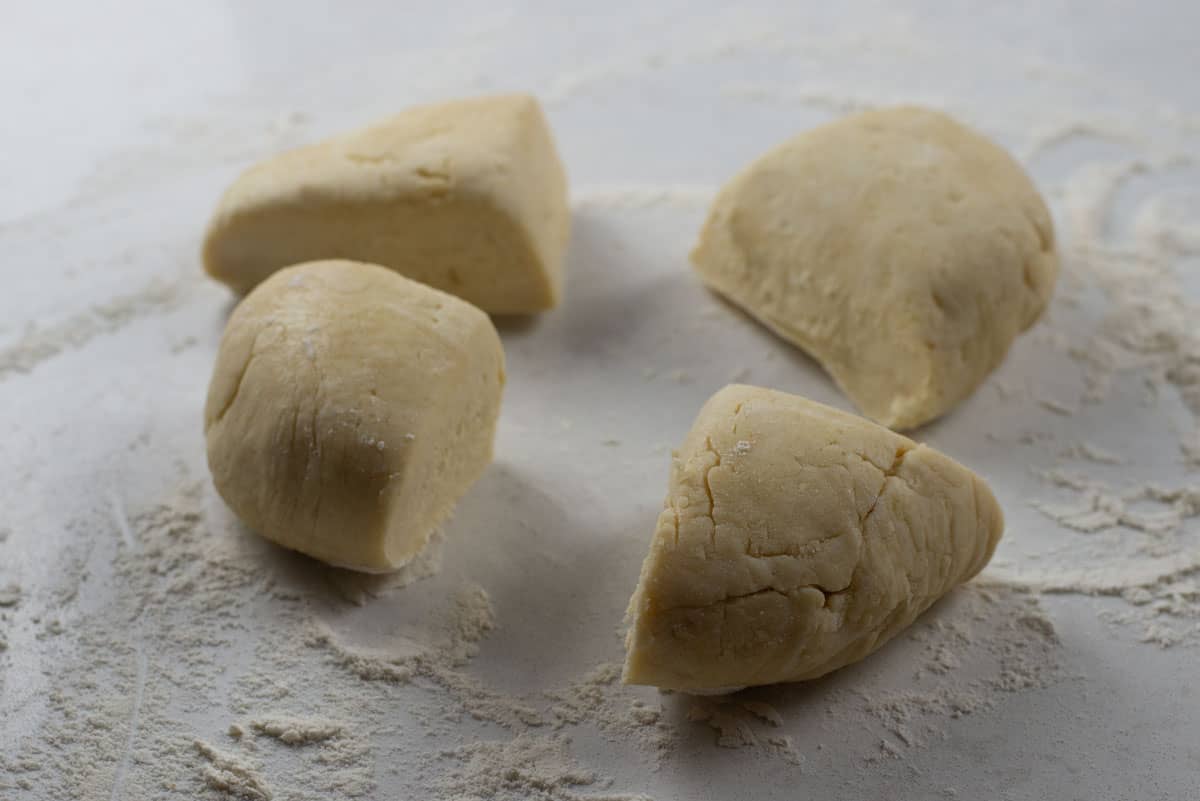
- Remove dough from the fridge and cut into 4 pieces.
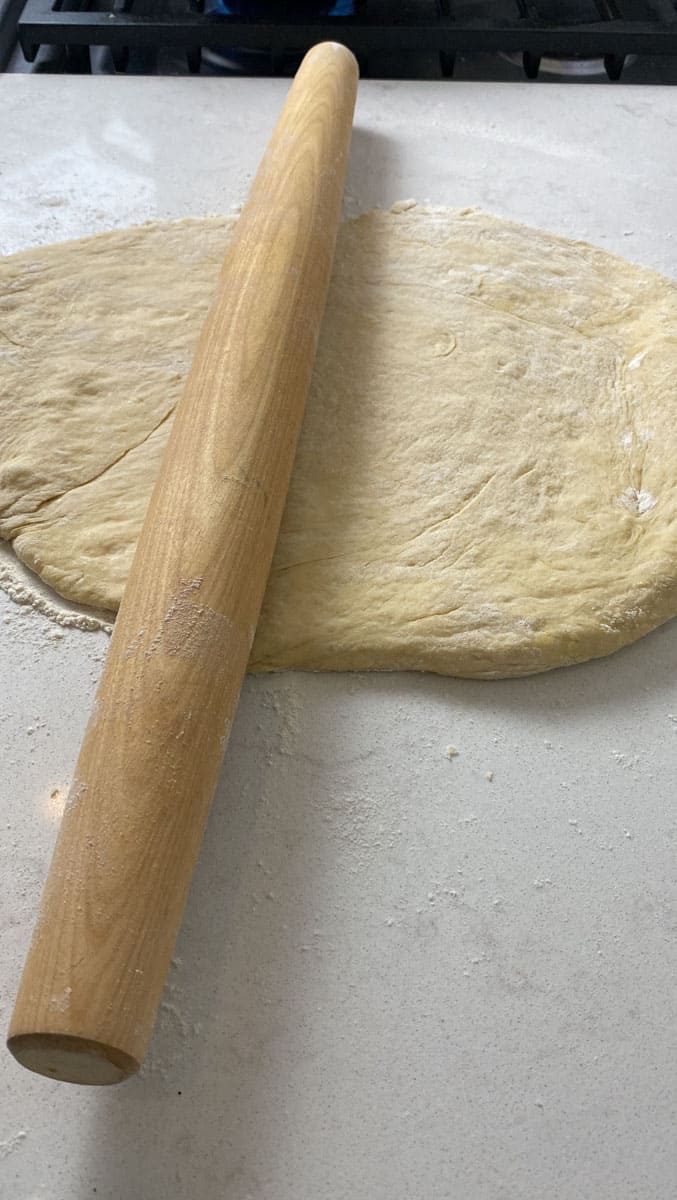
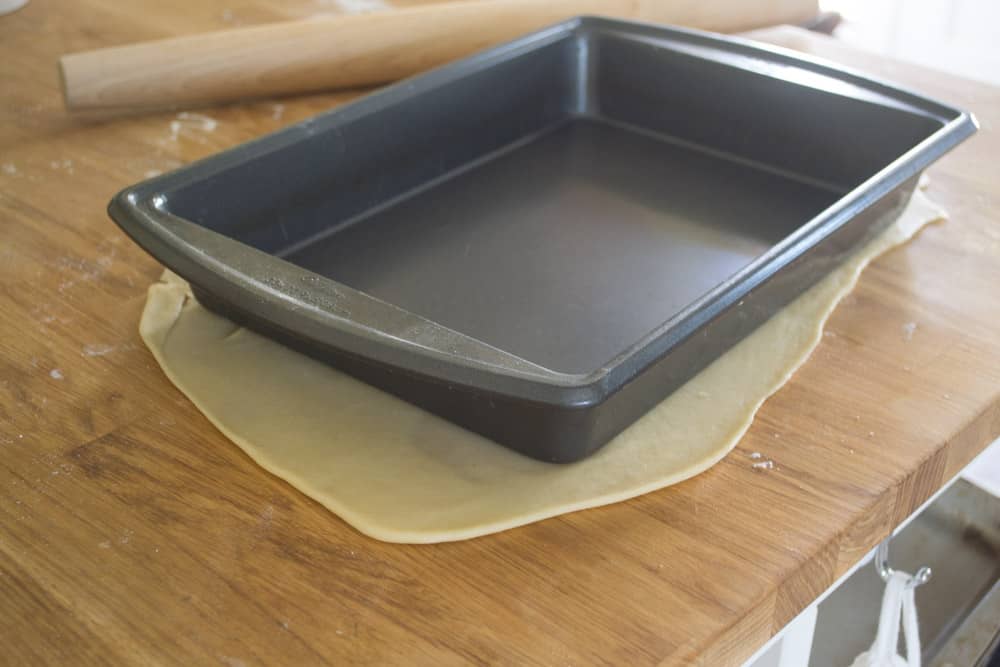
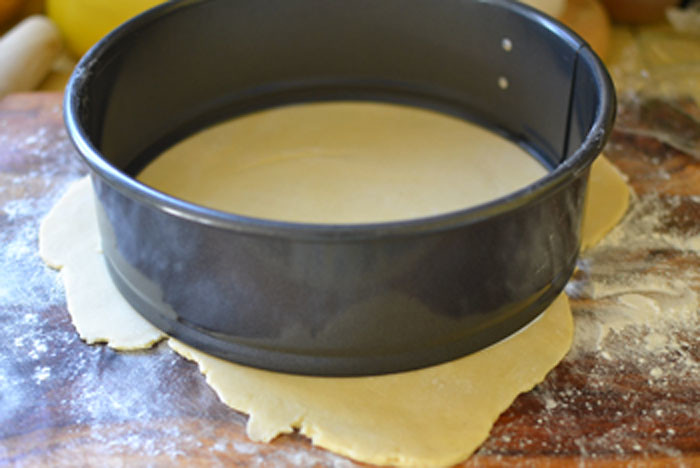
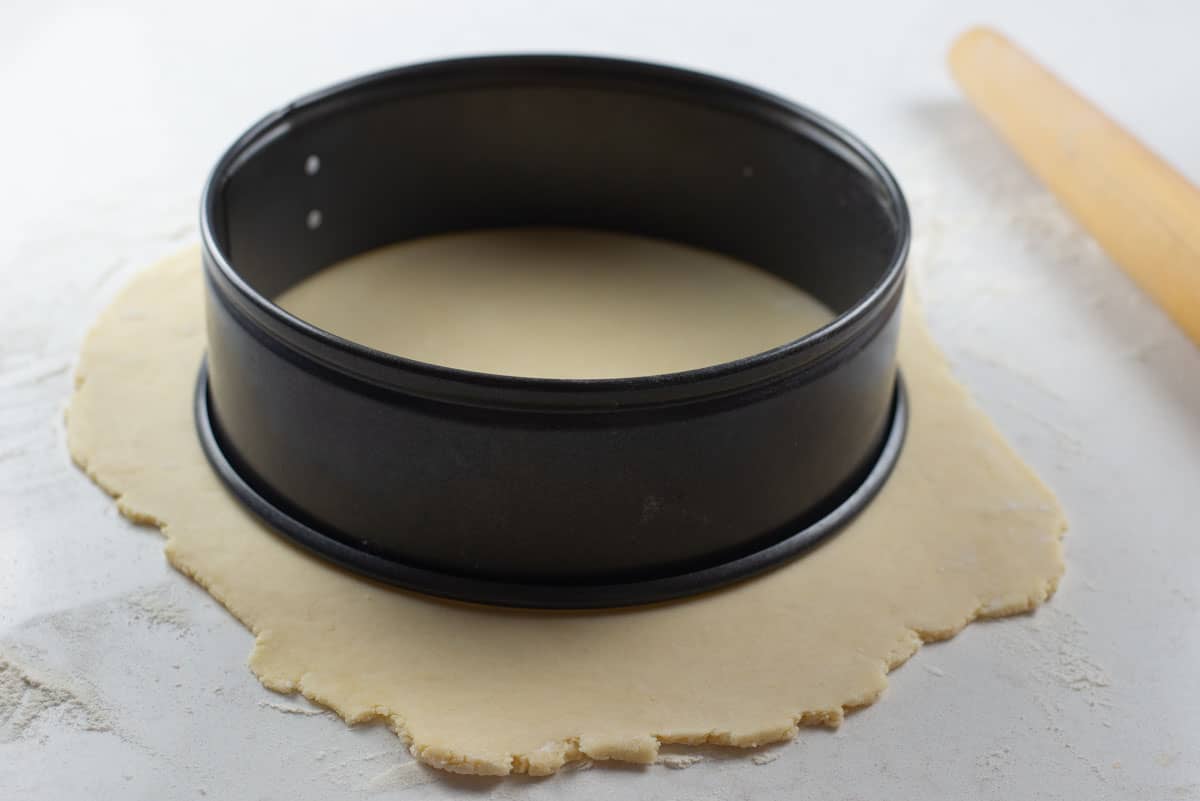
- Roll each dough onto a lightly floured surface to a 10 inch circle. Use a plate or cheesecake pan to guide the circle and cut away any excess dough. *Note: Save the dough scraps to roll out for more rugelach.
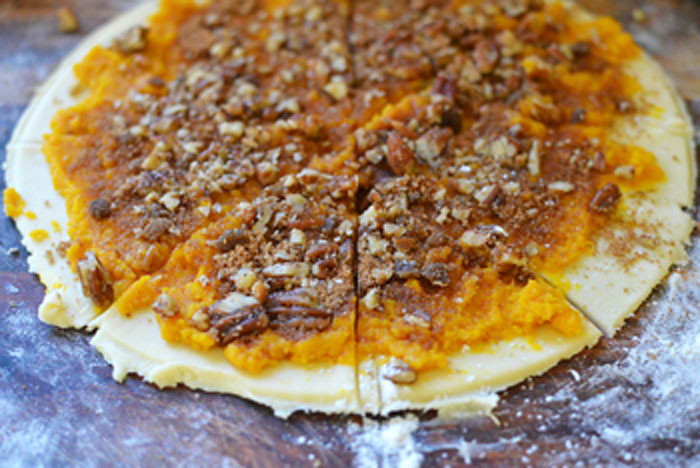
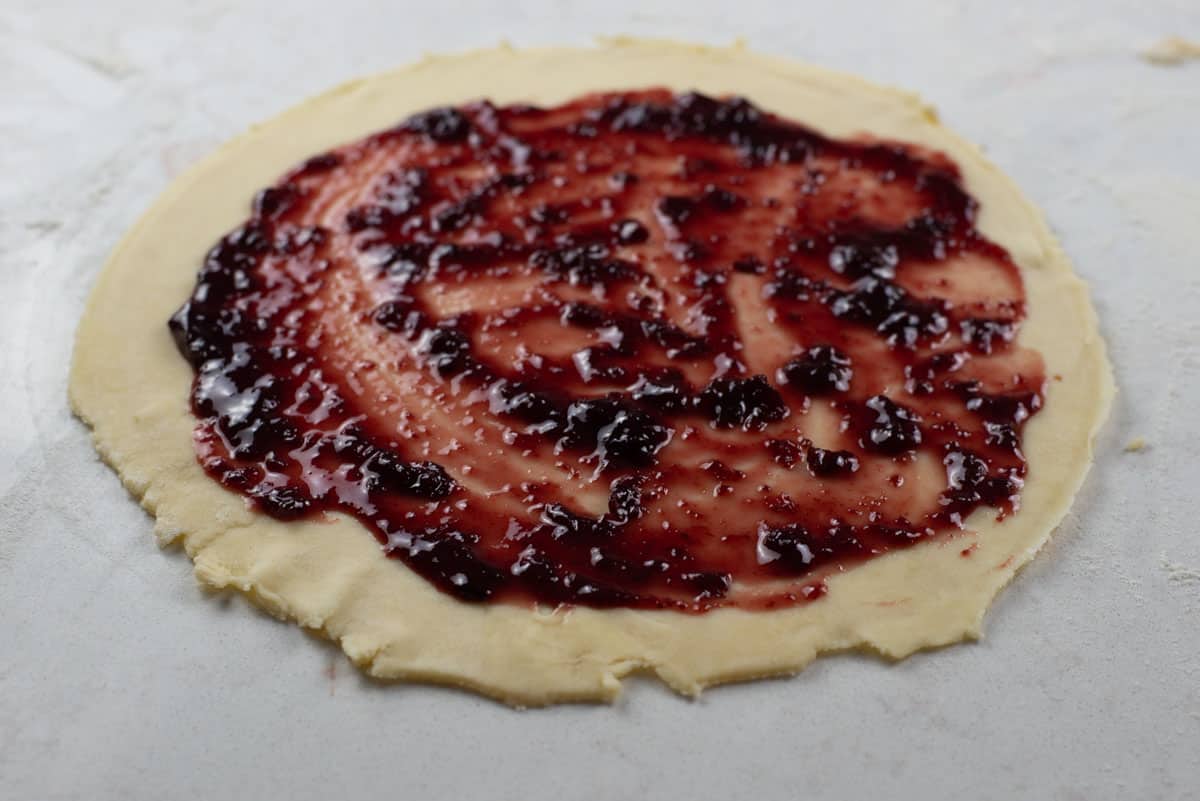
- Spread 3 tablespoons of cherry preserves onto the dough in a thin layer, leaving a small dough border.
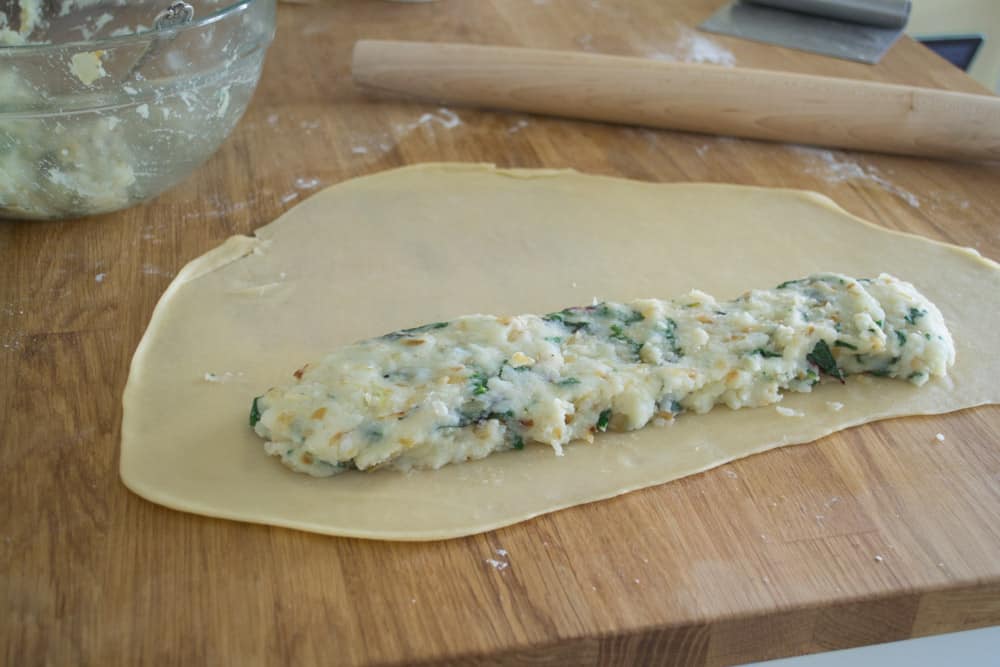
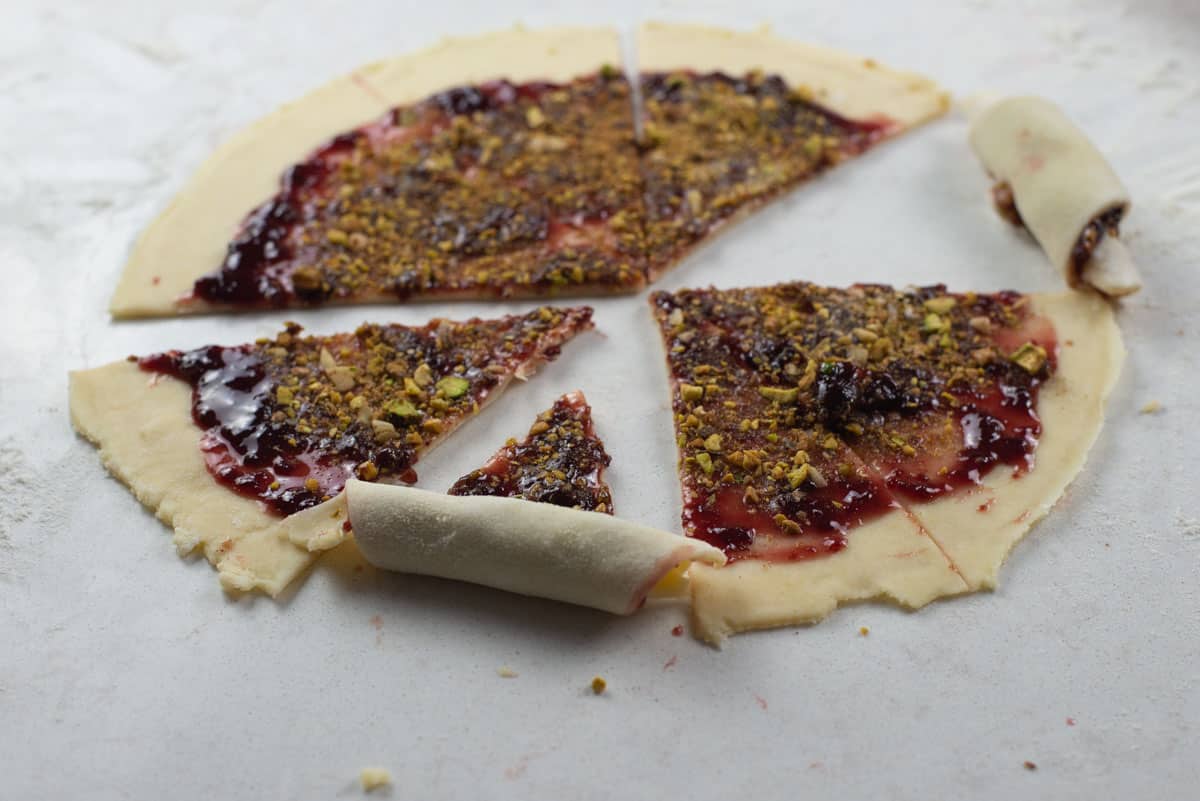
- Sprinkle 2-3 tablespoons of the chopped pistachio mixture on top of the preserves and use your hands to gently press the nuts into the jam.
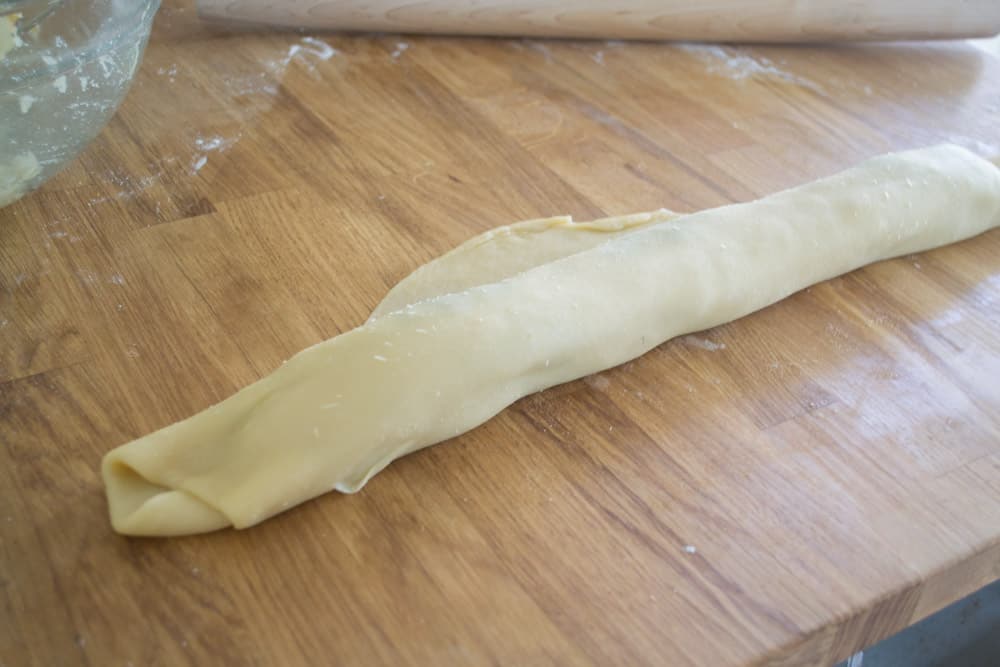
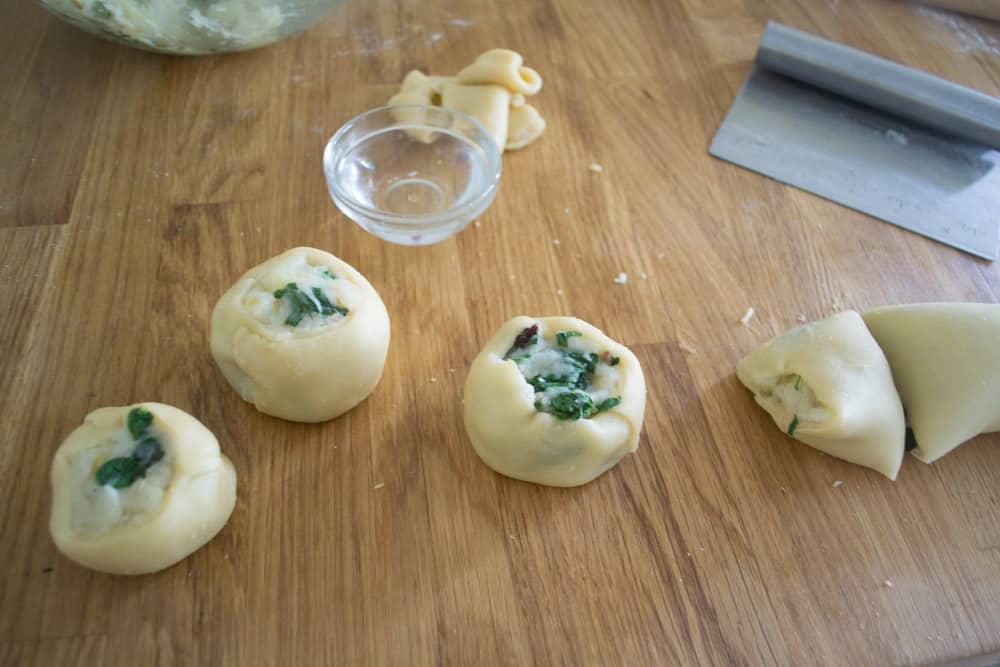
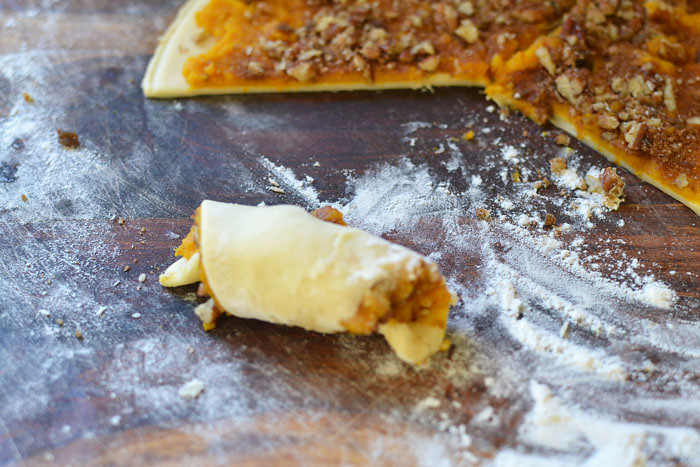
- Use a pizza cutter or knife and cut the dough into 8 even triangles, like a pizza. Then roll each rugelach from the outside-in, creating a crescent shape.
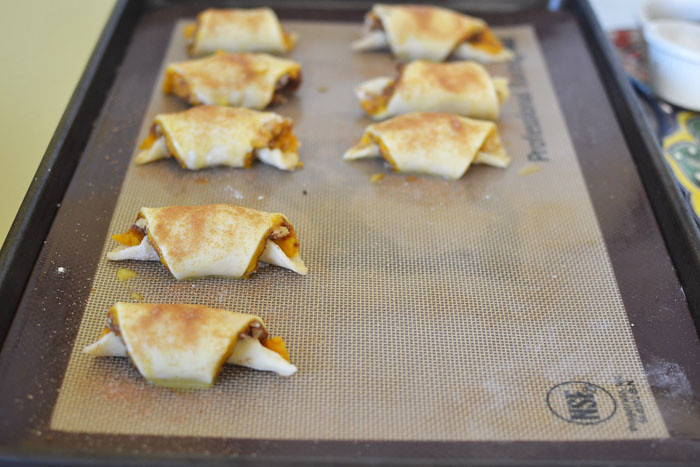
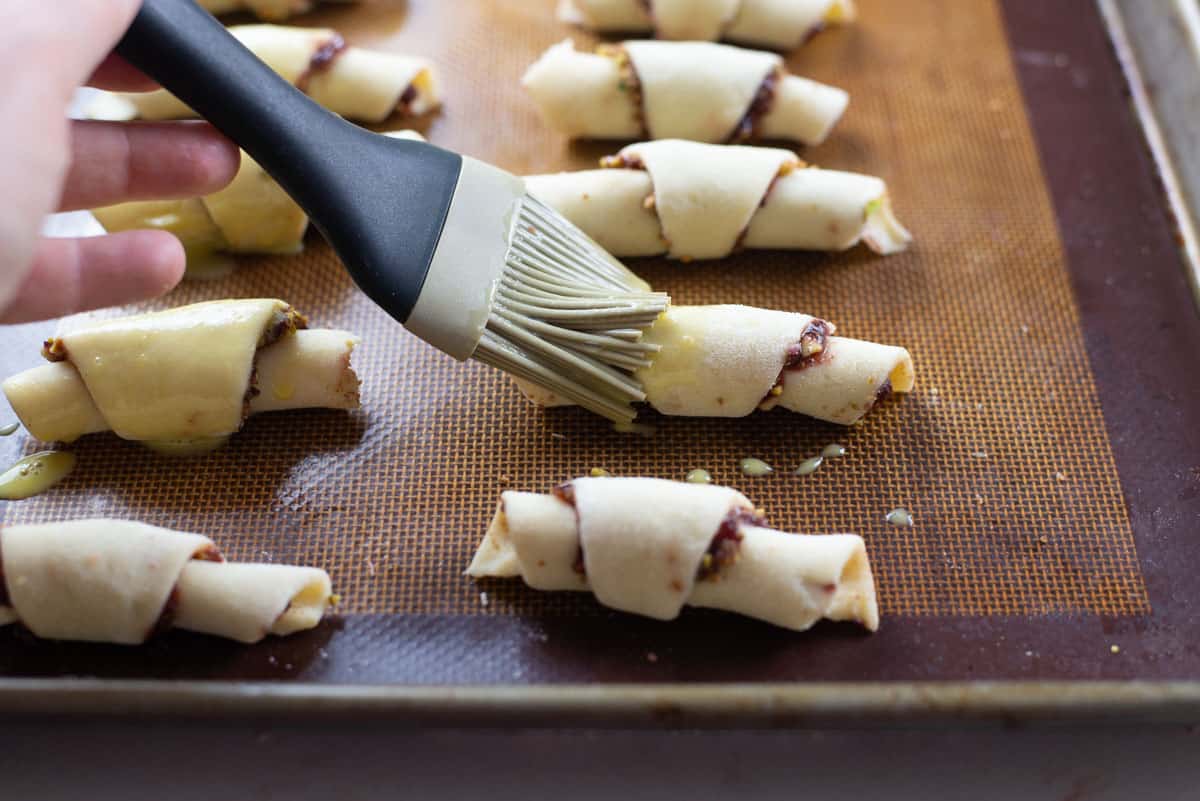
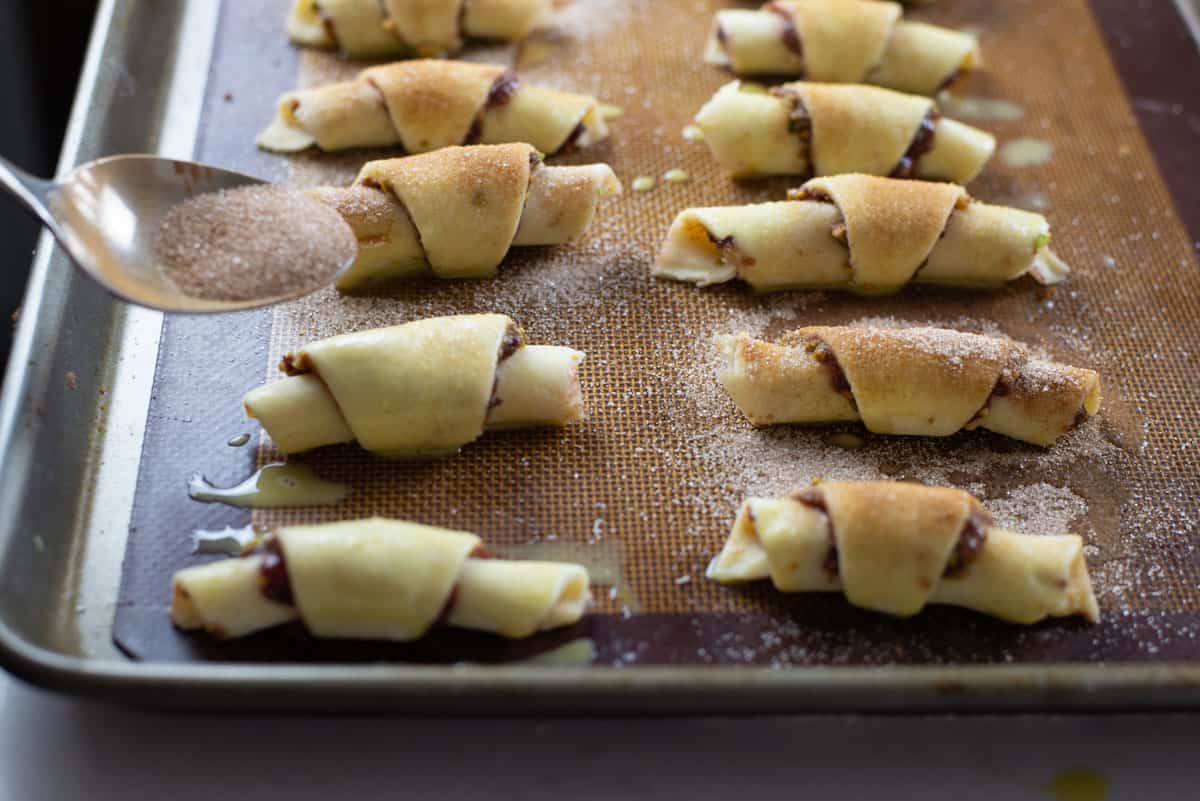
- Place rugelach on lined baking sheet, pointy side down and brush with egg wash and sprinkle with cinnamon sugar.
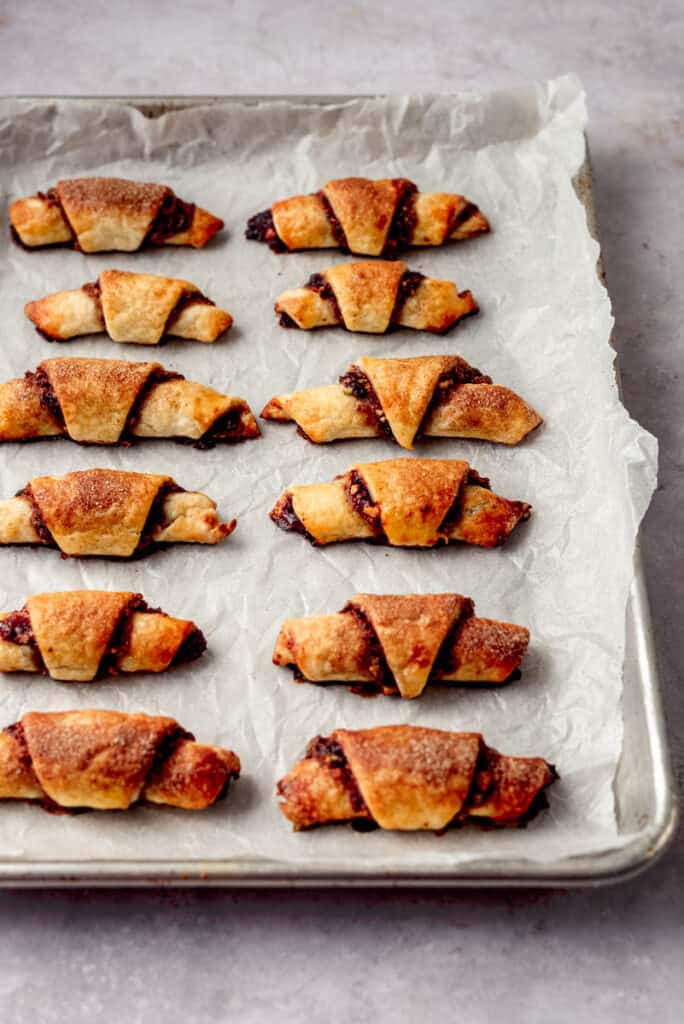
- Bake rugelach at 350 degrees Fahrenheit for 18-20 minutes until golden brown.
Rugelach Making Tips
- After the dough is made, refrigerate it for at least 30 minutes and up to 8 hours. You can also make ahead and freeze.
- If dough is chilled, it may be a bit harder to roll out. Leave at room temperature until it's easier to roll with a rolling pin.
- Don't overfull with jam or nuts, a little goes a long way and the more filling there is, the harder it will be to roll the rugelach.
- As you make the circles and cut off excess dough, save the scraps to roll out another circle.
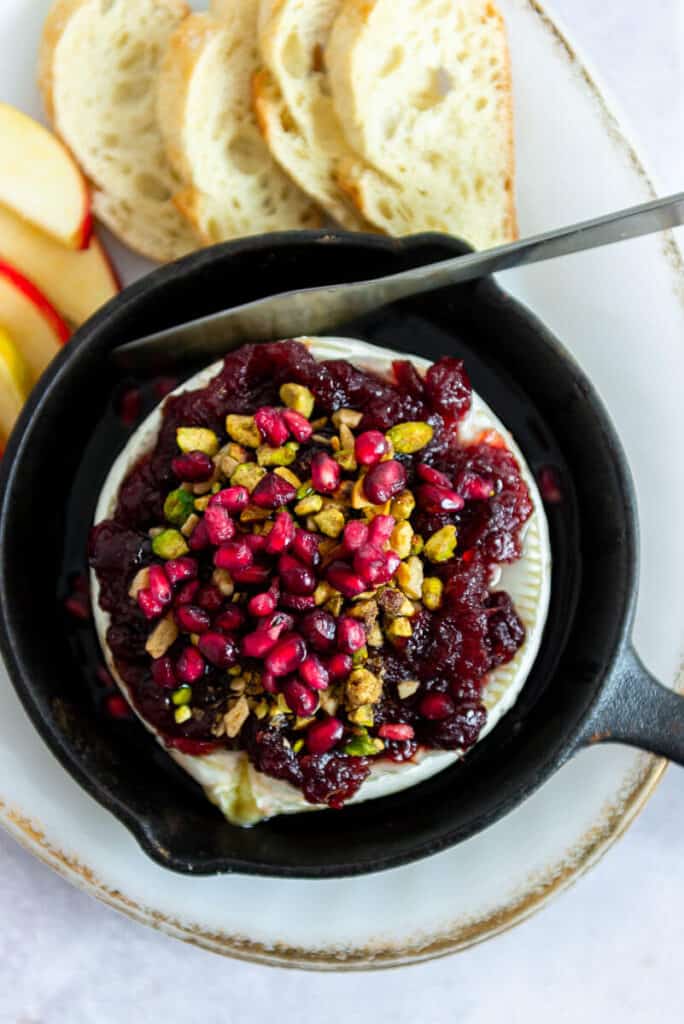
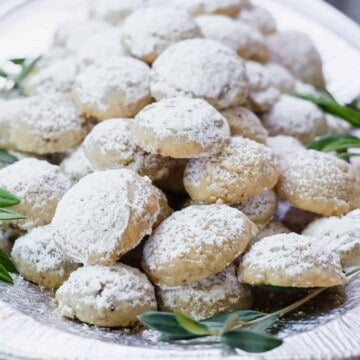
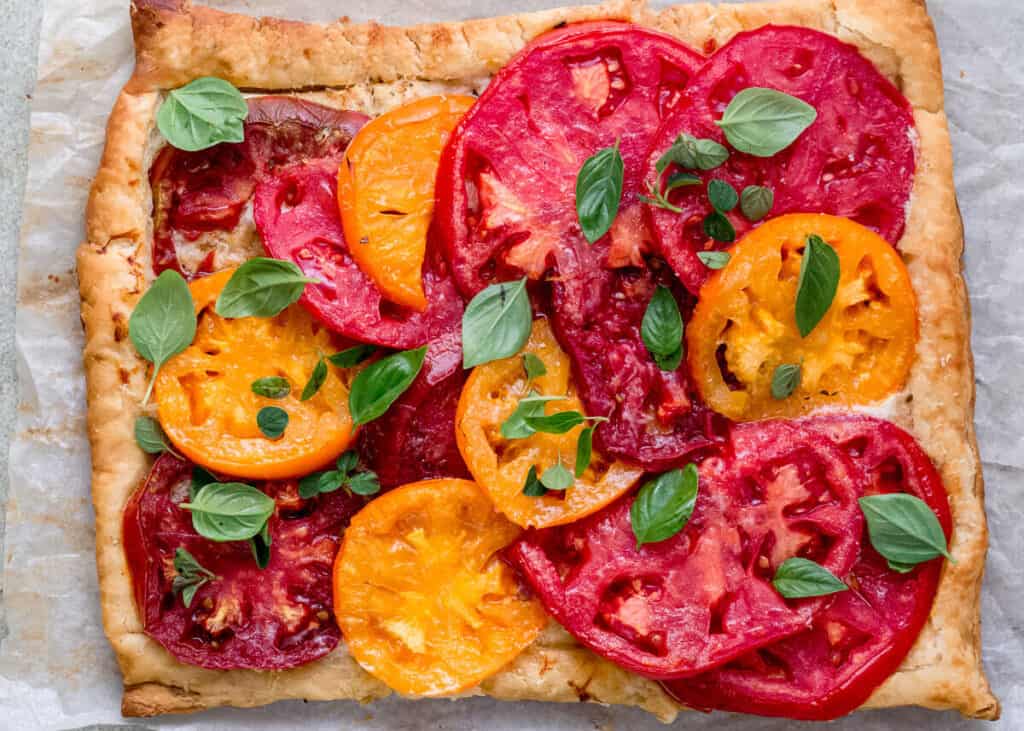
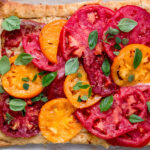
More Rugelach Recipes to Make
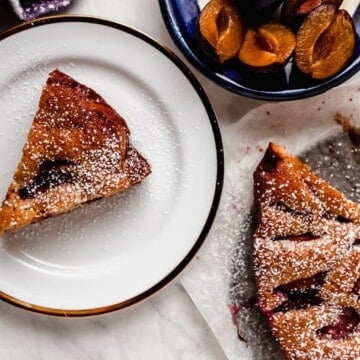
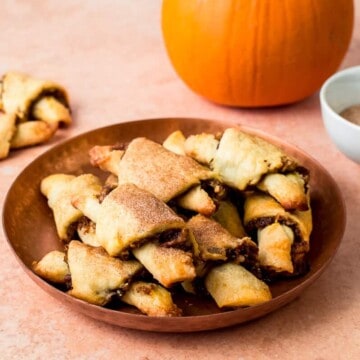
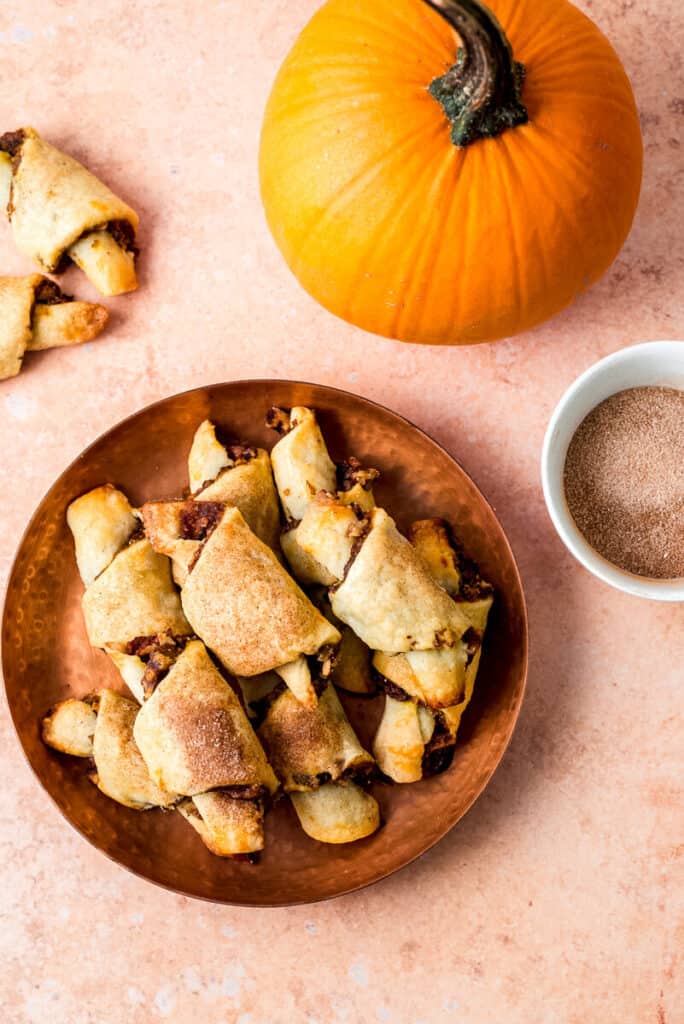
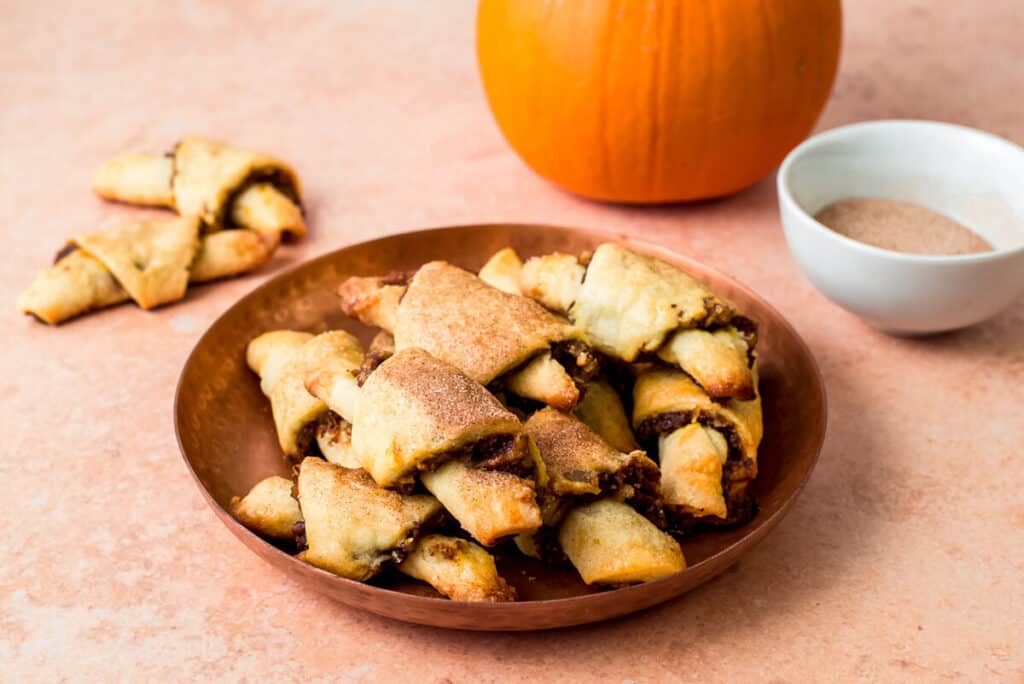
- Pumpkin Rugelach with Caramelized Pecans
- Sticky Cinnamon Bun Rugelach
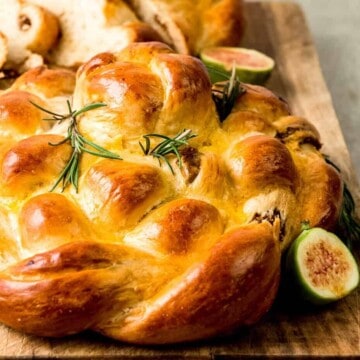
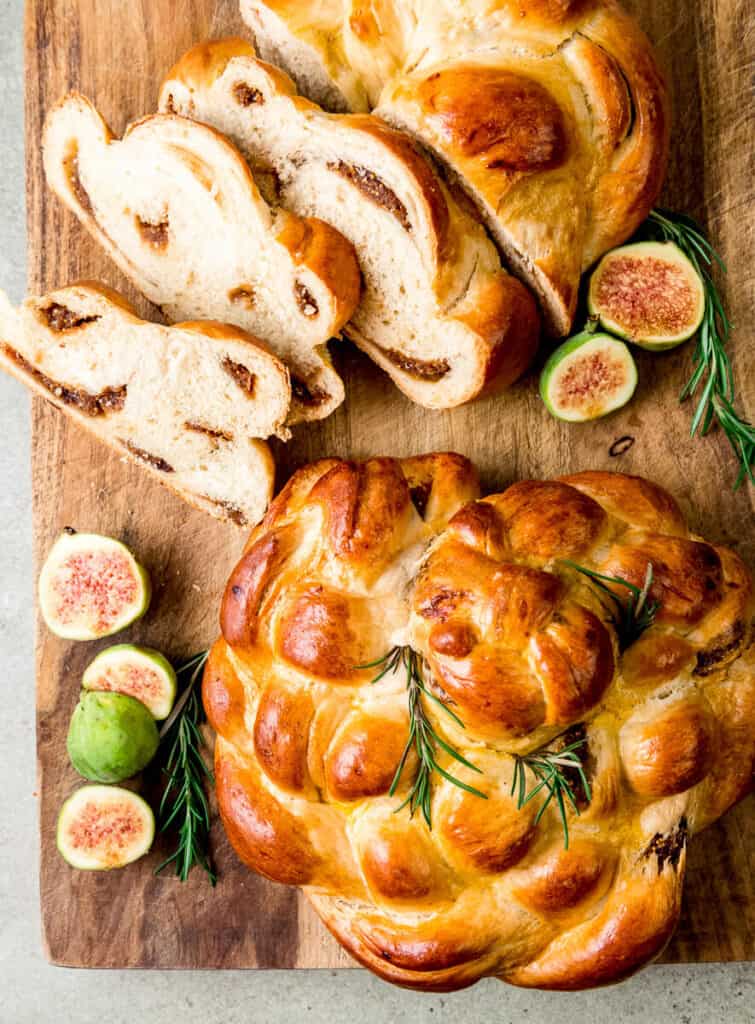
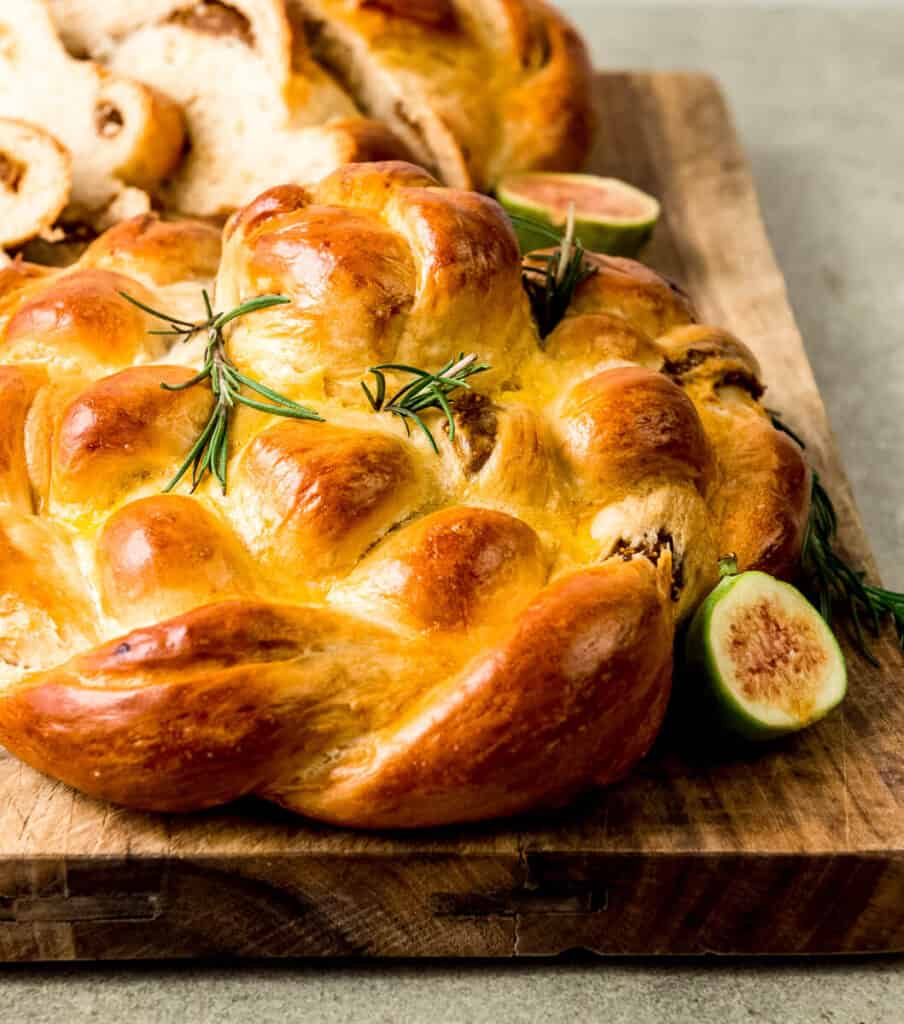
- Rosemary Fig Rugelach
- Savory Herb and Cheese Rugelach
Cherry Pistachio Rugelach
Equipment
Ingredients
Dough
- 8 ounce cream cheese room temperature
- ½ pound unsalted butter room temperature
- ¼ cup sugar
- 1 teaspoon vanilla extract
- 2 cups all-purpose flour
Filling
- ¾ cup chopped pistachios no large pieces
- ¼ cup brown sugar
- 1 teaspoon cinnamon
- ½ teaspoon nutmeg
- ½ cup cherry preserves quickly pulsed in food processor (no lumps)
- 1 teaspoon orange zest
Instructions
Make the Dough
- Cream butter and cream cheese in stand mixer with a paddle attachment until very creamy. Then add the sugar and vanilla and mix well.
- Slowly add the flour in and until just combined. Dump the dough onto a lightly floured surface and form into a ball and wrap in plastic wrap. Refrigerate the dough for at least 30 minutes.
Make the Filling
- Add the chopped pistachios to a bowl, along with the brown sugar, cinnamon and nutmeg and mix well.
- Pulse the cherry preserves in a food processor or blender until smooth and there are no large fruit pieces.
- Transfer preserve to a bowl and add orange zest and stir well.
Roll, Form and Bake the Rugelach
- Pre-heat the oven to 350 degrees Fahrenheit and remove the dough from the fridge and cut into 4 pieces.
- Roll each dough onto a lightly floured surface to a 10 inch circle. Use a plate or cheesecake pan to guide the circle and cut away any excess dough. *Note: Save the dough scraps to roll out for more rugelach.
- Spread 3 tablespoons of cherry preserves onto the dough in a thin layer, leaving a small dough border.
- Sprinkle 2-3 tablespoons of the chopped pistachio mixture on top of the preserves and use your hands to gently press the nuts into the jam.
- Use a pizza cutter or knife and cut the dough into 8 even triangles, like a pizza. Then roll each rugelach from the outside-in, creating a crescent shape.
- Place rugelach on lined baking sheet, pointy side down and brush with egg wash and sprinkle with cinnamon sugar.
- Bake rugelach at 350 degrees Fahrenheit for 18-20 minutes until golden brown.
Video
Notes
- After the dough is made, refrigerate it for at least 30 minutes and up to 8 hours. You can also make ahead and freeze.
- If dough is chilled, it may be a bit harder to roll out. Leave at room temperature until it's easier to roll with a rolling pin.
- Don't overfull with jam or nuts, a little goes a long way and the more filling there is, the harder it will be to roll the rugelach.
- As you make the circles and cut off excess dough, save the scraps to roll out another circle.