

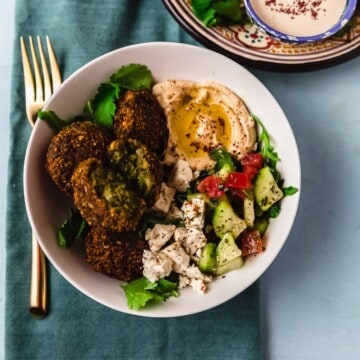
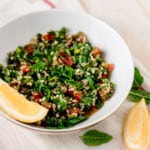
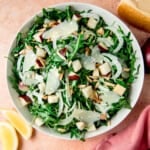
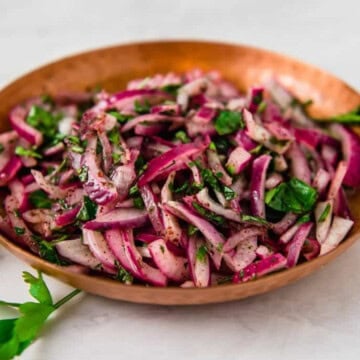
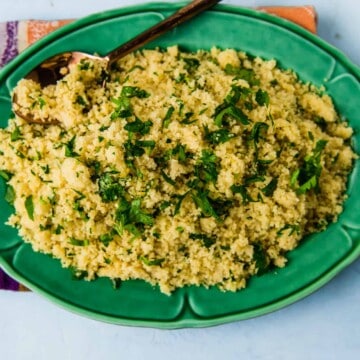
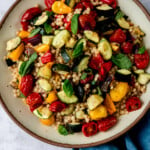
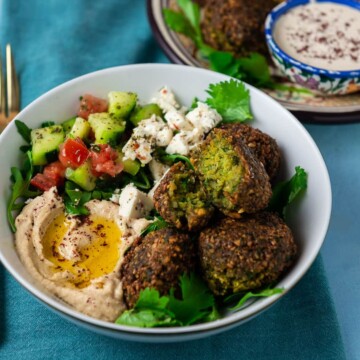
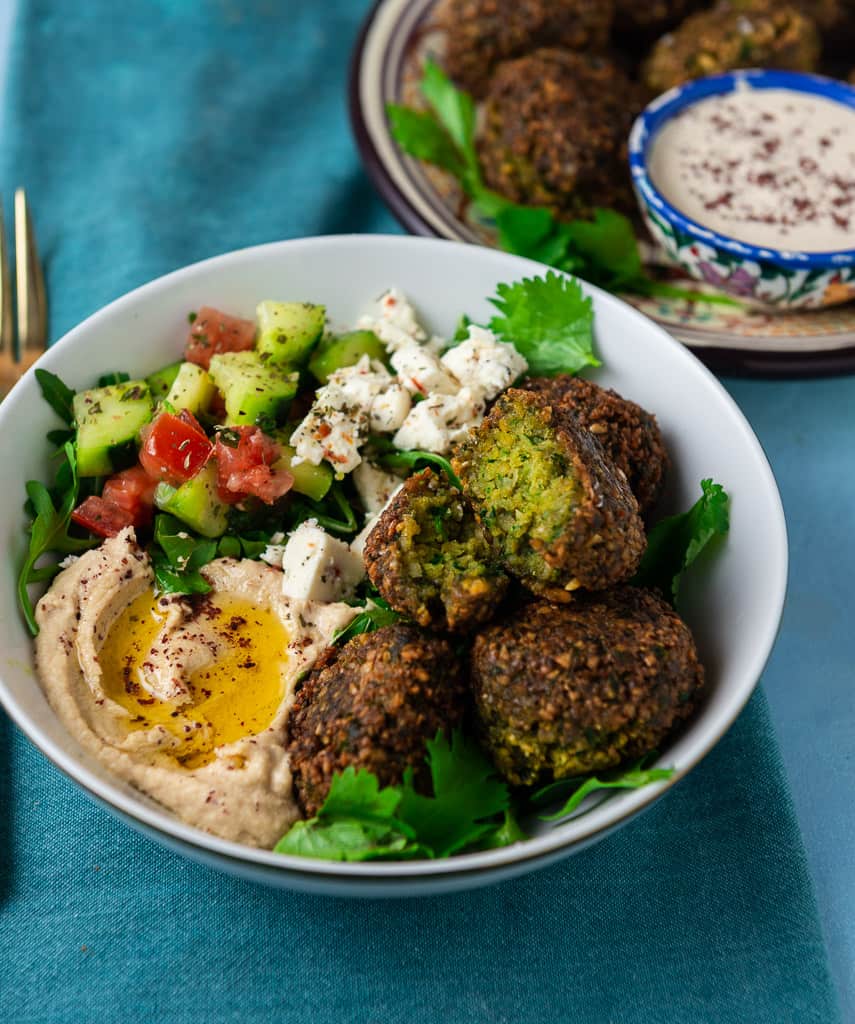
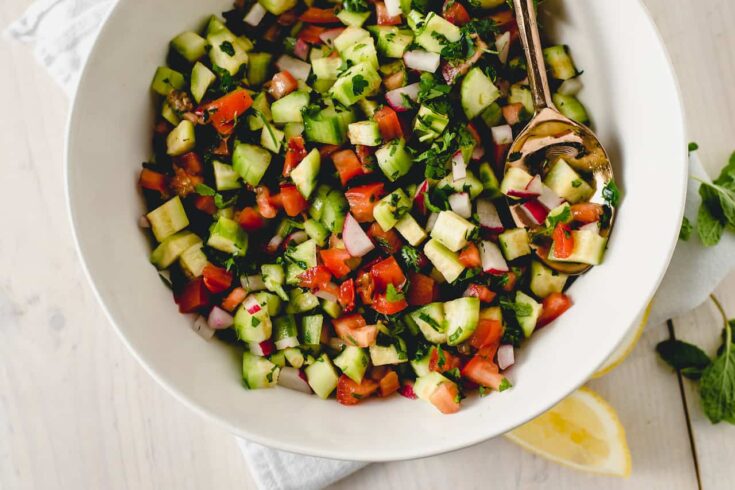
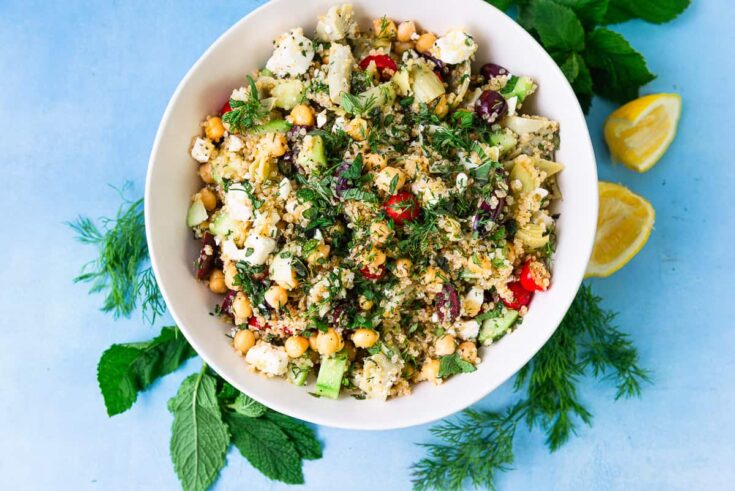
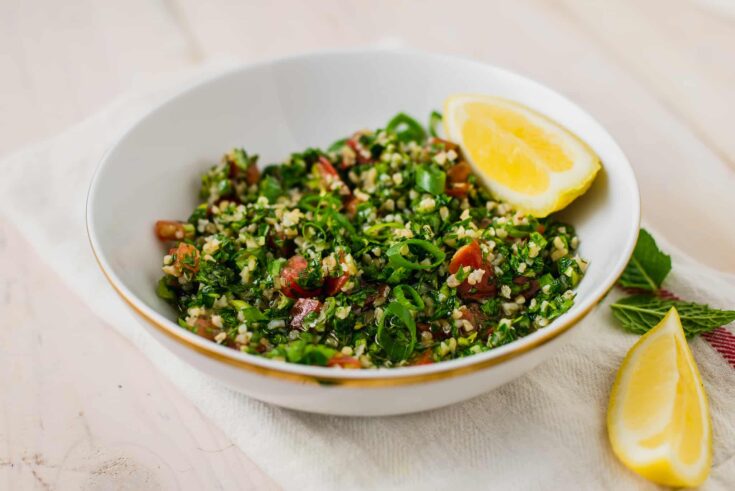
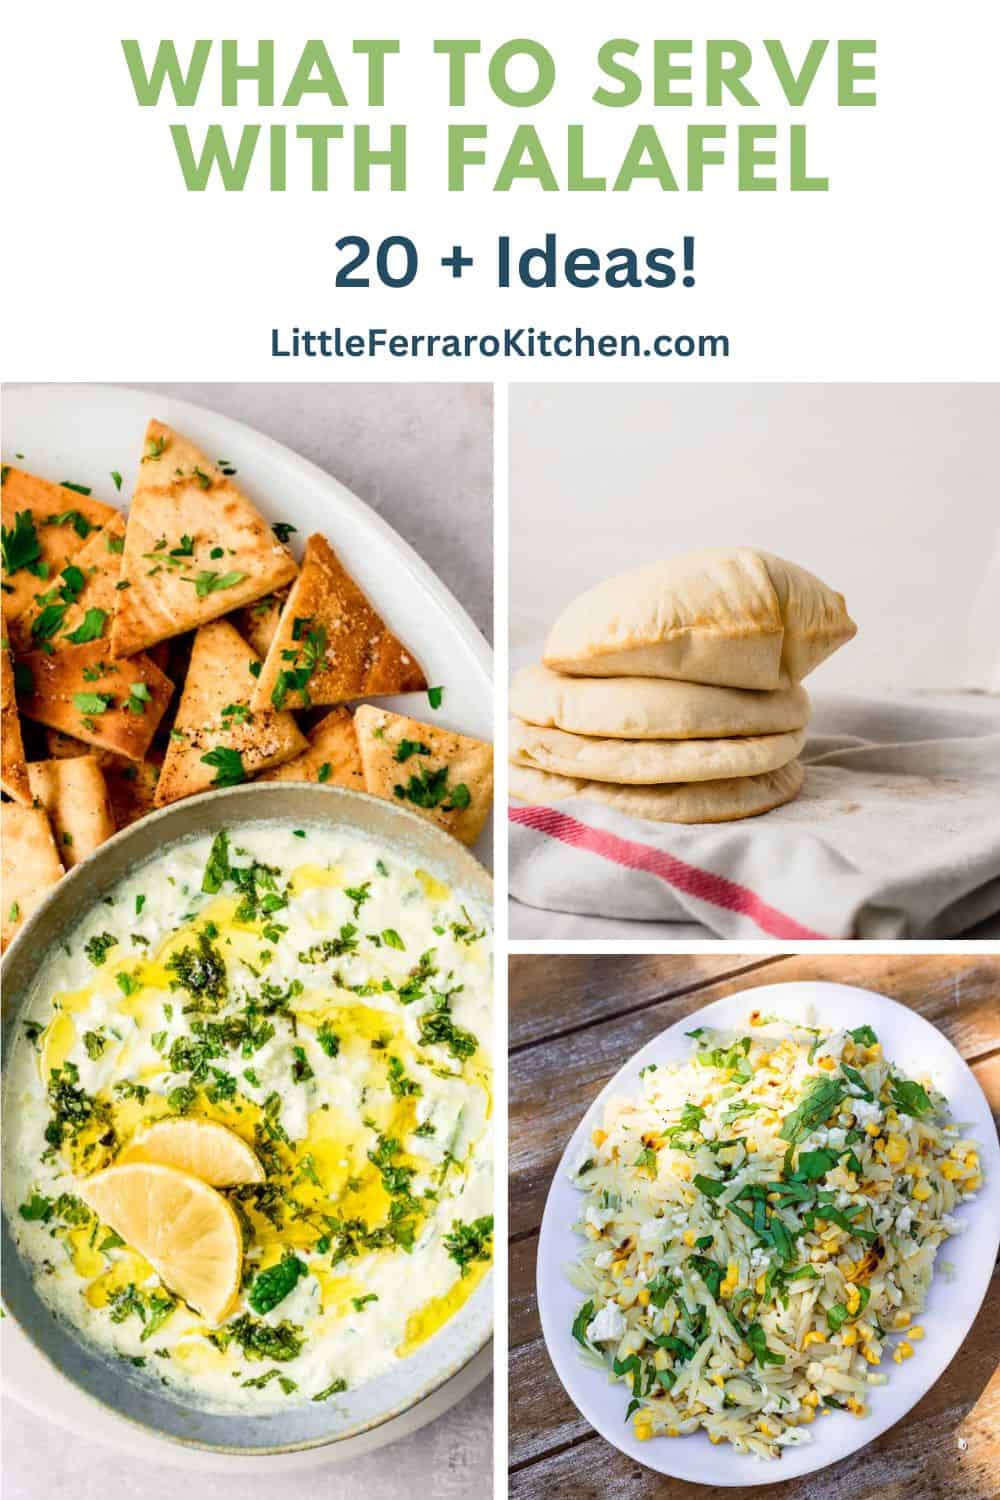
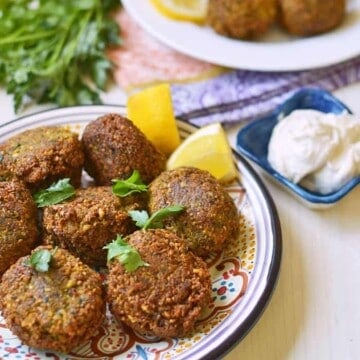
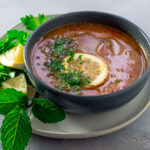
Lebanese tabbouleh salad is one of the most popular Mediterranean salads and for good reason! This herbaceous Middle Eastern salad bursts with bright flavors of fresh lemon juice, juicy tomatoes and loads of fresh herbs. Serve tabbouleh with just about anything, including crisp falafel and creamy hummus.
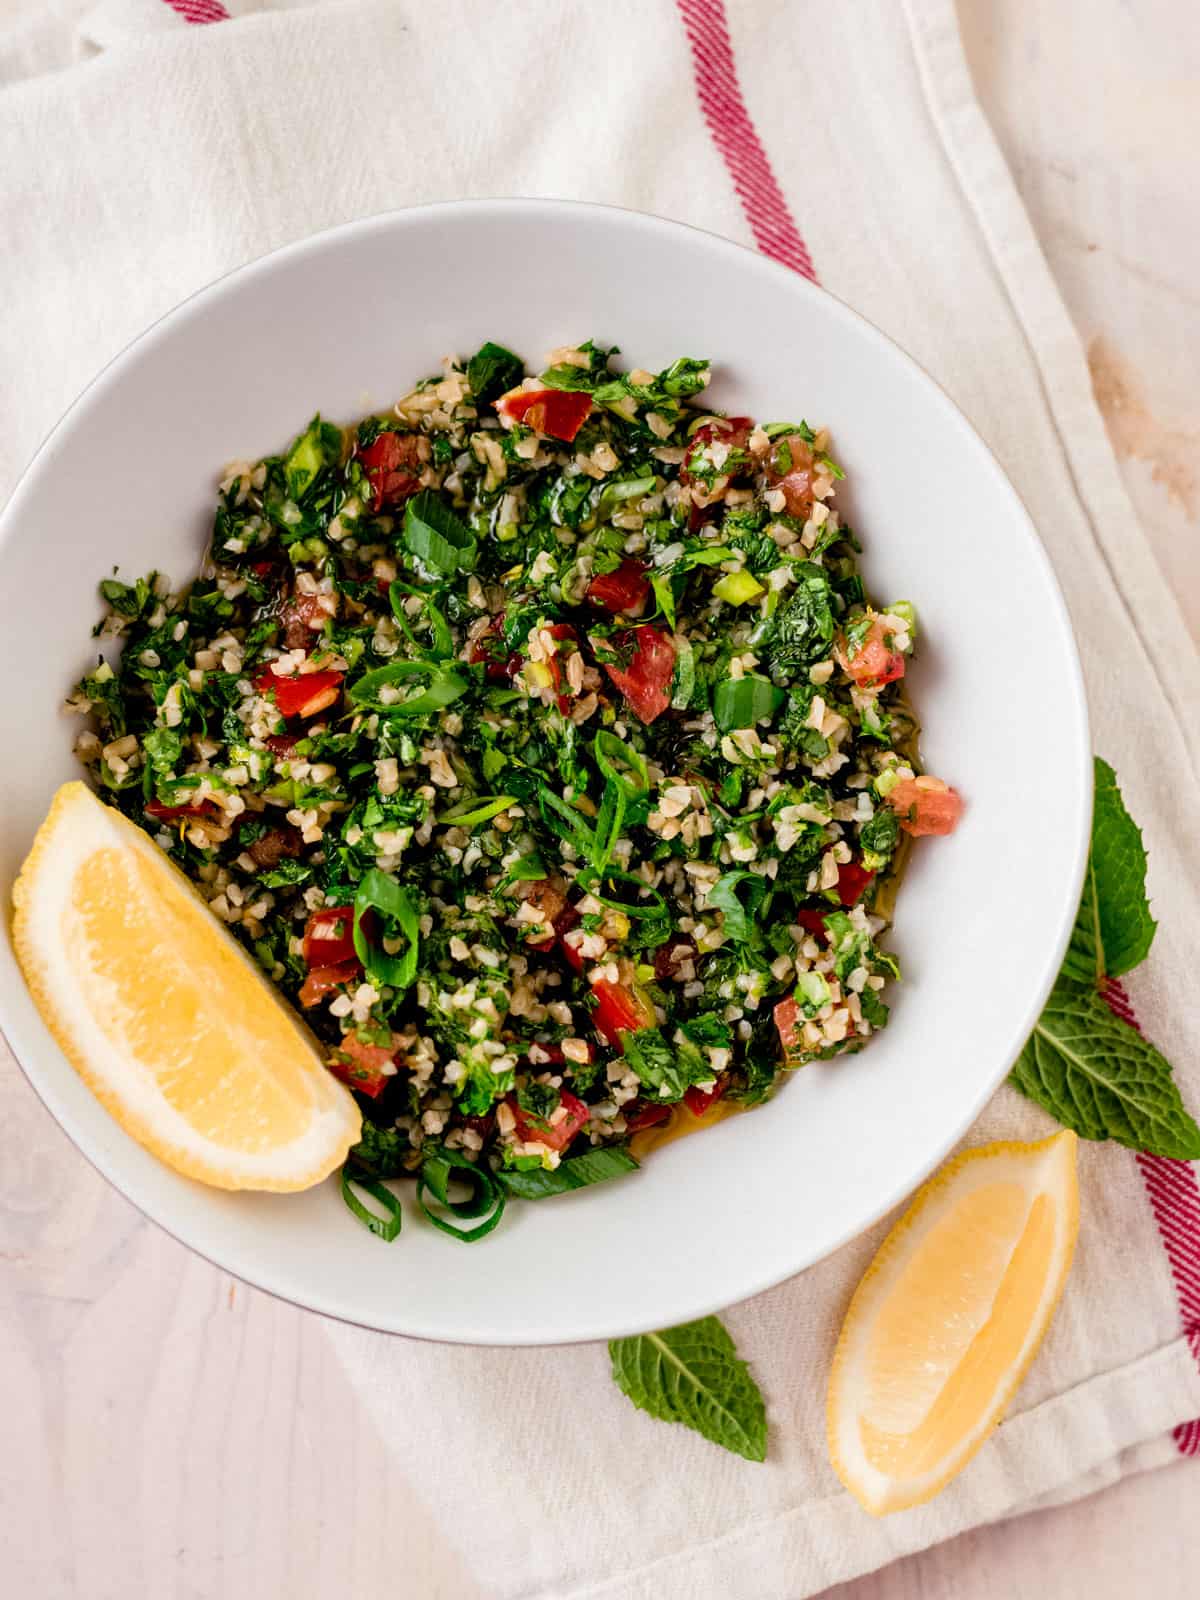
There are numerous styles of tabbouleh salad, but my personal favorite is Lebanese tabbouleh salad, which is heavy on the herbs and lighter on the grain. Tabbouleh (also spelled tabouli) is one of the most popular Mediterranean salads combining fresh parsley and mint, fine bulgur and sweet tomatoes, simply dressed with fresh lemon juice and extra virgin olive oil.
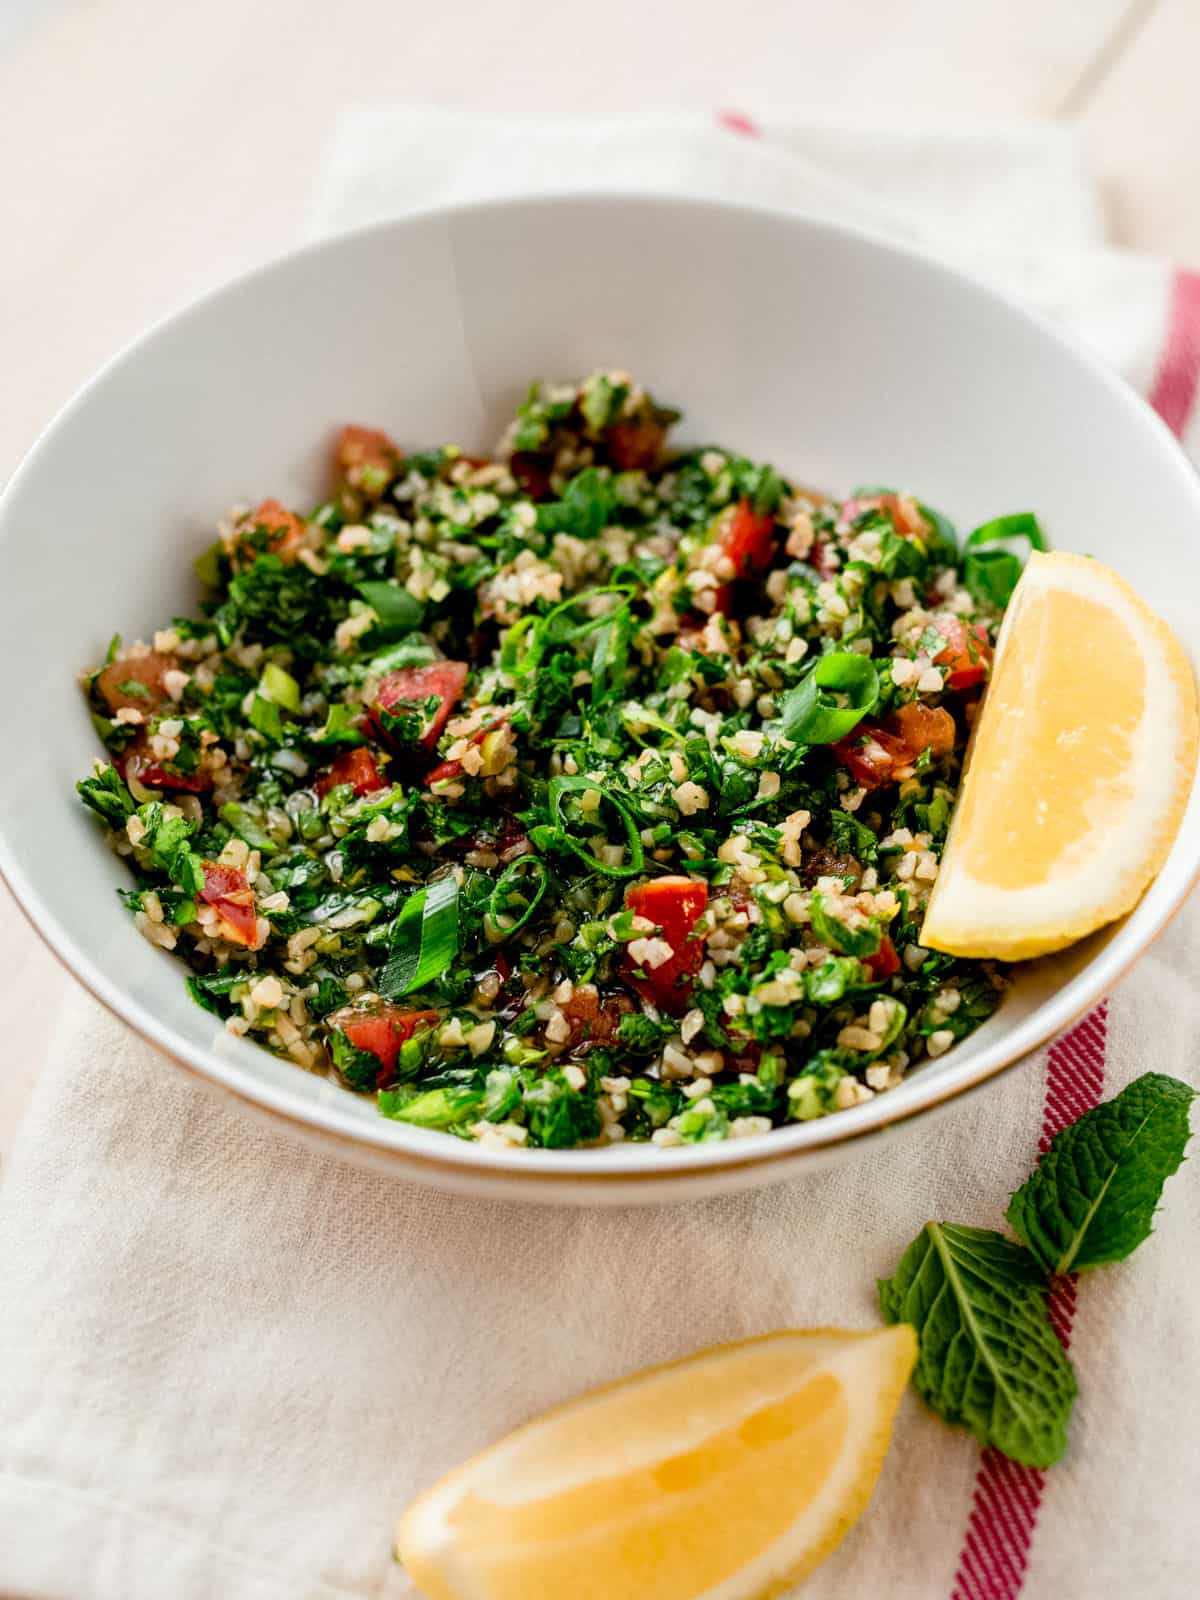
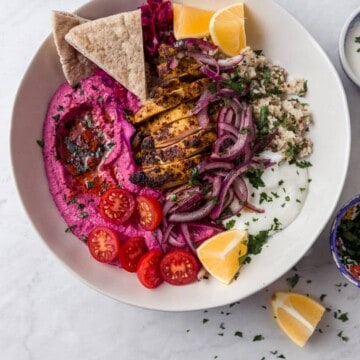
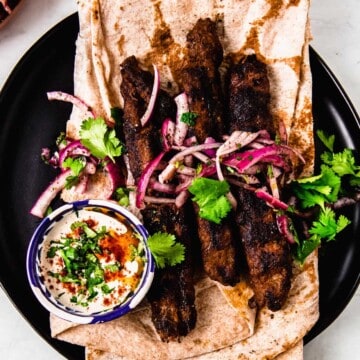
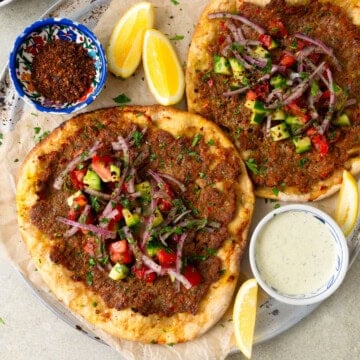
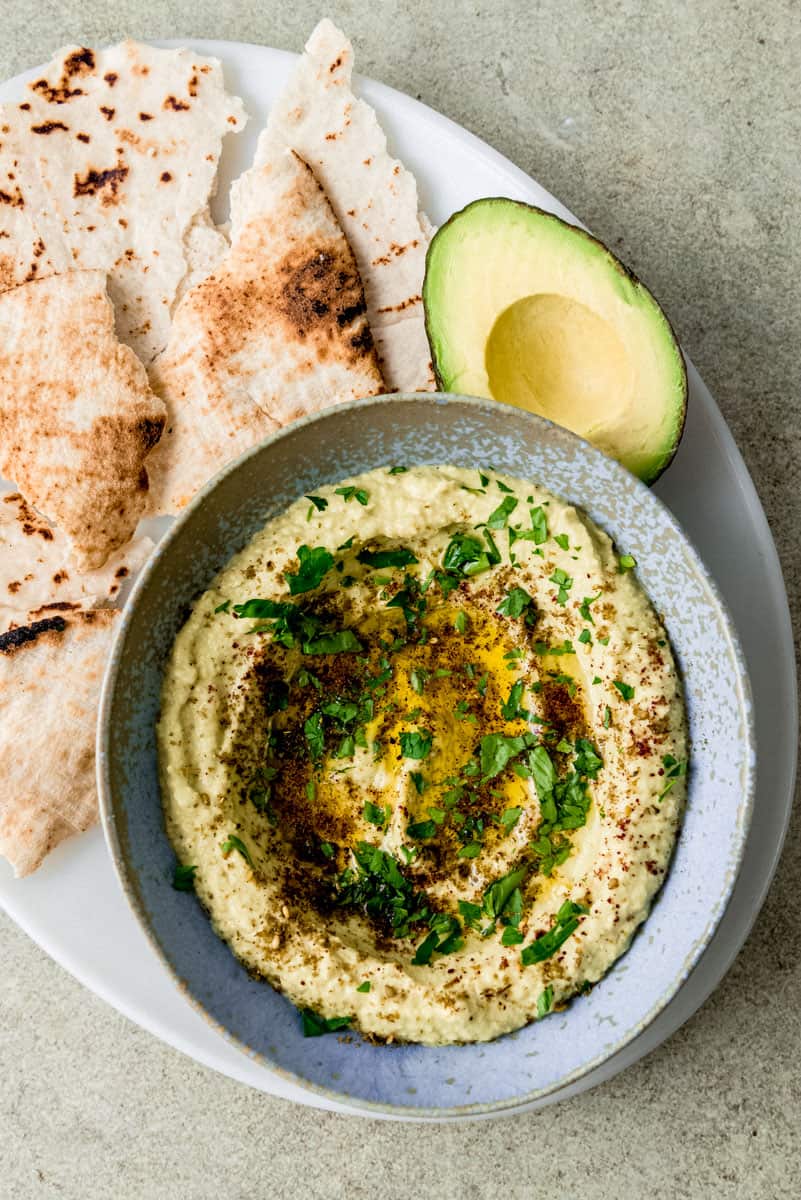
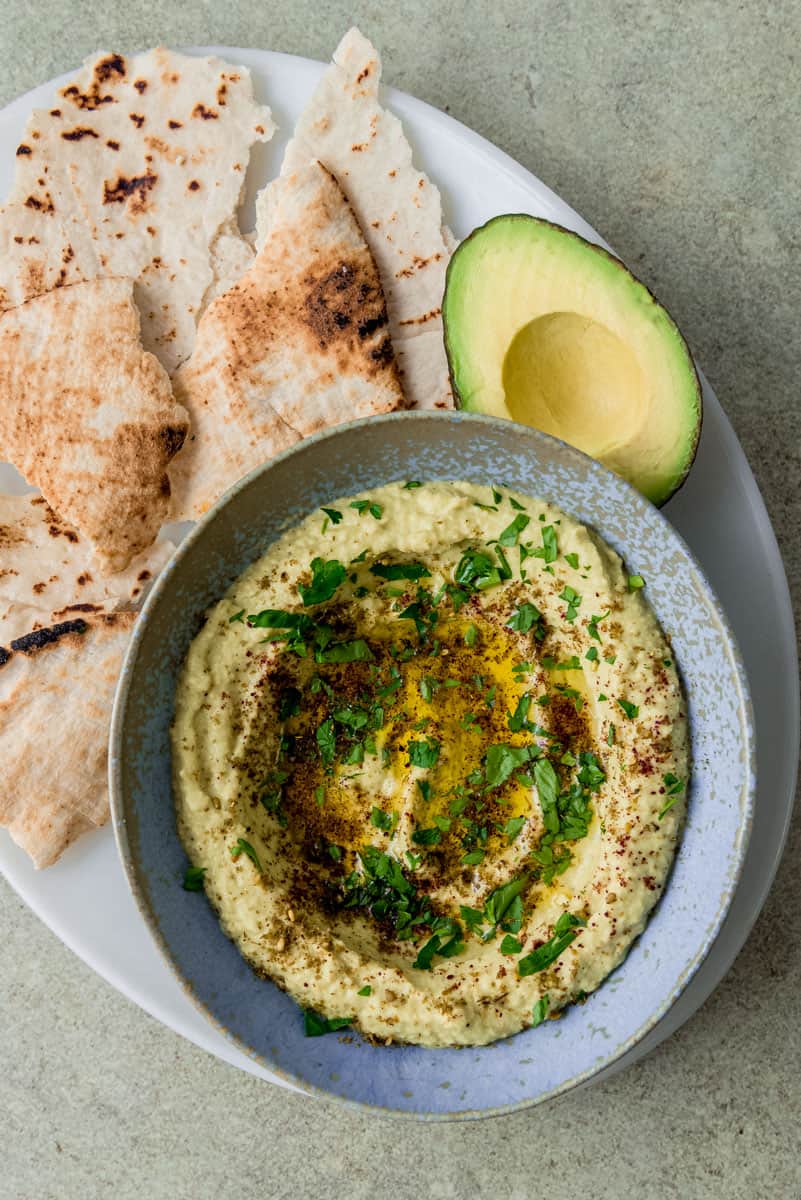
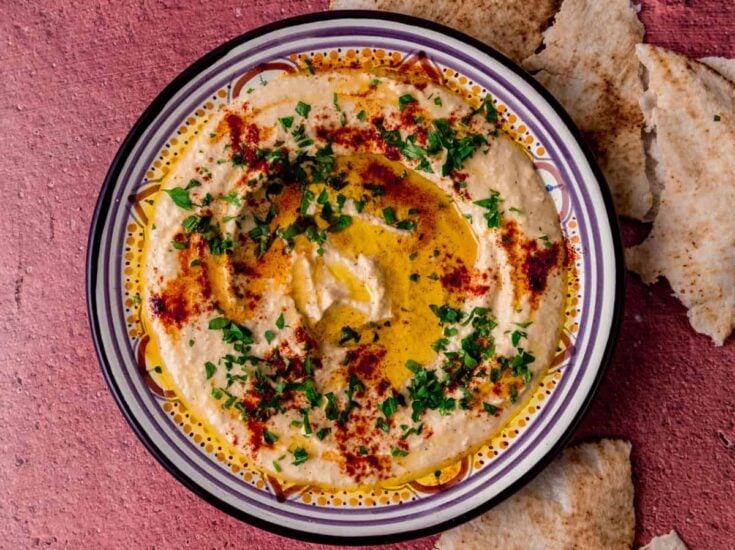
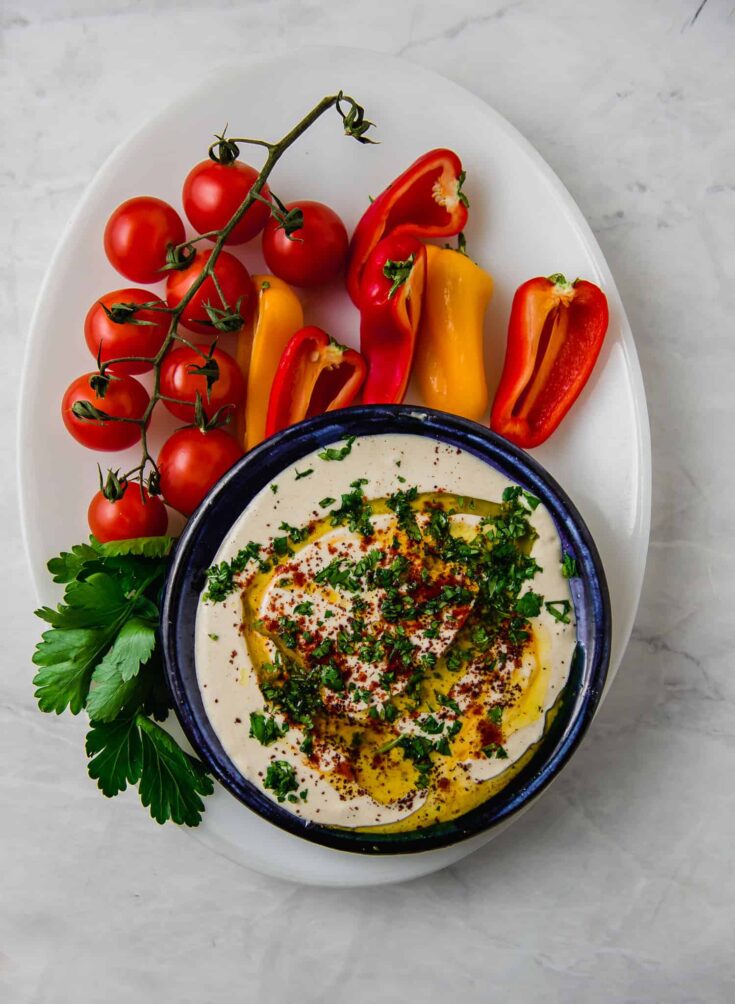
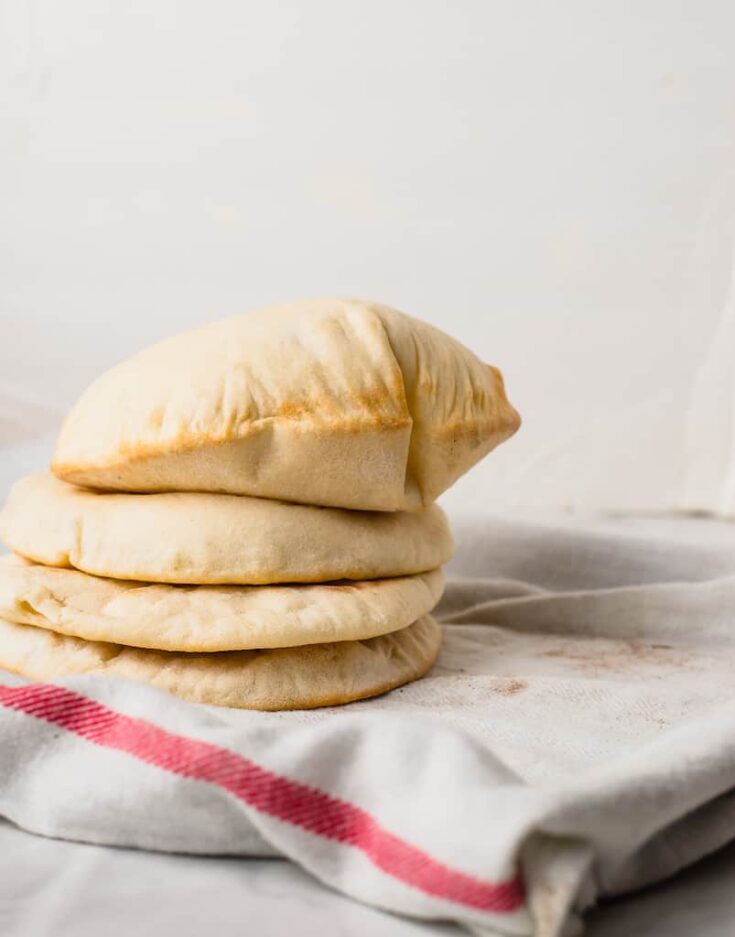
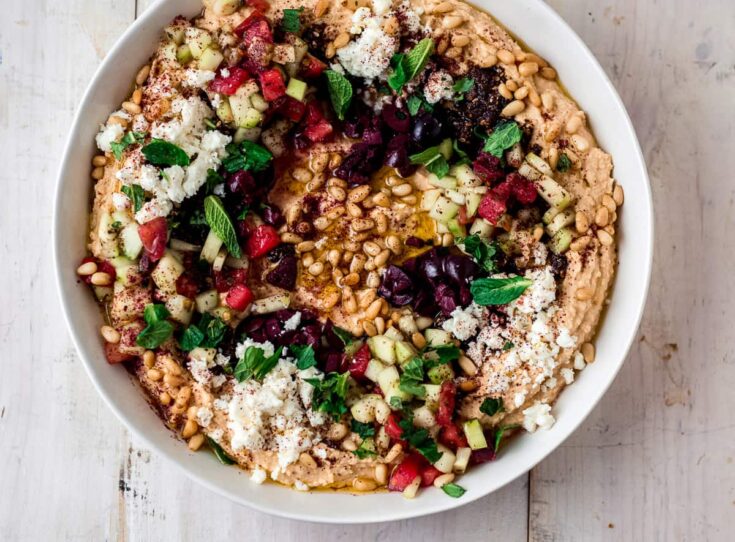
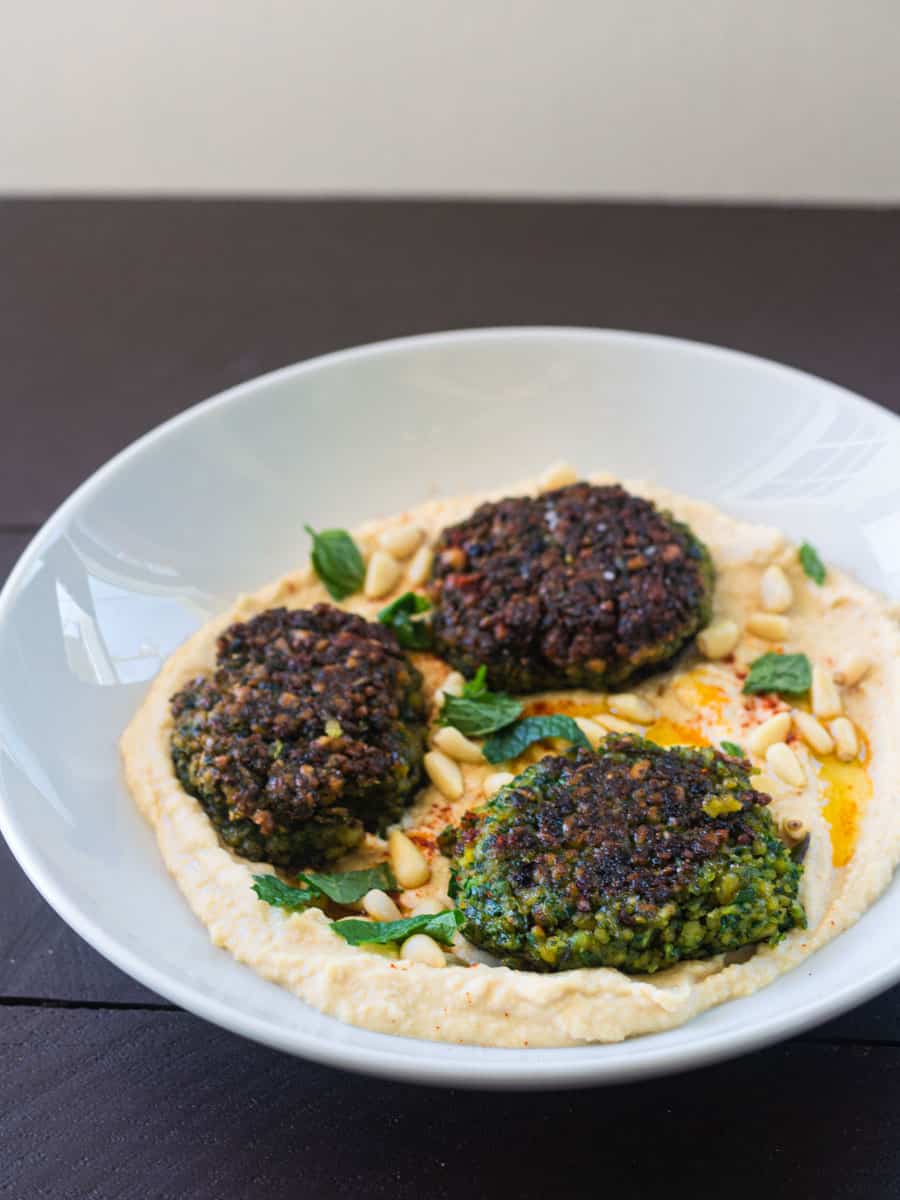
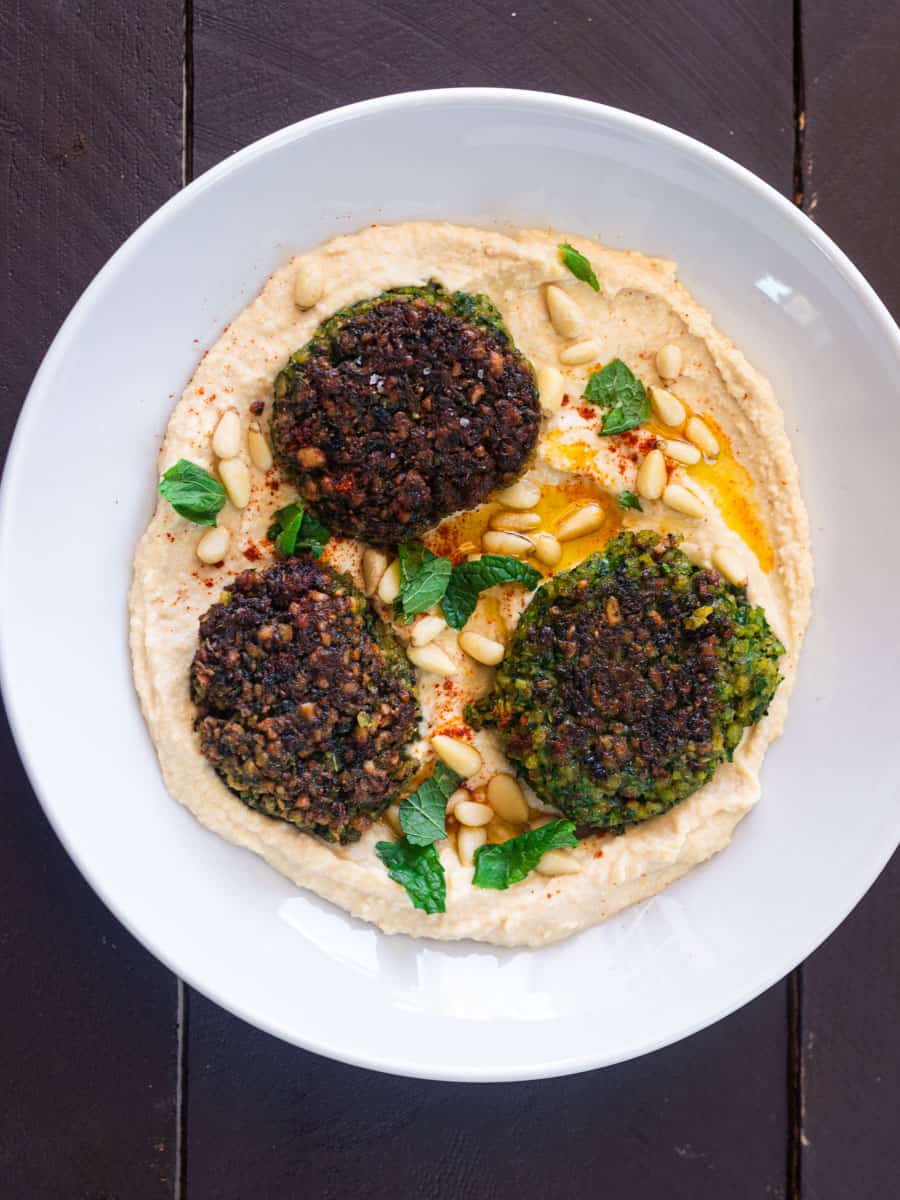
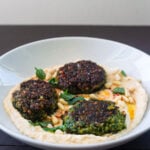
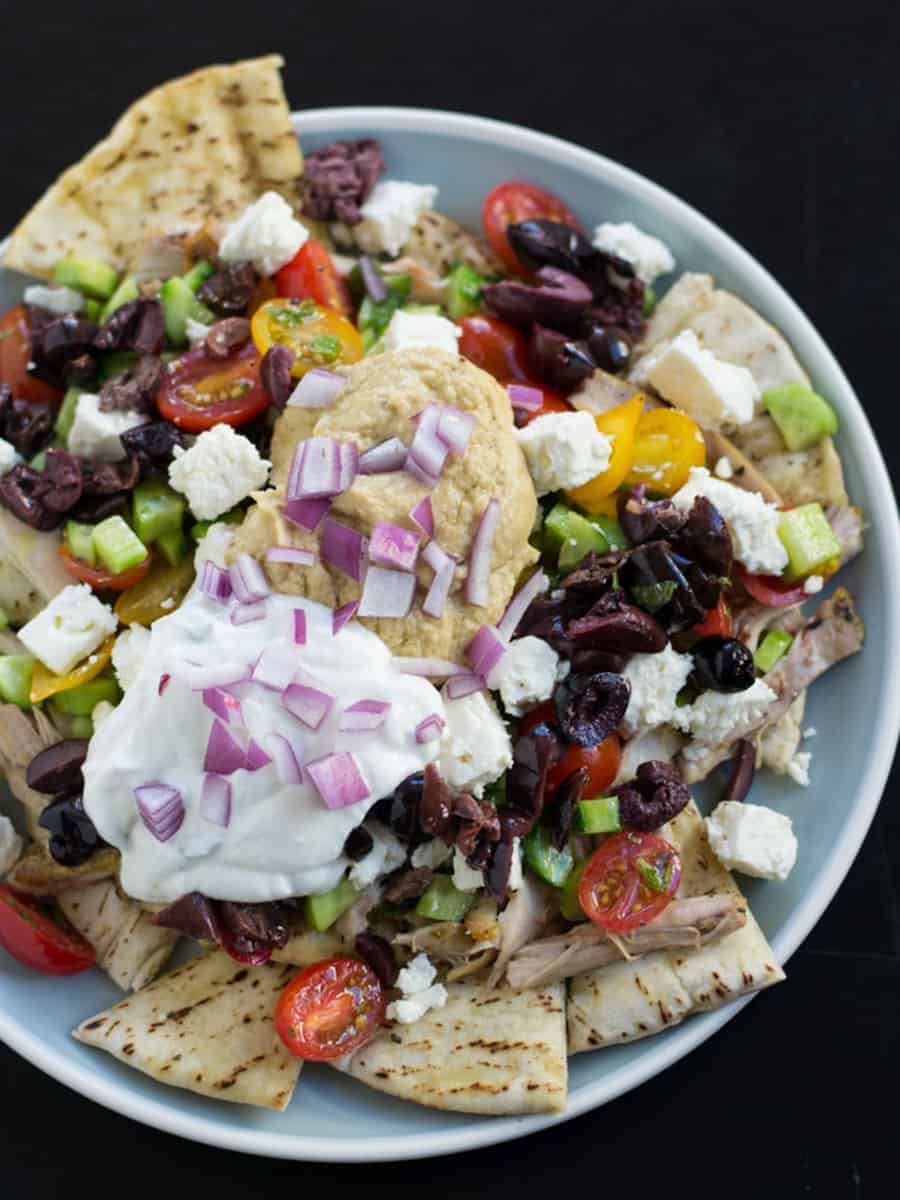
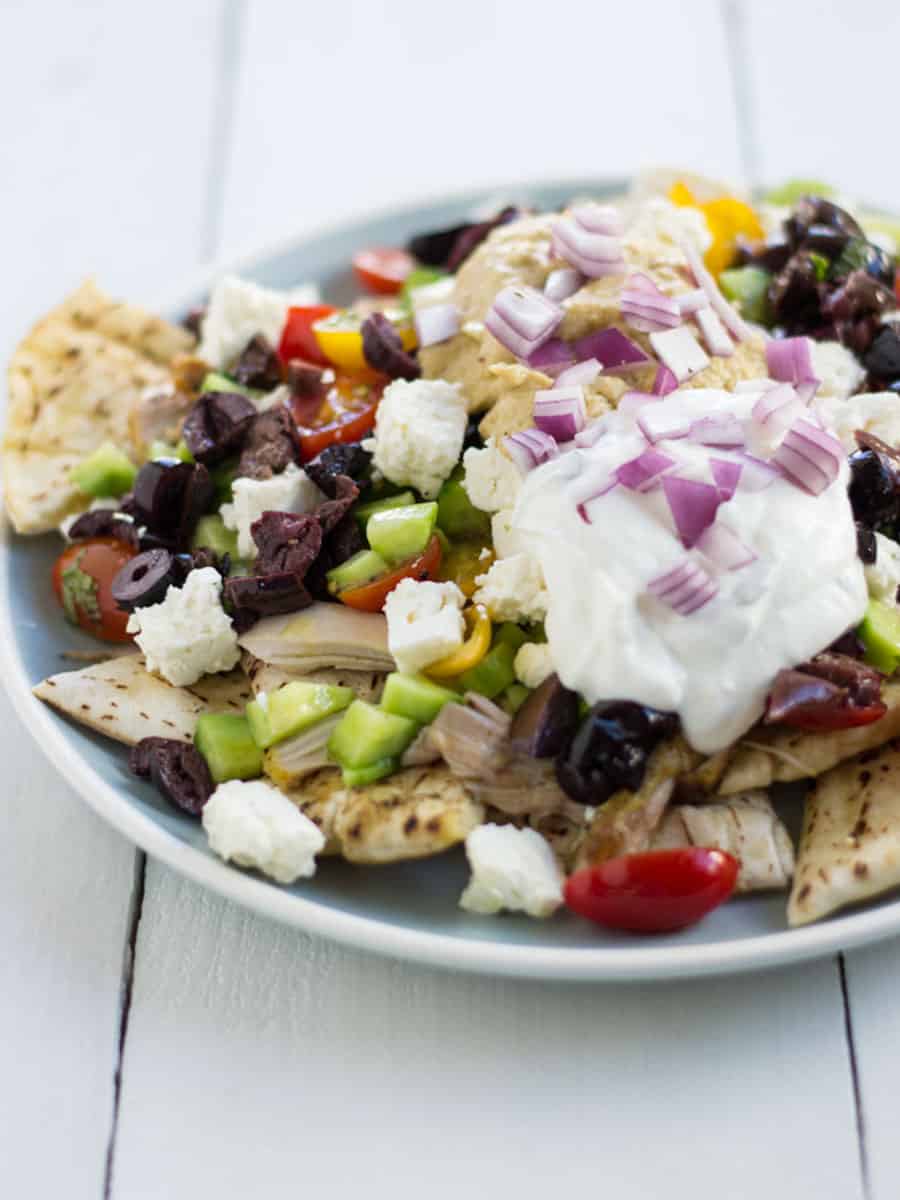
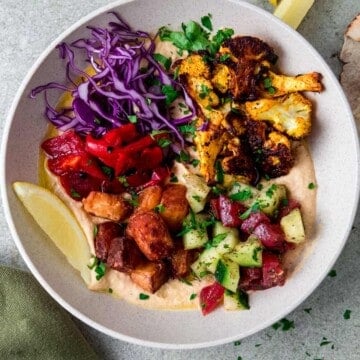
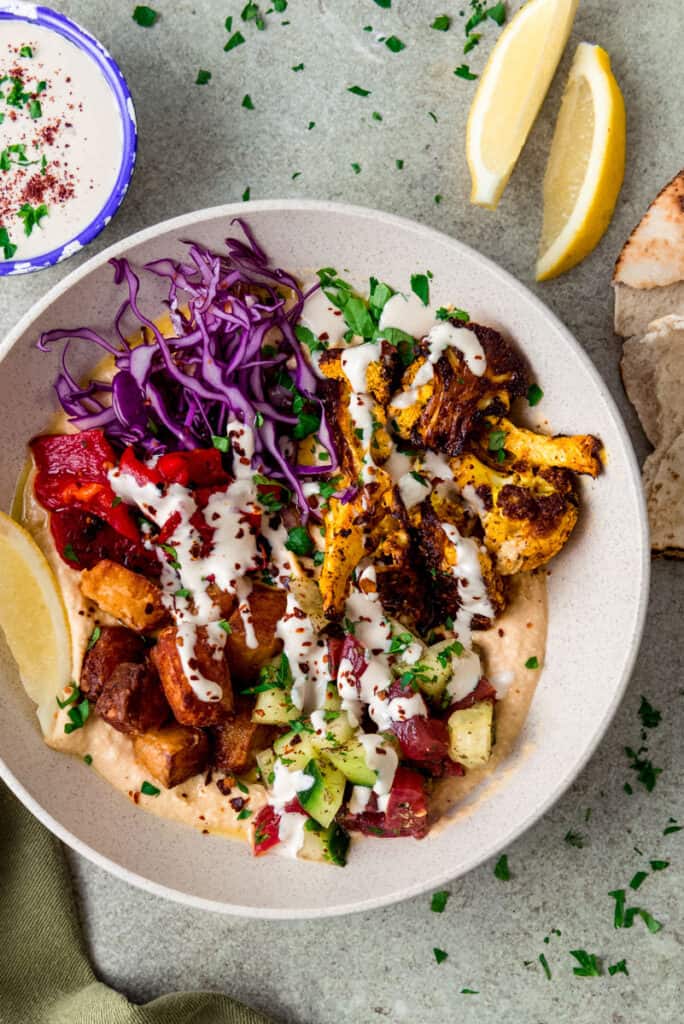
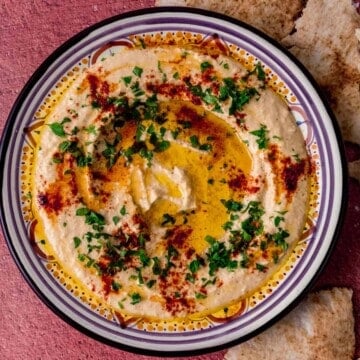
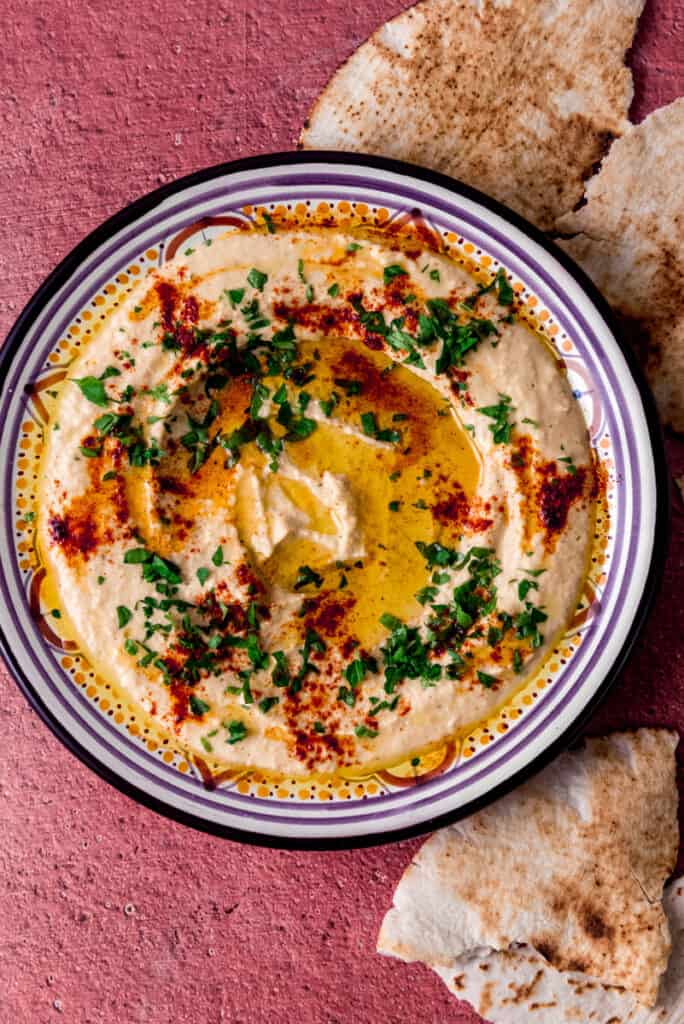
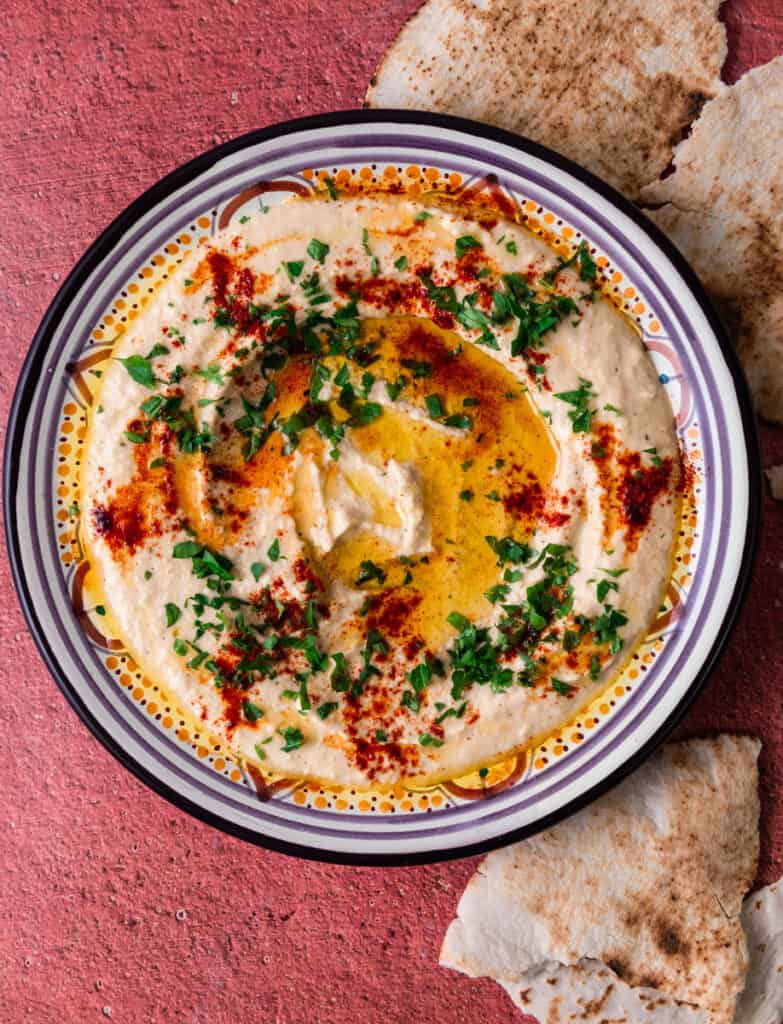
The result is a healthy bulgur salad that bursts of fresh, zesty, and herbaceous flavors and pairs with just about any Mediterranean dish! Serve Lebanese tabbouleh salad with your favorite Mediterranean recipes, such as chicken shawarma skewers, on top of Mediterranean hummus bowls with creamy baba ganoush and warm pita bread.
[feast_advanced_jump_to]🥗 Recipe Highlights
- Authentic tabbouleh recipe that uses fine bulgur and loads of fresh herbs!
- Full of fresh and bright ingredients, including ripe tomatoes, fresh parsley and fresh mint leaves.
- Tabbouleh is an easy salad to prepare! There is no cooking involved and once you have all the chopping done, the rest of the recipe is just mixing and enjoying!
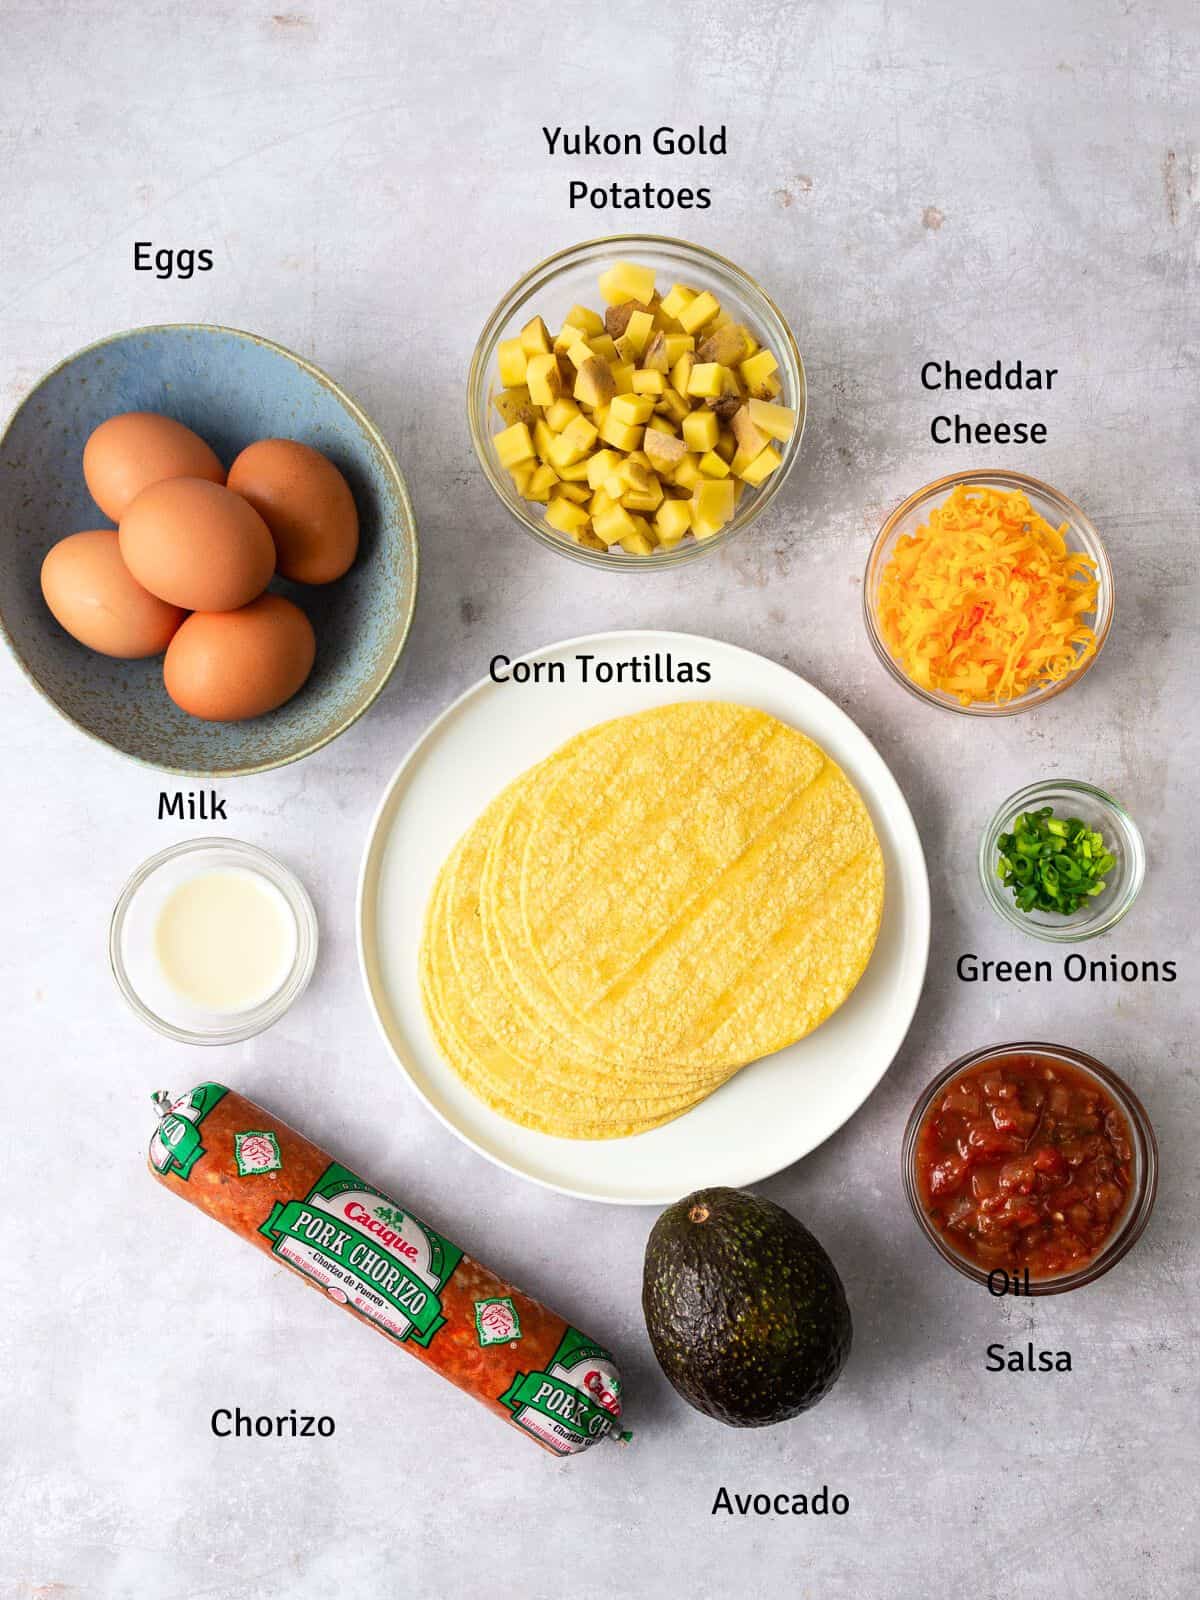
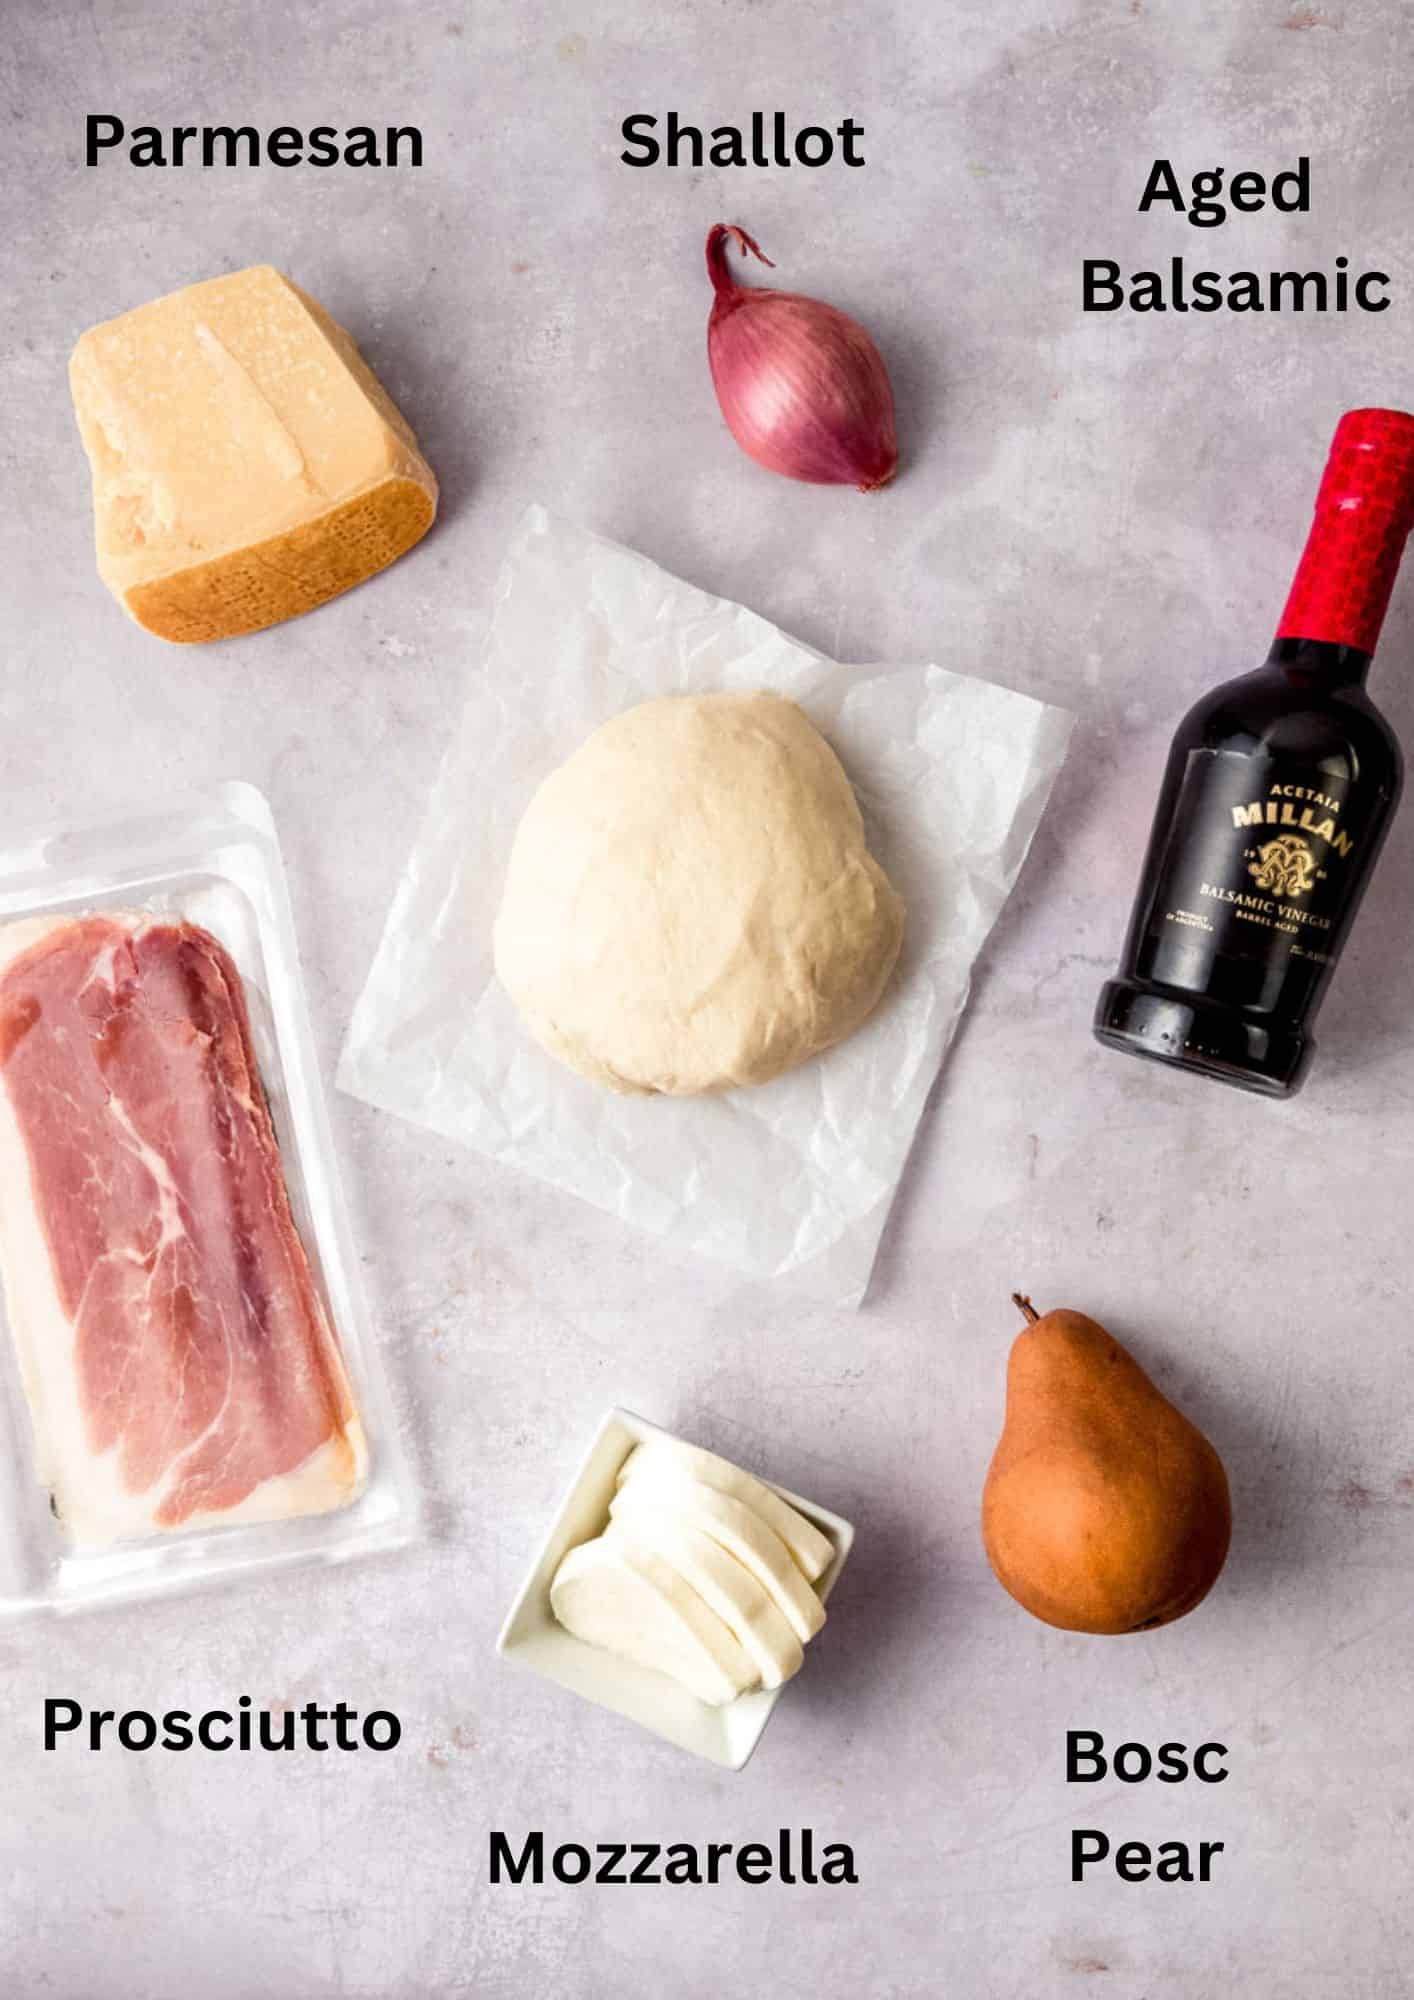
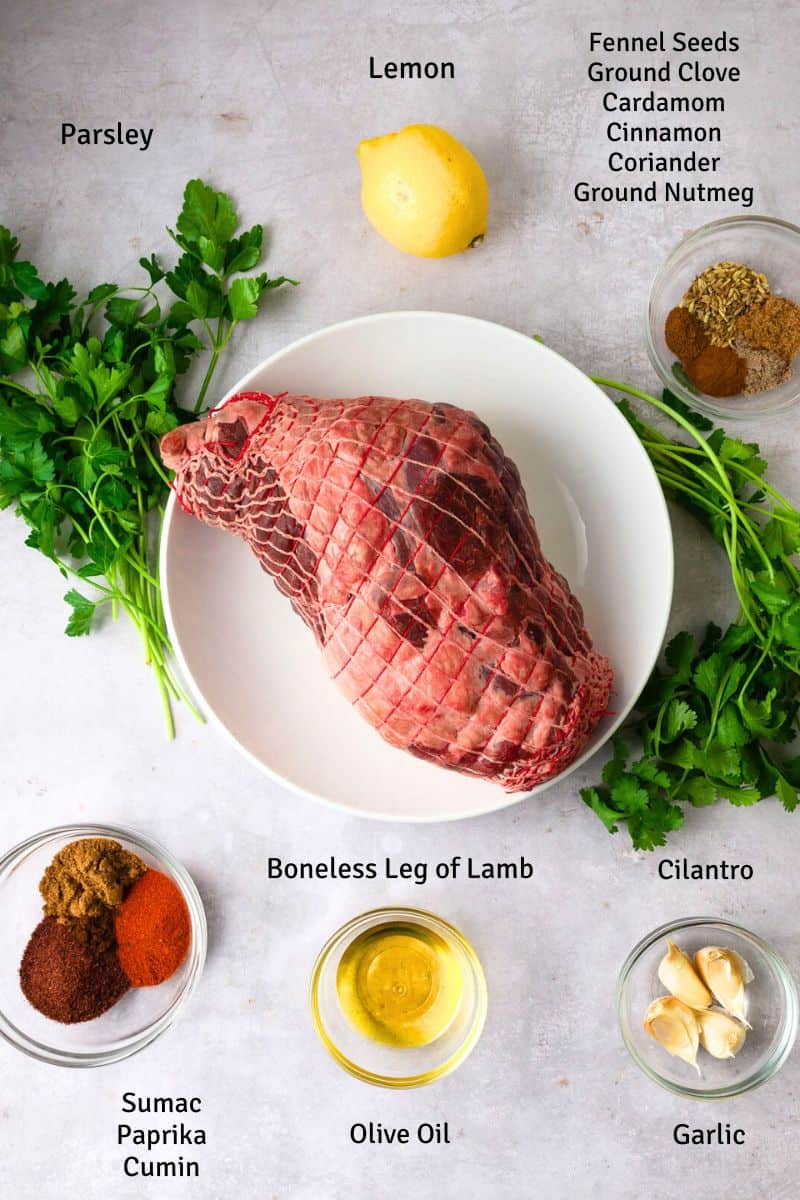
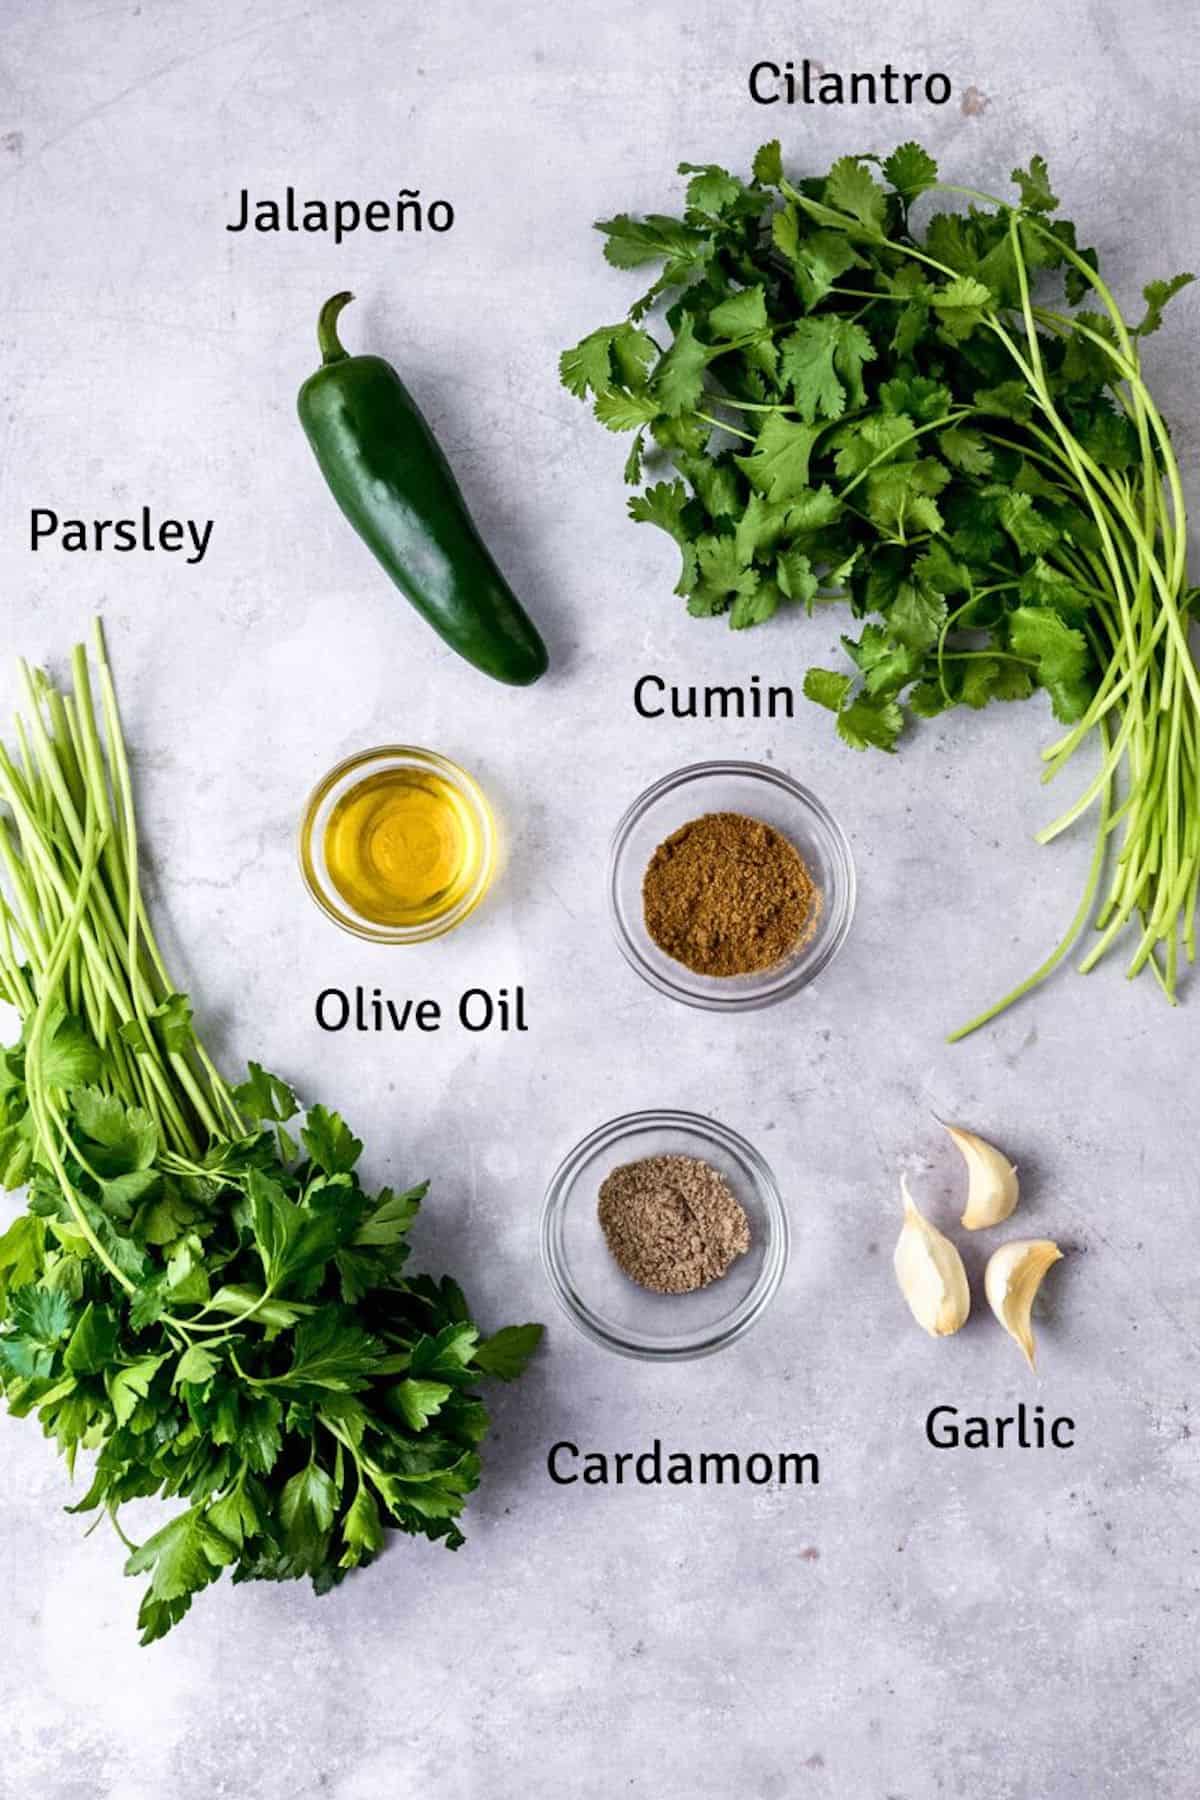
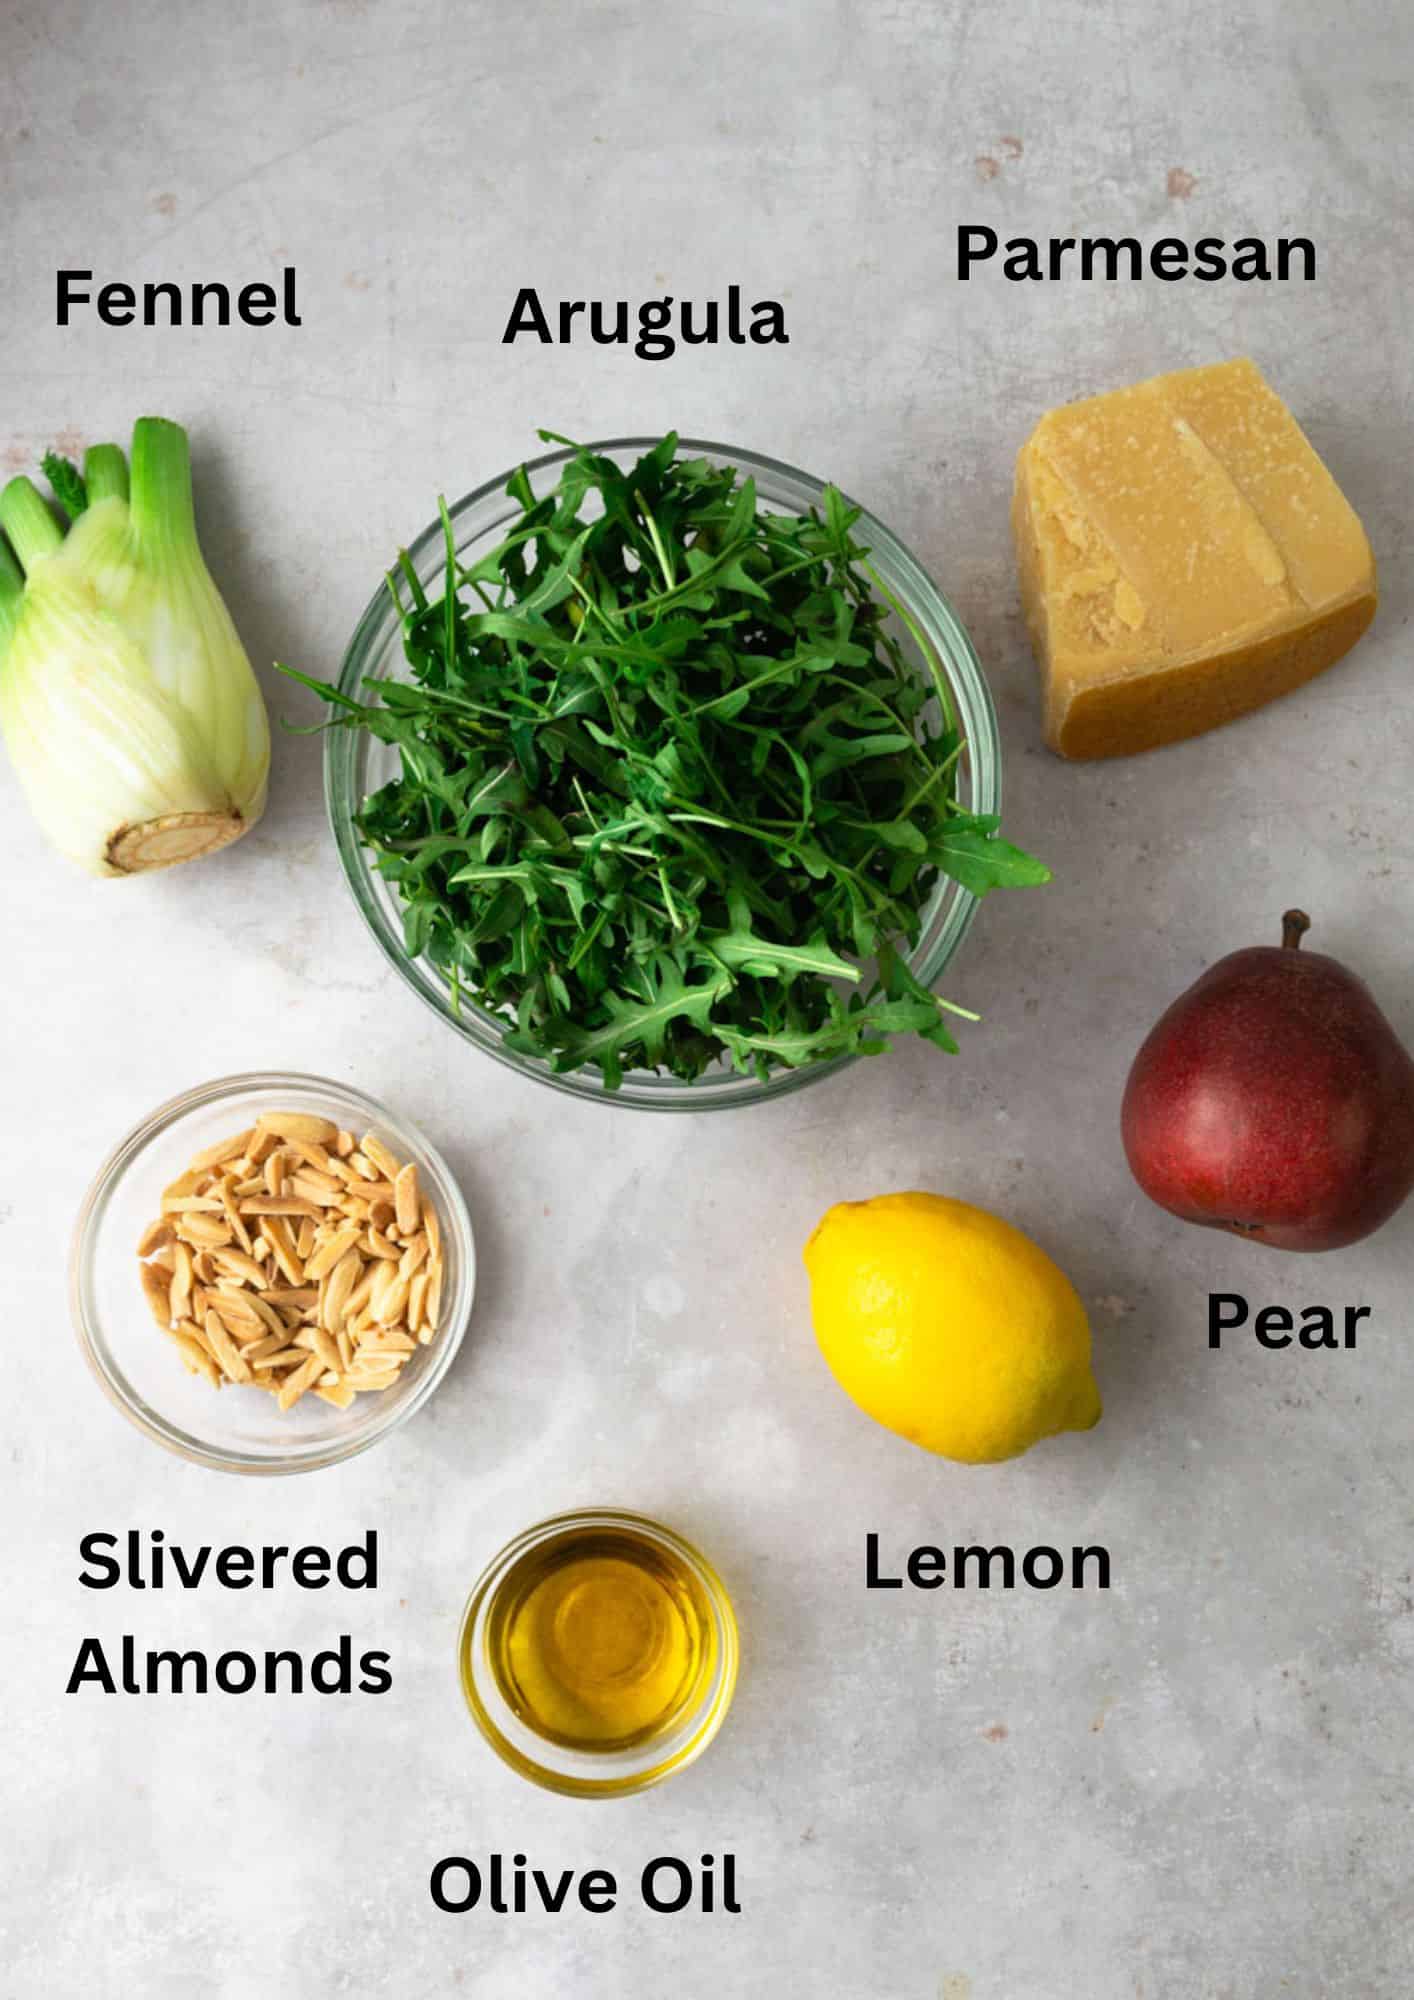
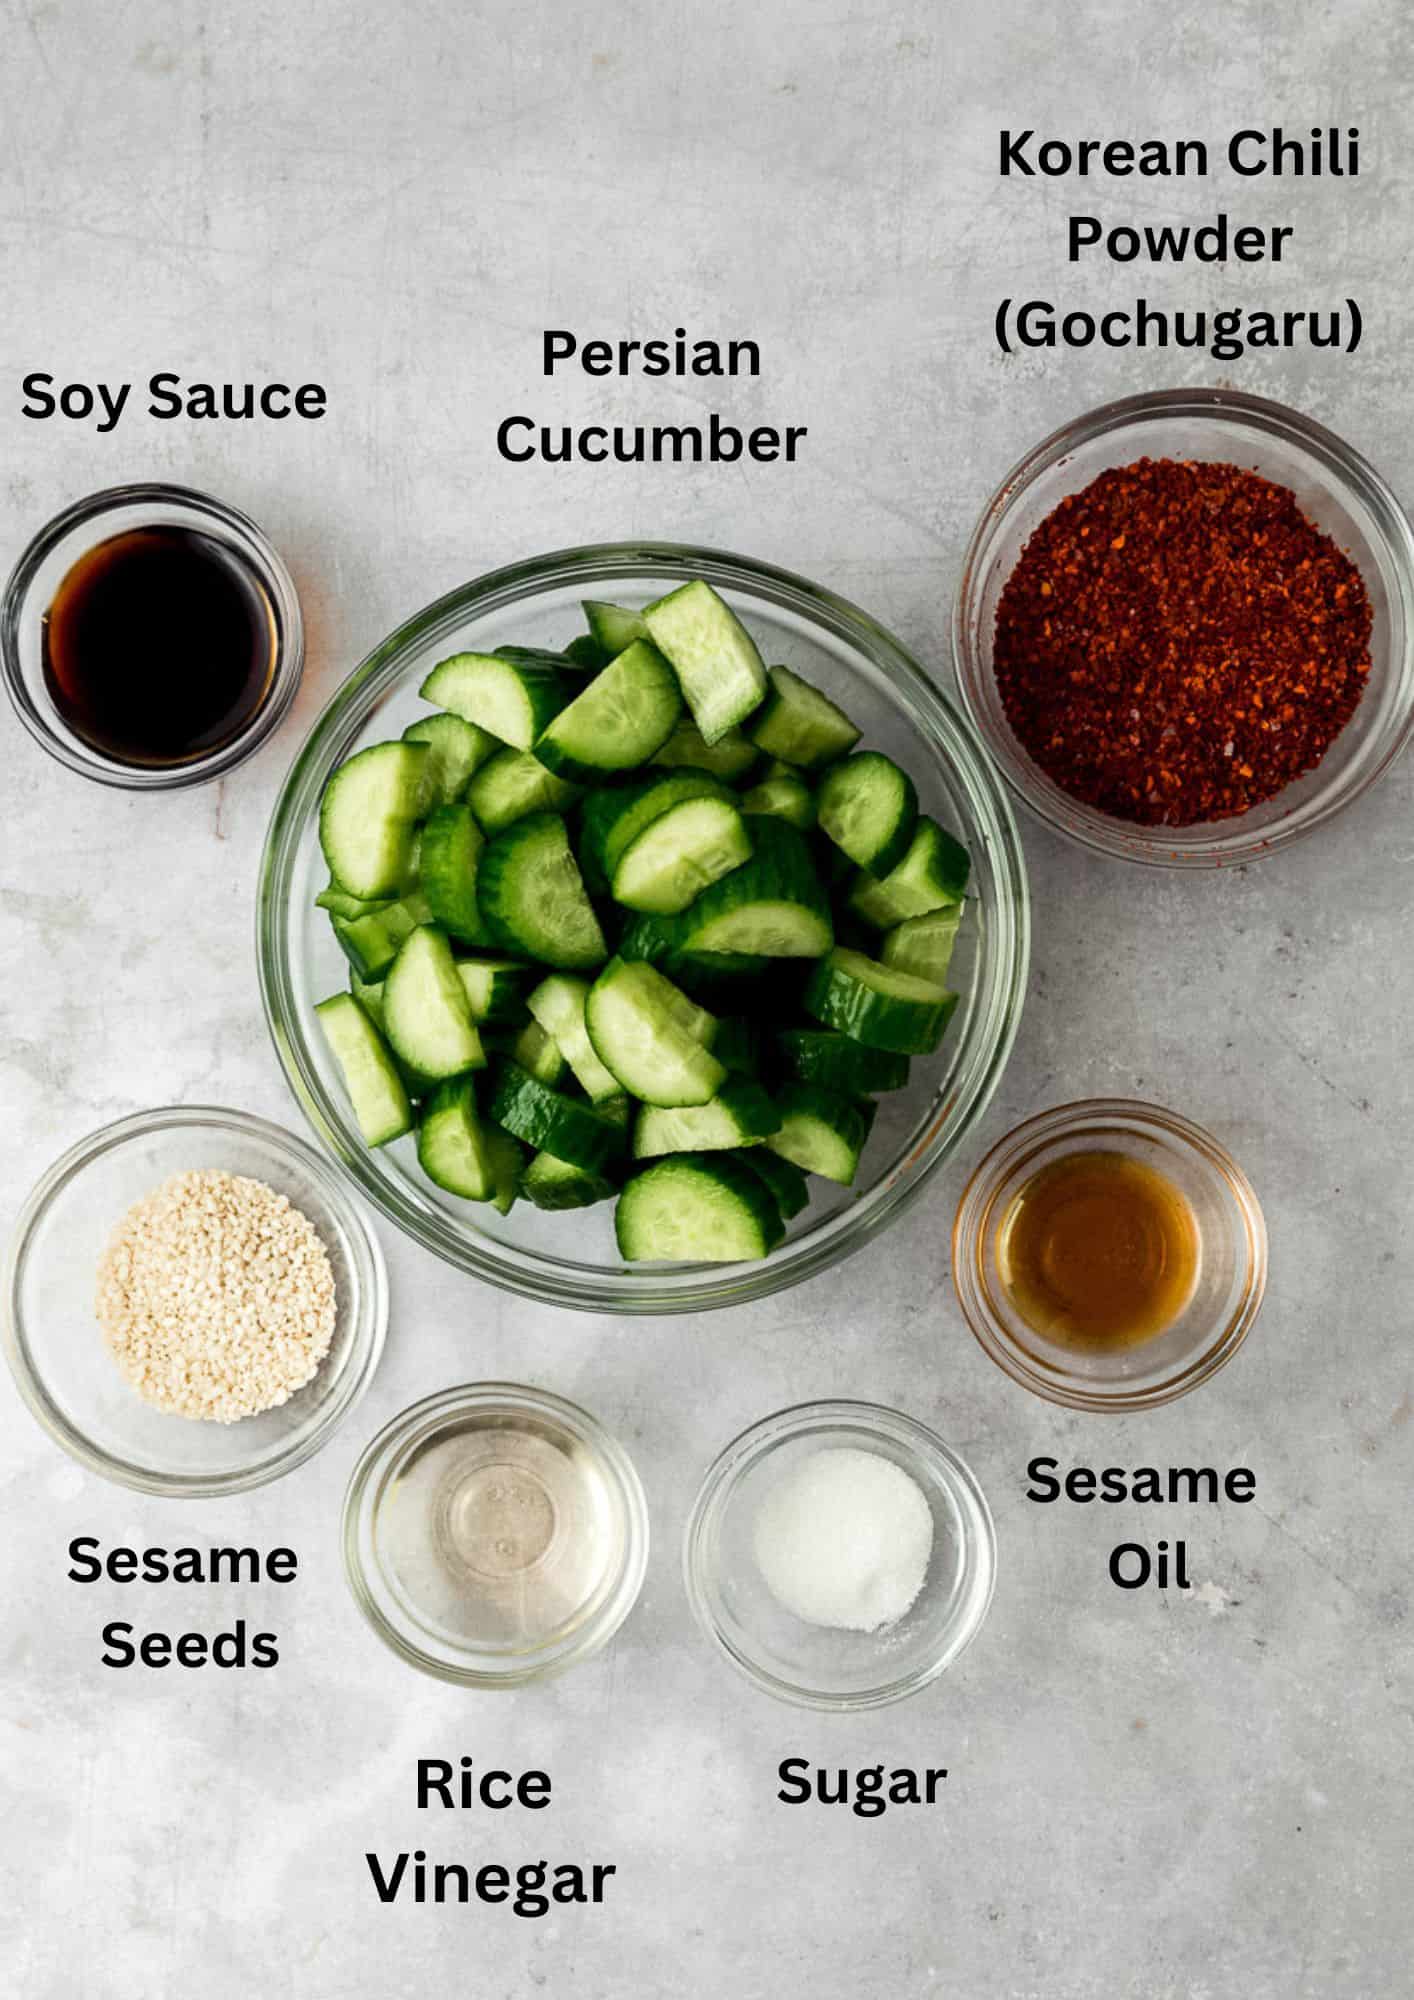
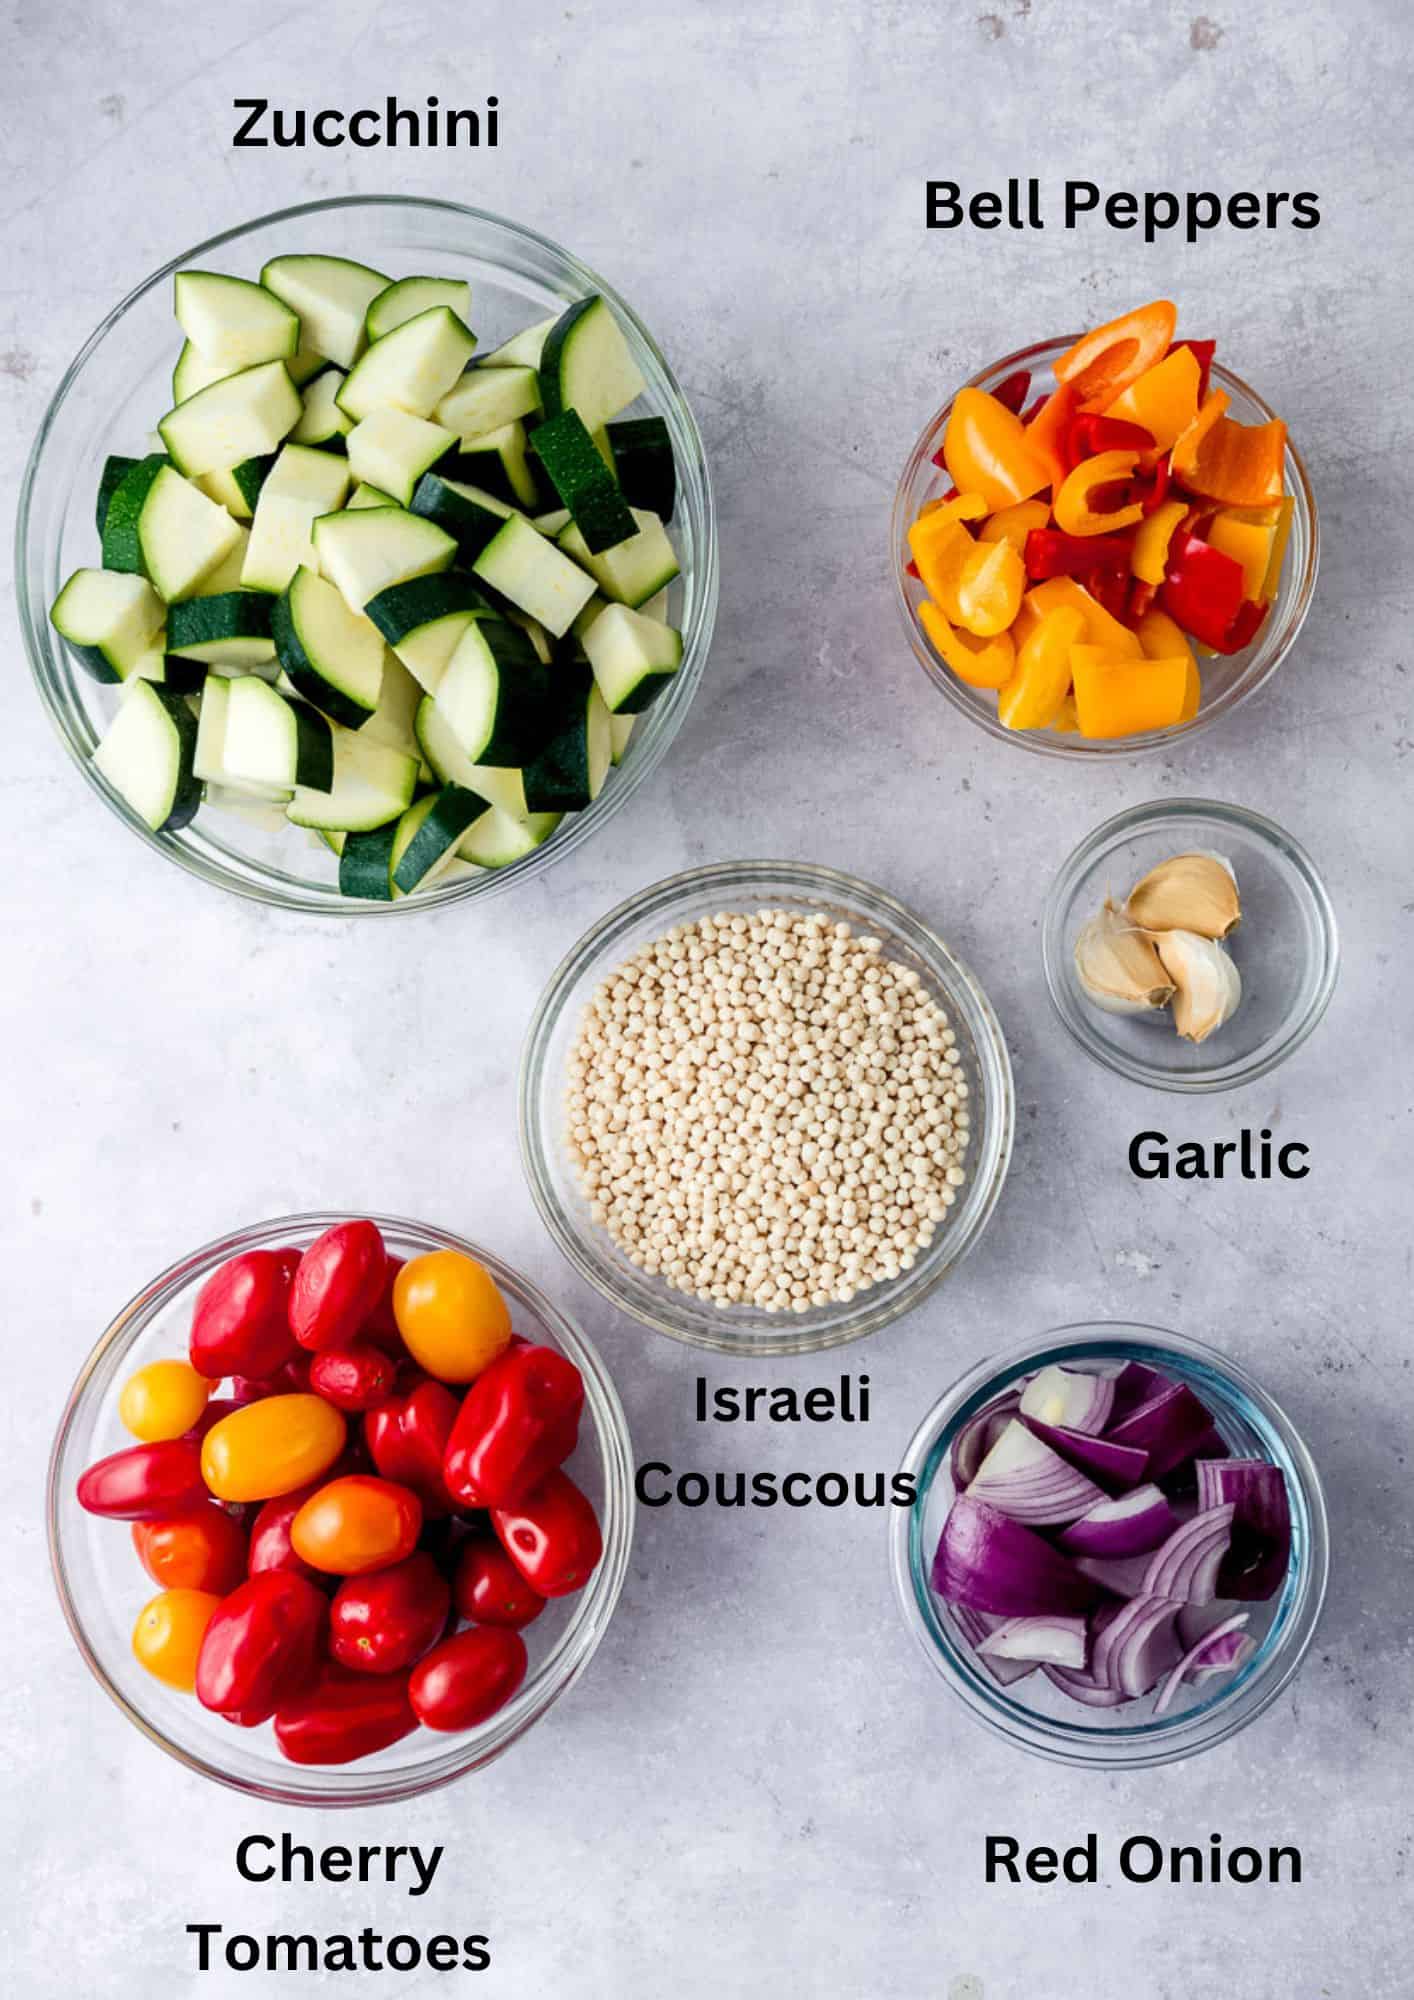
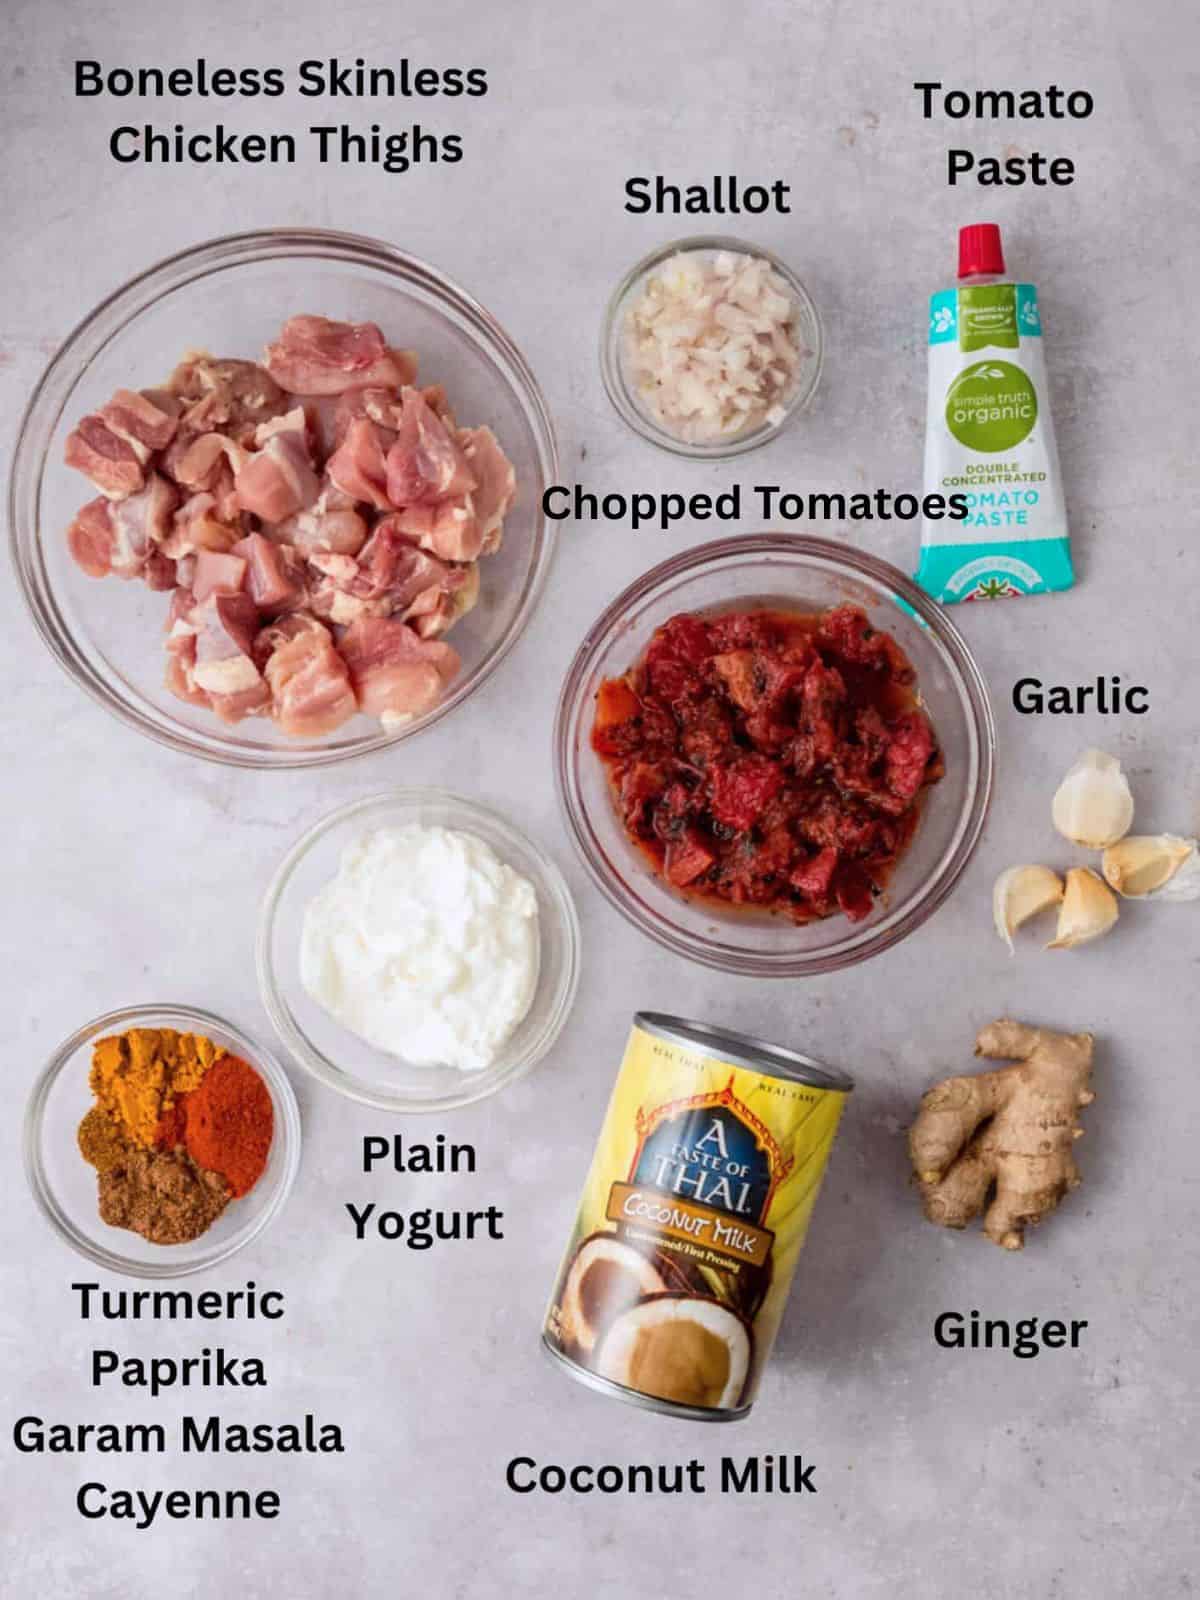
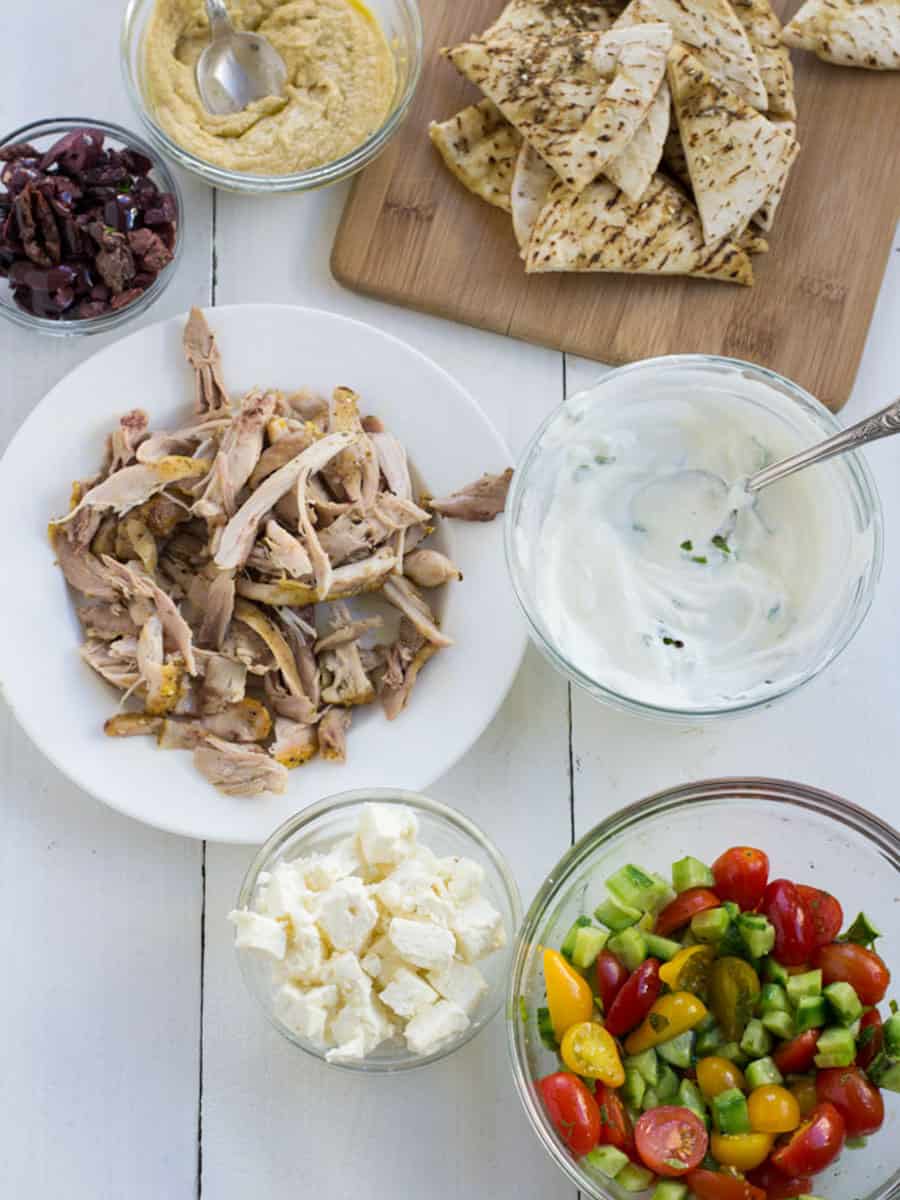
📋 Ingredients
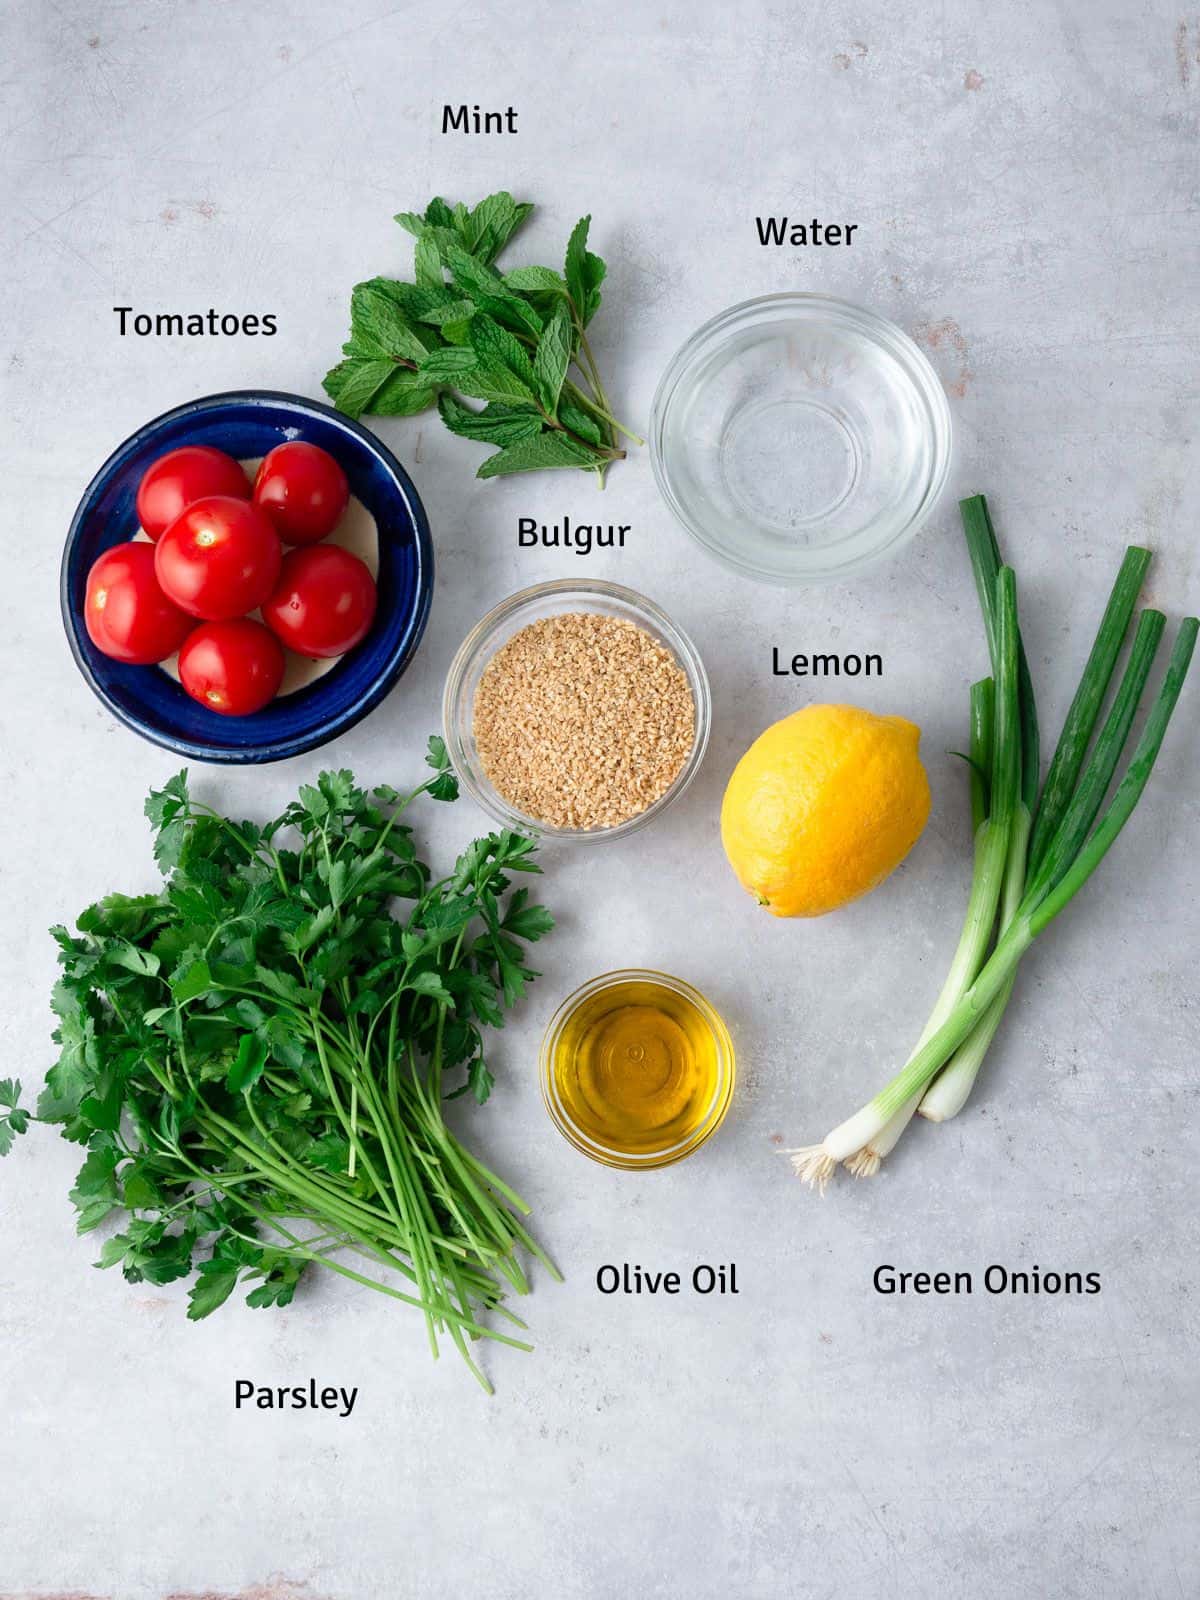
- Bulgur: Traditionally used in tabbouleh and quick to make. All you need is some boiling water and a few minutes.
- Parsley: Lots and lots of fresh parsley! 1 large bunch of parsley leaves with any hearty, thick stems removed (save those for making stock). I prefer flat leaf "Italian parsley", but tabbouleh is perfect for curly parsley too.
- Fresh Mint: Stems removed and roughly chopped
- Green Onions: I like to use both the white and green parts, both give great flavor.
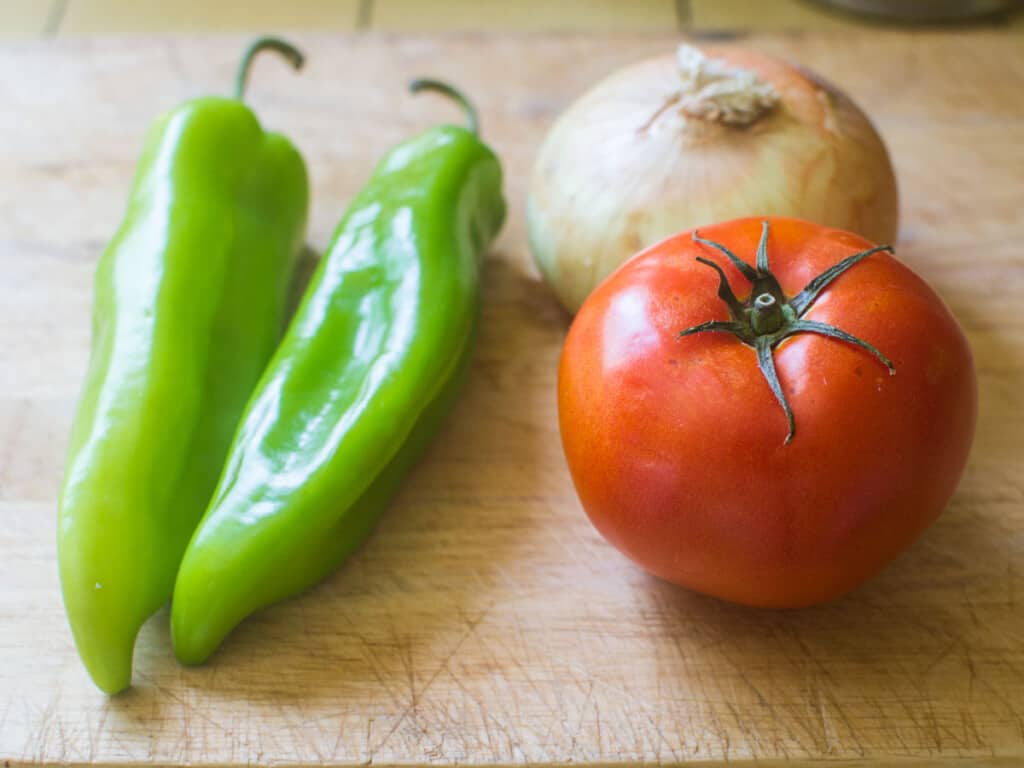
- Tomatoes: Vine ripened or roma tomatoes are perfect. If the tomatoes are overly juicy, remove the seeds and pulp to not sog down the salad.
- Olive Oil: This is the time to use the extra-virgin olive oil, the best tasting, fruity olive oil. My favorites are Paesano Olive Oil and Laudemio Olive Oil.
- Lemon Juice: Fresh is best!
See recipe card for full information on ingredients and quantities.
🍋 Substitutions and Variations
- Instead of flat leaf parsley, curly parsley is also traditionally used to make authentic tabbouleh.
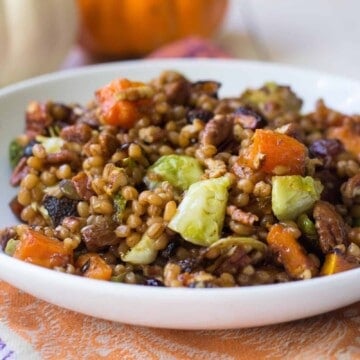
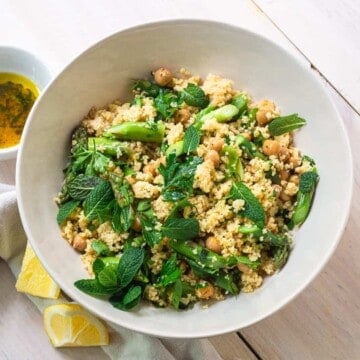
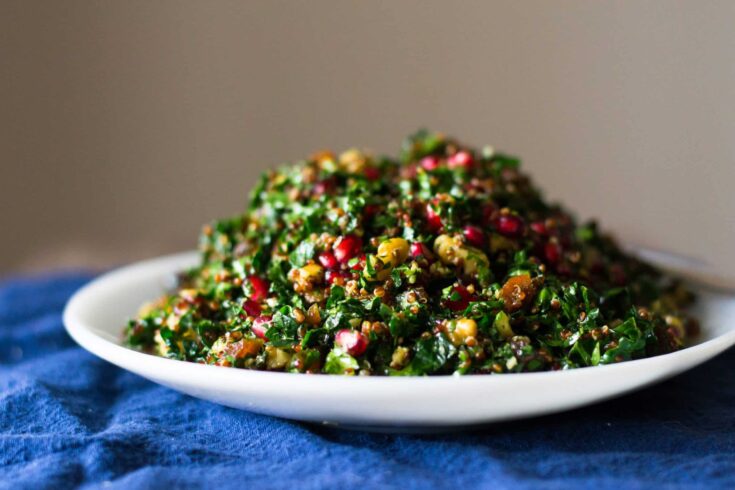
- For a gluten free alternative, substitute cooked quinoa instead of bulgur and make a hearty quinoa tabbouleh salad.
- For more crunch, add finely diced Persian cucumbers into the tabbouleh salad.
- Add more protein and include cooked black or brown lentils and make a filling lentil tabbouleh salad.
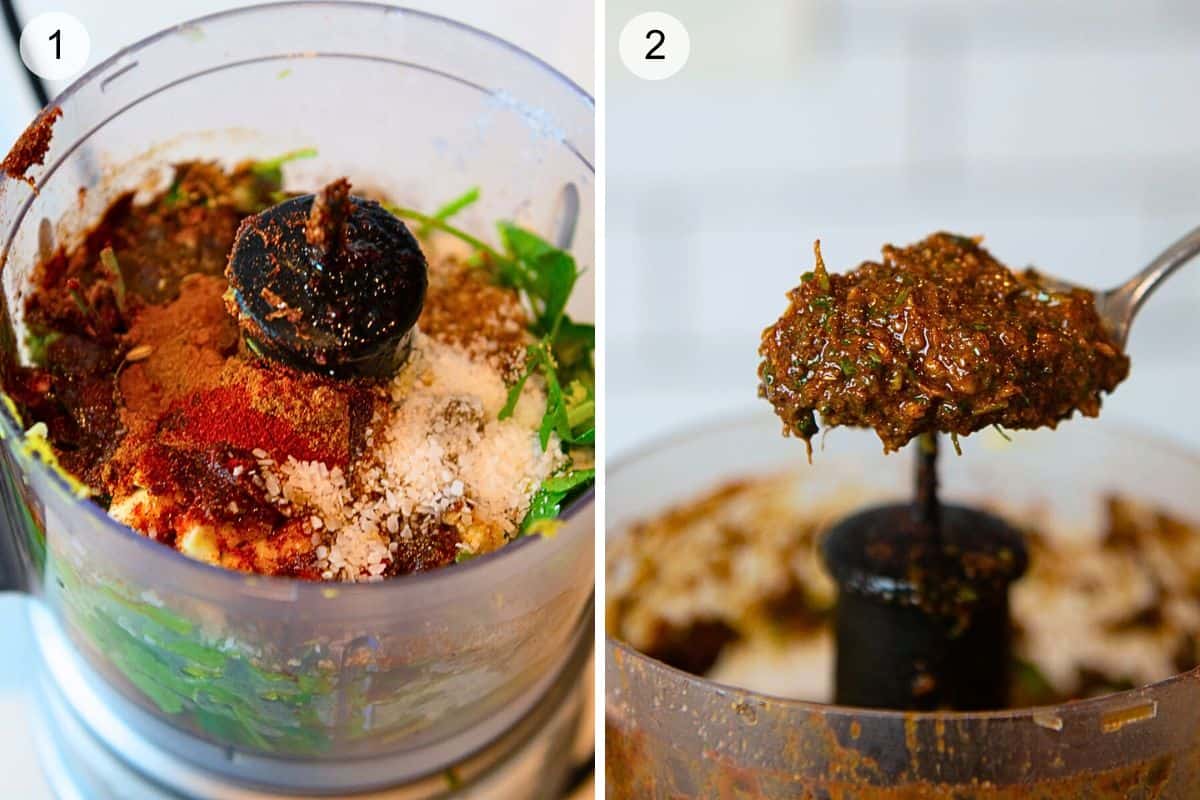
⏲️ Instructions
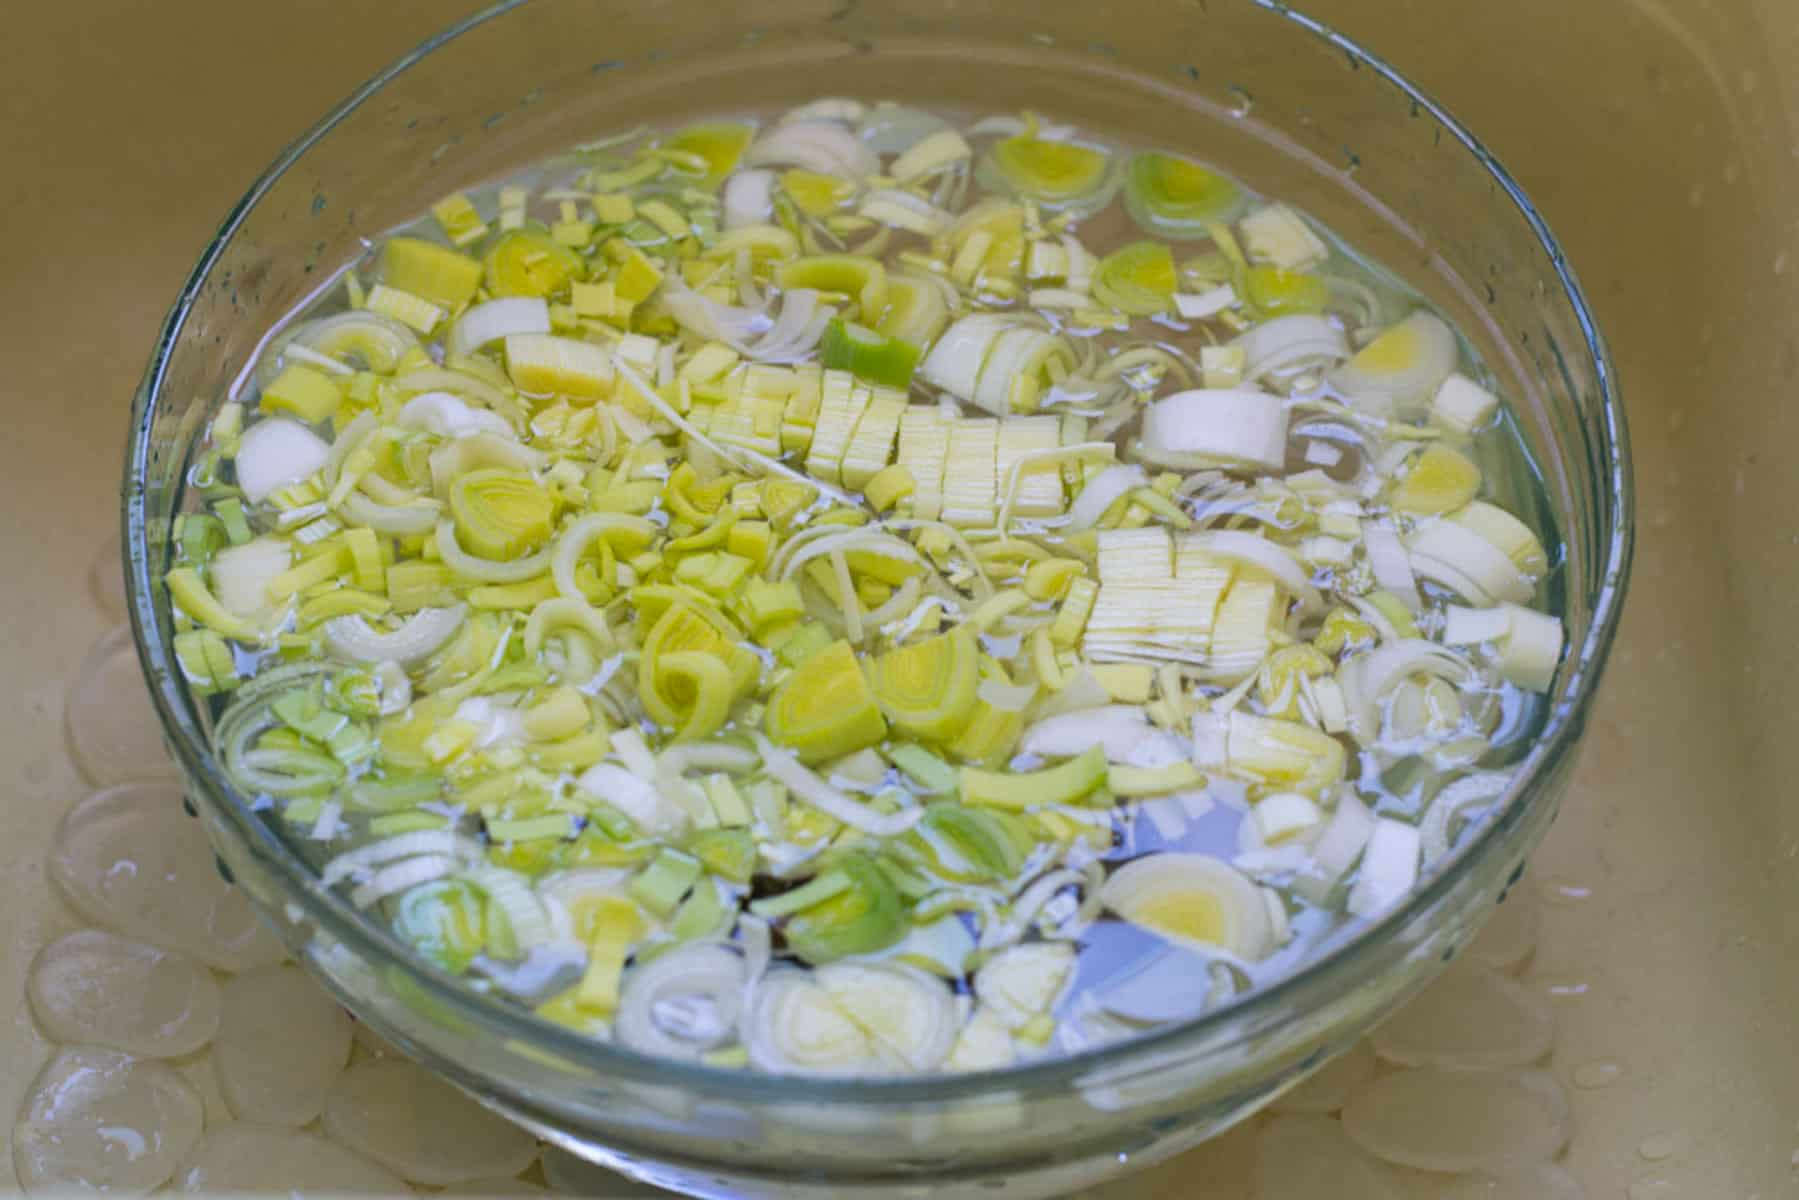
- Soak the Bulgur. Add the fine bulgur to a bowl and pour boiling water over. Place a sheet of plastic wrap on top of the bowl and let the bulgur steep, for about 20 minutes.
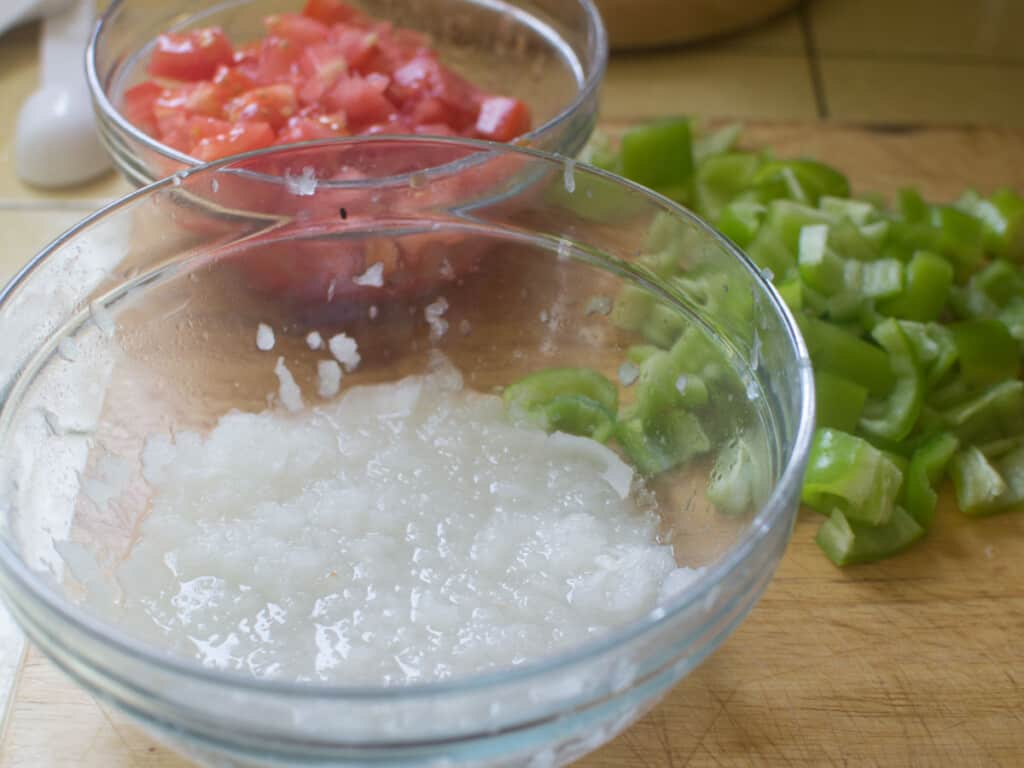
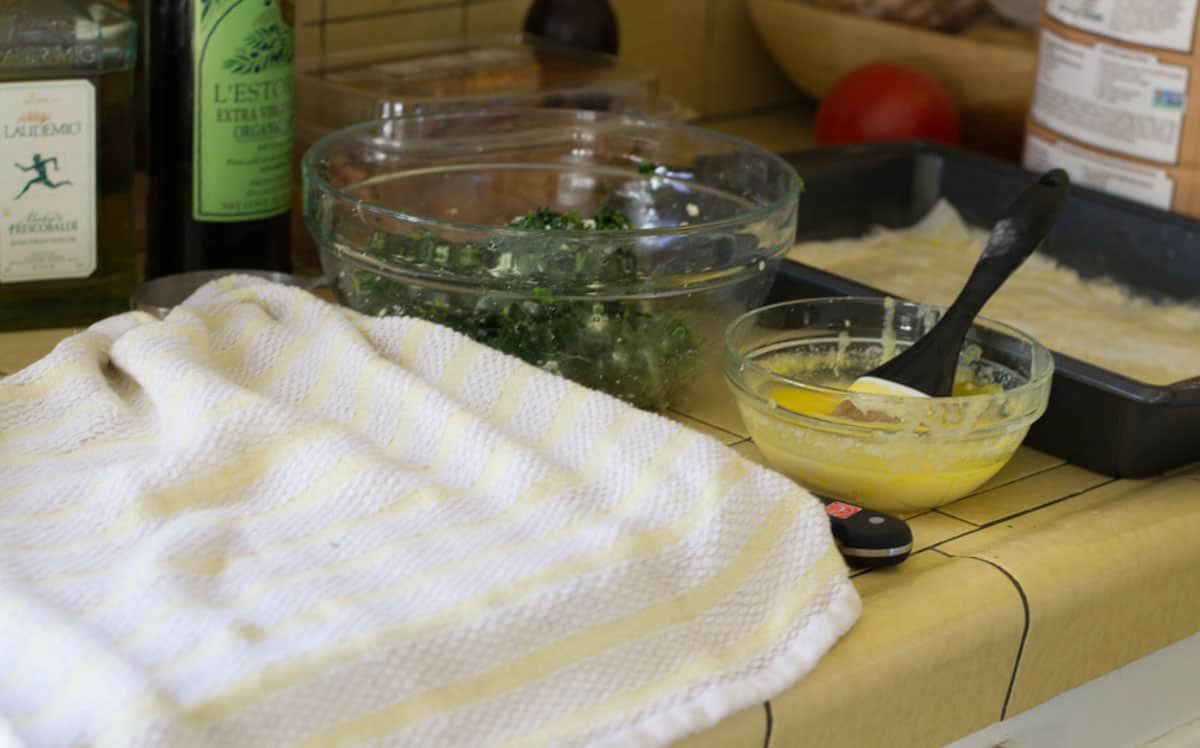
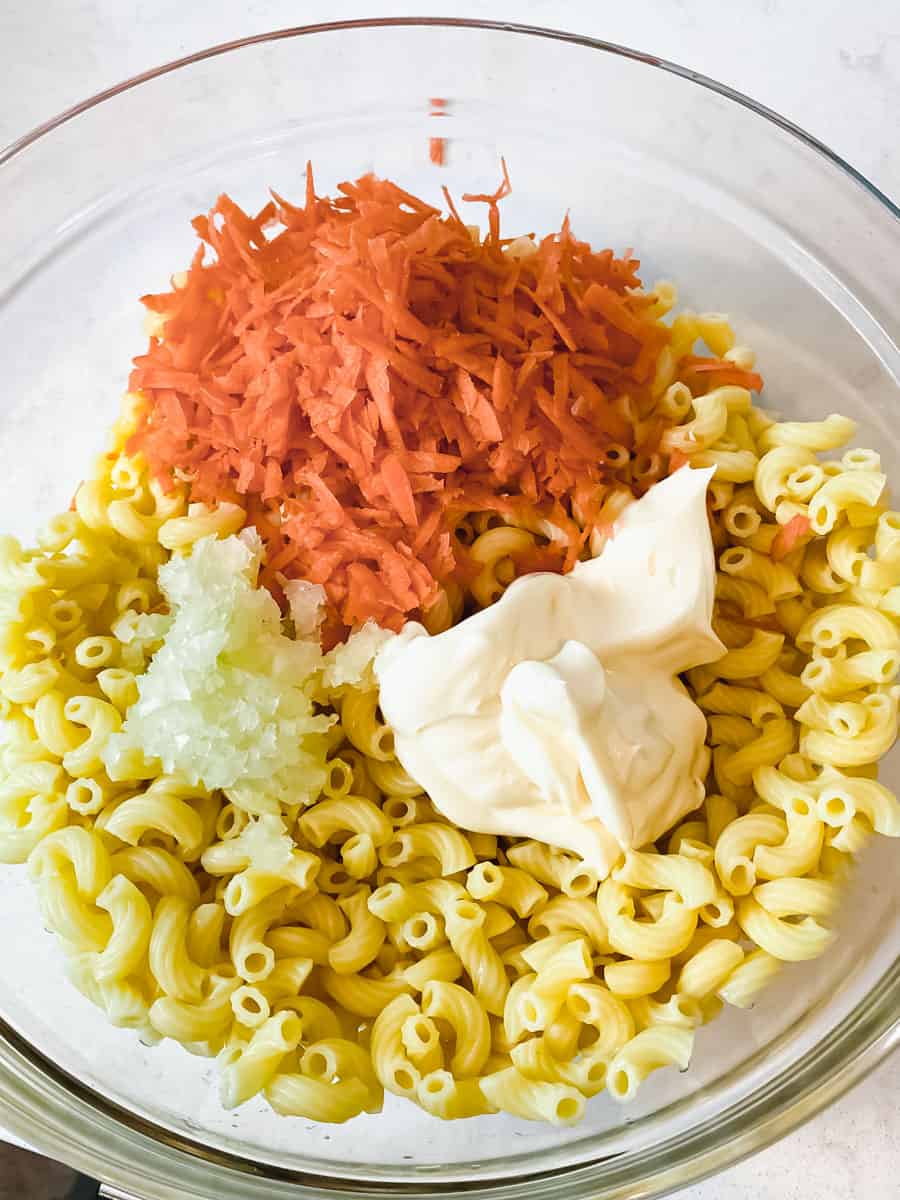
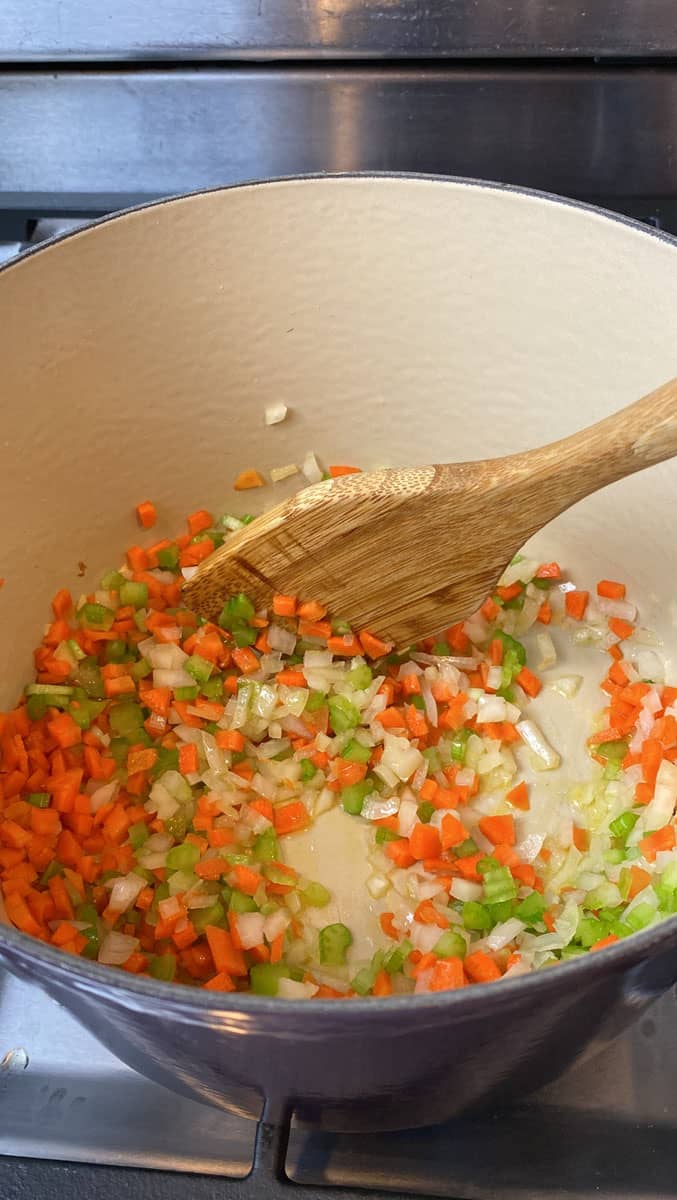
- Chop the ingredients. Remove any thick stems and chop the parsley leaves to a fine consistency and add that to a large bowl, along with the iced tomato, mint and green onions.
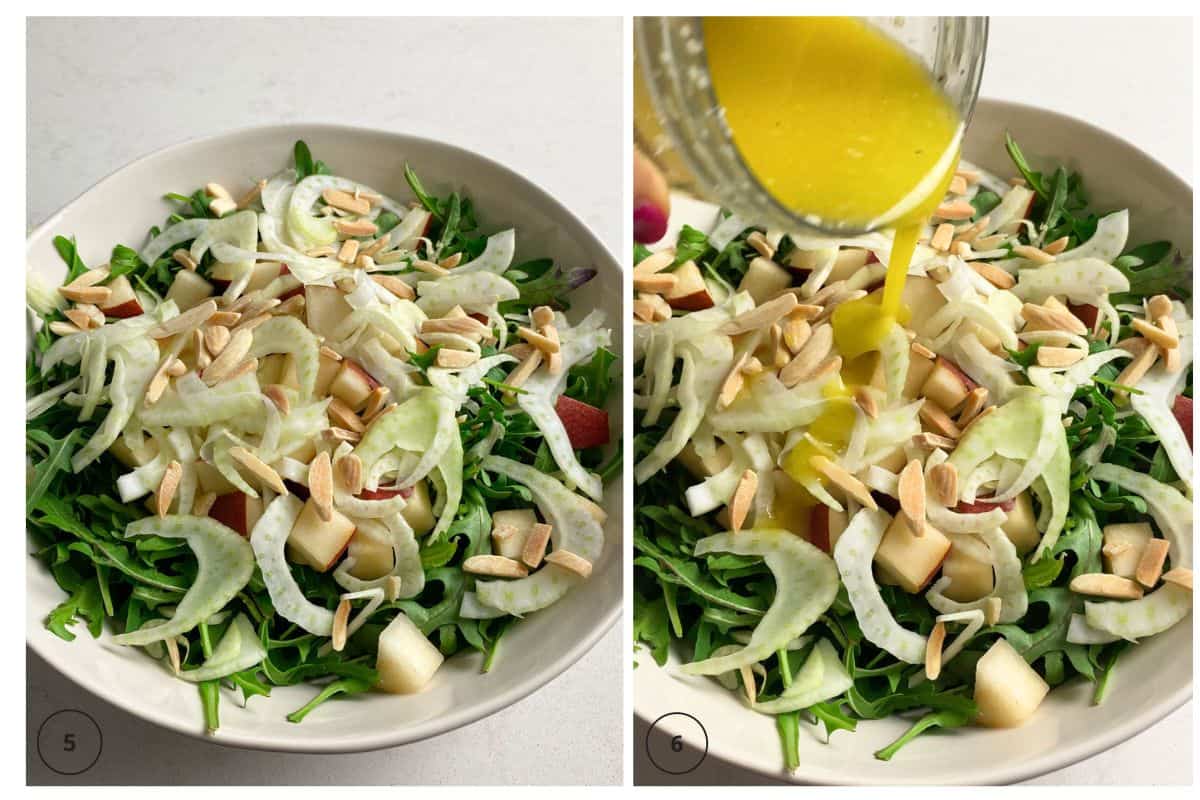
- Add the bulgur. Once the bulgur has plumped up and liquid has absorbed, fluff the bulgur with a fork and add the vegetable and herbs.
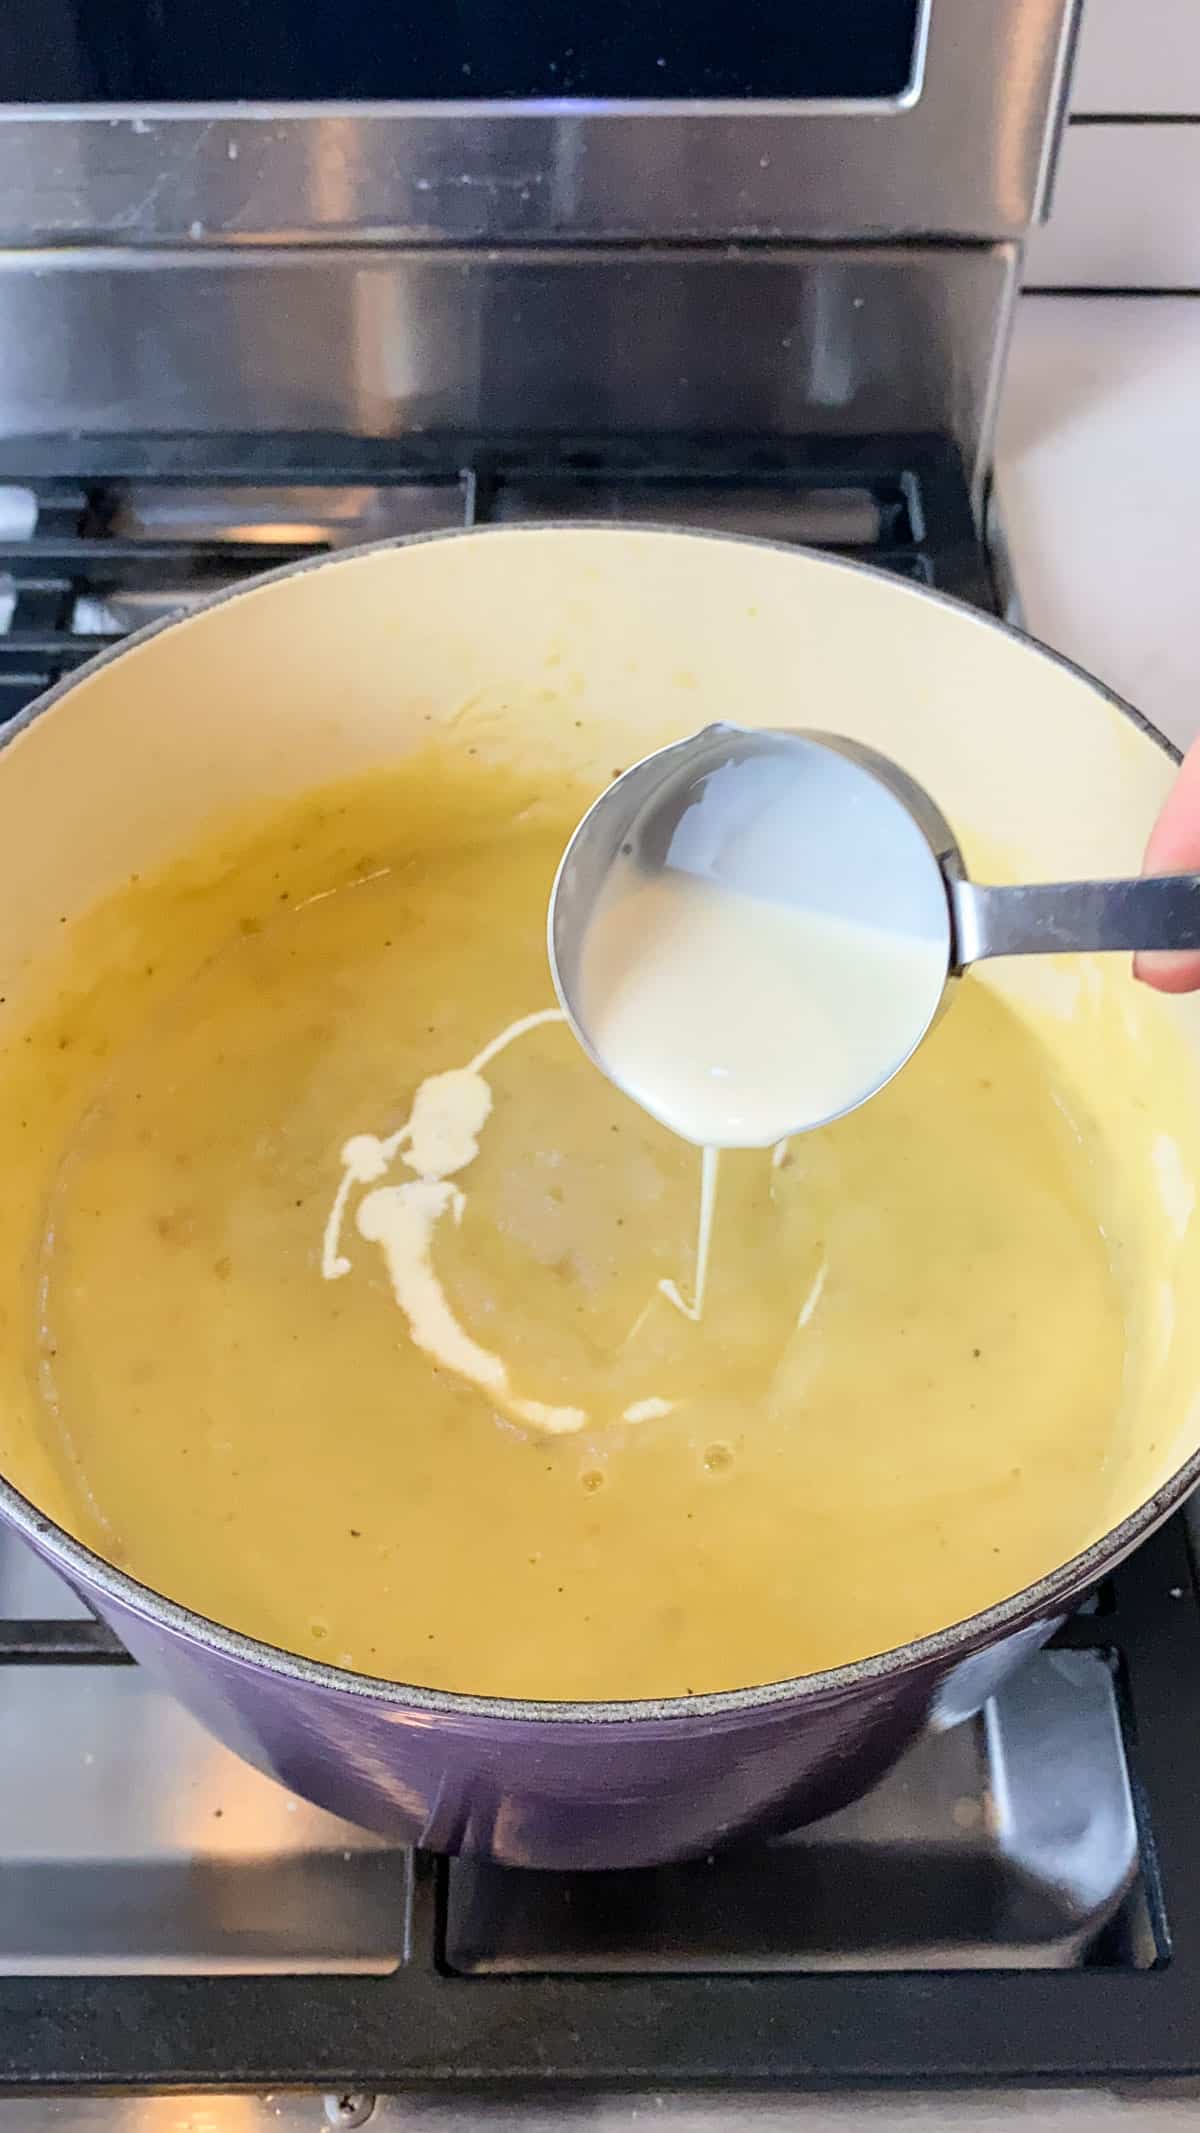
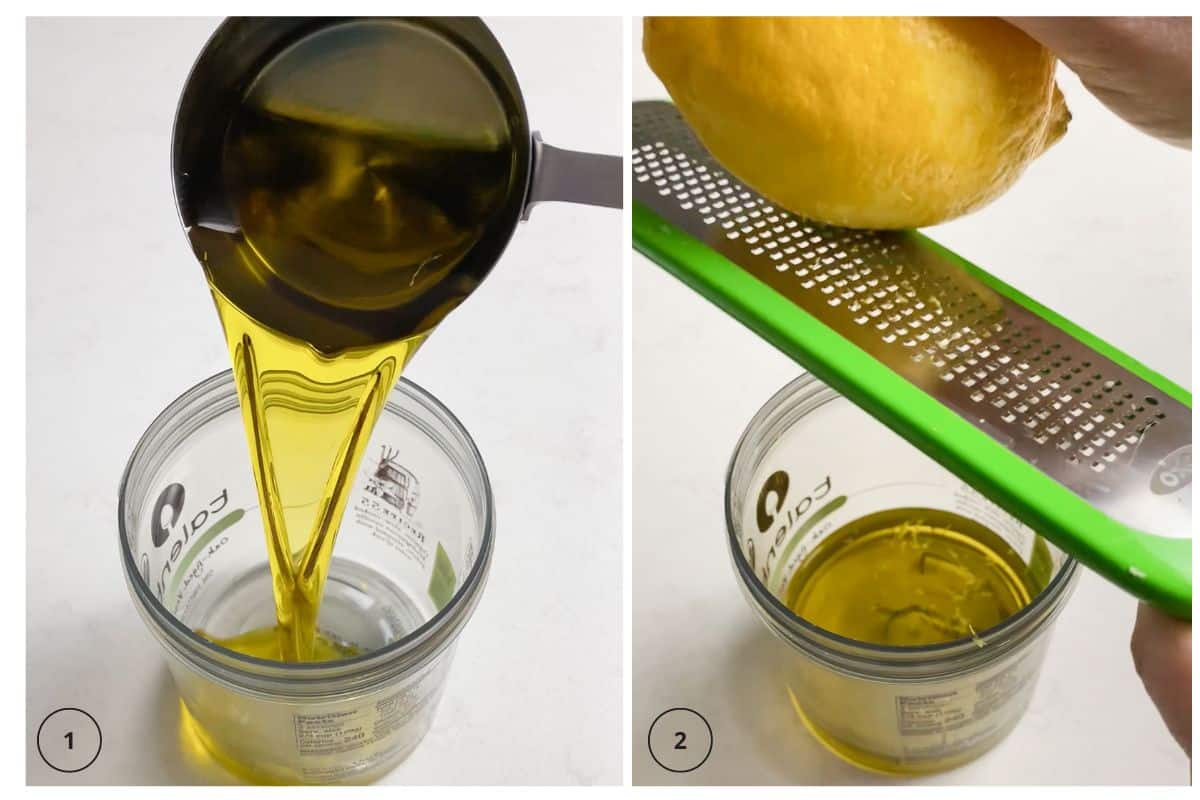
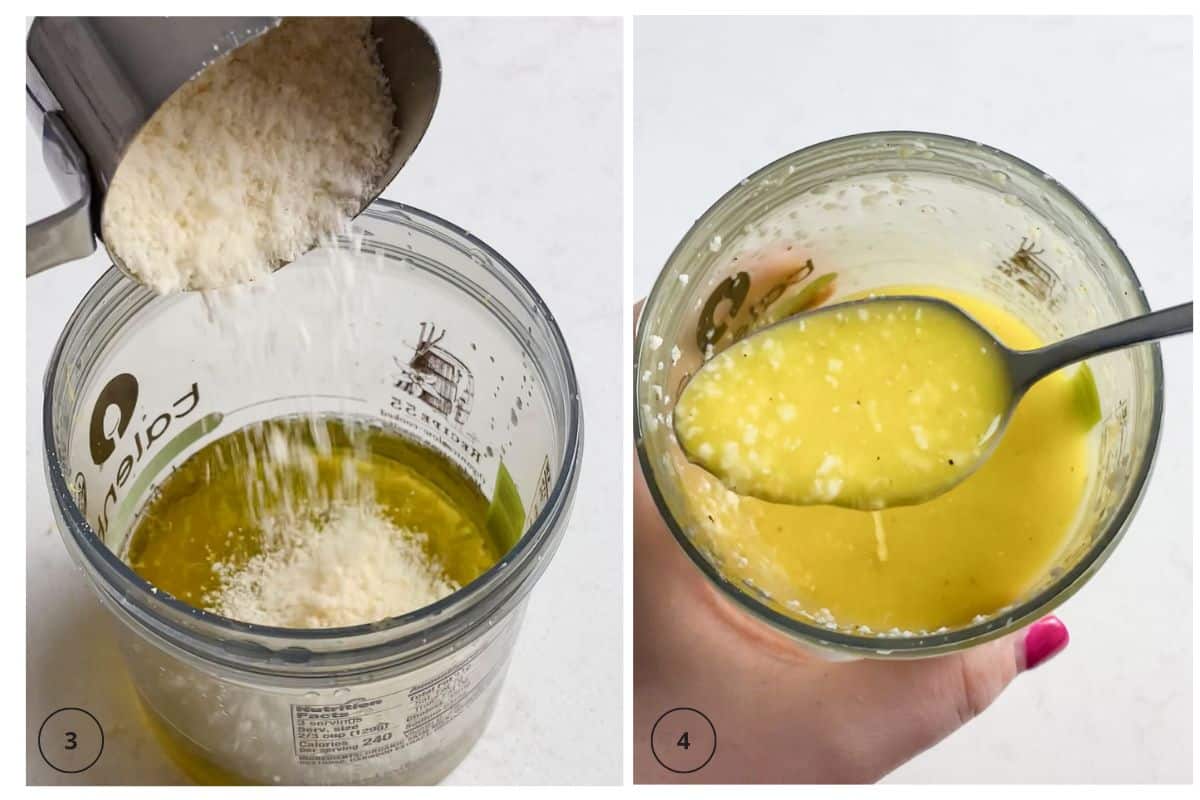
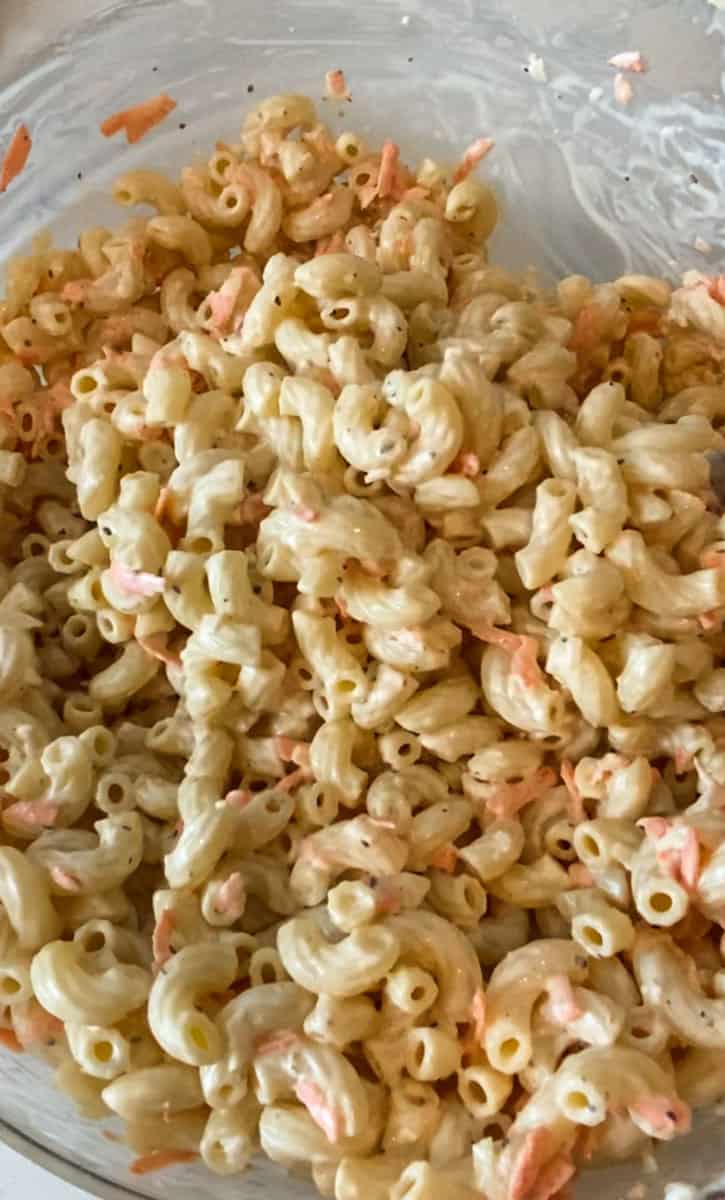
- Mix the tabbouleh salad. Season with salt and pepper and drizzle olive oil and lemon juice and mix well.
📍 Recipe Tips
- This is the time to use the best quality olive oil, such as extra virgin olive oil.
- To make this ahead if time, prepare the bulgur, chopped parsley, onions and tomato. And just before serving, add the dressing and chopped mint.
- Don't be tempted to use a food processor! Yes, there is a lot of chopping, bit it's worth it for authentic results. A food processor can bruise and wilt the parsley.
Recipe FAQs
Lebanese tabbouleh salad is an herbaceous salad with fresh parsley, fresh mint tossed with fine bulgur and dressed with olive oil and fresh lemon juice.
Traditional tabbouleh that is made with bulgur is not gluten free. However, you can make a gluten free tabbouleh by substitute quinoa and making a quinoa tabbouleh salad.
Homemade tabbouleh can last in the fridge for up to 3 days. As the tabbouleh salad sits, the tomatoes will begin to soften. Tabbouleh is best served fresh while the herbs and vegetables are firm and juicy.
You do not need to cook bulgur, but bulgur does need time to soak in hot water for the grains to plump. Add bulgur to a bowl and pour boiling water on top. Place a sheet of plastic wrap over the bowl and let it steep for 20 minutes until plump. When ready, most of the water should have soaked up, then fluff with a fork and you're ready!
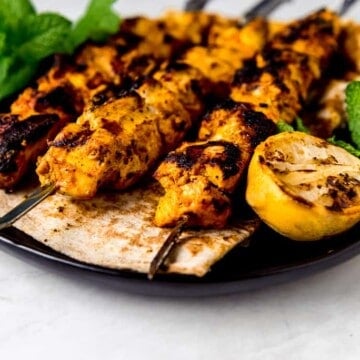
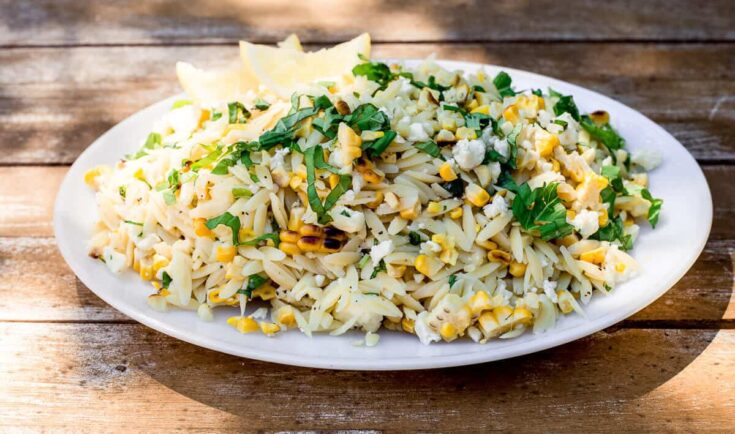
🥙 What to Serve Tabbouleh With
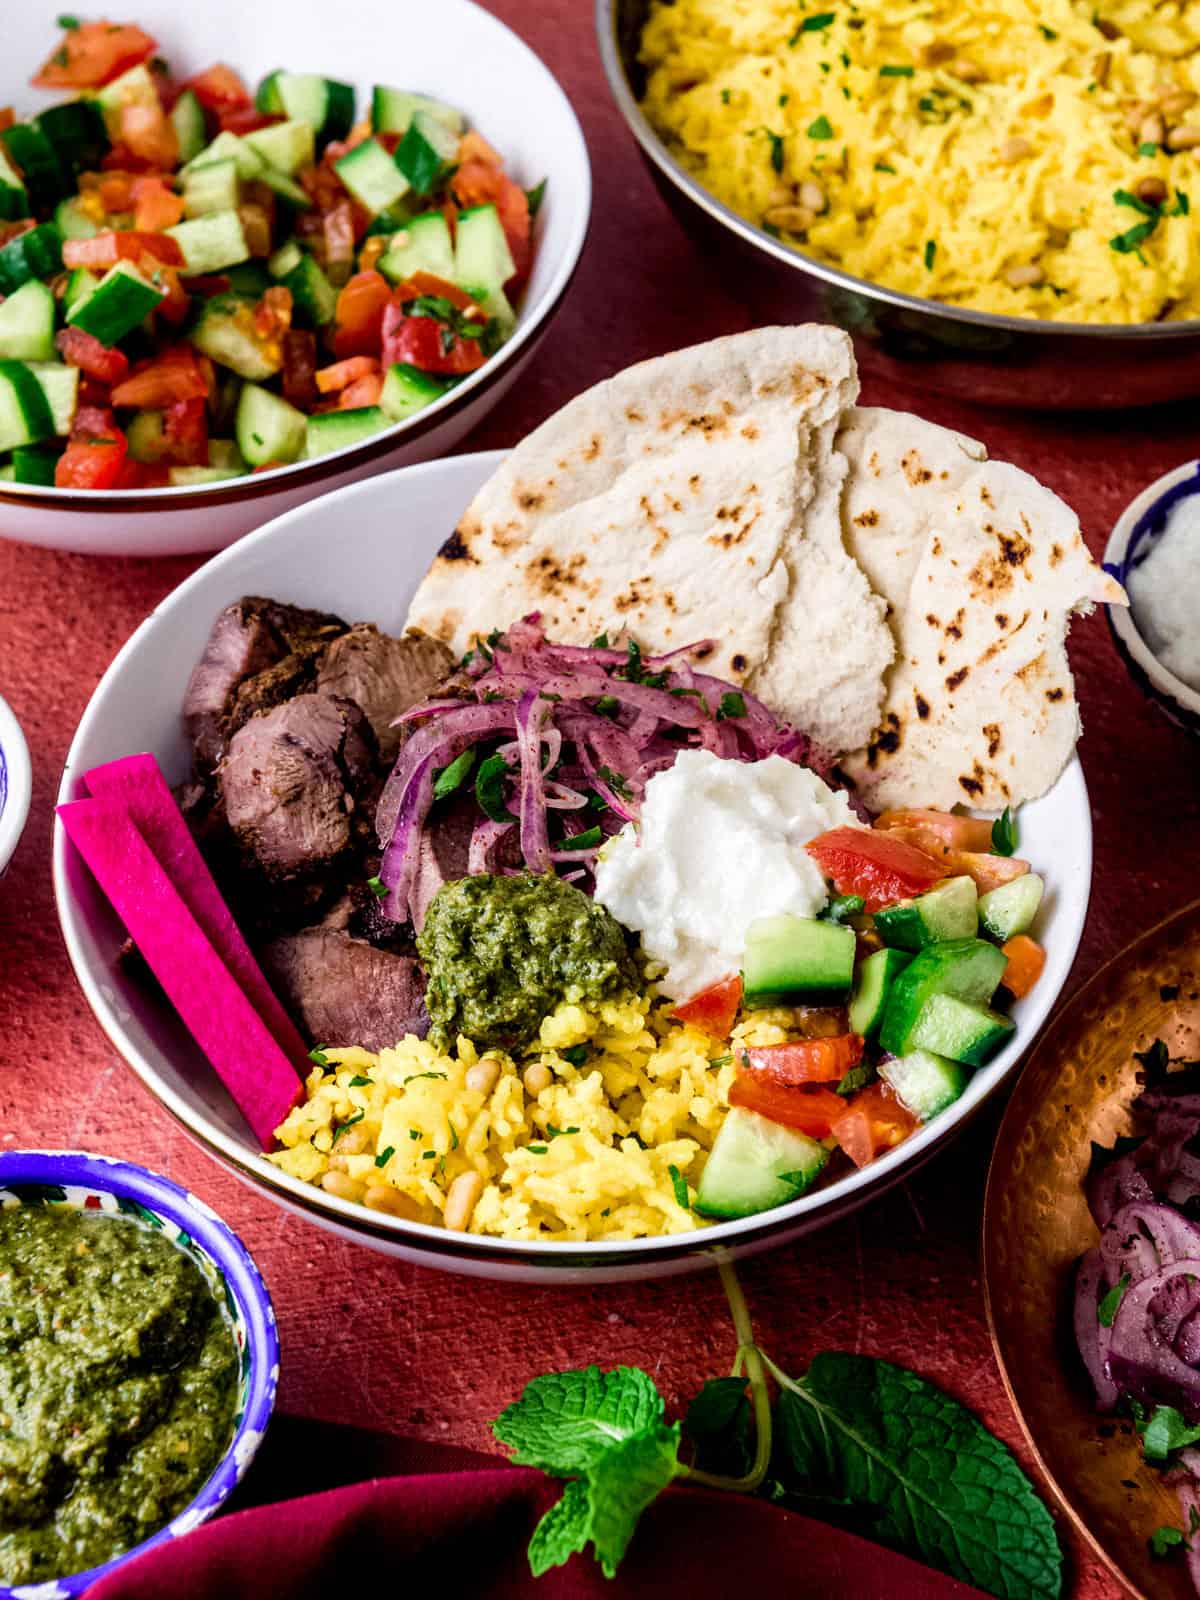
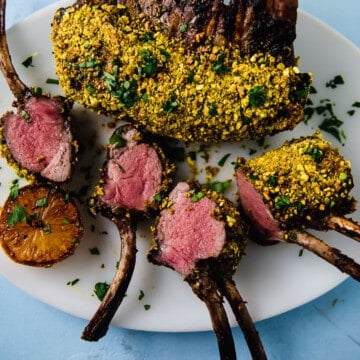
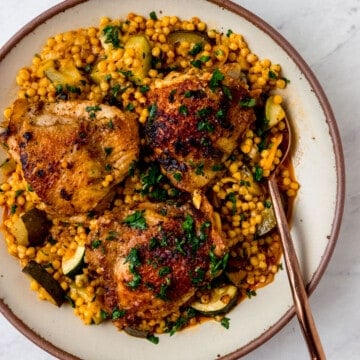
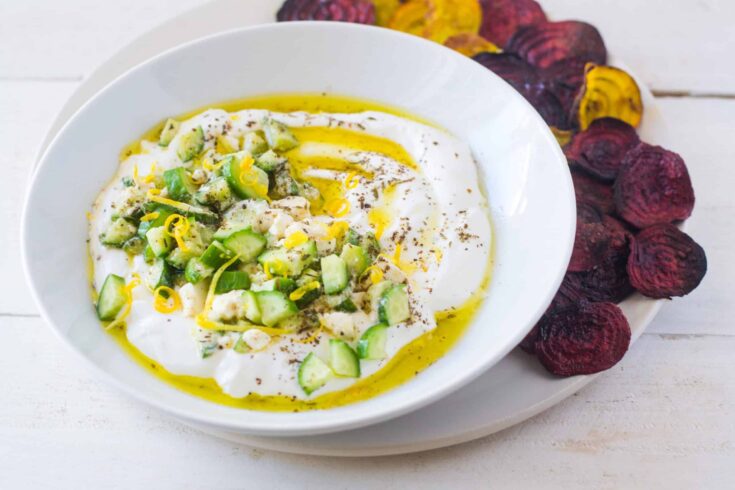
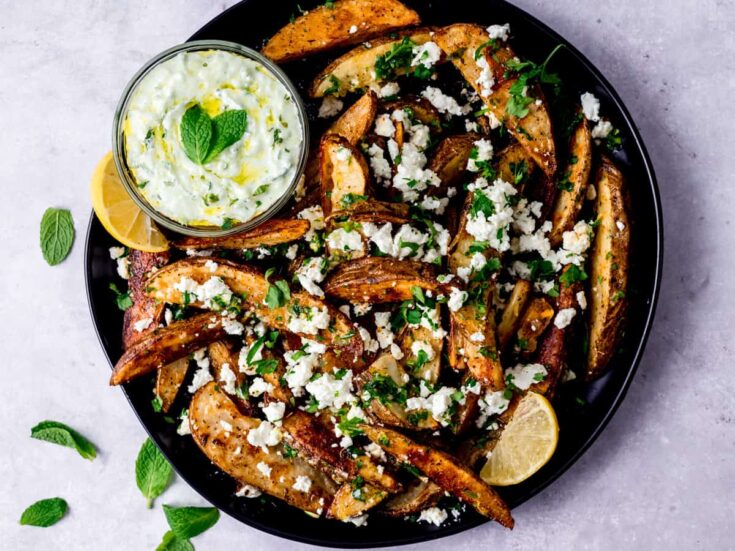
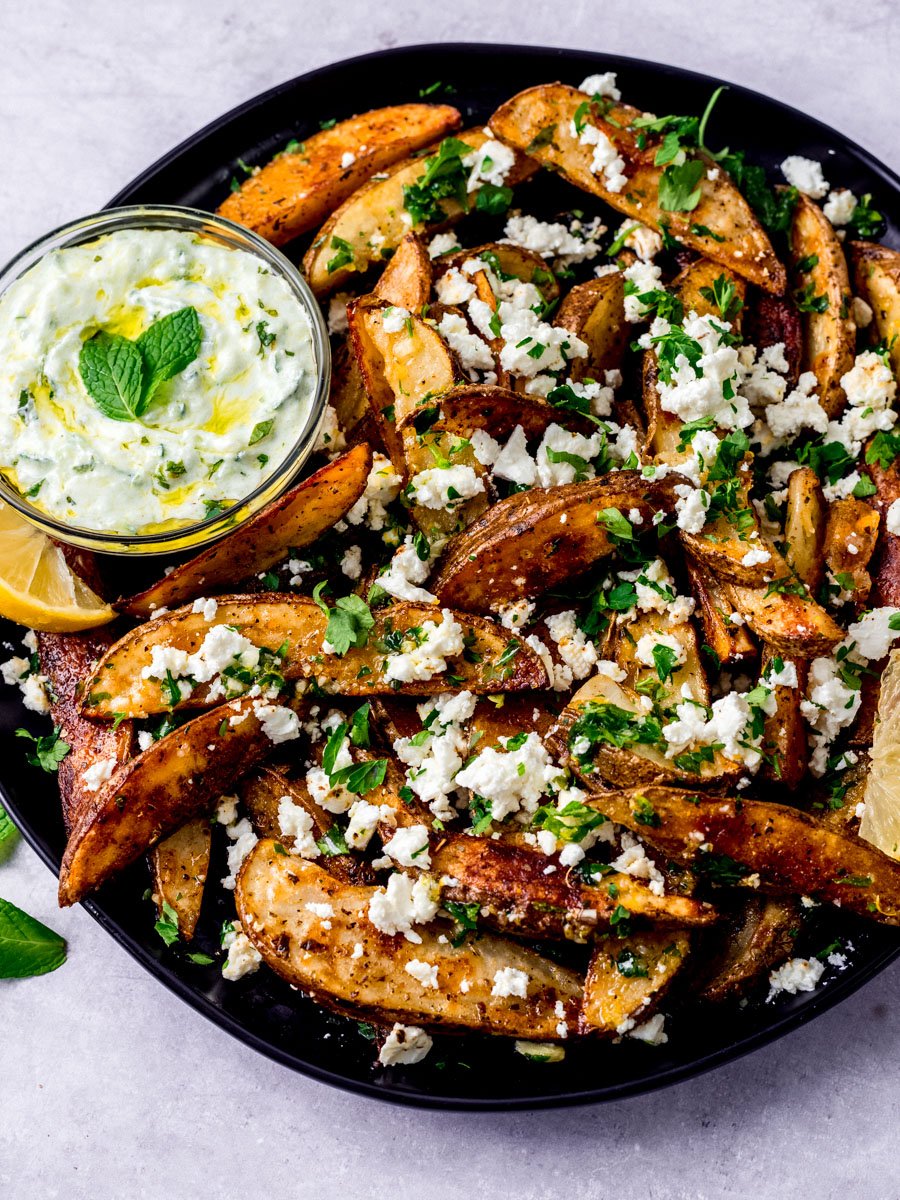
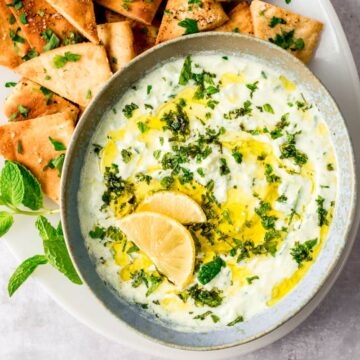
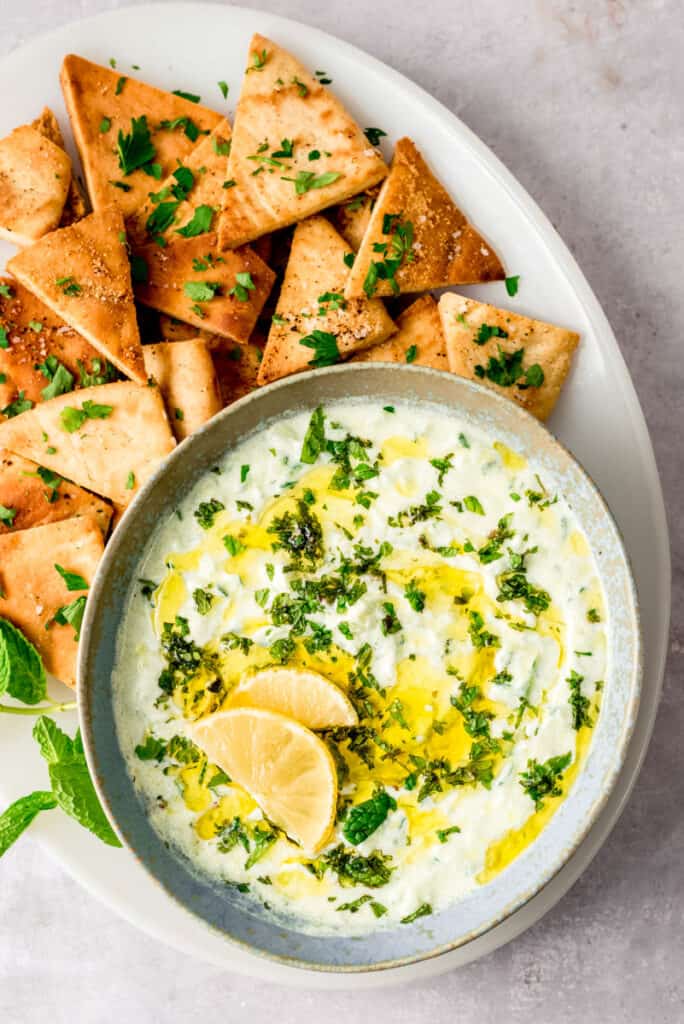
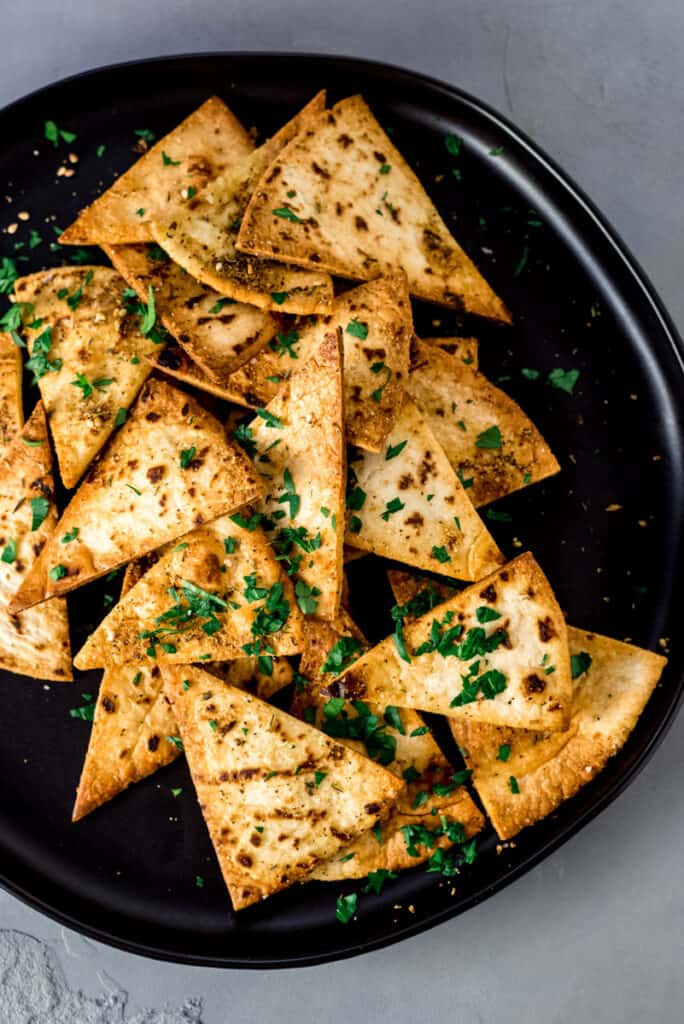
Serve tabbouleh salad with crisp romaine leaves for serving or alongside grilled meats or fish, kebabs and dips!
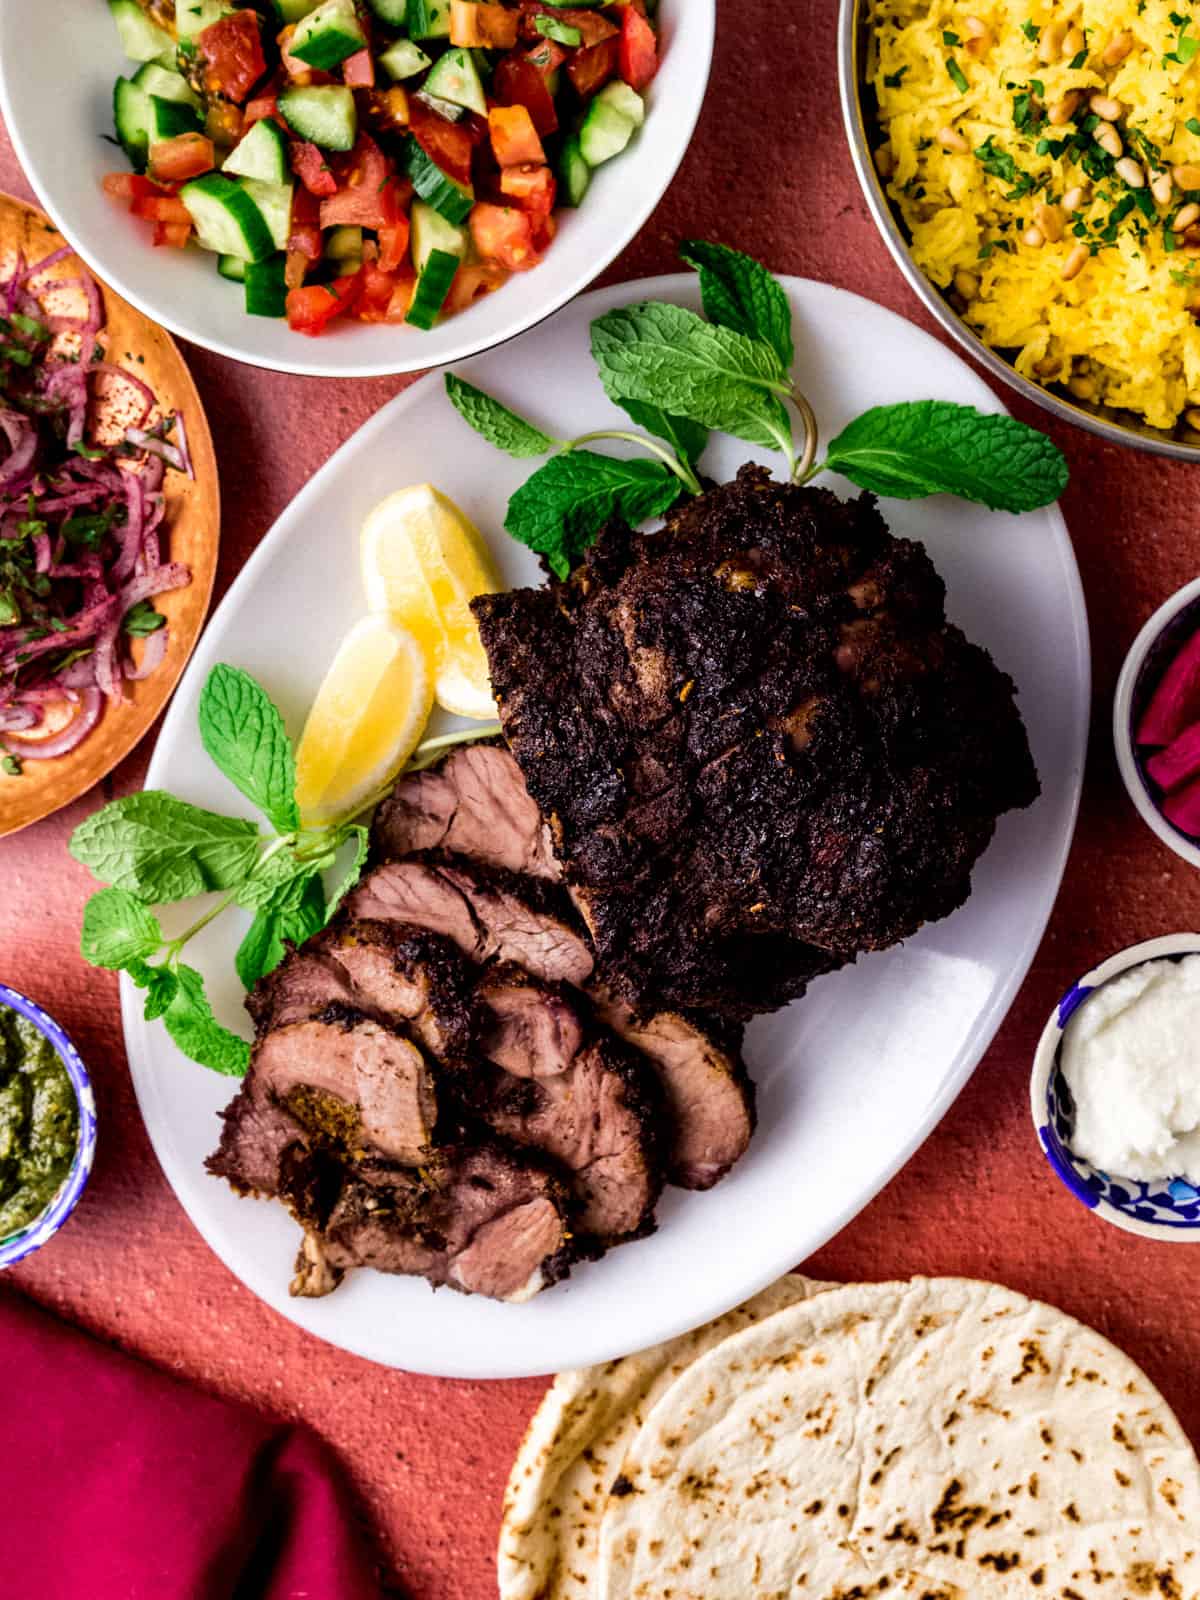
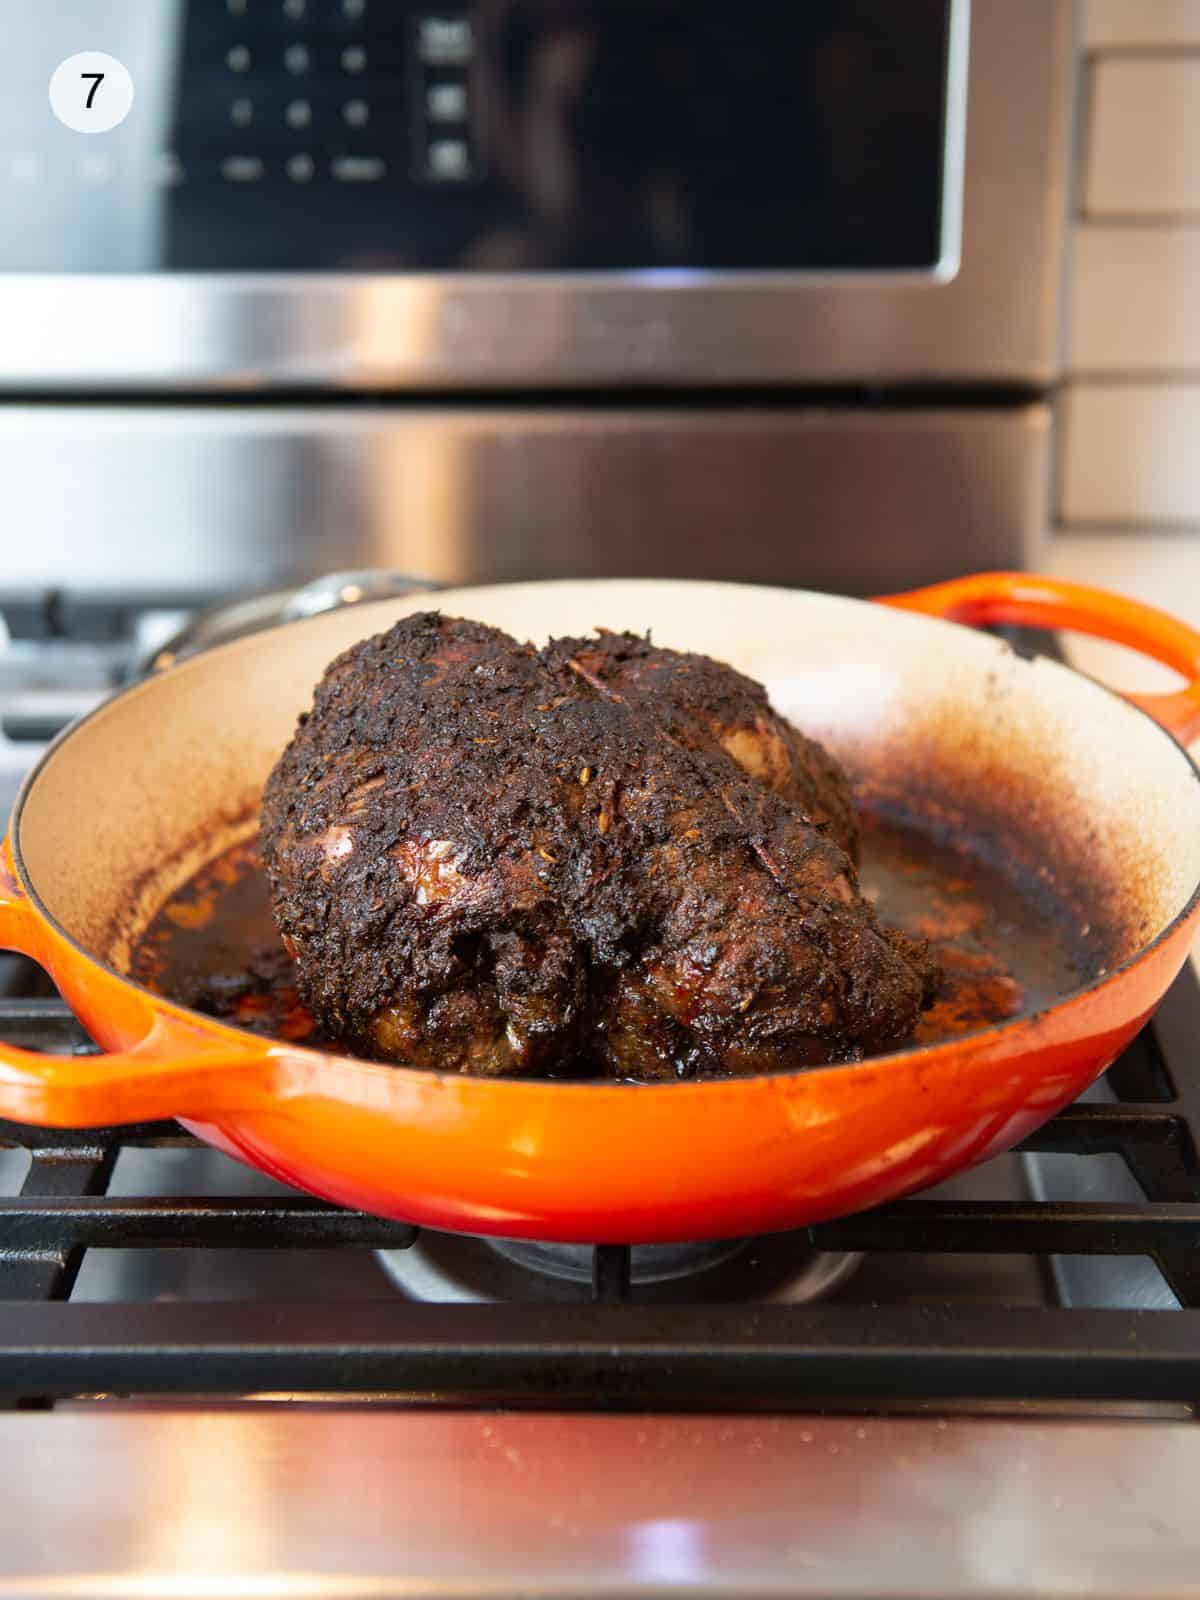
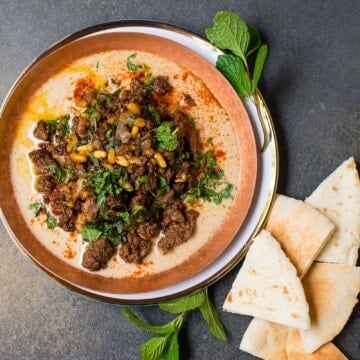
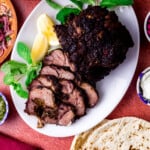
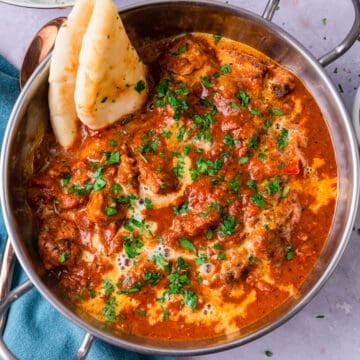
Serve tabbouleh salad alongside, Preserved Lemon and Yogurt Chicken, Turkish Red Pepper and Walnut Dip (Muhammara) and slow cooked lamb shawarma.
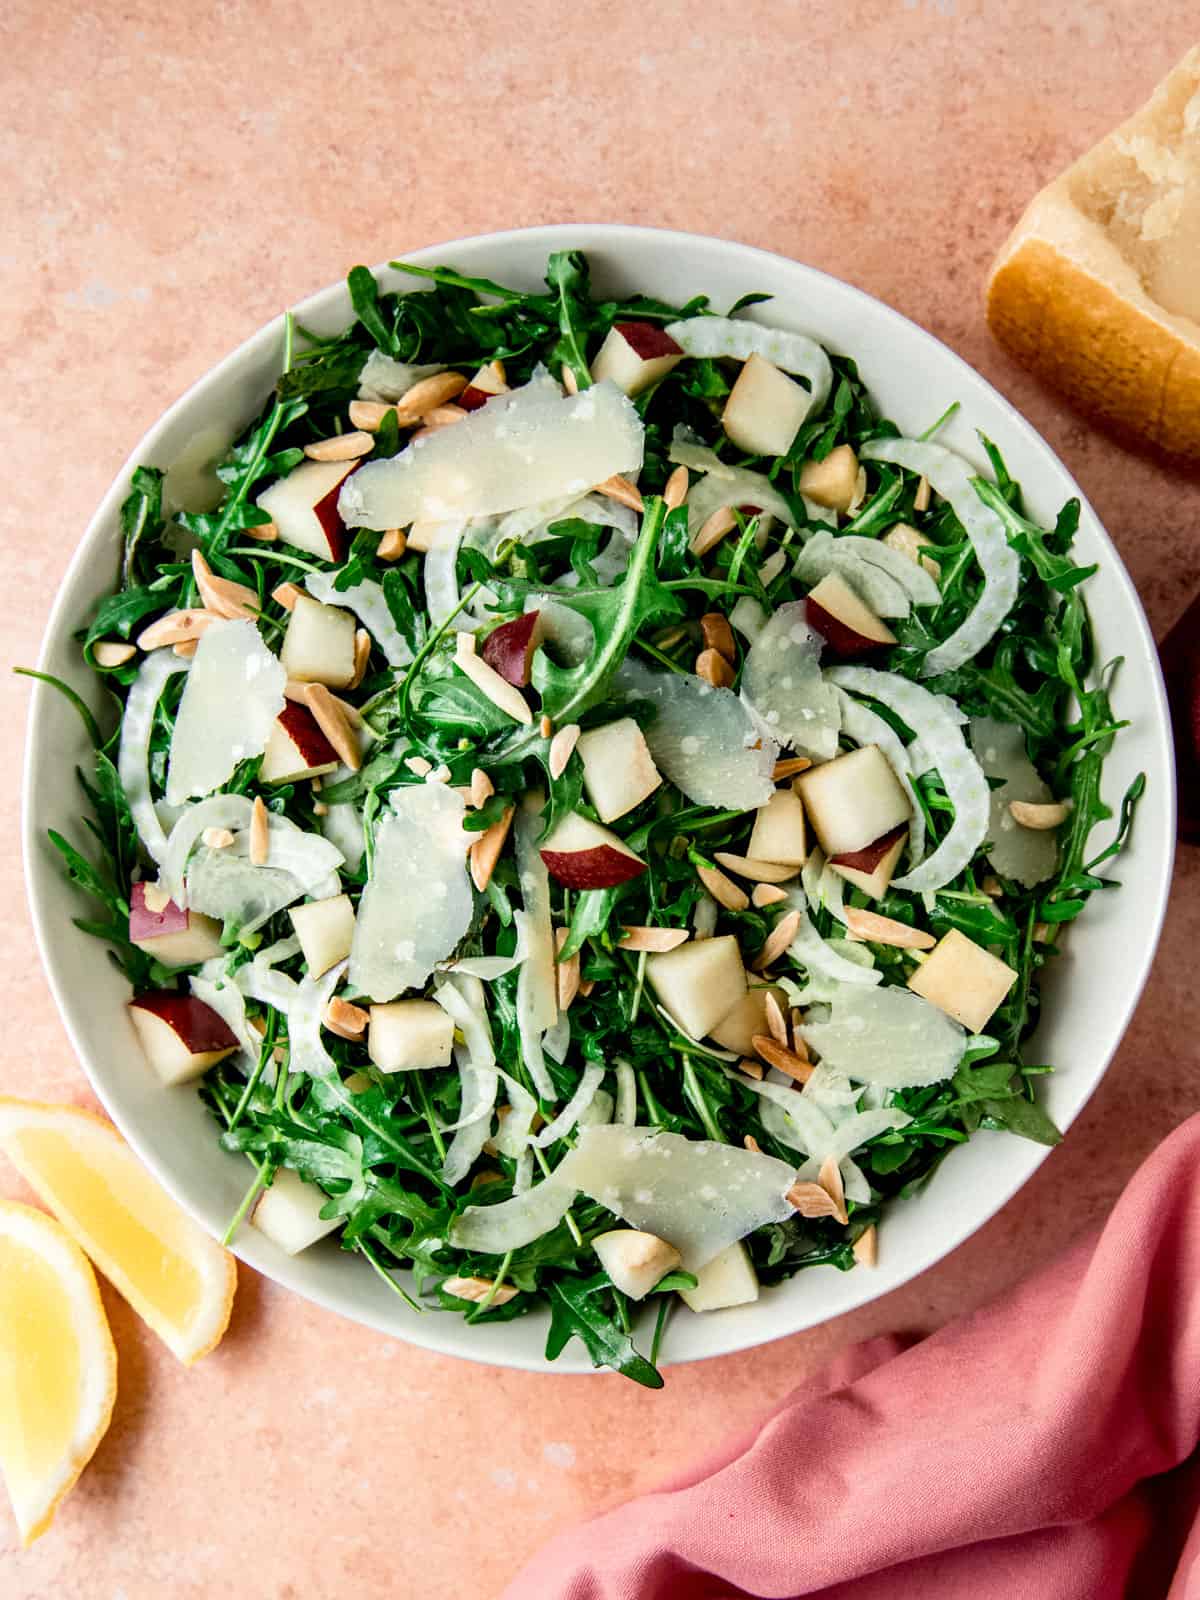
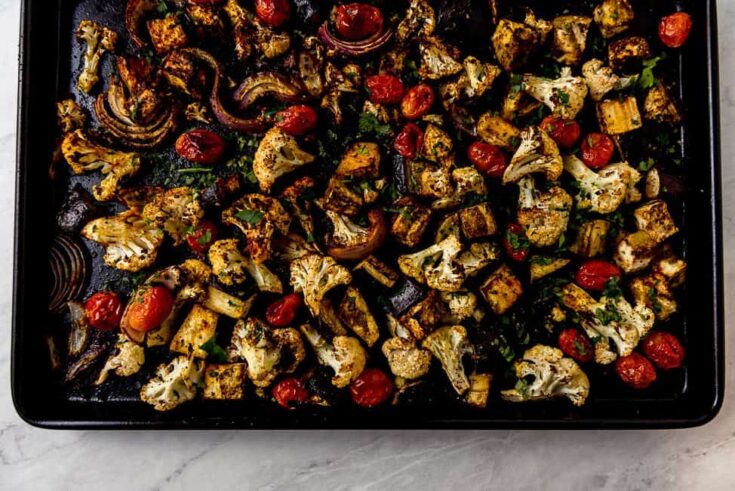
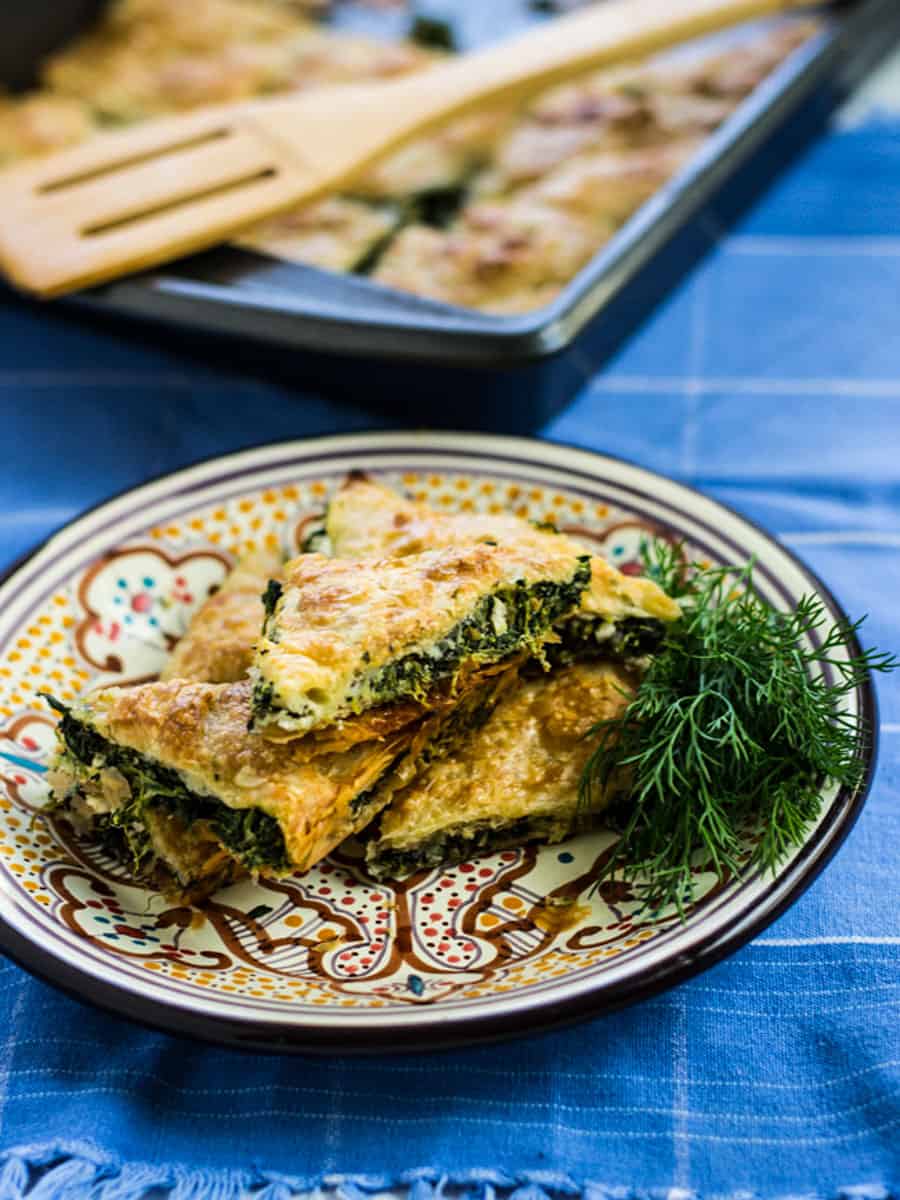
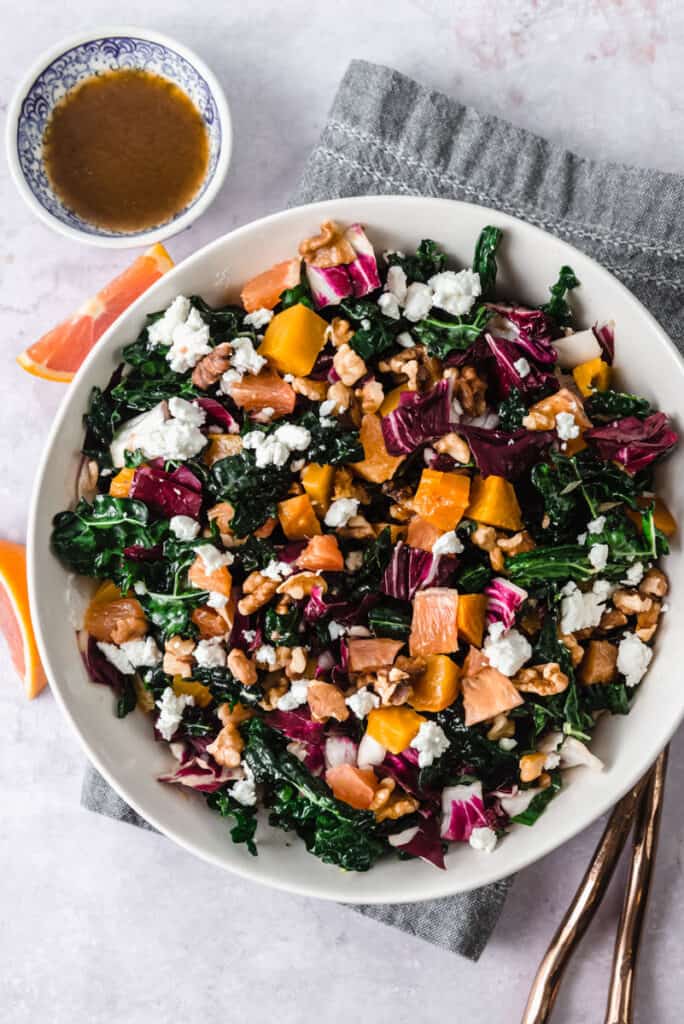
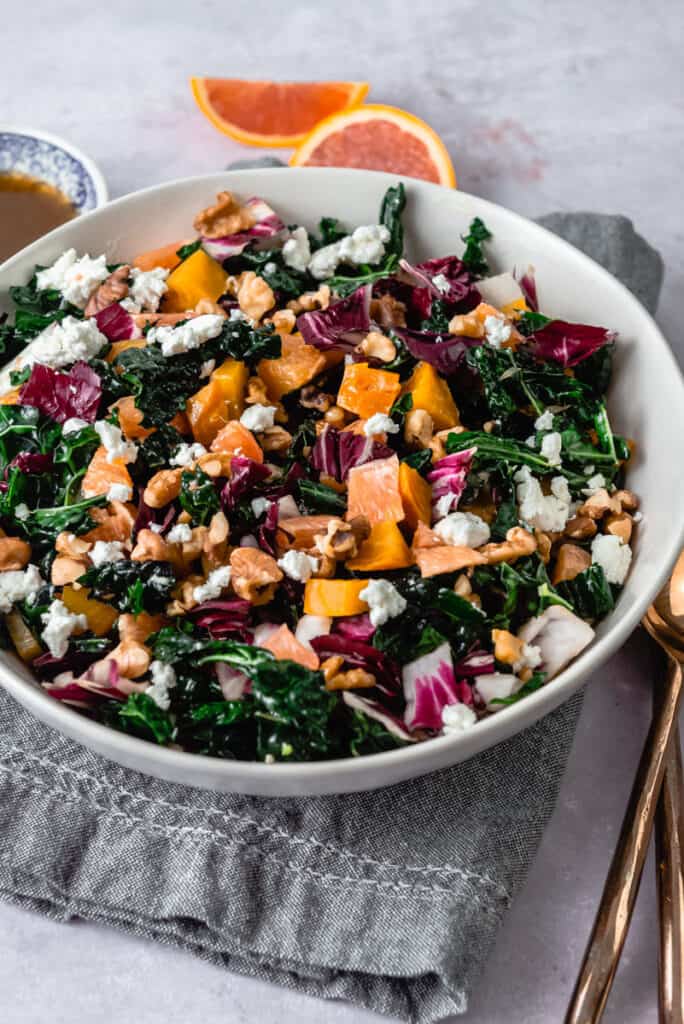
🍅 More Hearty Salads

Love this recipe? Please leave a 5-star 🌟🌟🌟🌟🌟rating in the recipe card below & a review in the comments section further down the page.
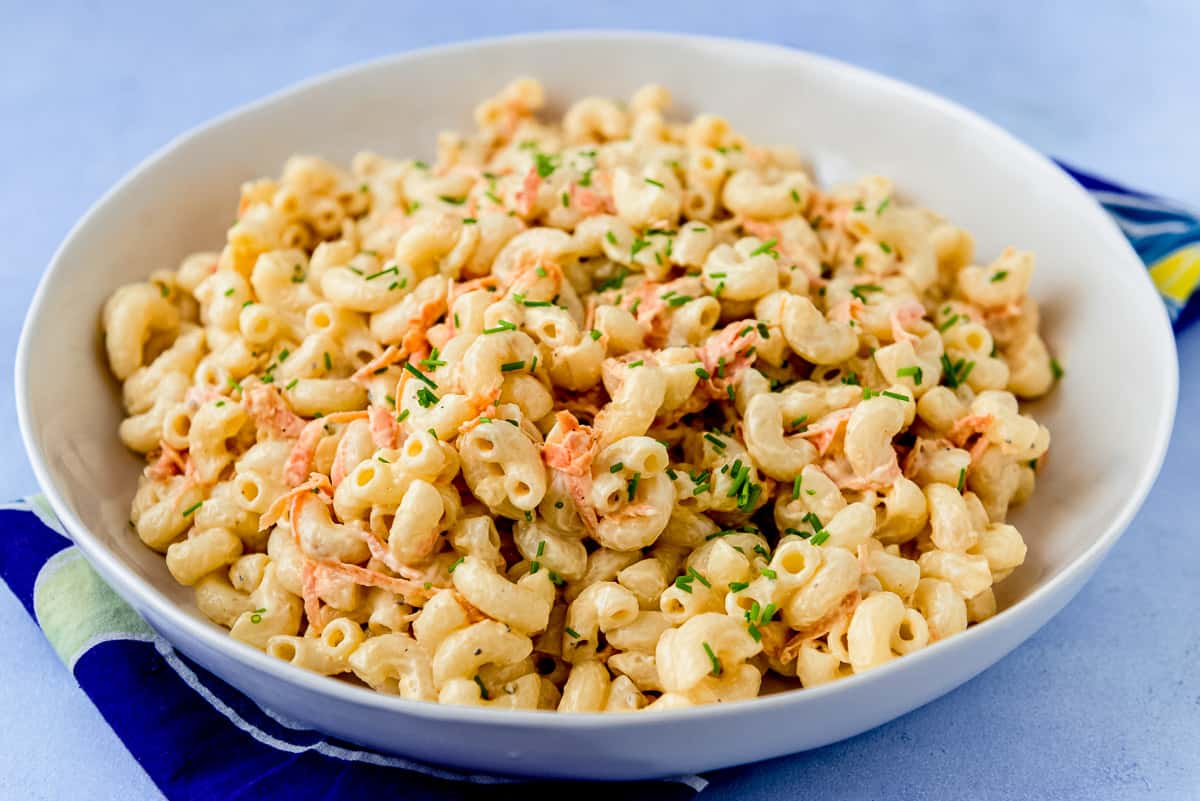
Lebanese Style Tabbouleh Salad
Equipment
Ingredients
- 1 ½ cups boiling water
- ½ cup fine bulgur
- 1 bunch of flat leaf parsley thick stems removed
- 3 stems of green onions thinly sliced
- 1 medium sized tomato seeds removed and chopped into ¼ inch cubes
- ¼ cup fresh mint chopped finely
- ¼ cup olive oil
- 2 tablespoons fresh lemon juice
- 1 teaspoon salt
Instructions
- Add bulgur to a bowl and pour boiling water over. Place a sheet of plastic wrap on top of the bowl and let the bulgur steep. Meanwhile, prep the rest of the salad.
- Remove any hard or thick stems from the parsley, gather up all the parsley leaves and start chopping until a fine consistency and add herbs to a bowl. You should have a good 1 cup of chopped parsley.
- Add the sliced green onions, chopped tomato and mint and gently stir to combine.
- Check the bulgur, it should have absorbed most of the liquid and be tender. Fluff with a fork and drain any excess water and add bulgur to bowl. (Note* the bulgur will just about double in size, so add less if you prefer a more herby salad like I do.)
- Add olive oil, lemon juice and salt and gently toss again. Taste for seasoning and adjust as needed, more lemon juice or more bulgur for instance.


