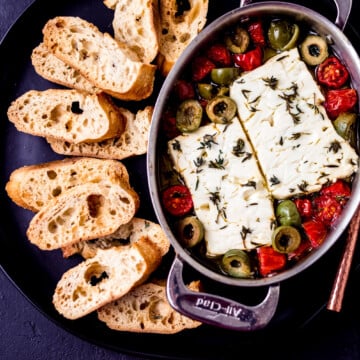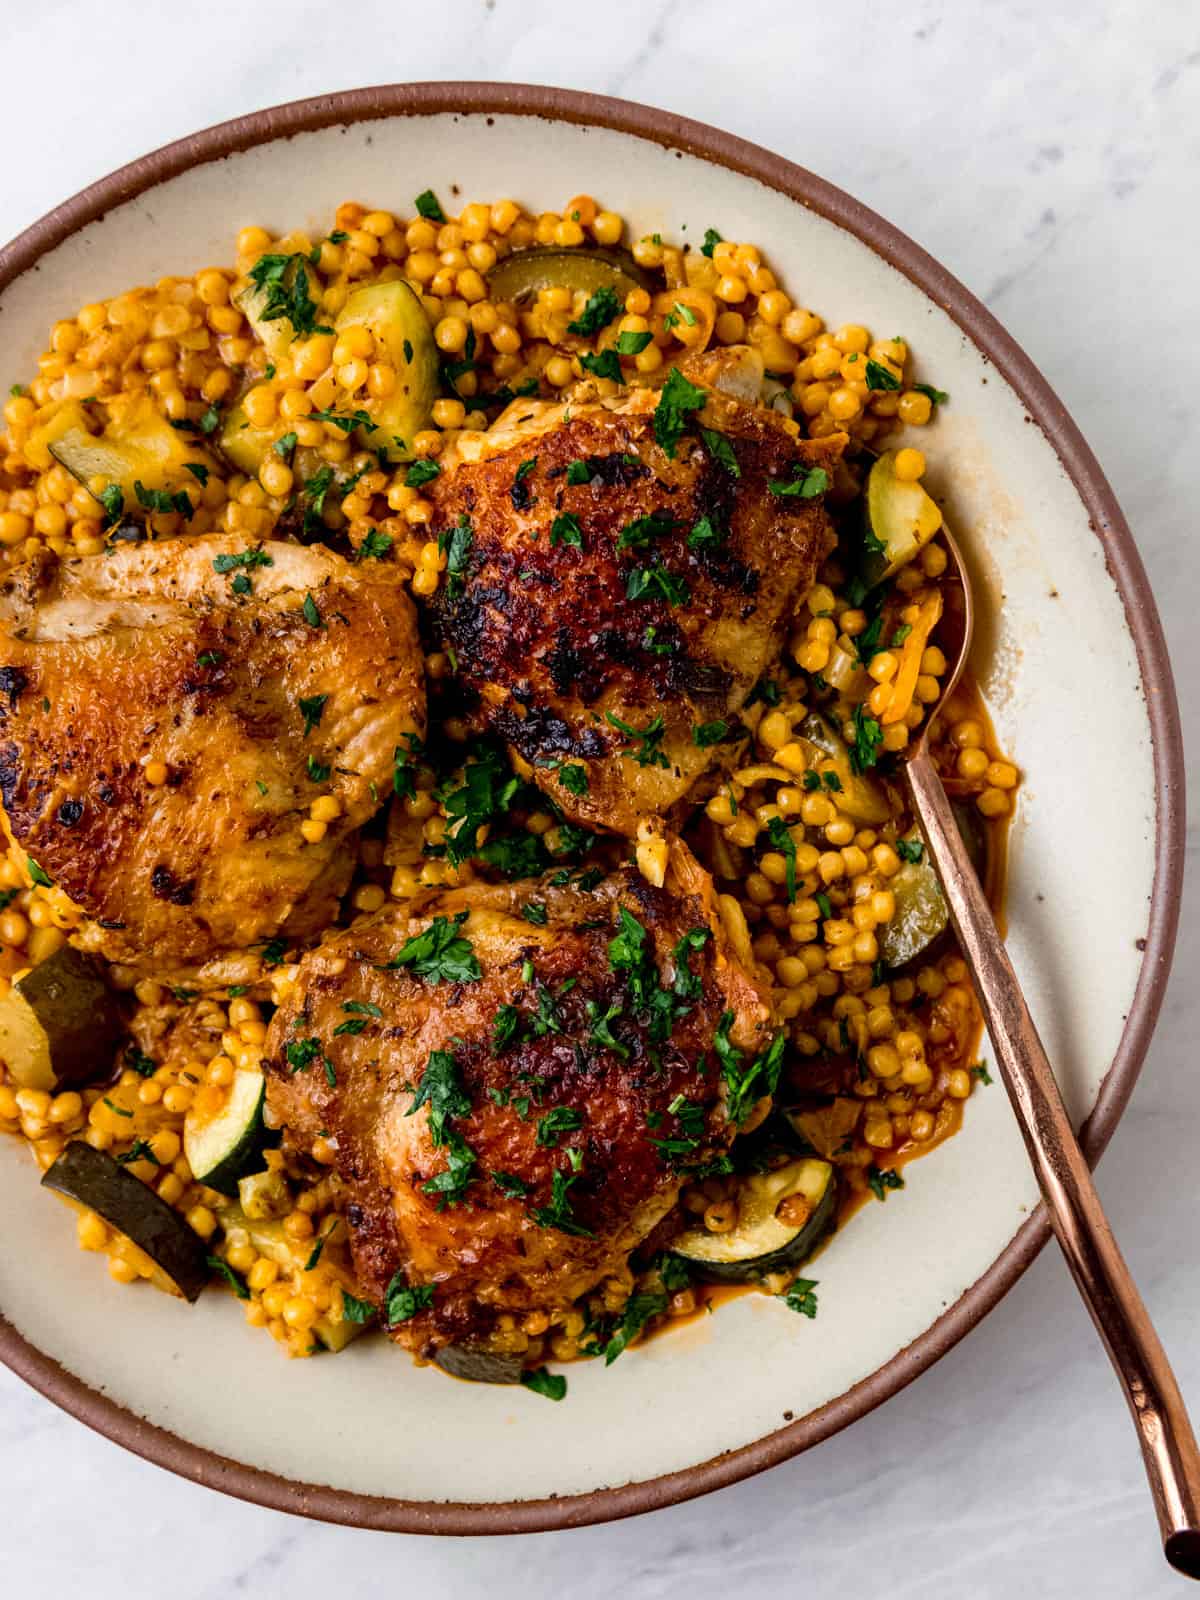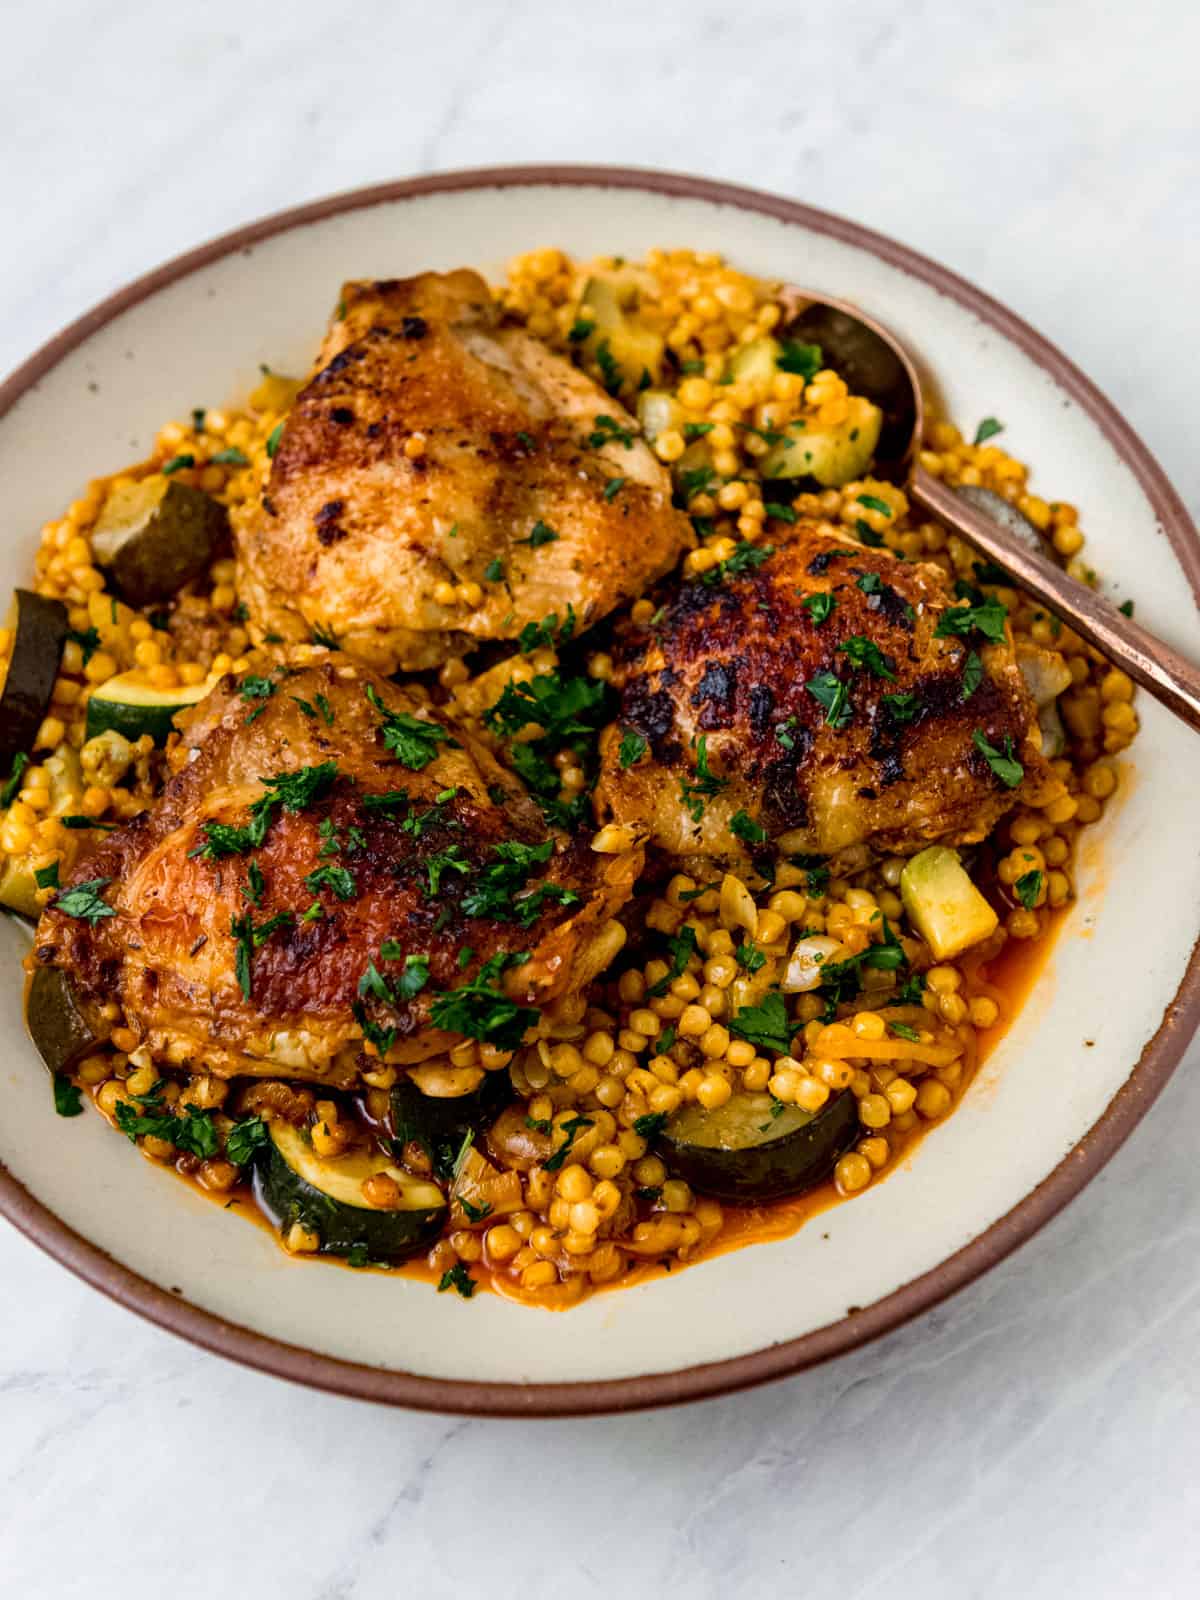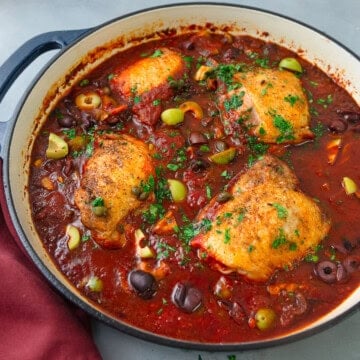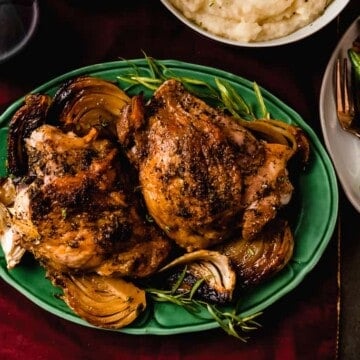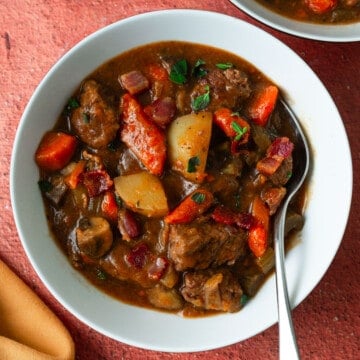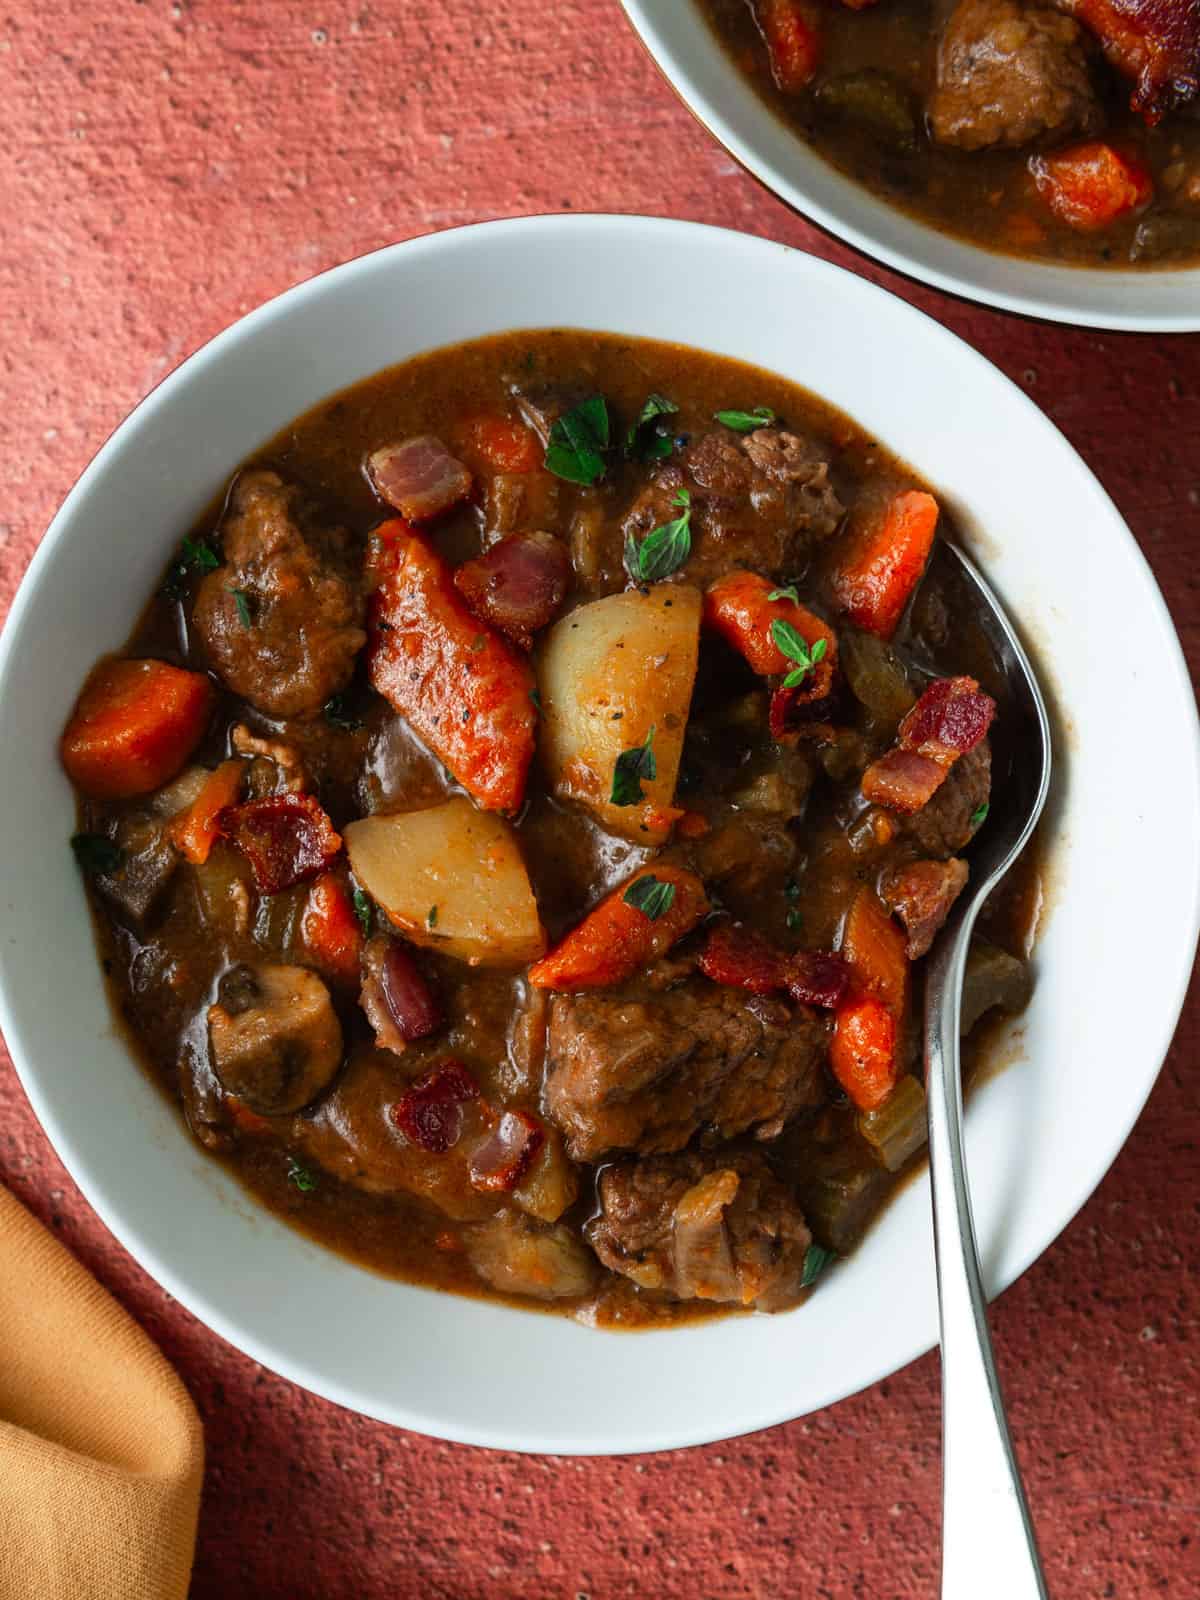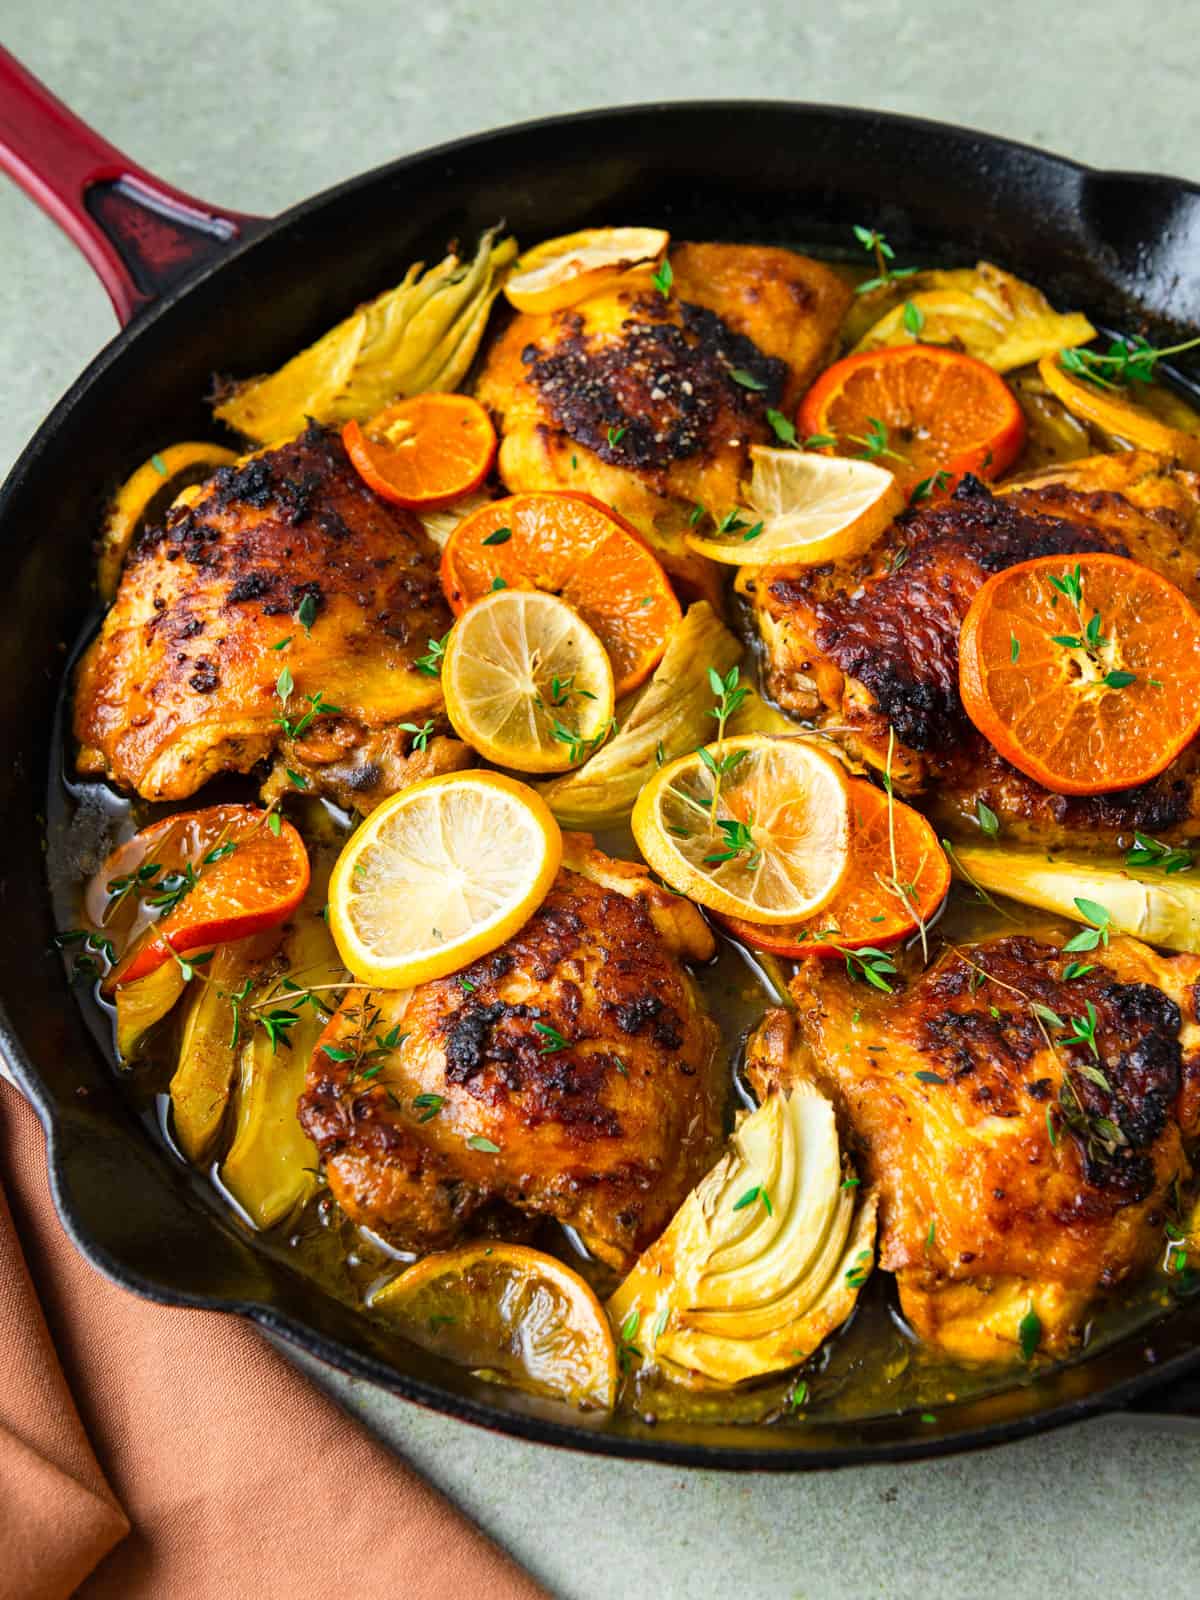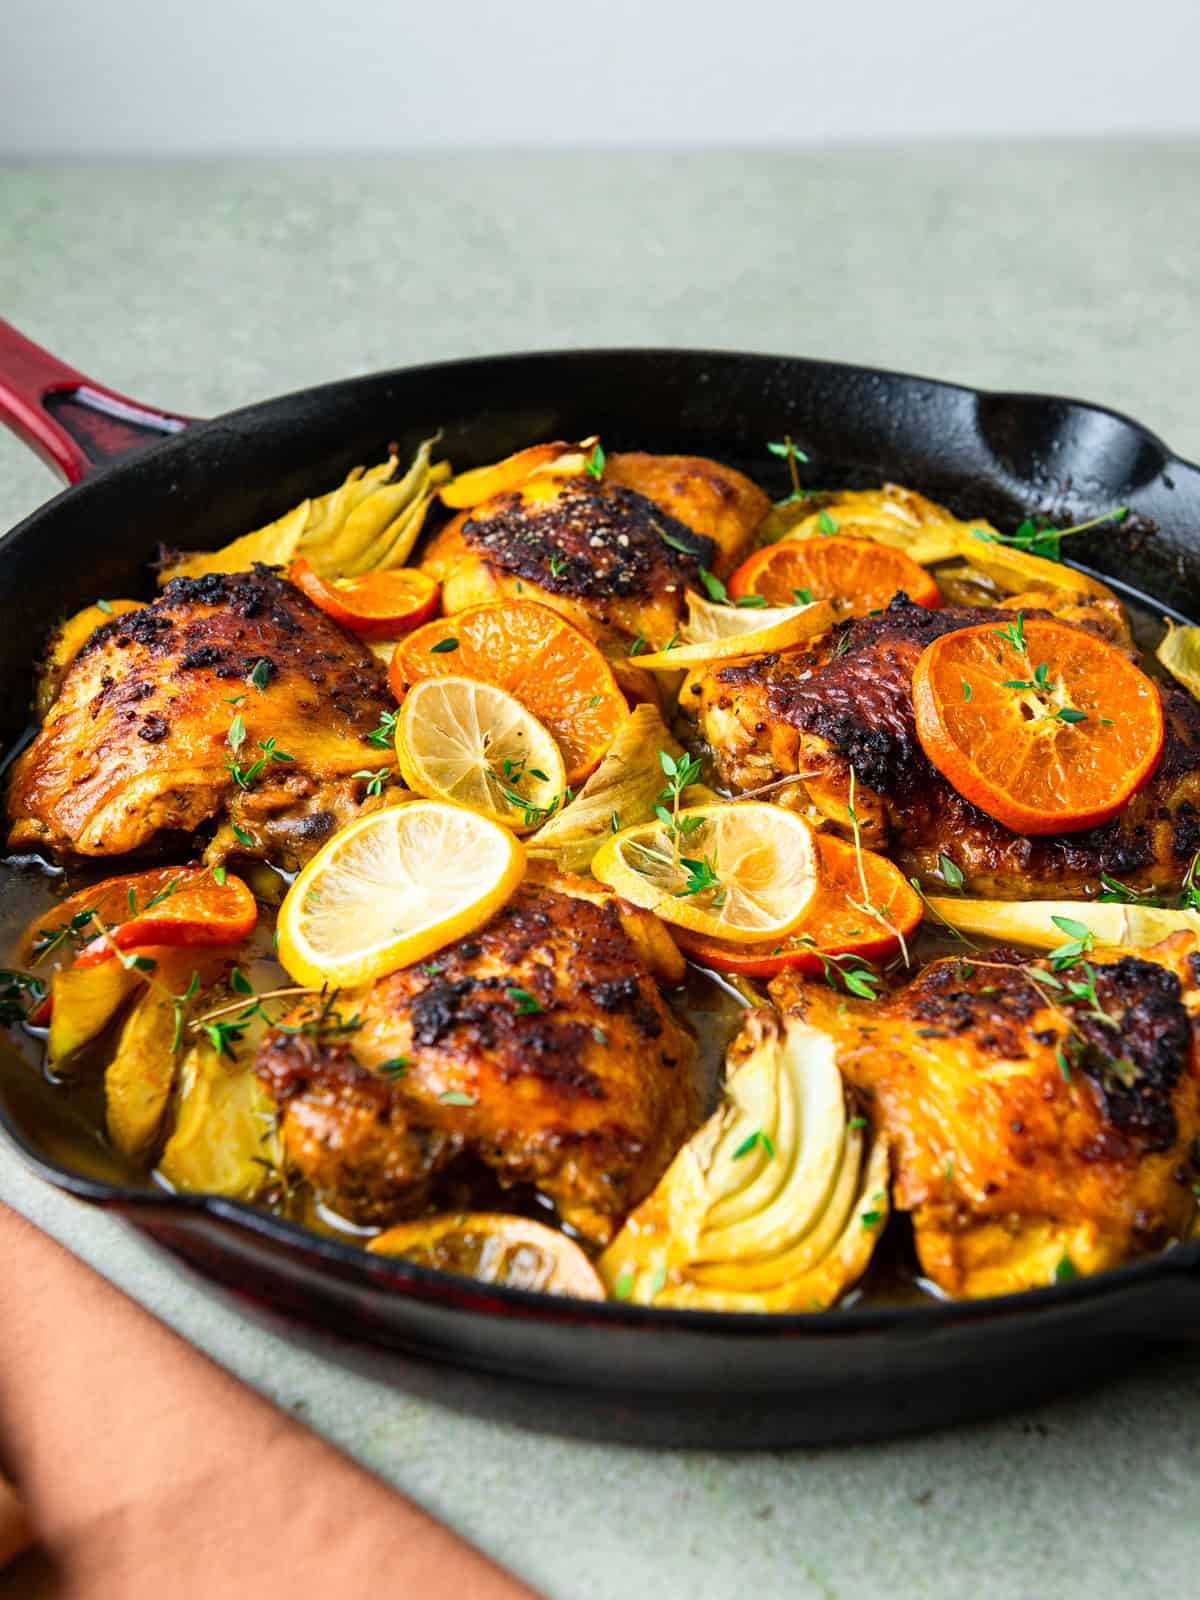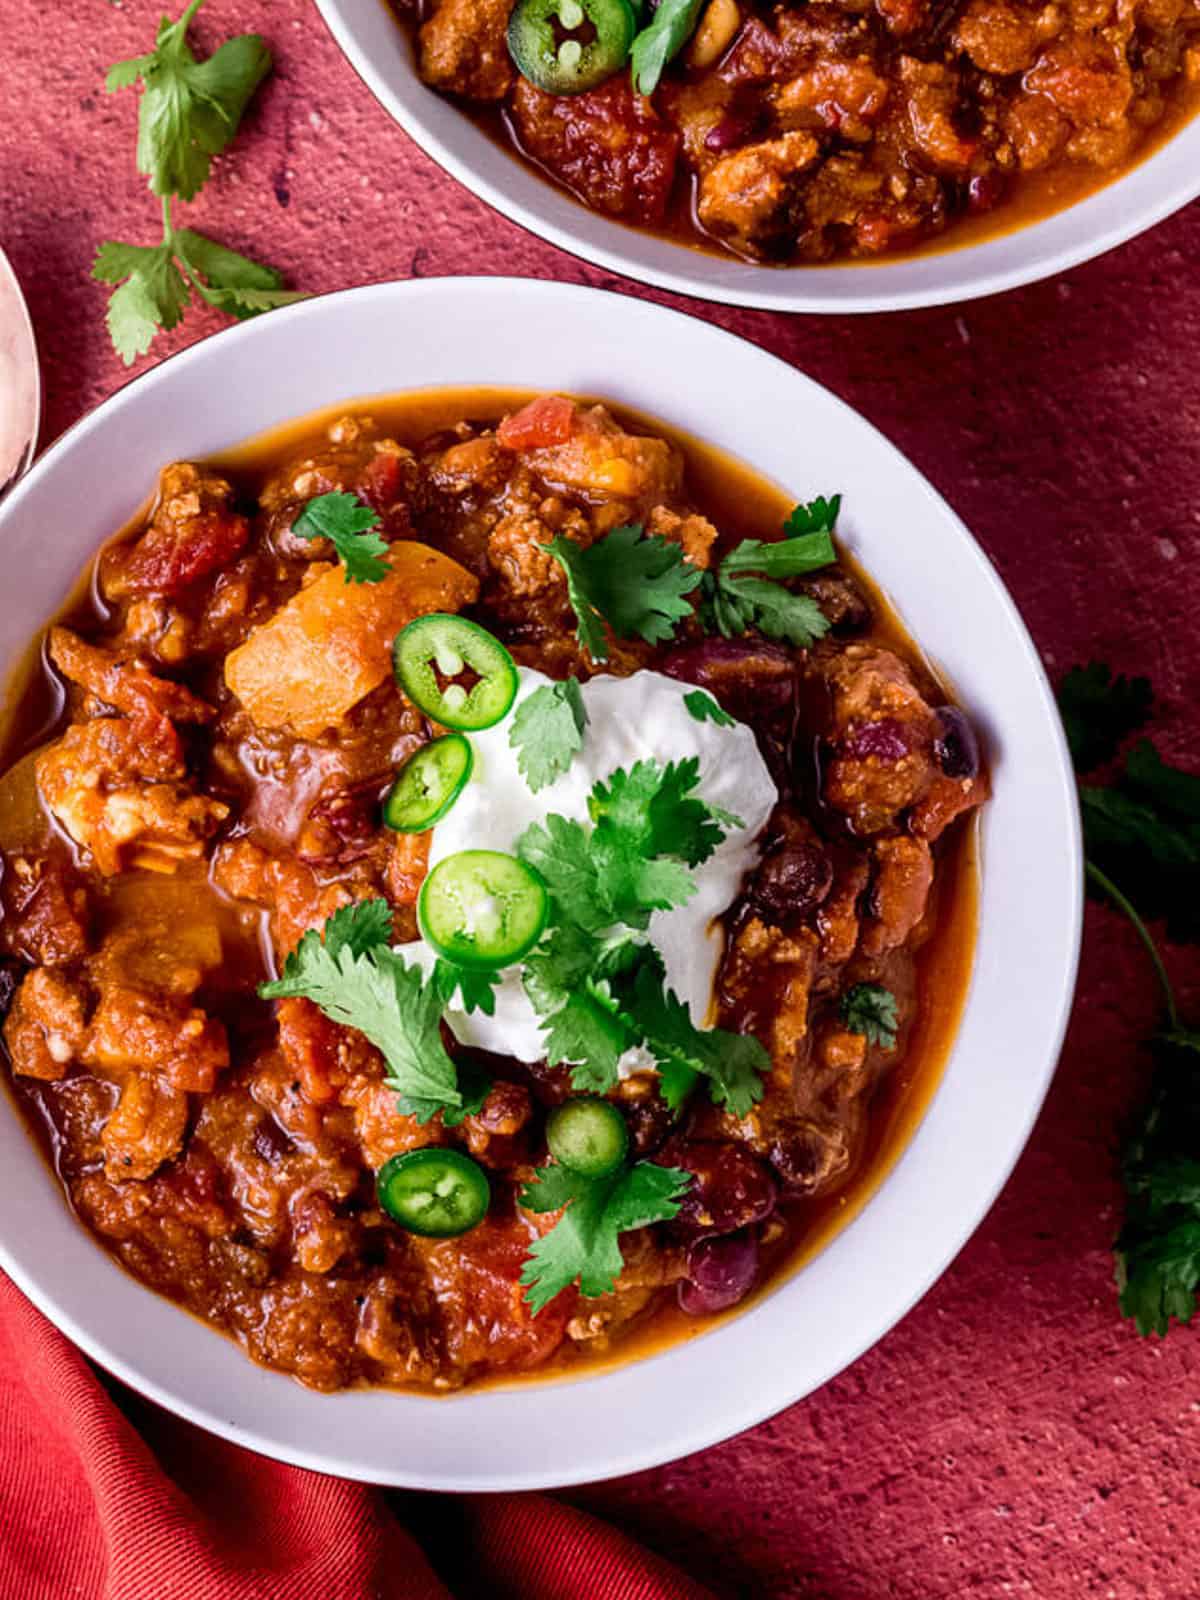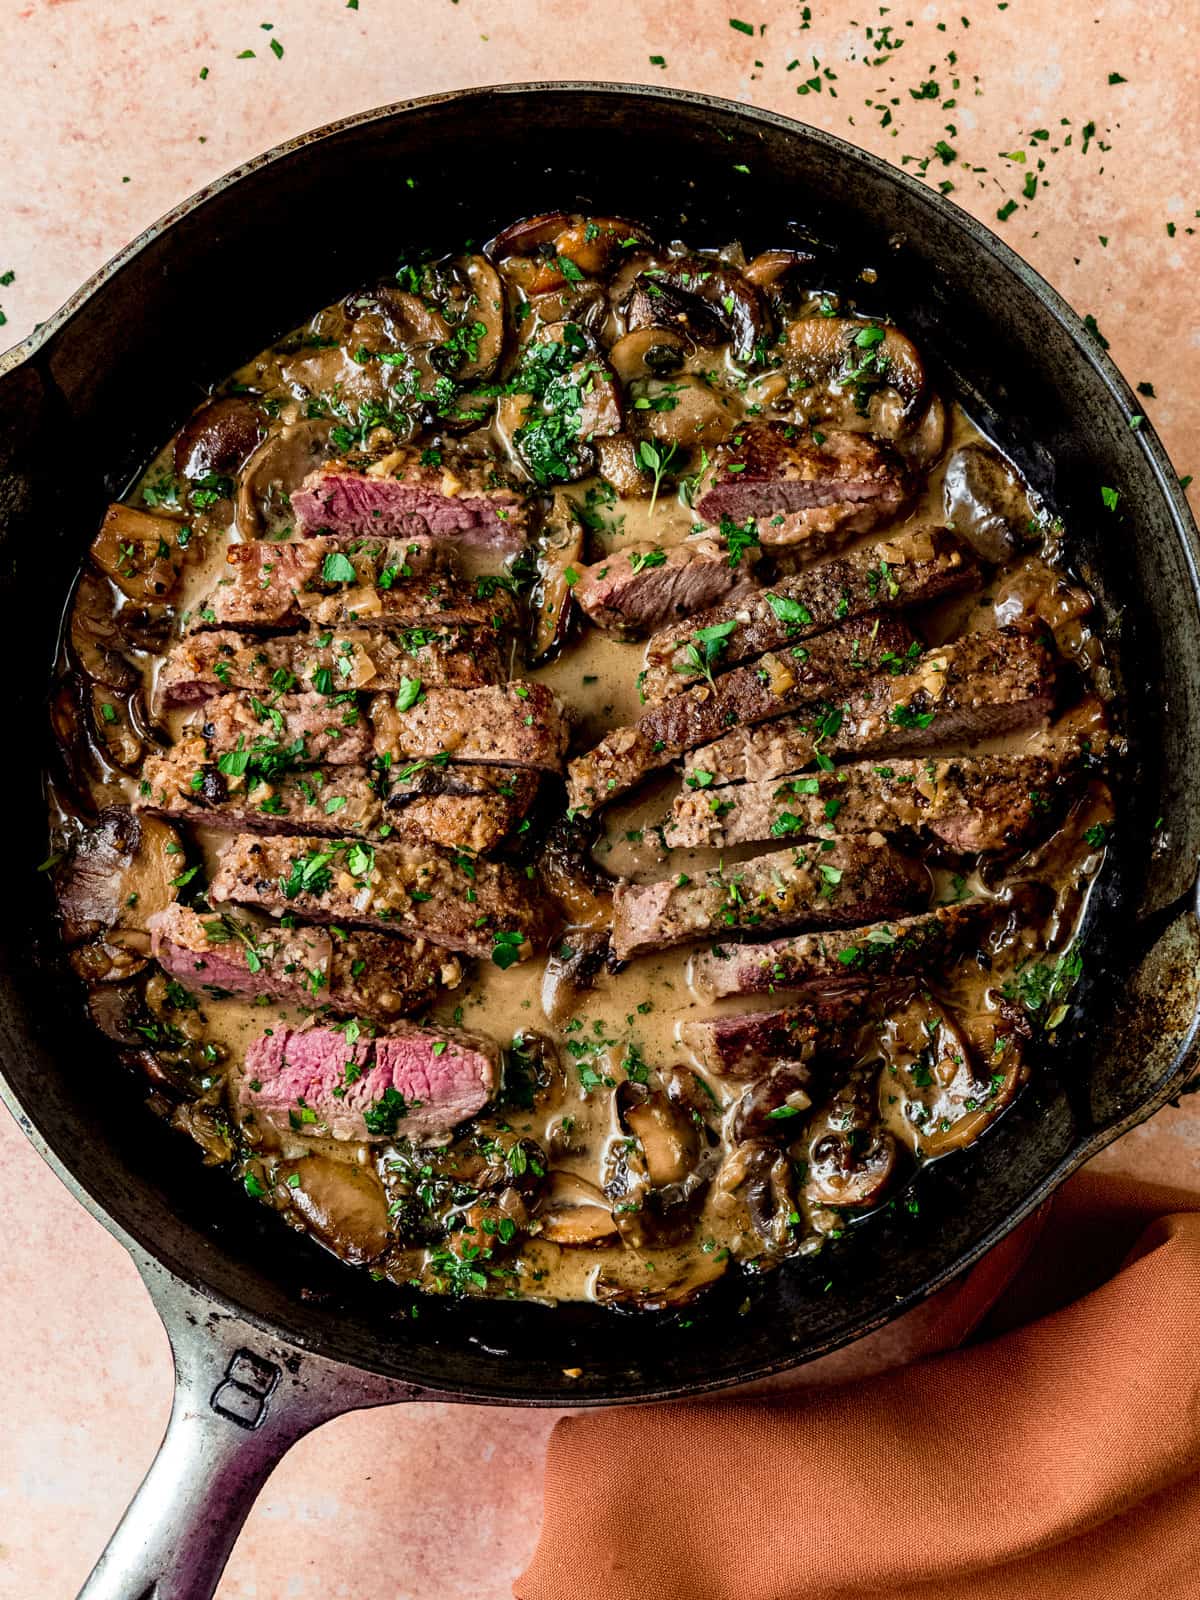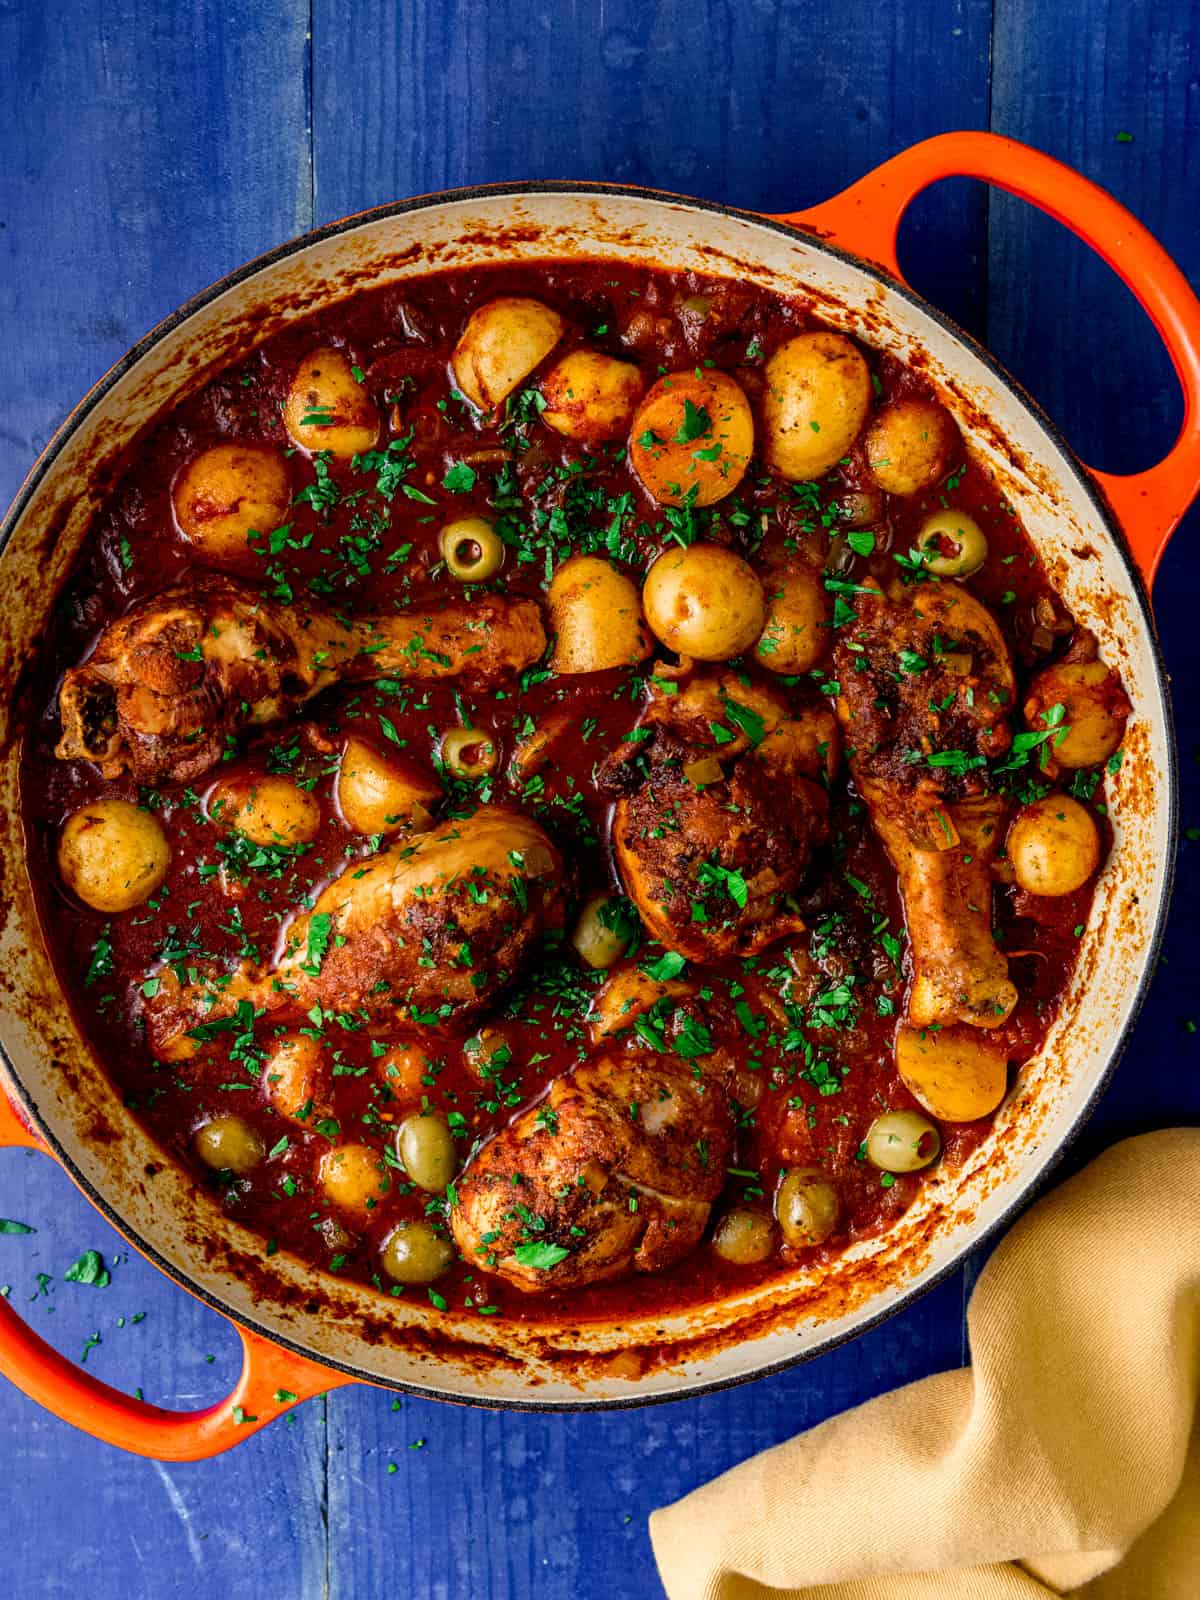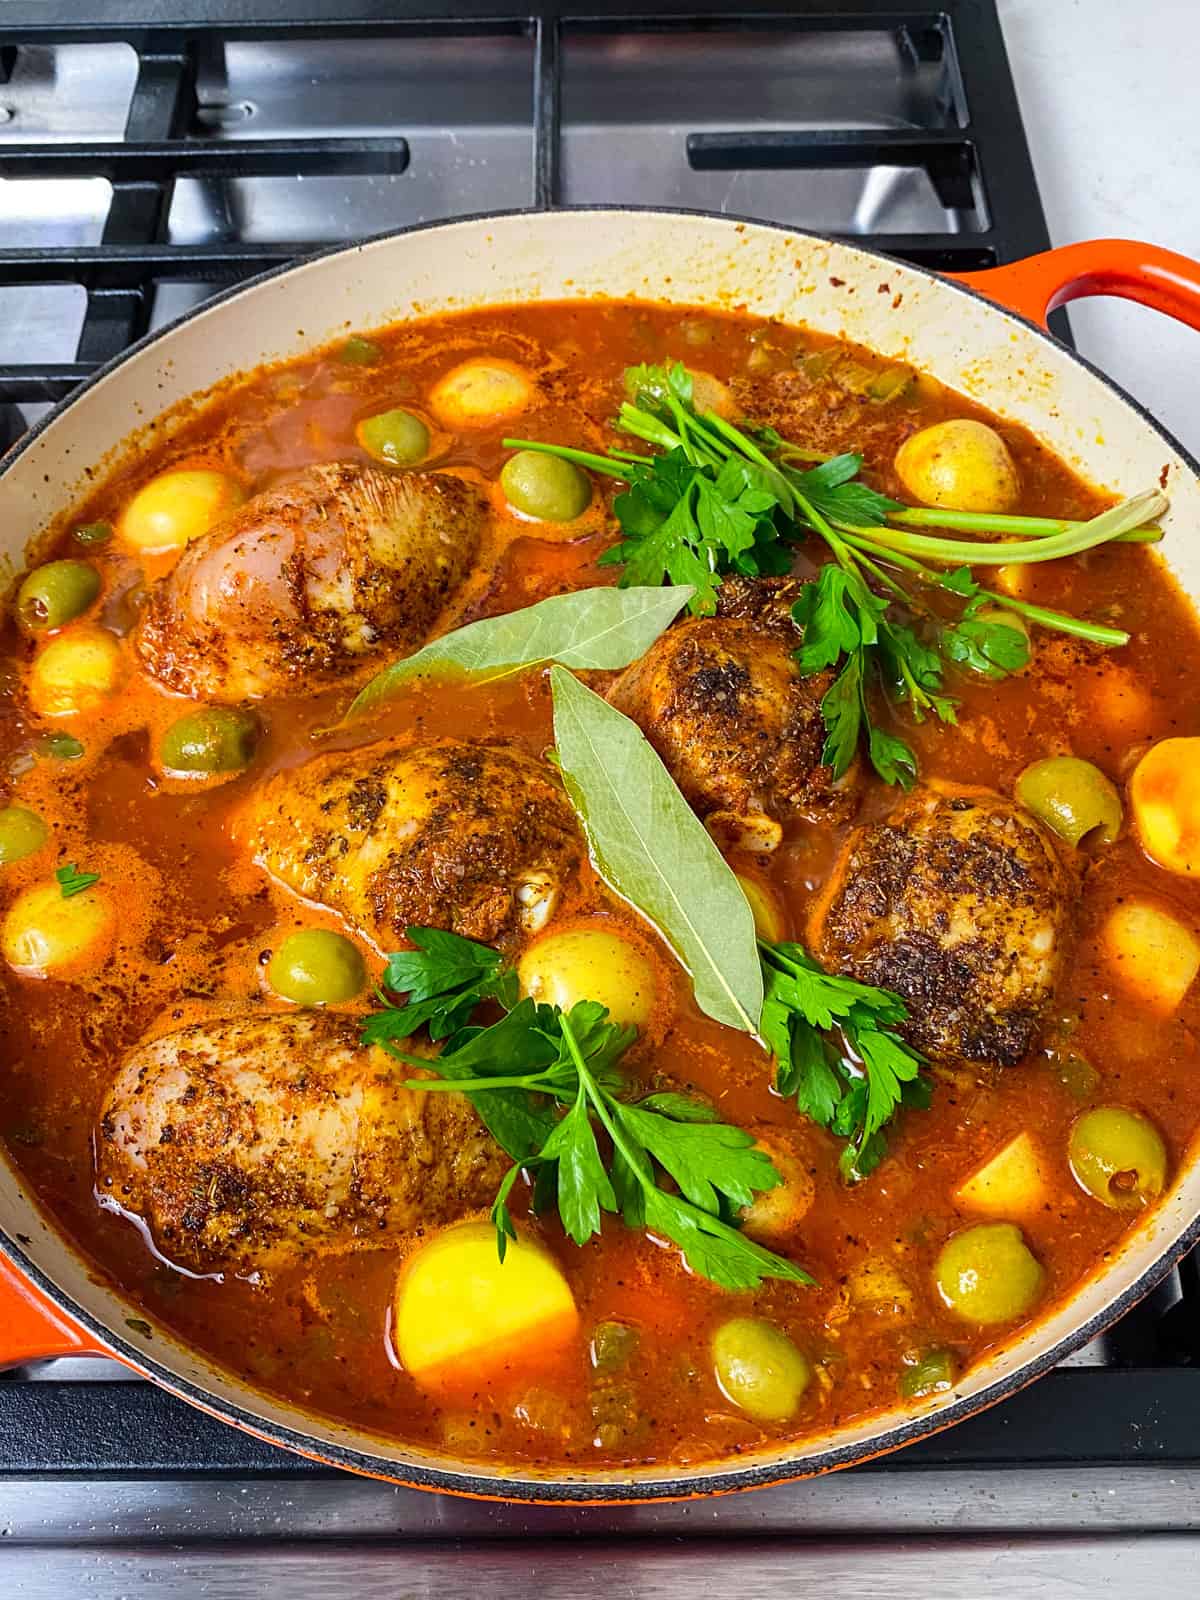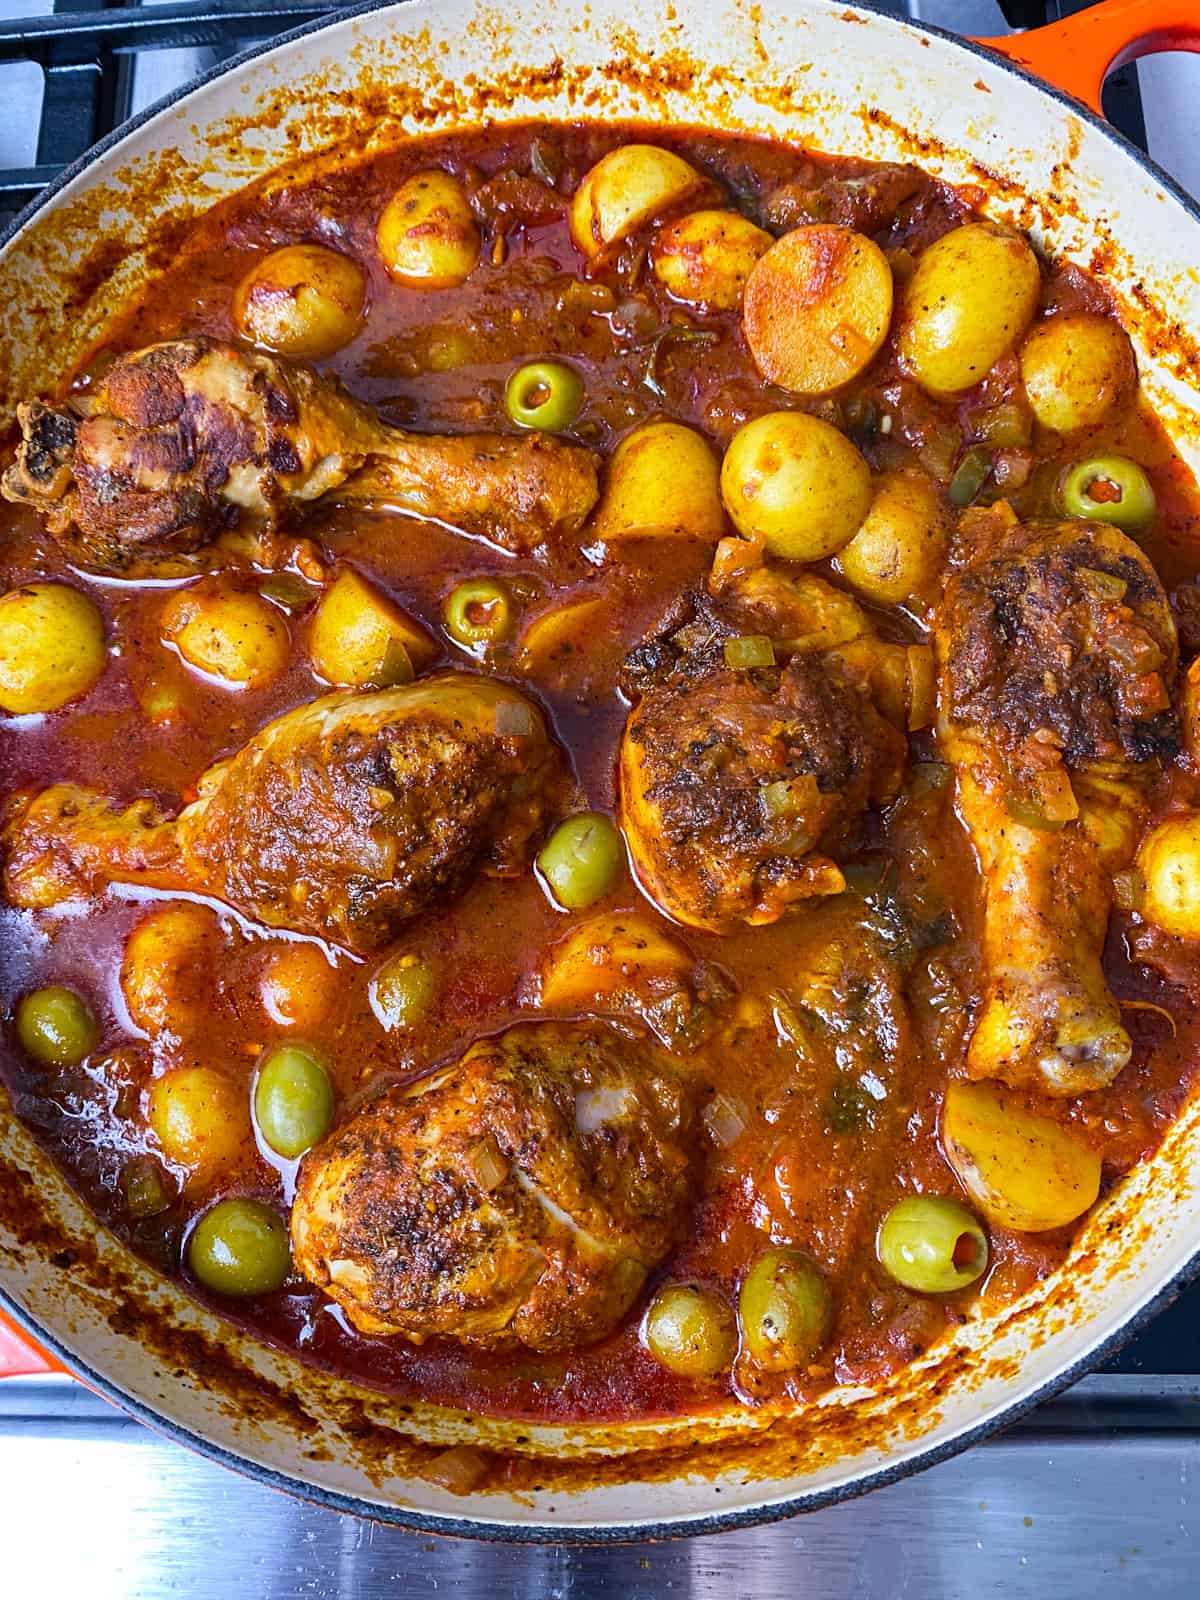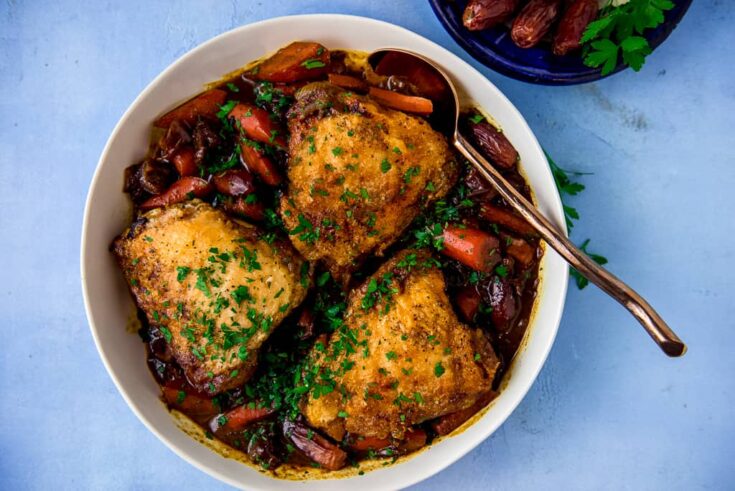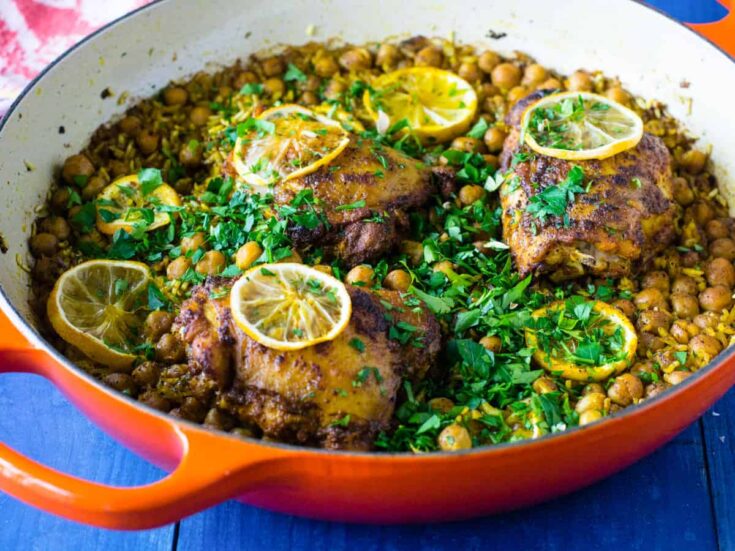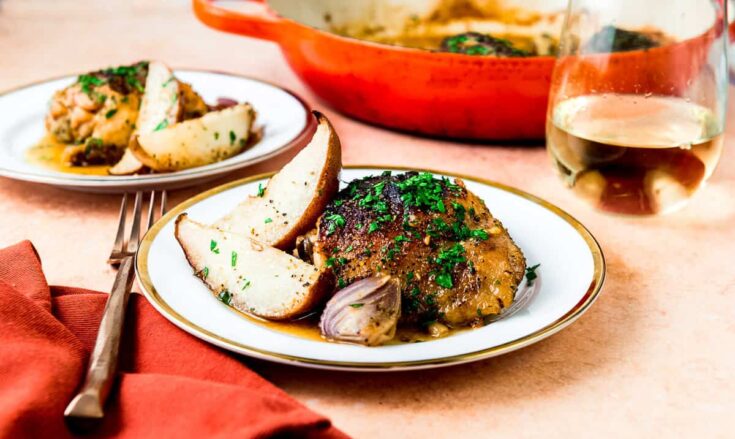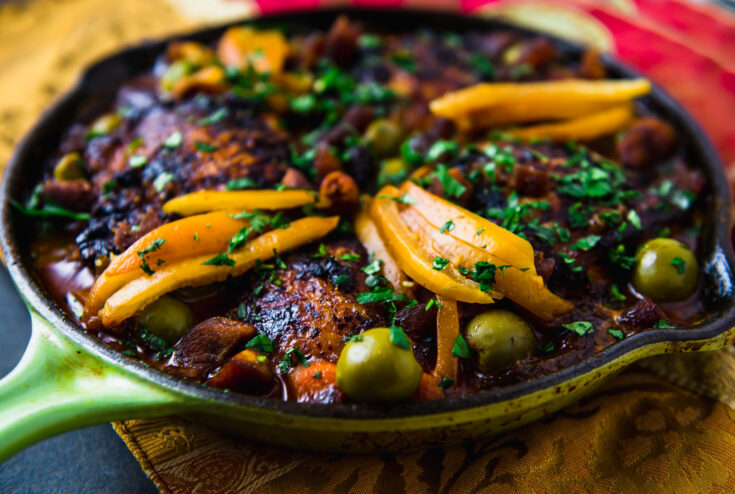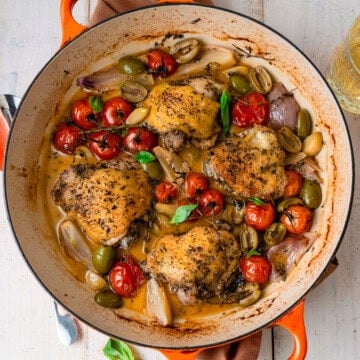
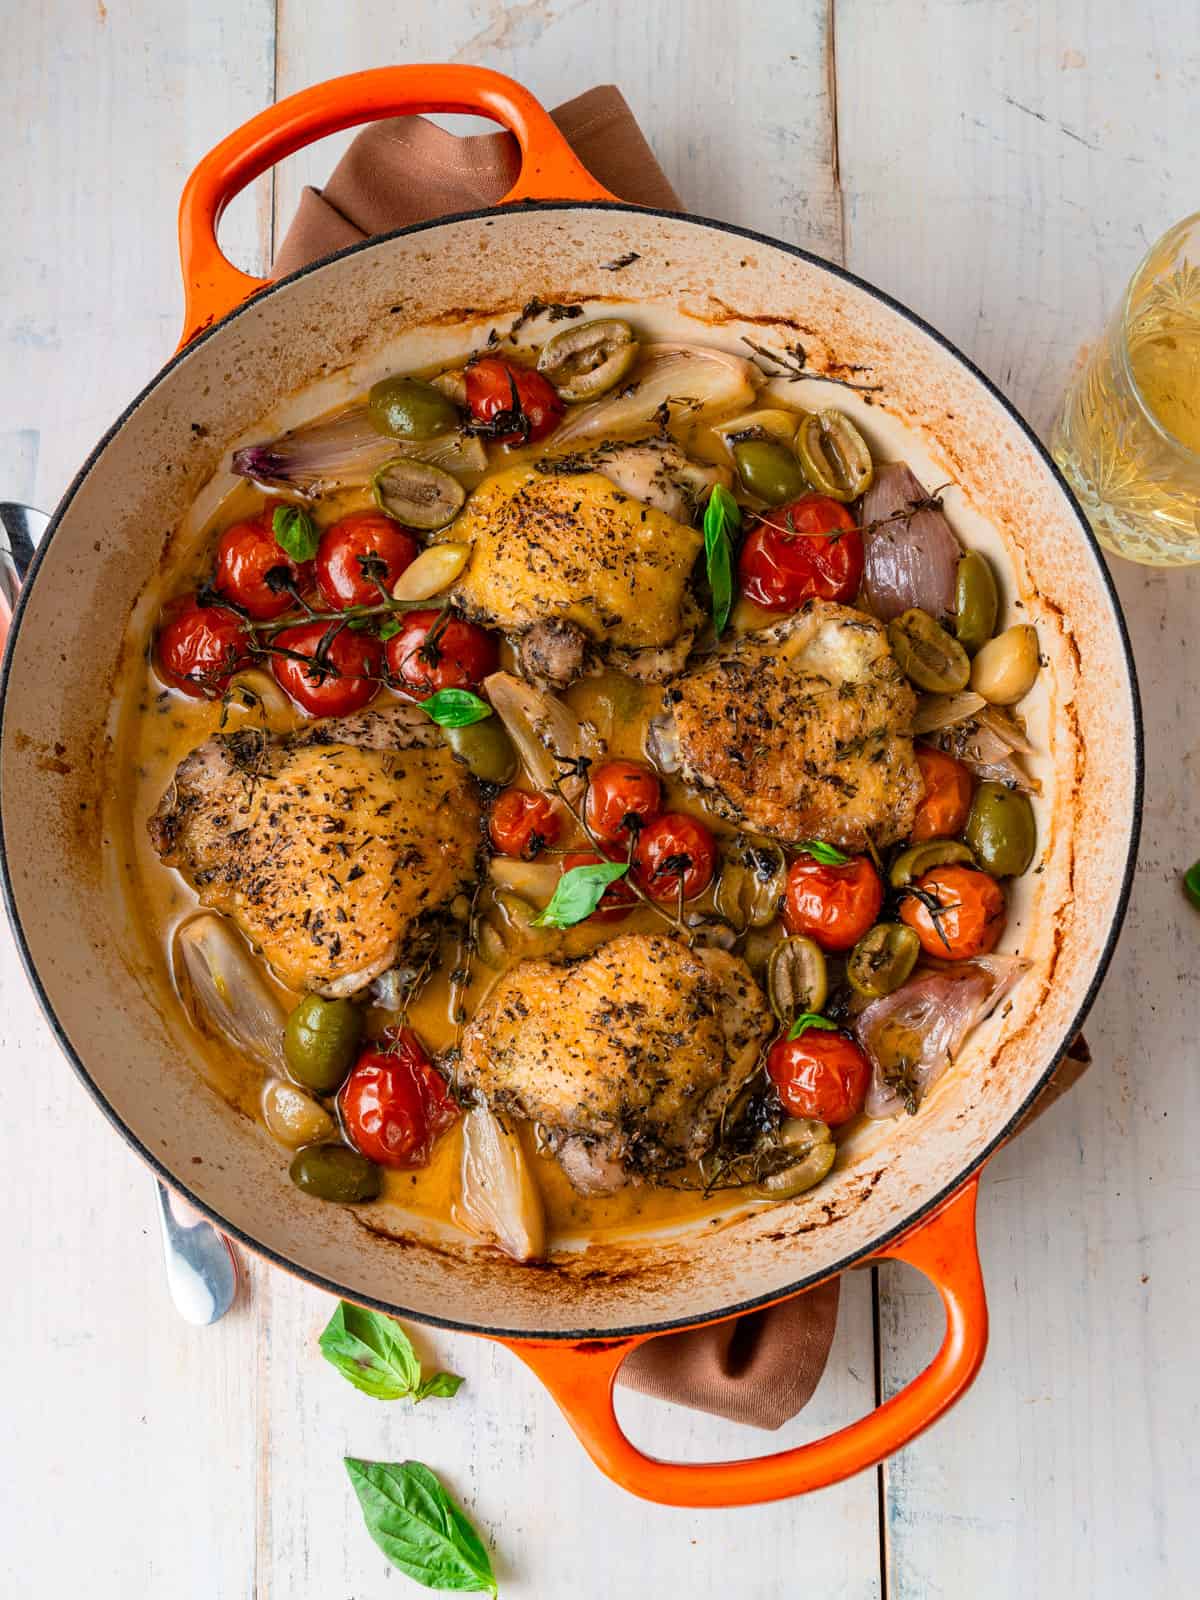
This One Pot Chicken Provencal is a flavorful and comforting chicken dinner with French herbs, sweet cherry tomatoes, shallots, and briny olives. Ready in nearly 35 minutes with minimal cleanup using only one pot!

About This Recipe
This One Pot Chicken Provencal is inspired by southern French cuisine, specifically from the region of Provence. The name comes from the spice blend used to rub the chicken thighs, "Herbes de Provence".
The French herb mixture is quite fragrant and includes dried rosemary, thyme, marjoram and lavender. Even with the bold flavors, the herb blend is incredibly versatile and can be used with roasting vegetables or for jazzing up Chicken Saltinbocca.
If you want more easy Mediterranean recipes like this one, make sure to check out my cookbook: One-Pot Mediterranean.
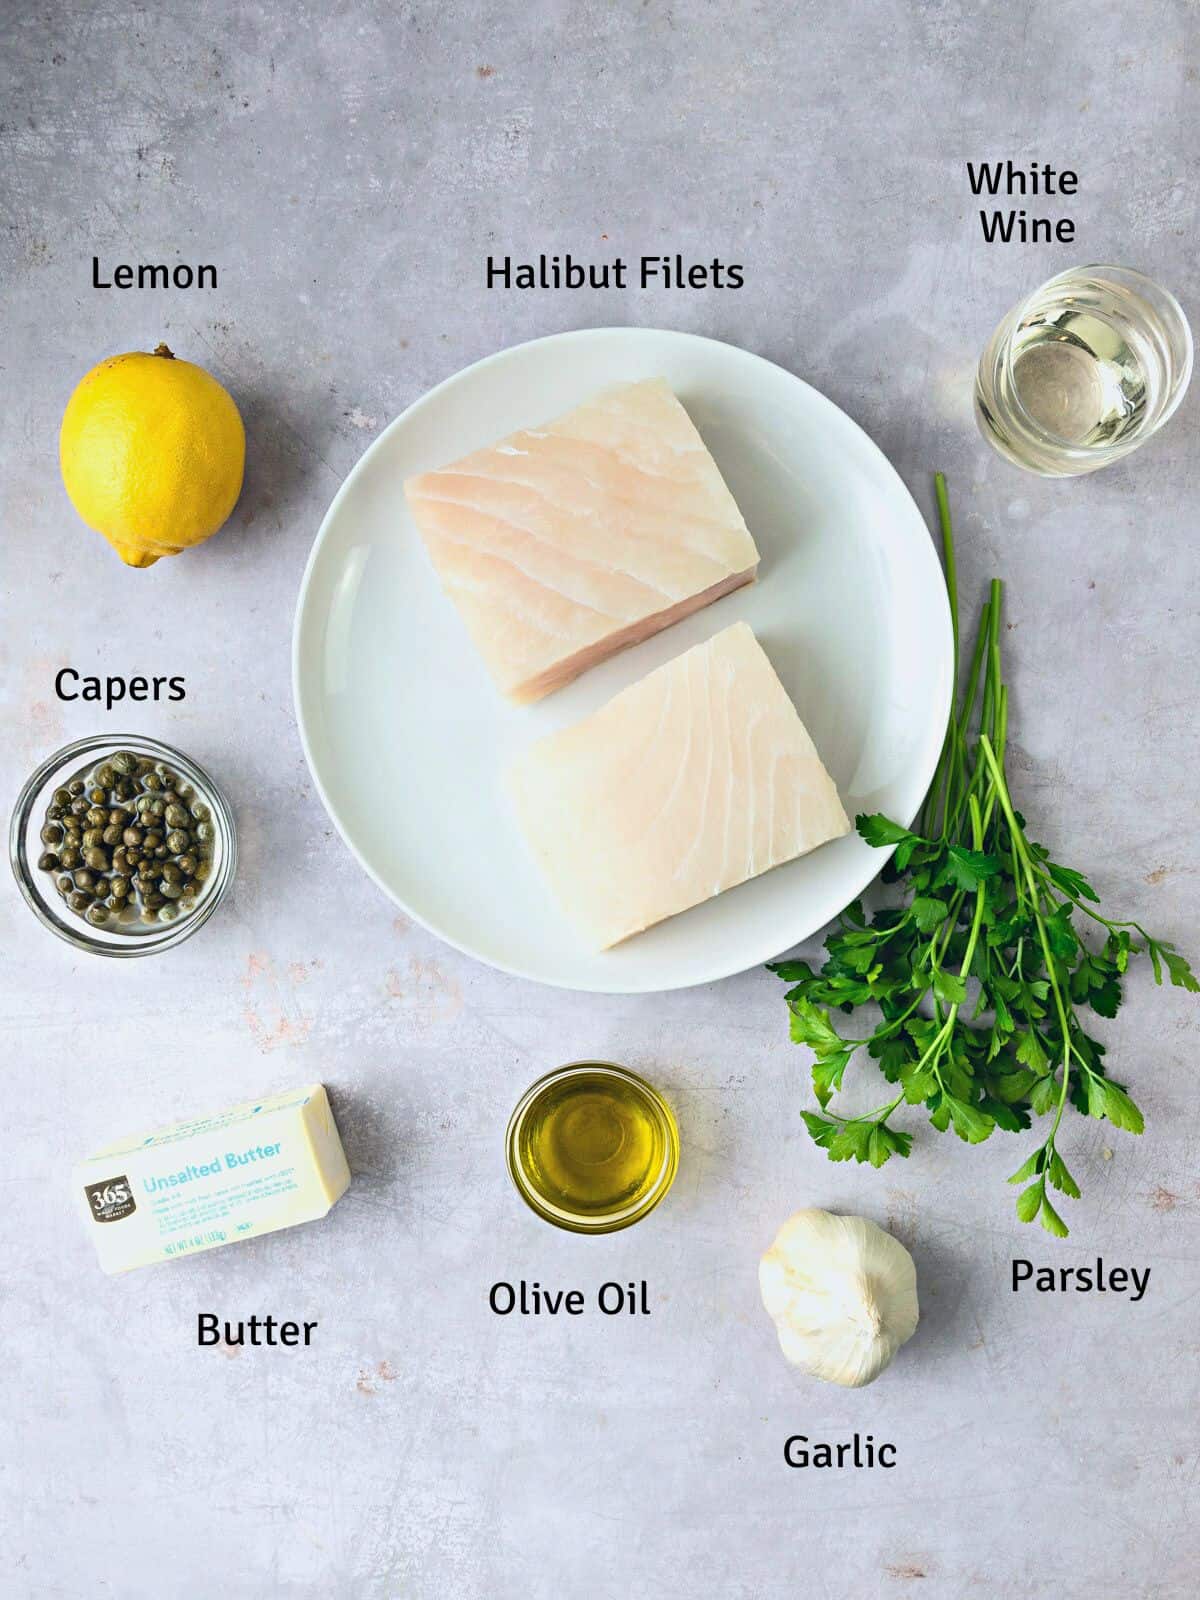
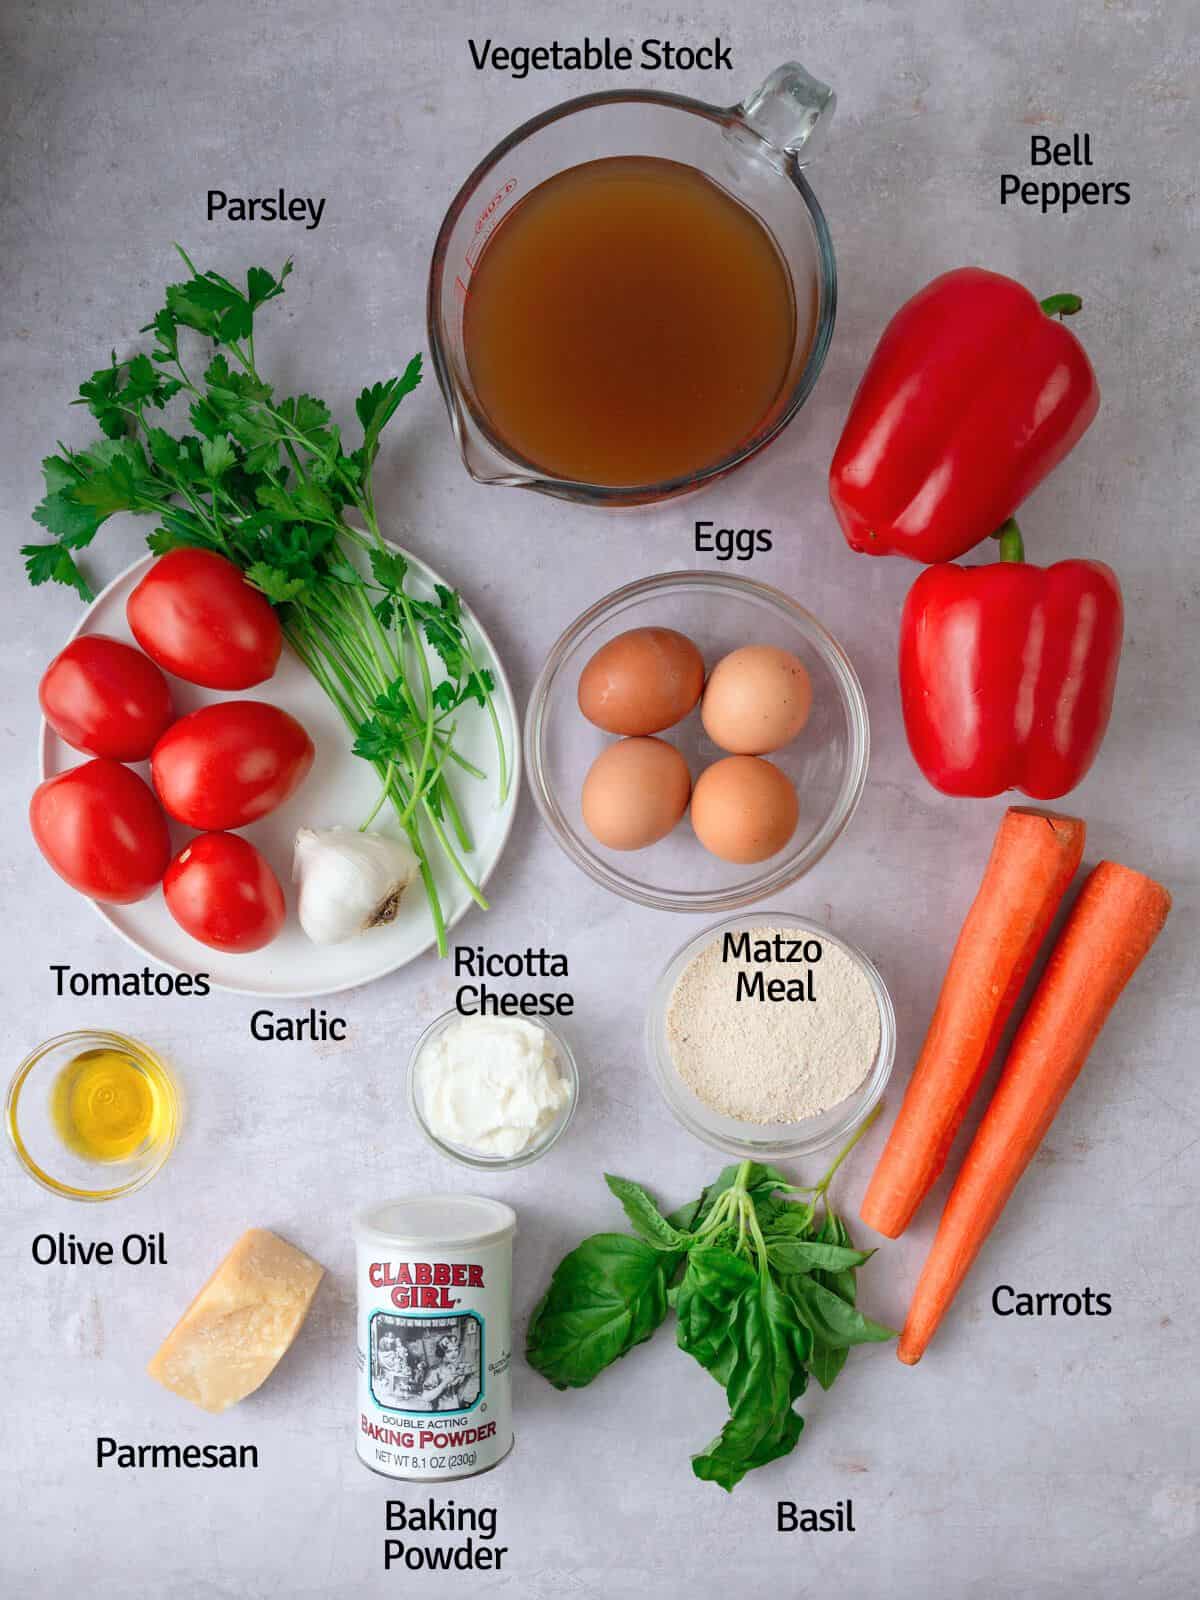
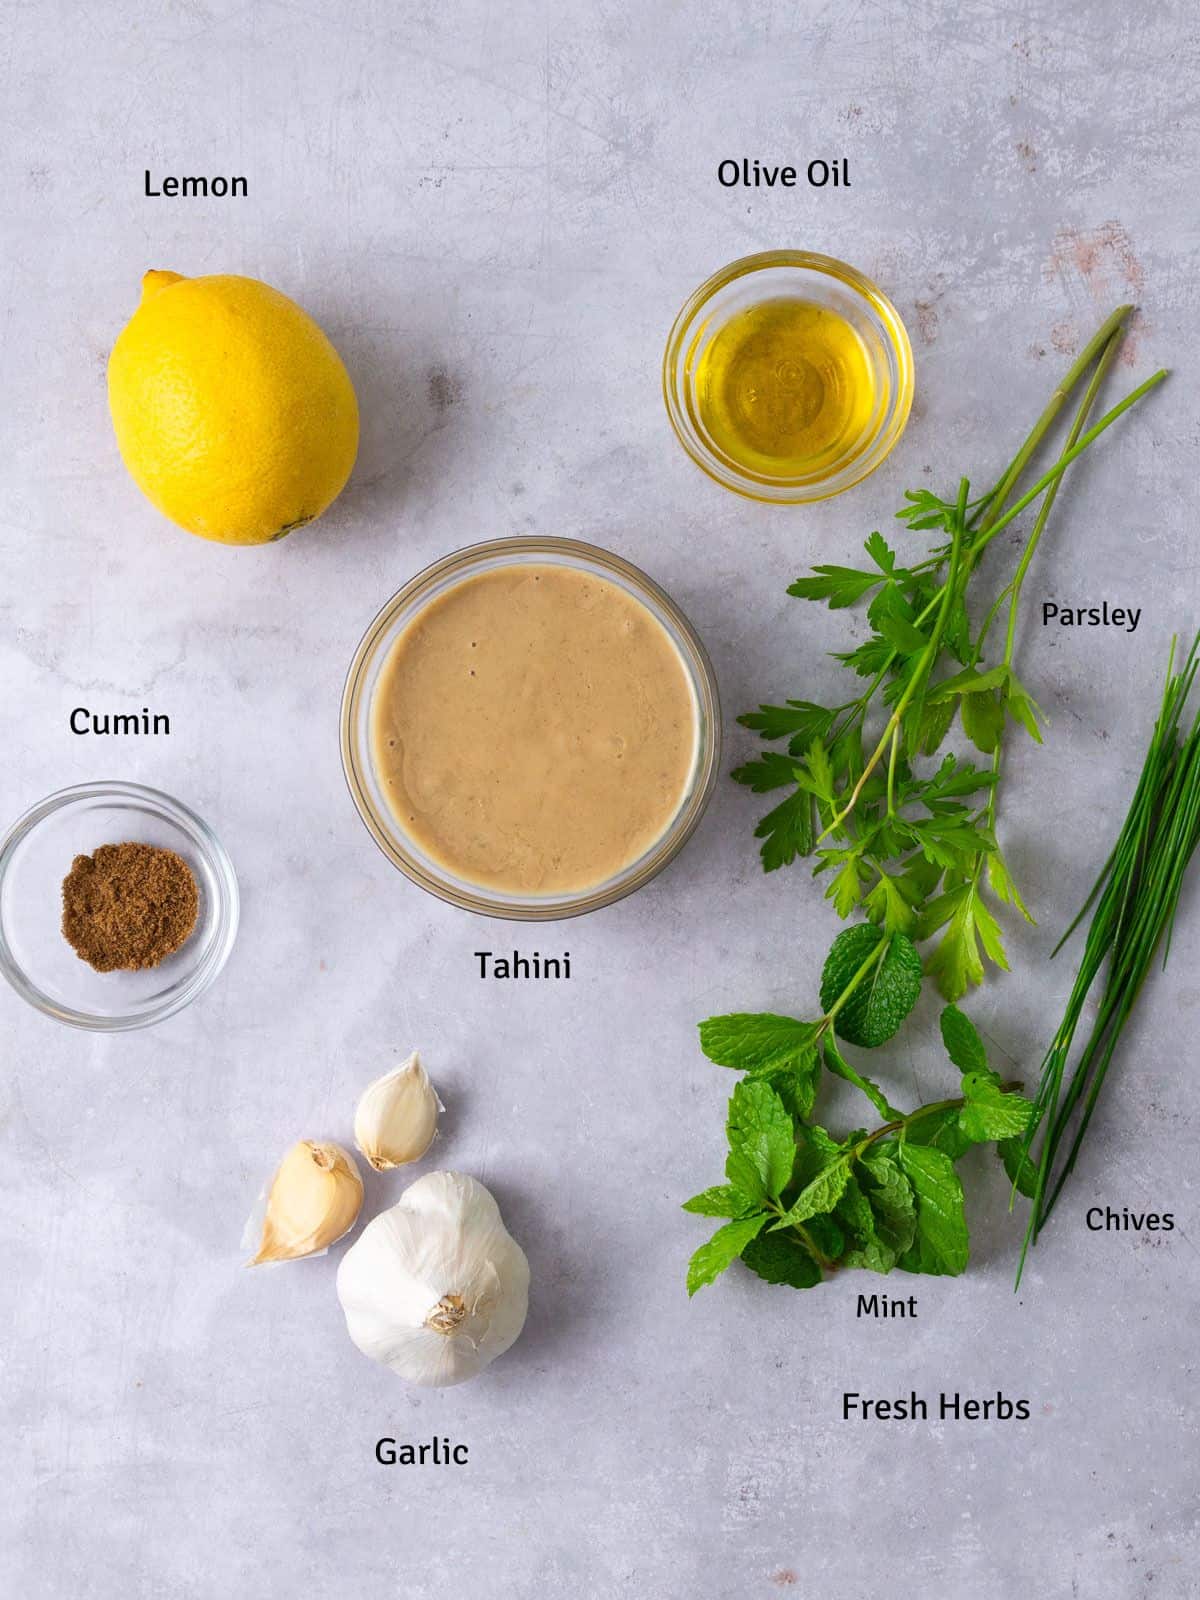
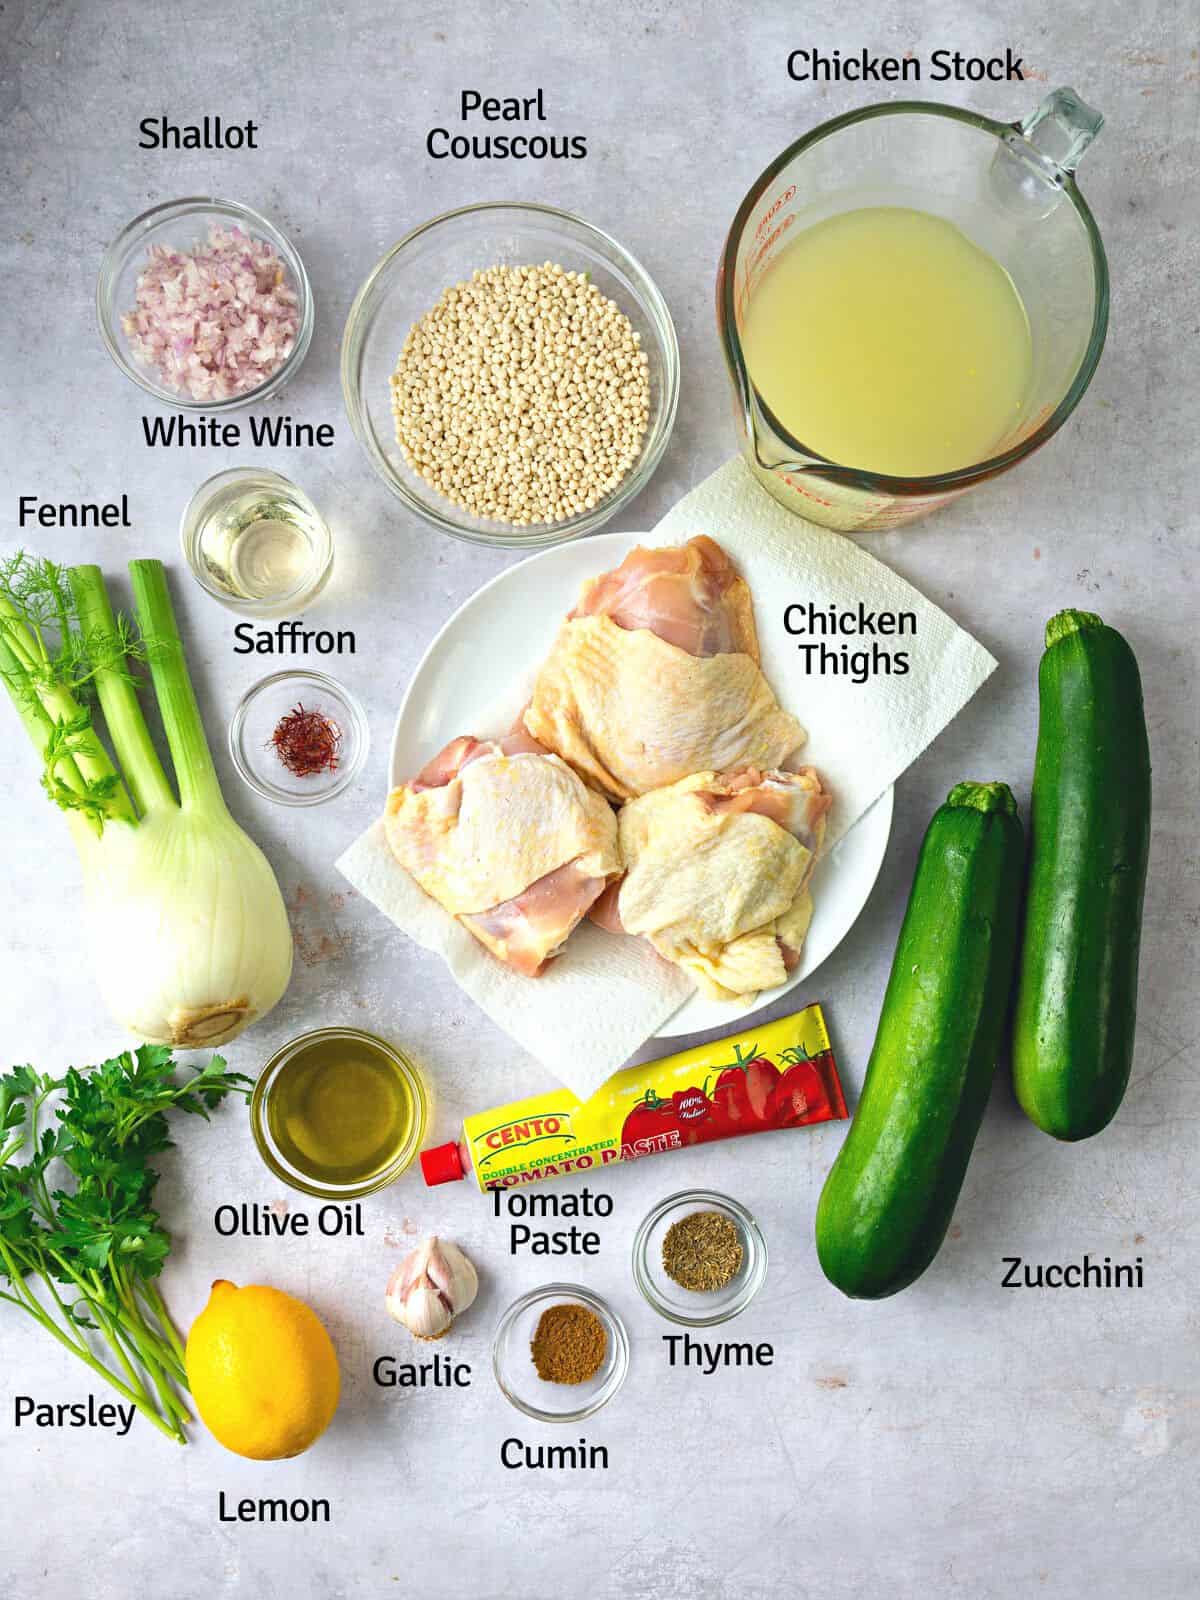
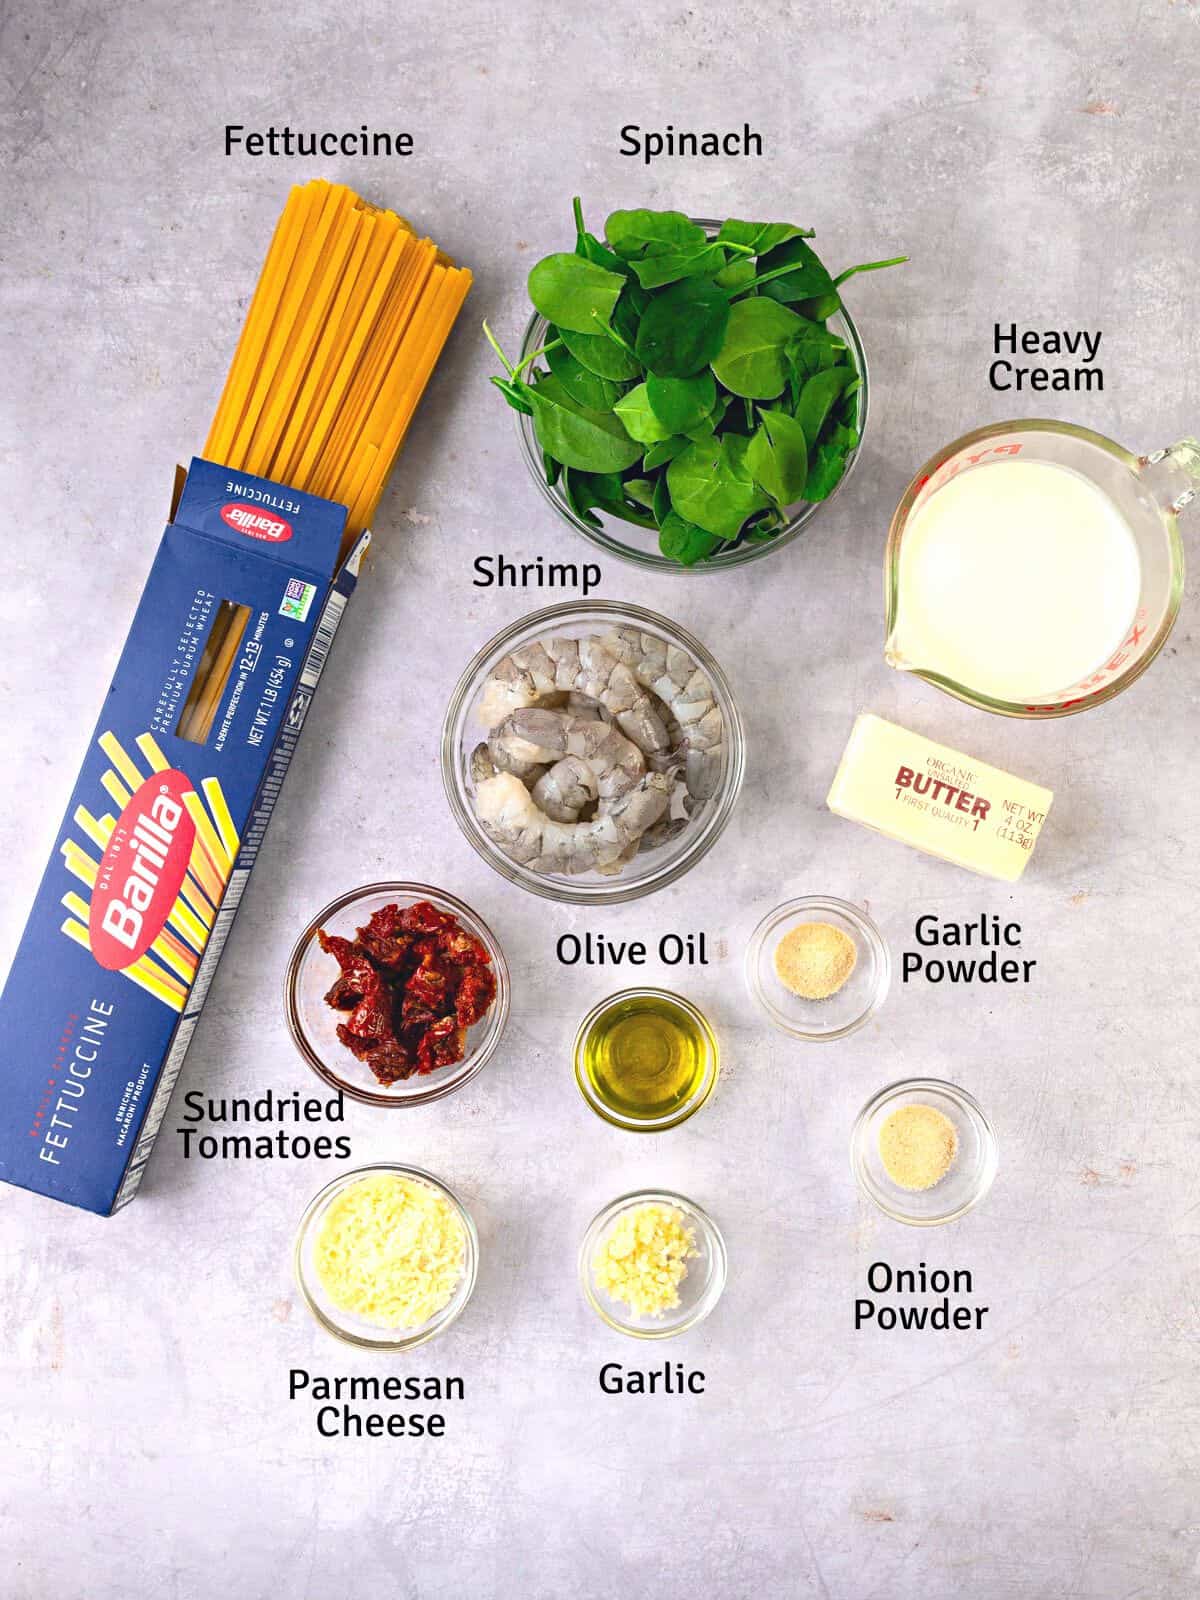
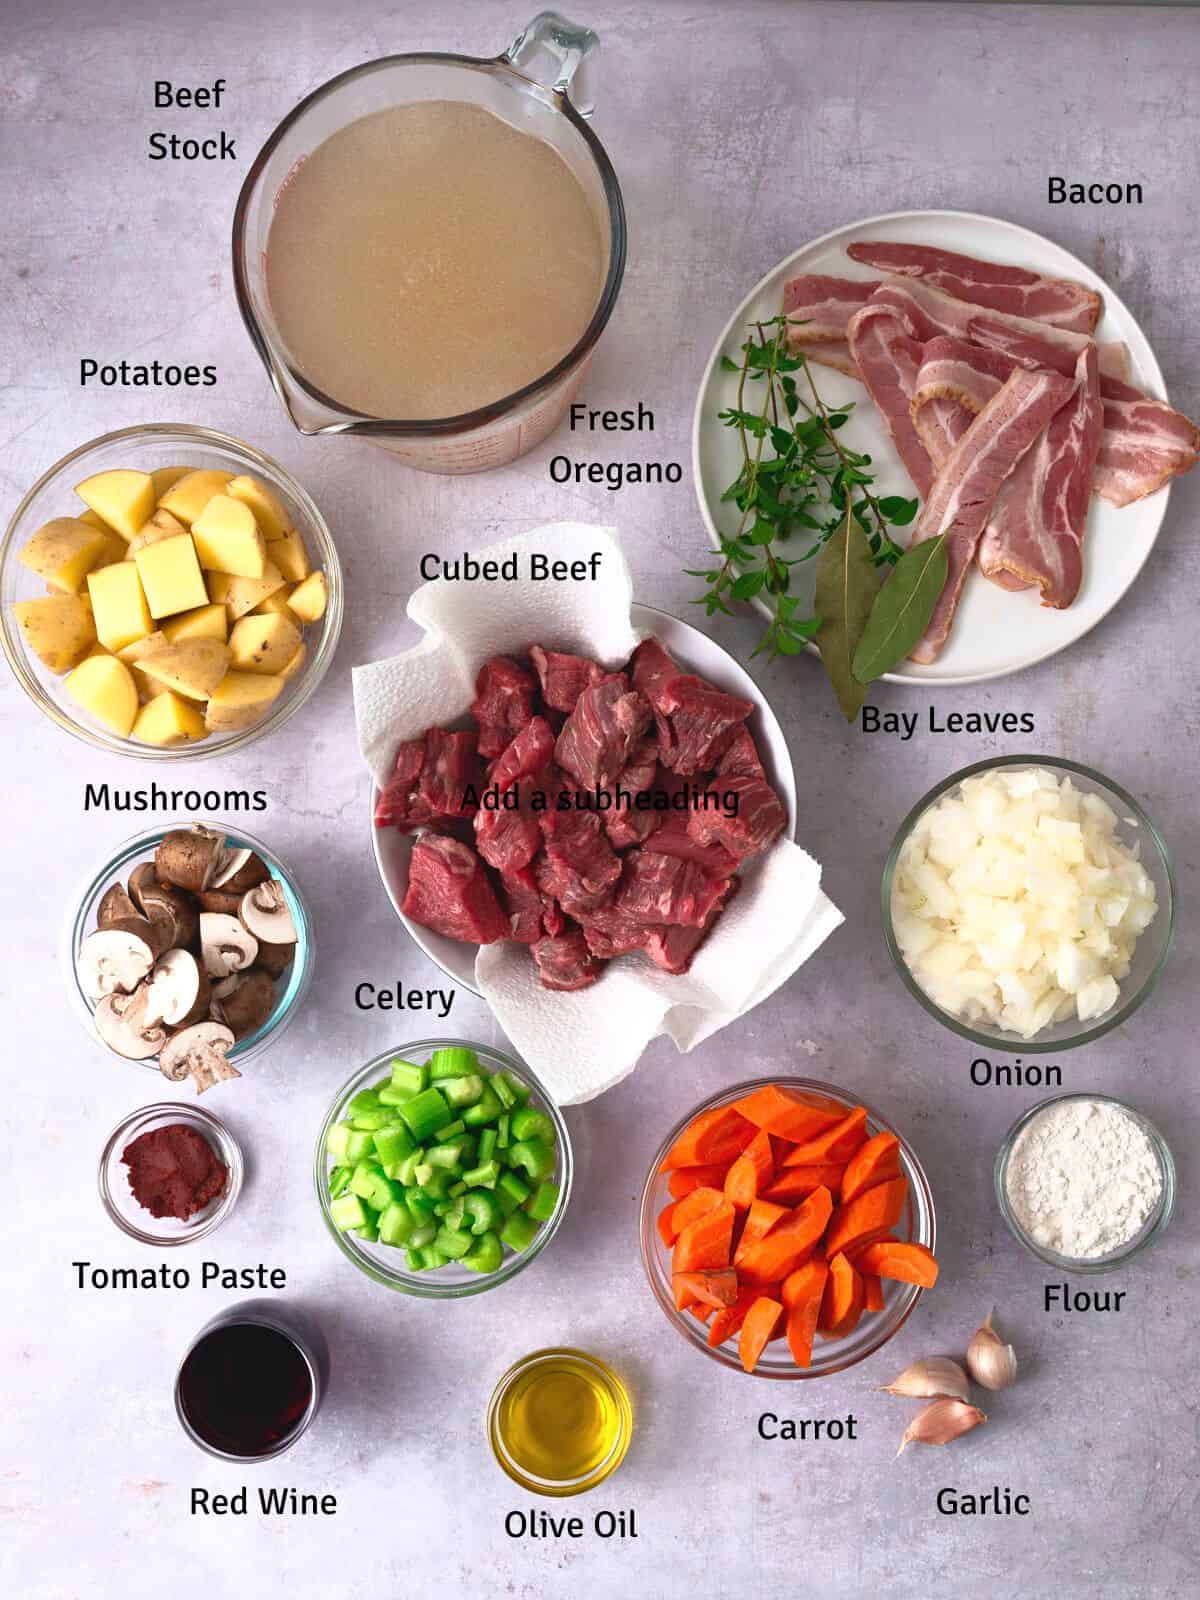
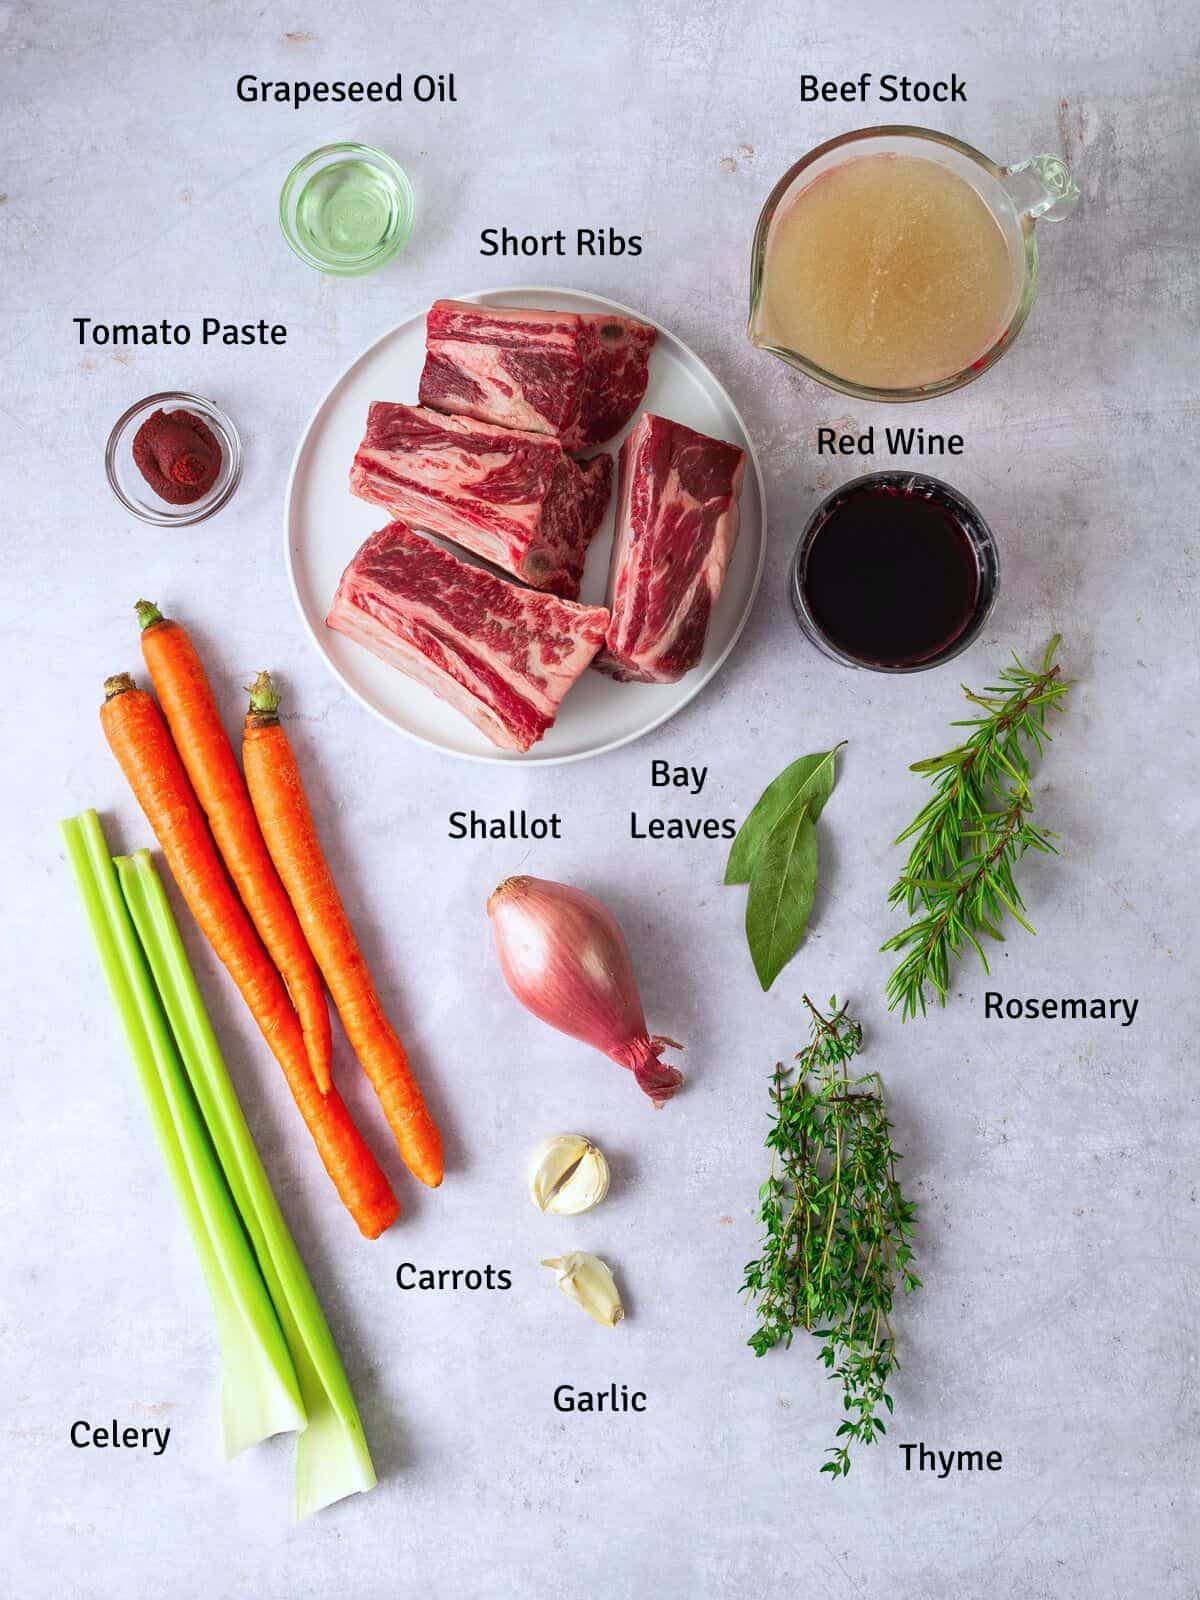
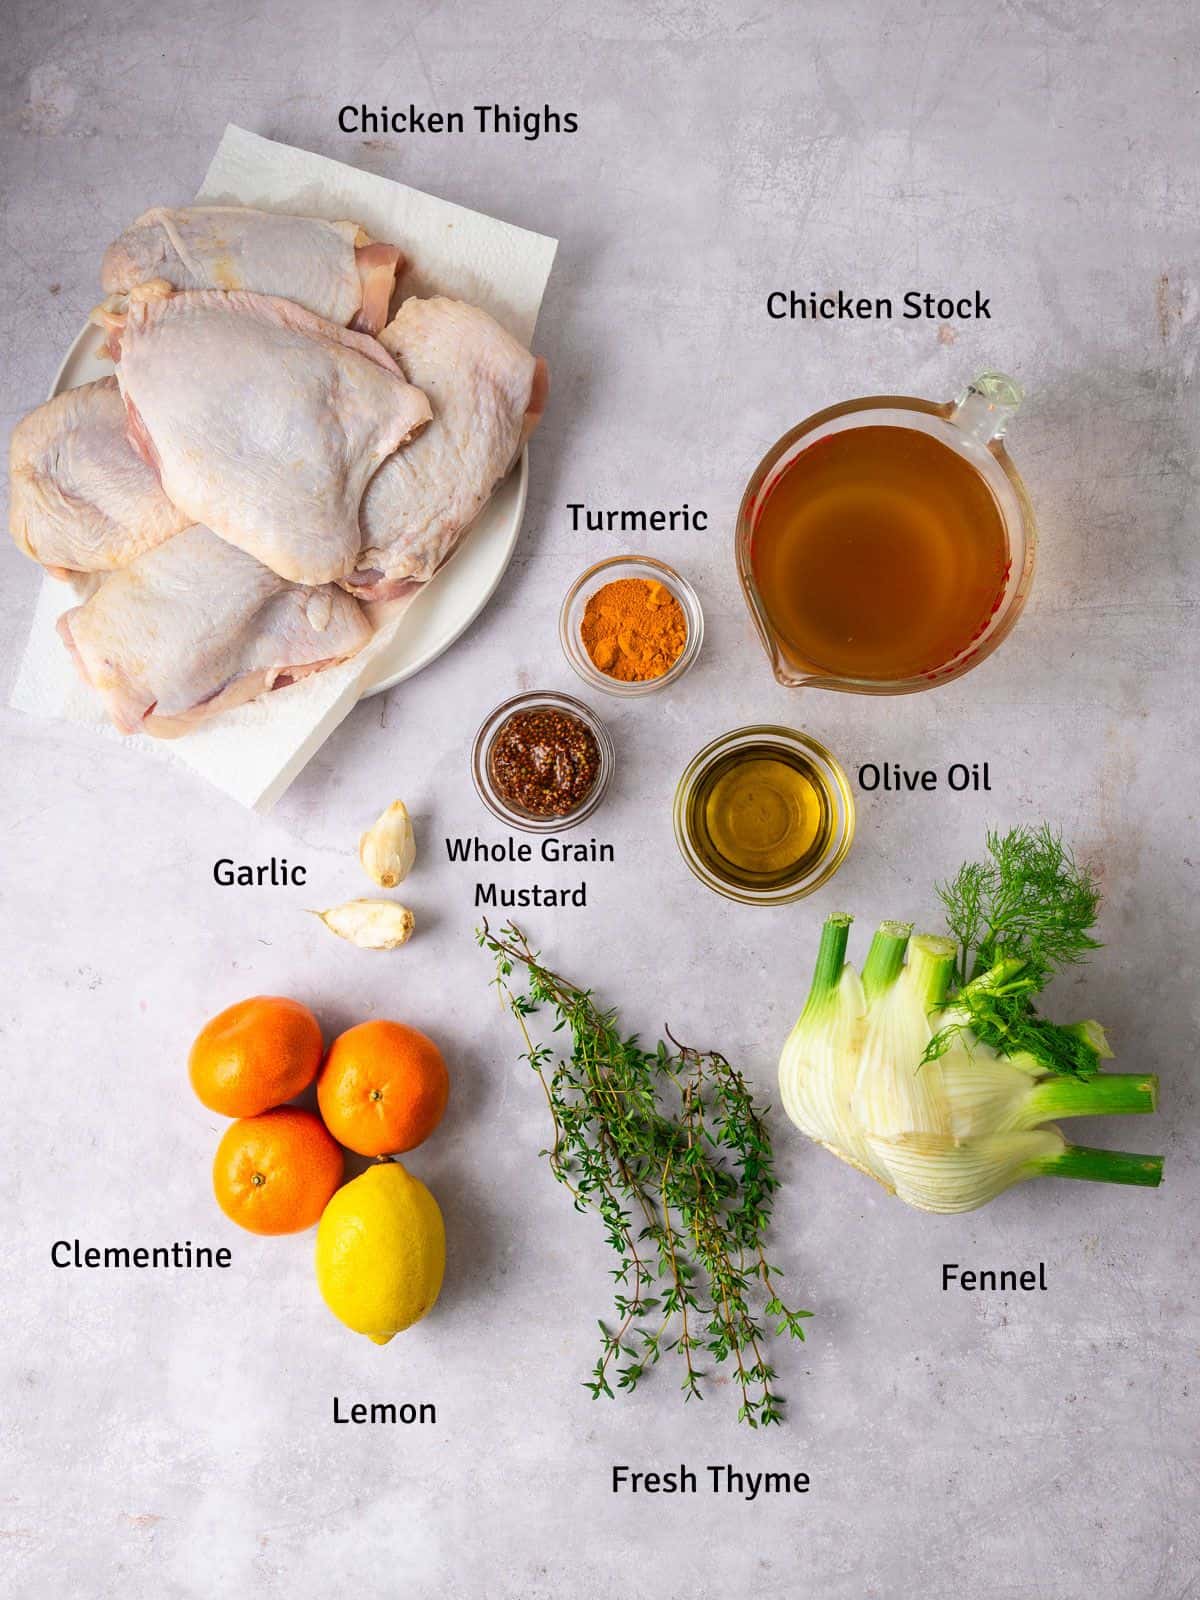
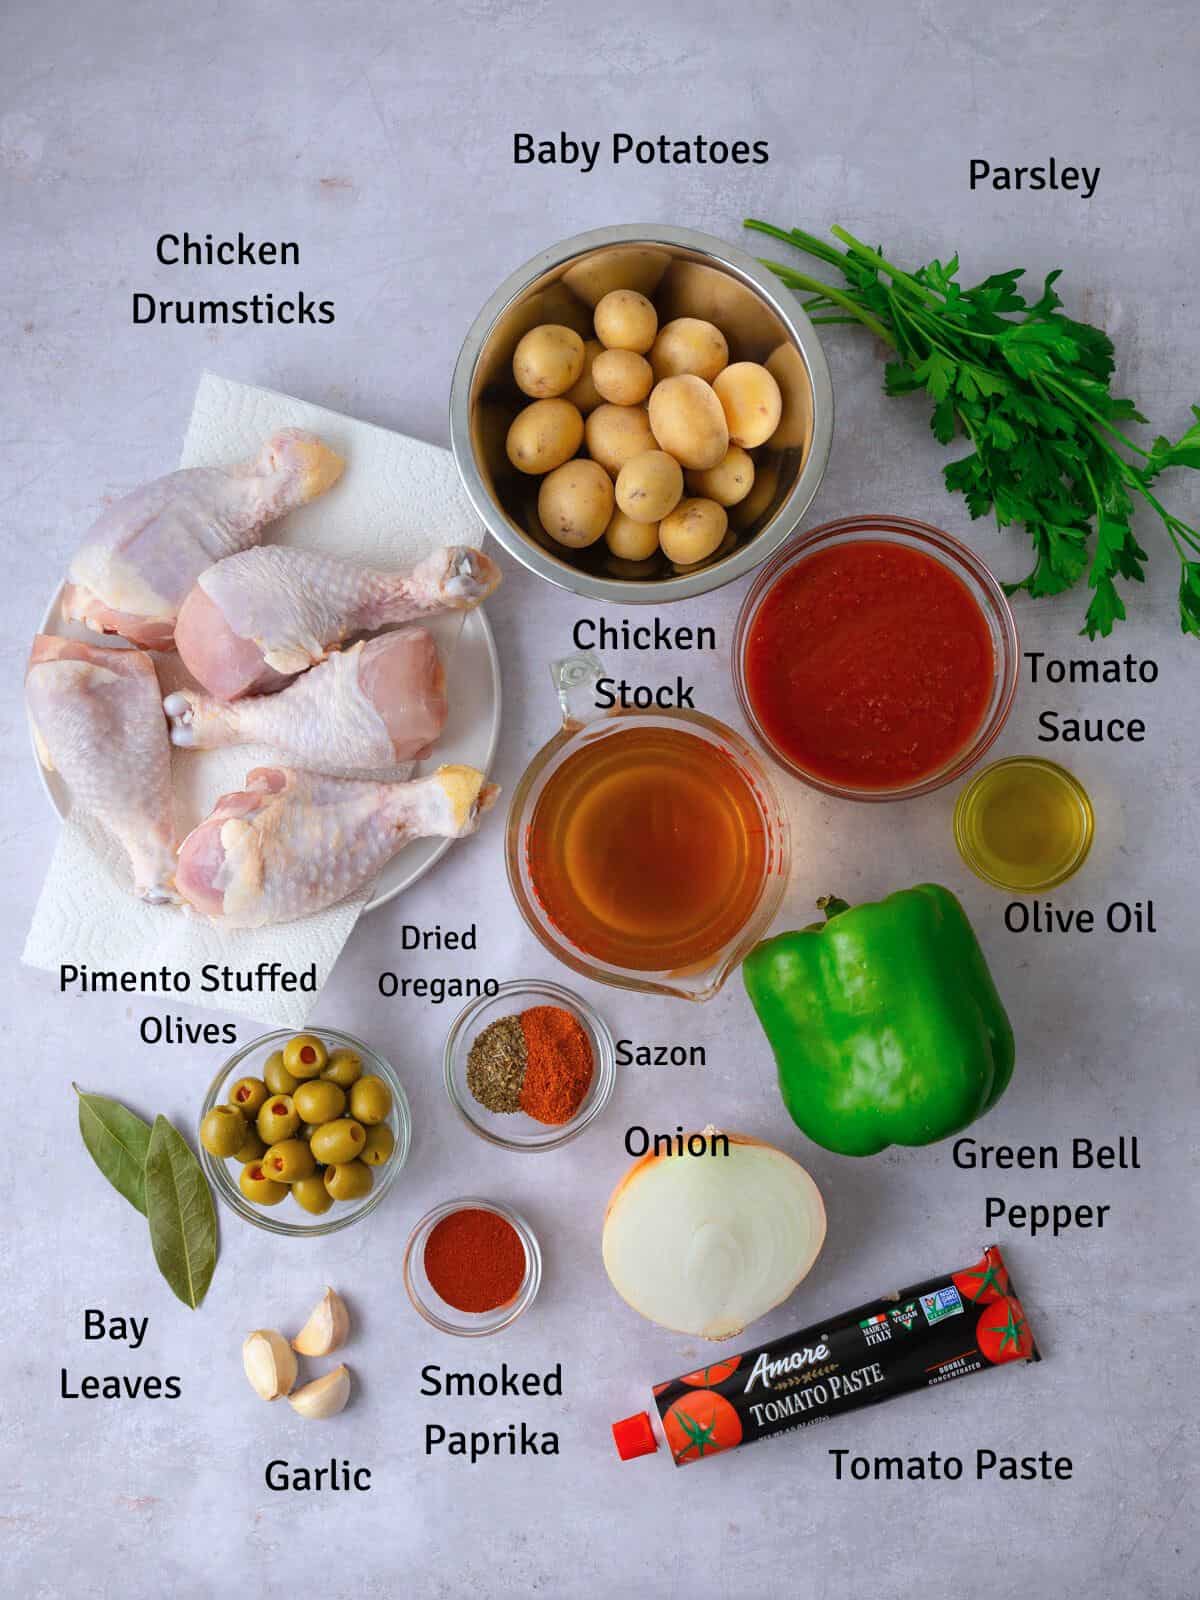
📋 Ingredients
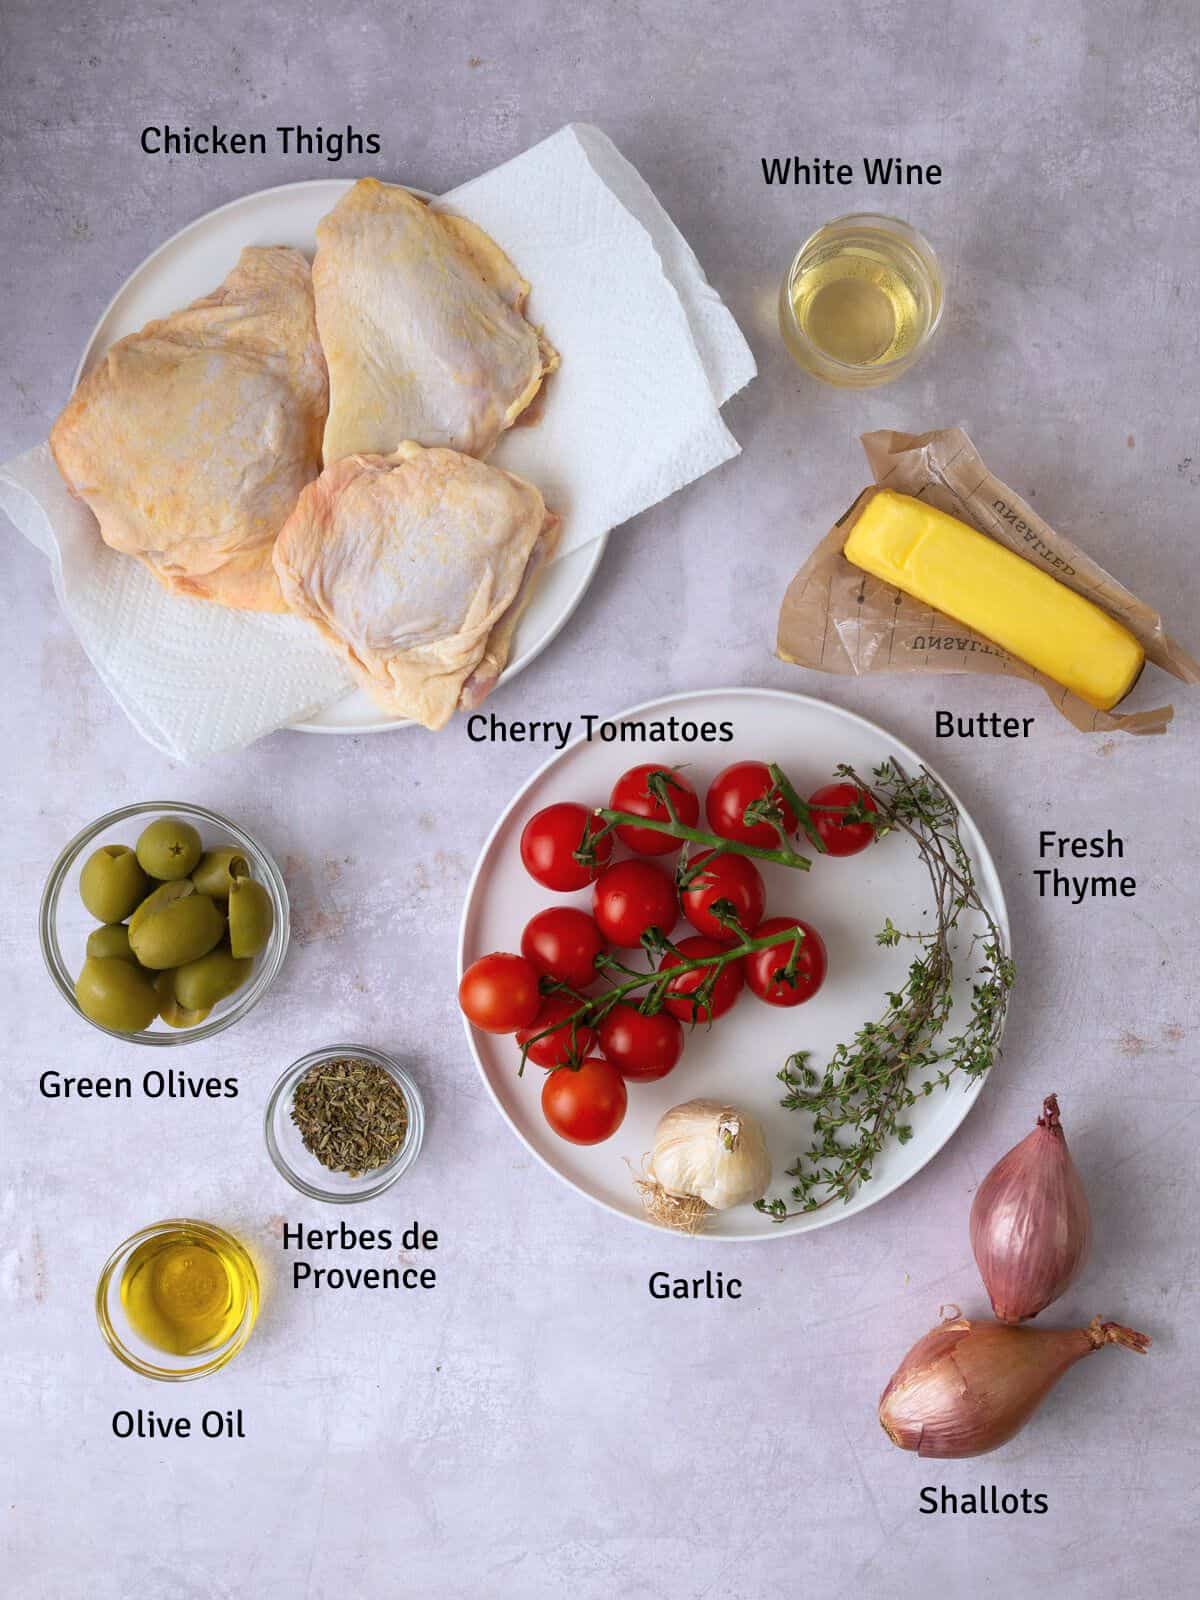
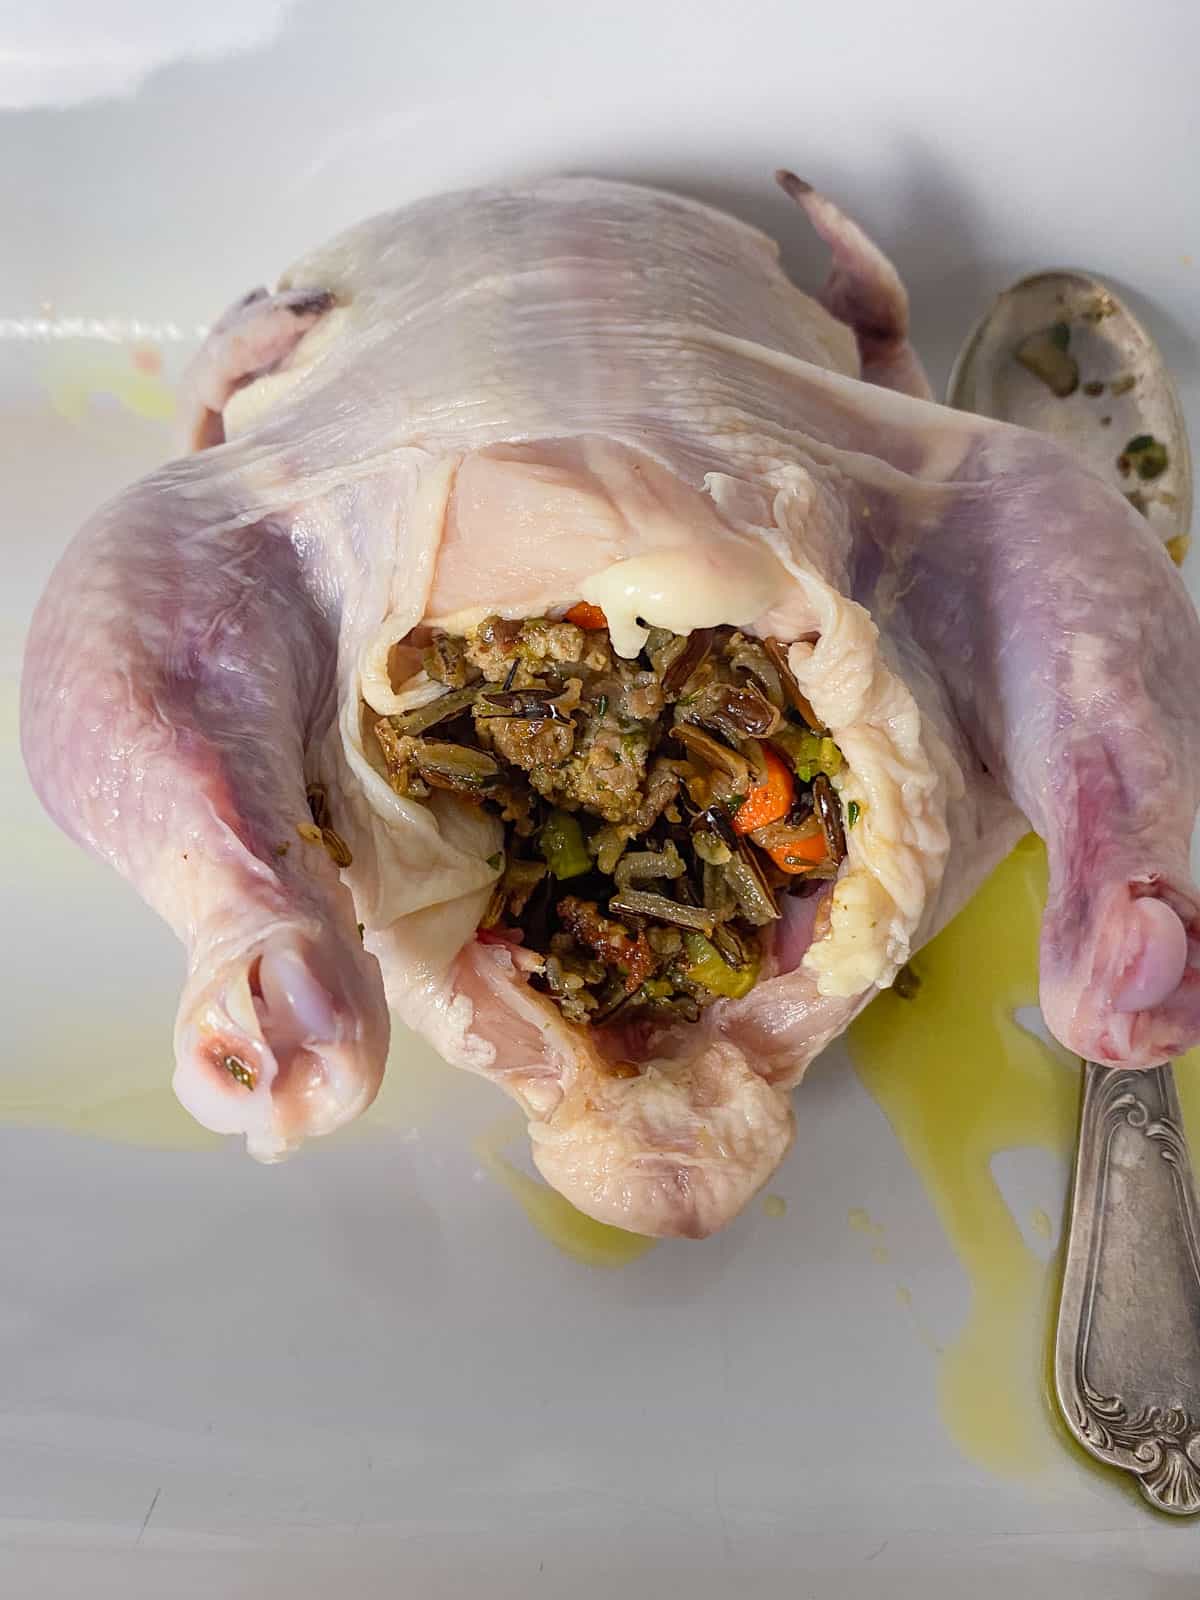
- Chicken: I used bone-in skin on chicken thighs for this recipe as they remain juicy and have the best flavor thanks to the chicken skin.
- Spices: Herbes de Provence are the star of this dish, along with fresh thyme and fresh basil to bring an extra touch of flavor.
- Cherry Tomatoes: Cherry tomatoes are sweet, giving a nice contrast to the shallots and olives.
- Shallots: Shallots are in the same family as onions but are milder and sweeter in flavor. They're used a lot in French cuisine.
- Green olives: Green olives add a bright, briny flavor and a firm texture to this dish, with their distinctive tangy and slightly bitter taste. Find castelveltrano olives if you can.
- Garlic: Use whole garlic cloves for the best flavor.
- Wine: A good white wine will make the difference in this chicken provencal. I recommend Chardonnay or Sancerre.
- Butter: I prefer using unsalted butter, to control the seasoning better.
See recipe card for full information on ingredients and quantities.
🍋 Substitutions and Variations
- Different Olives: You can use black or Kalamata olives instead of green olives. Or a mix of both varieties.
- Chicken: Instead of chicken thighs, you can use different chicken parts such as drumsticks, chicken breasts, quarters. Keep in mind that larger pieces need more cooking time.
- Shallots alternative: Instead of shallots, use red onion cut into wedges. They have a bolder flavor but will turn out delicious as well.
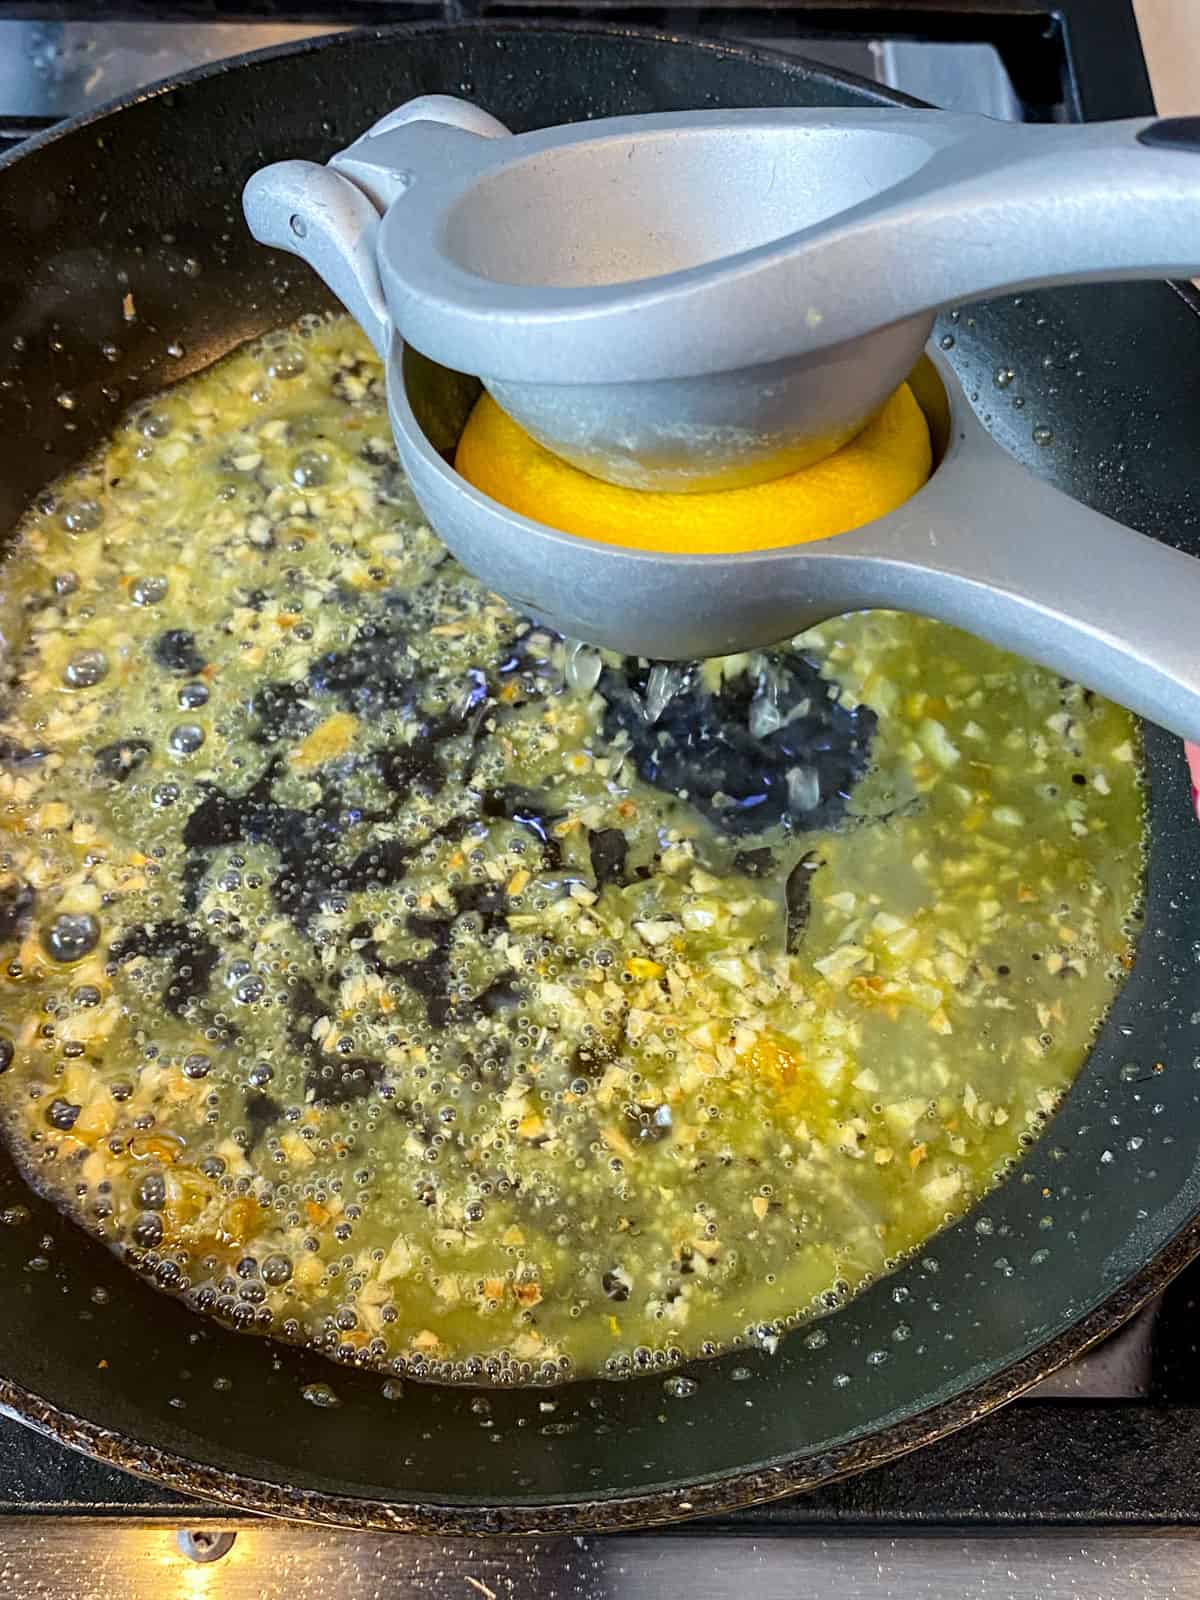
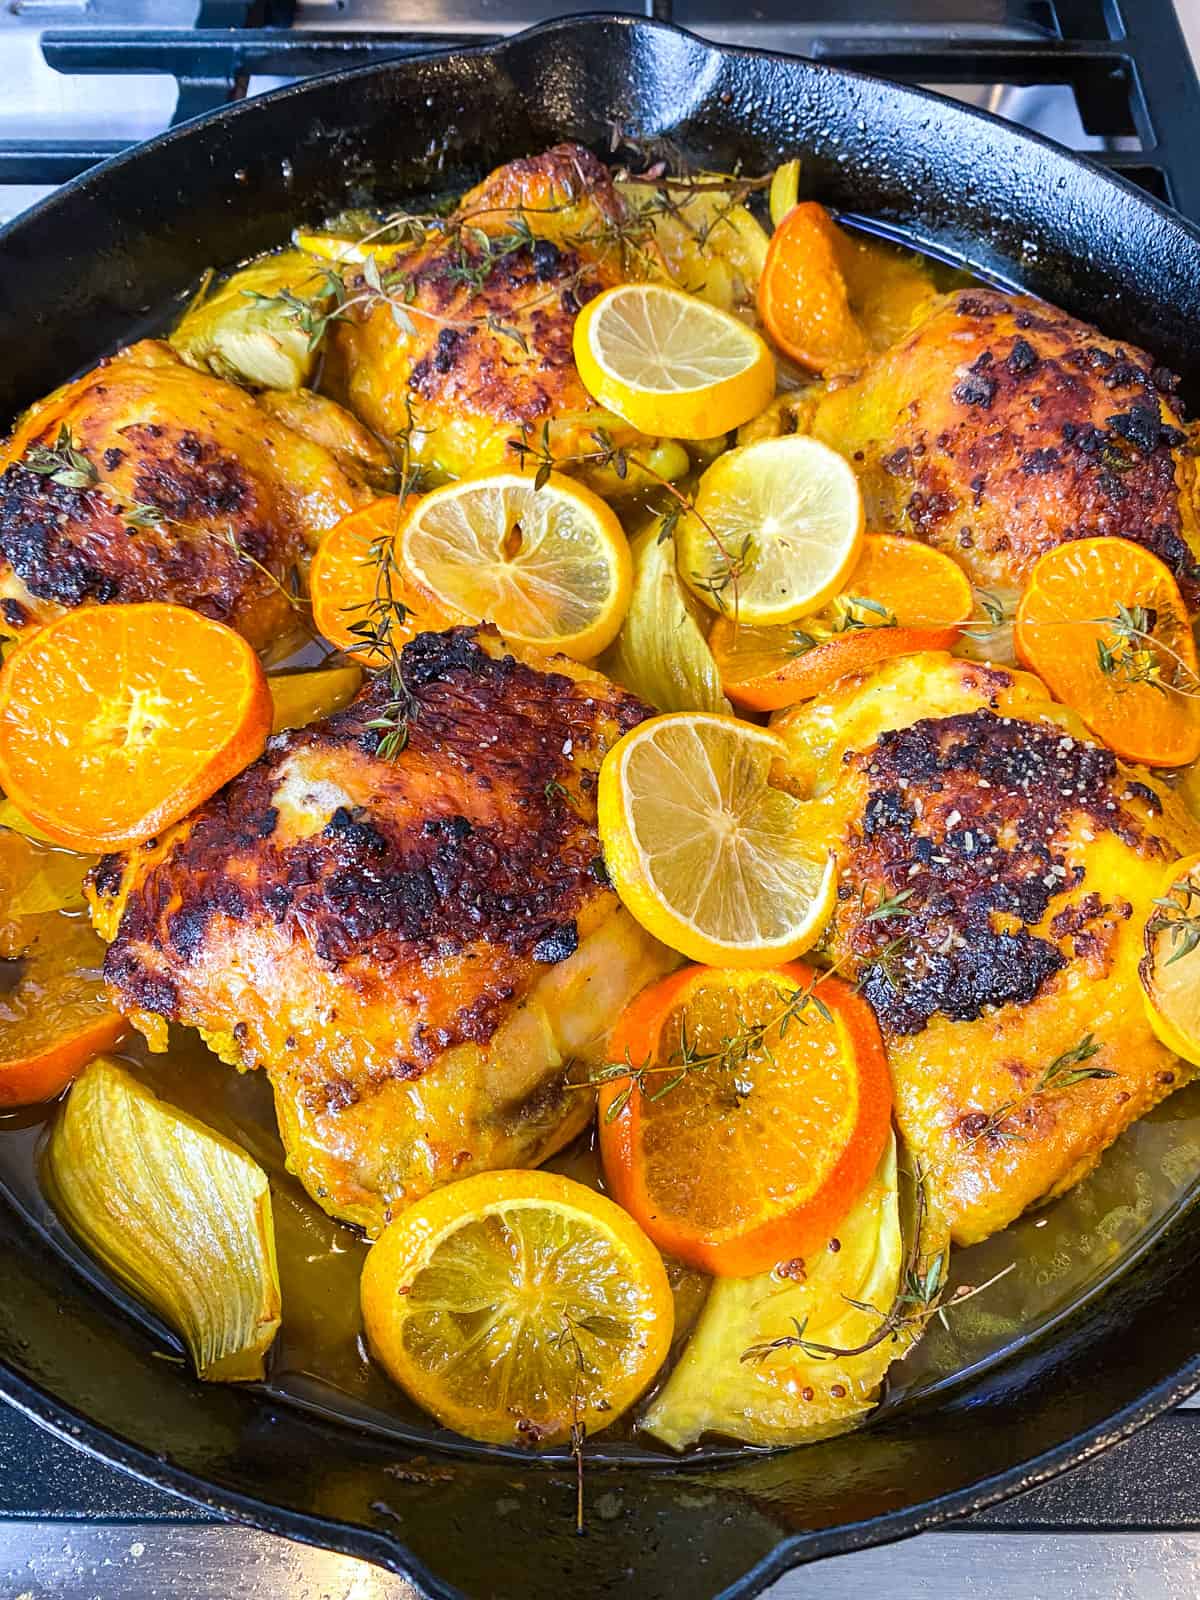
- Lemon and Artichoke: Add sliced lemons and quartered artichoke hearts.
⏲️ Instructions

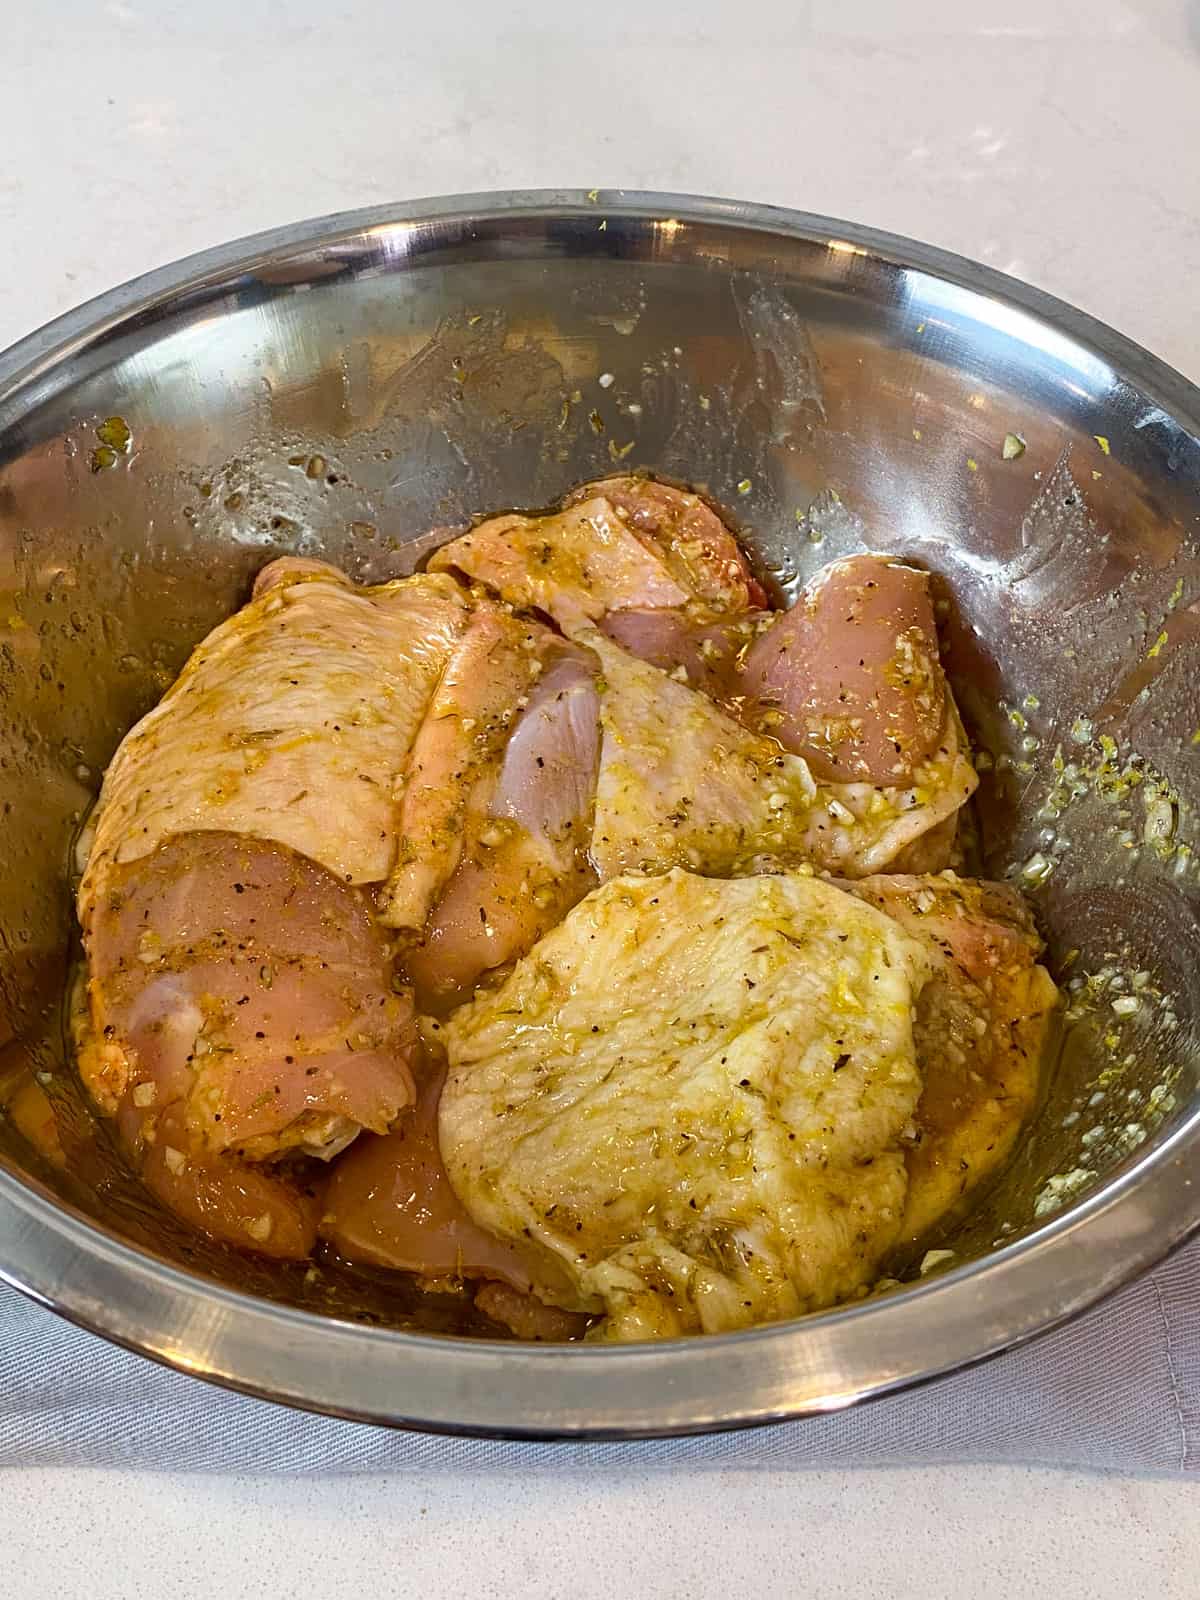
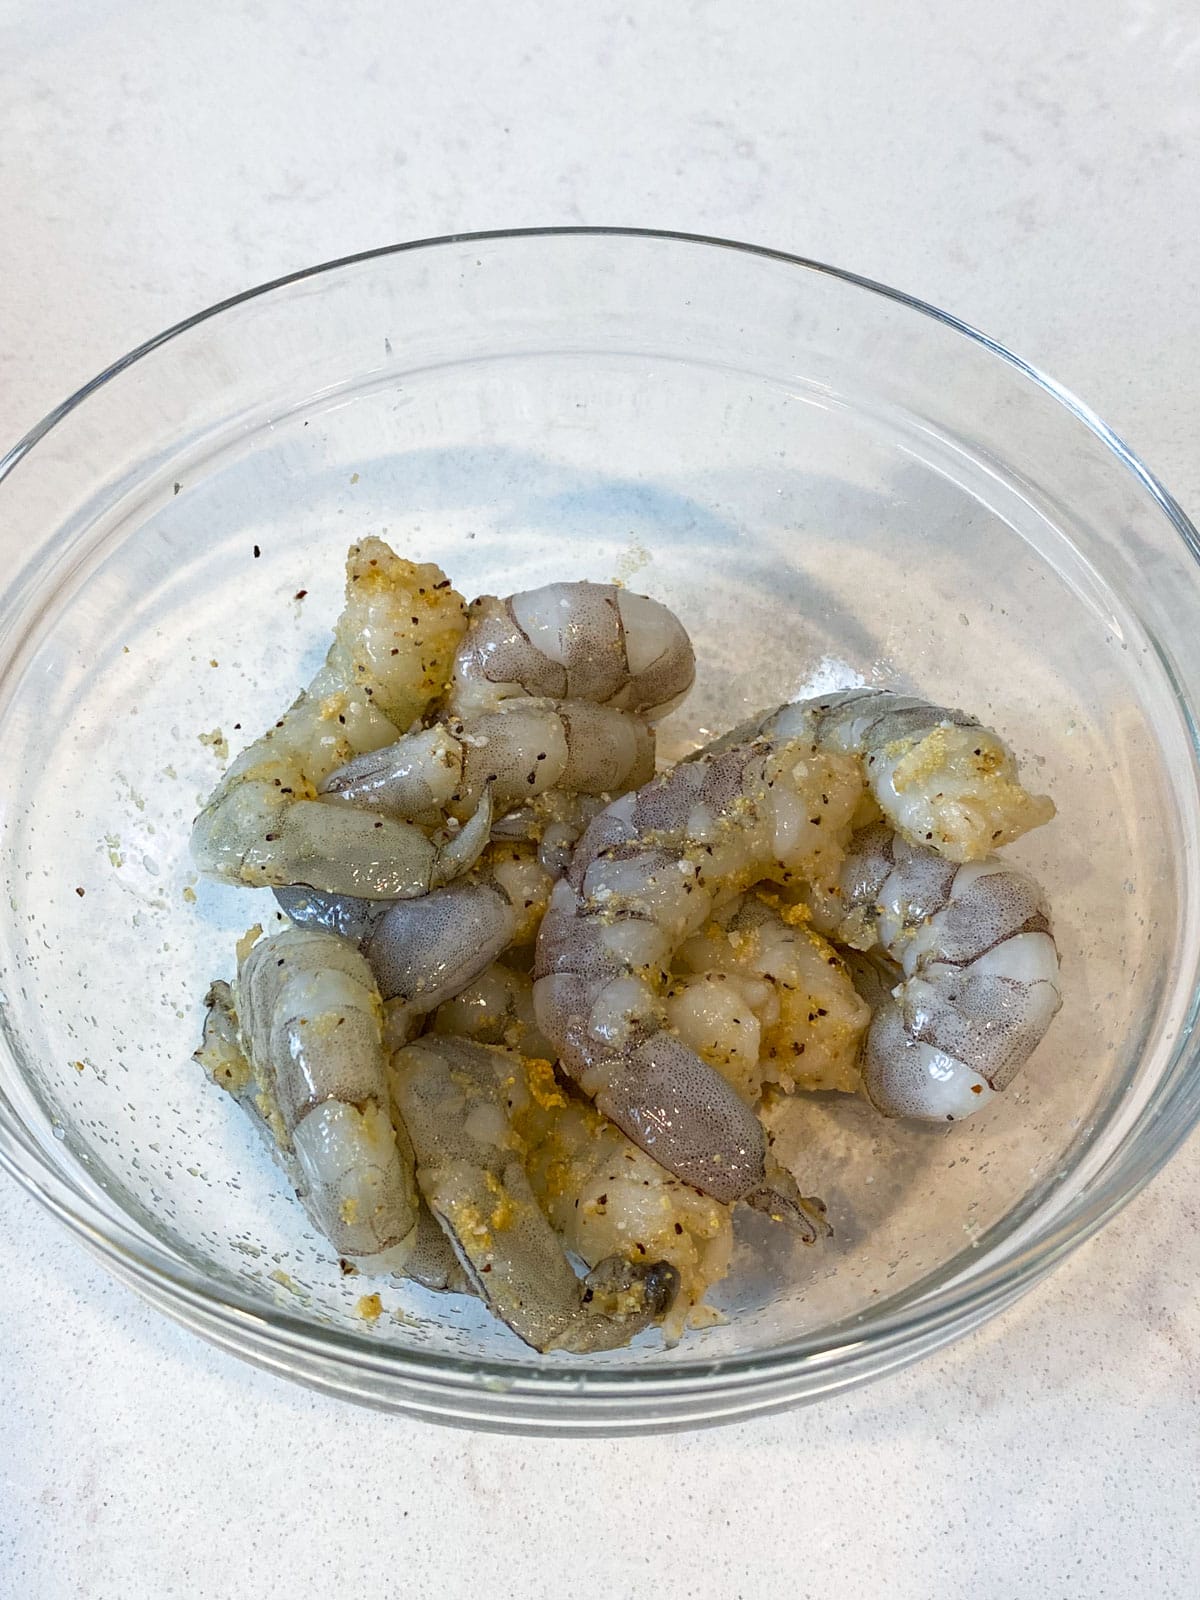
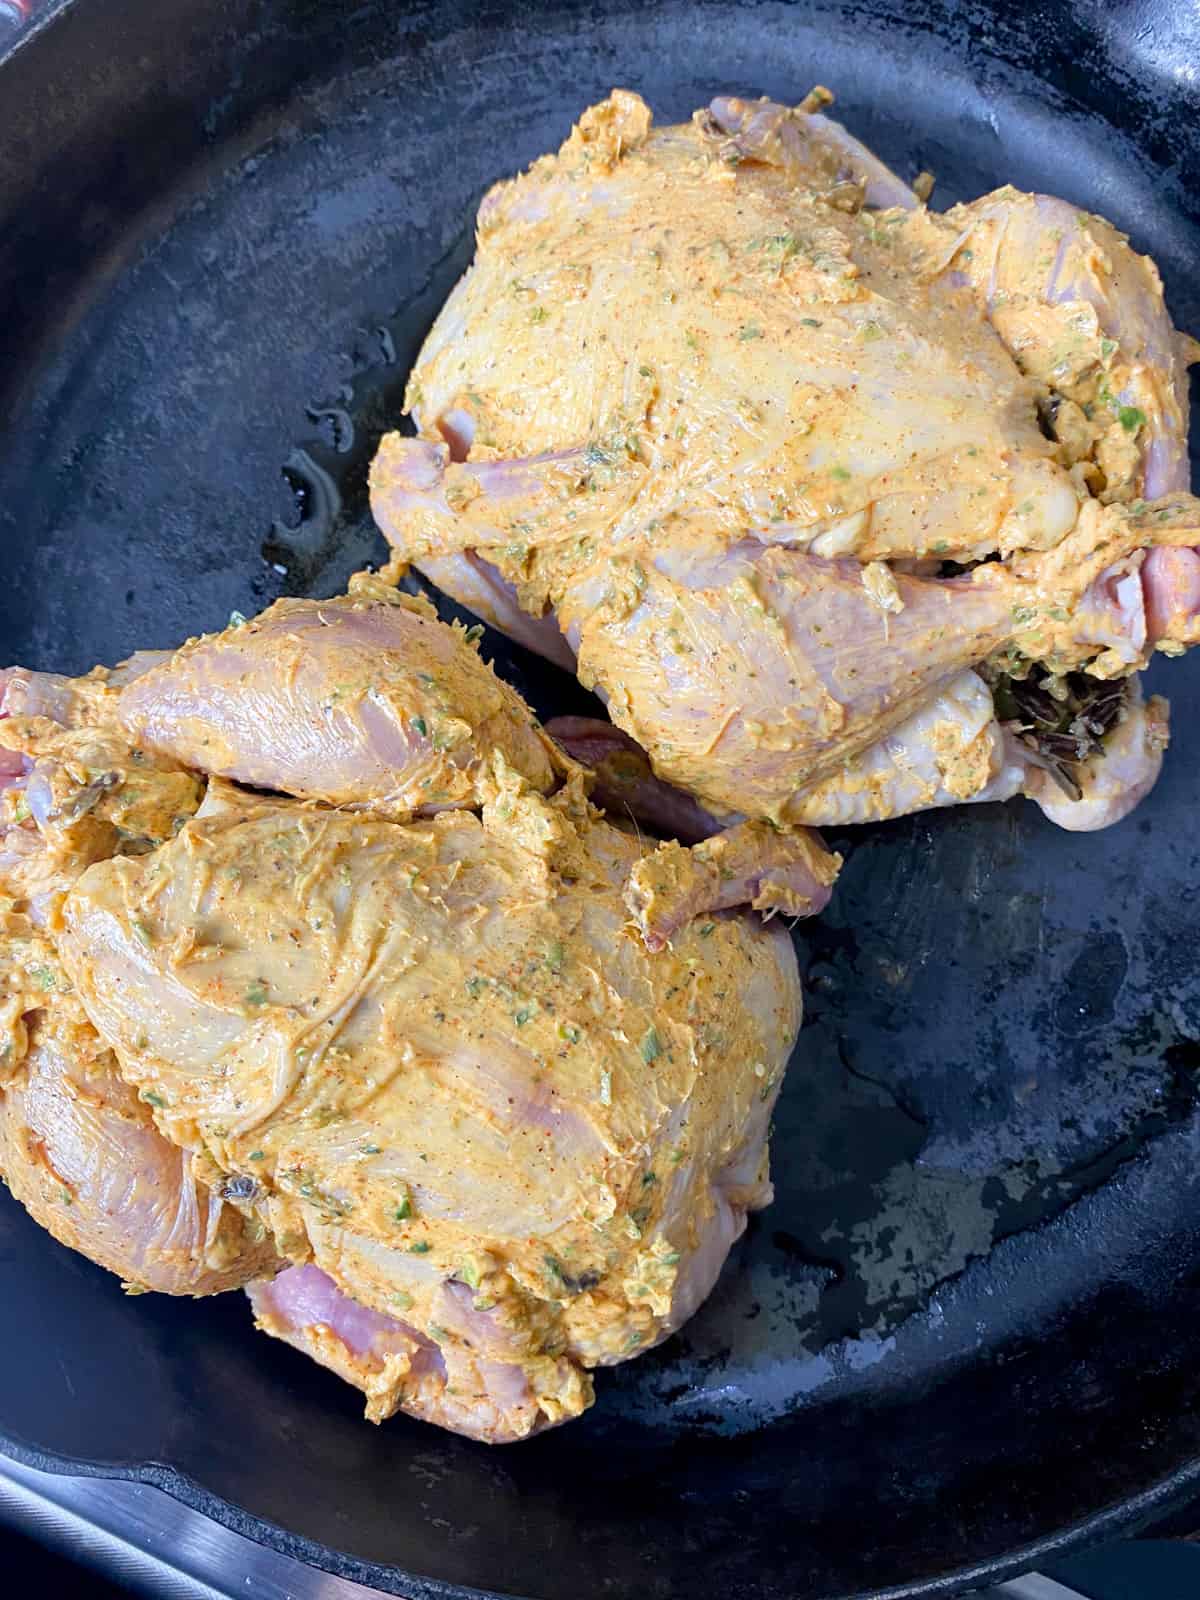
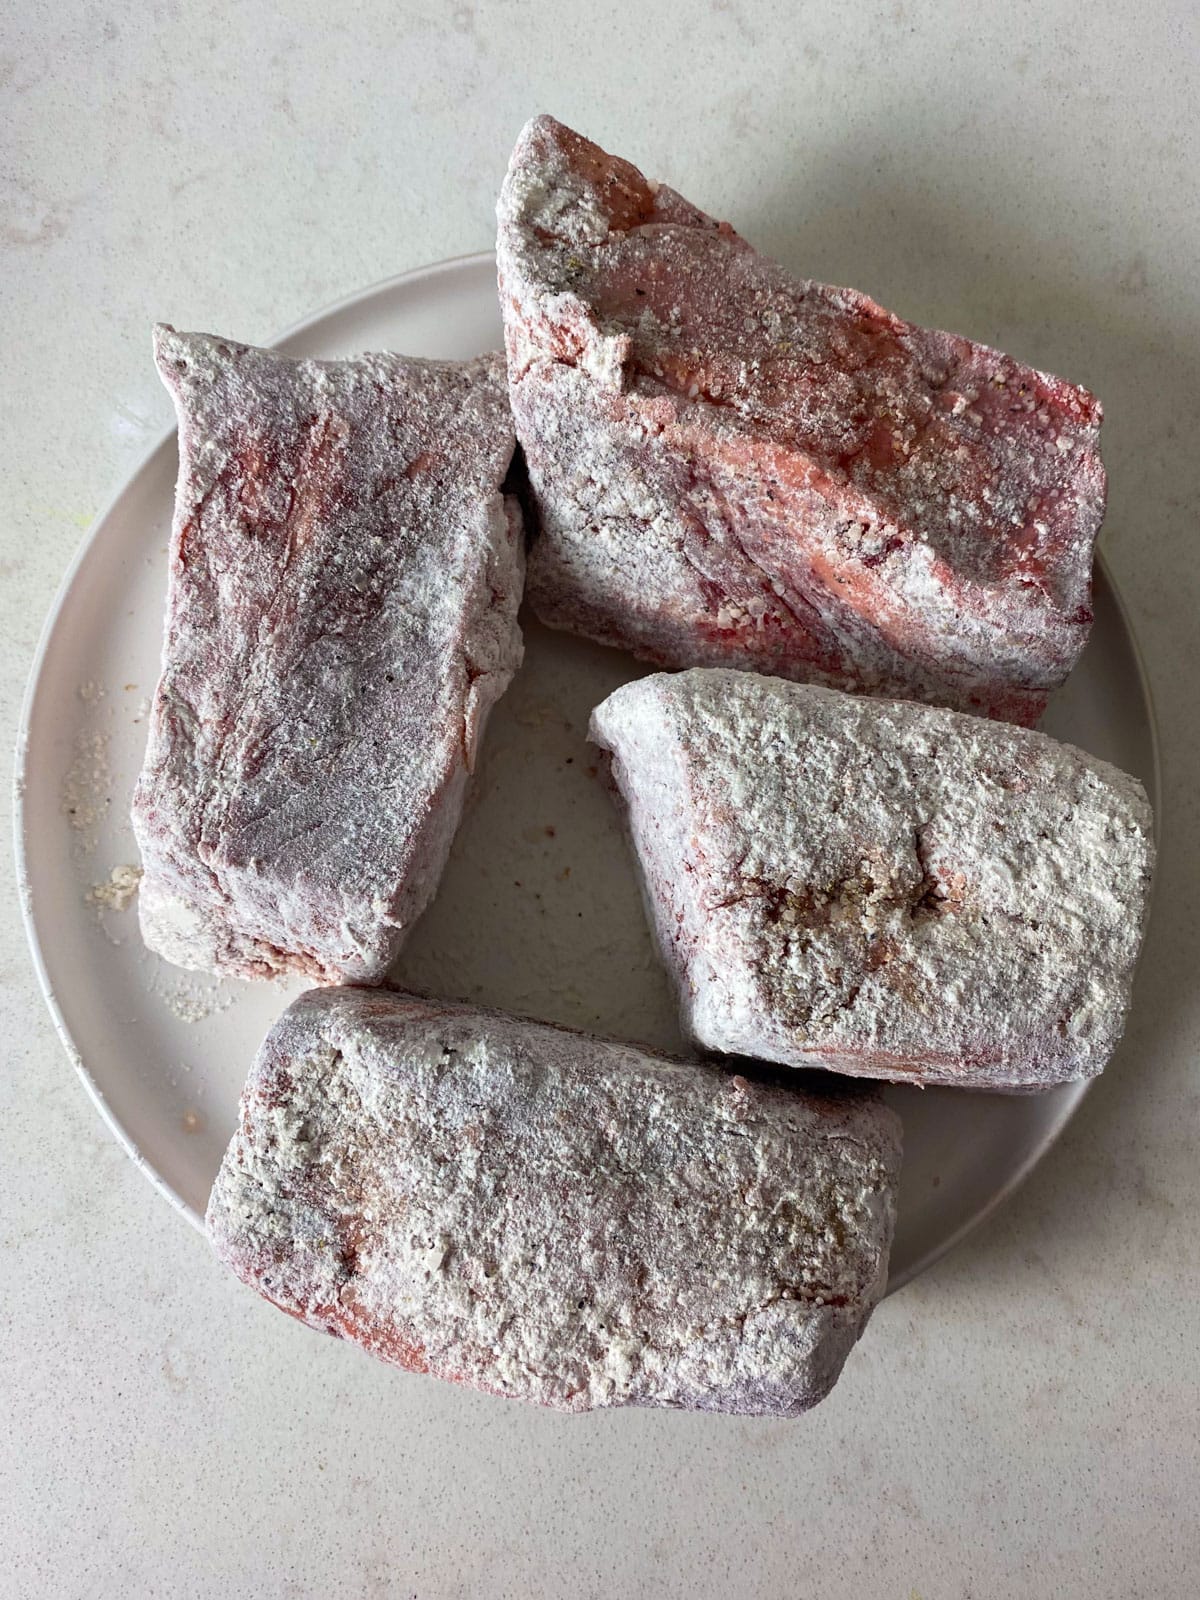
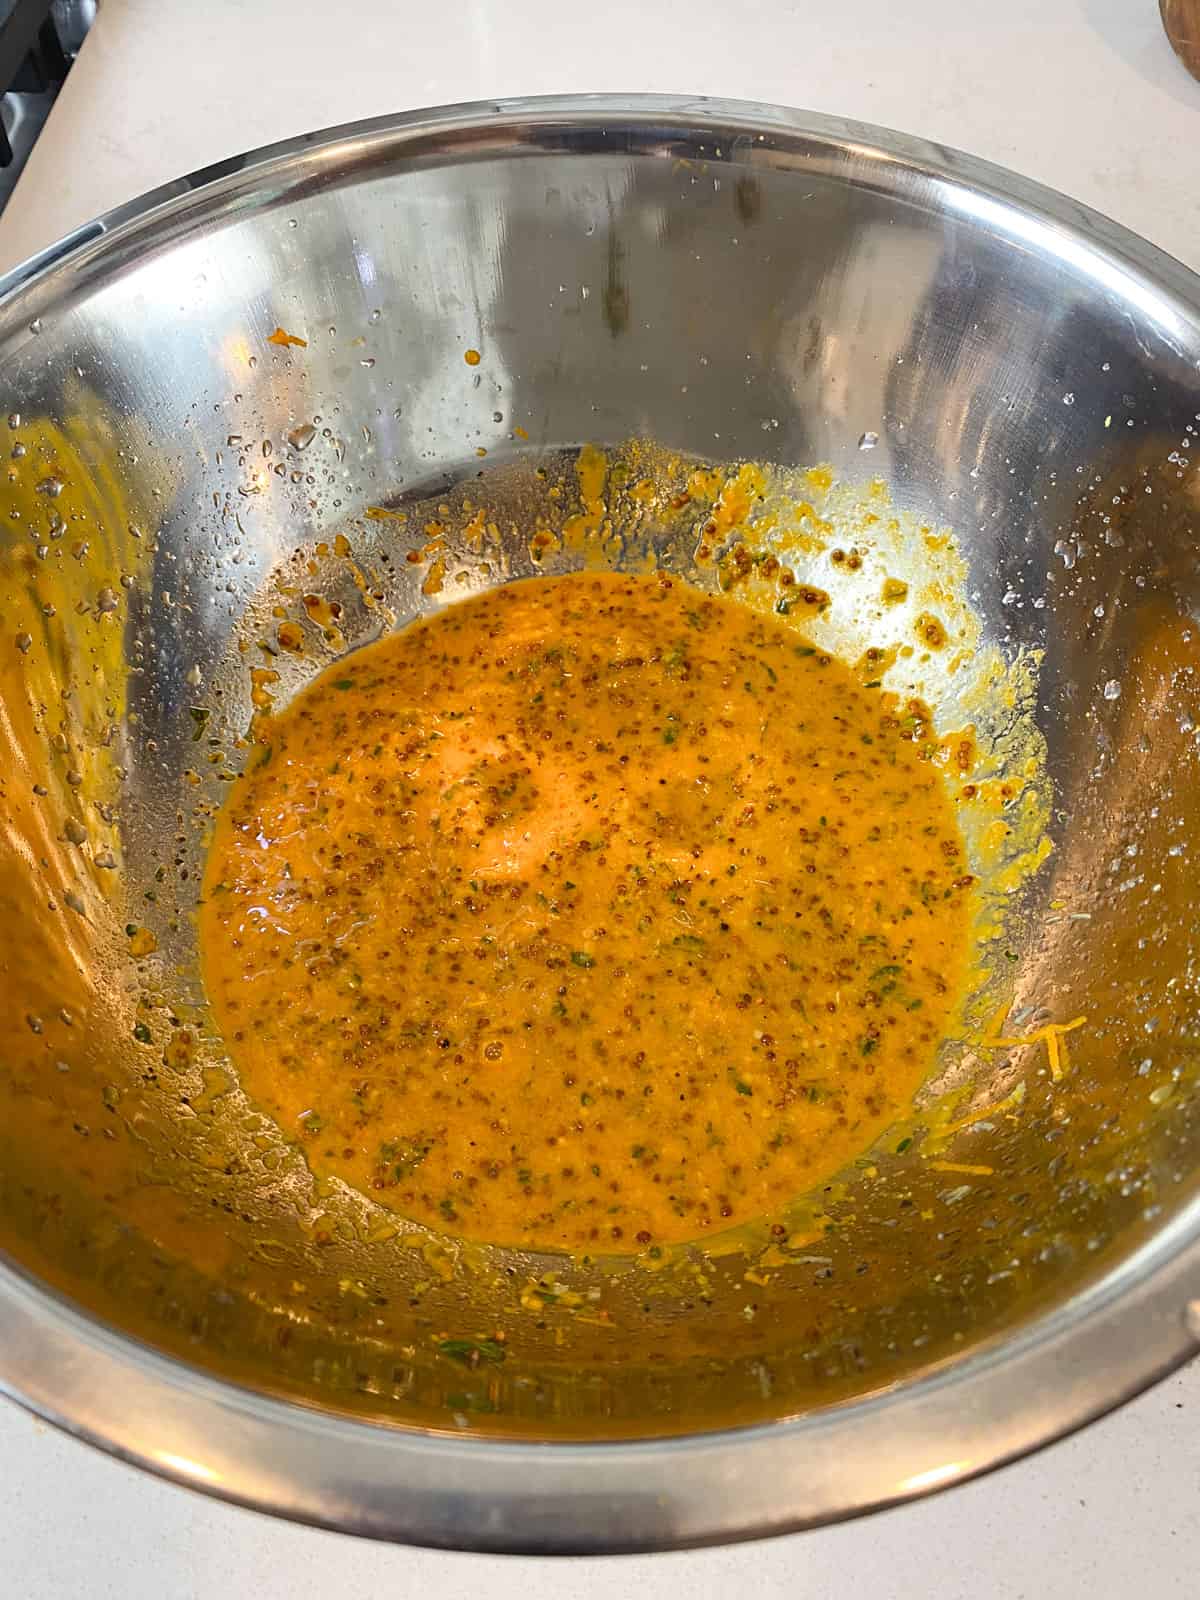
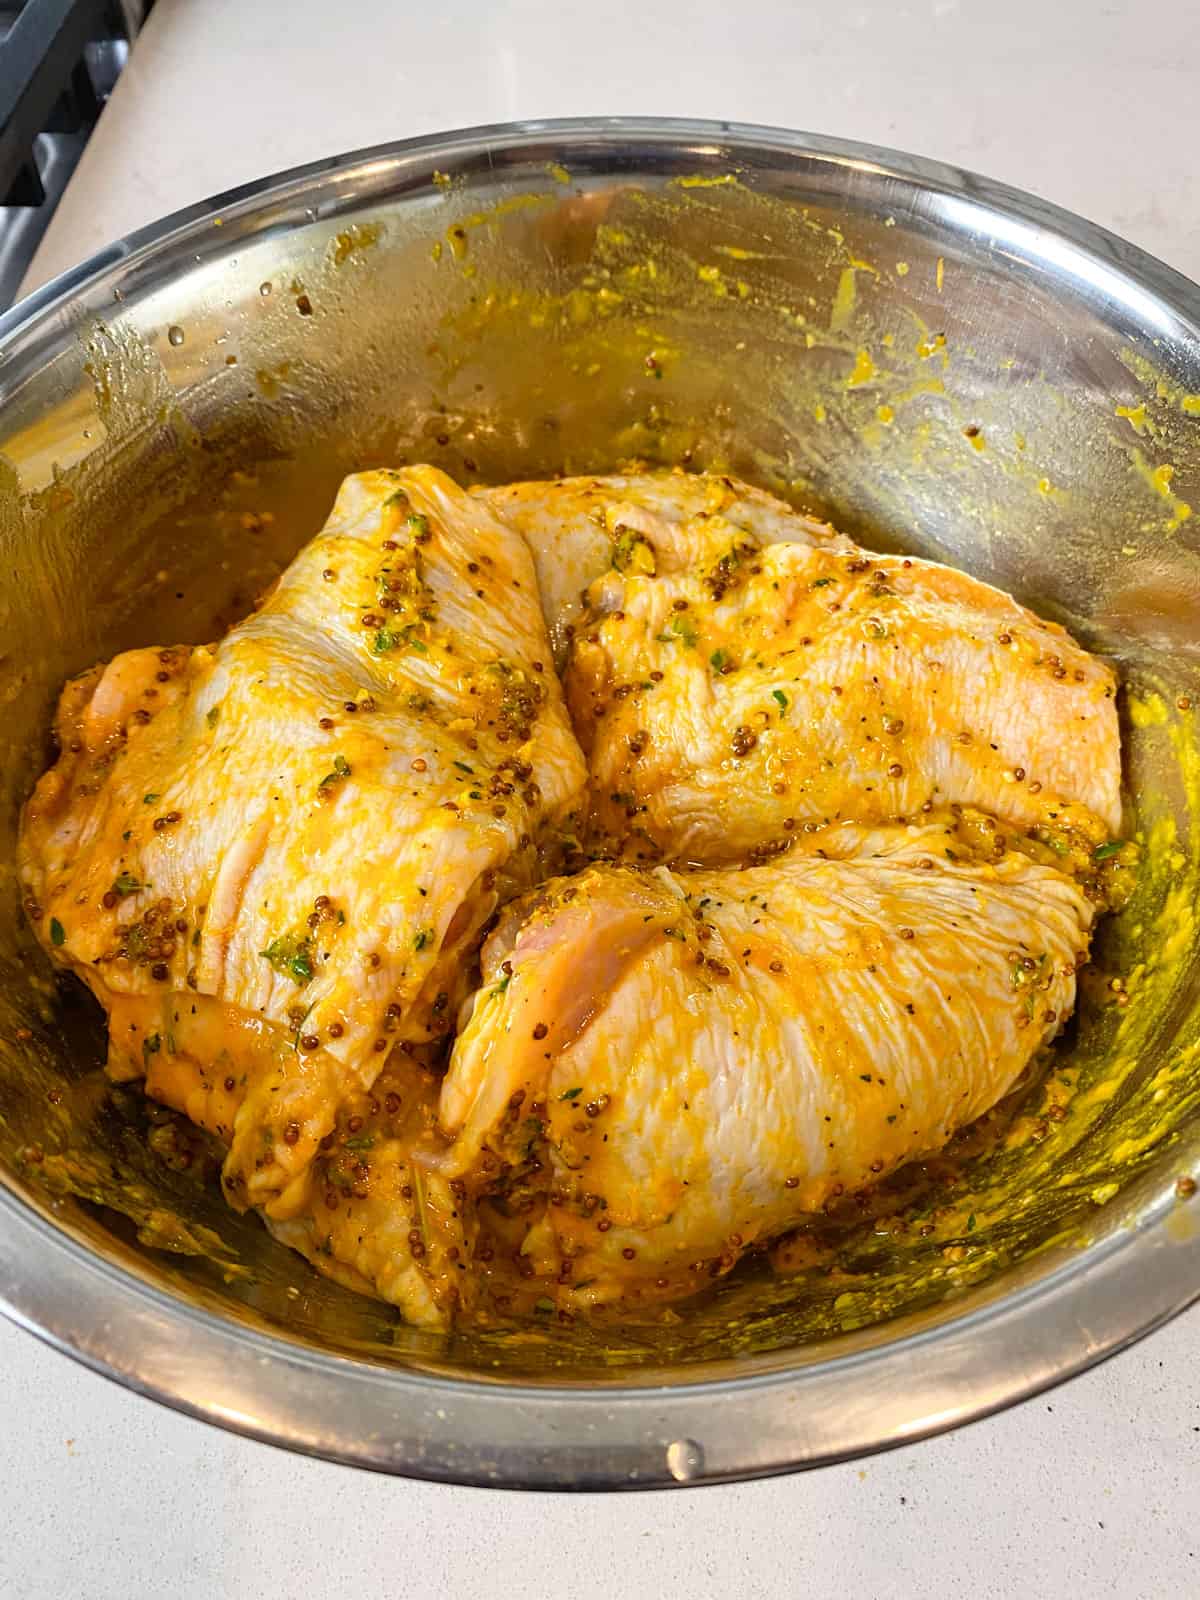
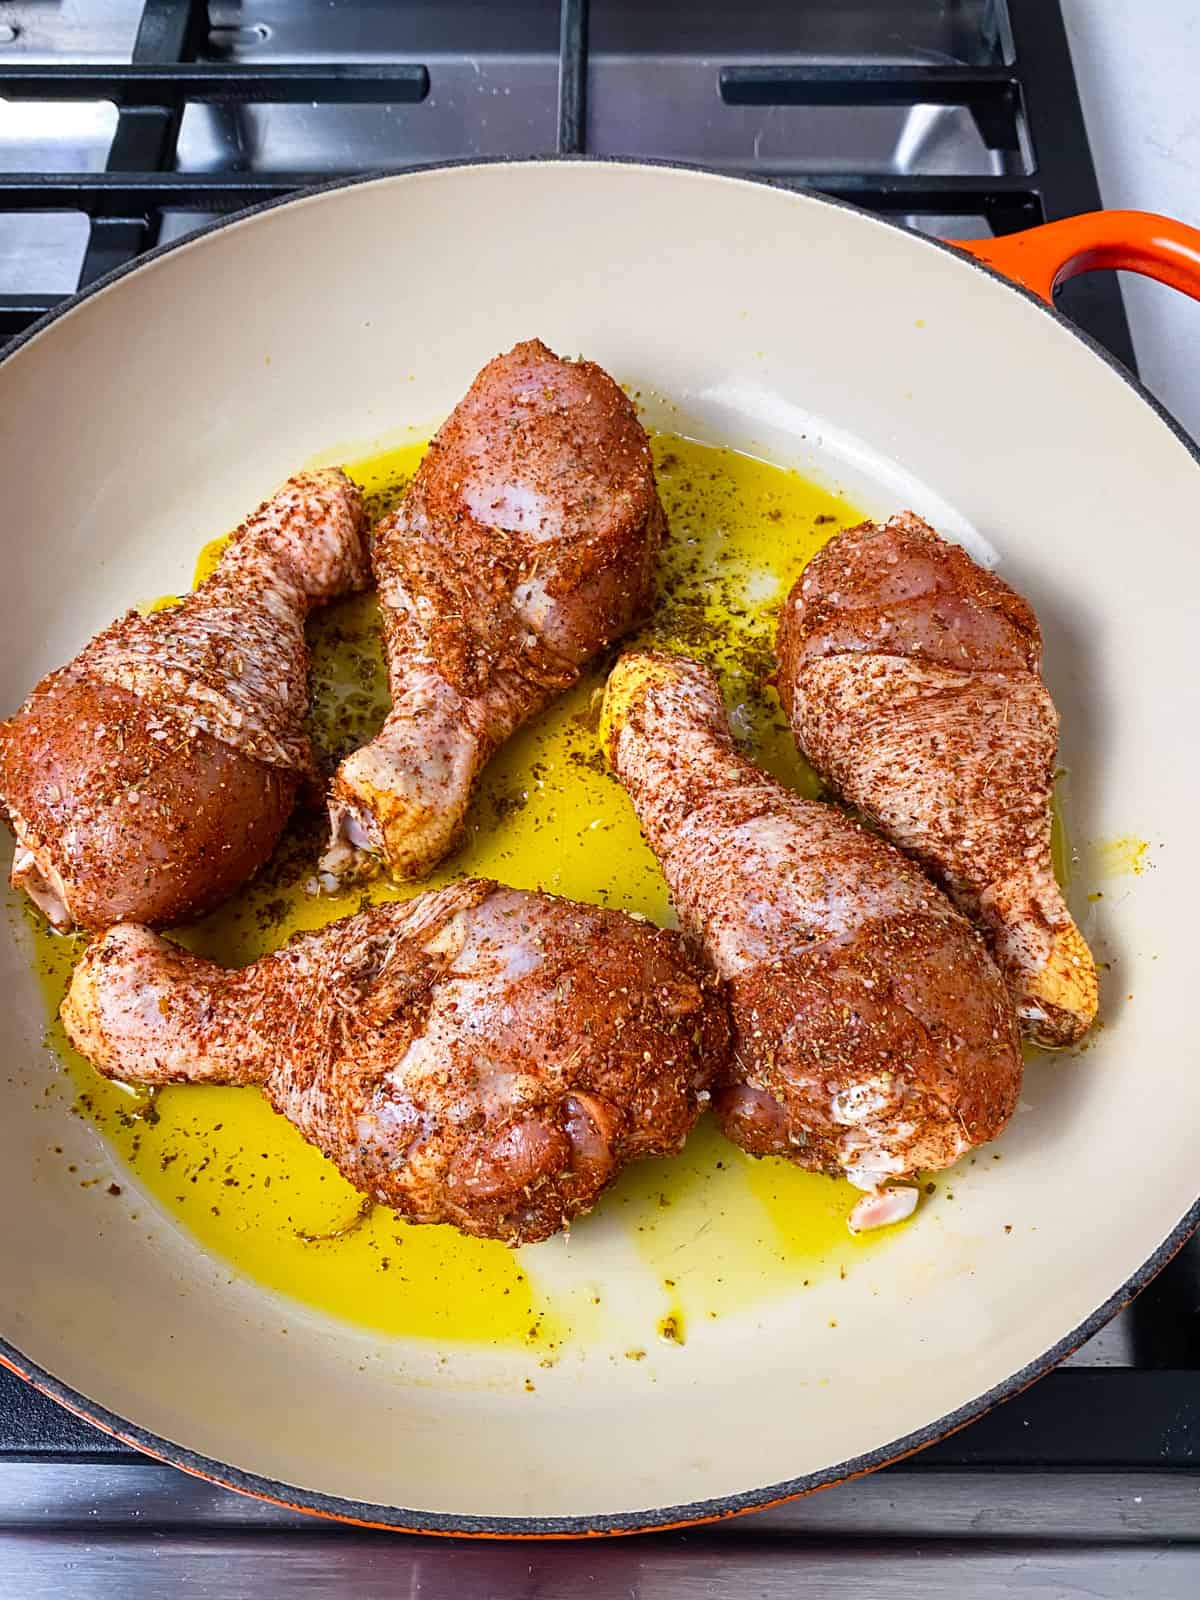
Step 1. Dry the chicken well with paper towels and season with the Herbes de Provence, salt, pepper and 1 tablespoon of olive oil.
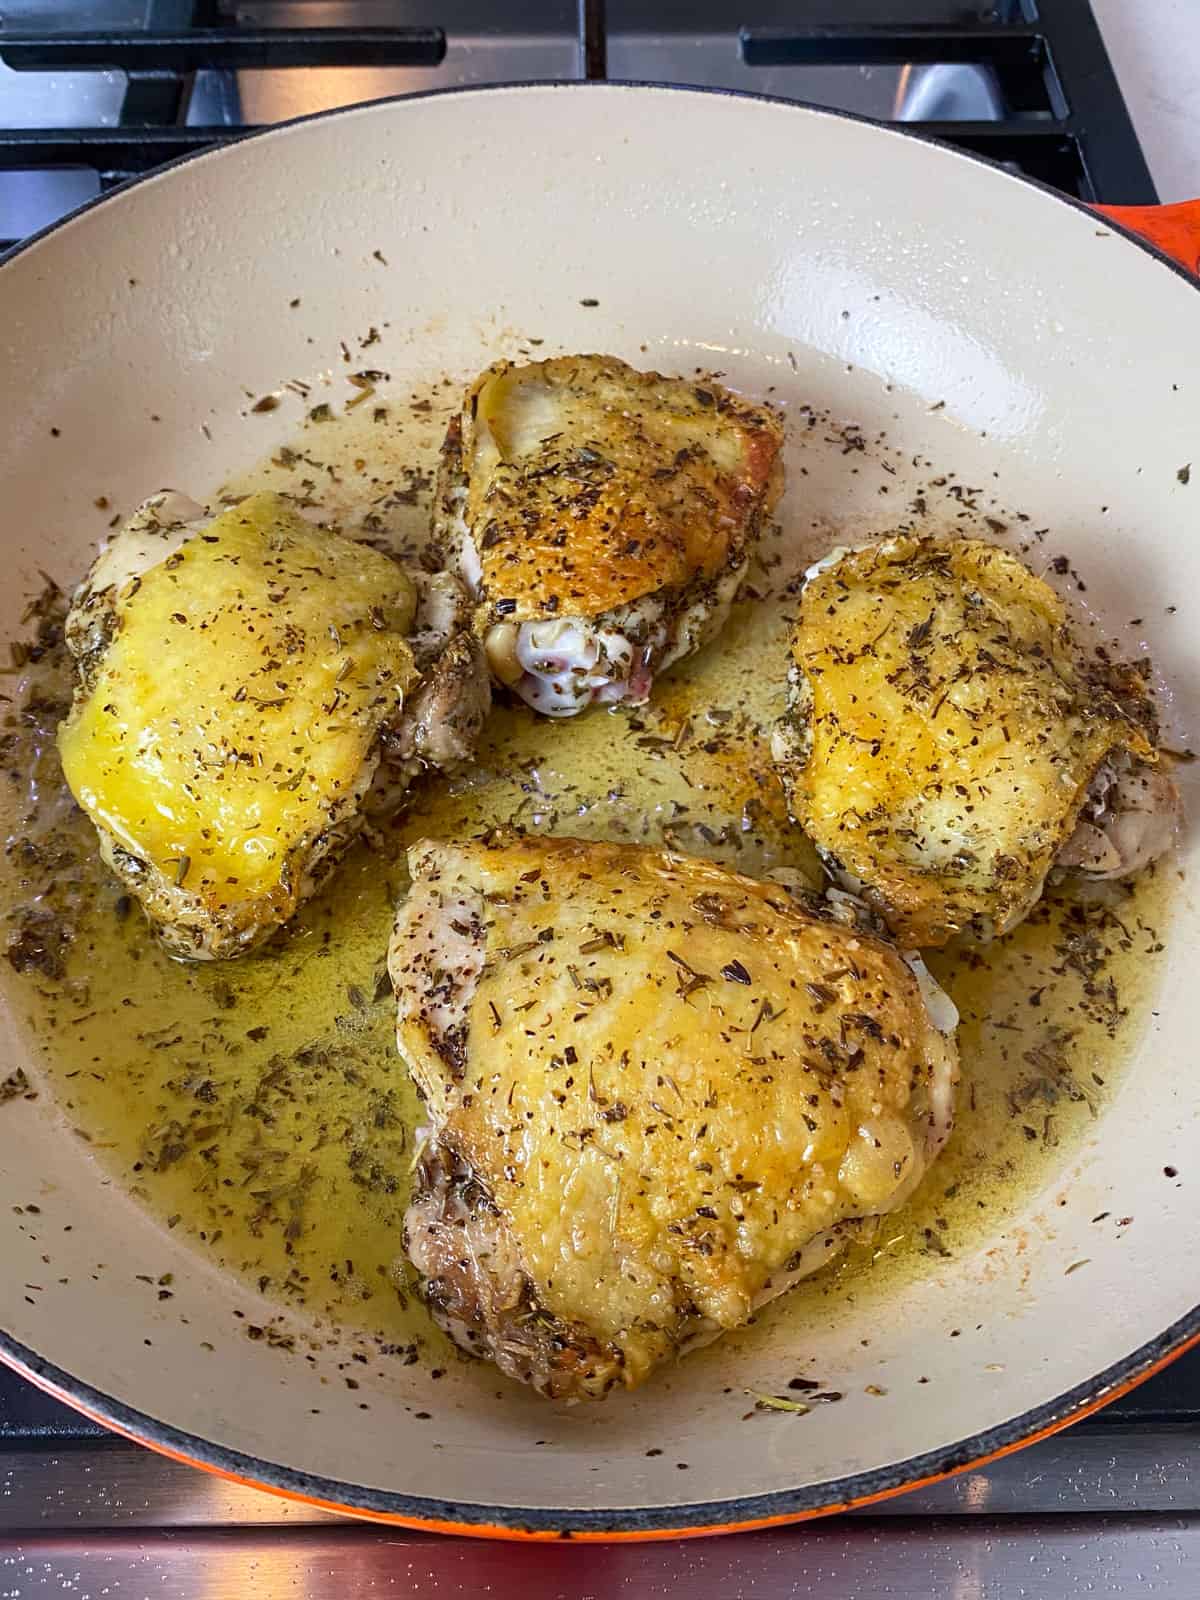
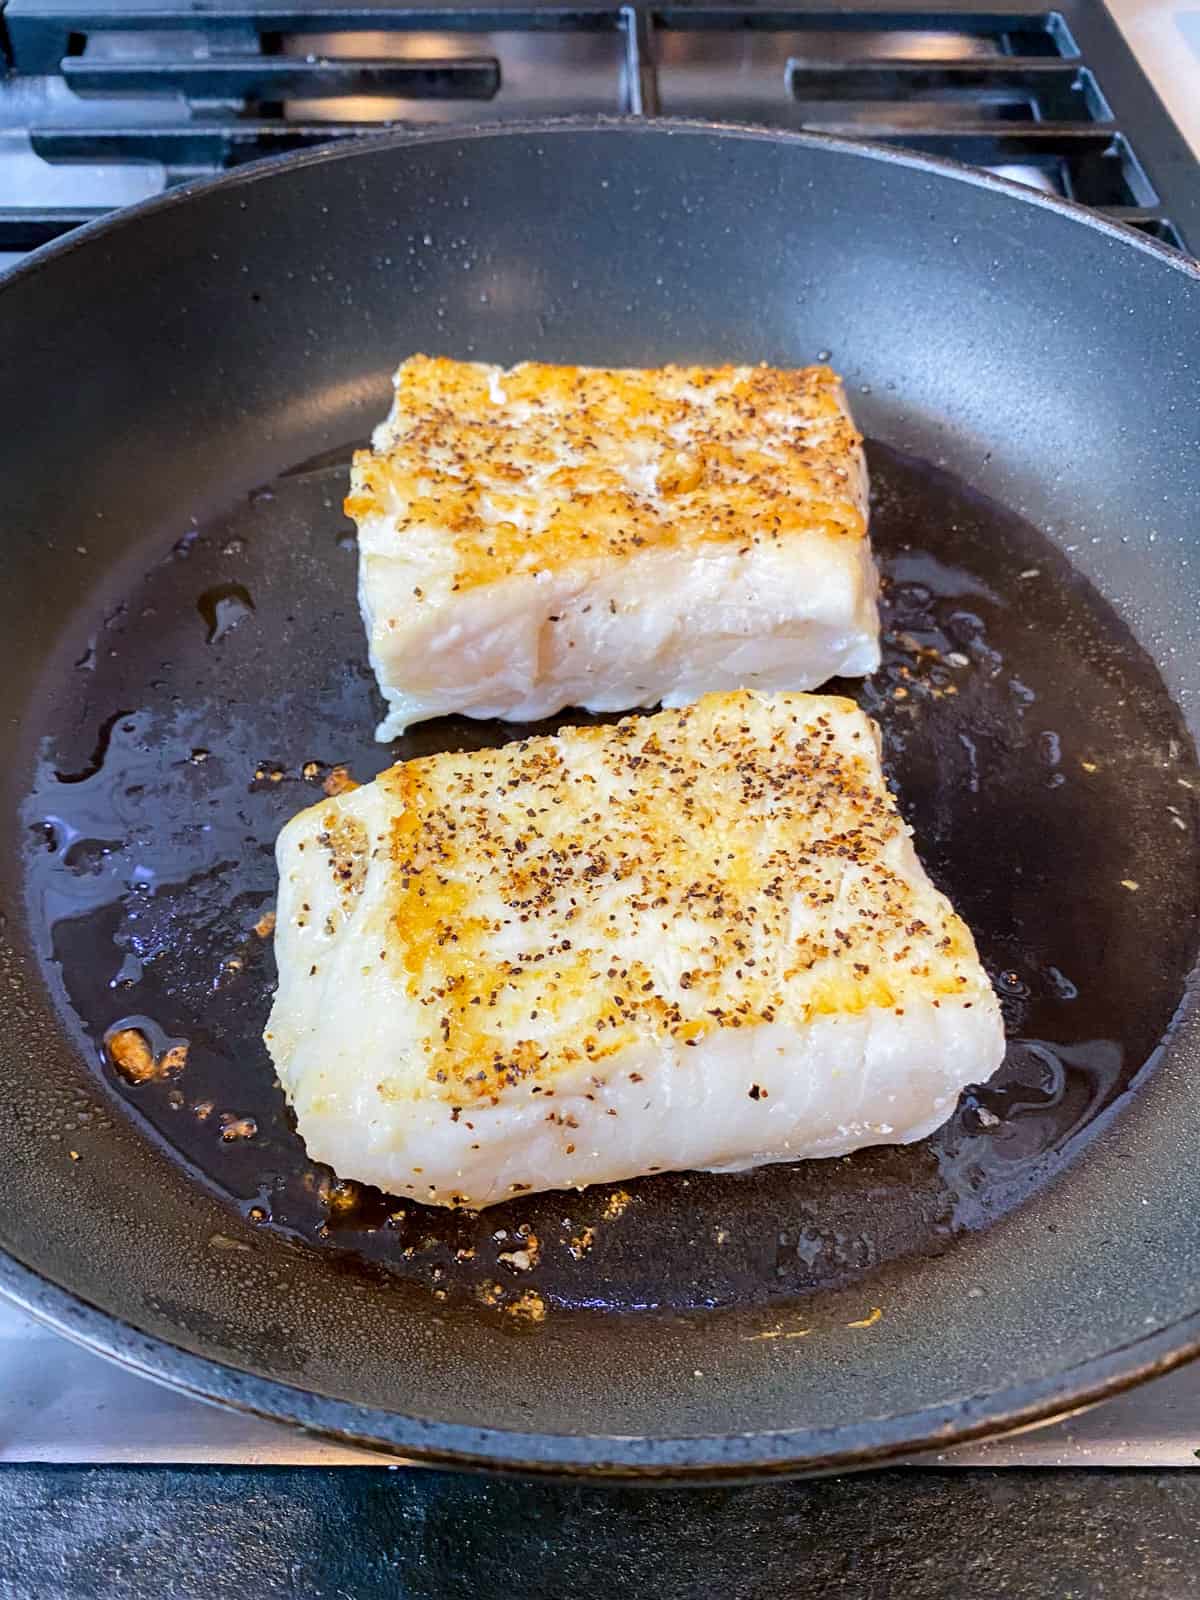
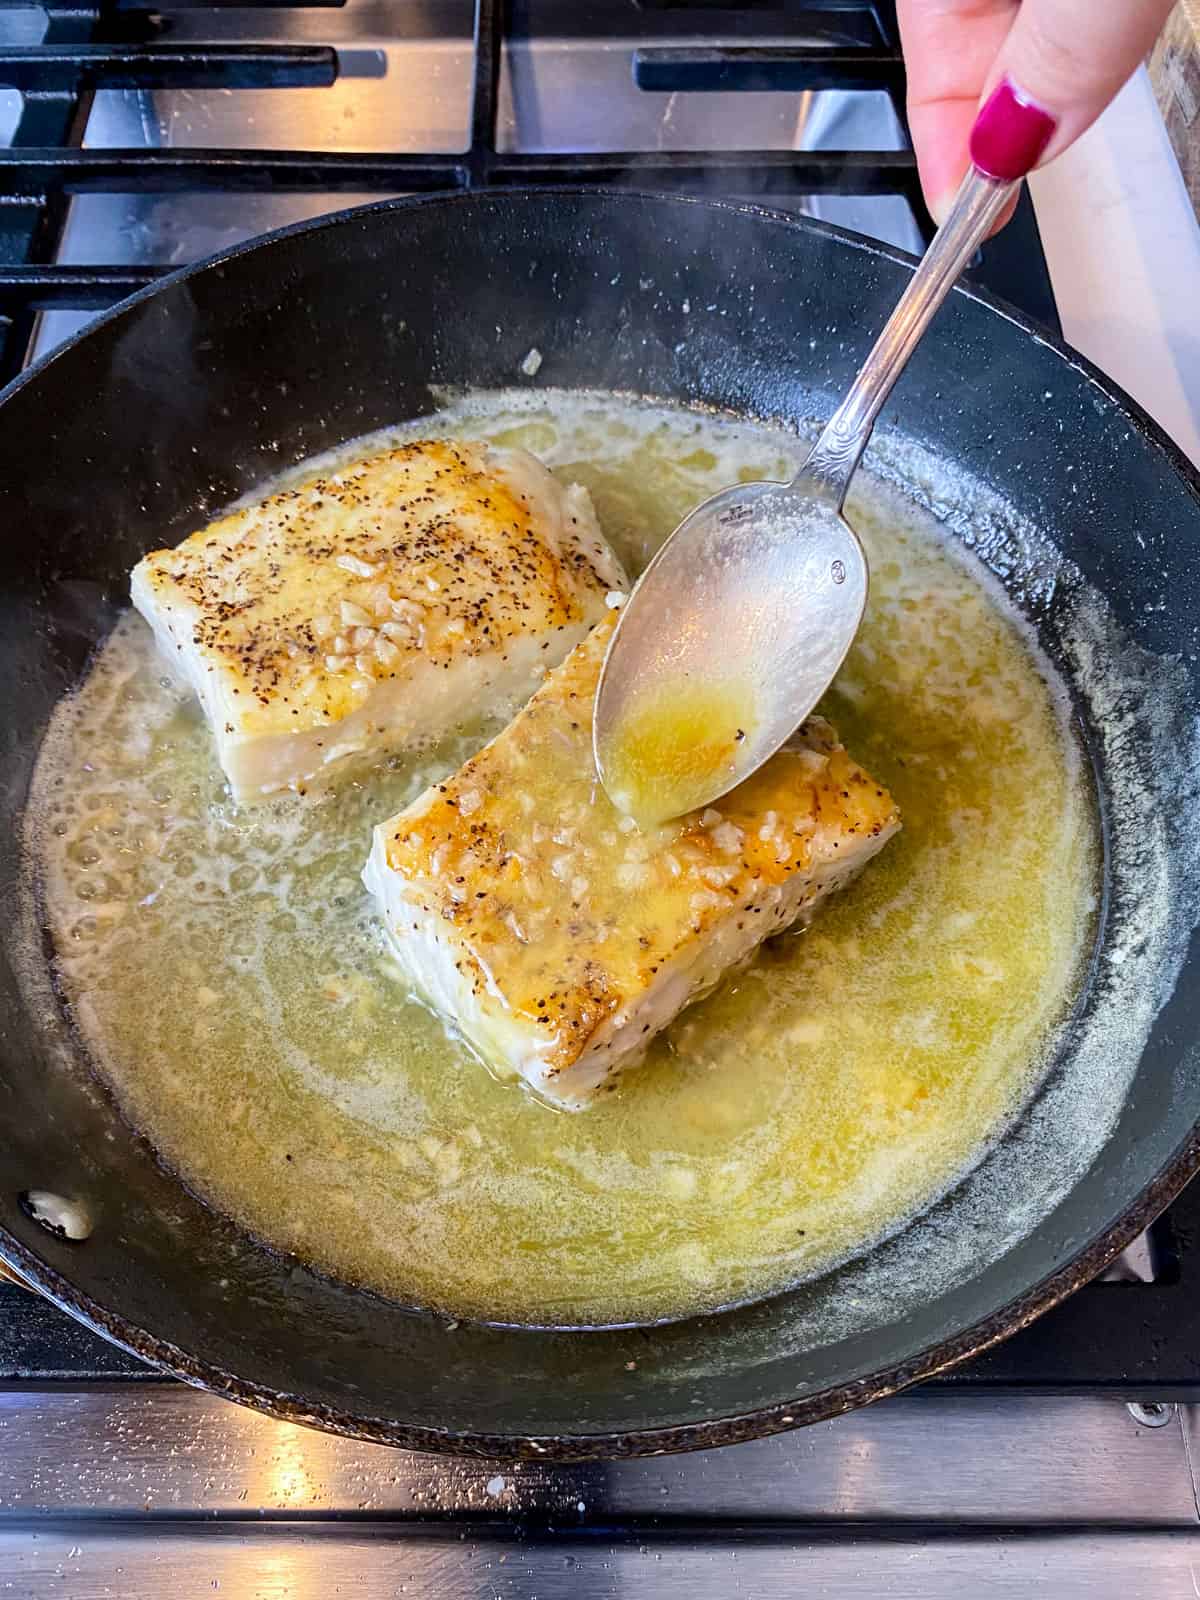
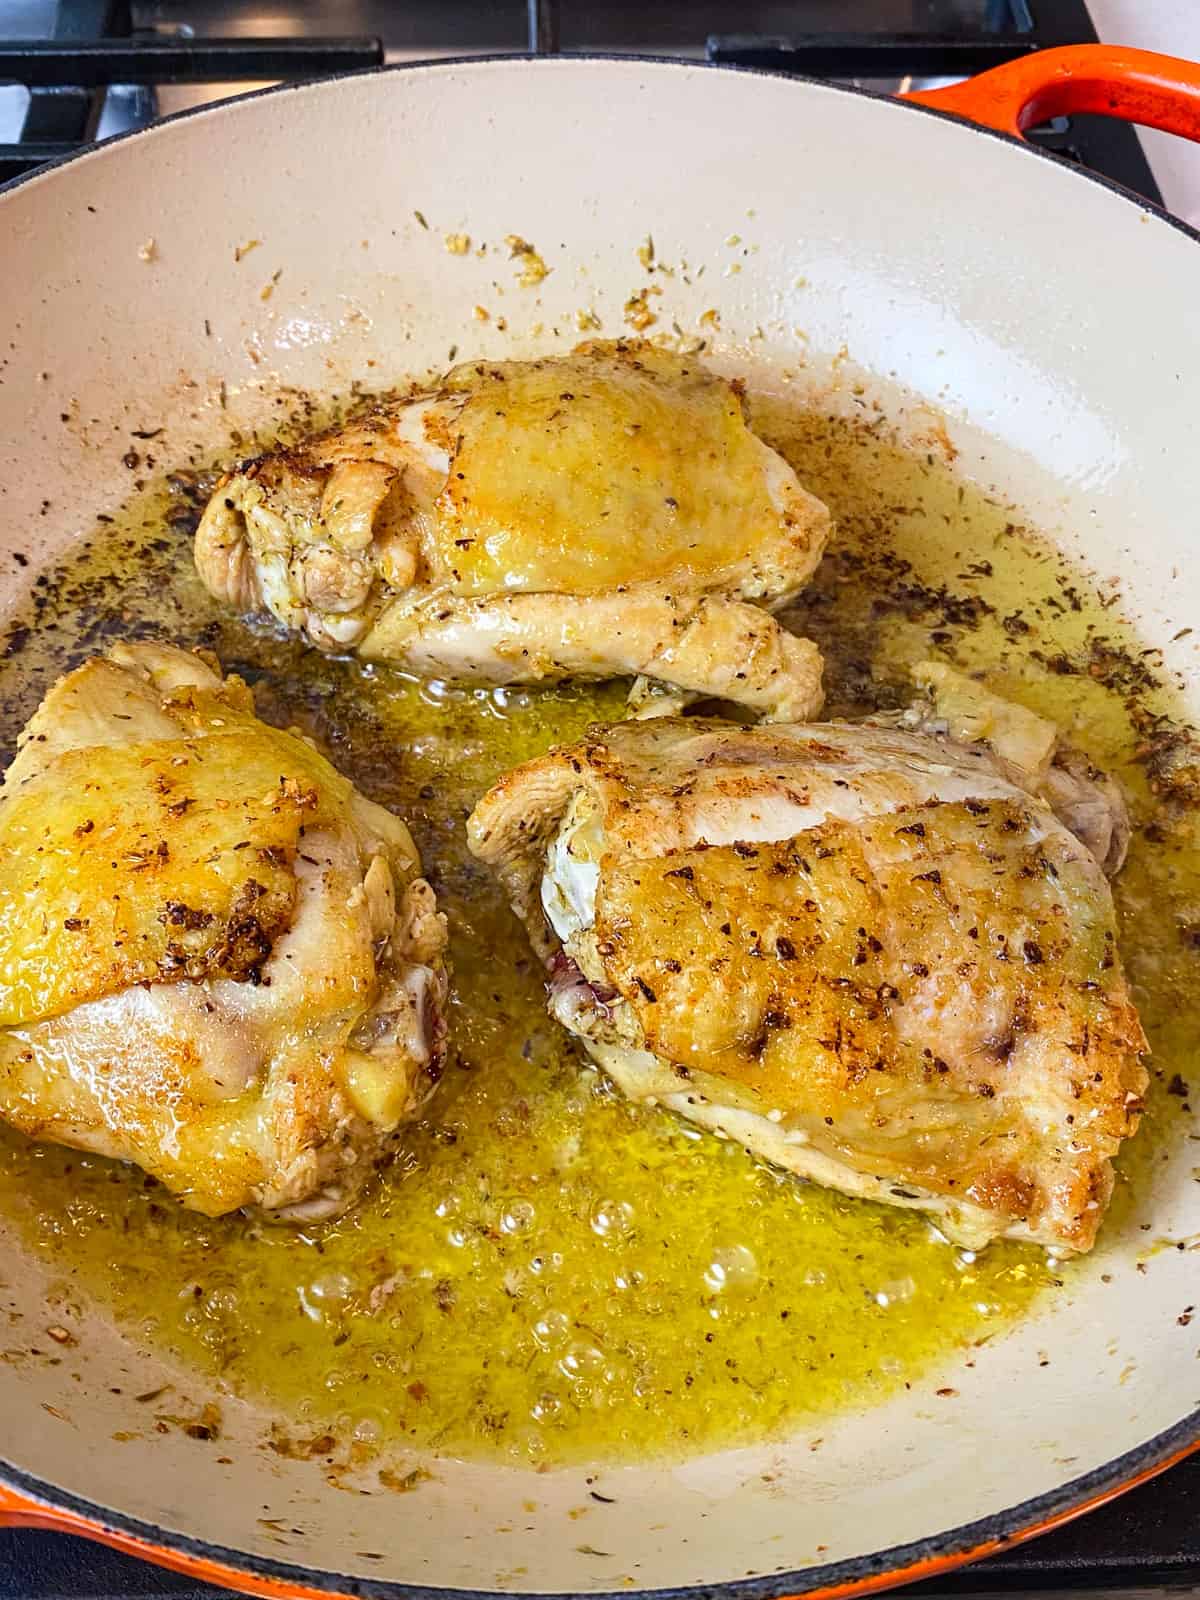
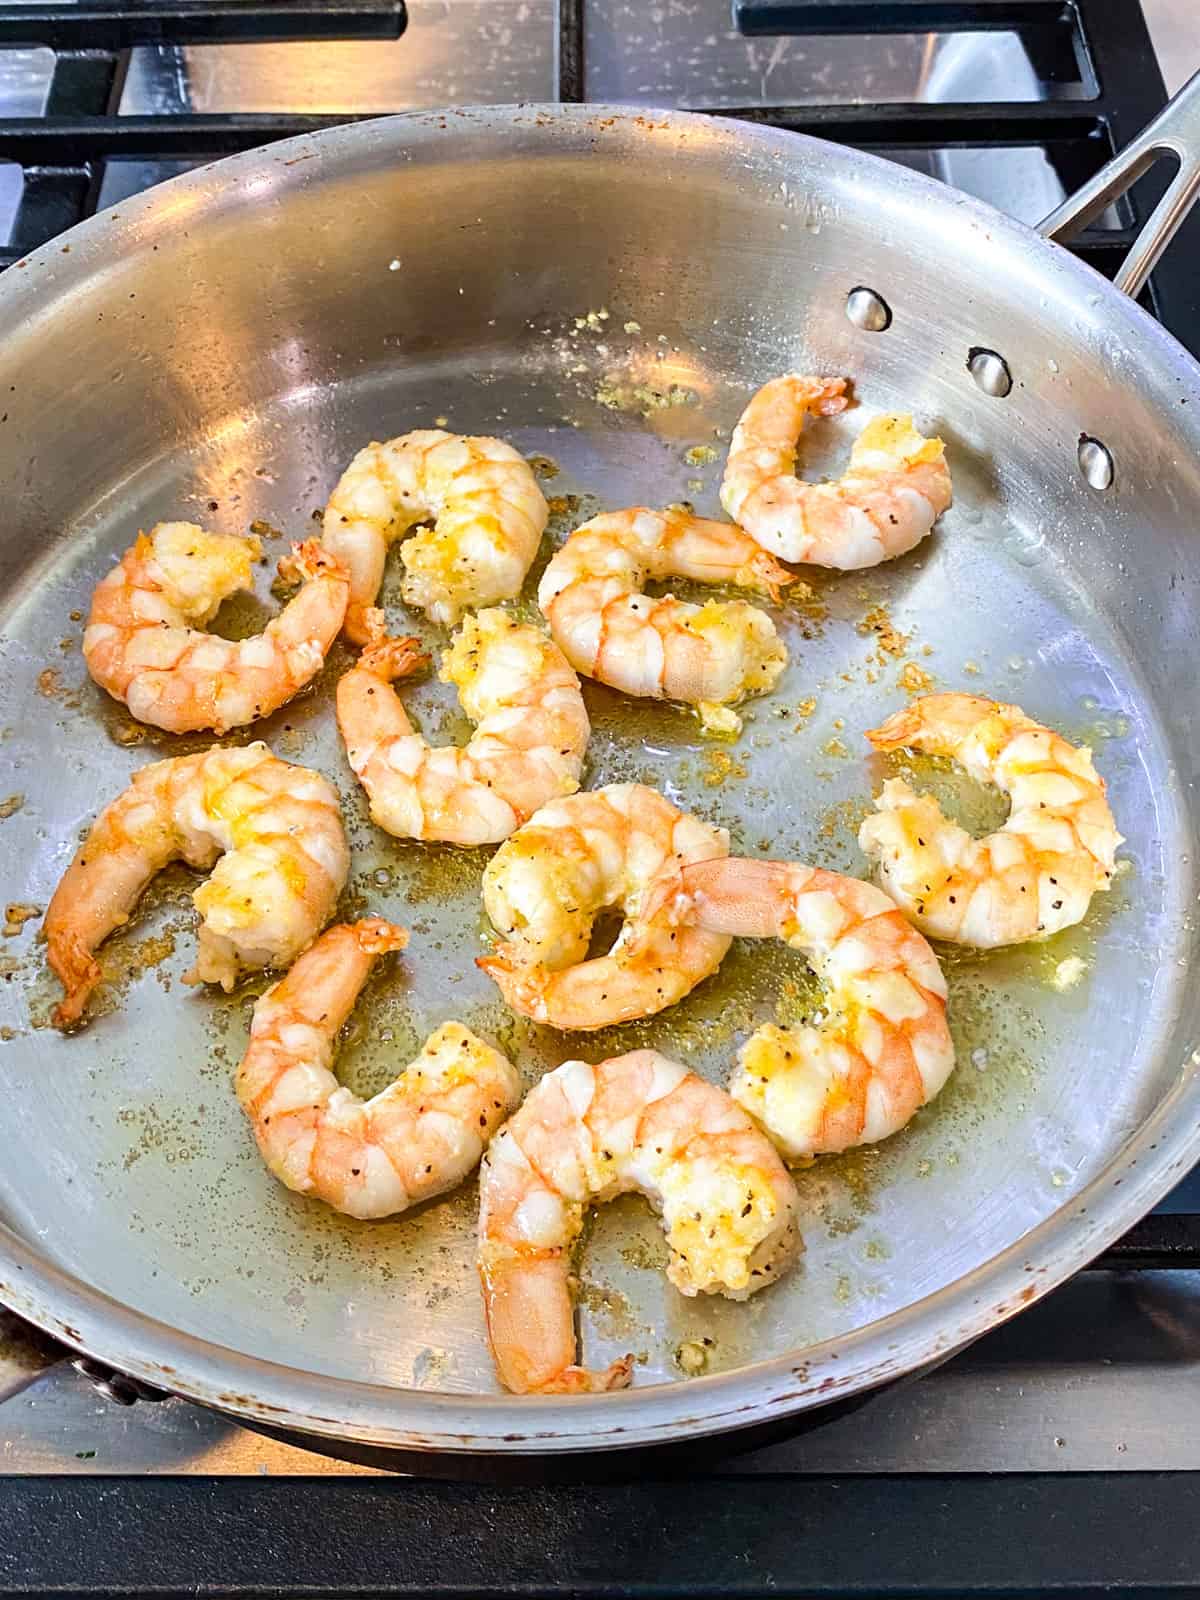
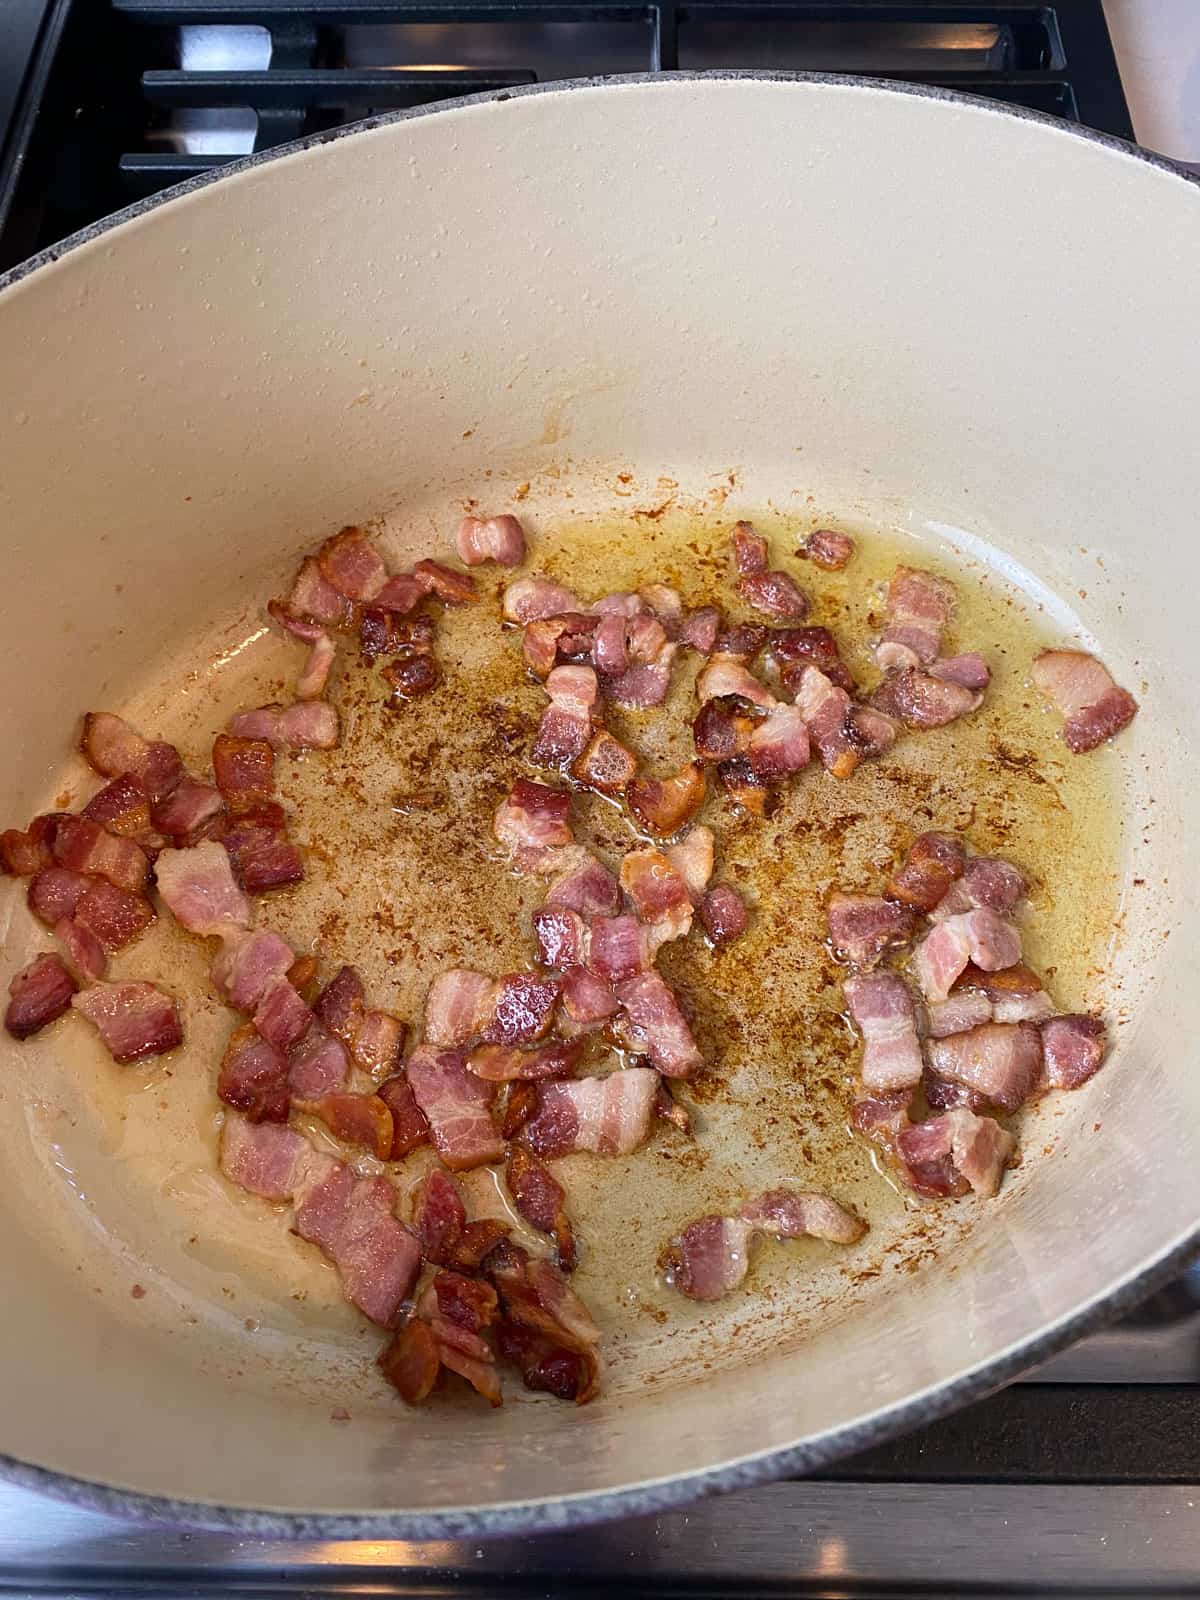
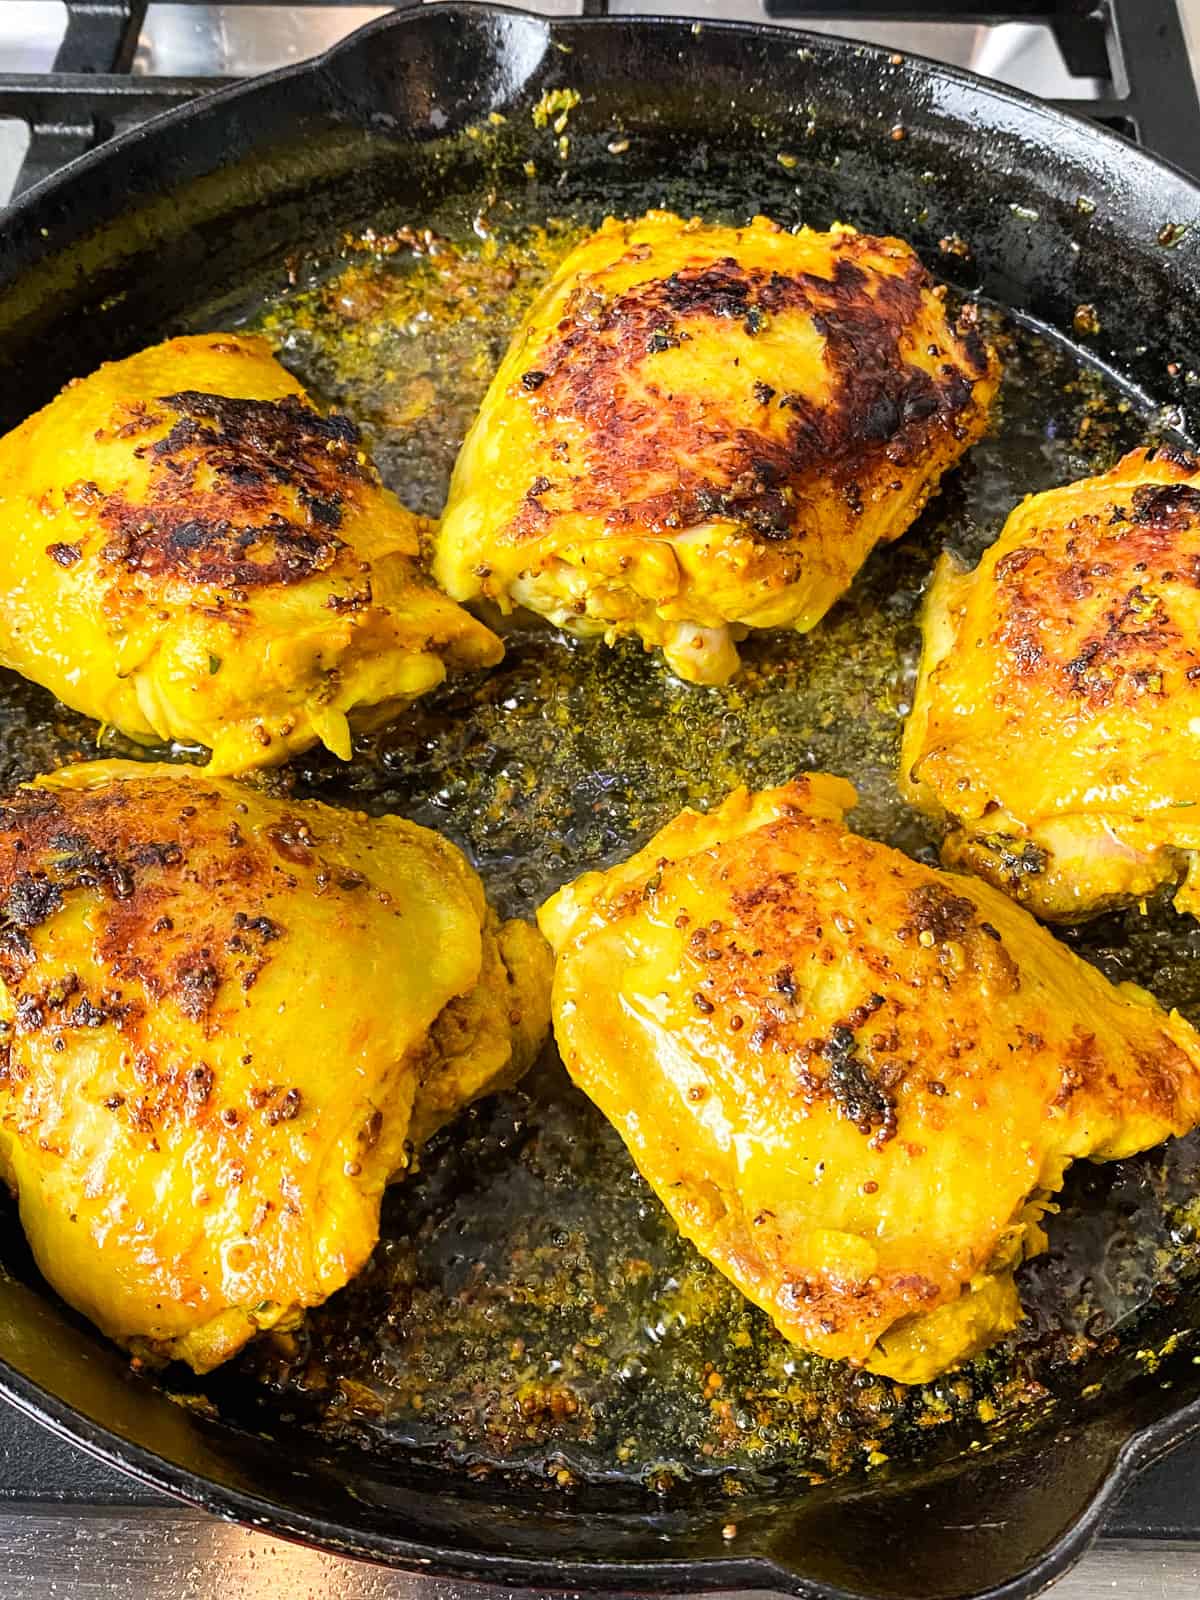
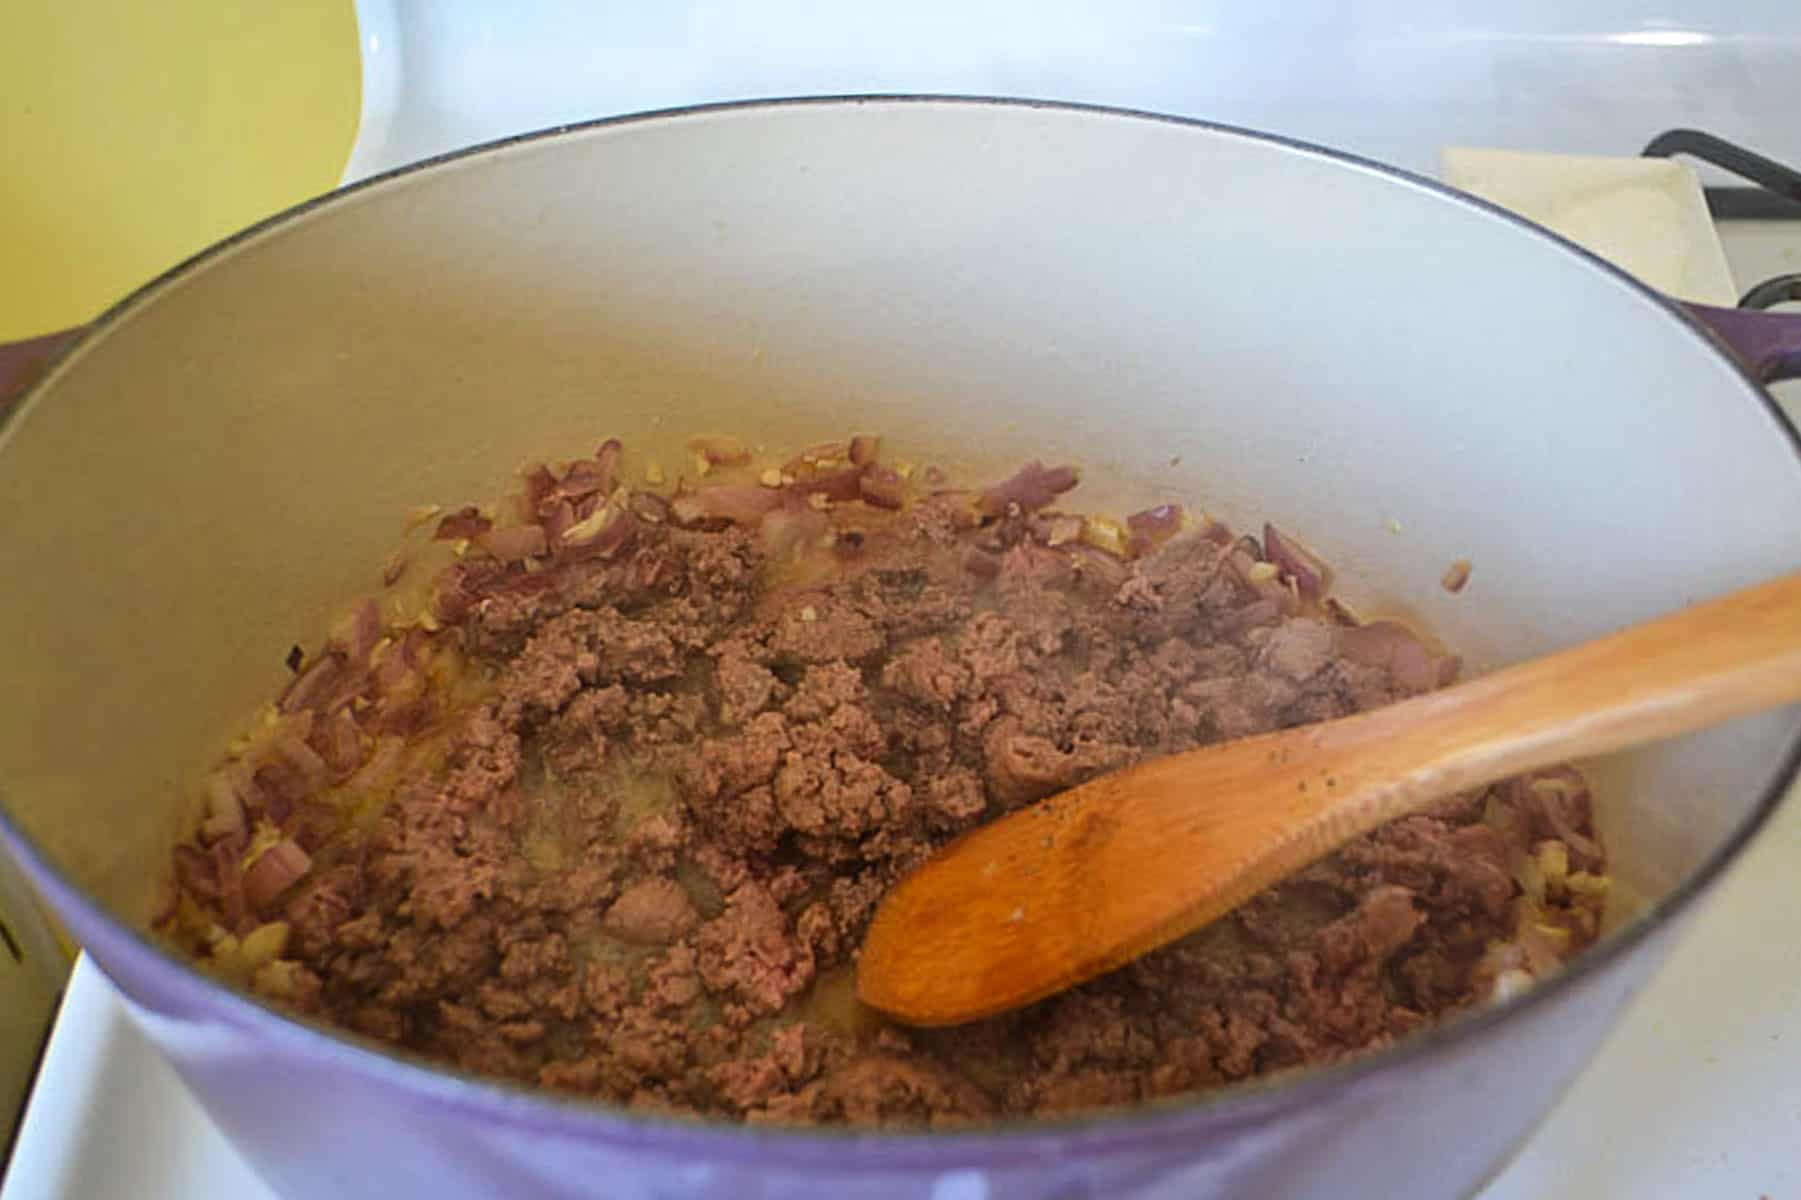
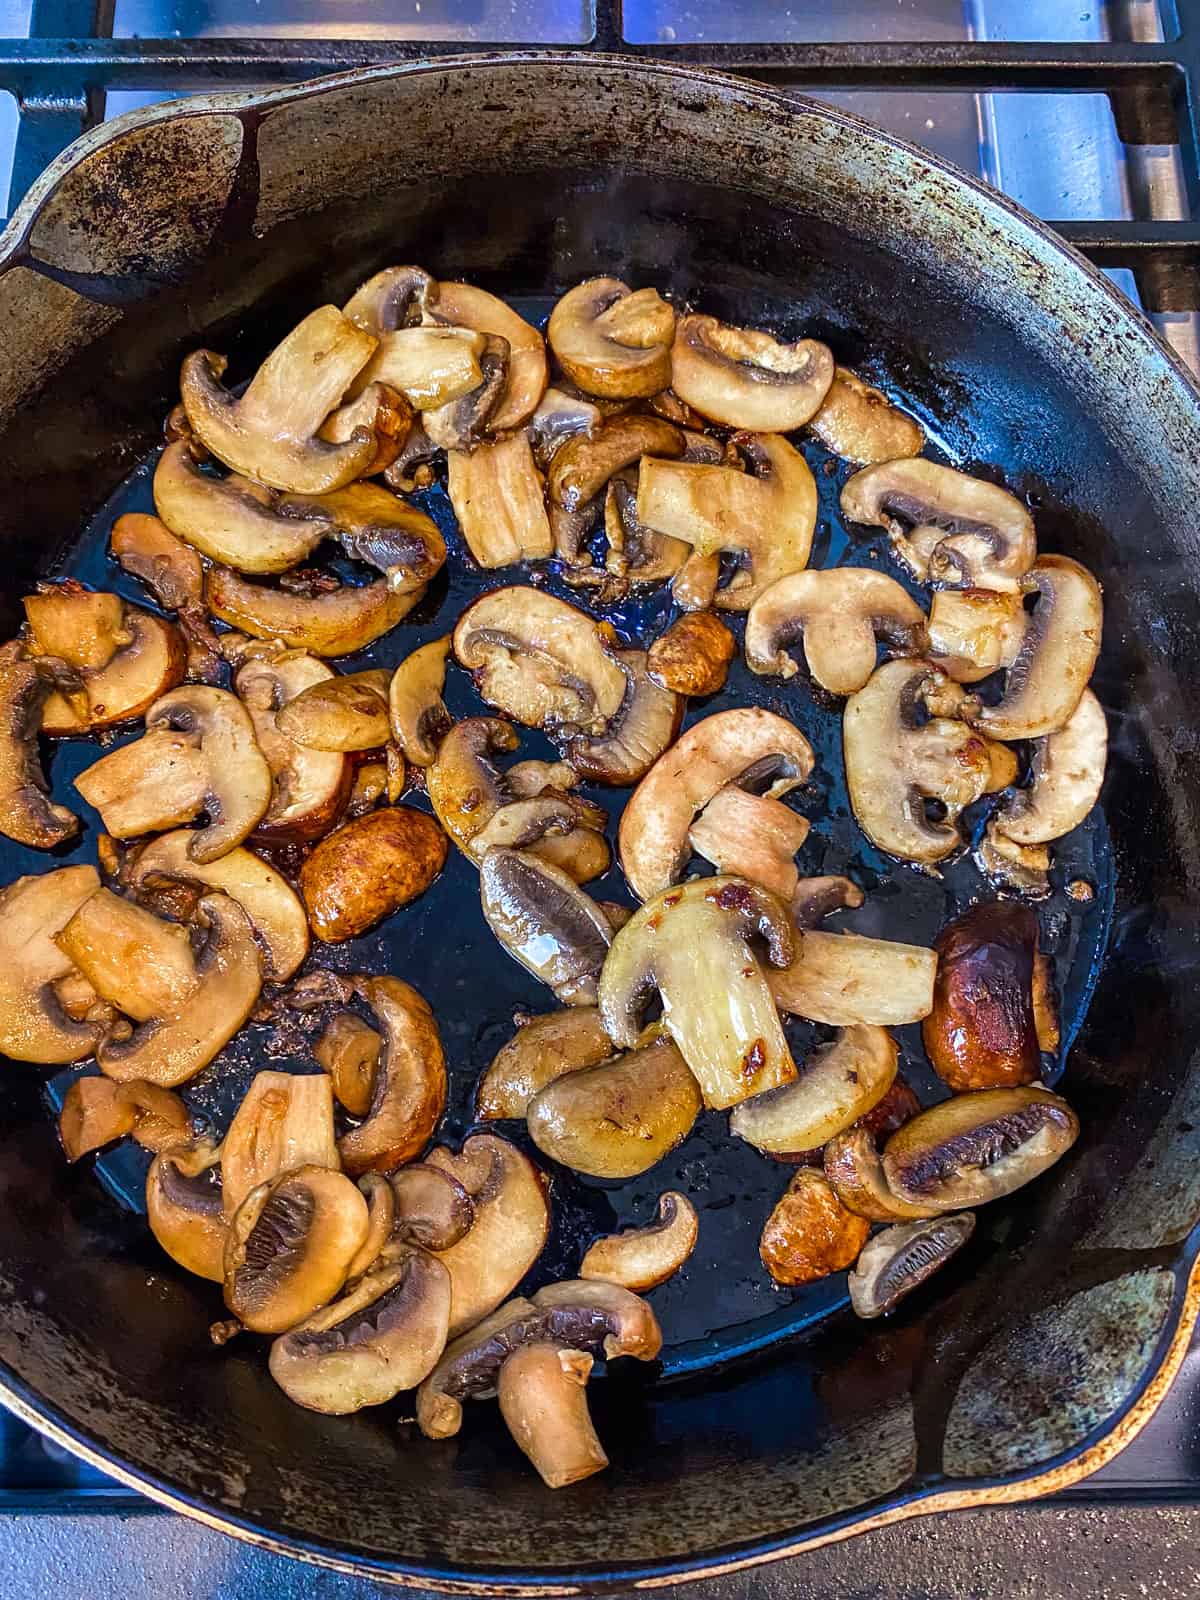
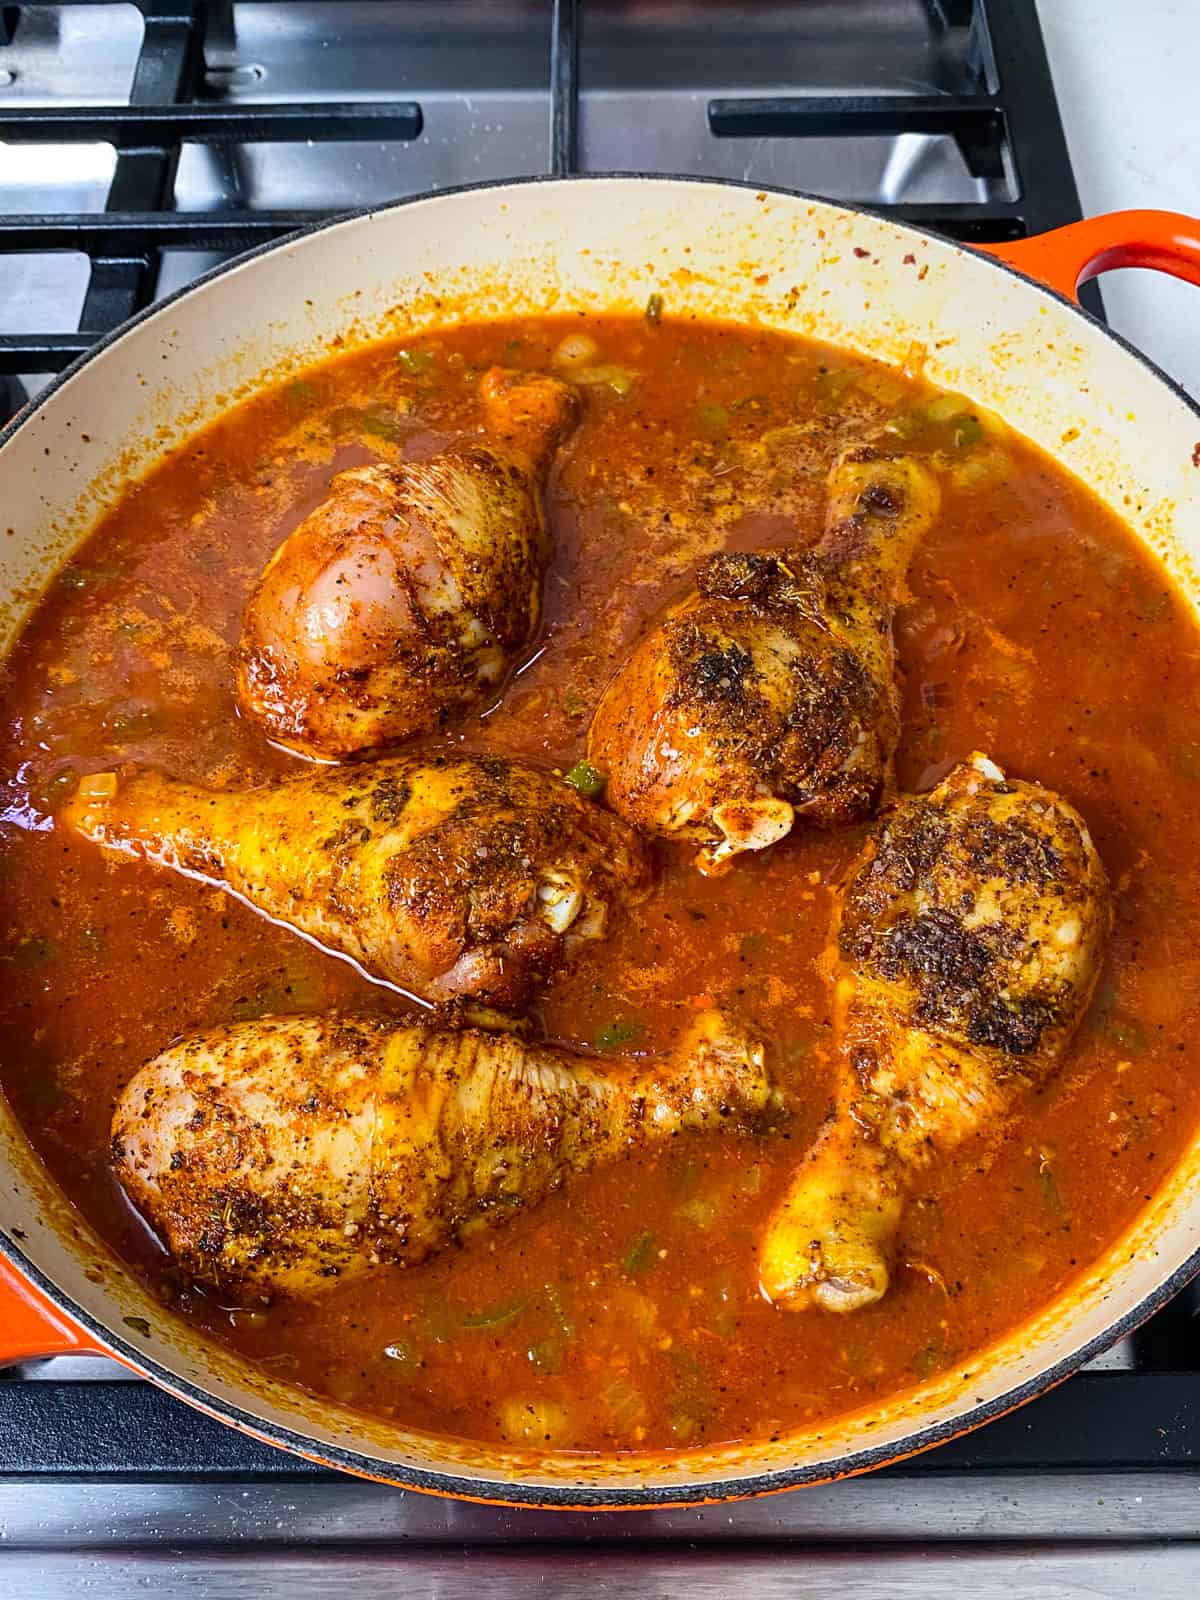
Step 2. Heat a wide Dutch oven to medium-high heat and drizzle with olive oil. Once hot, sear the chicken, skin side down for 4-5 minutes until golden brown.
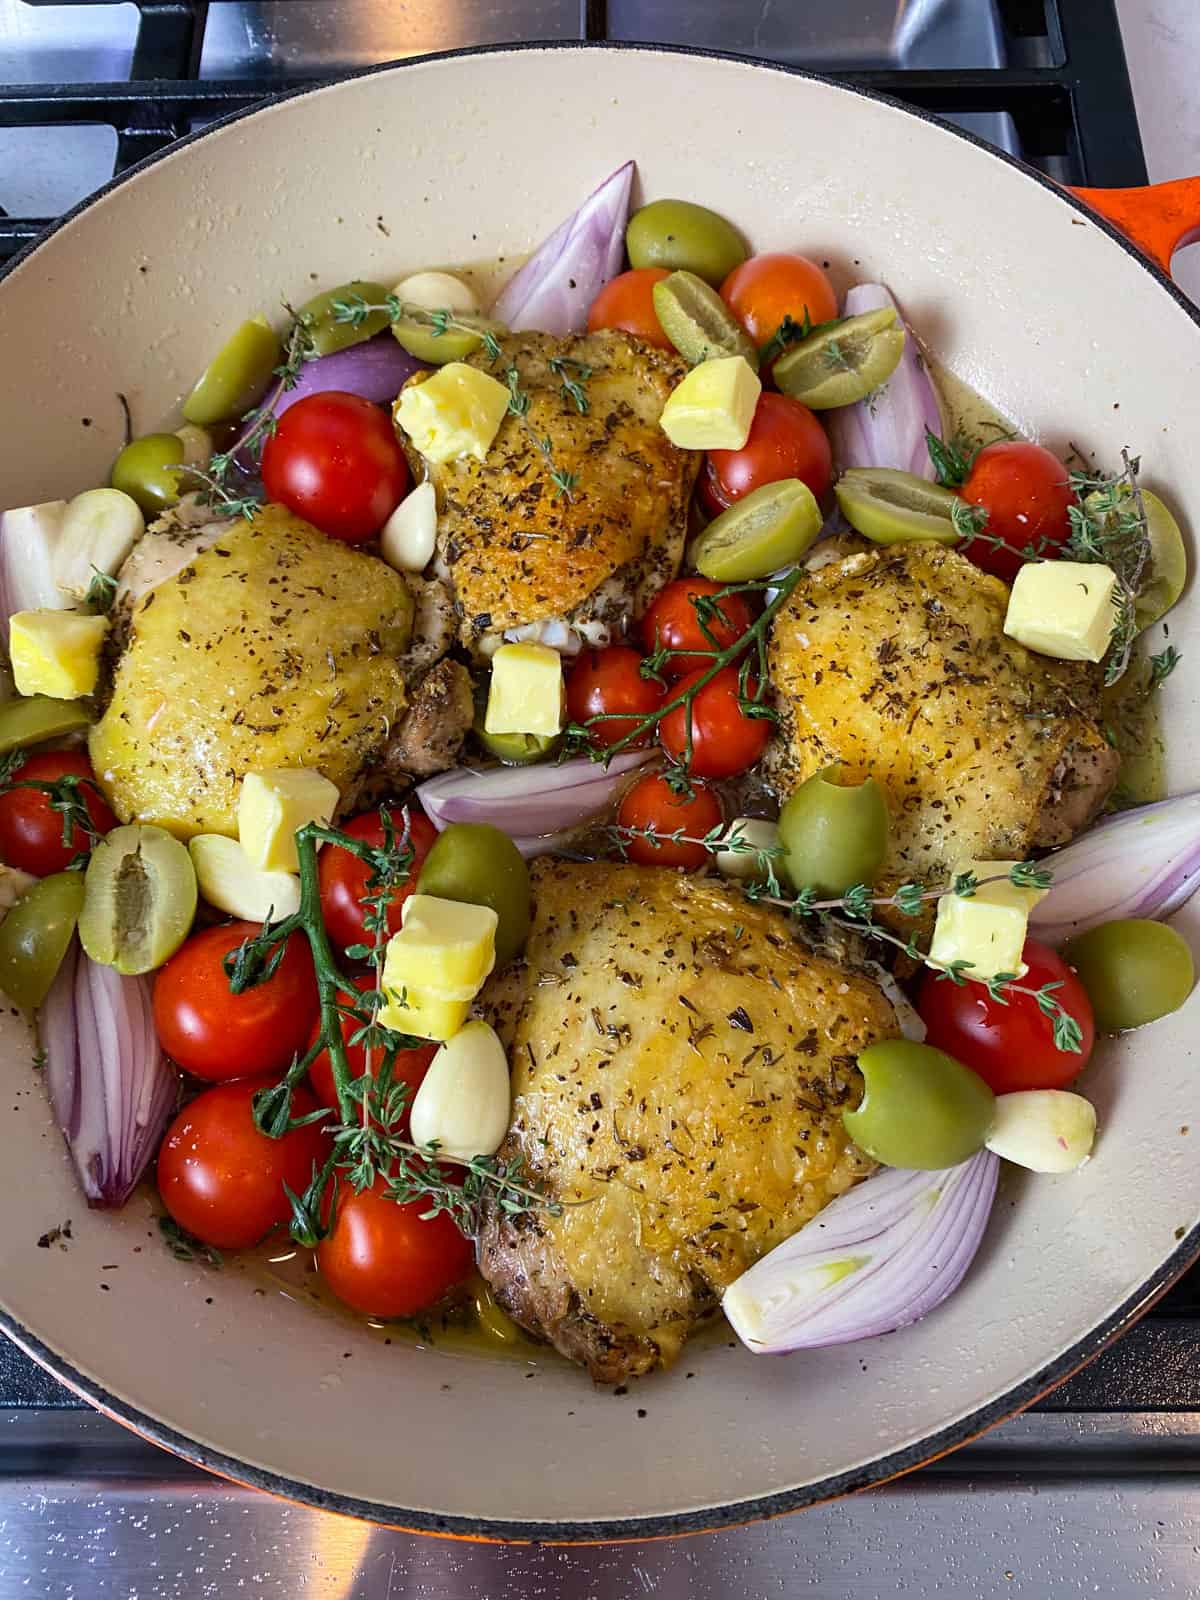
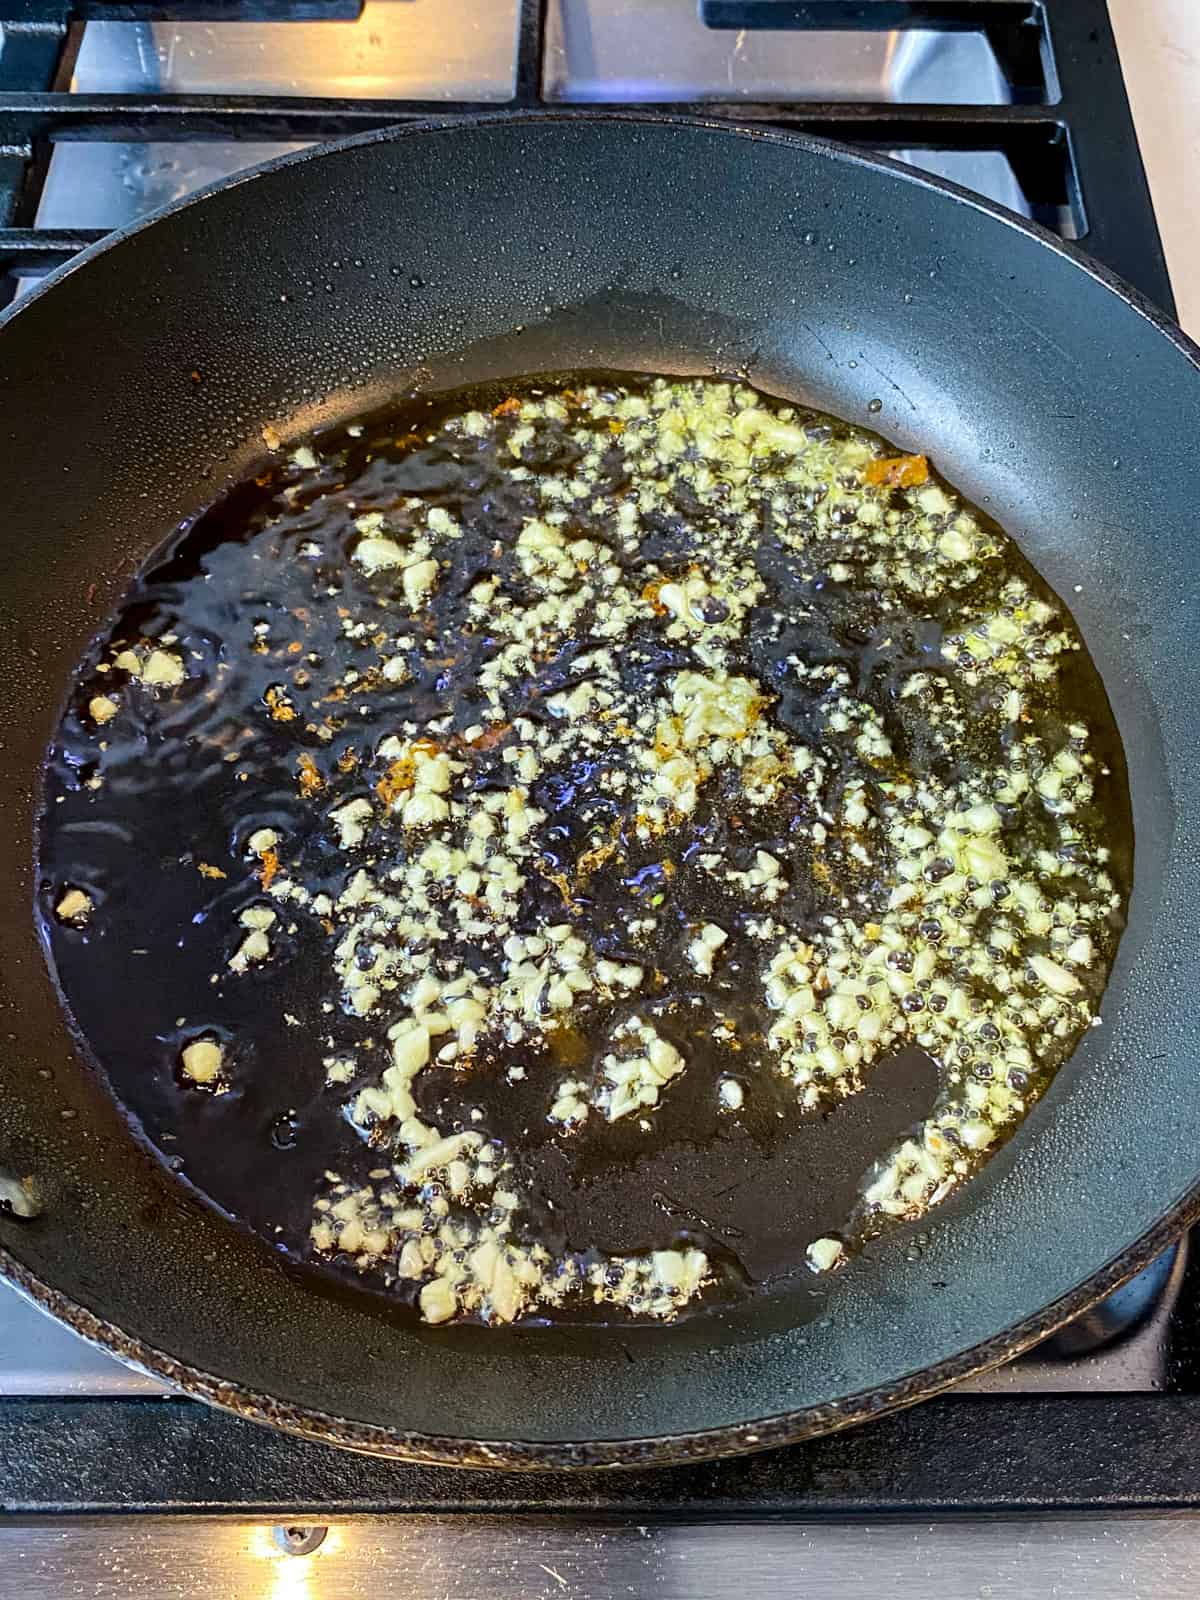
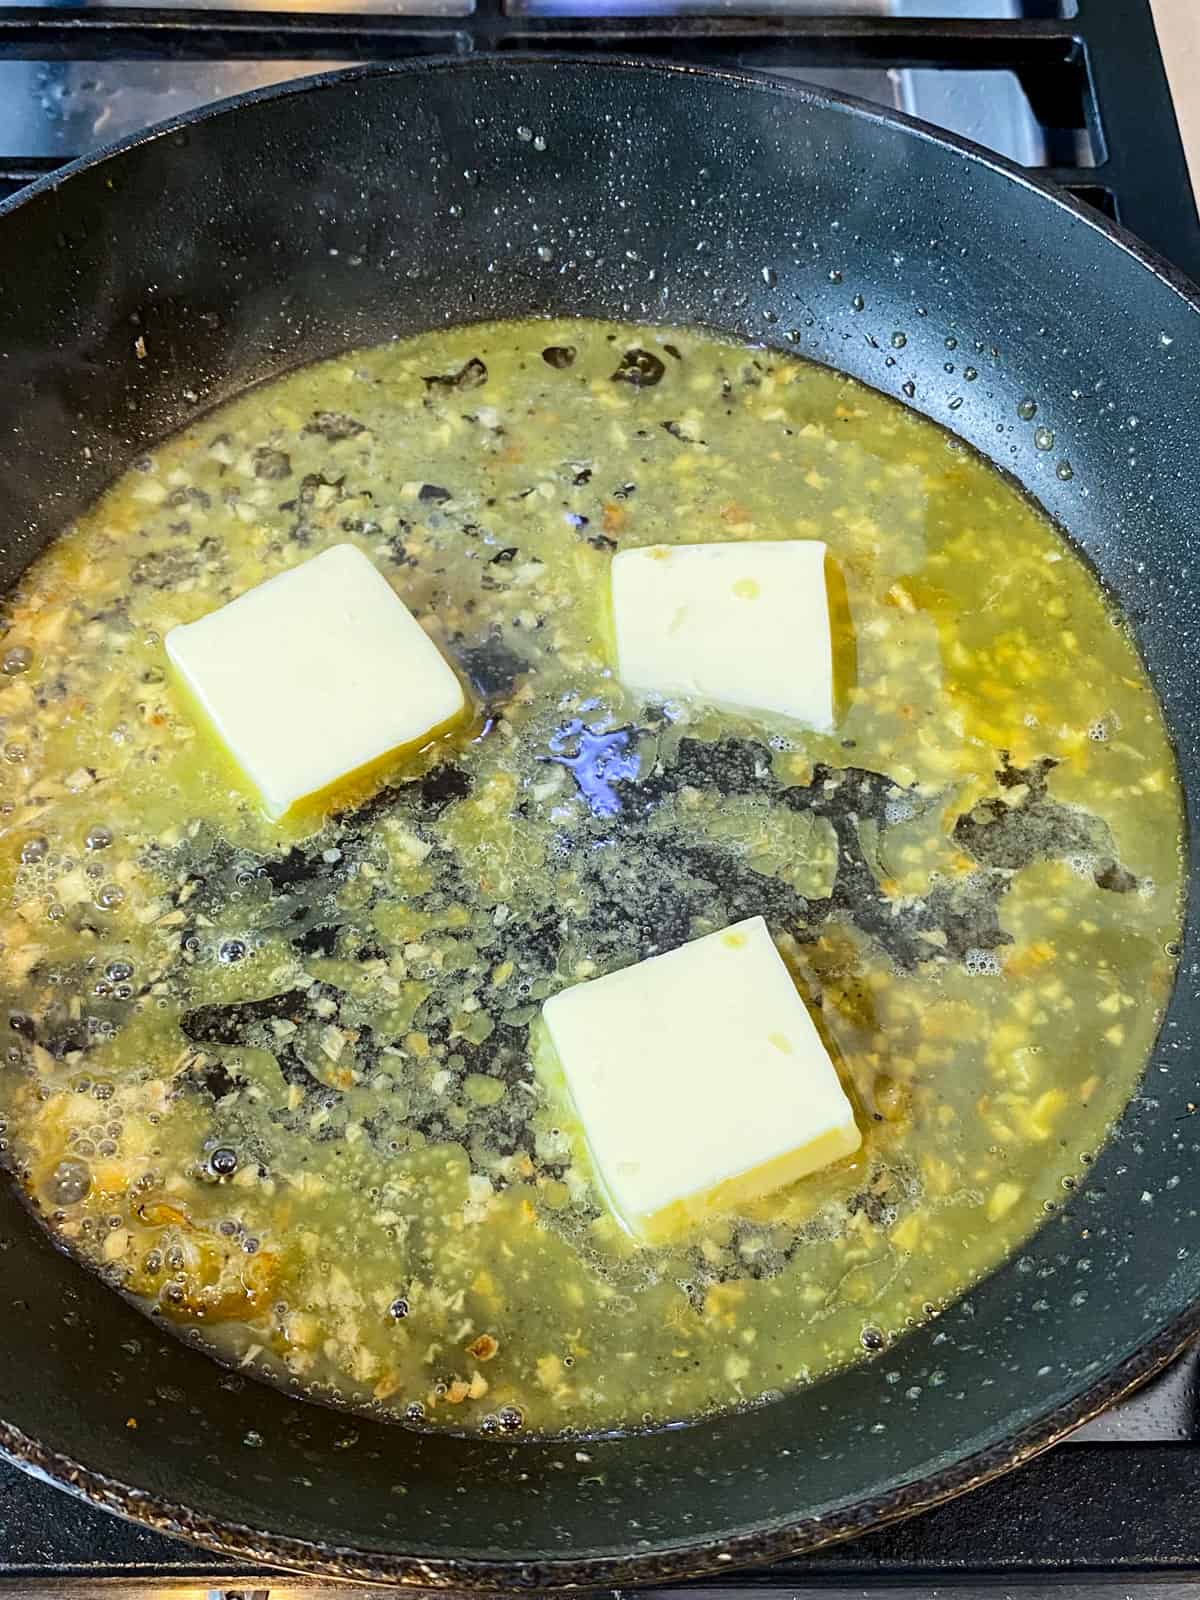
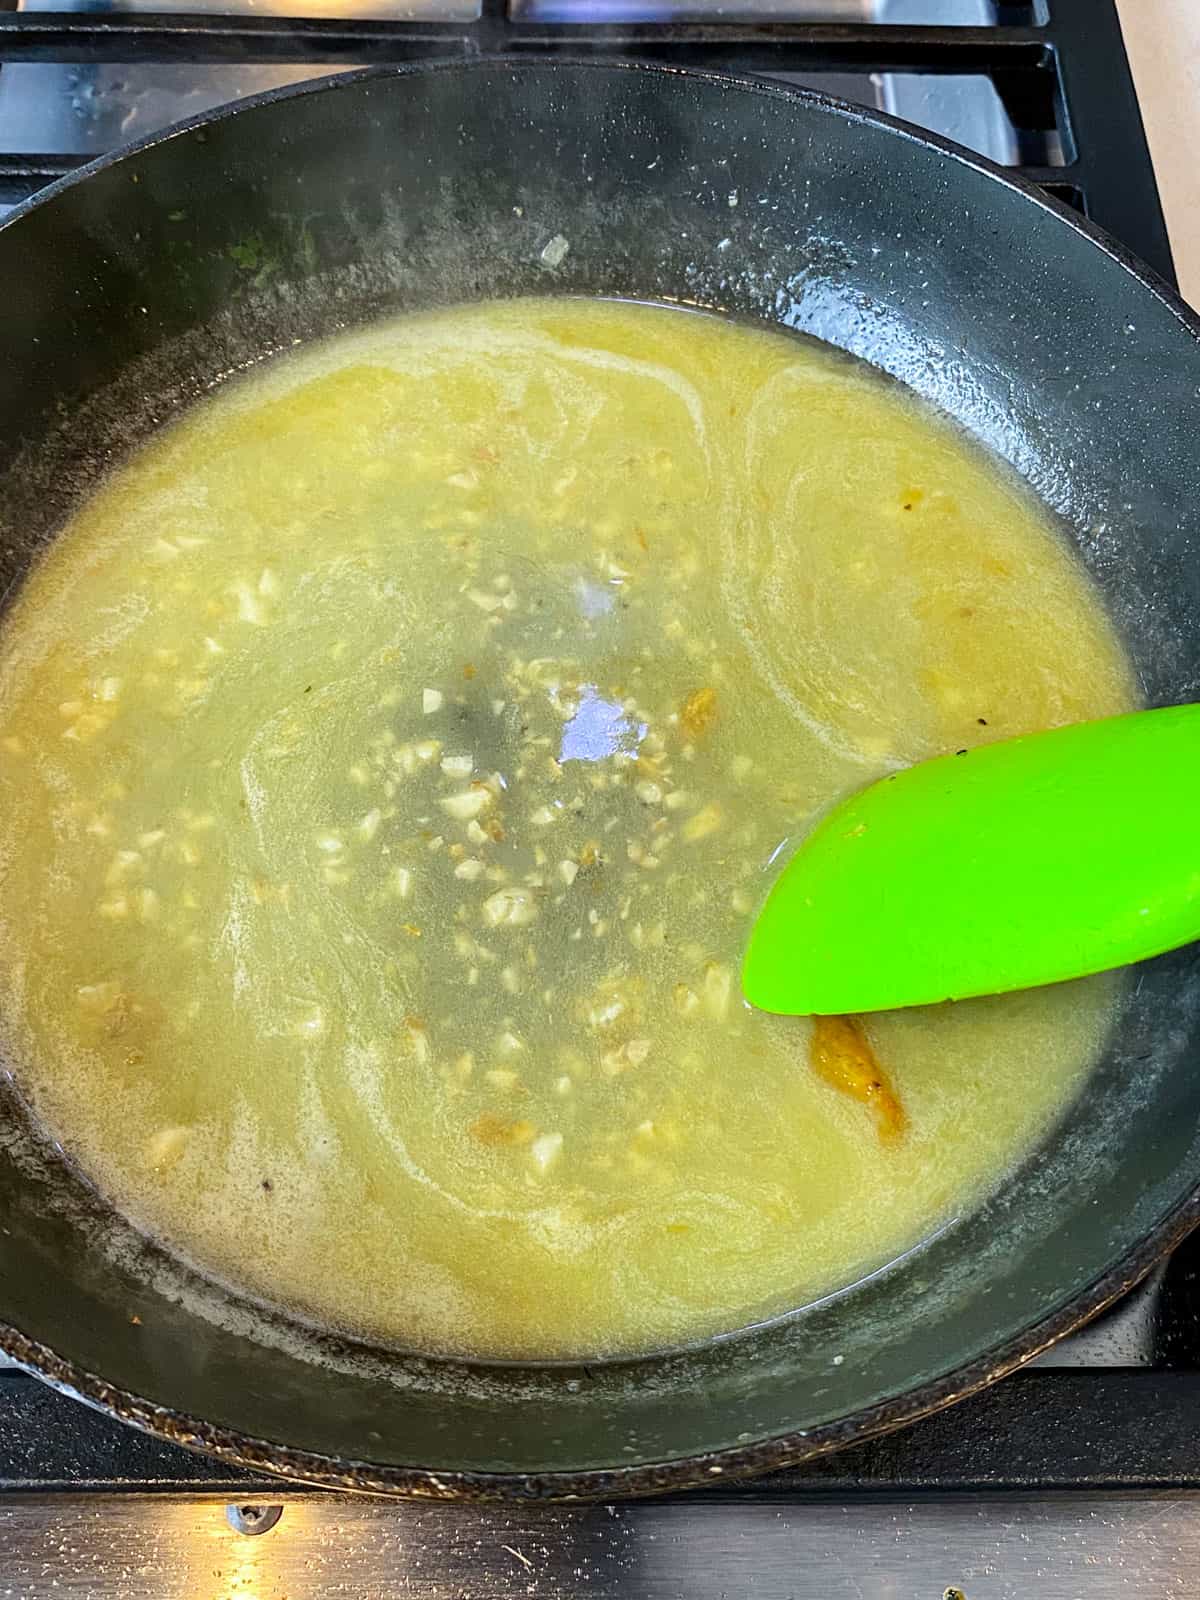
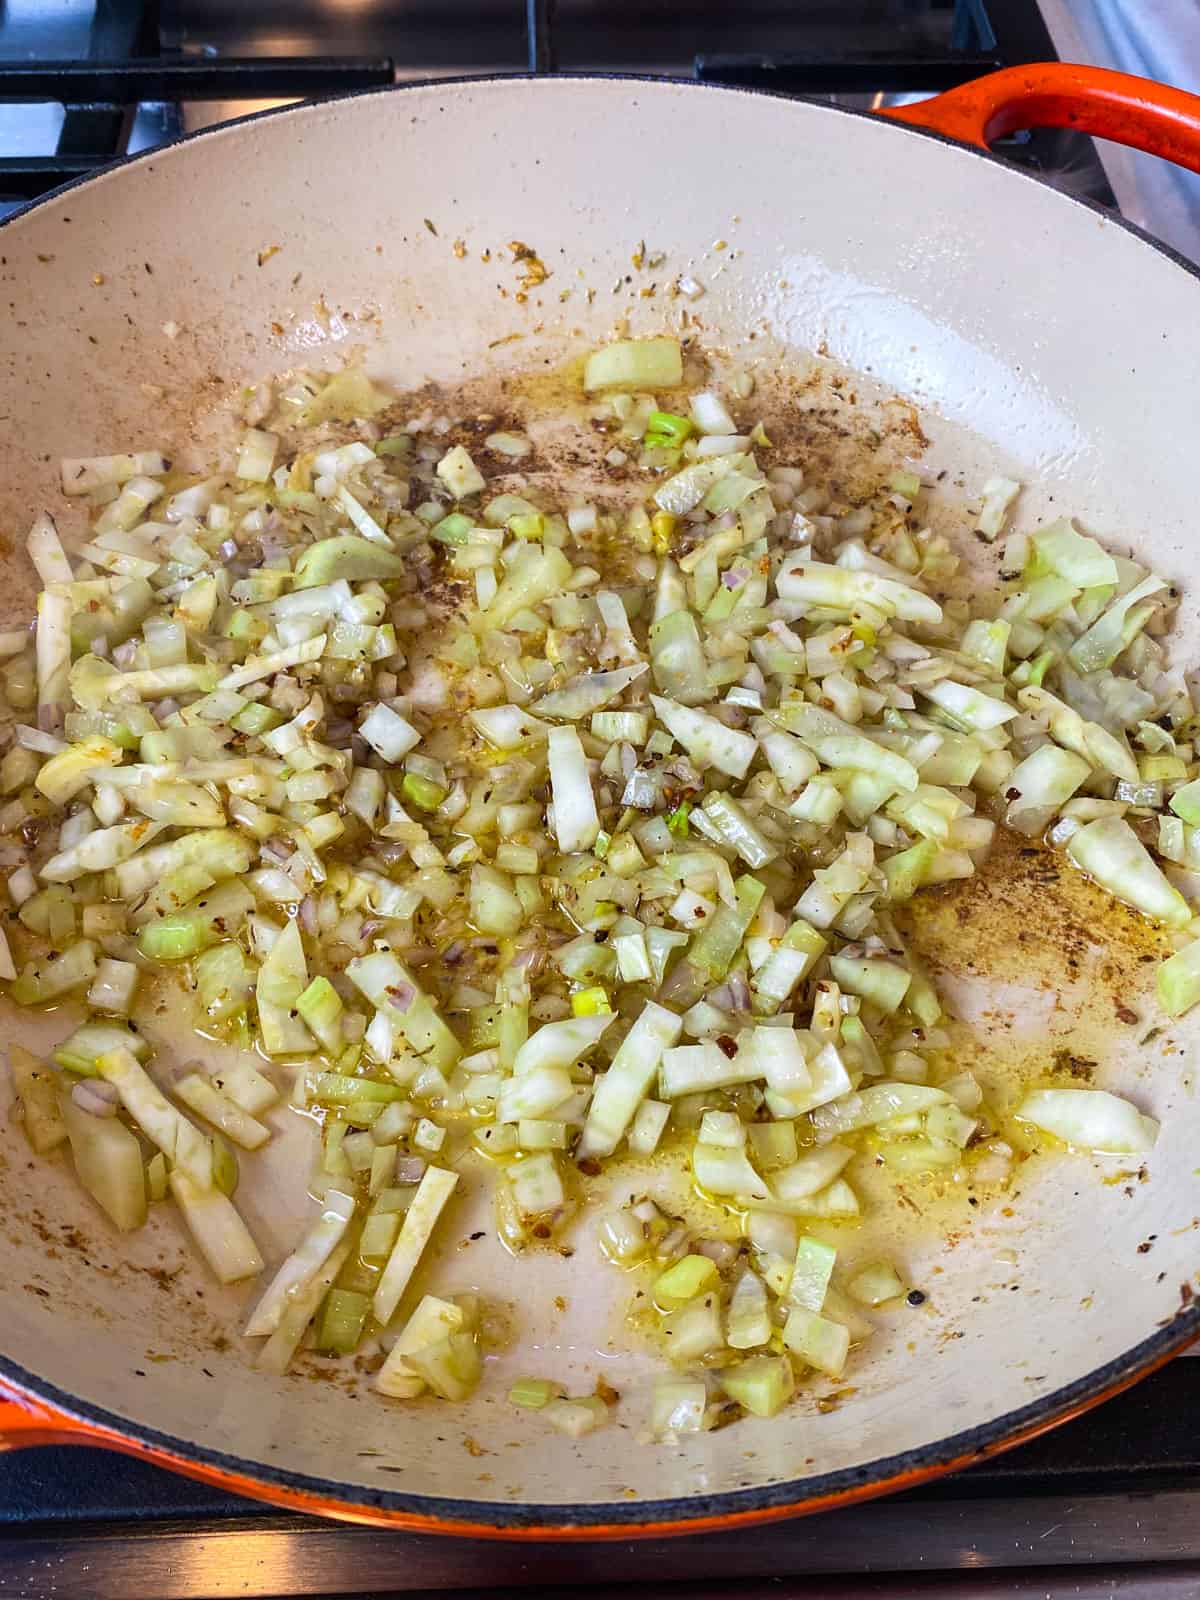
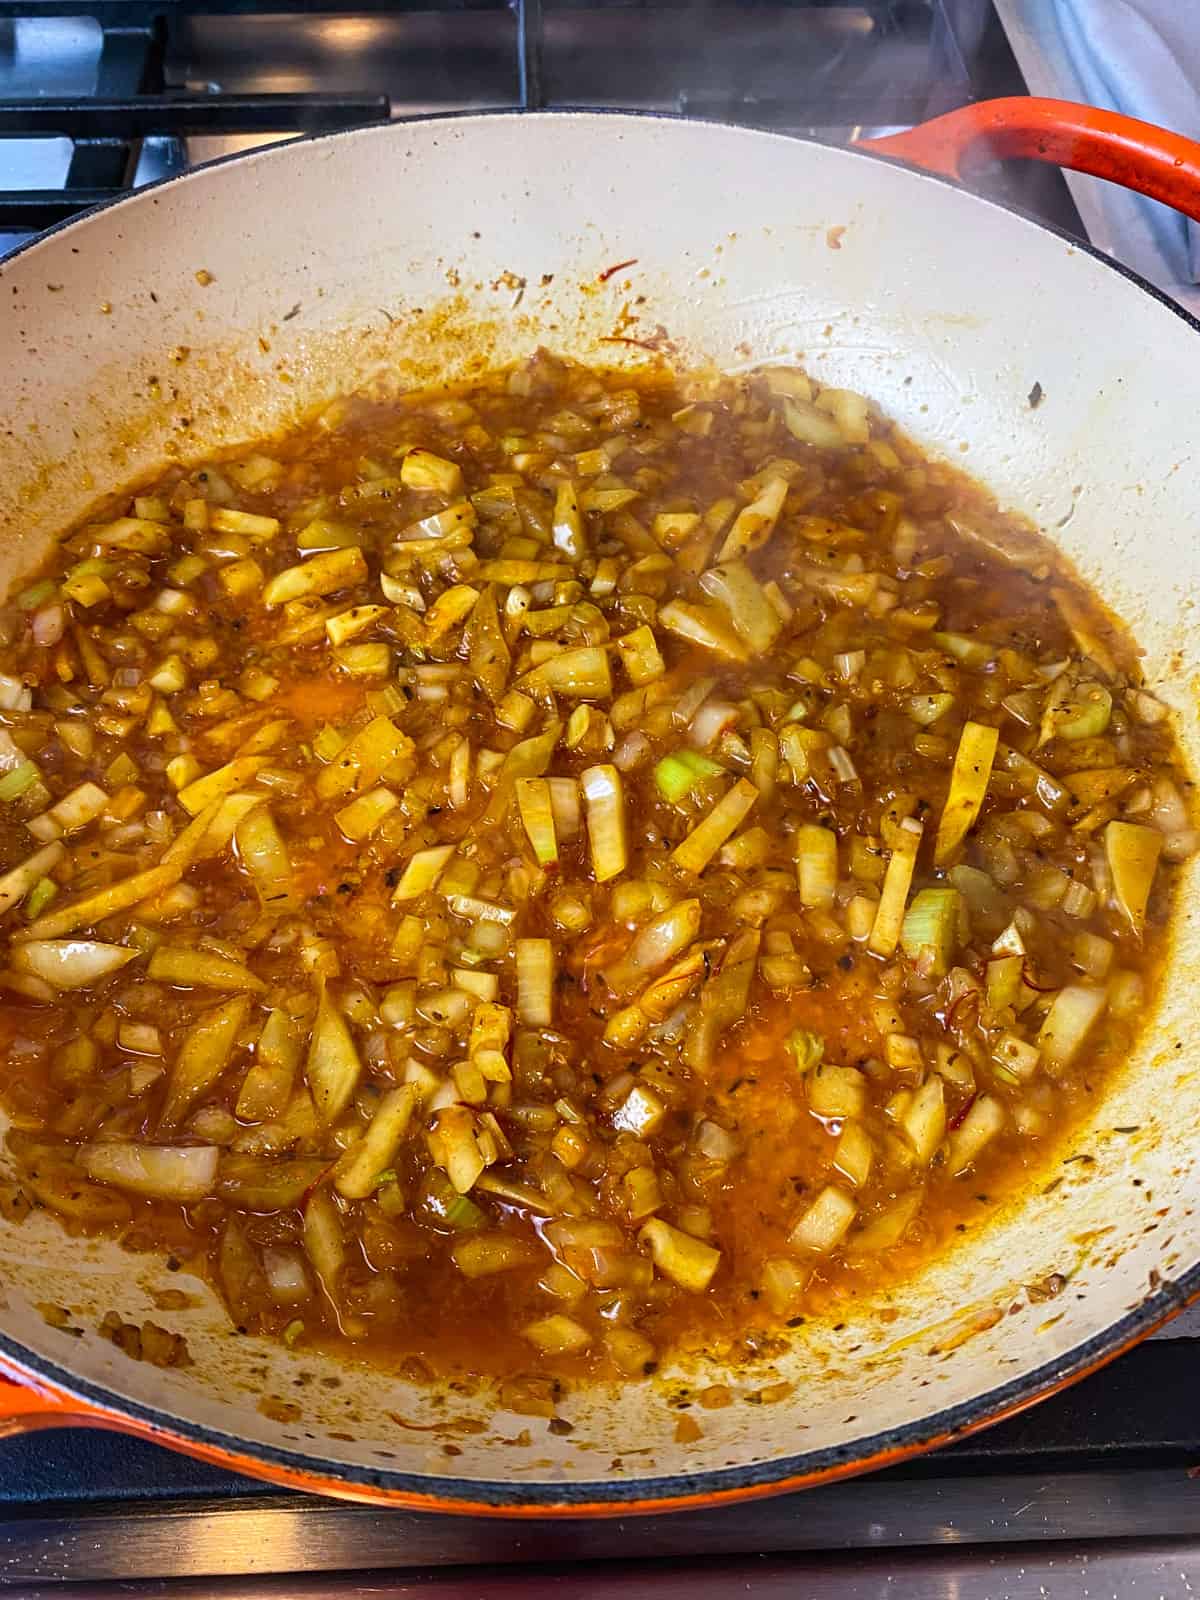
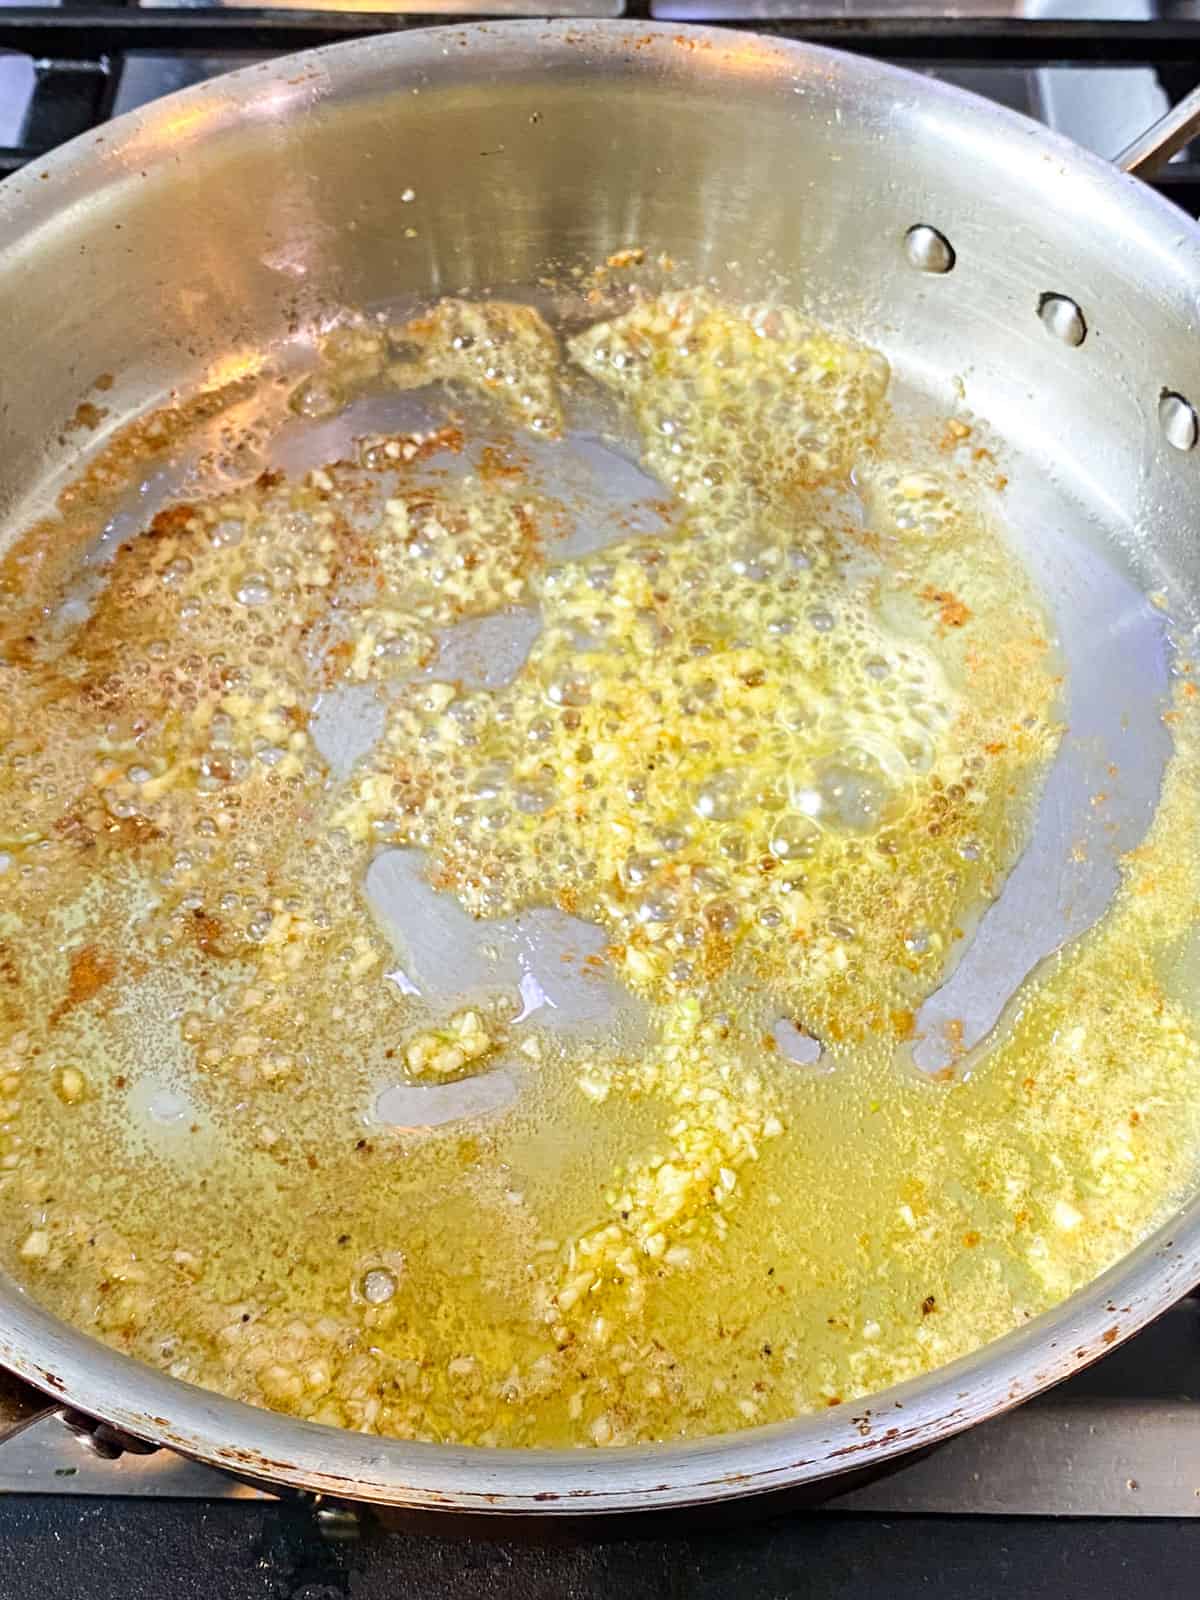
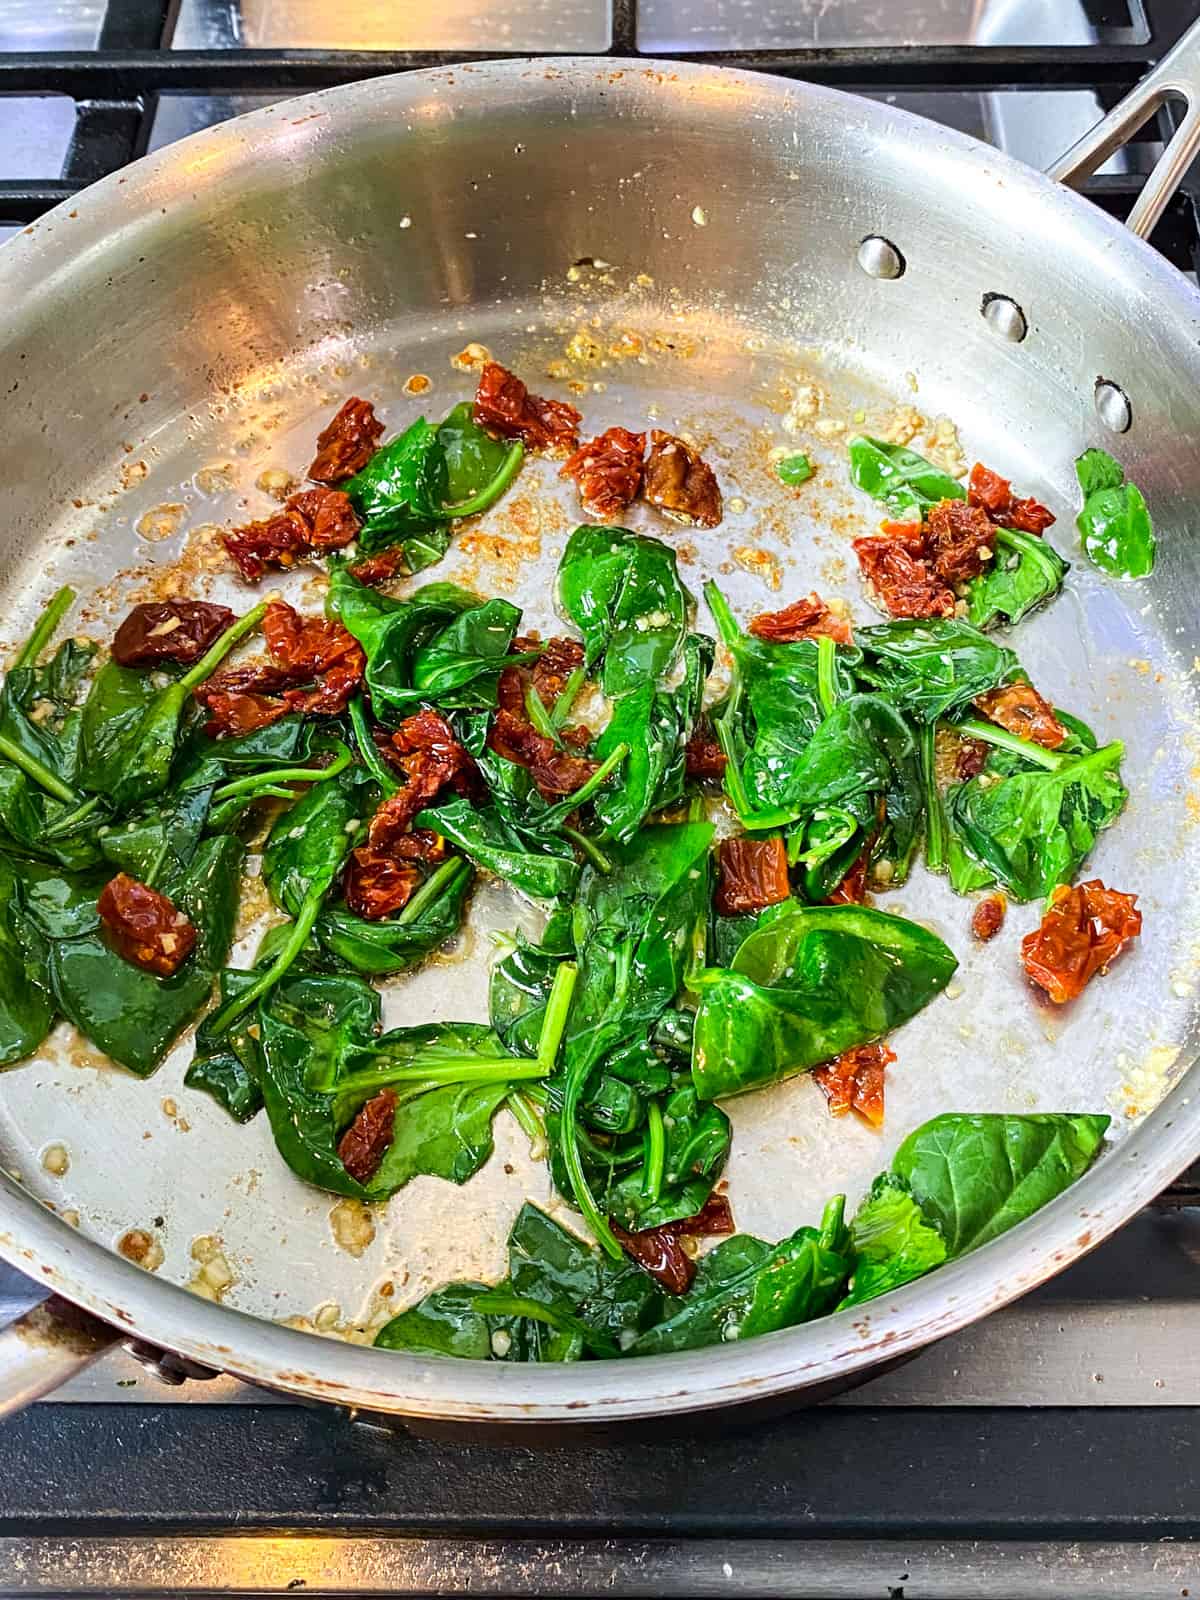
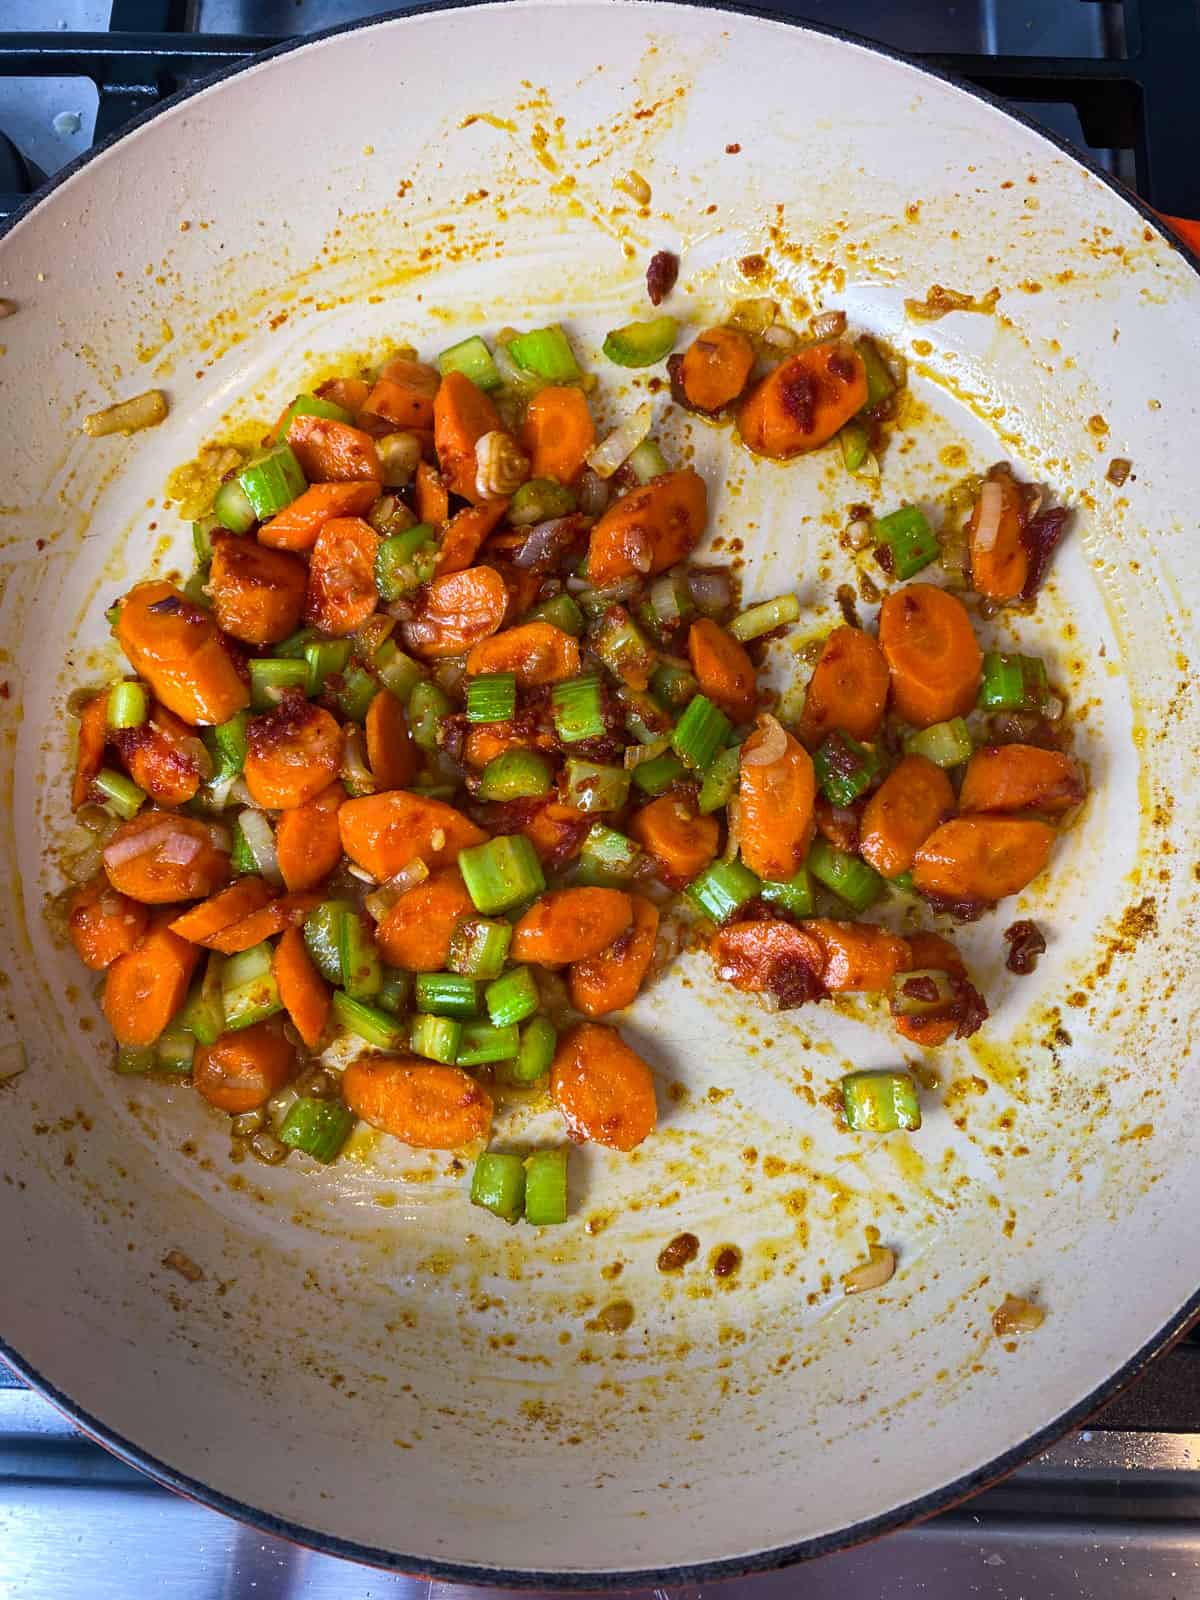
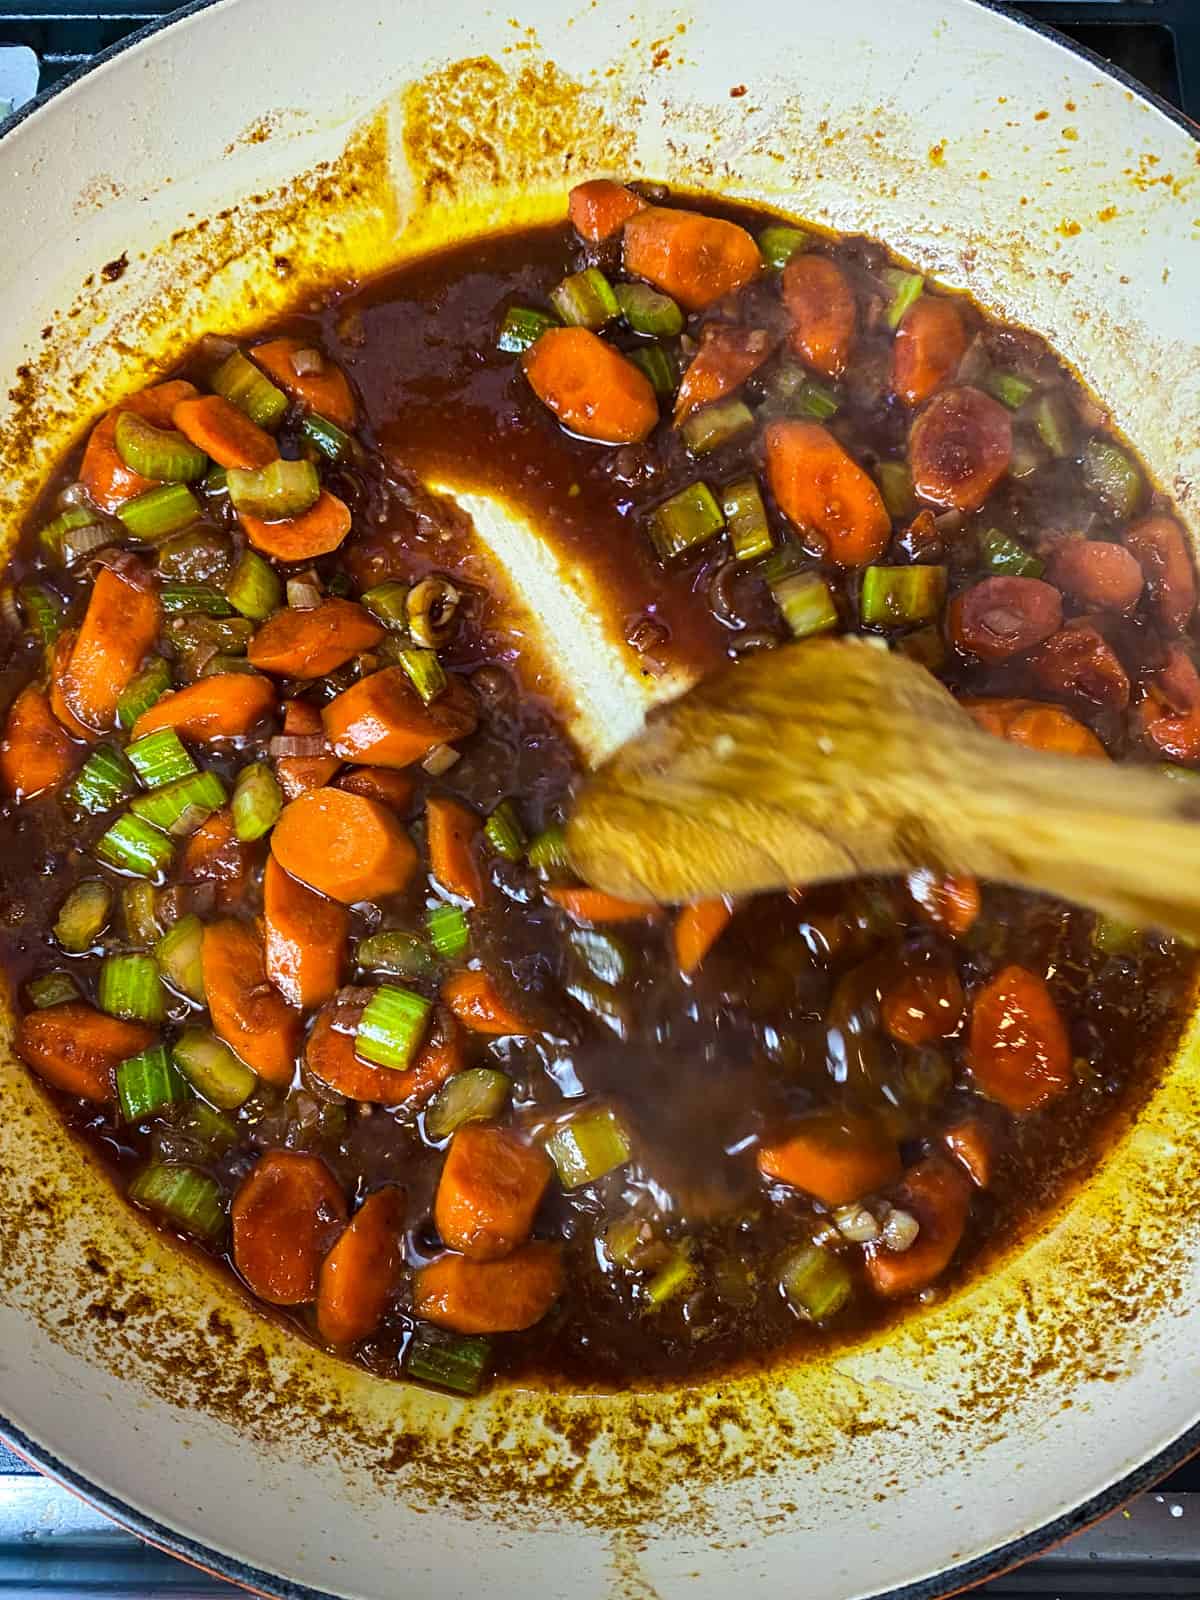
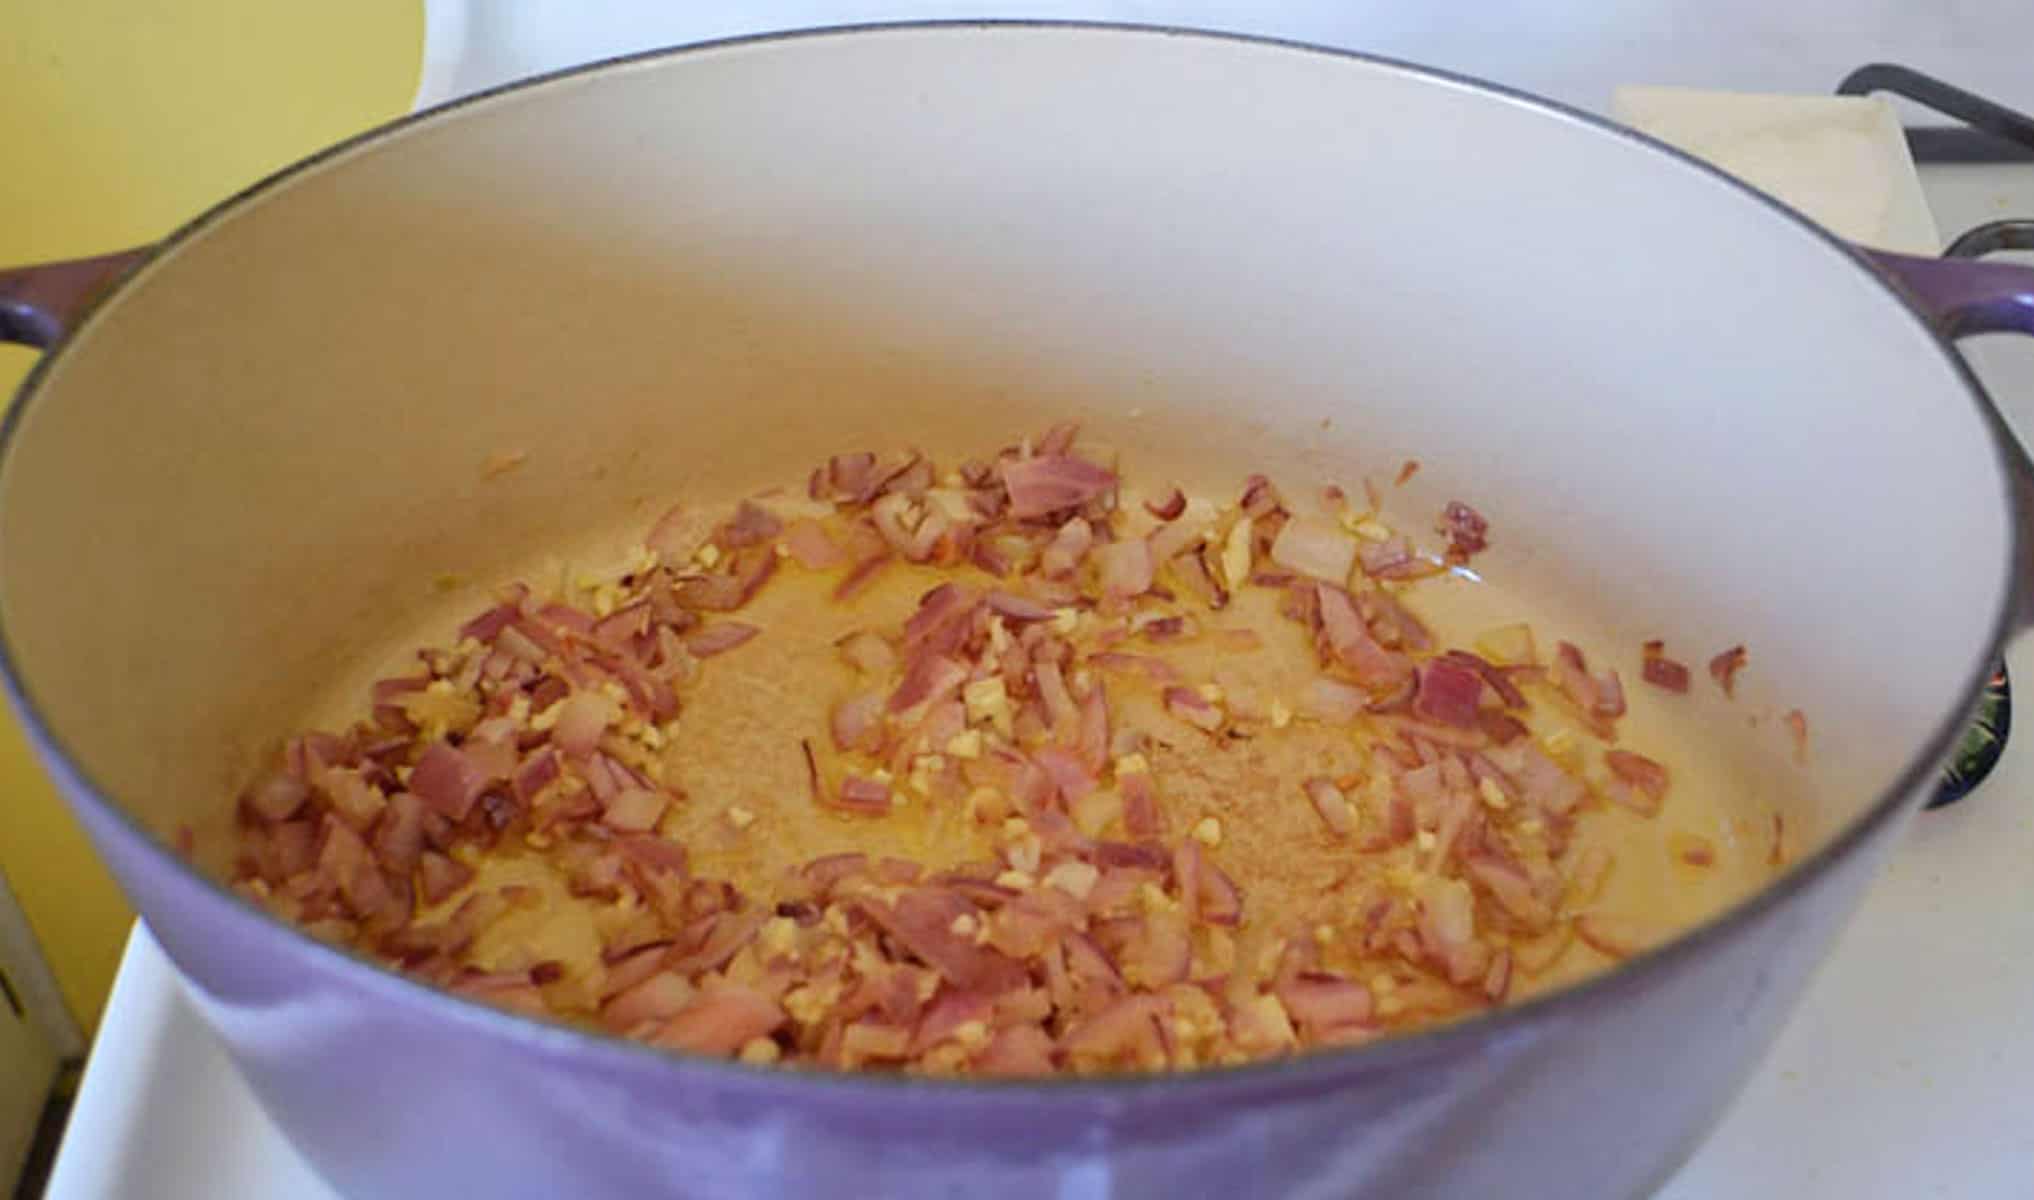
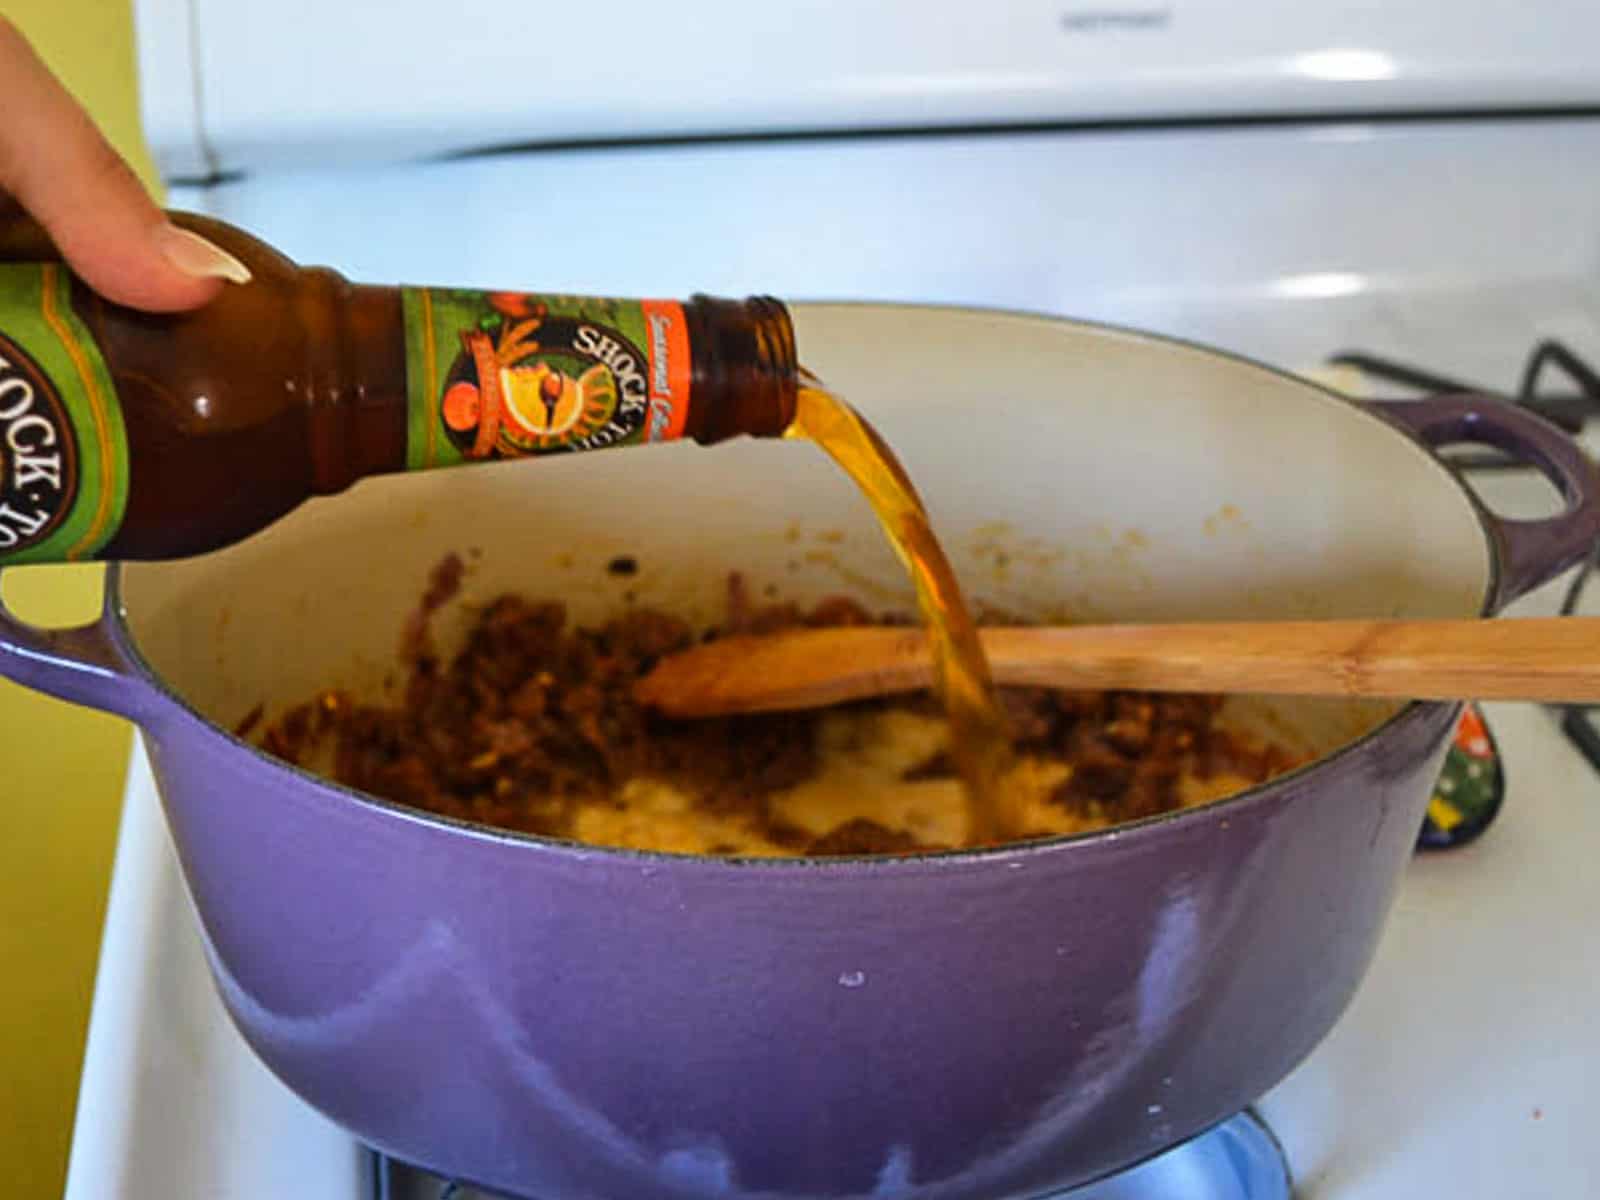
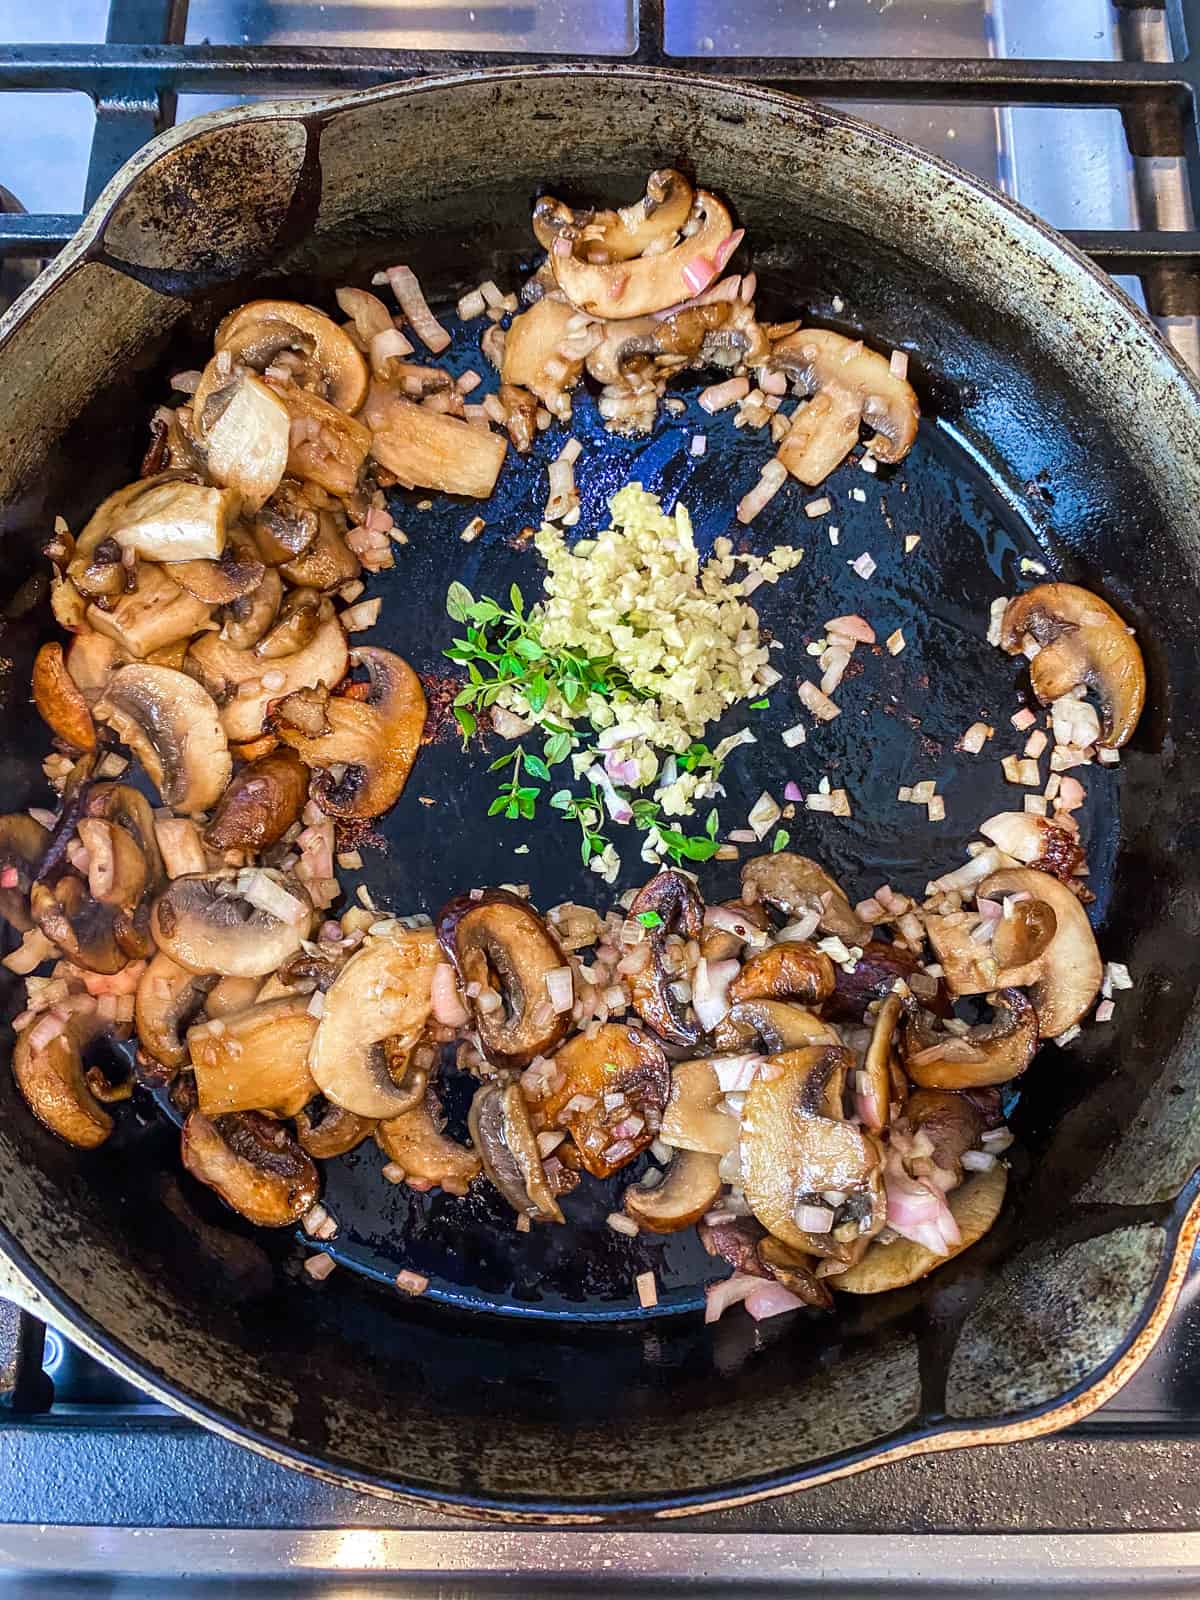
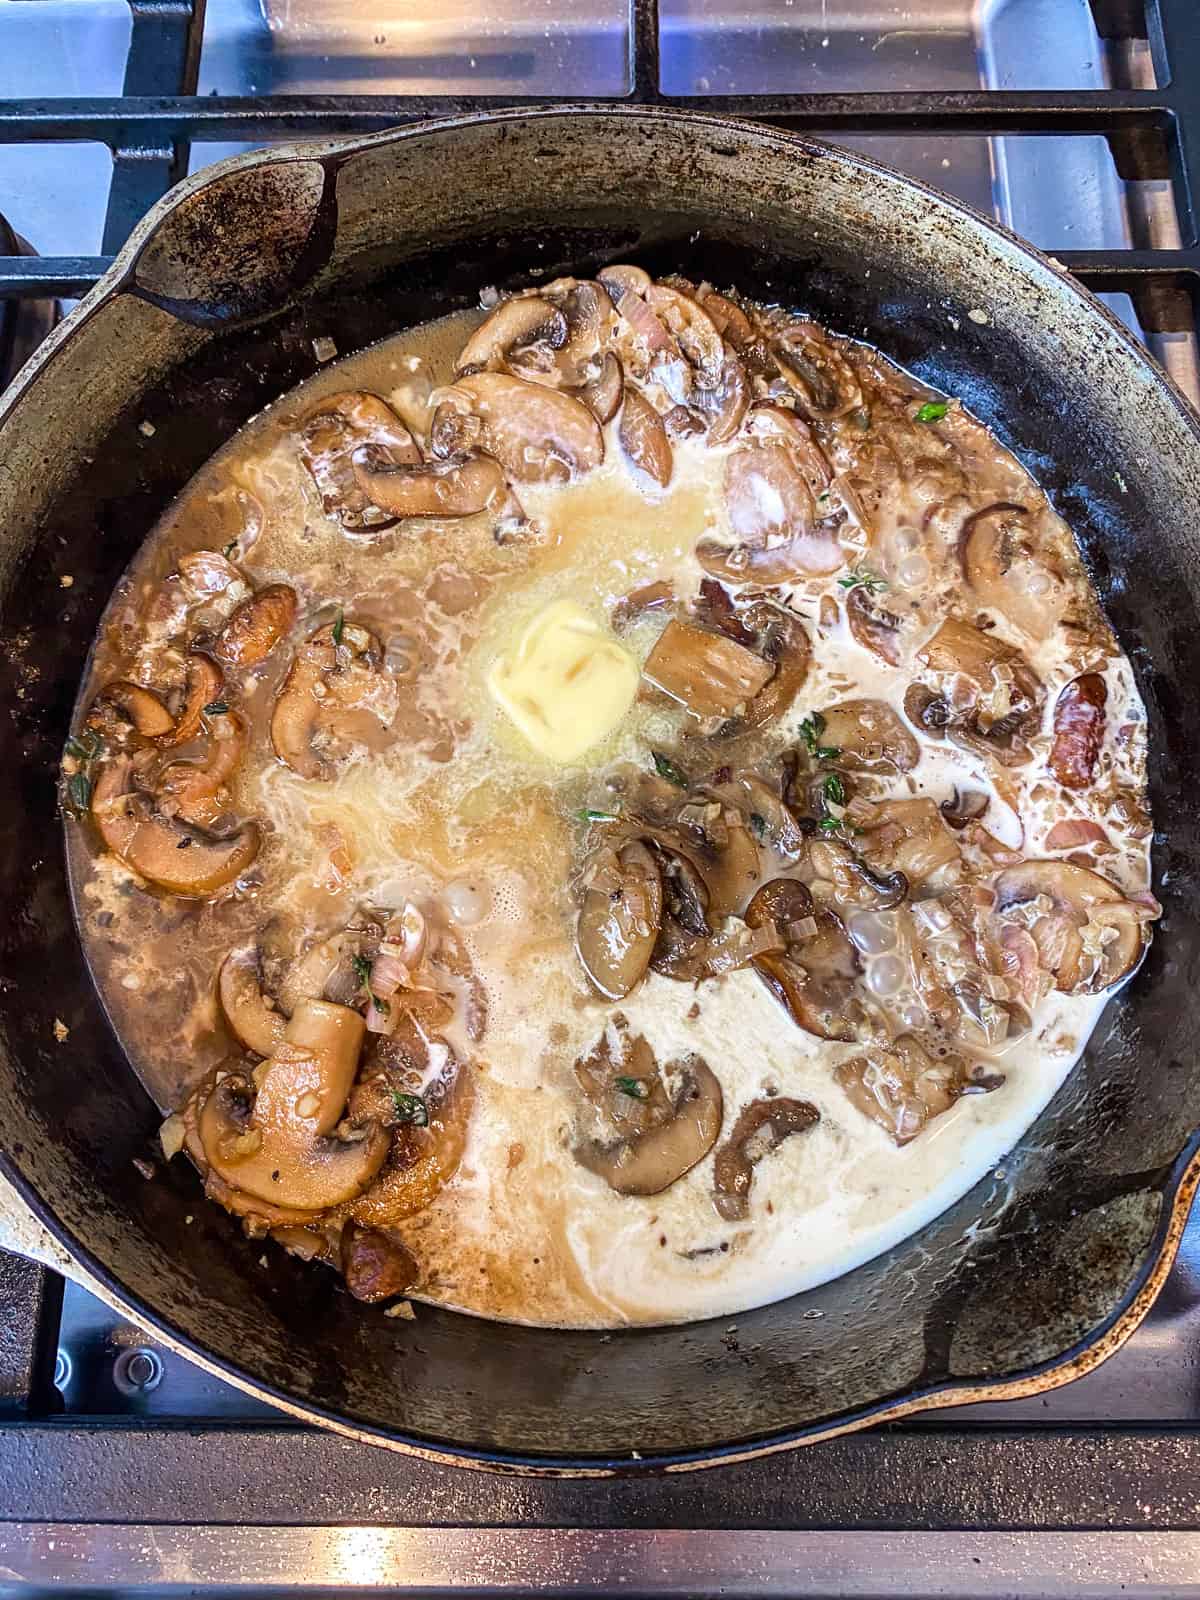
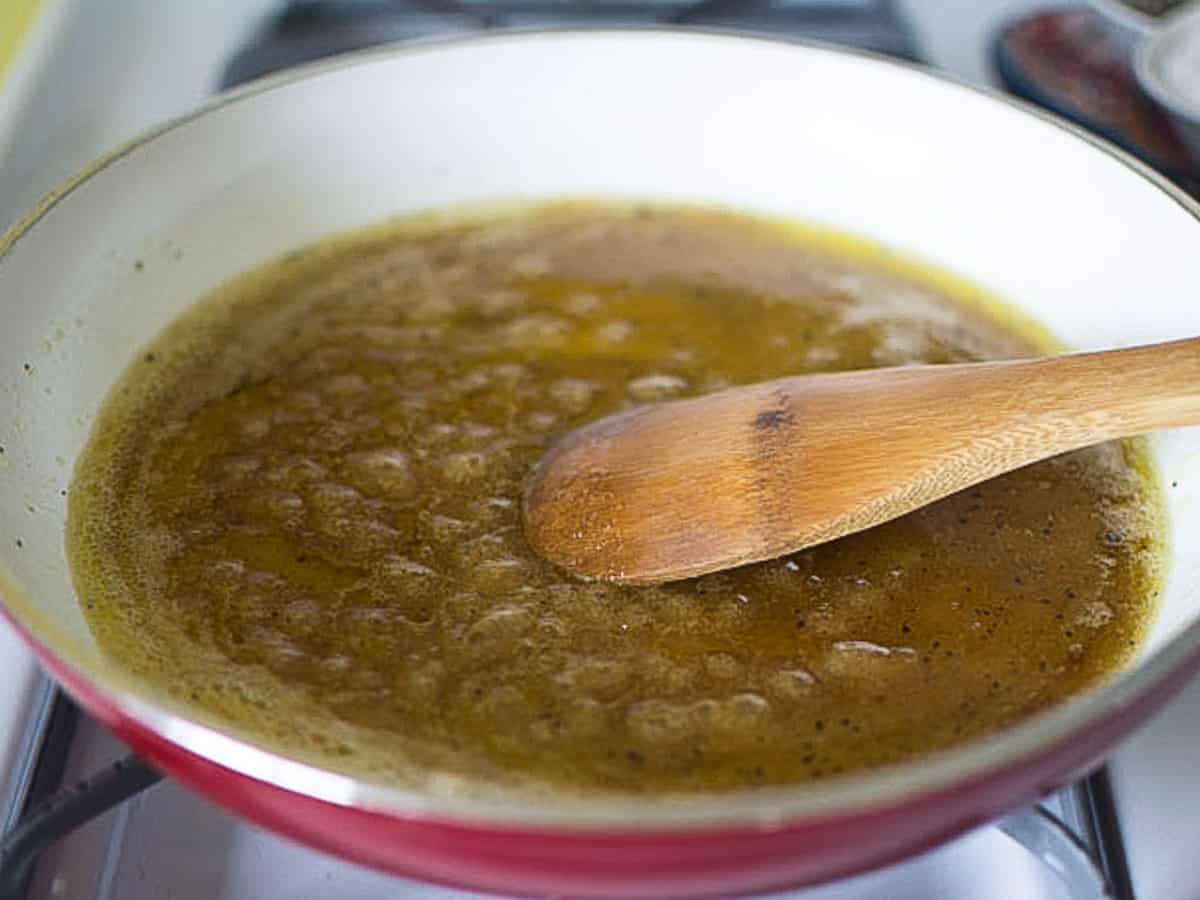
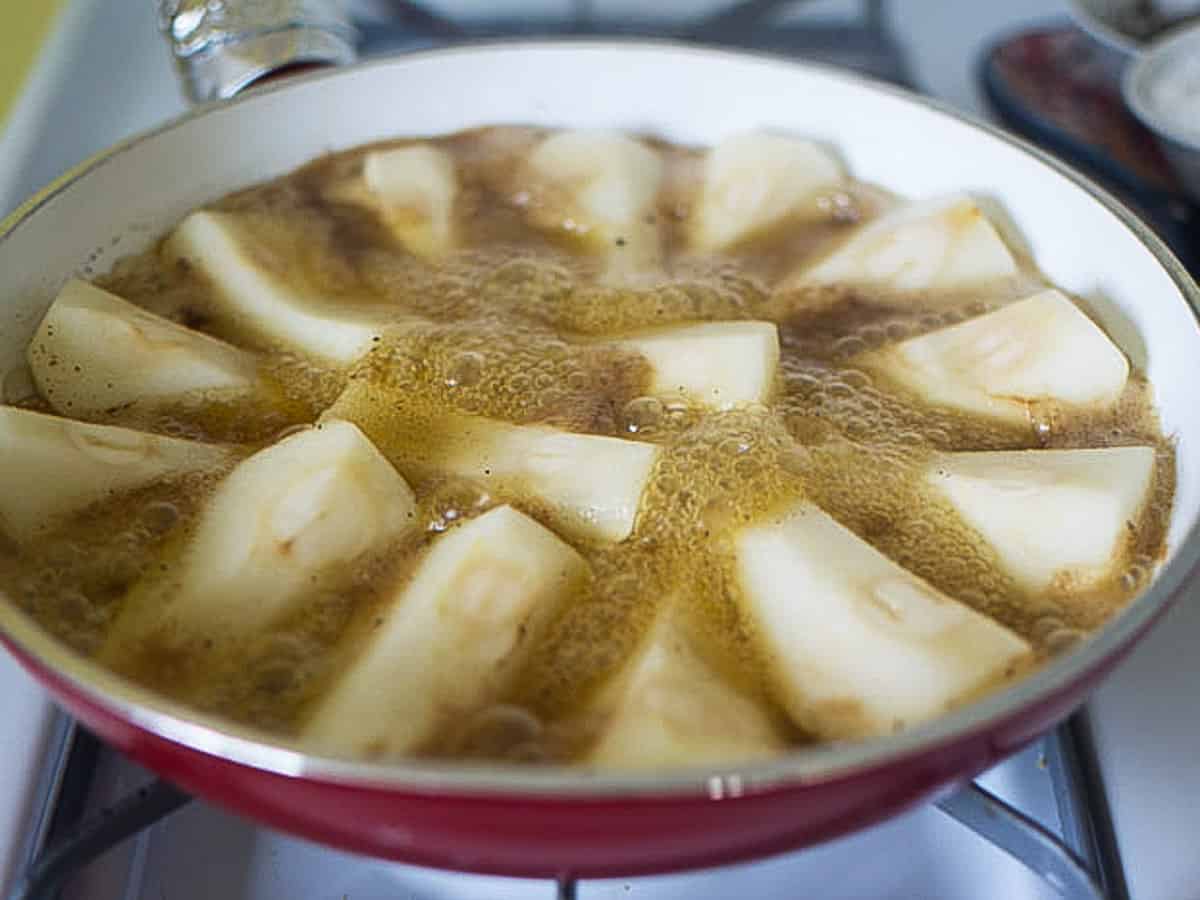
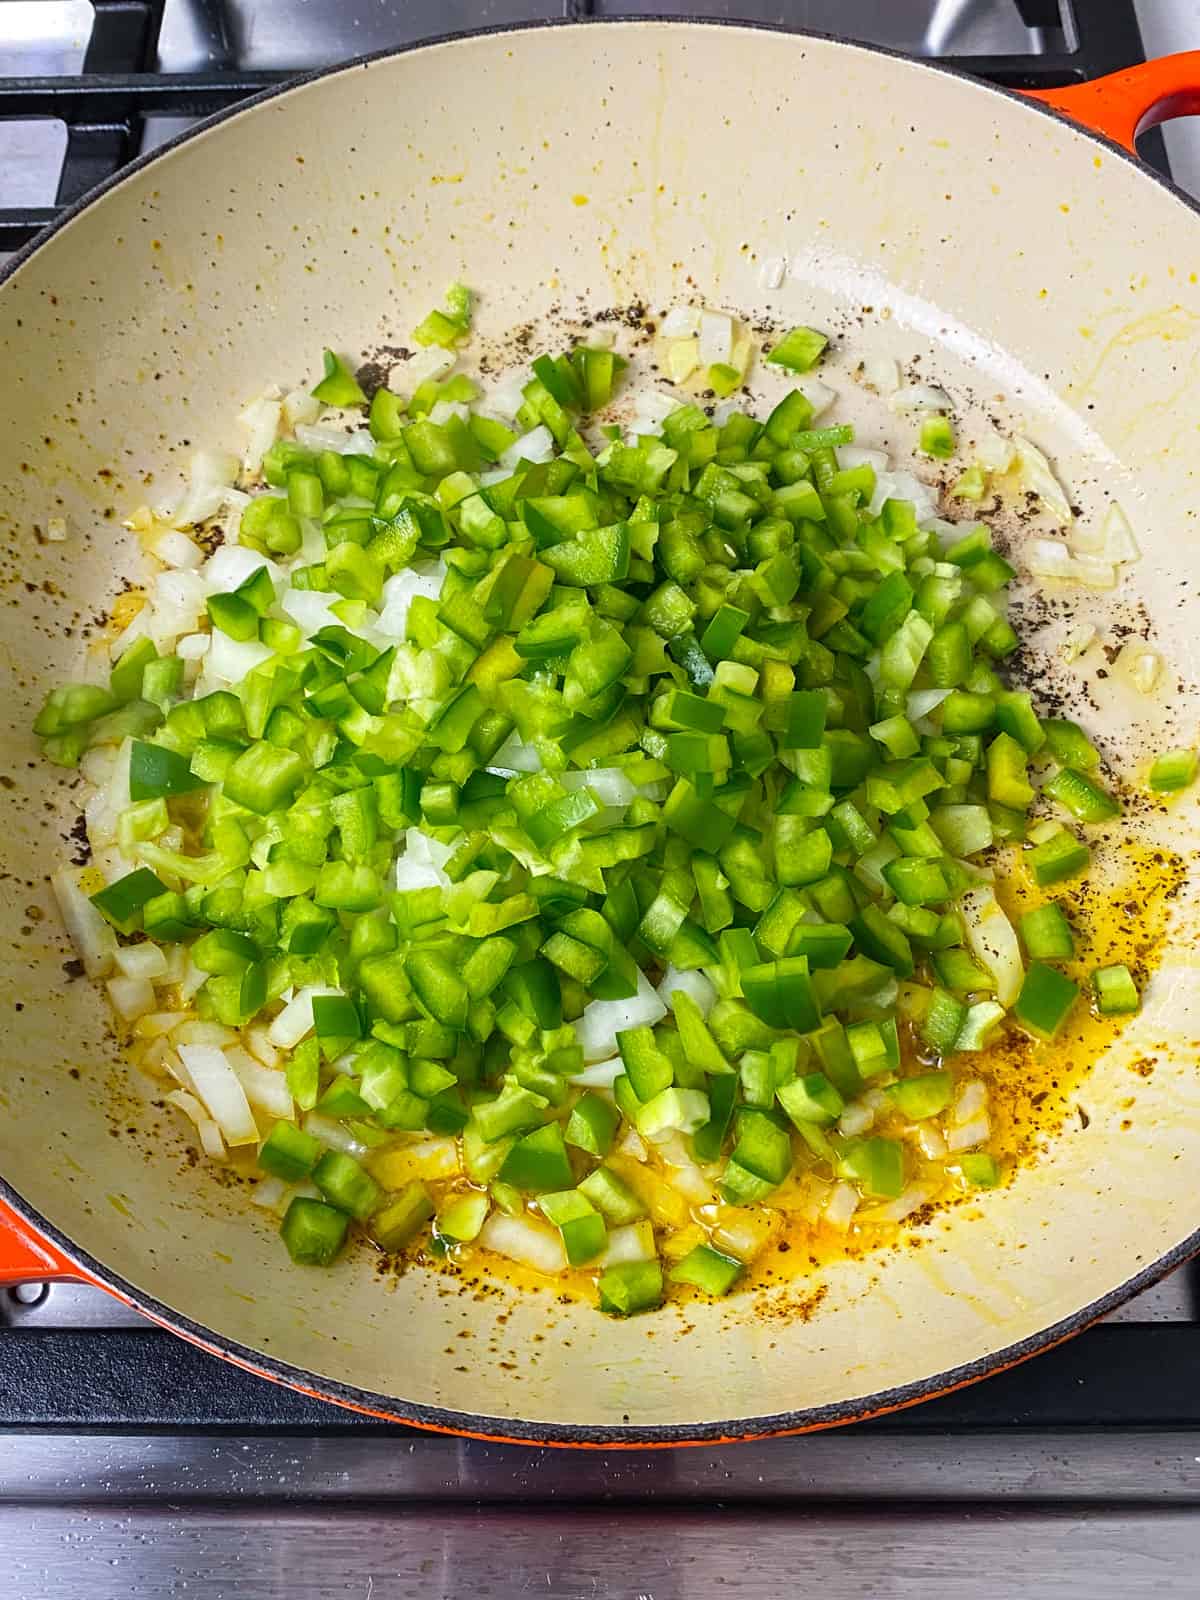
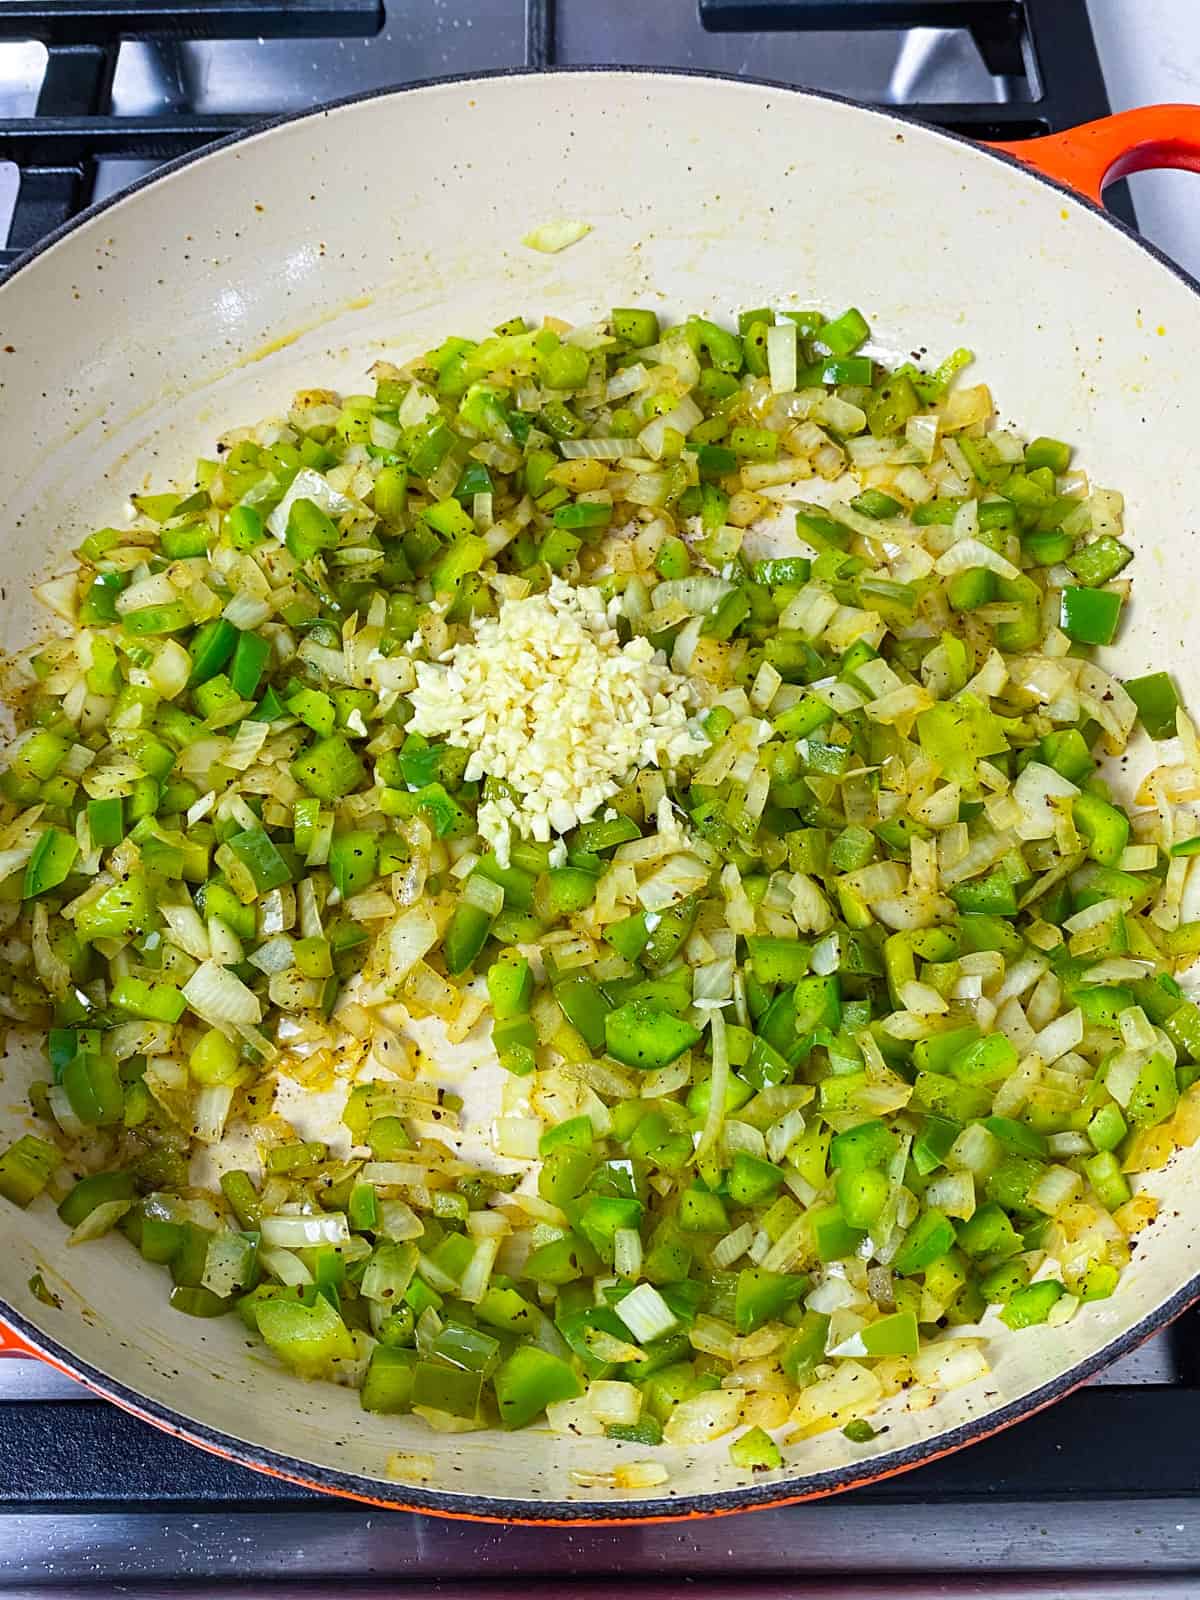
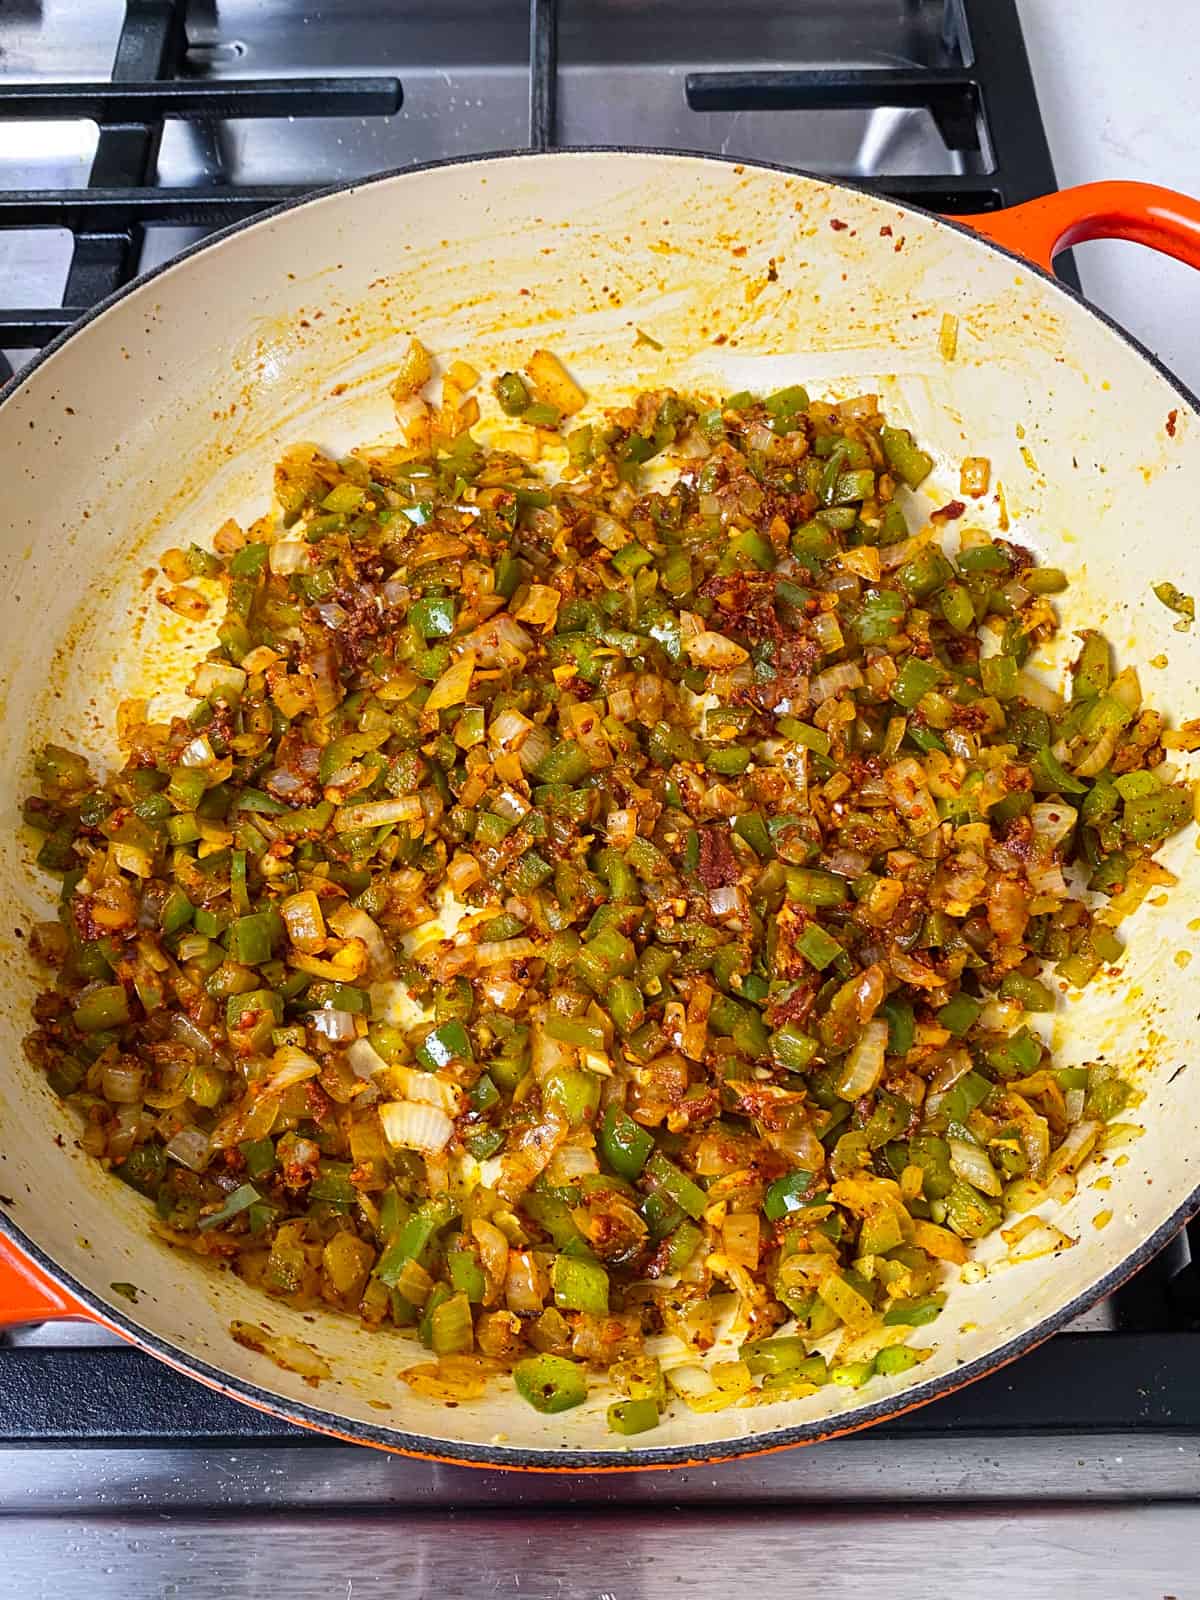
Step 3. Turn off stovetop and add the cherry tomatoes, shallots, olives and garlic cloves. Pour the white wine around the pan and top with cubed butter and fresh thyme sprigs.
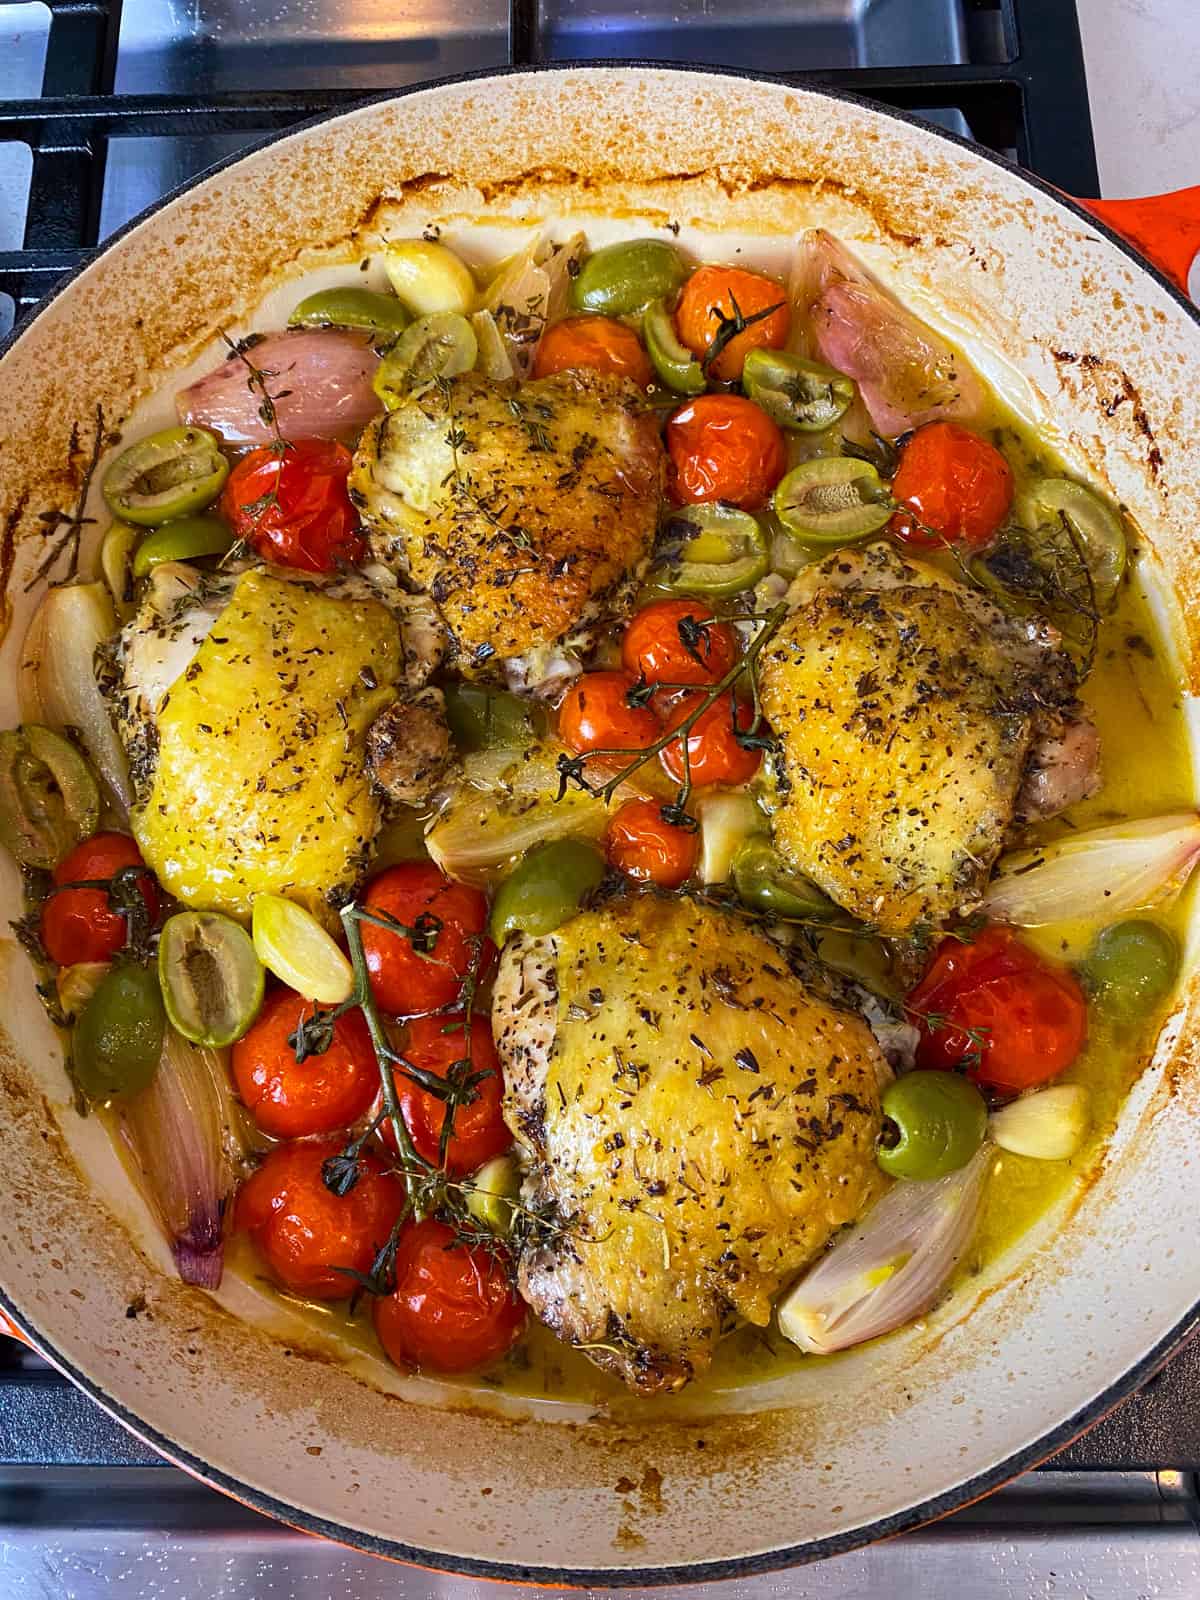
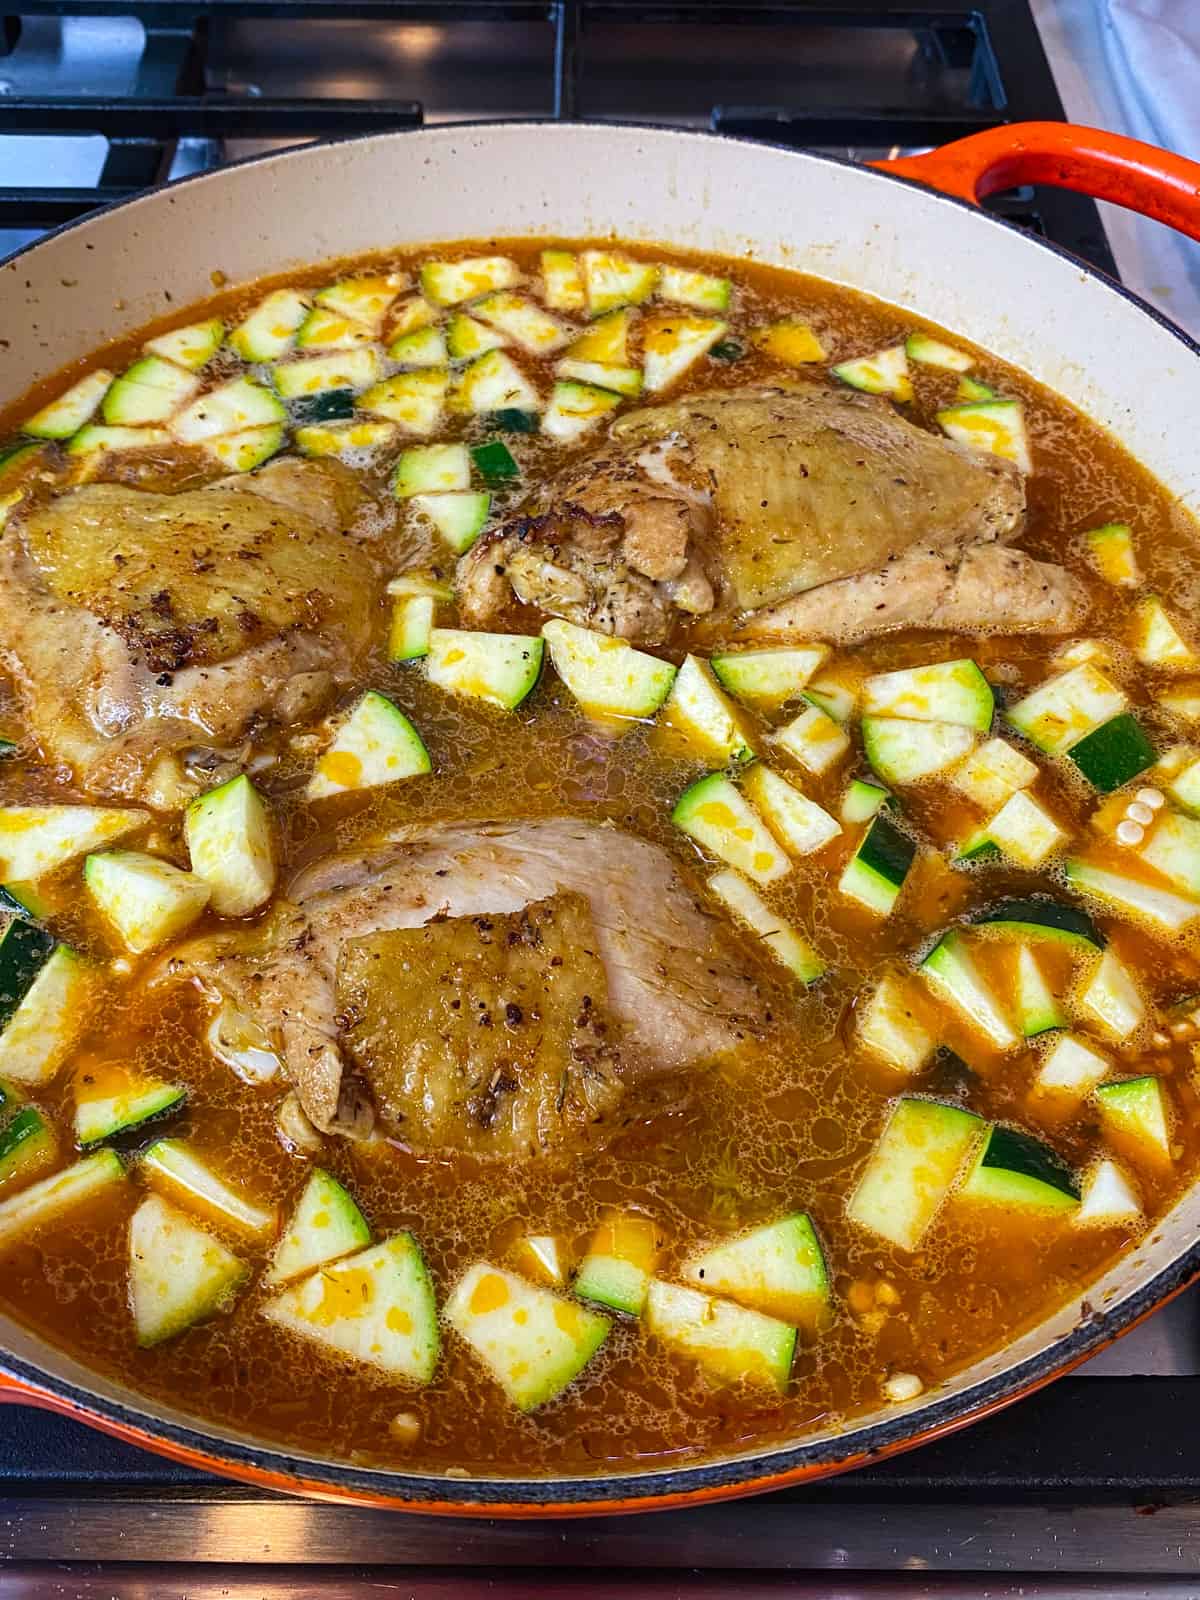
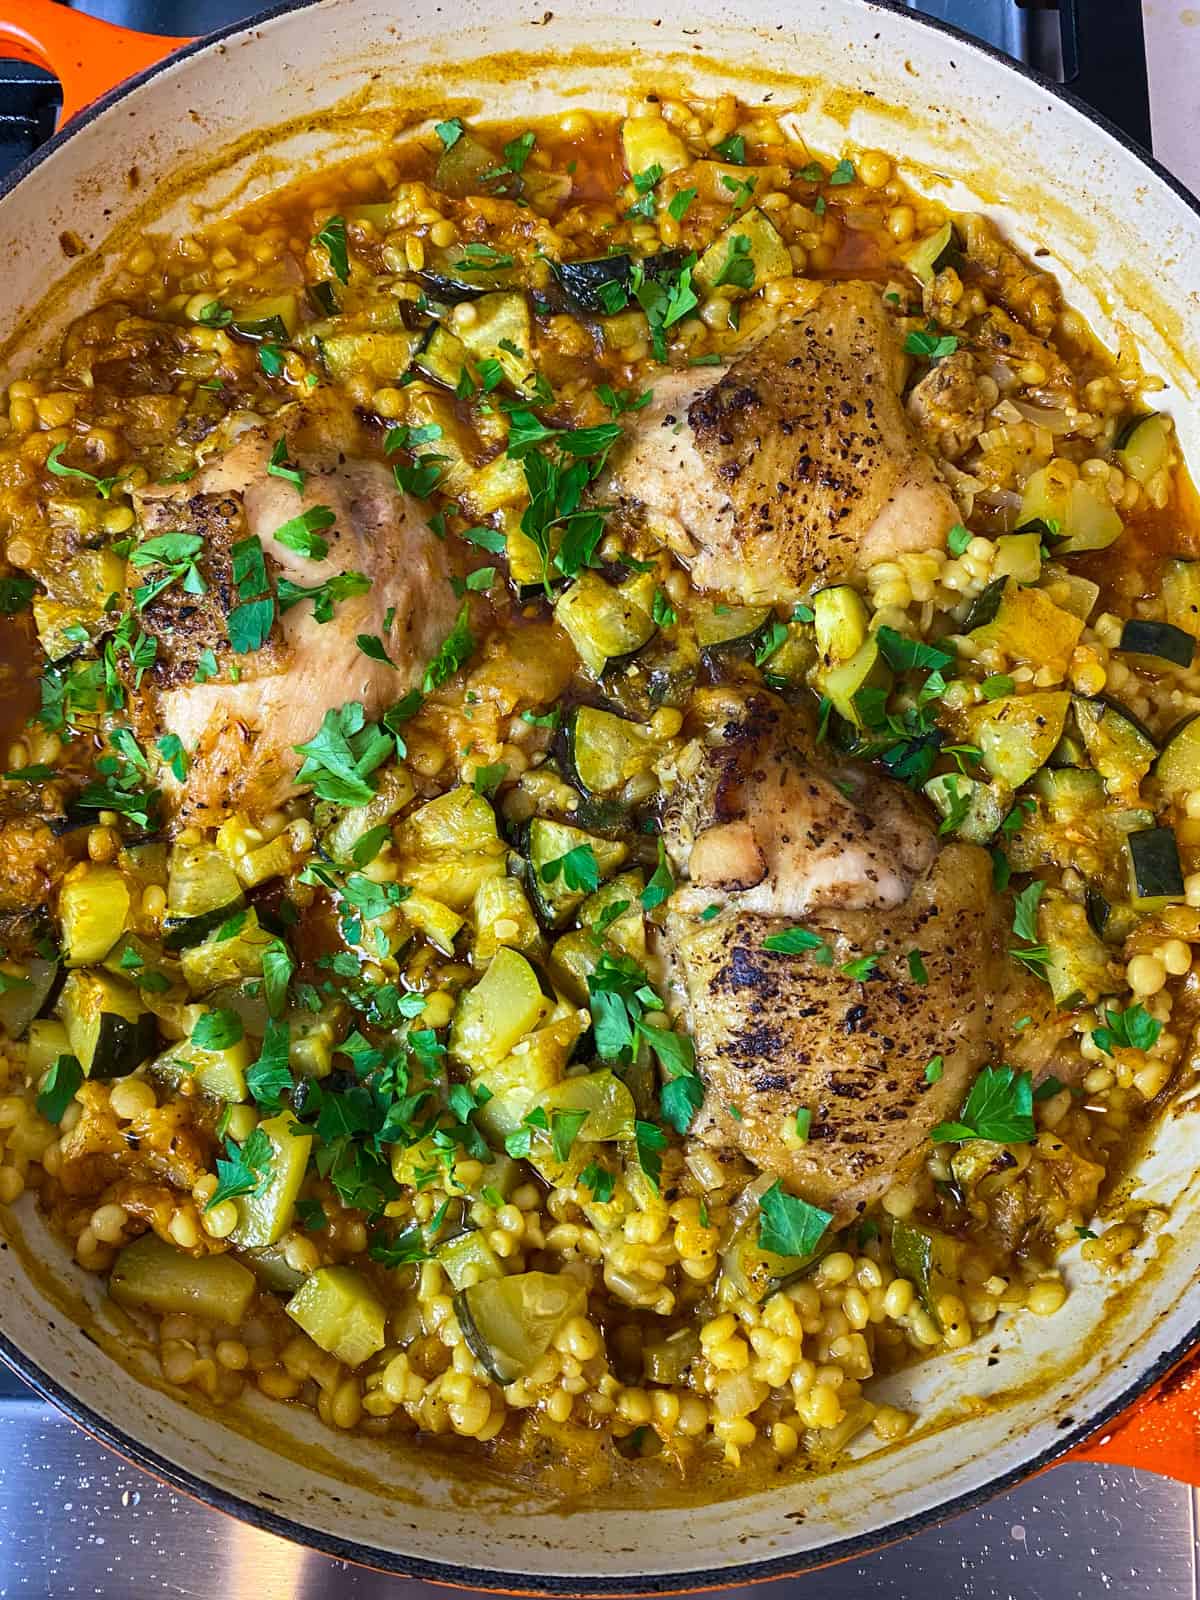
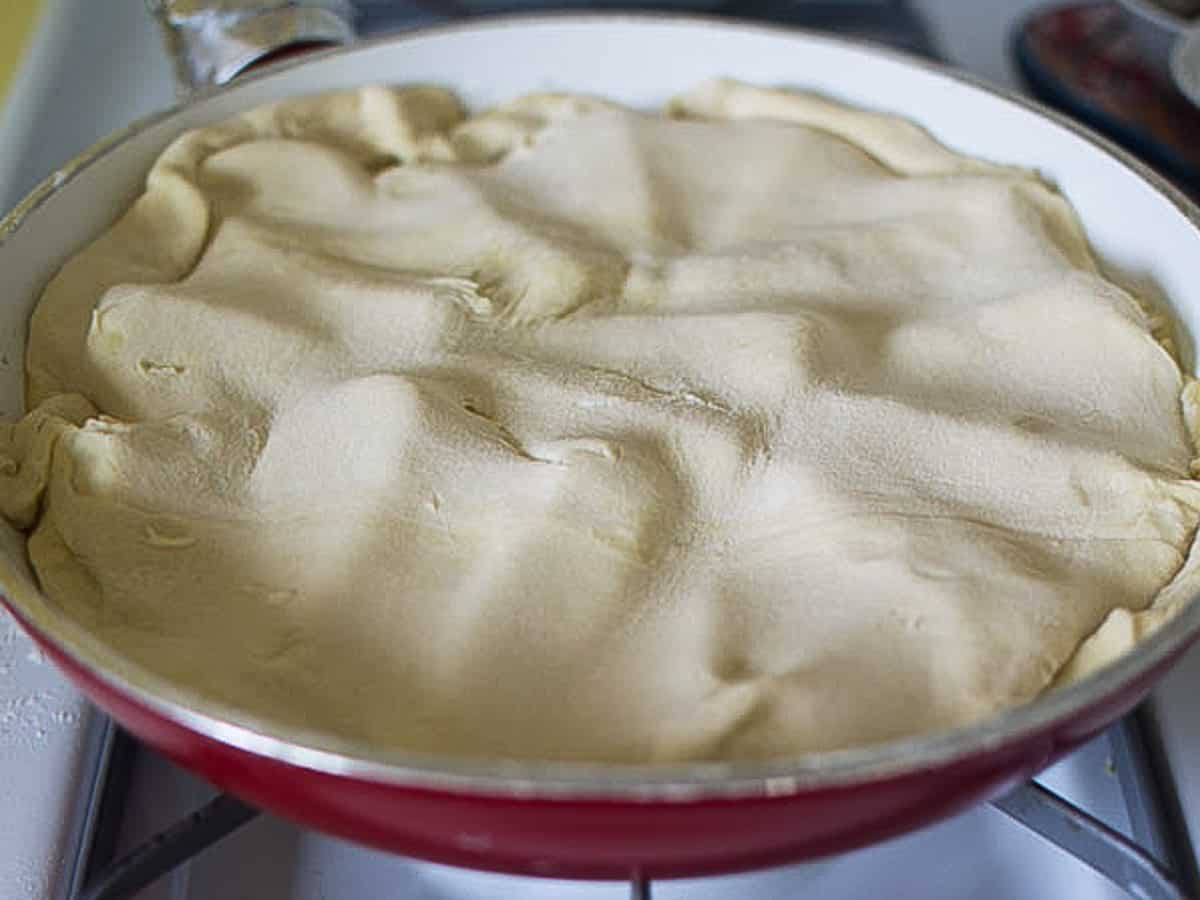
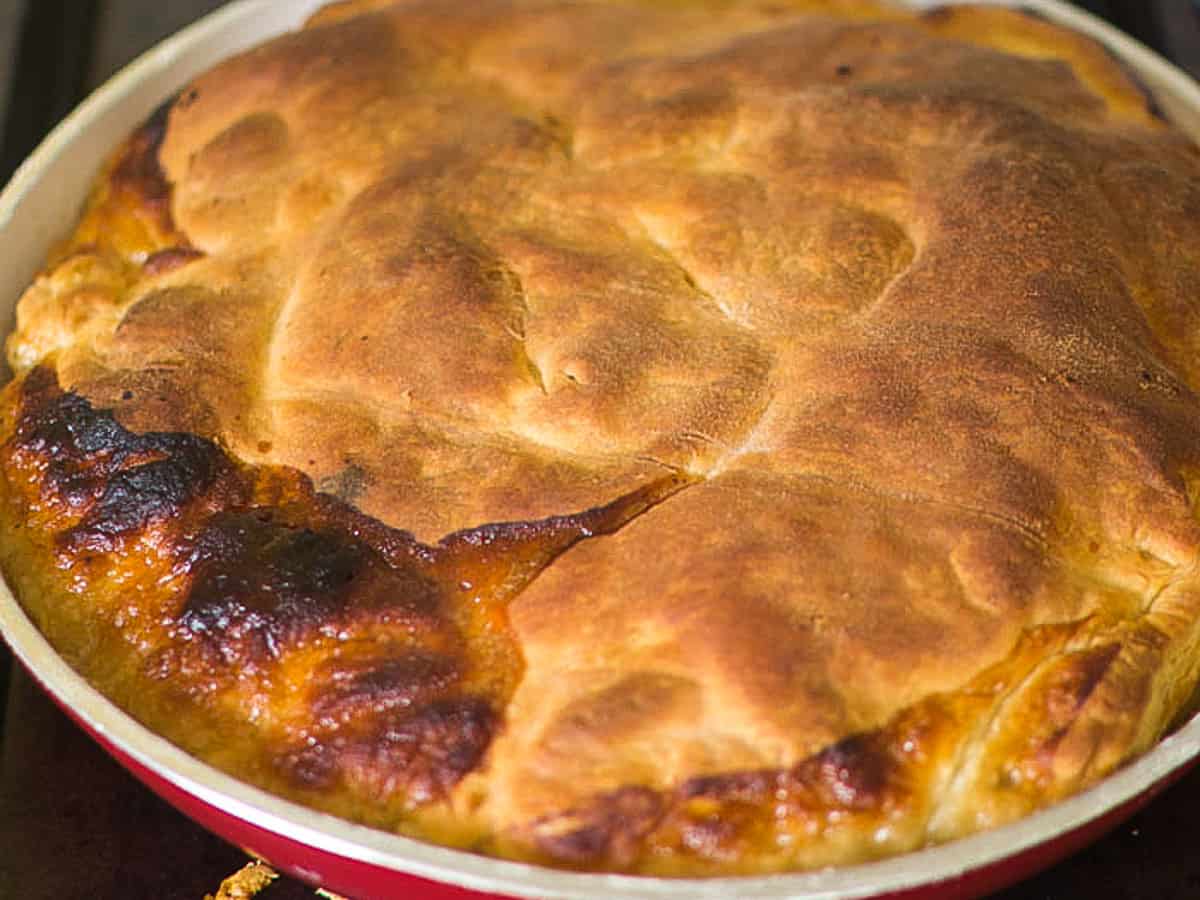
Step 4. Cover the Dutch oven with a lid and roast in the oven at 400 degrees Fahrenheit for 25 minutes. Then remove the lid and roast for another 10 minutes to brown the chicken skin.
📍 Recipe Tips
- Dry the Chicken: Before rubbing the chicken with seasonings, use paper towels to dry the pieces. This will ensure the spices will stick well to the chicken and will turn beautifully golden brown.
- Brown the Chicken: For added flavor, take the time to brown the chicken pieces before adding the rest of the ingredients. This step caramelizes the surface of the chicken, adding a rich depth of flavor to the dish.
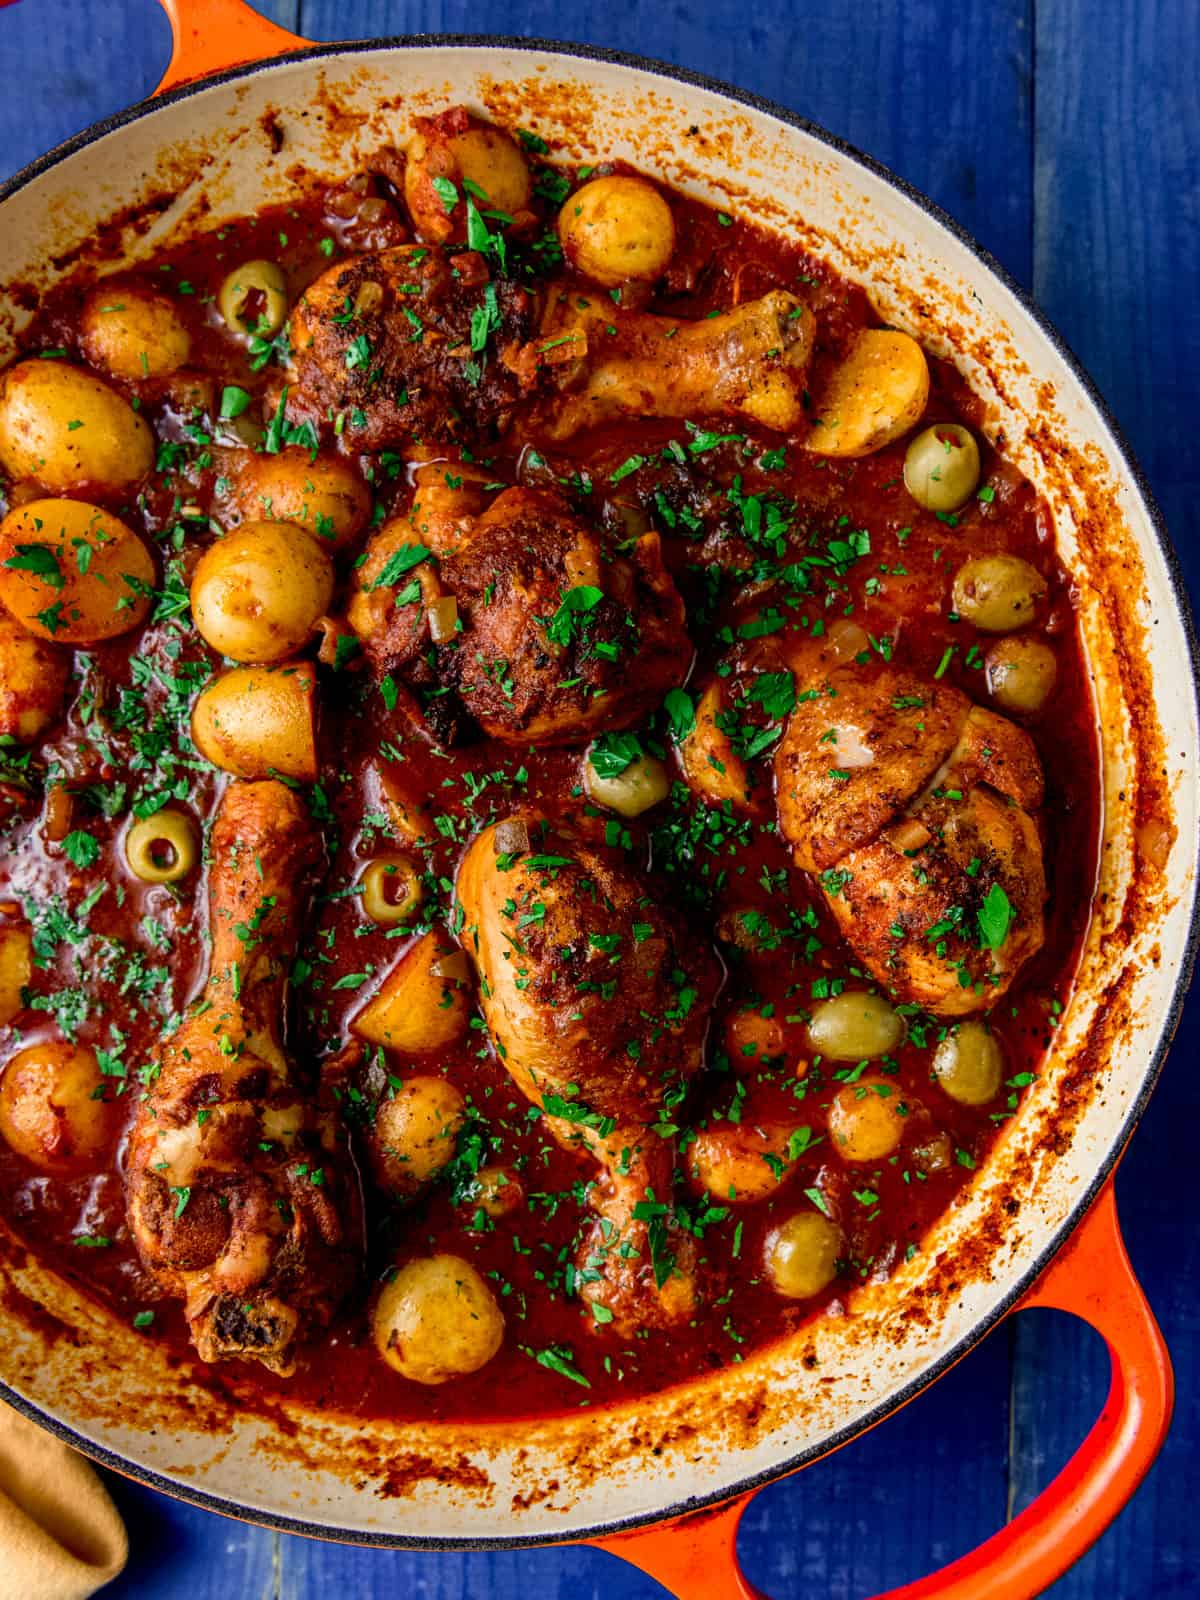
- Fresh Herbs Over Dry: Whenever possible, opt for fresh herbs instead of dried ones. Fresh thyme and basil not only give more vibrant flavors but also add a burst of color to your dish.
Recipe FAQs
Yes, you can prepare this dish ahead of time. In fact, it often tastes better the next day as the flavors have more time to meld. Just reheat it gently over low heat or in a microwave.
Yes, this recipe is naturally gluten-free, as it doesn't require any flour or other gluten-containing ingredients. However, always check the labels on your added ingredients to ensure they are gluten-free.
Yes, one pot chicken Provençal freezes well. Cool it completely and store it in airtight containers. It will keep for up to 3 months. Thaw it overnight in the refrigerator and reheat gently.
Serving Suggestions
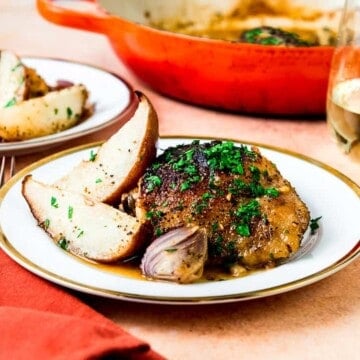
One pot chicken Provençal is versatile and pairs wonderfully with a variety of side dishes.
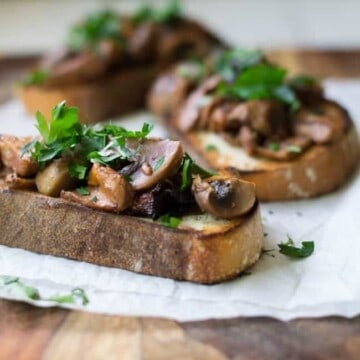
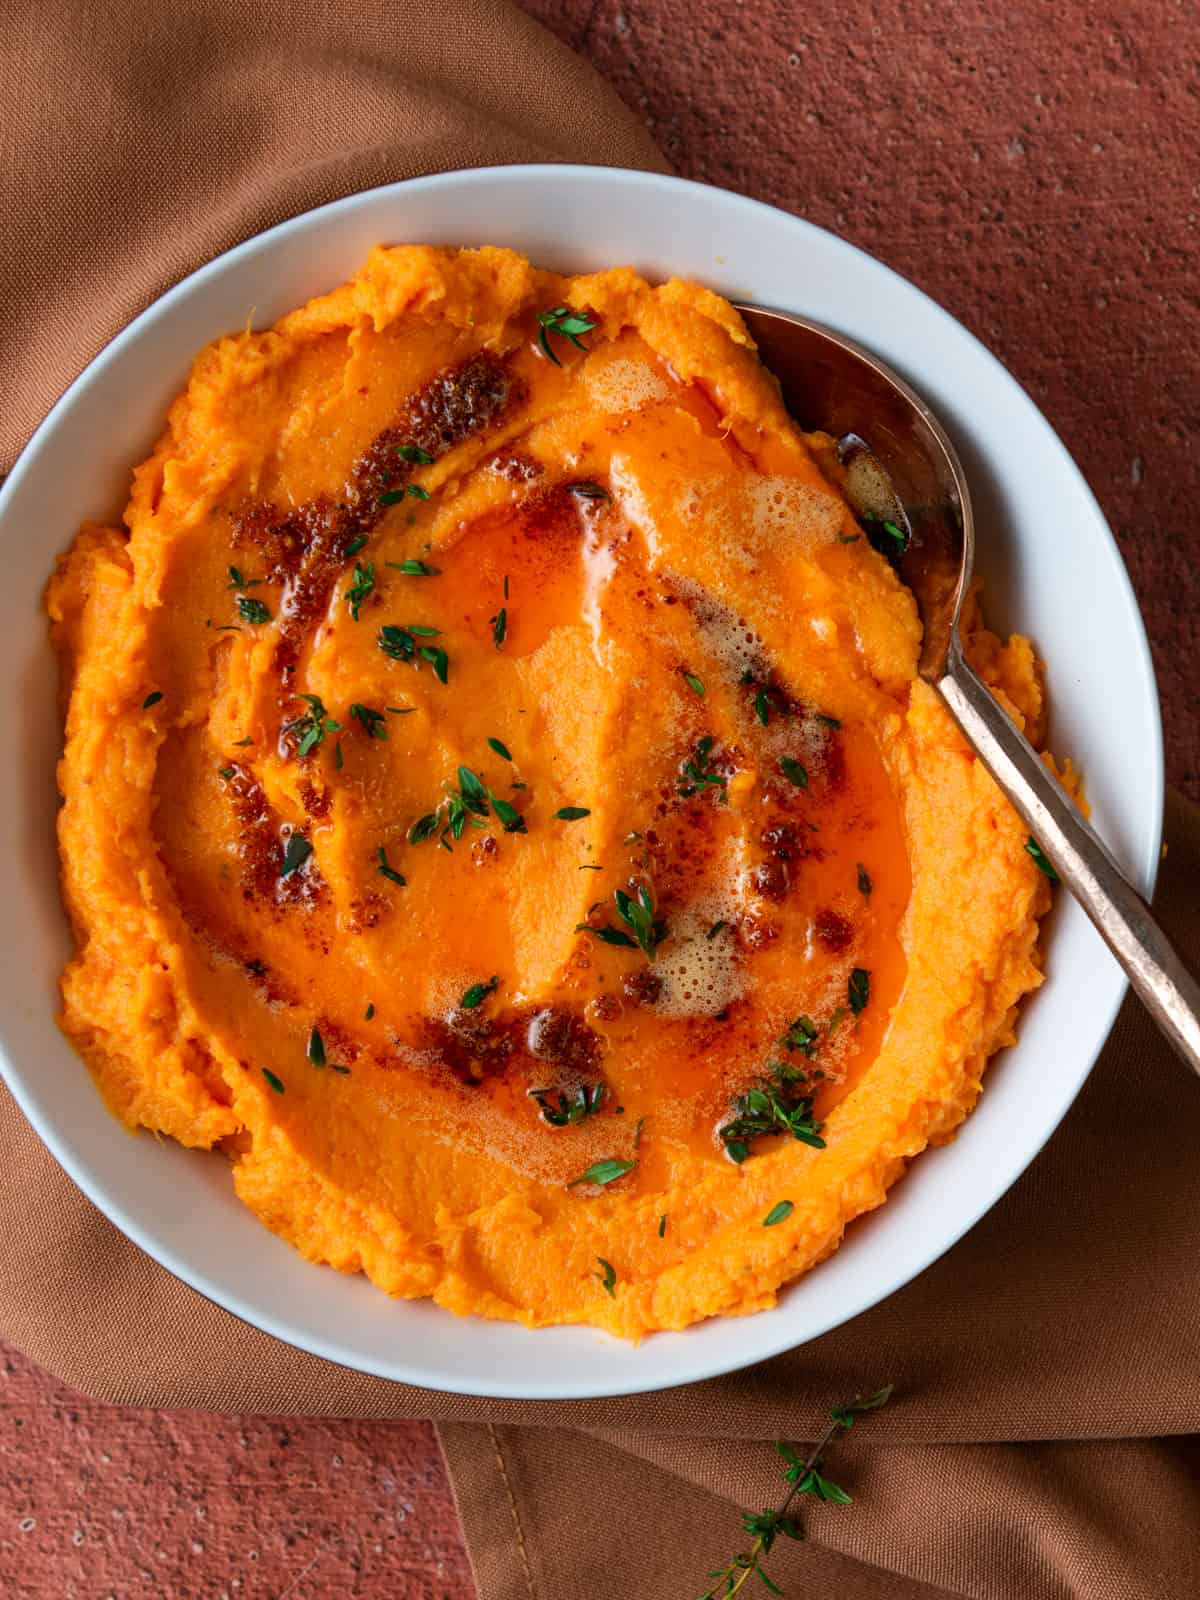
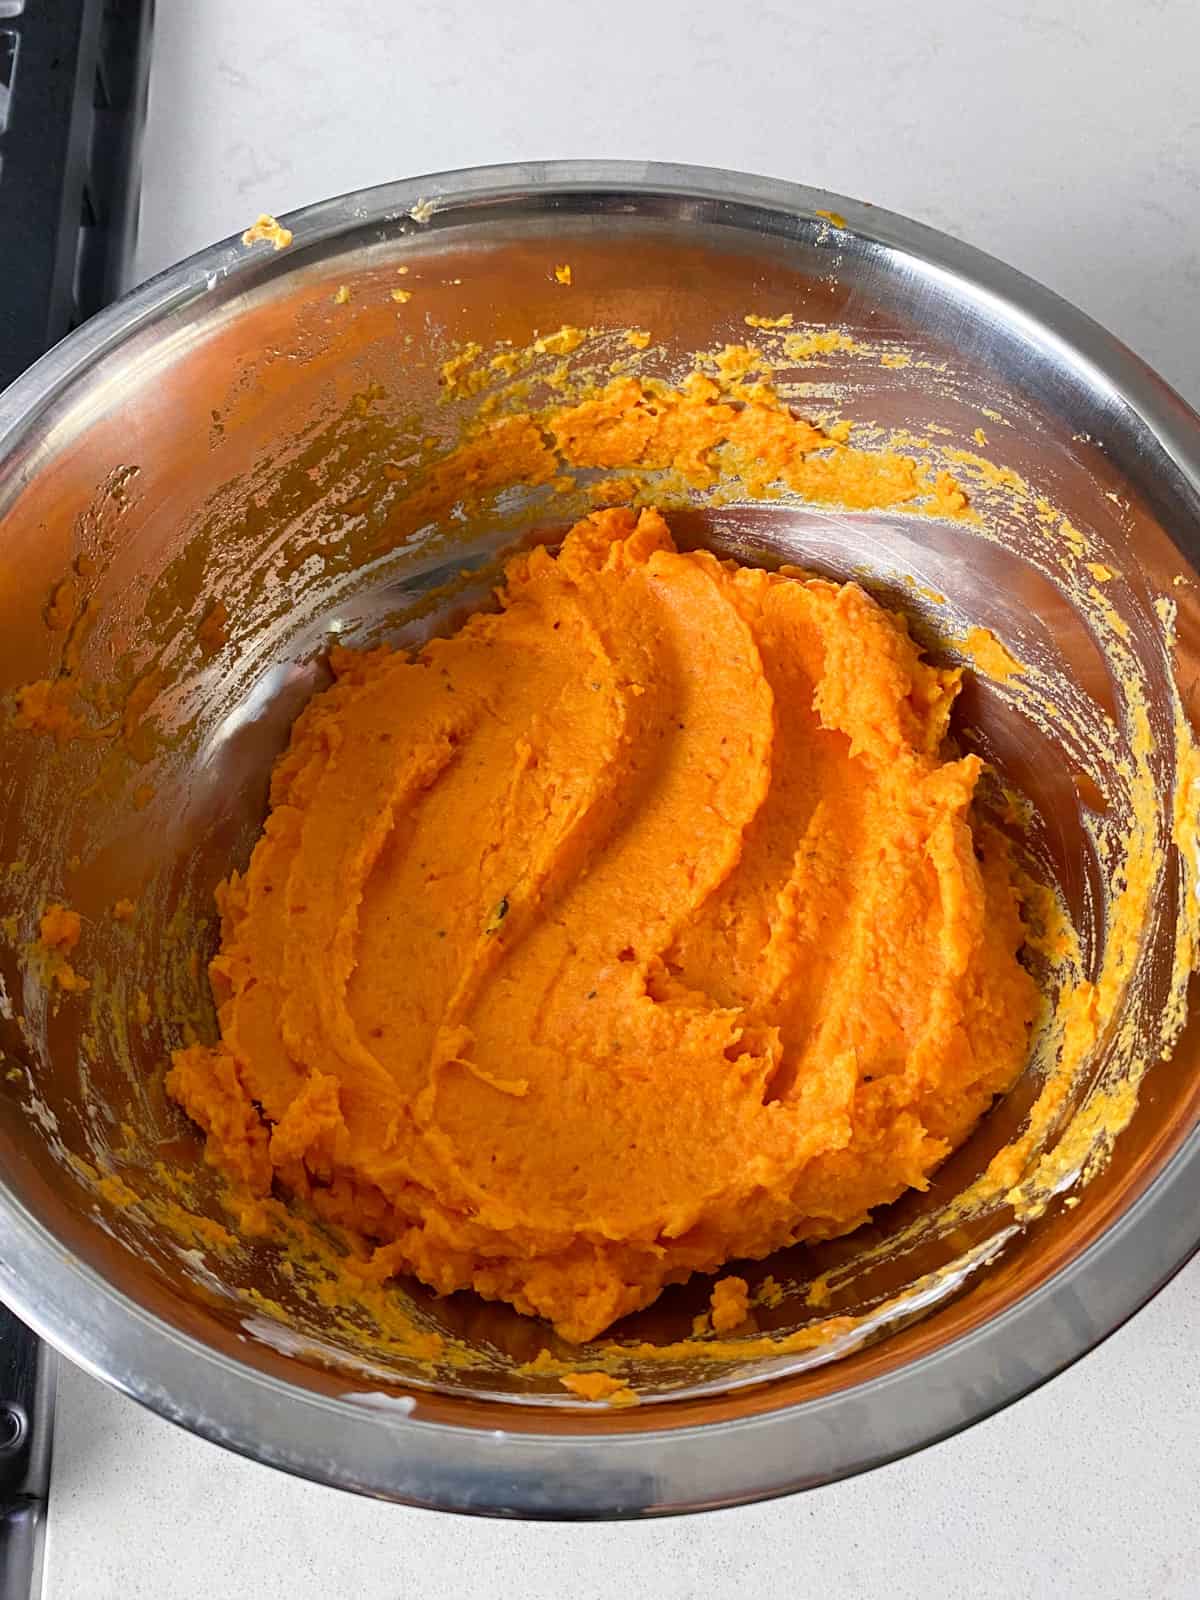
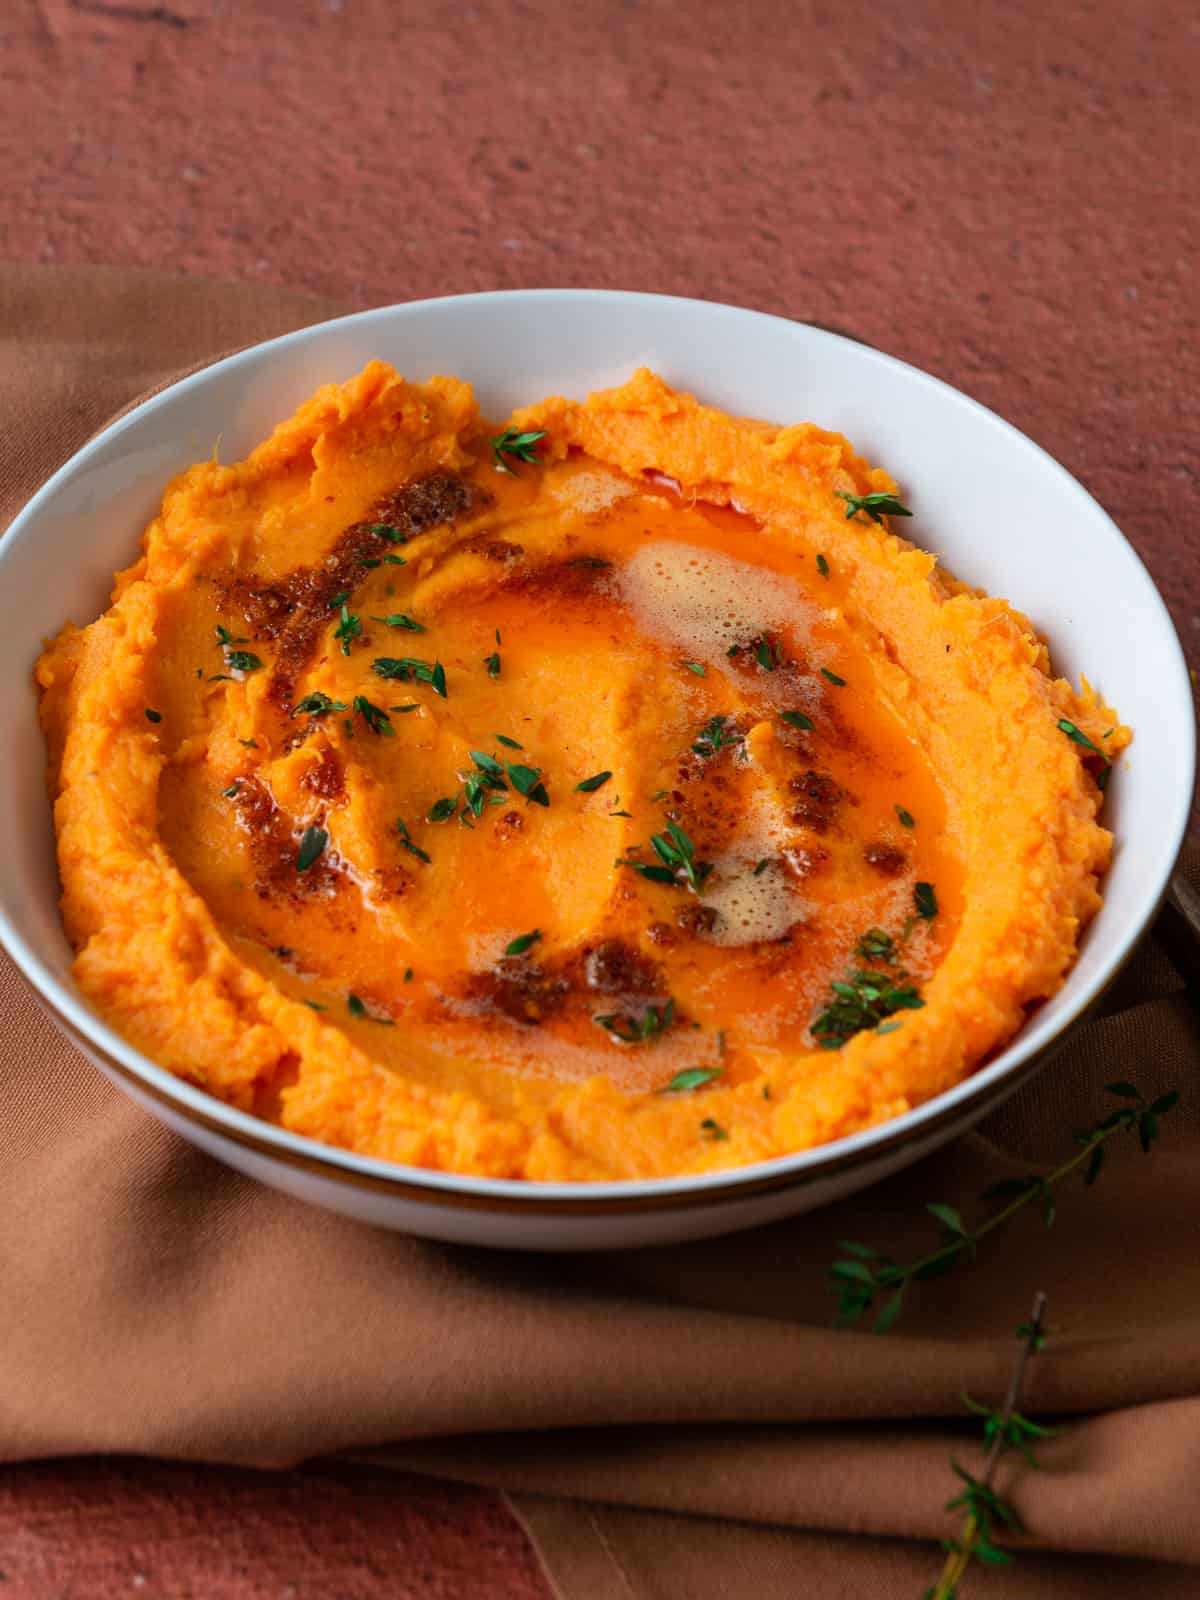
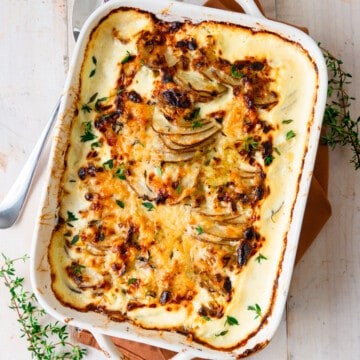
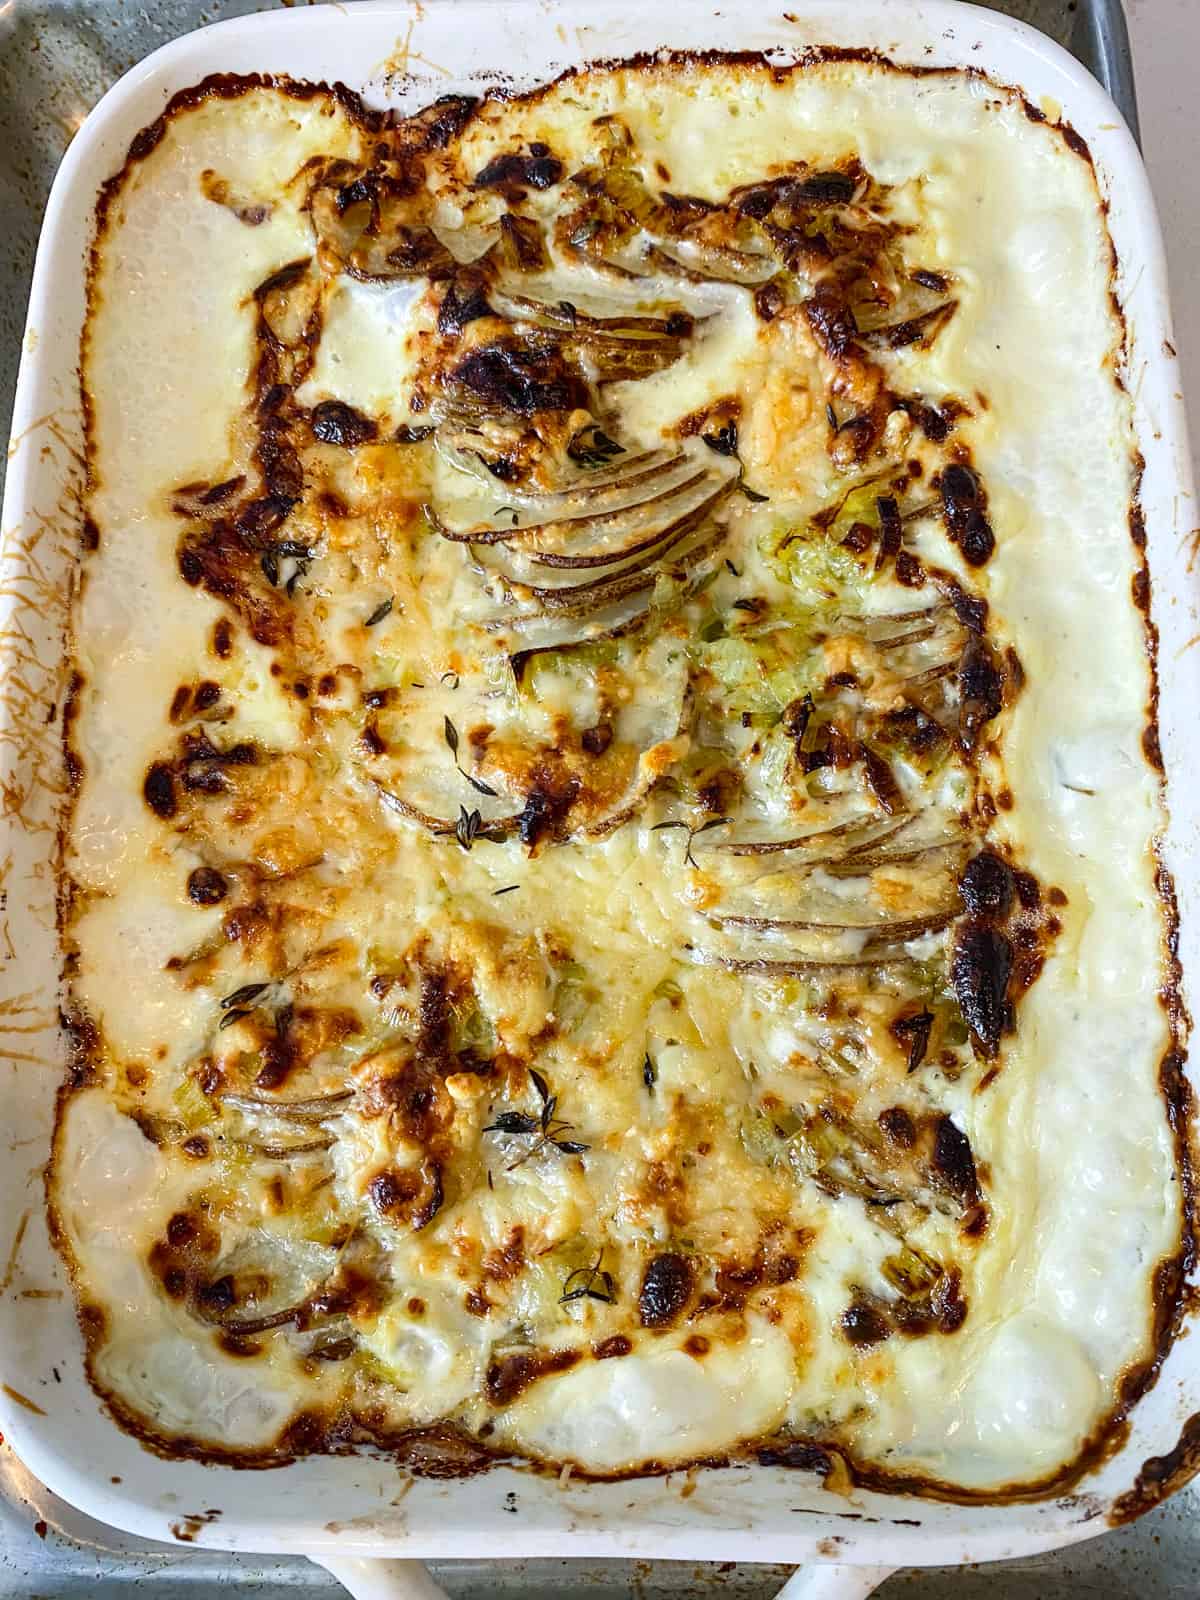
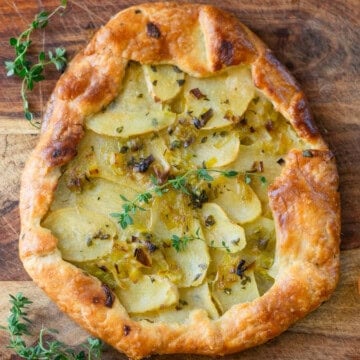
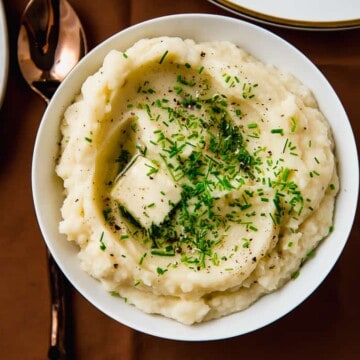
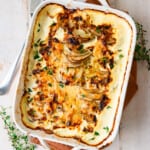
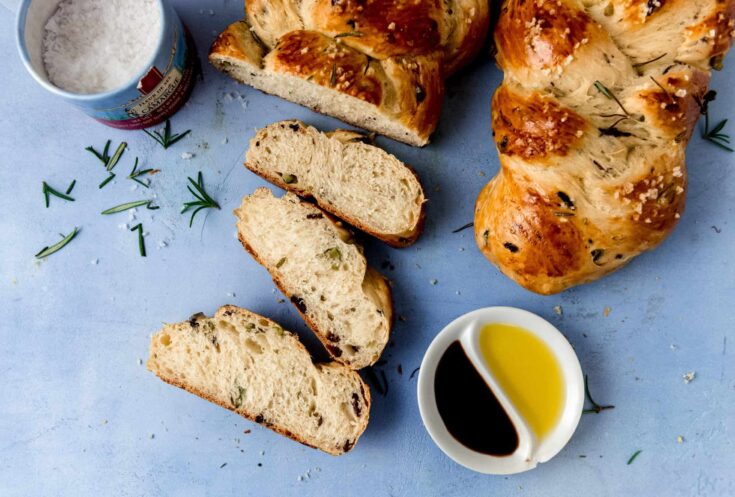
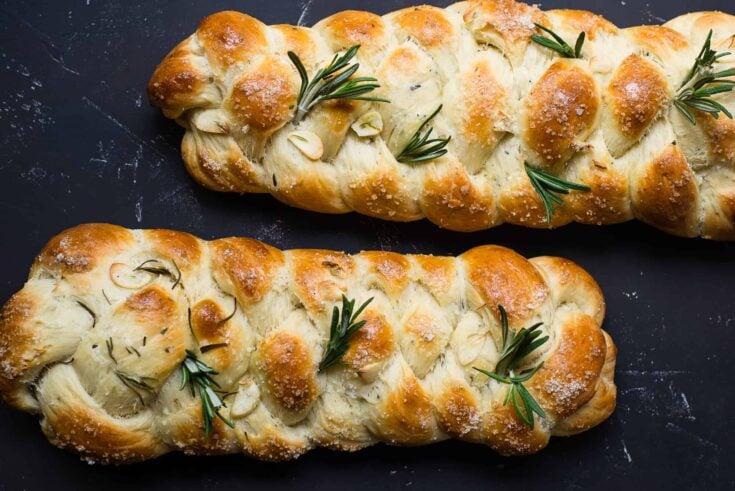
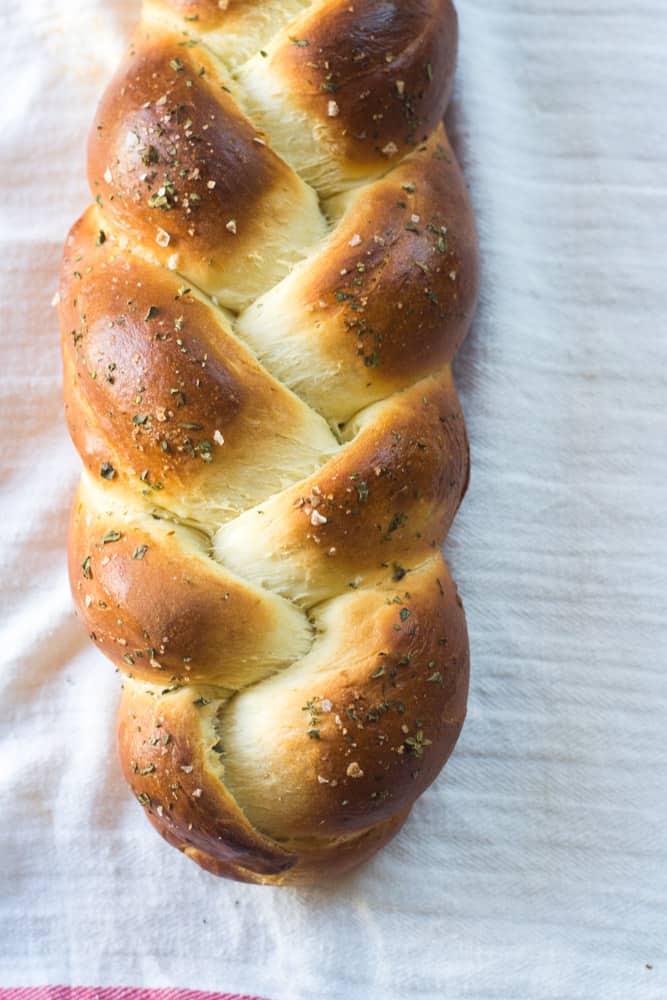
- For a classic touch, serve it with warm, crusty French bread or over a bed of creme fraiche mashed potatoes to soak up the rich, herb-infused sauce.
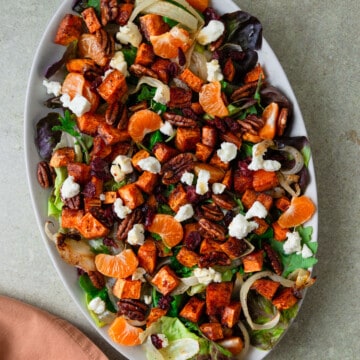
- If you prefer something lighter, a crisp Caesar salad or sauteed green beans with shallots make excellent sides.
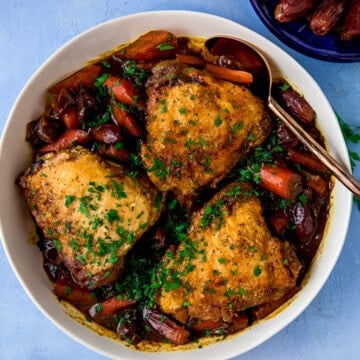
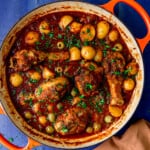
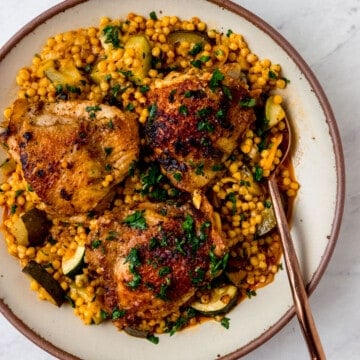
More One Pot Chicken Recipes to Try


Love this recipe? Please leave a 5-star 🌟🌟🌟🌟🌟rating in the recipe card below & a review in the comments section further down the page.

Chicken Provencal with Tomatoes and Olives
Equipment
Ingredients
- 2 pounds bone in skin on chicken thighs
- 2 tablespoons herbes de Provence
- 1 teaspoon Kosher salt
- ½ teaspoon black pepper
- 3 tablespoons olive oil separated
- 1 pint cherry tomatoes
- 2 whole shallots peeled and cut into quarters
- 1 cup green olives cut in half
- 8 whole garlic cloves peeled and large ones cut in half
- ¾ cup Chardonnay
- 2 tablespoons unsalted butter cubed
- Small bunch of fresh thyme sprigs
- Small bunch of fresh basil sliced thin, for garnish
Instructions
- Preheat the oven to 400 degrees Fahrenheit.
- Dry the chicken well with paper towels and season with the Herbes de Provence, salt, pepper and 1 tablespoon of olive oil. Rub the mixture all over the chicken until evenly coated.
- Heat a wide Dutch oven or skillet to medium high heat and drizzle in the remaining 2 tablespoons of olive oil. Once the oil is hot, sear the chicken, skin side down for 4-5 minutes until the skin begins to turn golden brown.
- Turn the chicken over and turn off the stovetop. Nestle in the cherry tomatoes, shallots, olives and garlic cloves around the chicken.
- Pour the white wine around the pan and top everything with the cubed butter and fresh thyme sprigs.
- Cover the Dutch oven with a lid and place in the oven and roast for 25 minutes until the chicken is cooked through. Then remove the lid and continue roasting for another 10 minutes to brown the chicken skin.
- Once done, remove from the oven and let cool slightly. Remove the thyme sprigs.
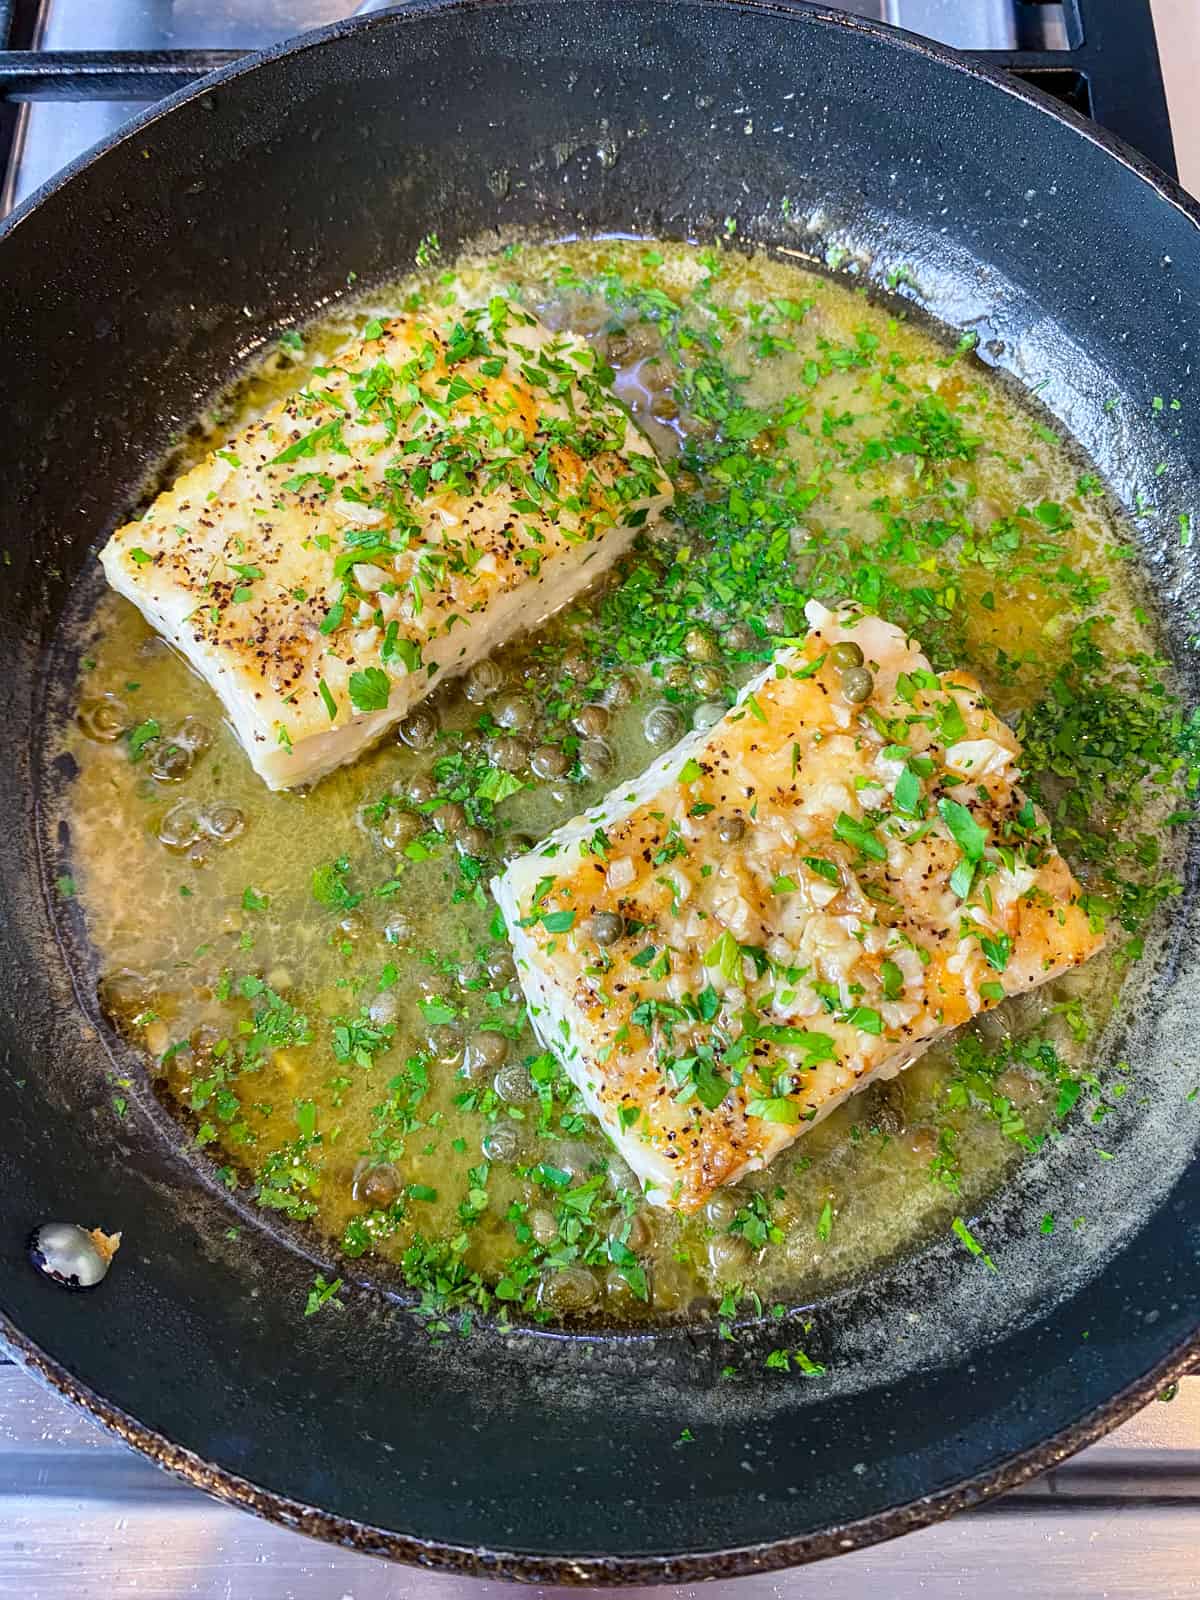
- Garnish with sliced basil and serve the chicken thighs with pan sauce and roasted vegetables.
Notes
-
- Dry the Chicken: Before rubbing the chicken with seasonings, use paper towels to dry the pieces. This will ensure the spices will stick well to the chicken and will turn beautifully golden brown.
-
- Brown the Chicken: For added flavor, take the time to brown the chicken pieces before adding the rest of the ingredients. This step caramelizes the surface of the chicken, adding a rich depth of flavor to the dish.
-
- Fresh Herbs Over Dry: Whenever possible, opt for fresh herbs instead of dried ones. Fresh thyme and basil not only give more vibrant flavors but also add a burst of color to your dish.