This harissa cauliflower is for the spice lovers! A flavorful honey harissa mixture is coated onto cauliflower and then roasted until perfectly caramelized. The harissa roasted cauliflower is served on top of creamy harissa tahini and finished with a bright cilantro vinaigrette. If you are looking for a flavor explosion of a recipe, this is the one to make!
Why you'll Love this Harissa Roasted Cauliflower
This may be one of the most delicious recipes I have created lately! And let me tell you, this one is for the spice lovers!
Cauliflower florets are roasted with a flavorful mixture of spicy harissa paste, honey and a touch of warm spices and roasted until tender and caramelized.
The harissa tahini is a play off of my tahini sauce with a touch of harissa added to the mix.
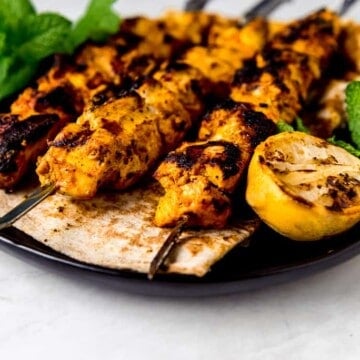
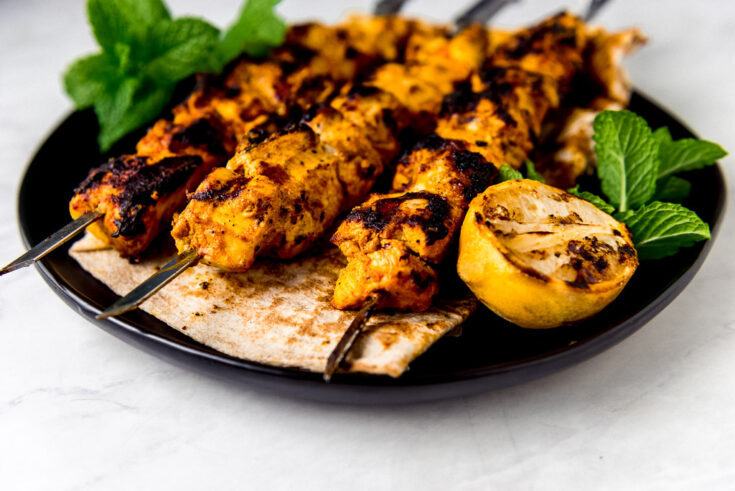
The spicy harissa tahini sauce is smooth, creamy, savory with a perfect hint of spice and would be fantastic served drizzled on top of chicken shawarma kabobs or served with a Mediterranean falafel bowl.
Ingredients
- Cauliflower: Cut into ½ inch florets.
- Harissa Paste: A spicy pepper paste with North African origins. Harissa can often be found in grocery stores and online. and my personal favorite is made by Mina. If you don't like spicy, try the mild harissa paste which has the same great flavor but no heat.
- Honey: Mixed with the harissa for a sweet and spicy flavor combination.
- Spices: Turmeric and cumin for color and warmth are mixed in with the harissa and honey mixture that goes on the cauliflower.
- Cilantro: For the cilantro vinaigrette. If you don't like cilantro, substitute fresh mint or basil.
- Shallot: Blended into the vinaigrette. If you don't have shallot, a small chunk of red onion is a great substitute.
- Garlic: Added to both the vinaigrette and harissa tahini.
- Apple Cider Vinegar: Just a touch is added for acidity to the cilantro vinaigrette. Lemon juice is another great option.
- Olive Oil: Used for the roasted harissa cauliflower, the vinaigrette and a touch in the tahini. If you are looking to try a new olive oil, I am really loving this organic olive oil.
- Tahini: Is a sesame paste that can easily be found in most grocery stores, usually by the nut butters.
What to Use if you Don't have Harissa
If you don't have harissa, you could substitute sriracha or other chili paste. Another option is to blend roasted red peppers and add a bit of cumin to achieve a similar flavor.
Gochujang is a Korean chili paste that would be delicious as well.
Putting the Recipe Together
- Make the harissa roasted cauliflower. Mix the harissa, honey and spices together and toss with cauliflower florets. Roast the harissa cauliflower at 425 degrees Fahrenheit for 30 minutes until cauliflower is caramelized.
- While the cauliflower is roasting, make the cilantro vinaigrette and harissa tahini.
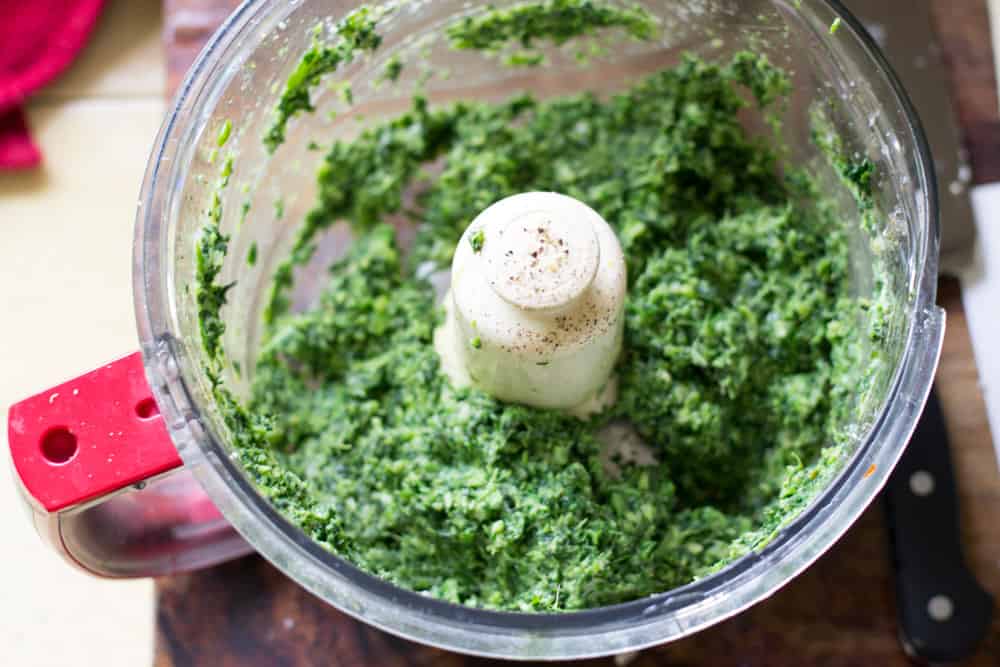
- For the cilantro vinaigrette, add the cilantro, shallot, garlic, olive oil and vinegar to a food processor and blend until well incorporated. Pour into a container or bowl and set aside.
- Make the harissa tahini. To a food processor, add the tahini, harissa, warm water, olive oil, garlic and salt and blend until smooth. Add more water to thin out consistency, if necessary. Tahini should be thick and pourable.
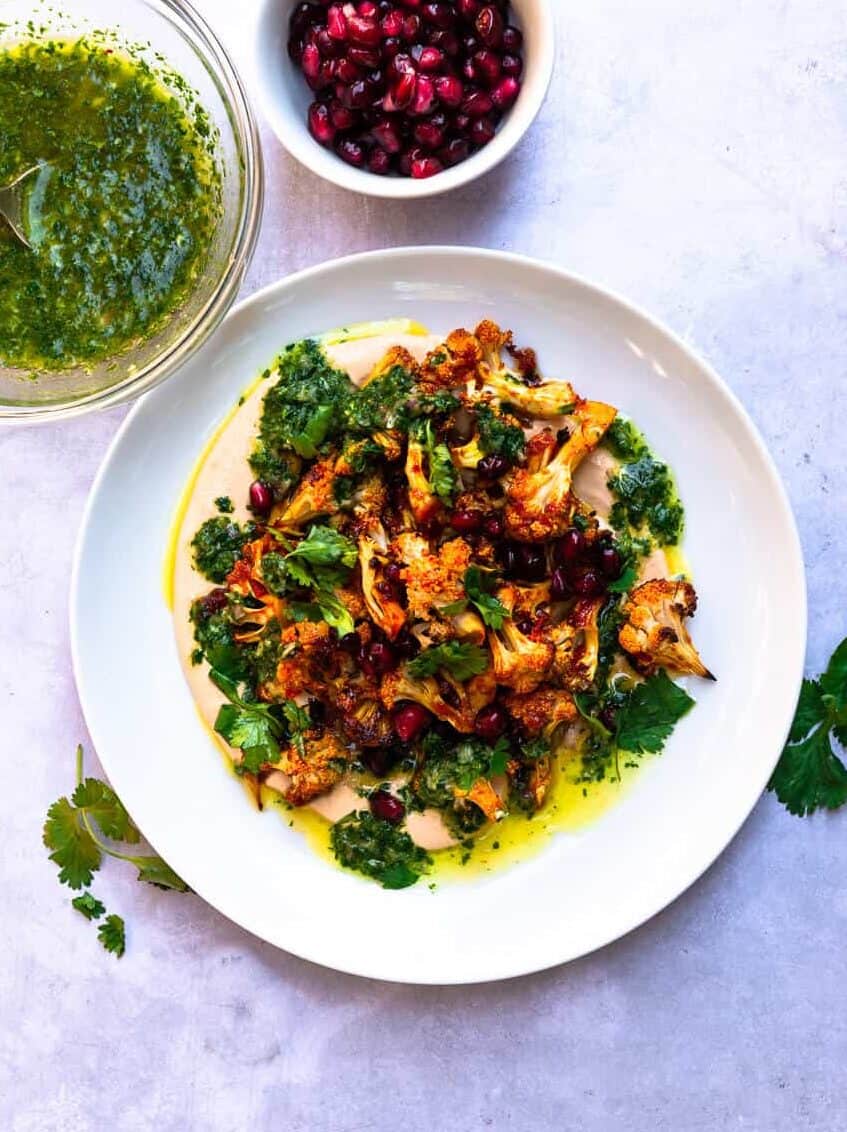
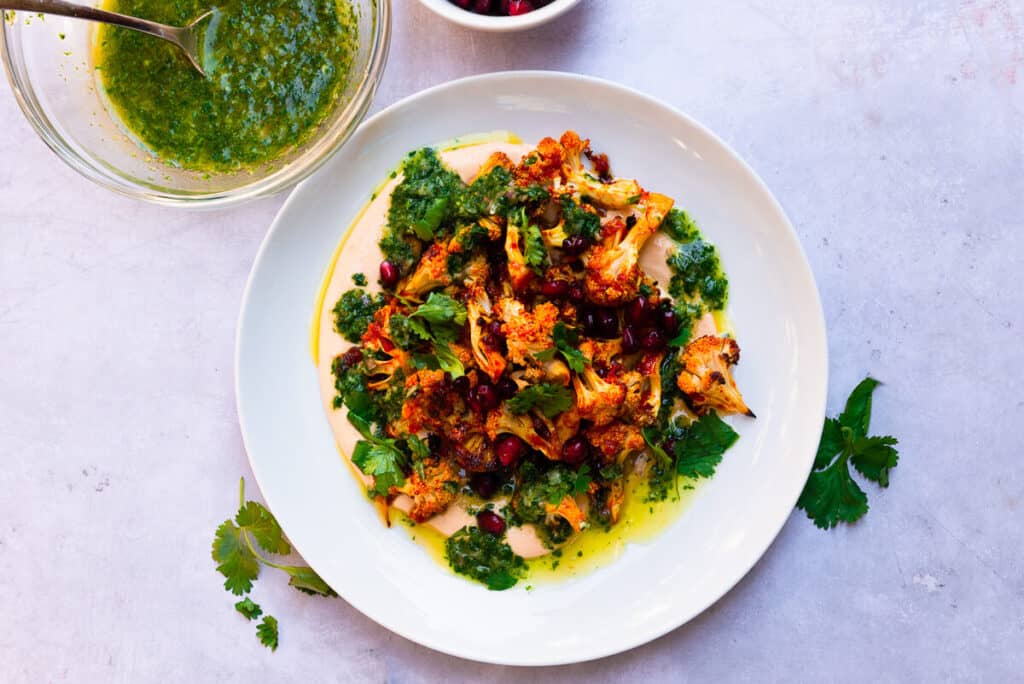
- Assemble everything. On a platter, spread a thin layer of harissa tahini and top with harissa cauliflower. Drizzle the cilantro vinaigrette around the cauliflower and garnish with pomegranate seeds and cilantro leaves.

Honey Harissa Cauliflower
Equipment
Ingredients
Harissa Cauliflower
- 1 head of cauliflower cut into ½ inch florets
- 3 tablespoons spicy harissa
- 2 tablespoons honey + more for garnish
- ½ teaspoon cumin
- ½ teaspoon turmeric
- ½ teaspoon Kosher salt
Harissa Tahini
- ½ cup tahini
- ¼-1/2 cup warm water depending on consistency
- 1 garlic clove roughly chopped
- 1 tablespoons spicy harissa paste
- 2 teaspoons lemon juice about half a lemon
- ½ teaspoon Kosher salt
Cilantro Vinaigrette
- ½-3/4 cup of cilantro + more for garnish
- 1 small shallot roughly chopped
- 1 garlic clove
- ½ cup olive oil
- 1 tablespoon apple cider vinegar
- ¼ teaspoon Kosher salt
Instructions
- Preheat oven to 425 degrees Fahrenheit and place cauliflower florets on a parchment lined baking sheet.
- In a bowl, whisk the harissa paste, honey, cumin, turmeric and Kosher salt together until well combined and pour mixture over cauliflower.
- Toss cauliflower with the harissa mixture so it's evenly coated on all sides, then spread the cauliflower out evenly onto the baking sheet.
- Bake cauliflower for 30-35 minutes until tender and lightly caramelized.
- Make the harissa tahini by adding all of the ingredient to a food processor and blend until smooth. Add more water to thin out consistency, if necessary and set aside.
- For the cilantro vinaigrette, add all of the ingredients to a food processor and blend until well combined. Add more olive oil to thin out consistency if needed.
- Assemble by spreading a layer of harissa tahini ona. platter and topping with roasted harissa cauliflower and drizzling with cilantro vinaigrette. Garnish with an extra drizzle of honey, olive oil, pomegranate seeds and fresh cilantro leaves.