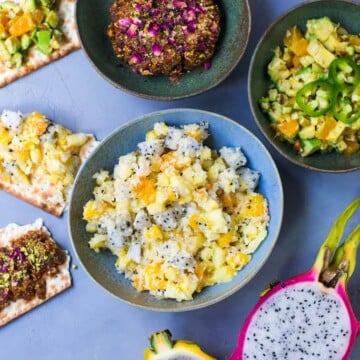
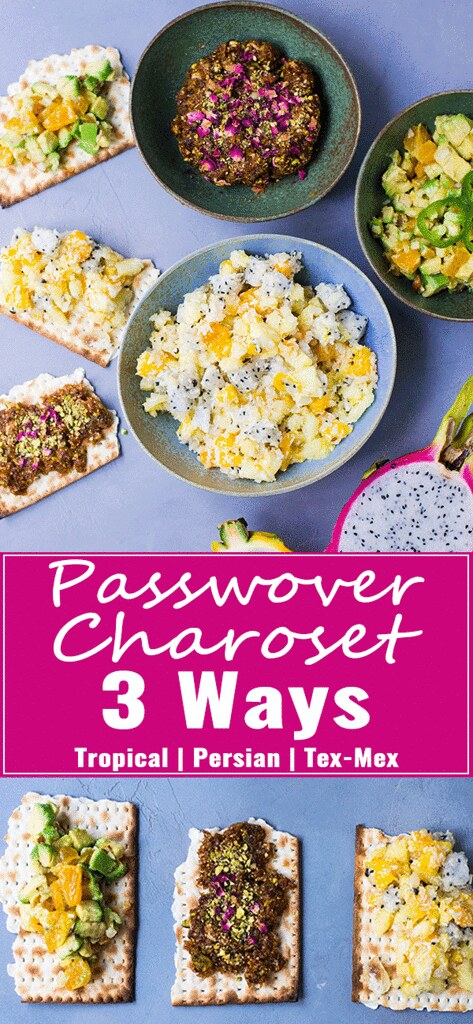
Passover Charoset Three Ways: Tropical Charoset with mango, pineapple and mac nuts, Persian Dried Fruit Charoset and Tex-Mex Salsa inspired Charoset.

Why Have One Charoset, When You Can Have Three!
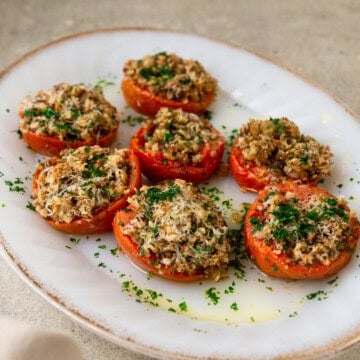
Every year I want to bring something new and exciting to the Passover table. like my Matzo Stuffed Tomatoes Provencal. This year, I couldn't stop at just 1 creative staple, but I had to make....three!
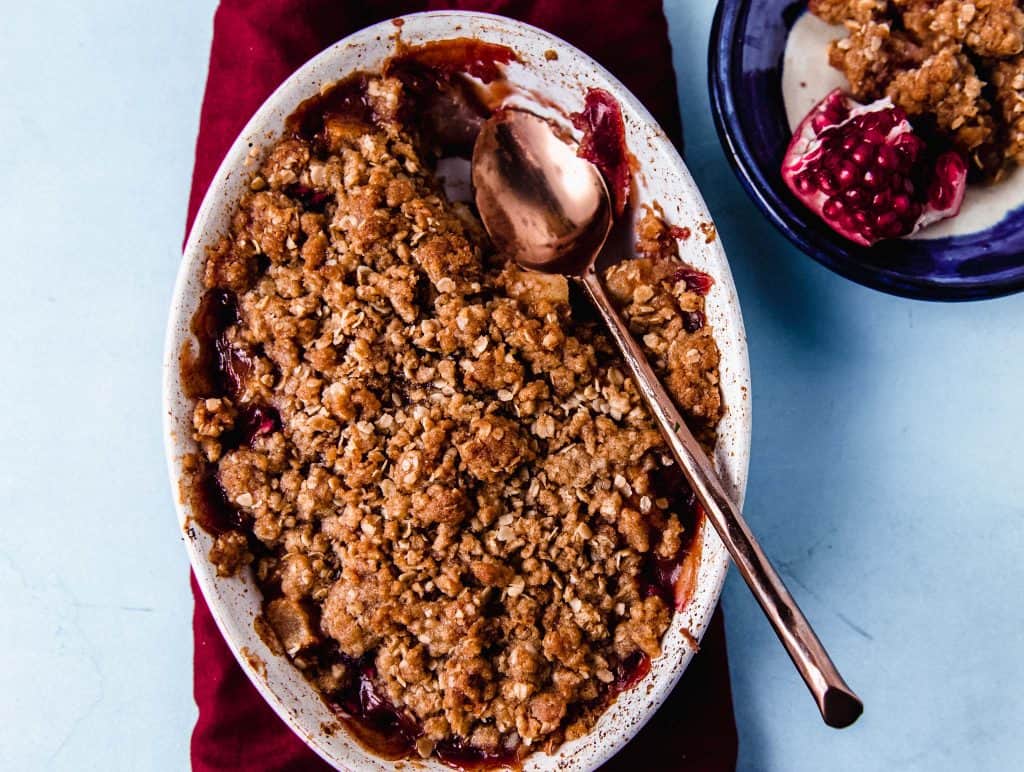
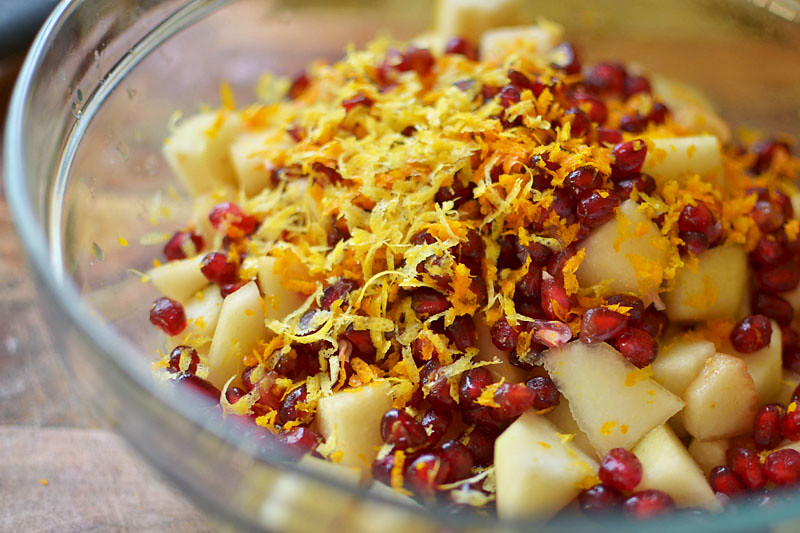
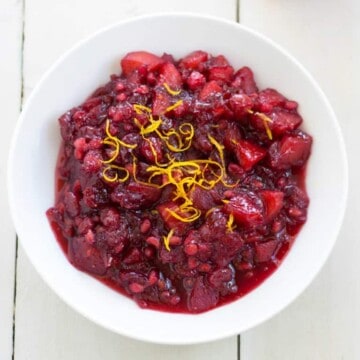
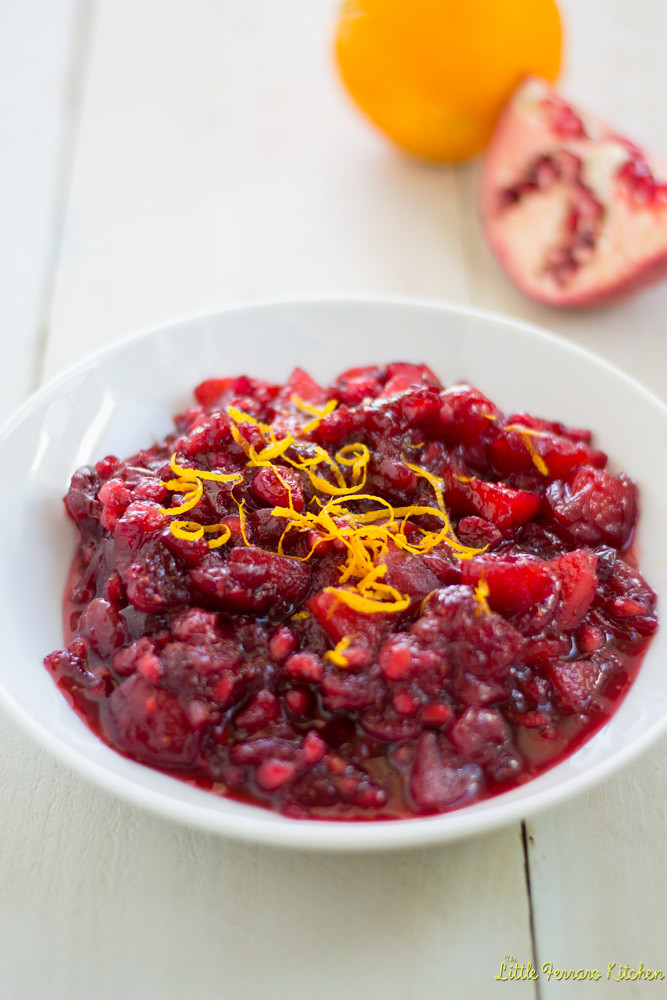
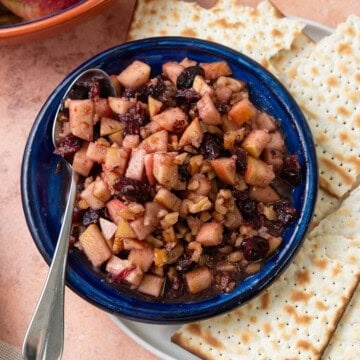
Let me introduce you to charoset, three ways! Now don't get me wrong...I LOVE traditional apple, walnut and red wine charoset. I argue that my mom's apple charoset is the best and she would add cranberries to it. I've upped the game since and added pomegranate seeds, but still kept the traditional apple, that will always be a childhood favorite of mine.
This time, I wanted to add a bit of color and homage to the places and cultures I admire most.
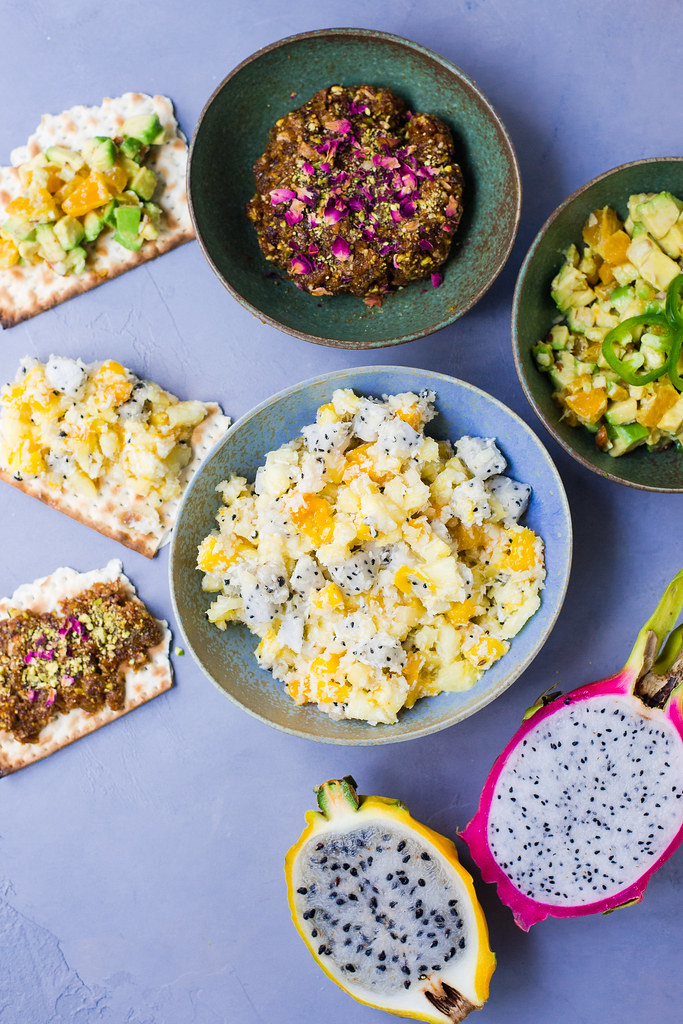
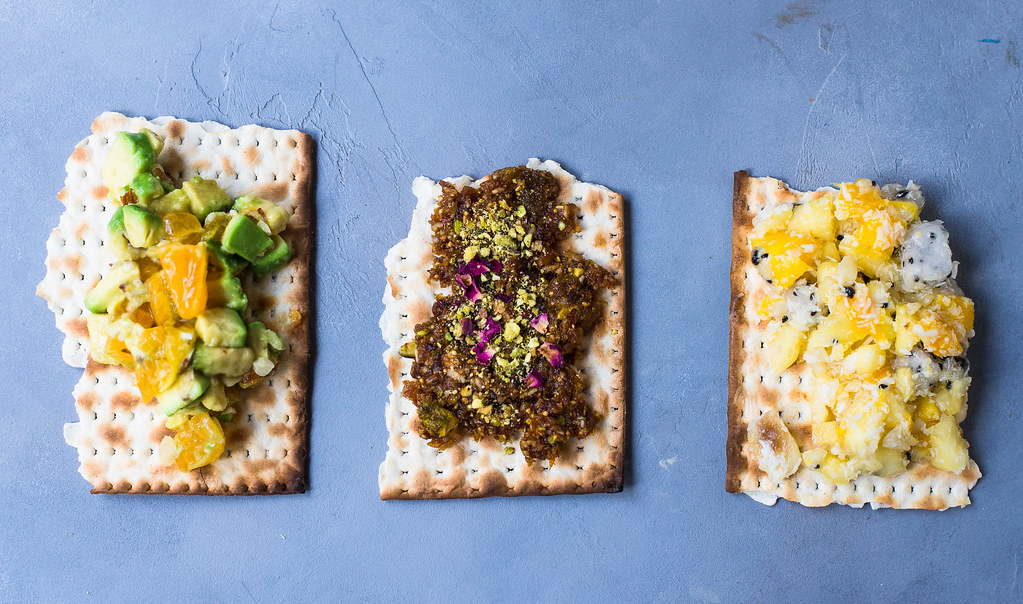
Tropical Charoset
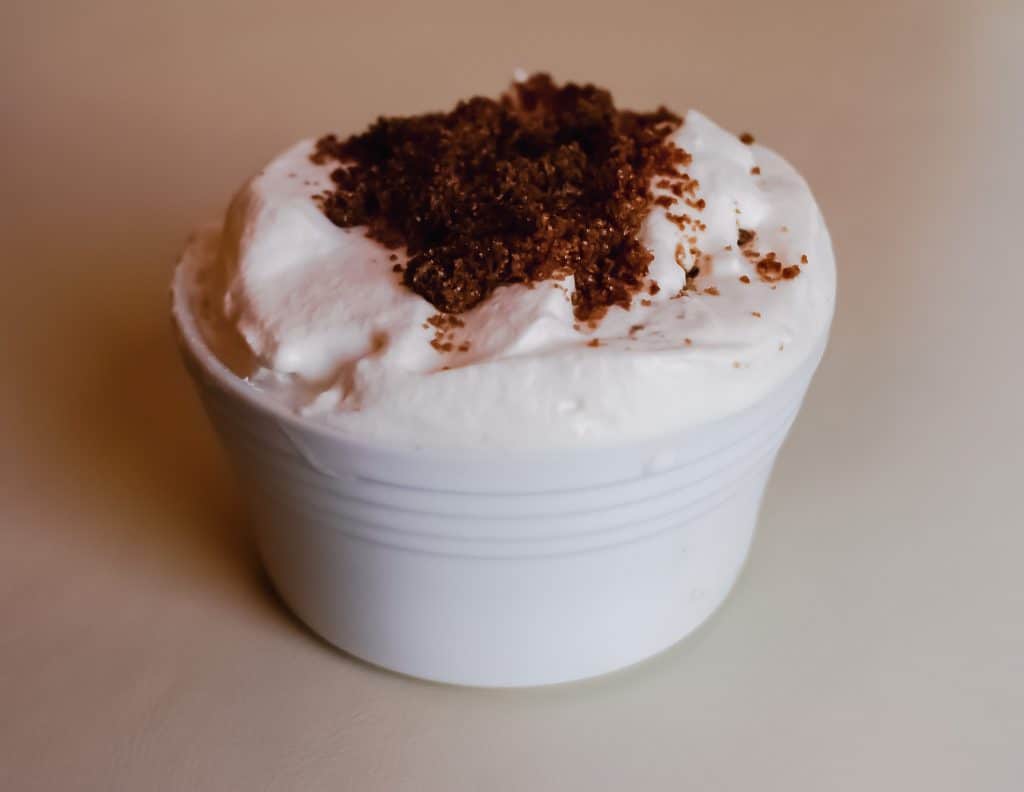
Dare I say this is my new favorite charoset!? With mango, pineapple, coconut and ground macadamia nuts. This tropical charoset reminds me of growing up in Hawaii, it's sweet and fresh and is not only fabulous on matzo but as a yogurt topping for dessert or breakfast as well.
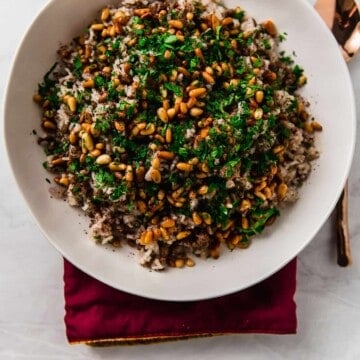
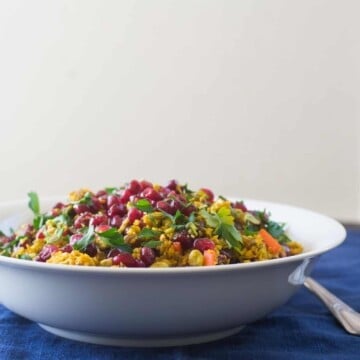
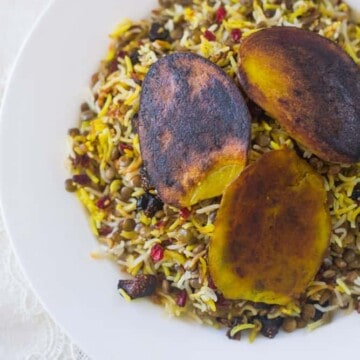
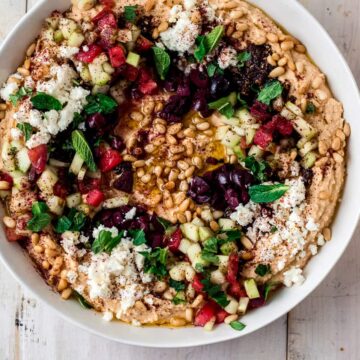
Persian Inspired Sephardic Charoset
Next is a Persian inspired charoset with dried fruit, pistachios and pomegranate molasses. The dried rose petals garnished on top are so beautiful (and edible). This charoset is sticky and holds a shape, so is great for rounding into charoset truffles or for a midday snack.
Tex-Mex Inspired Charoset
Finally another homage to years of living in Southern Cali. This is a Tex-Mex inspired salsa charoset that is sweet and spicy, with jalapeno, citrus and chile. This would go fab on top of brisket tacos!


Passover Charoset Three Ways
Ingredients
Tropical Charoset
- 1 cup diced pineapple
- 1 cup cubed dragon fruit or sub papaya
- ¾ cup cubed mango
- ¼ cup ground macadamia nuts
- ¼ cup shredded coconut
Persian Charoset
- 3 dried figs
- 3 pitted dates
- 6 dried apricots
- 2 tablespoons golden raisins
- 1 teaspoon pomegranate molasses
- 2 tablespoons roughly chopped pistachios + more for garnish
- 2 tablespoons roughly chopped almonds
- ½ teaspoon cinnamon
- ¼ teaspoon cardamom
- 2 tablespoons fruit juice just in case mixture is too dry
- Dried rose petals for garnish (optional)
Tex-Mex Charoset
- 1 avocado pitted and cubed
- 1 orange peeled and chopped into small cubes
- Juice of 1 lime
- 2 tablespoons ground almonds or ground pepitas
- ½ jalapeno seeded and finely diced (optional for heat)
- ½ teaspoon tajin spice or substitute lime zest + ½ tsp. chili powder
- Salt to taste
Instructions
Tropical Charoset
- Add all ingredients to a bowl and stir to combine. Store in the refrigerator for up to three days.
Persian Charoset
- Add all ingredients to a food processor and blend until evenly incorporated. If you don’t have a food processor, you can chop all the ingredients finely and stir to combine.
Tropical Charoset
- Combine all ingredients in a bowl and stir to combine.