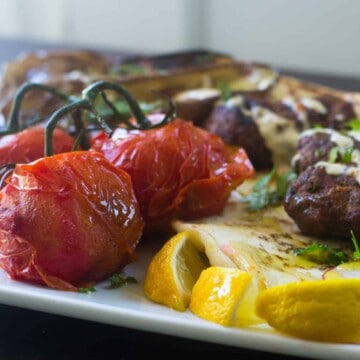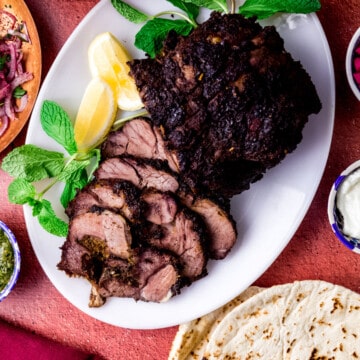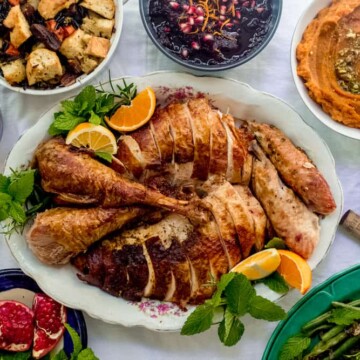
The ultimate Thanksgiving citrus and herb roast turkey, seasoned with loads of aromatic za'atar, citrus zest and fresh herbs and then slathered with butter making it juicy and flavorful.
It's that time friends...we need to talk about all things Thanksgiving! I recently asked on my Instagram stories if anyone was interested in Thanksgiving recipes yet, and I received an overwhelming amount of "yes's"! So let's buckle down and get this going, because it's going to be a delicious holiday! For less leftovers or a smaller affair try my Herb Roasted Turkey Thighs with Fennel or a Sausage Stuffed Cornish Game Hen Thanksgiving might be the answer to your Holiday needs. To add a dollop of Flavor to any poultry try my Lemon Herb Tahini Sauce, It might be the most flavorful meal ever.
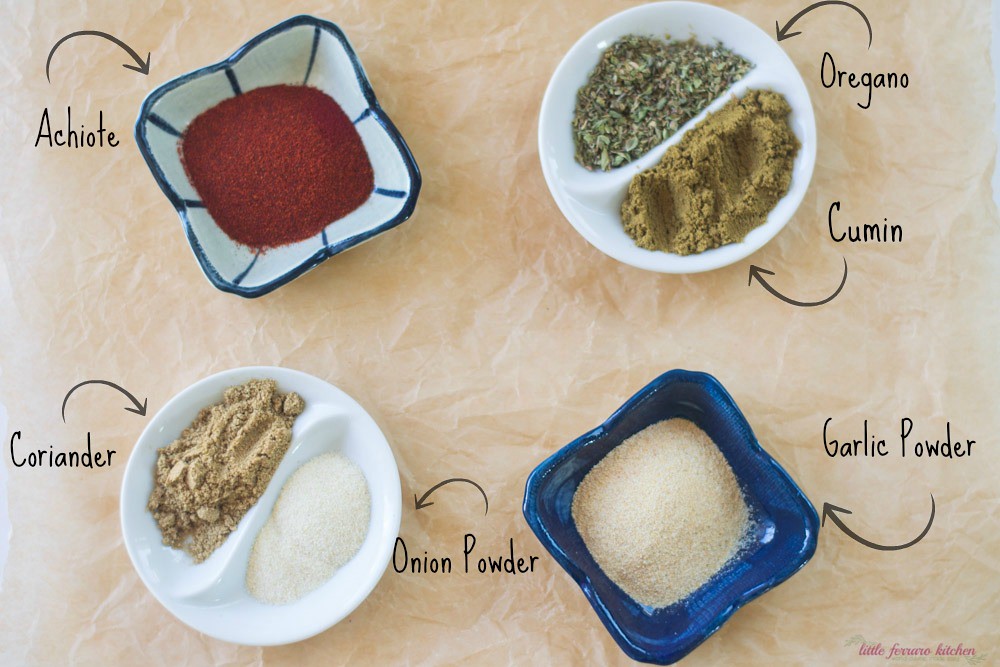
Citrus Herb Turkey with Zaatar Ingredients
I had so much fun with this recipe and really wanted to have a fresh, vibrant spin with Mediterranean flavors. Herbs are a traditional component with any roast and the addition of bright citrus and earthy zaatar is out of this world.
The ingredients in this Mediterranean inspired roast turkey recipe are simple and pack a punch of flavor.
- 1 whole 10-12 pound organic air-chilled (preferred) turkey, thawed
- Citrus zest, lemon or orange or both
- Fresh rosemary leaves
- Fresh thyme leaves
- Fresh oregano leaves
- Za'atar (you can find it at most grocery stores in their spice aisle or online.
- Softened butter
- Salt and pepper
- Sugar (just a bit to balance out the flavors)

Stuff the Turkey with Aromatics
I do the same thing with a whole roast chicken as well and believe stuffing the turkey with aromatics infuses even more fabulous flavor.
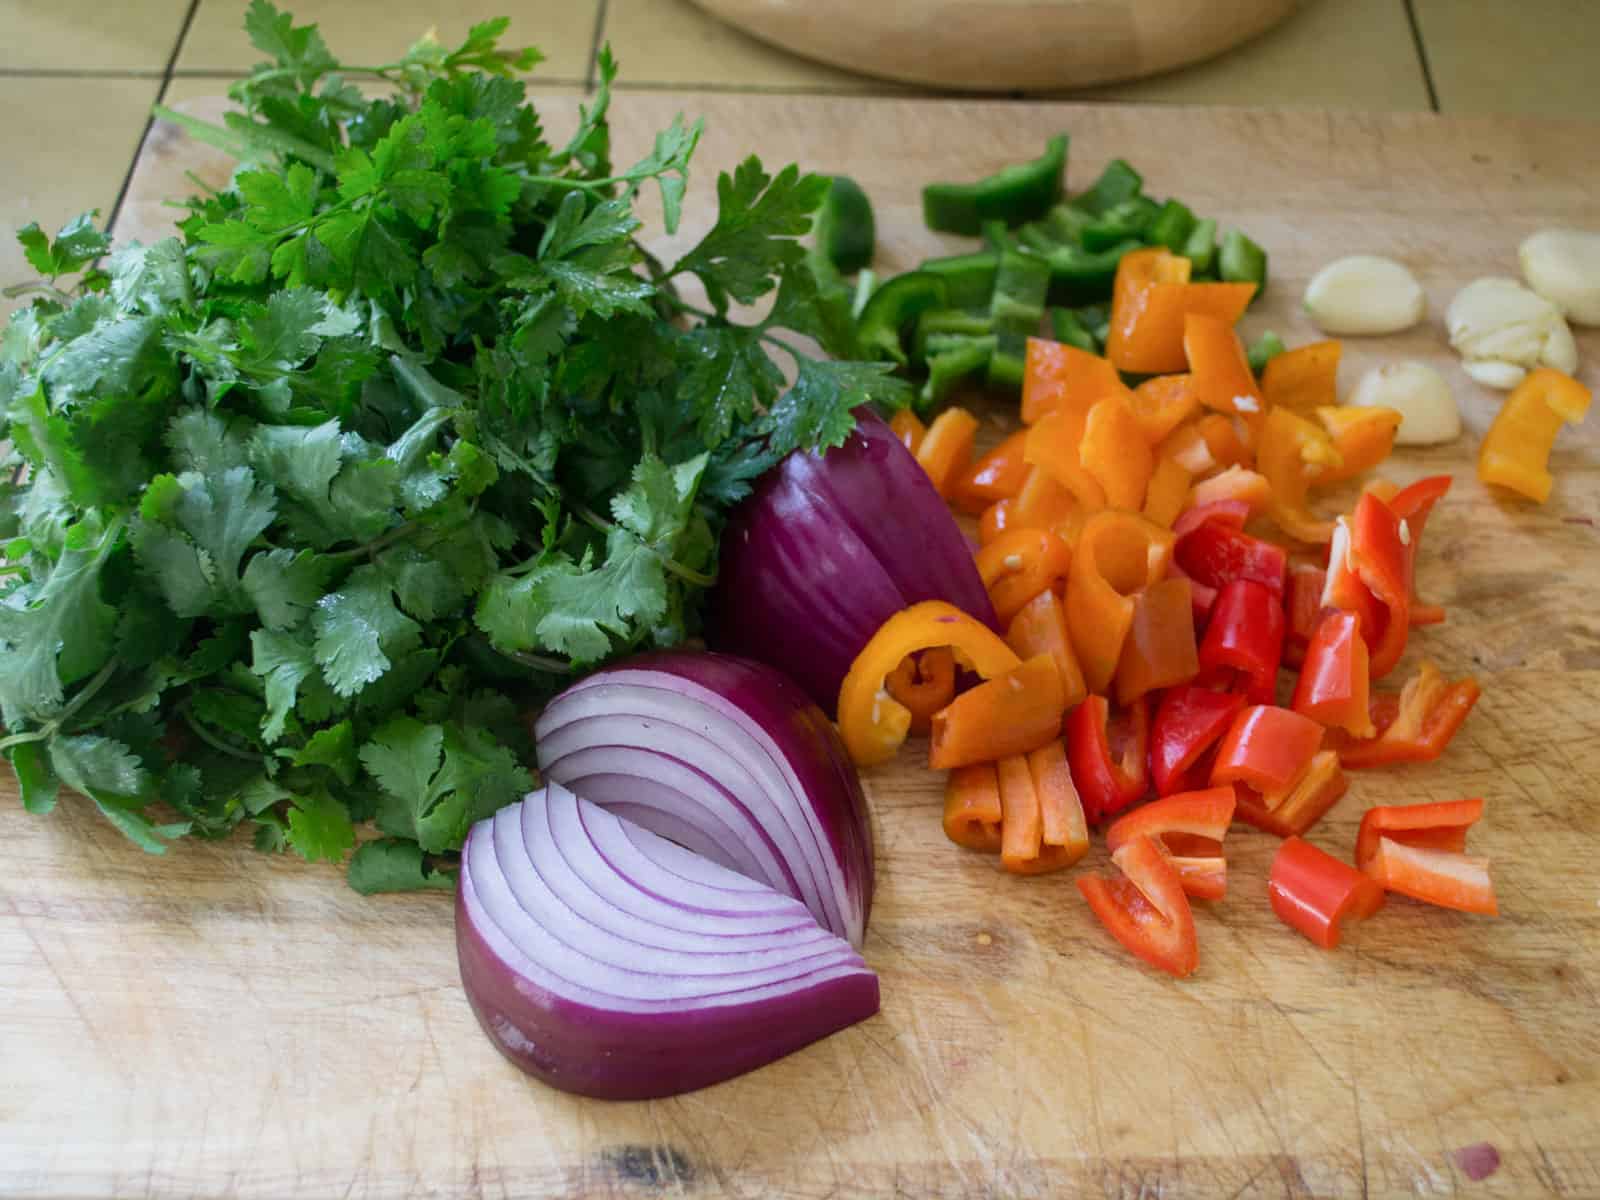
My favorite aromatics to stuff in a turkey are halved onions and garlic bulbs, halved lemons and oranges and stalks of fresh herbs, such as rosemary and thyme.
How to Make Herb and Citrus Turkey
No wet brines needed. Instead I take all of the flavors I want to impart the turkey and do a simple "dry brine" and don't wash it off..that's all the flavor! Also, if you are not a turkey fan, this same recipe fantastic on whole roast chicken as well.
This recipe is with a thawed turkey, but I will leave a few notes on what to do with a frozen or deeply chilled turkey later in the post.
Remove turkey from its bag and take out any giblets inside of it (spoiler: we keep the neck and giblets and roast them or save them for the gravy!)
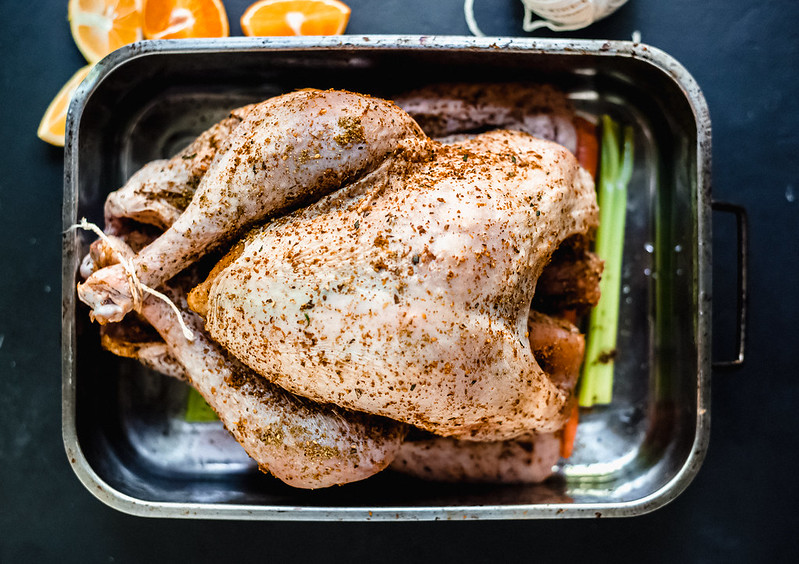
Pat dry the entire turkey with paper towels and place on a rimmed baking sheet or toasting pan.
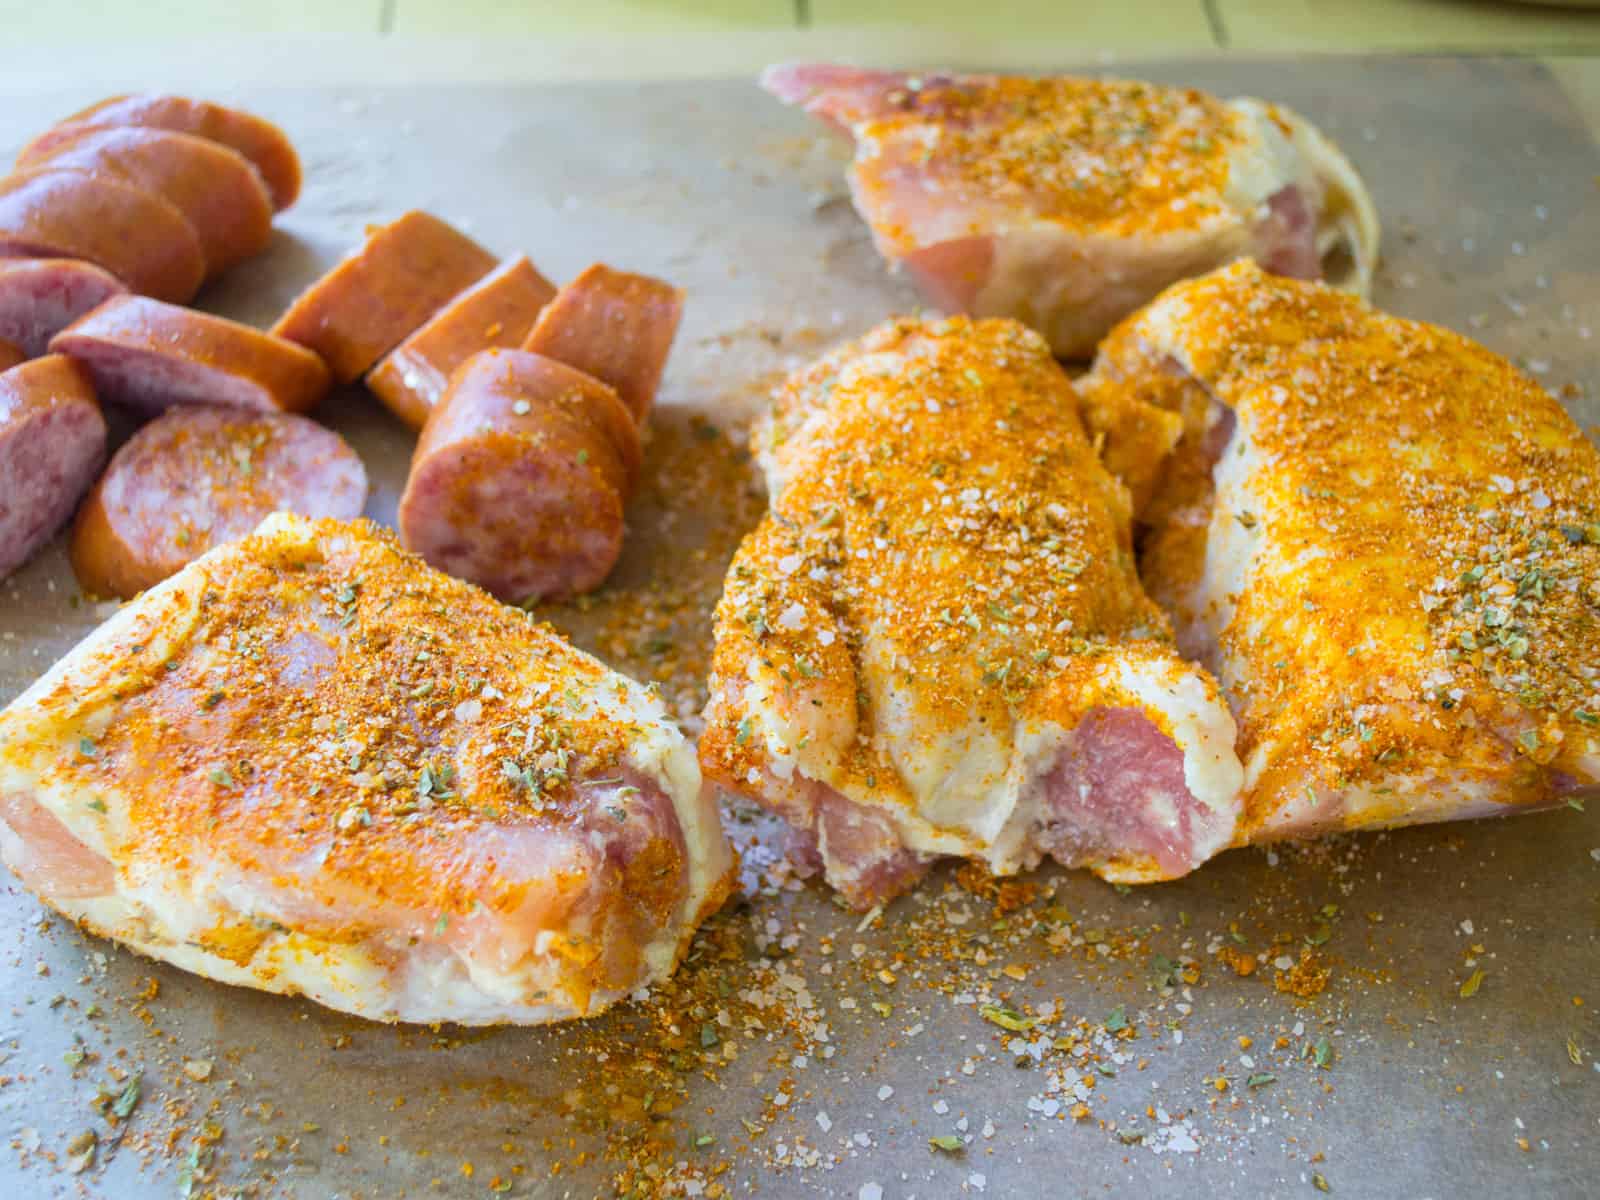
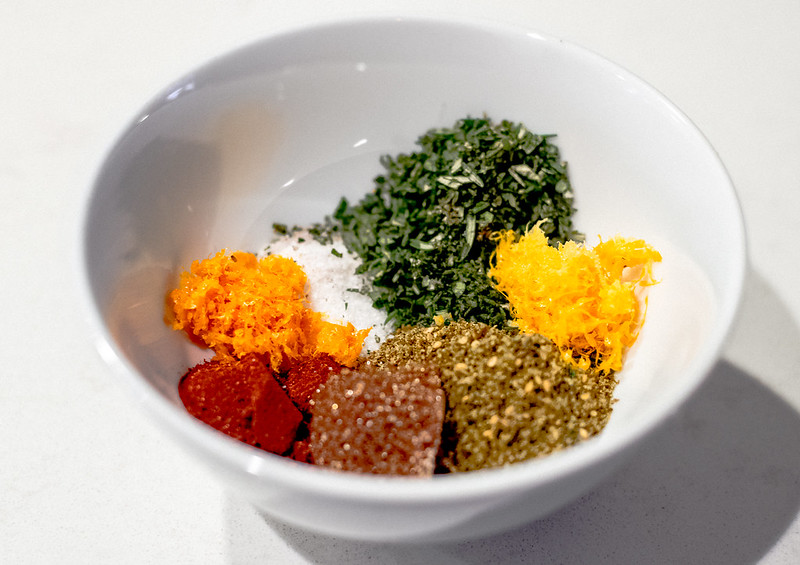
In a bowl, mix together the citrus zests, herbs, spices and sugar and stir to combine, then rub the mixture all over the turkey, getting into the crevices and under the skin if you can.
Make room in the refrigerator and place the seasoned turkey in the fridge, uncovered for at least 8 hours. I like to do this right before bed the night before Thanksgiving.
Remove turkey from the fridge about an hour before you're ready to roast it and pre-heat your oven to 450 degrees Fahrenheit.
While the oven is preheating, rub the softened butter all over the turkey, getting under the skin as well. Some of the herbs may rub off and you can add more zaatar all over if you'd like.

Next, fill the turkey cavity with halved onions, garlic bulbs and lemons or oranges and tie the legs togetehr with kitchen twine.
Place turkey in a roasting pan and roast at 450 degrees for 30 minutes, then lower the temperate to 350 degrees Fahrenheit and continue roasting for another 2 hours or until the thickest part reaches 165 degrees Fahrenheit.
Once done, remove turkey from oven and let rest for at least 20 minutes before carving.

A Few Helpful Tips on Roasting a Whole Turkey
- If using a frozen turkey, keep in mind that it takes time to fully defrost. The general rule is 24 hours for every 5 pounds.
- If you're buying a deeply chilled turkey, the turkey is not frozen but still needs to finish thawing for a whole day. It hasn't been frozen but it's been deeply chilled which can still have ice crystals inside the turkey.
- This recipe is a place on dry brining, which leaves the turkey uncovered in the fridge, drying out the skin for a crispier crust.
- Allow turkey to get the chill off before roasting, so plan ahead and leave the turkey at room temperature for 20 minutes before cooking.
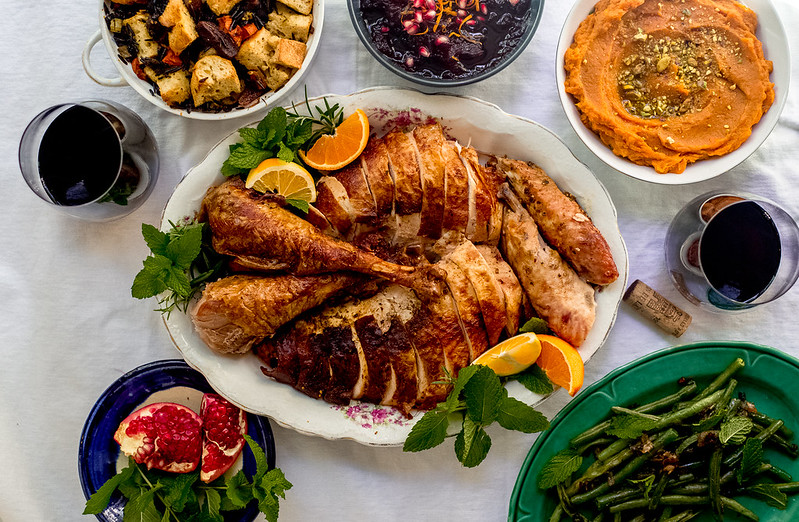
More Holiday Dishes


More Thanksgiving Recipes to go alongside Citrus Herb Roasted Turkey
- Apple Pomegranate Cranberry Sauce
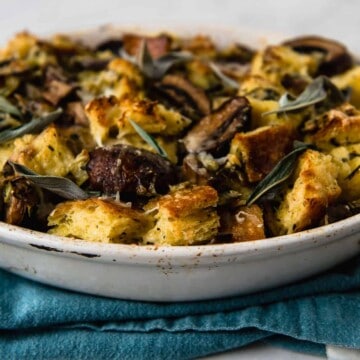
- Savory Sausage and Onion Bread Pudding
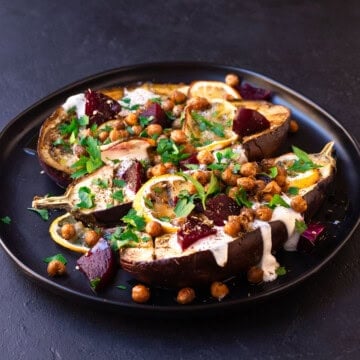
- Roasted Kabocha Squash with Pomegranate and Tahini
- Shredded Brussels Sprouts Salad with Pistachios and Pecorino

Roast Turkey with Citrus, Herbs and Za'atar
Ingredients
- 1 10 pound whole turkey defrosted
- 3 tbsp. za'atar
- 2 tsp. paprika
- 1 tbsp. kosher salt
- 2 tsp. sugar
- 3 sprigs of fresh rosemary leaves chopped finely
- 1 small bunch of fresh oregano leaves removed and finely chopped
- 1 small bunch of fresh thyme leaves removed and finely chopped
- 1 stick of unsalted butter softened
- 1 whole onion cut in half
- 1 whole garlic bulb cut in half
- 1 whole lemon and/or orange cut in half
Instructions
- This recipe is with a thawed turkey, but I will leave a few notes on what to do with a frozen or deeply chilled turkey later in the post.
- Remove turkey from its bag and take out any giblets inside of it (spoiler: we keep the neck and giblets and roast them or save them for the gravy!)
- Pat dry the entire turkey with paper towels and place on a rimmed baking sheet or toasting pan.
- In a bowl, mix together the citrus zests, herbs, spices and sugar and stir to combine, then rub the mixture all over the turkey, getting into the crevices and under the skin if you can.
- Make room in the refrigerator and place the seasoned turkey in the fridge, uncovered for at least 8 hours. I like to do this right before bed the night before Thanksgiving.
- Remove turkey from the fridge about an hour before you're ready to roast it and pre-heat your oven to 450 degrees Fahrenheit.
- While the oven is preheating, rub the softened butter all over the turkey, getting under the skin as well. Some of the herbs may rub off and you can add more zaatar all over if you'd like.
- Next, fill the turkey cavity with halved onions, garlic bulbs and lemons or oranges and tie the legs togetehr with kitchen twine.
- Place turkey in a roasting pan and roast at 450 degrees for 30 minutes, then lower the temperate to 350 degrees Fahrenheit and continue roasting for another 2 hours or until the thickest part reaches 165 degrees Fahrenheit.
- Once done, remove turkey from oven and let rest for at least 20 minutes before carving.
Notes
- If using a frozen turkey, keep in mind that it takes time to fully defrost. The general rule is 24 hours for every 5 pounds.
- If you're buying a deeply chilled turkey, the turkey is not frozen but still needs to finish thawing for a whole day. It hasn't been frozen but it's been deeply chilled which can still have ice crystals inside the turkey.
- This recipe is a place on dry brining, which leaves the turkey uncovered in the fridge, drying out the skin for a crispier crust.
- Allow turkey to get the chill off before roasting, so plan ahead and leave the turkey at room temperature for 20 minutes before cooking.