This bright, flavor-packed Easter menu is all about fresh herbs, citrus and simple but impressive dishes. Mix and match everything from easy appetizers to elegant mains and a light lemony dessert. This Mediterranean-inspired menu is perfect for a relaxed spring gathering.
[feast_advanced_jump_to]🫒 Appetizers
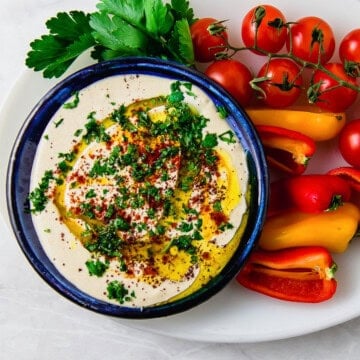
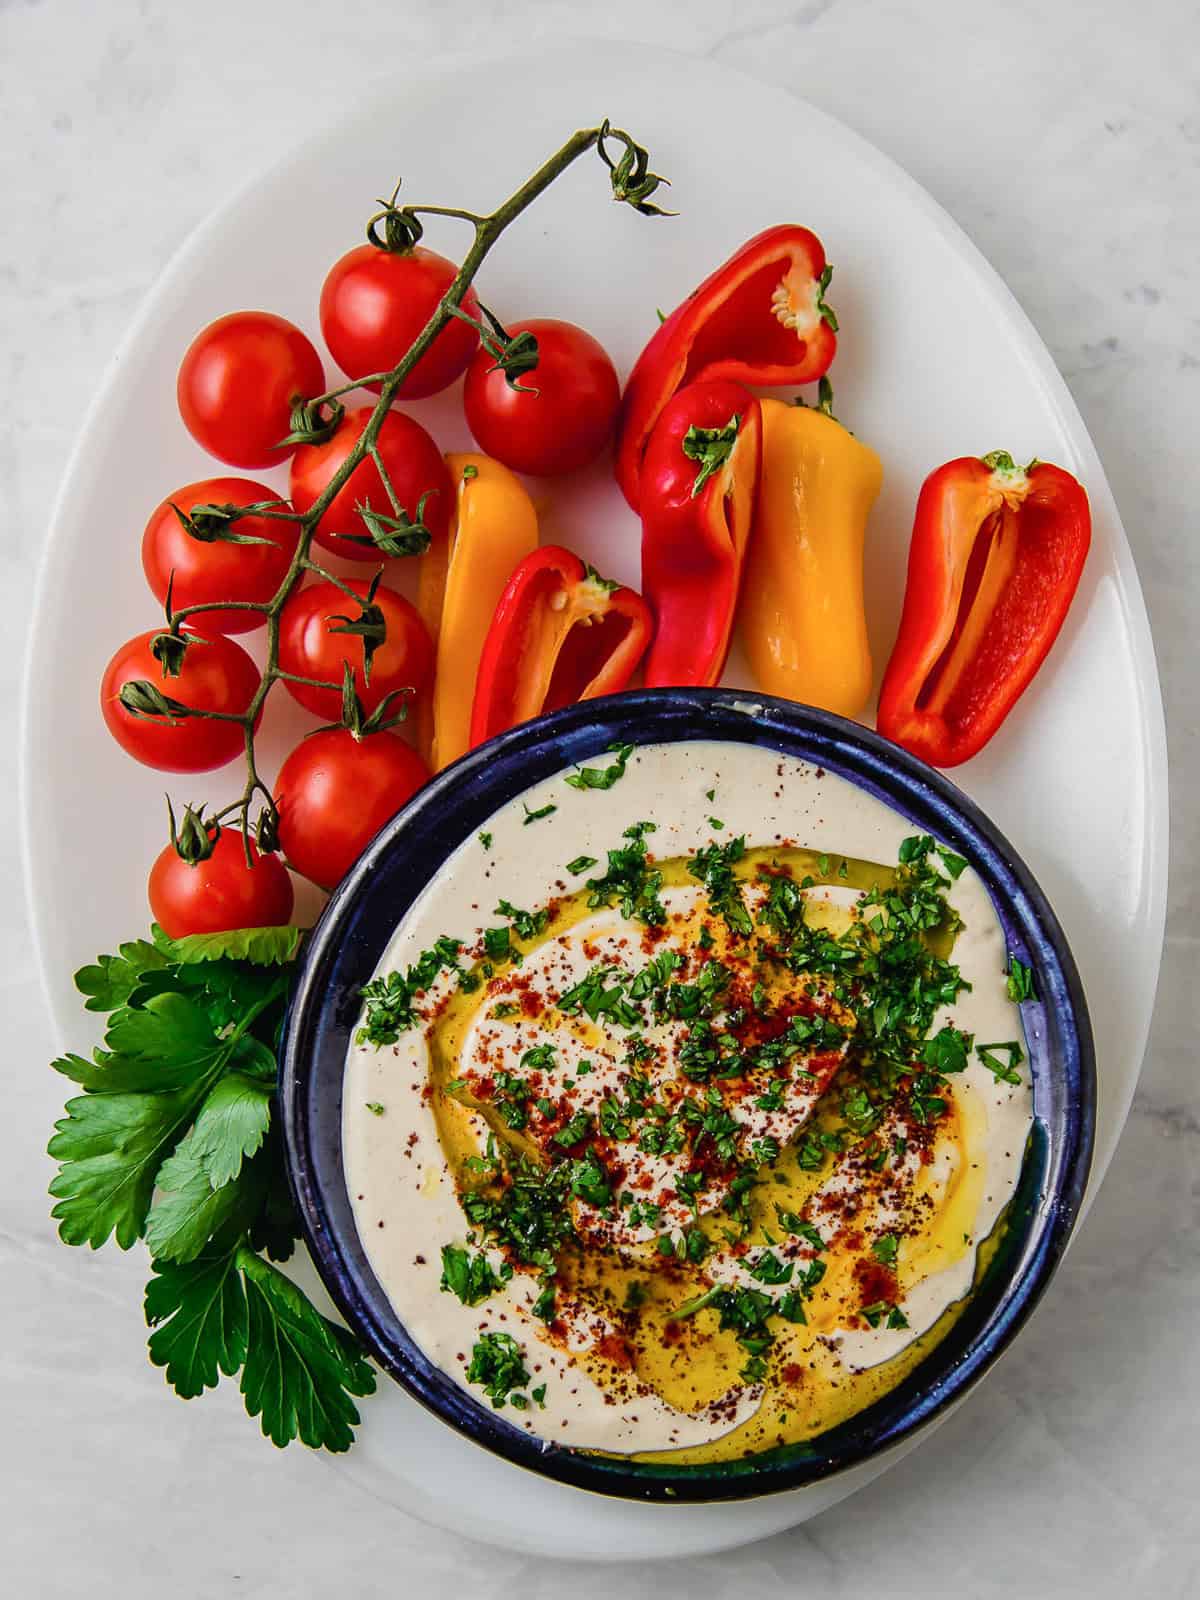
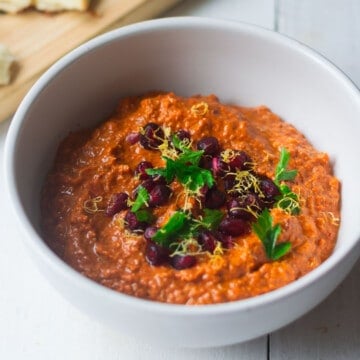
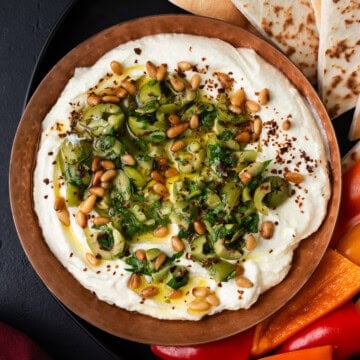
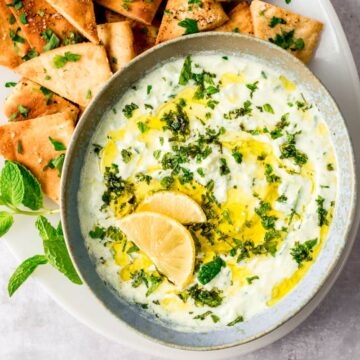
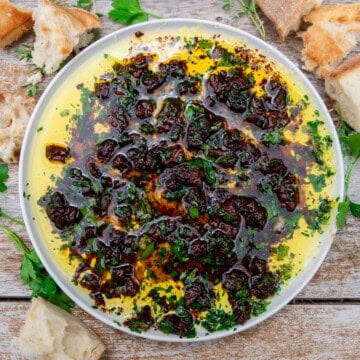
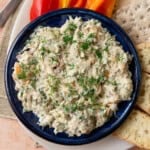
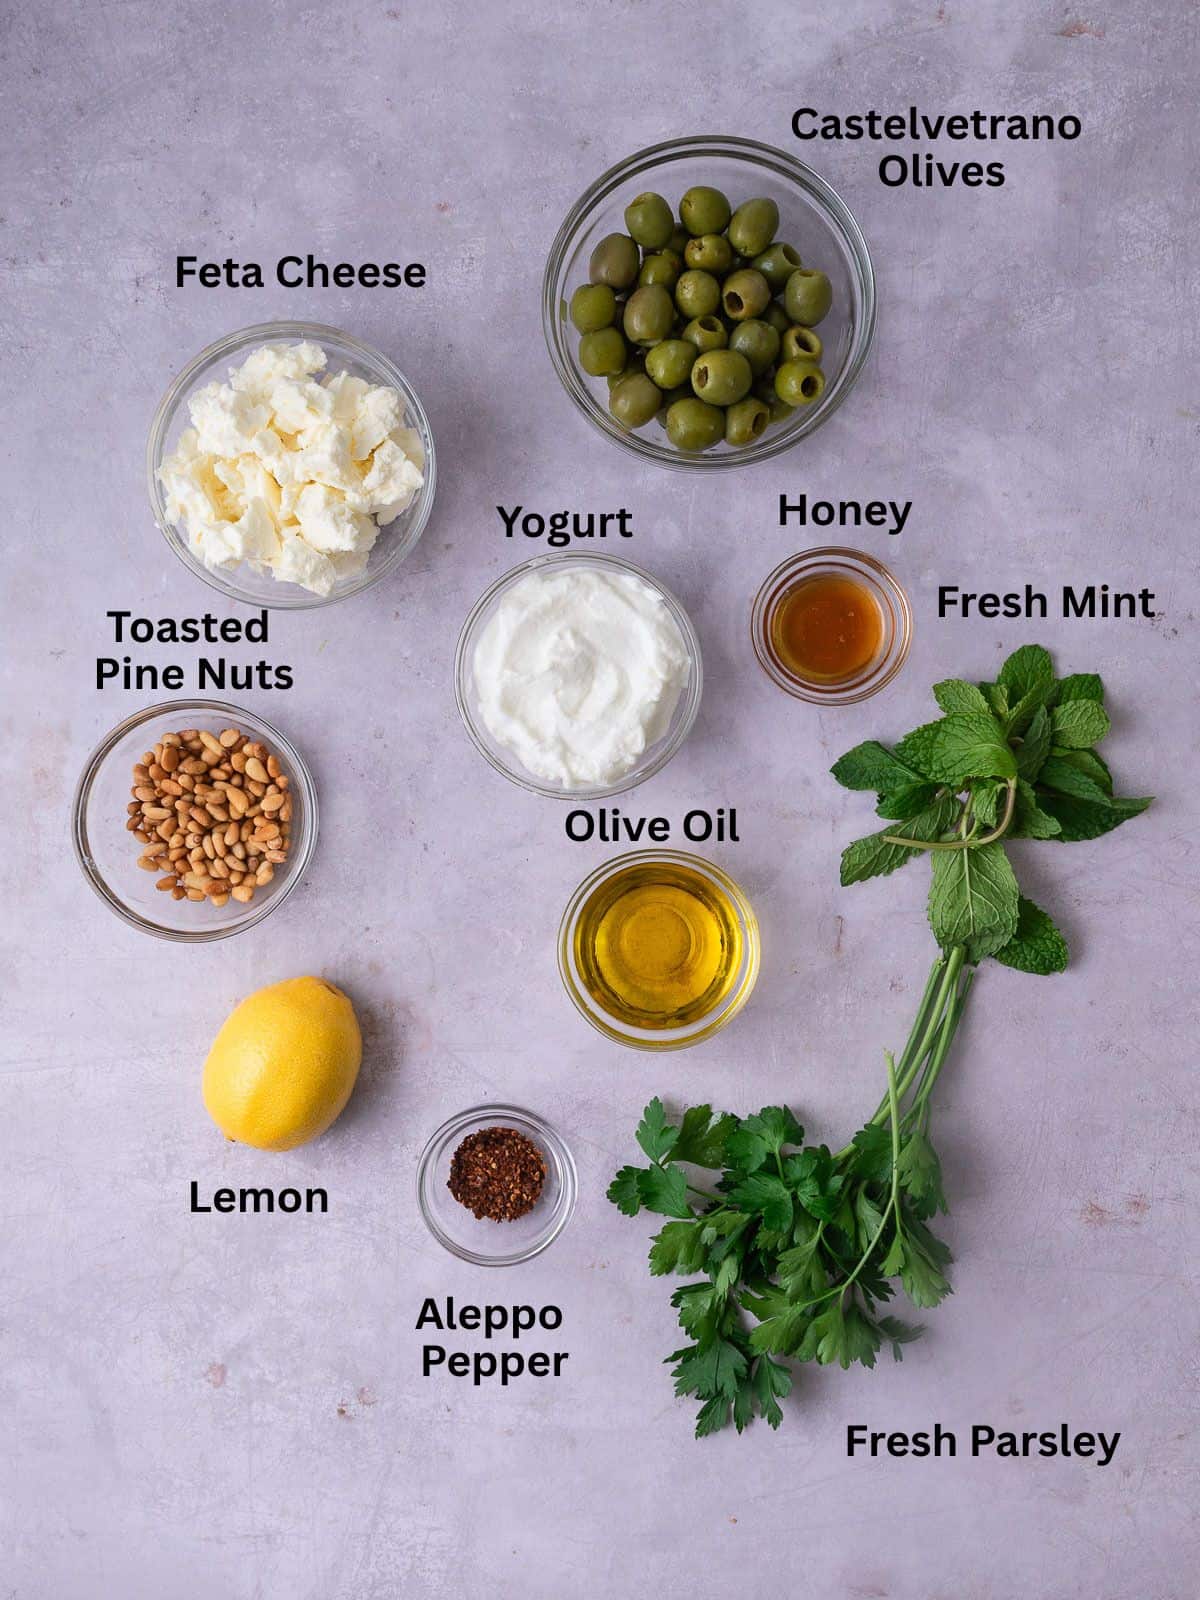
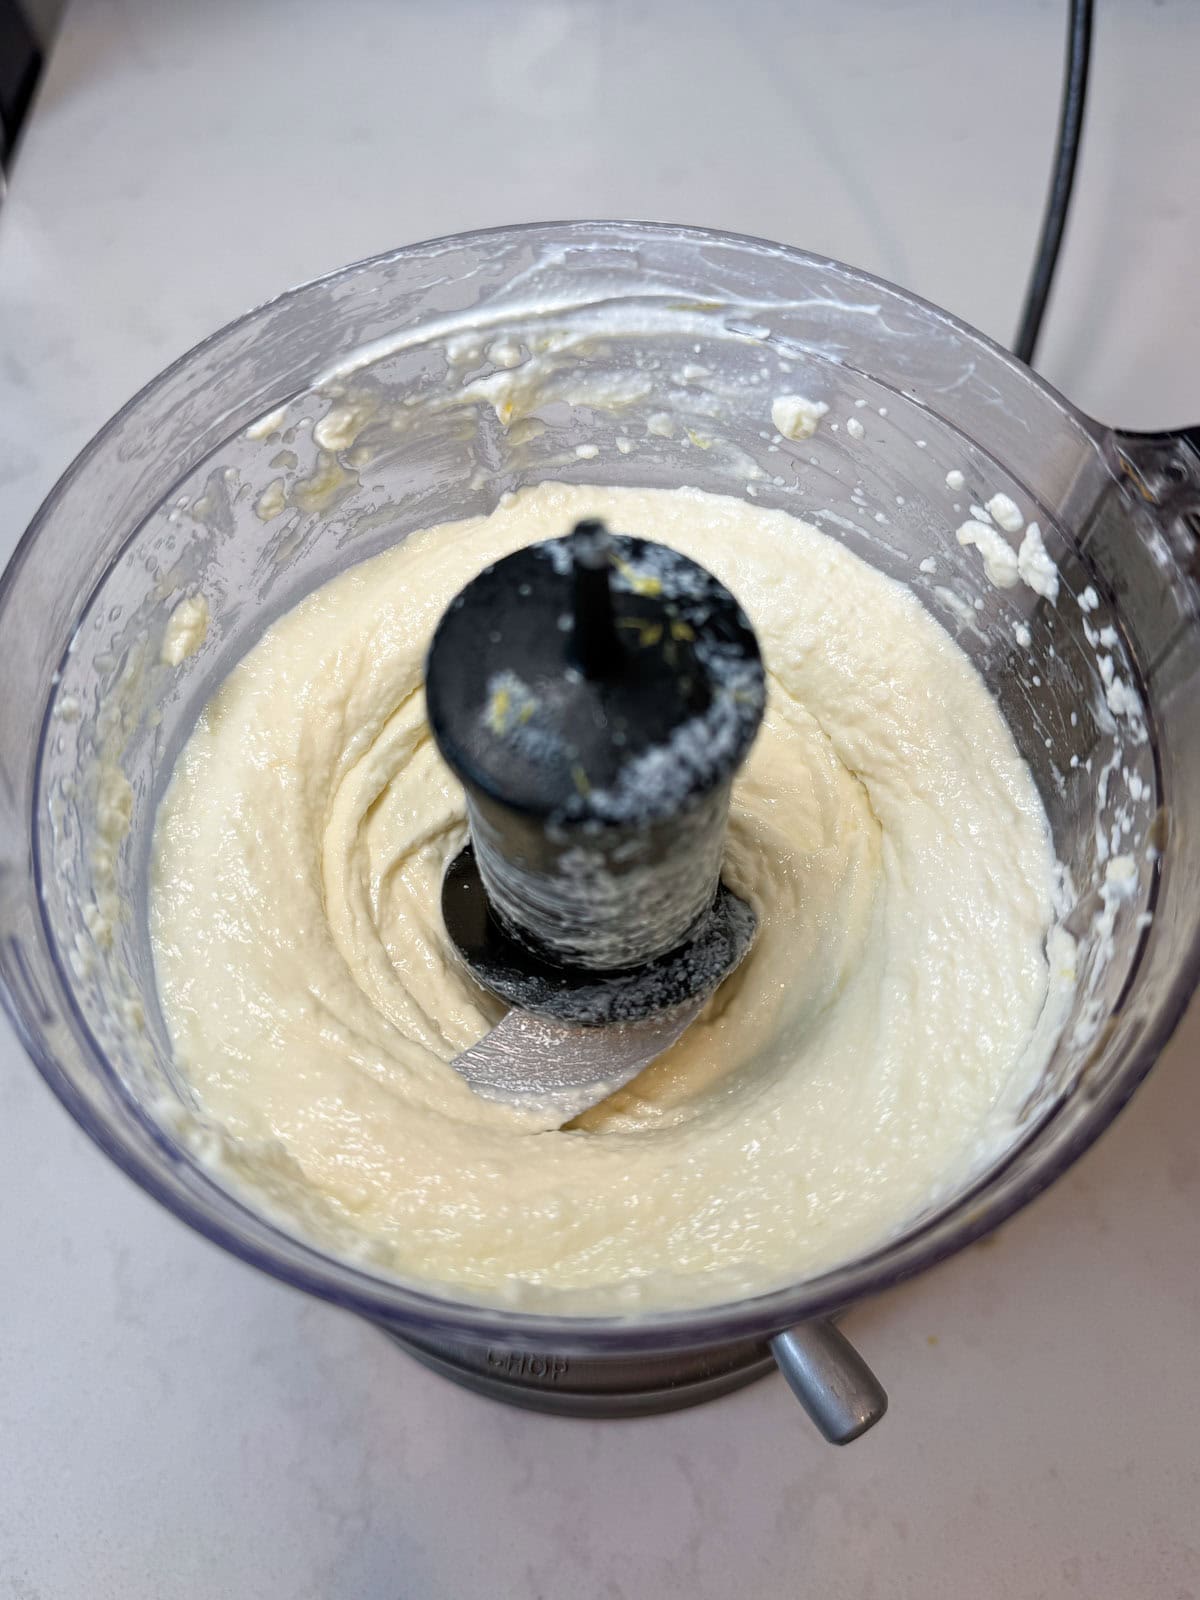
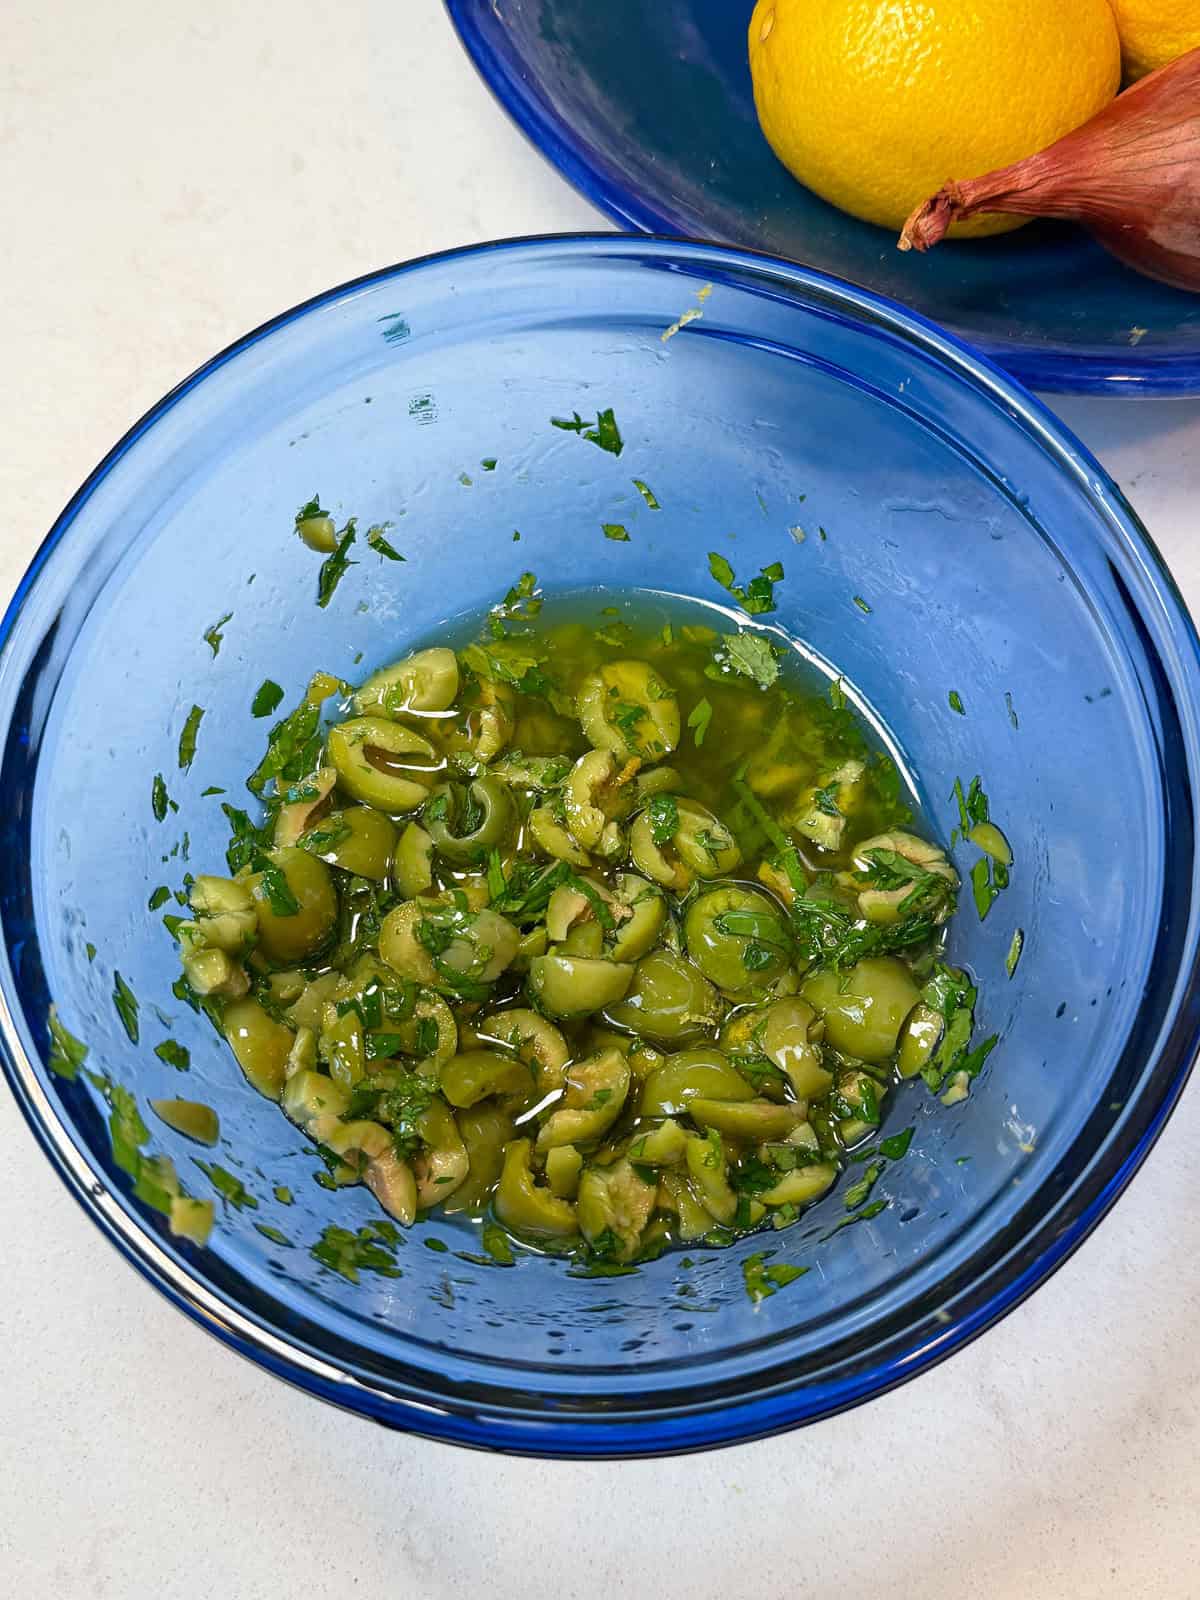
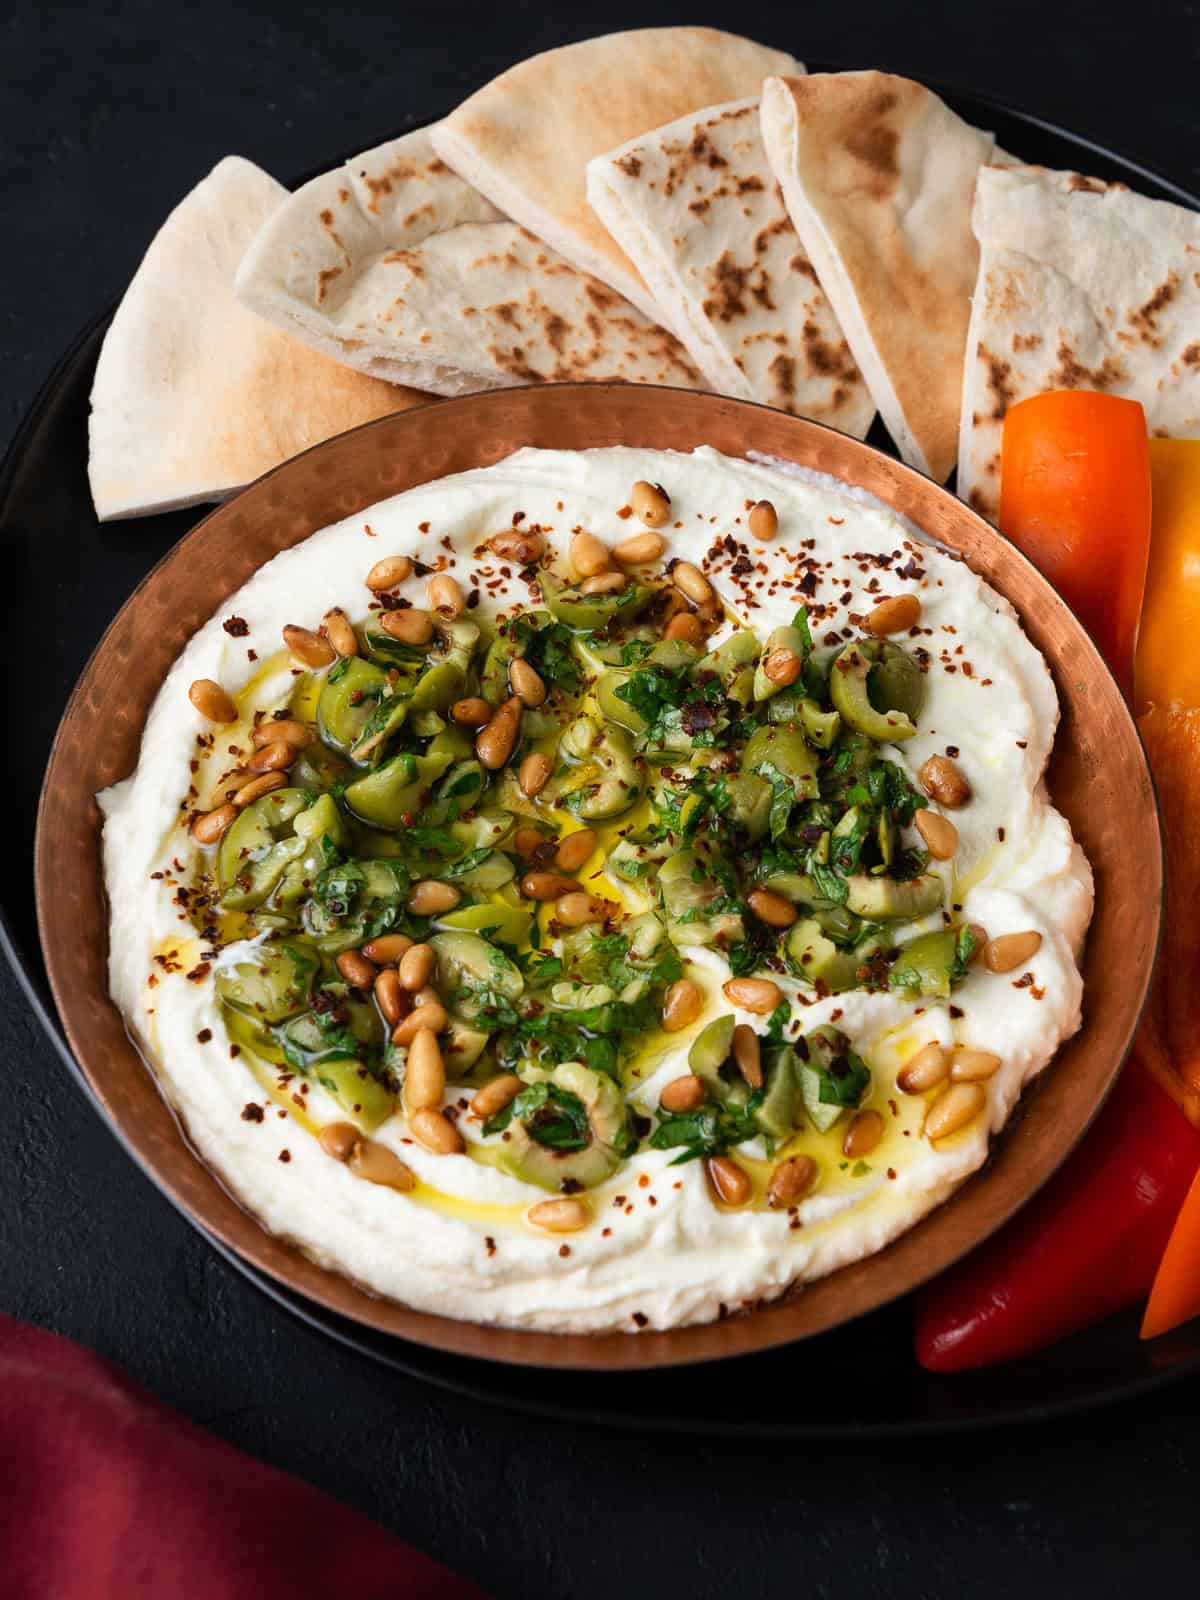
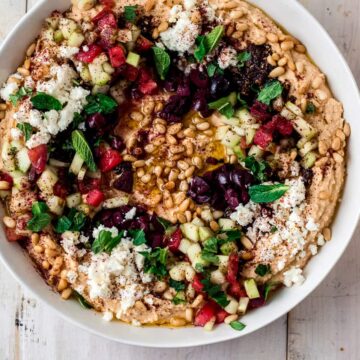
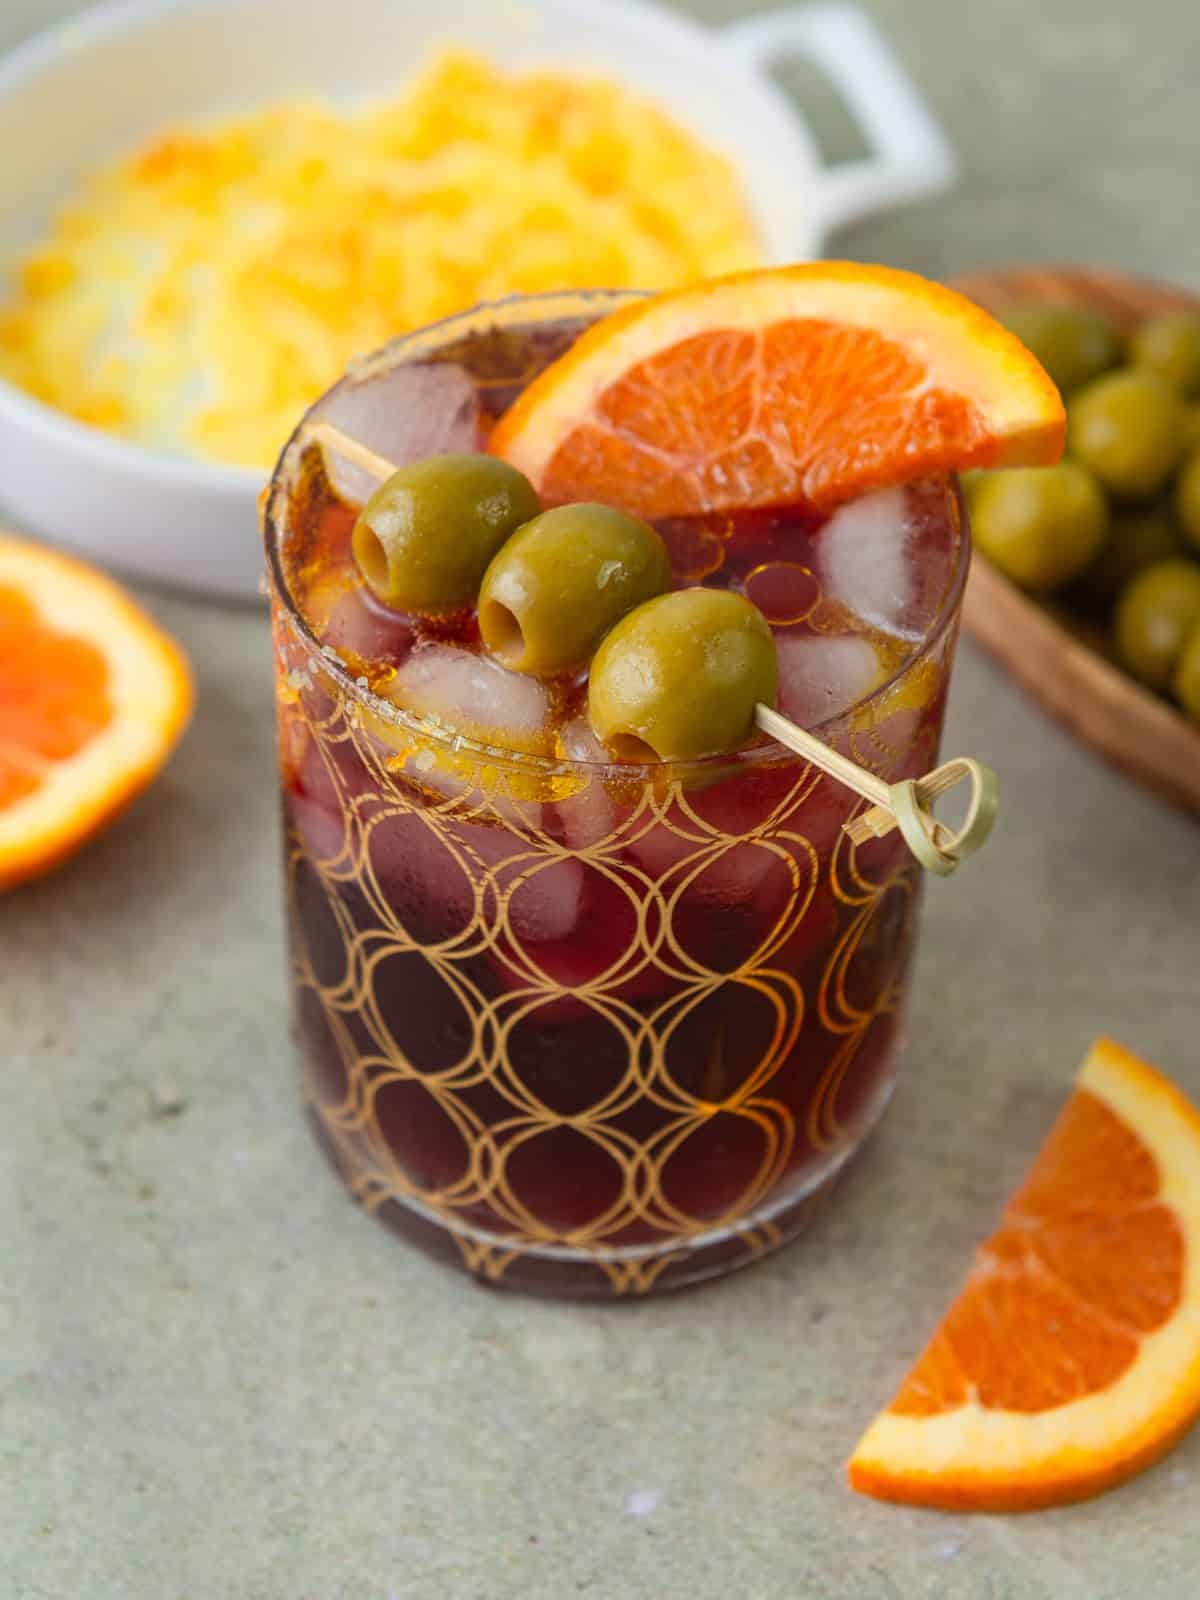
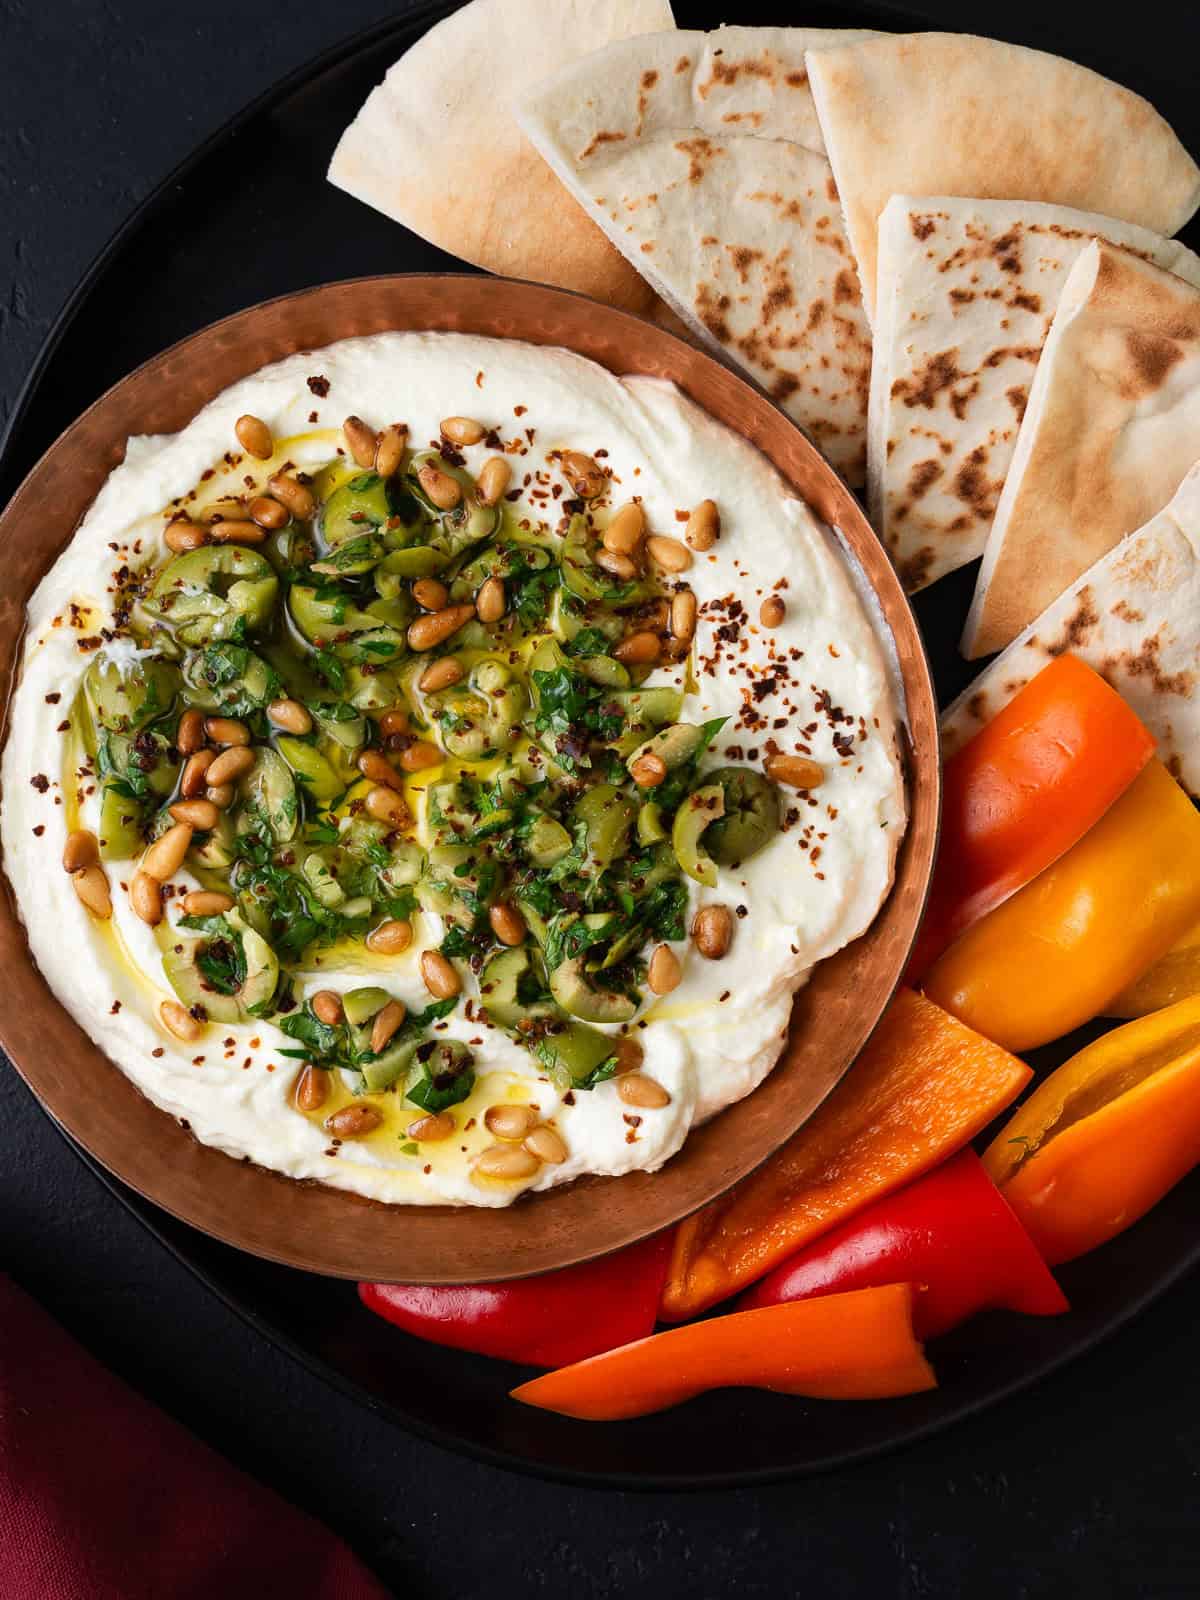
Whipped Feta with Marinated Olives- Creamy and tangy, whipped feta is quick to make and always a crowd favorite!
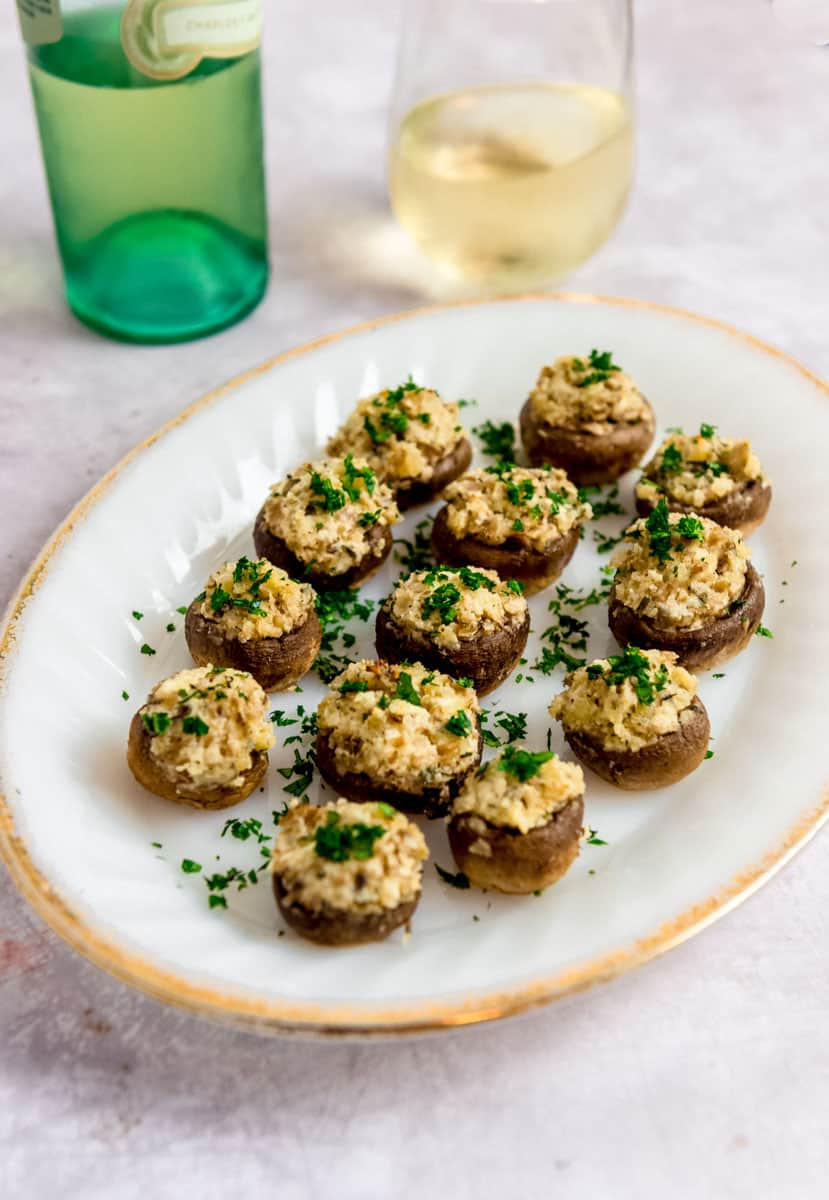
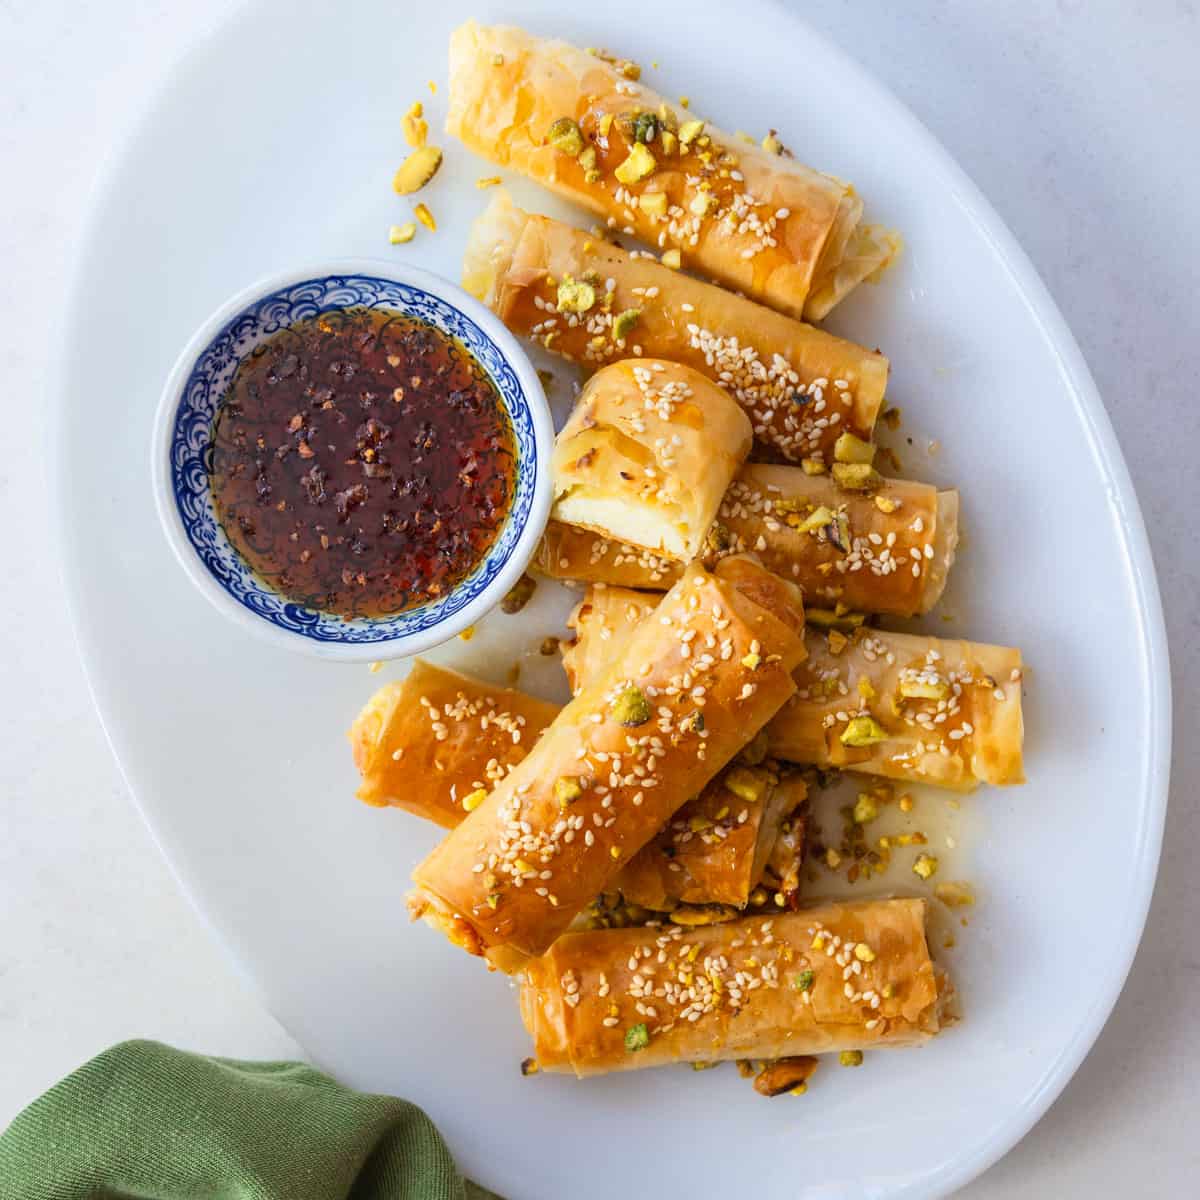
Phyllo Feta Rolls with Honey- Crispy phyllo is wrapped around salty feta and served with honey for a perfect sweet-savory bite.
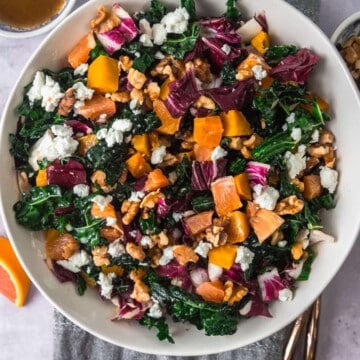
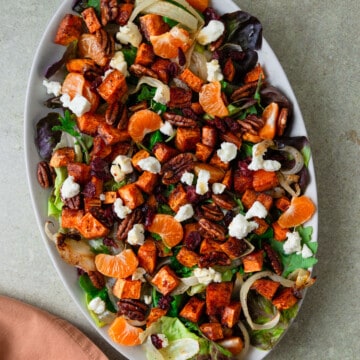
🥗 Salads and Sides
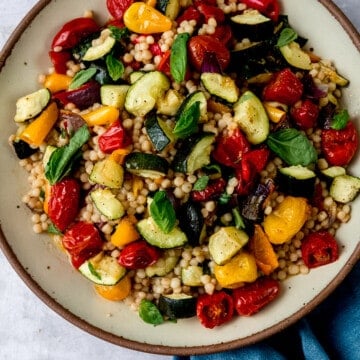
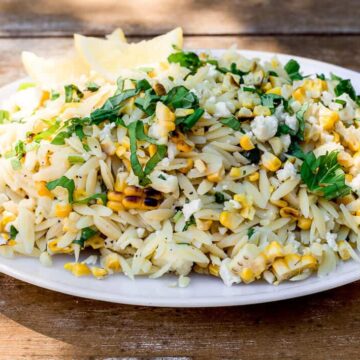
Lemon Orzo Salad with Corn and Feta- This vibrant orzo salad is full of spring flavors, with sweet charred corn, creamy feta and fresh basil tossed in a simple lemon vinaigrette.

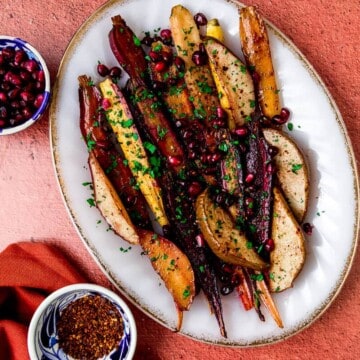
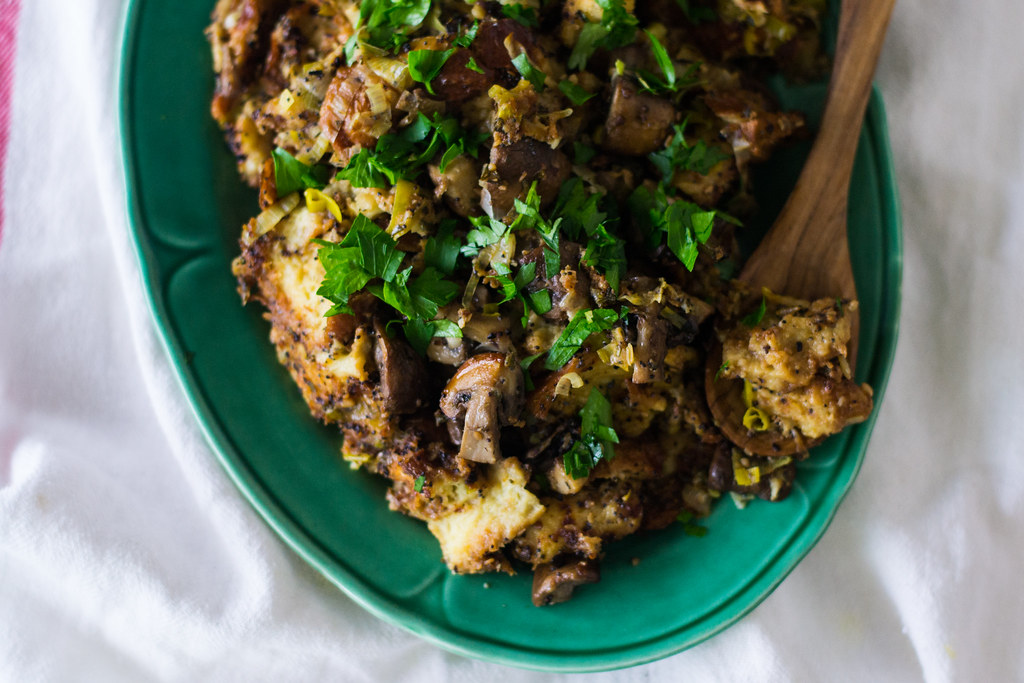
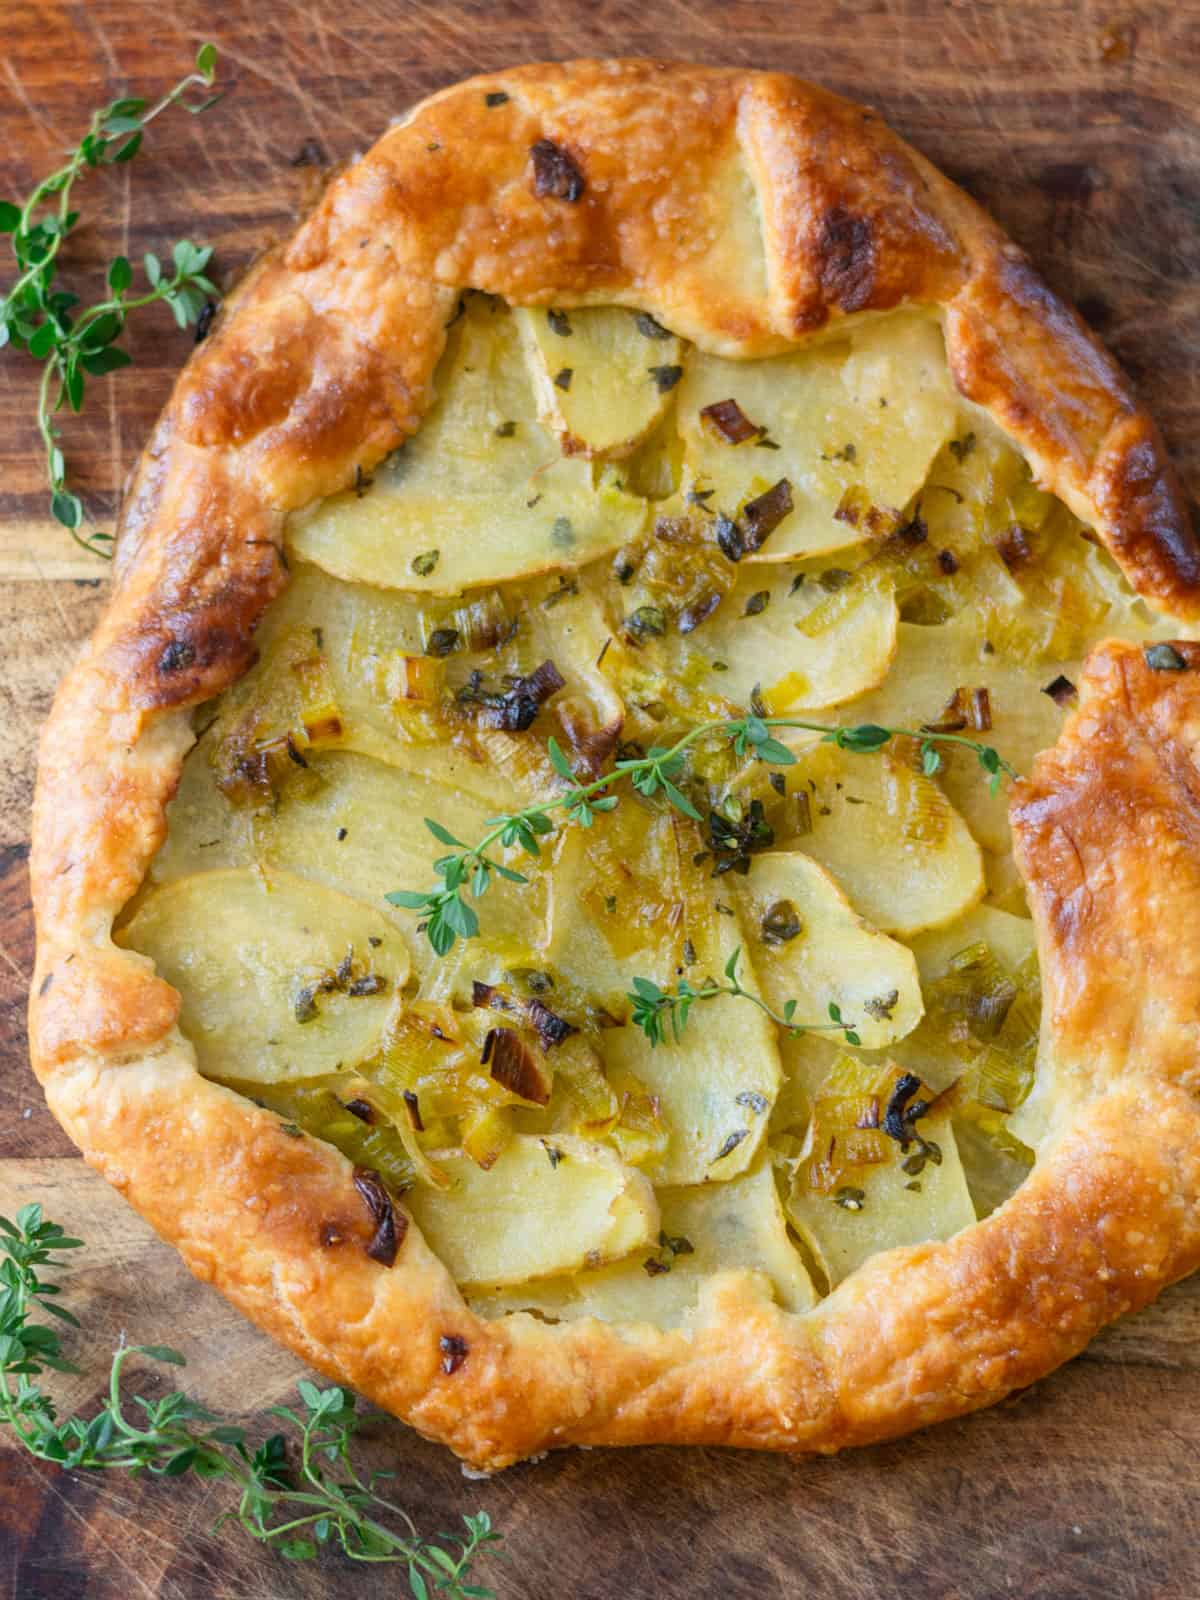
Potato Leek Tart- Inspired by the classic potato leek soup, this rustic tart layers tender potatoes with sautéed leeks Sautéed leeks over a creamy Dijon béchamel in a buttery pastry.
🍖 Main Dishes
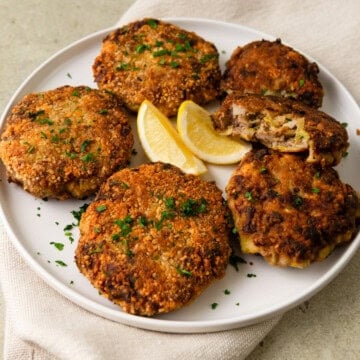
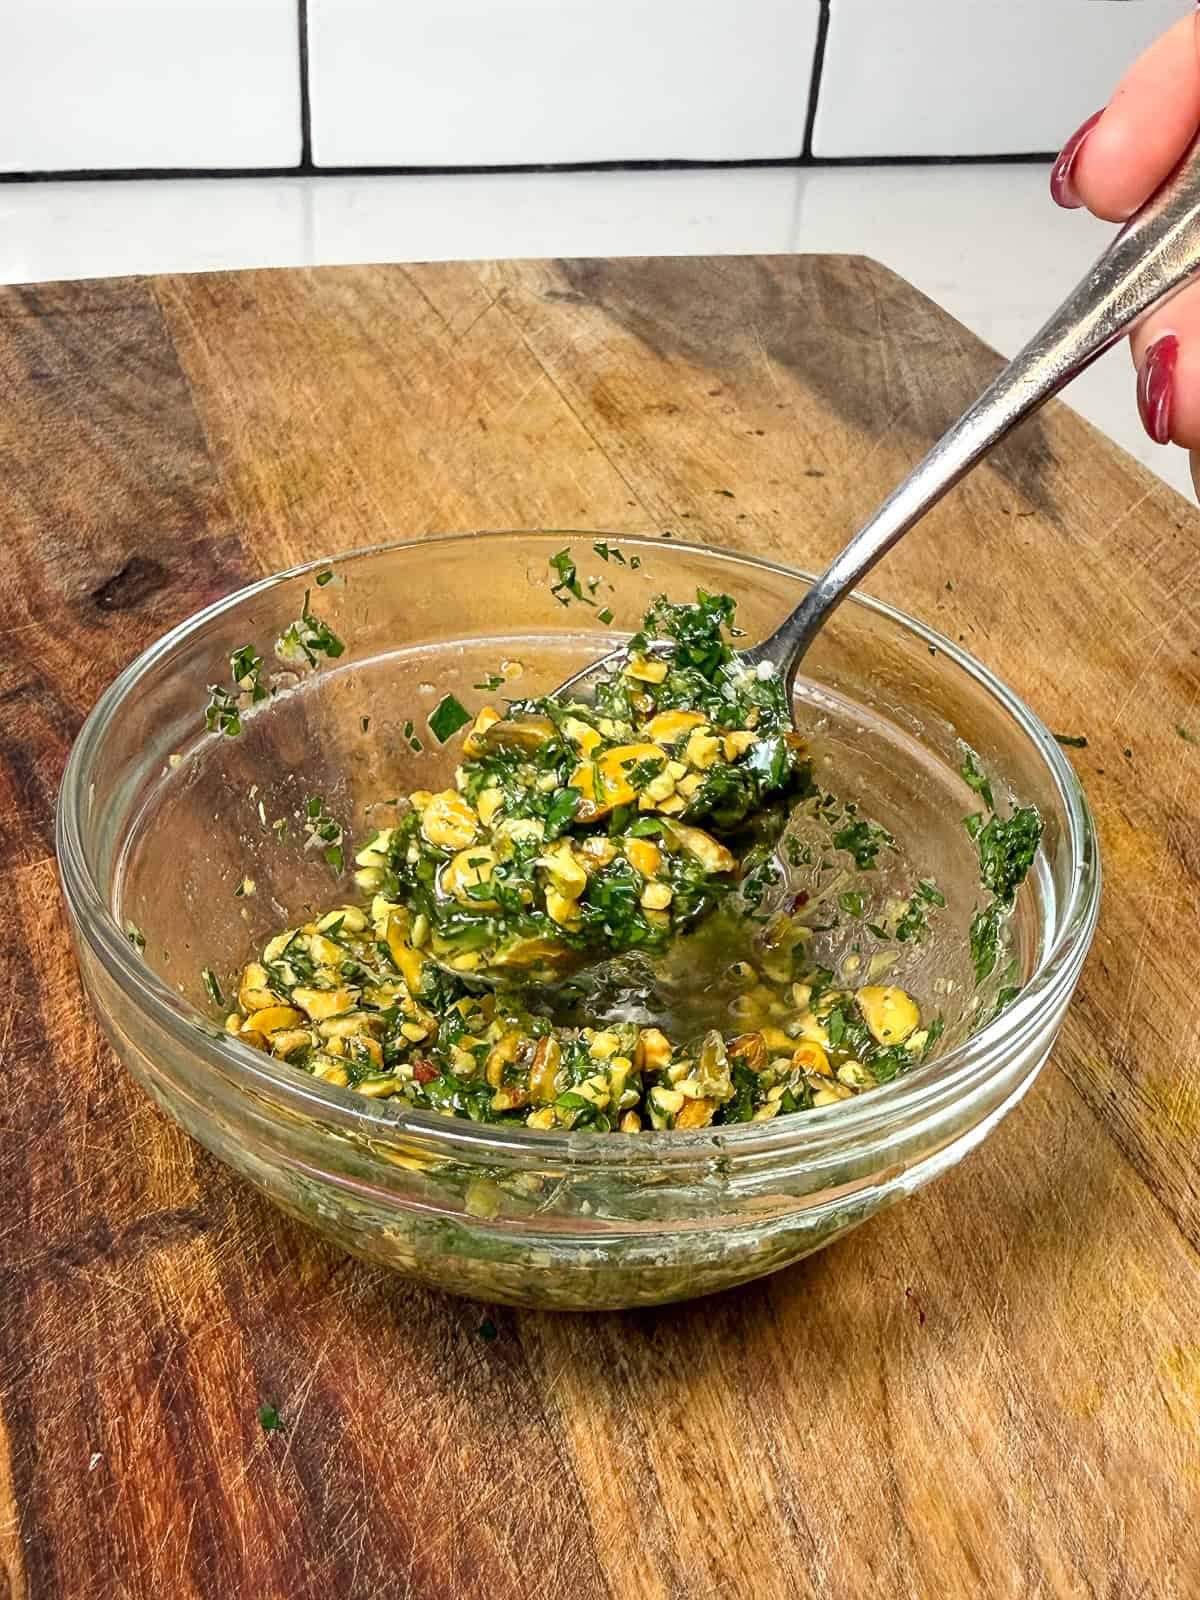
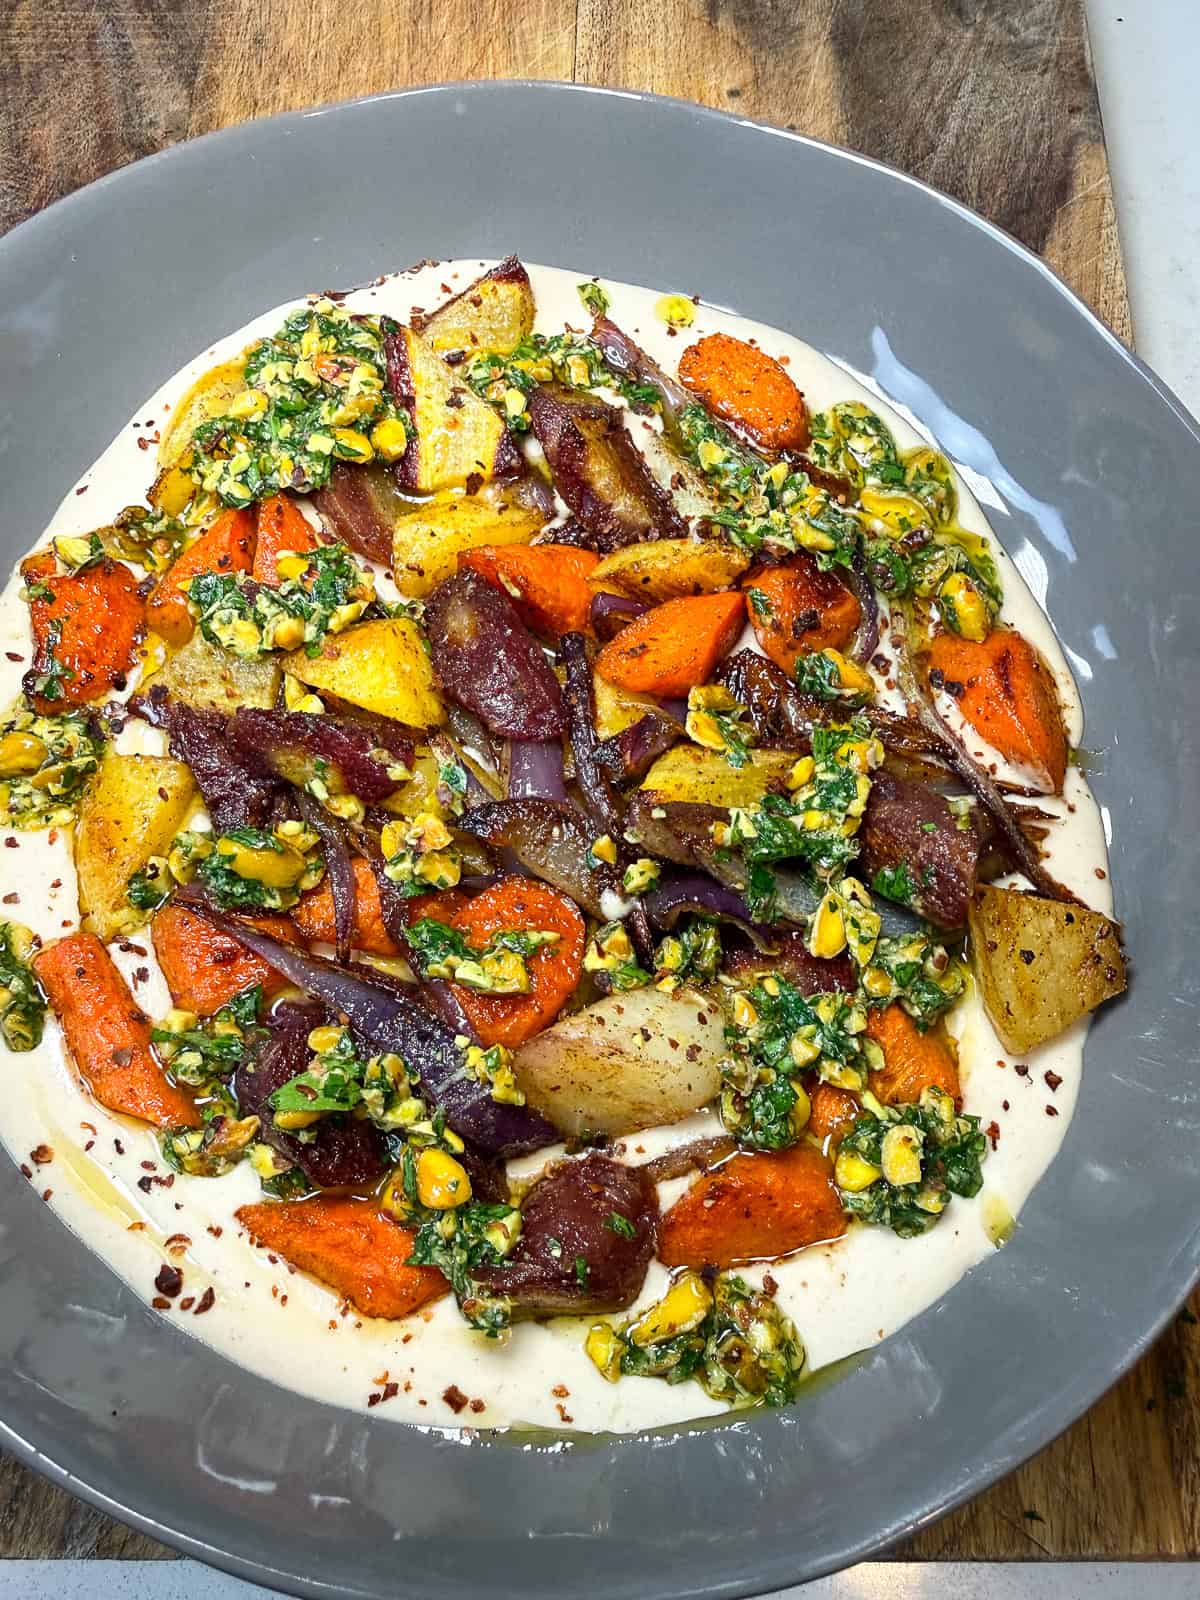
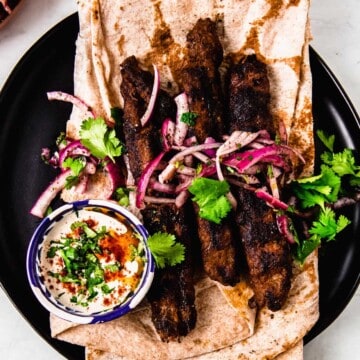
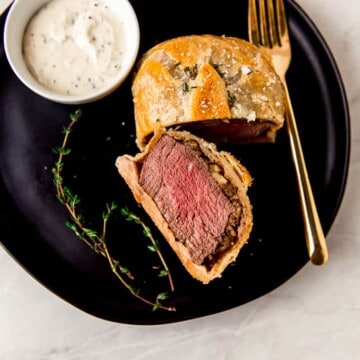
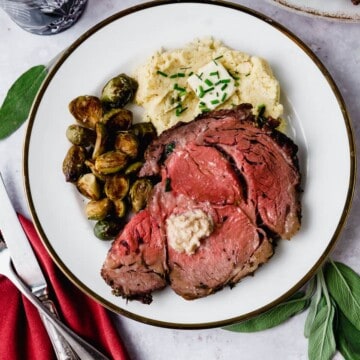
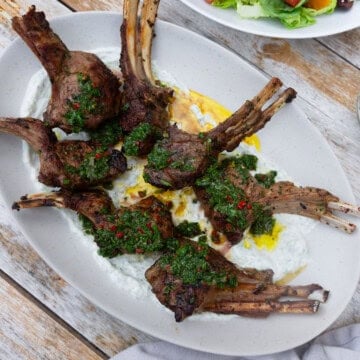
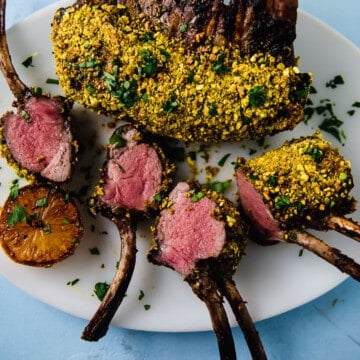
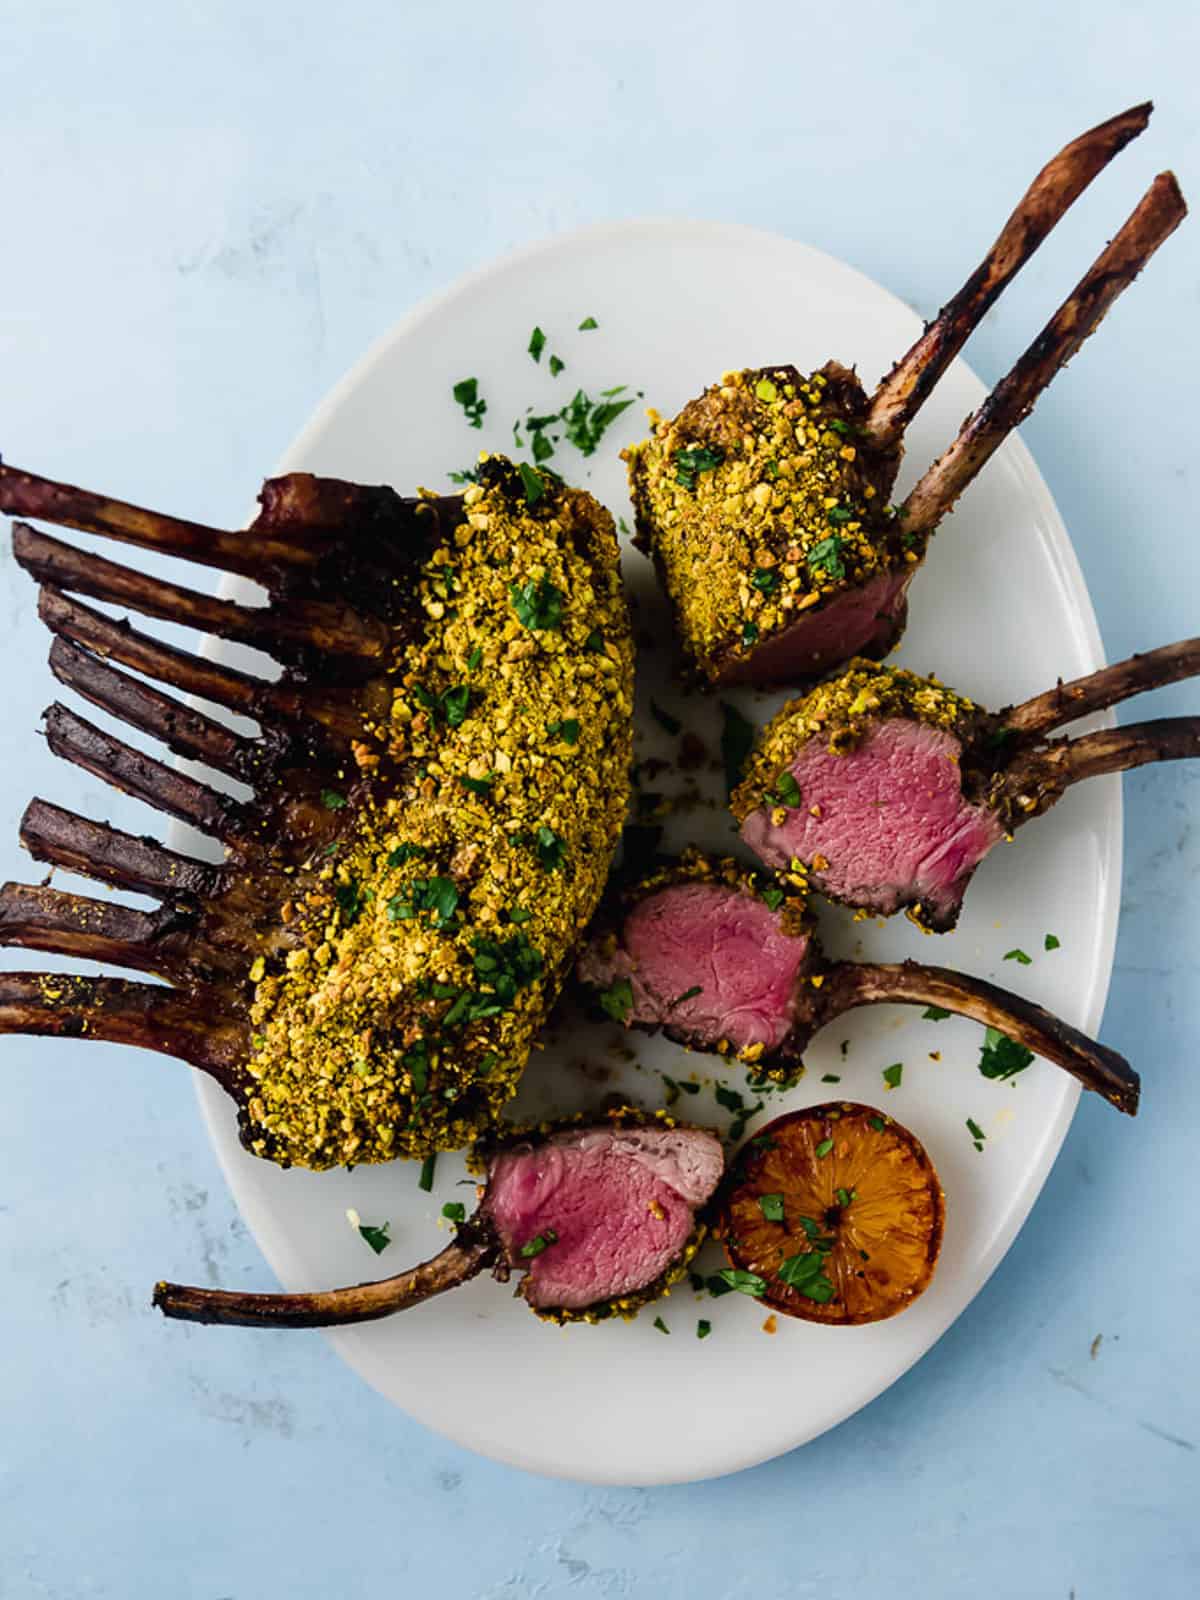
Pistachio Crusted Lamb- A stunning centerpiece, this rak of lamn is seared, brushed with Dijon and coated in chopped pistachios for a bold, flavorful crust.
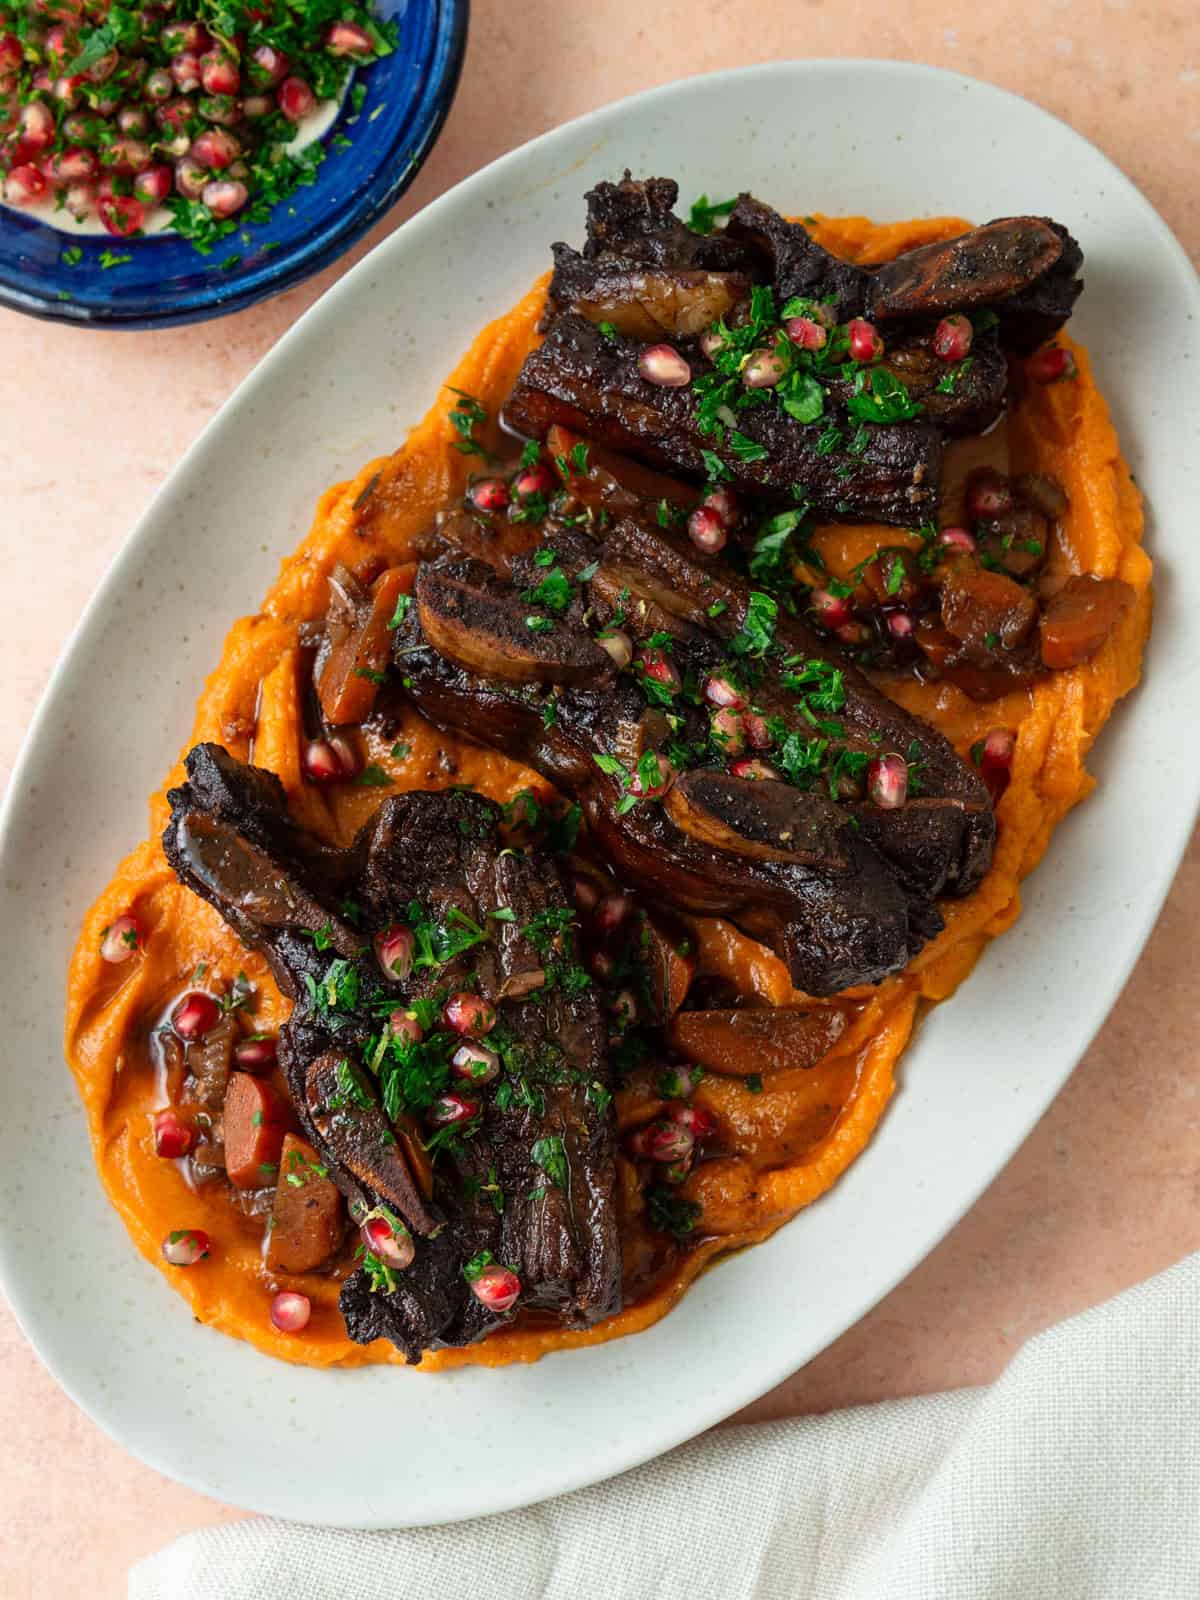
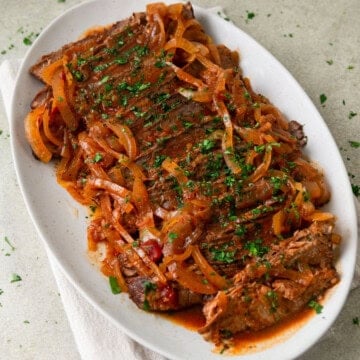
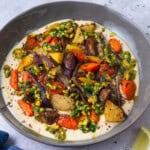
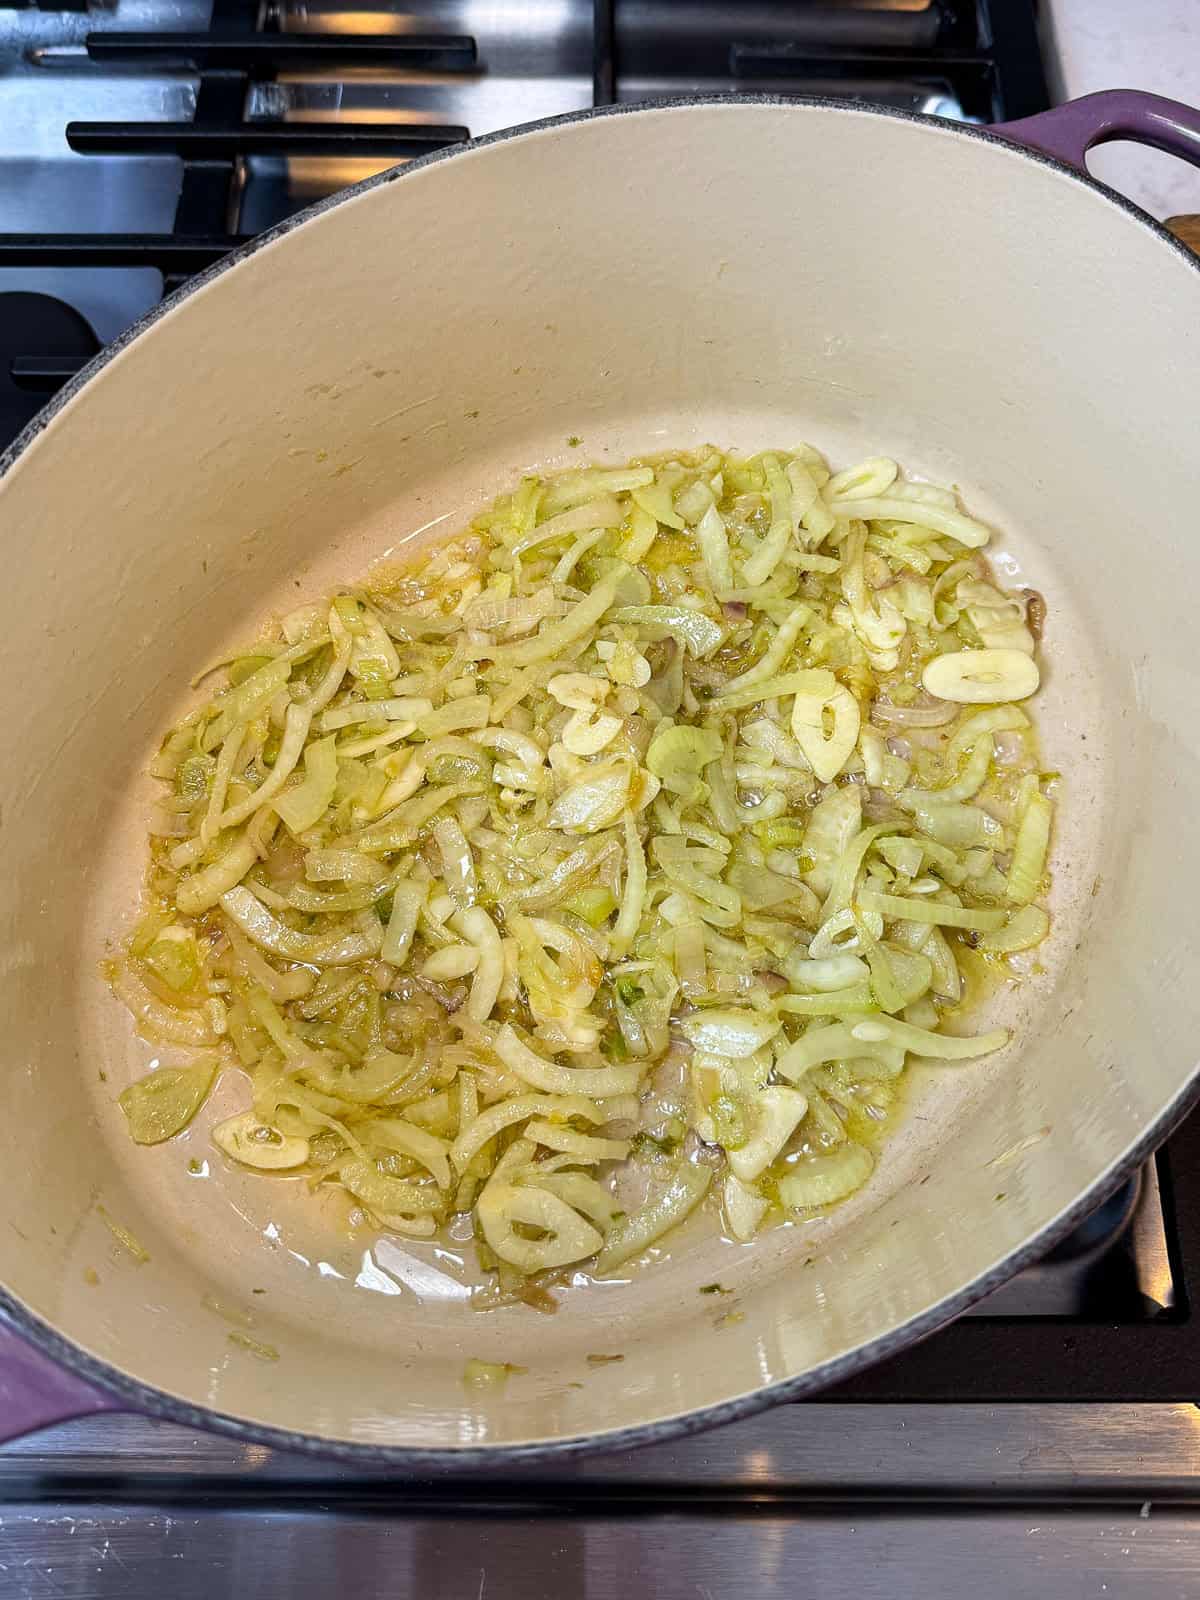
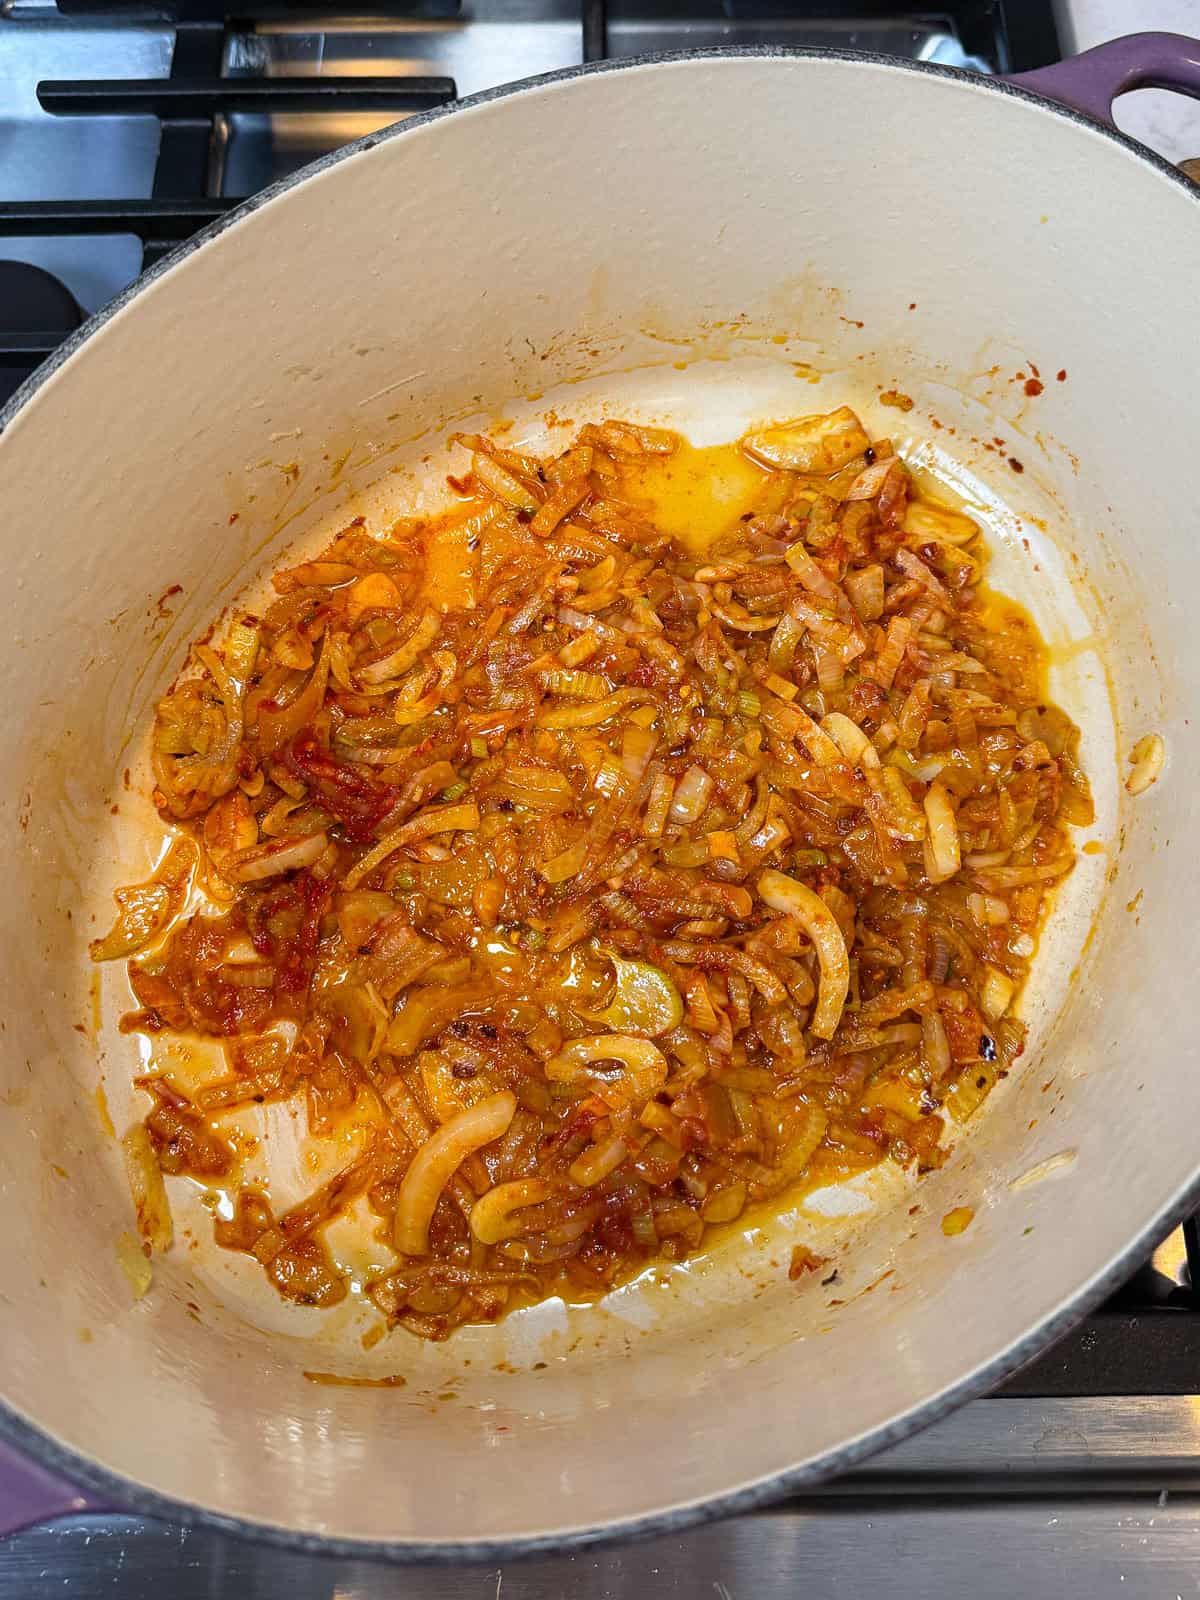
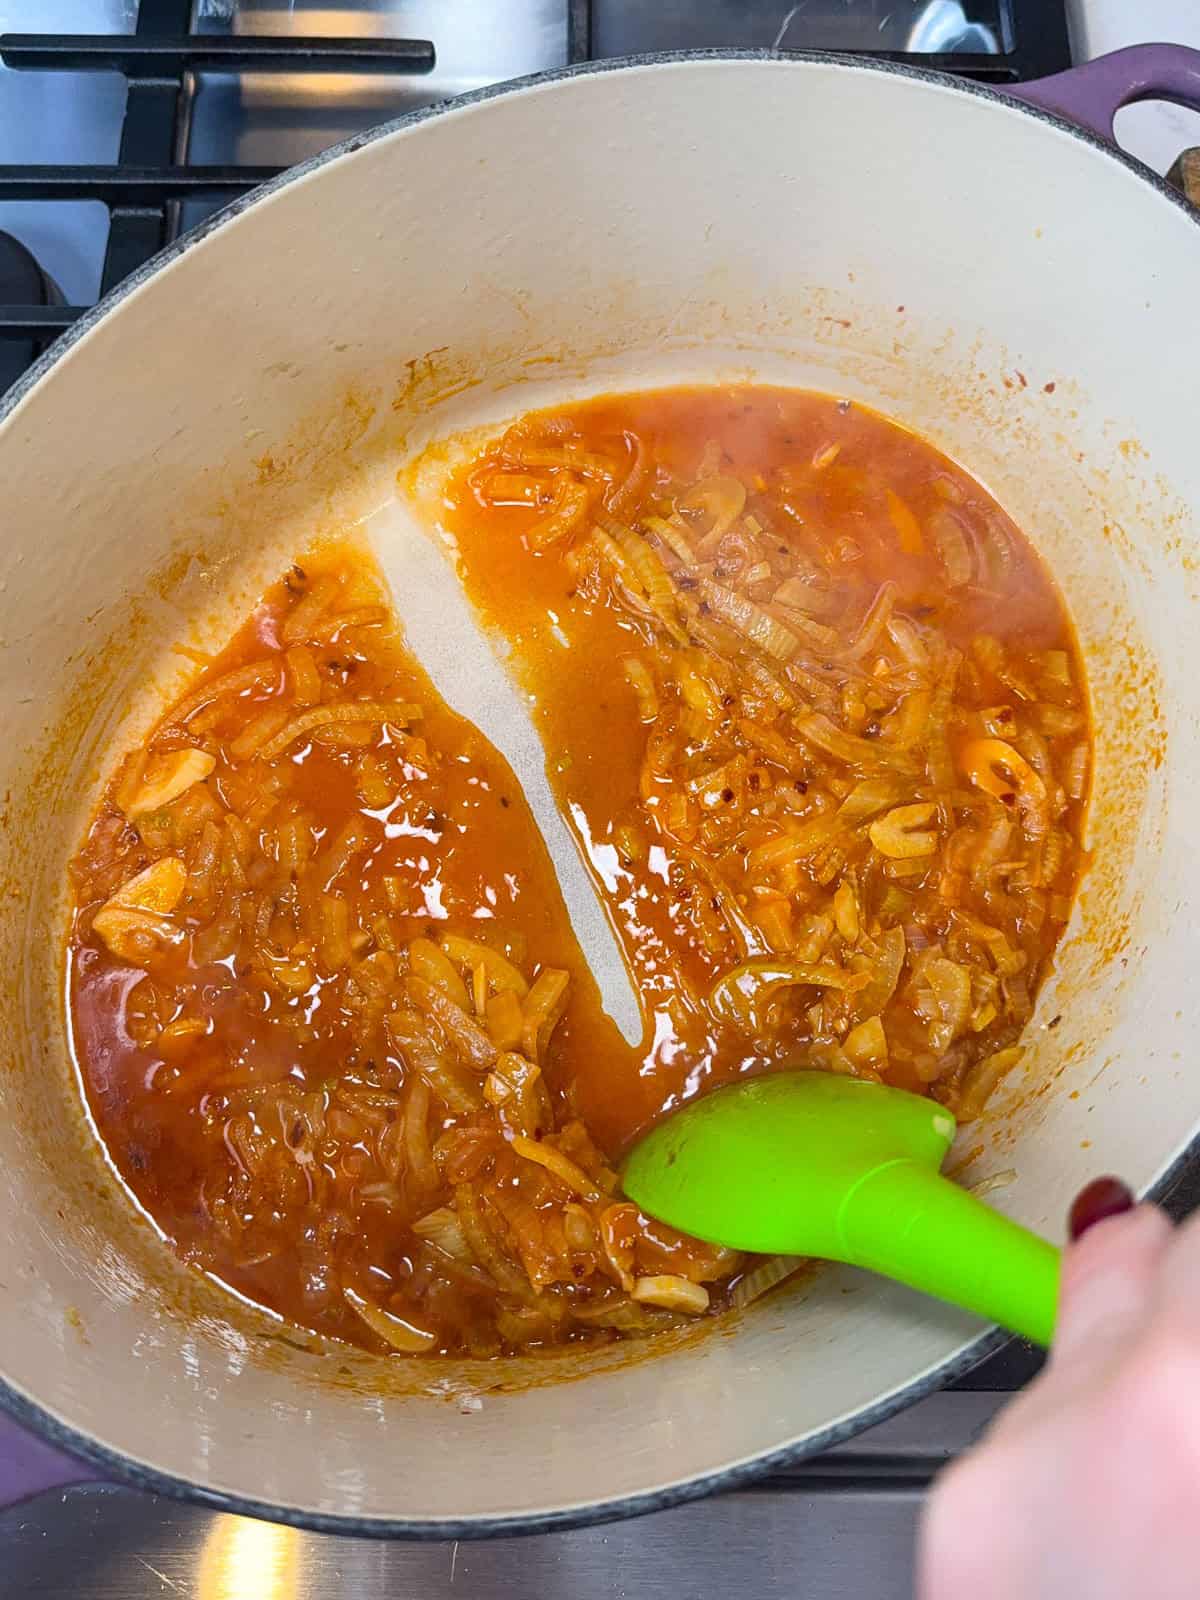
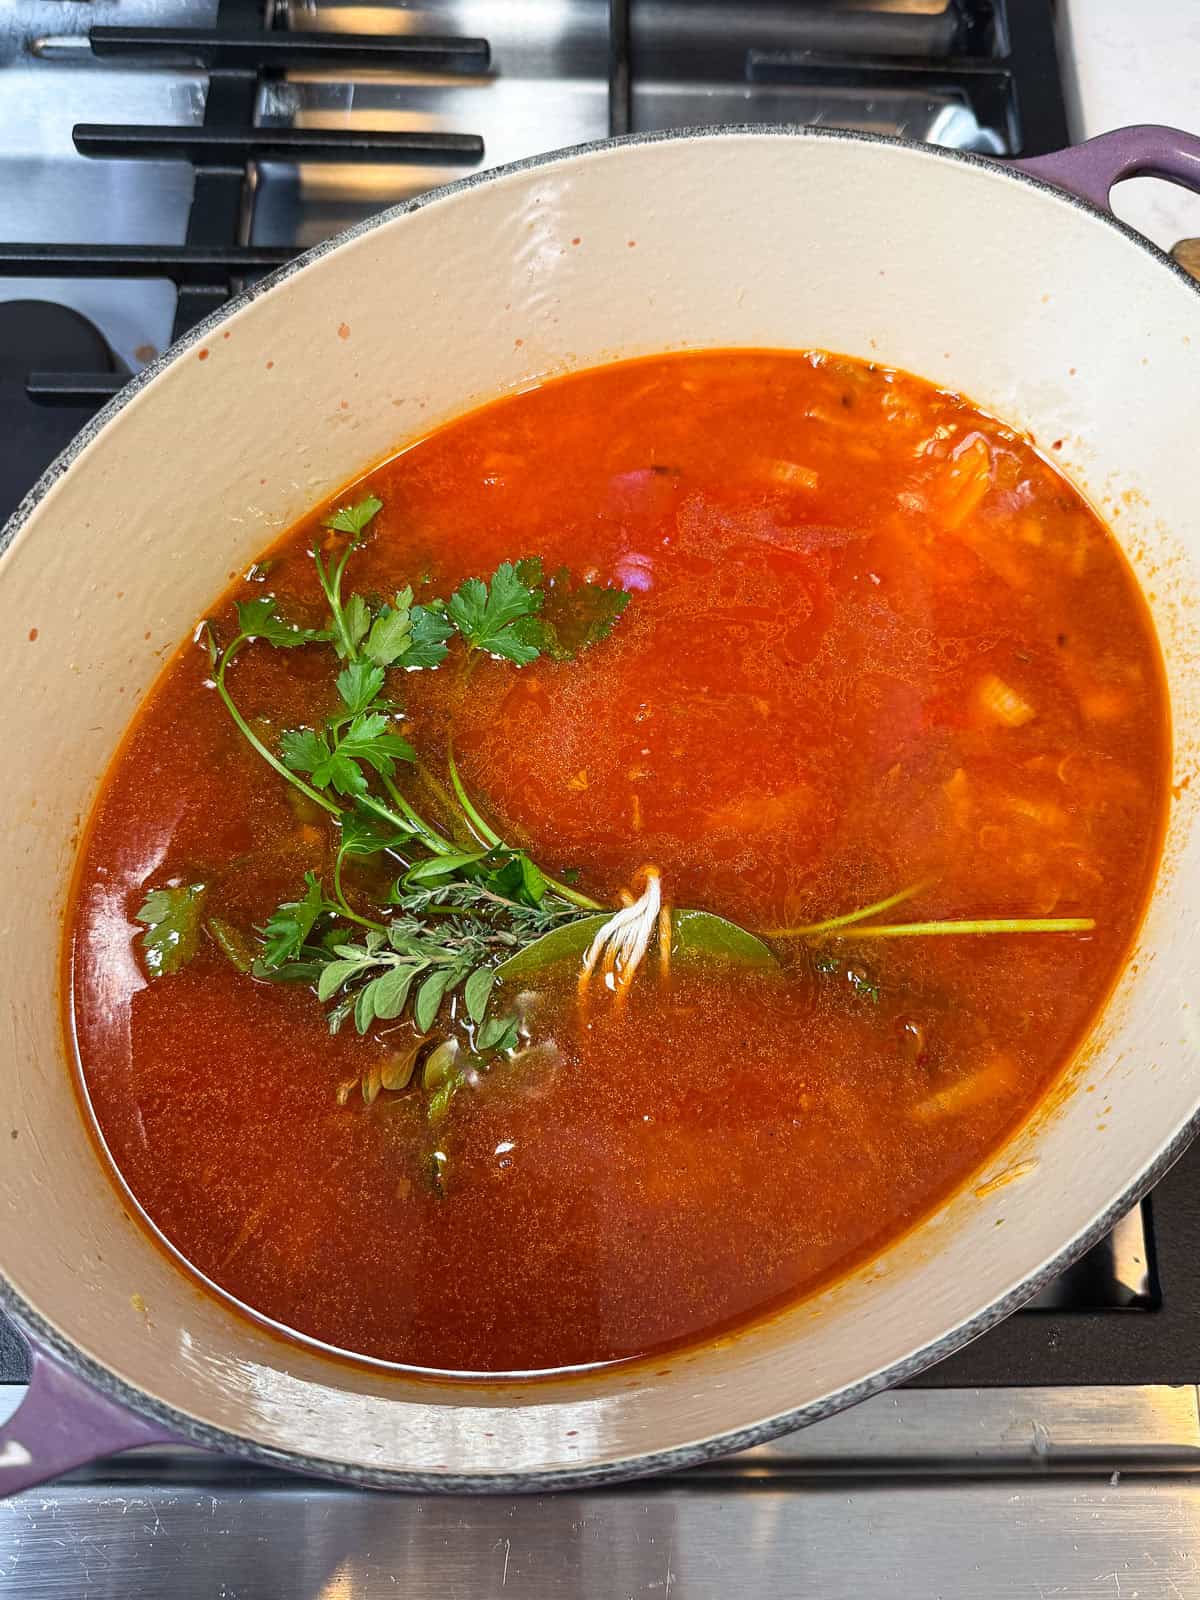
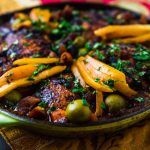
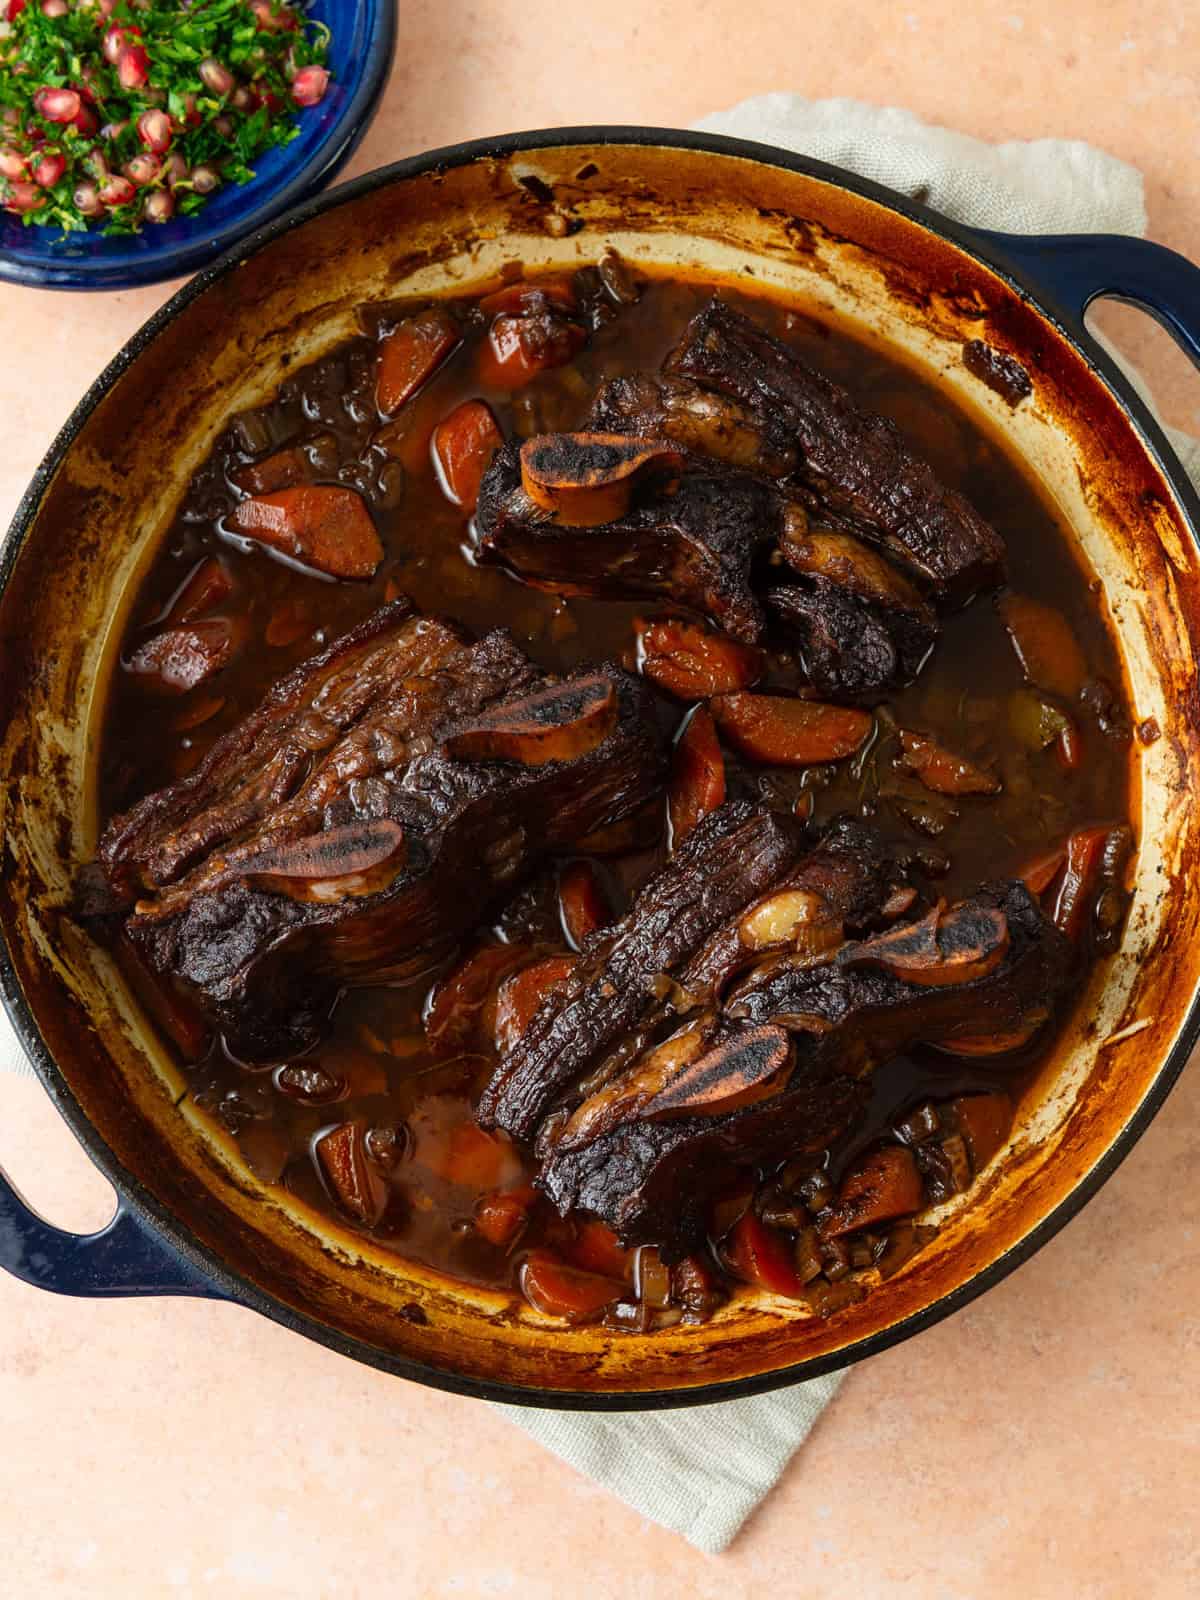
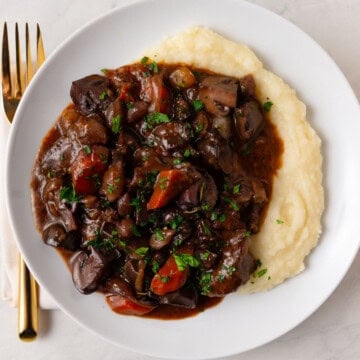
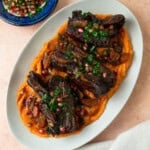
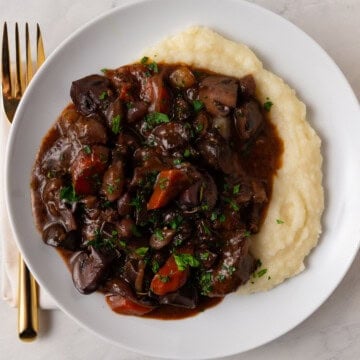
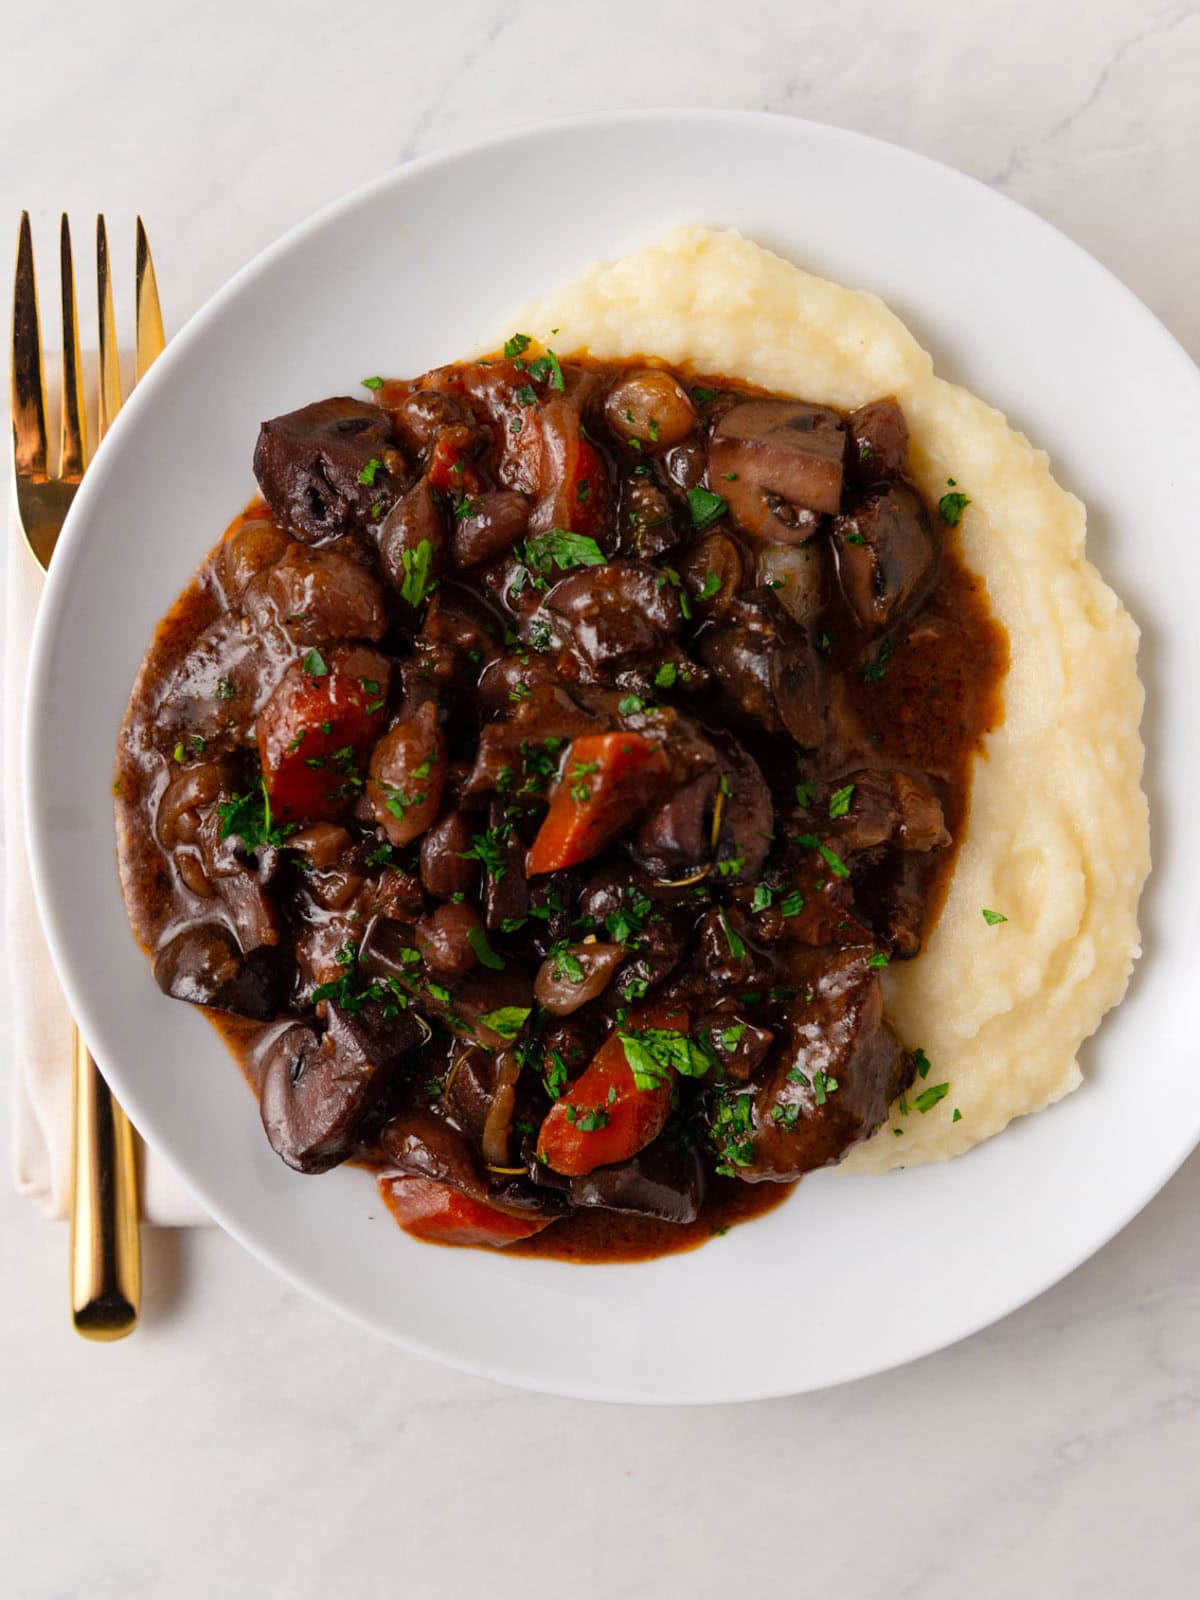
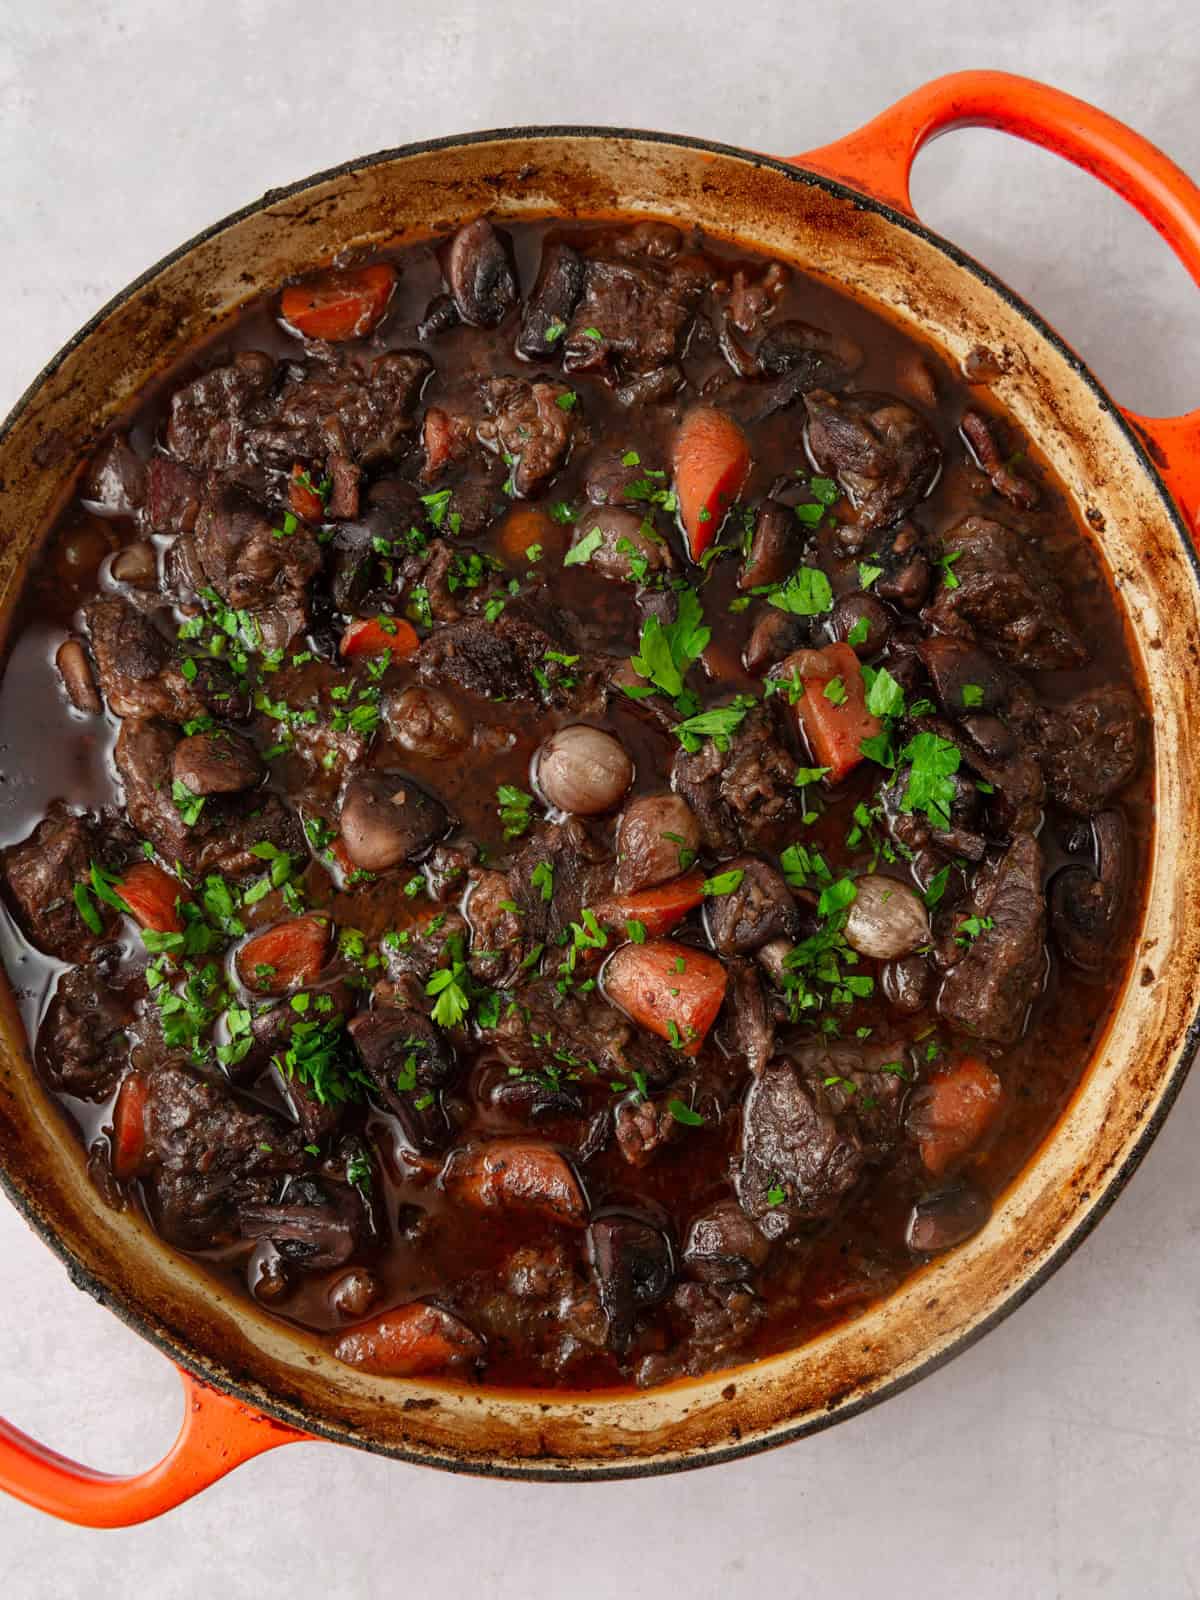
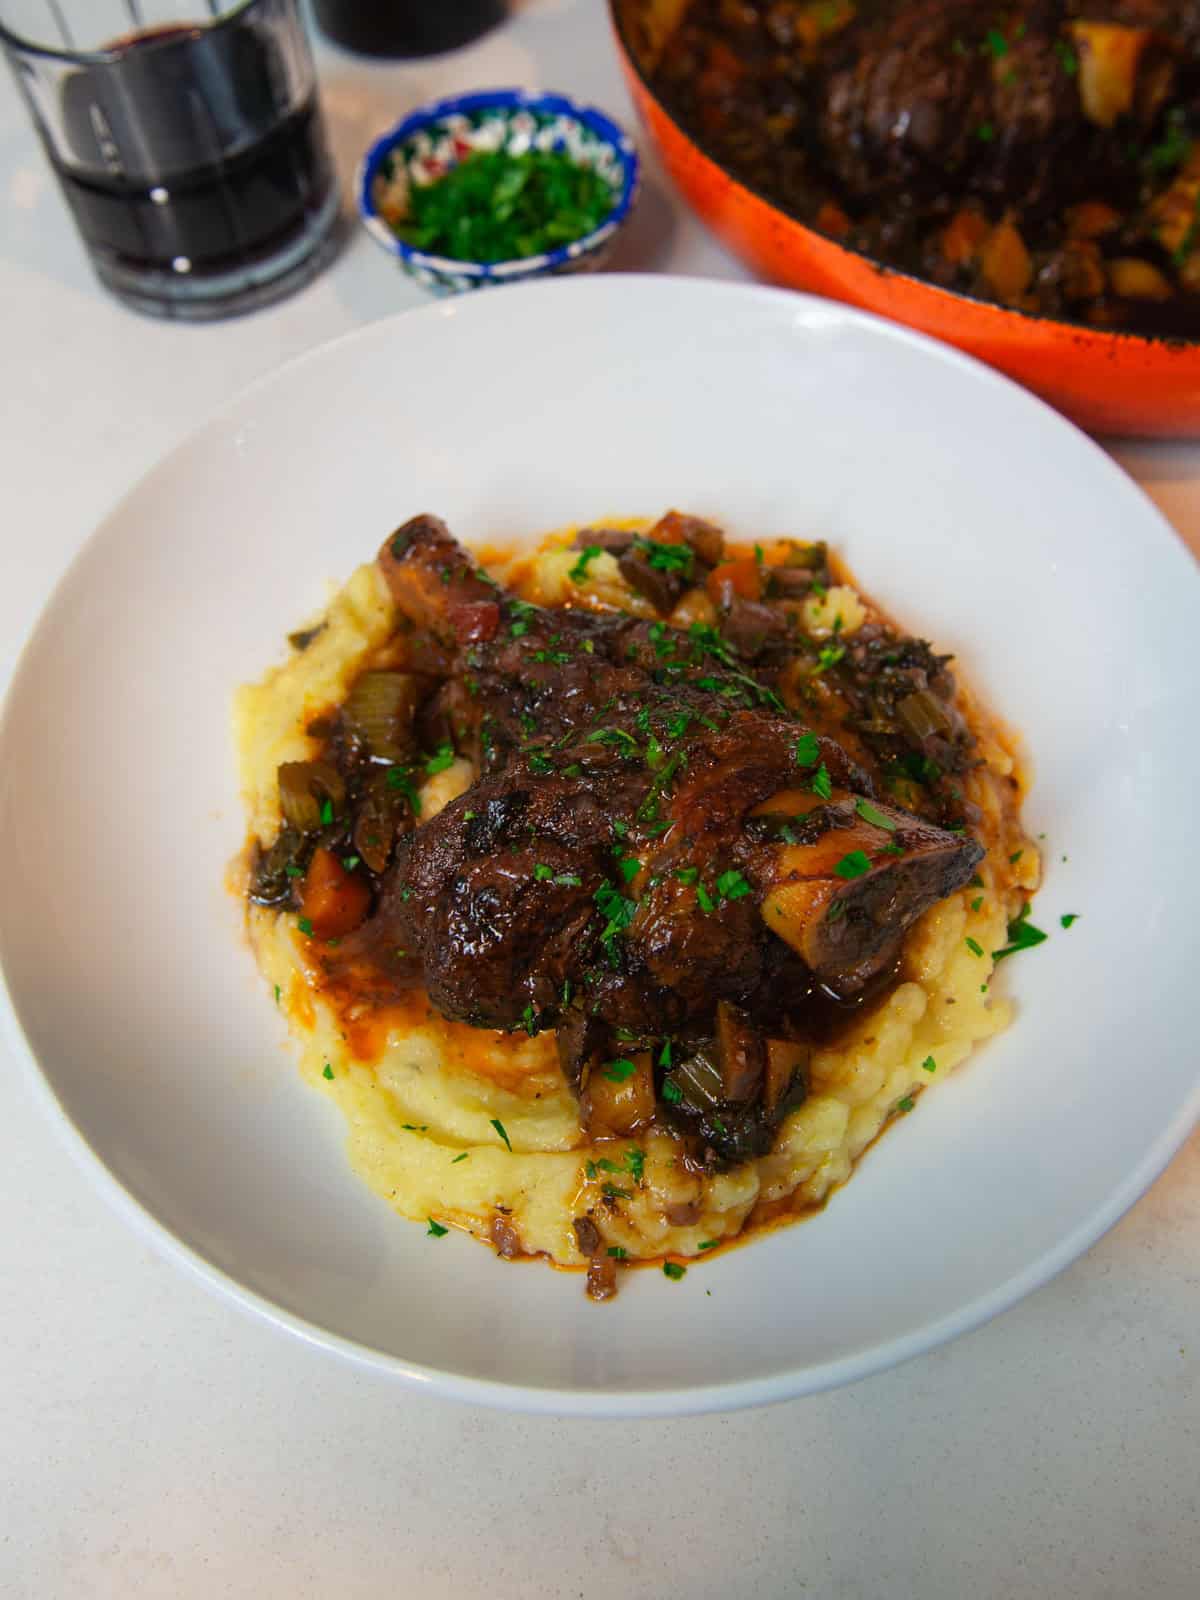
Osso Buco with Polenta- Slow braised veal (or beef) shanks cook until fall-apart tender. Serve over creamy polenta and finish with a bright gremolata.

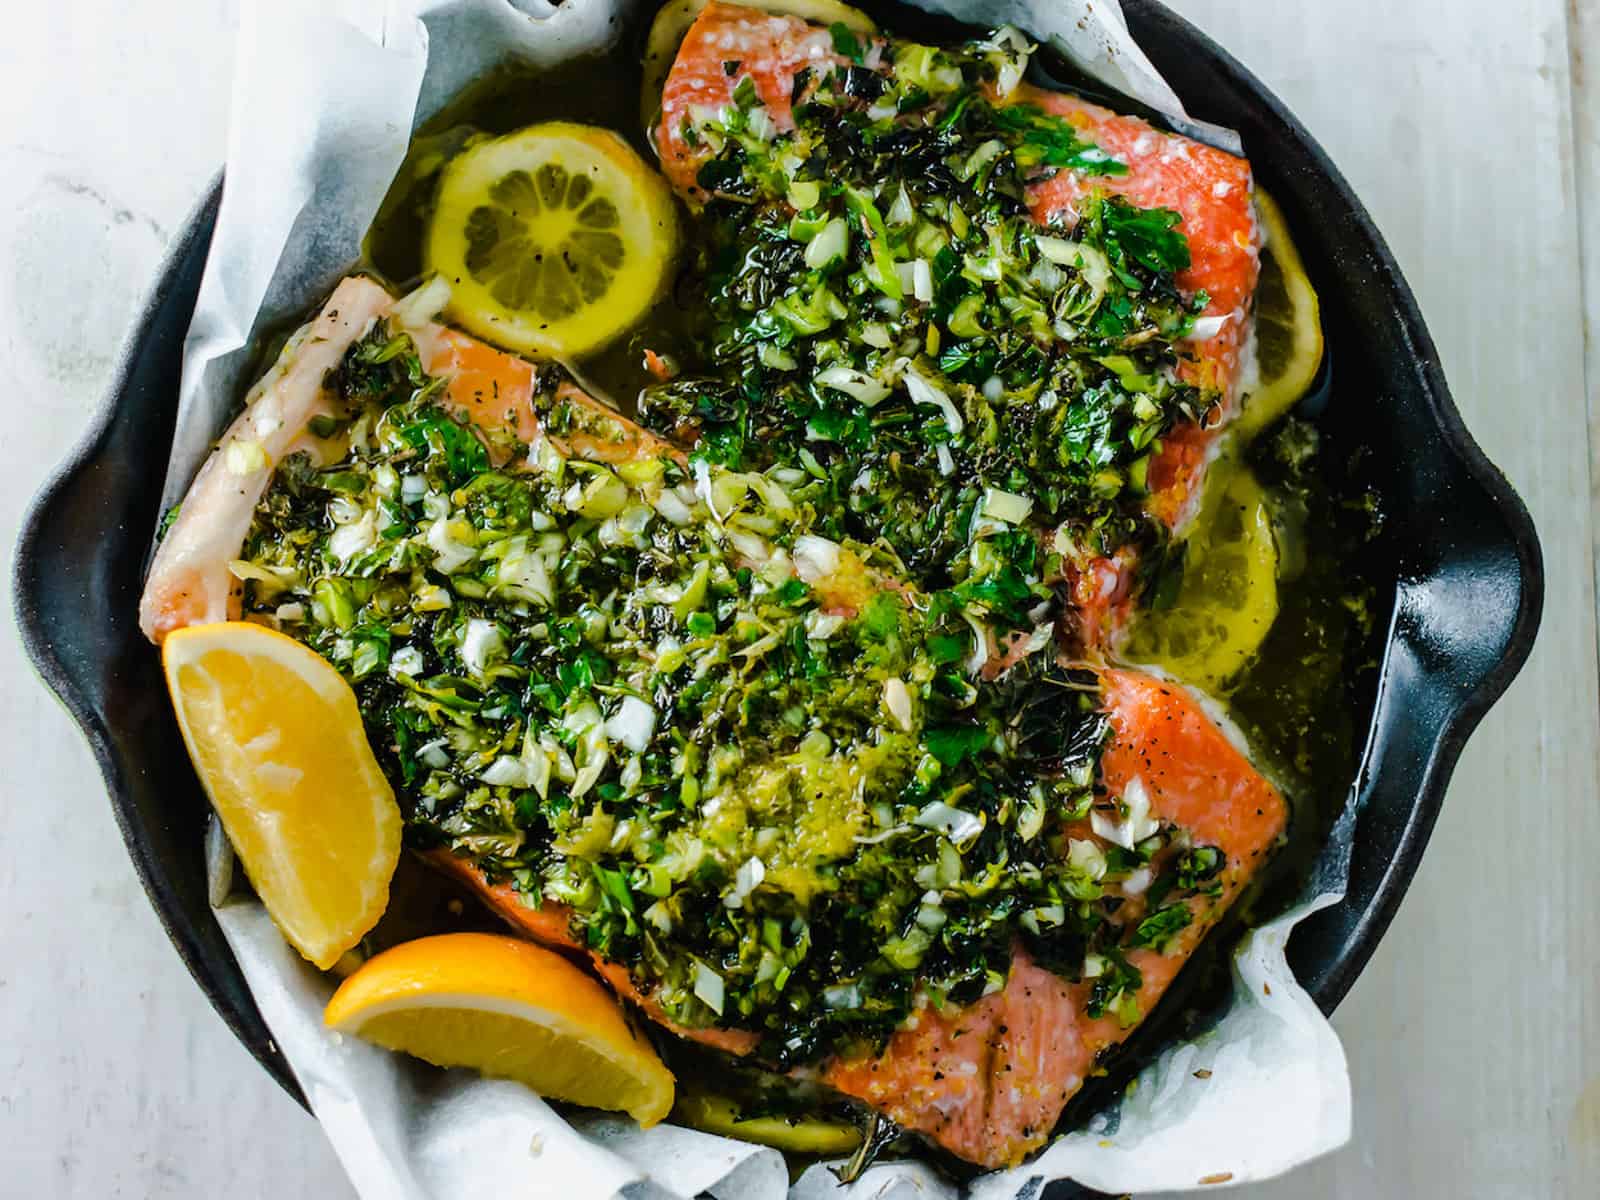
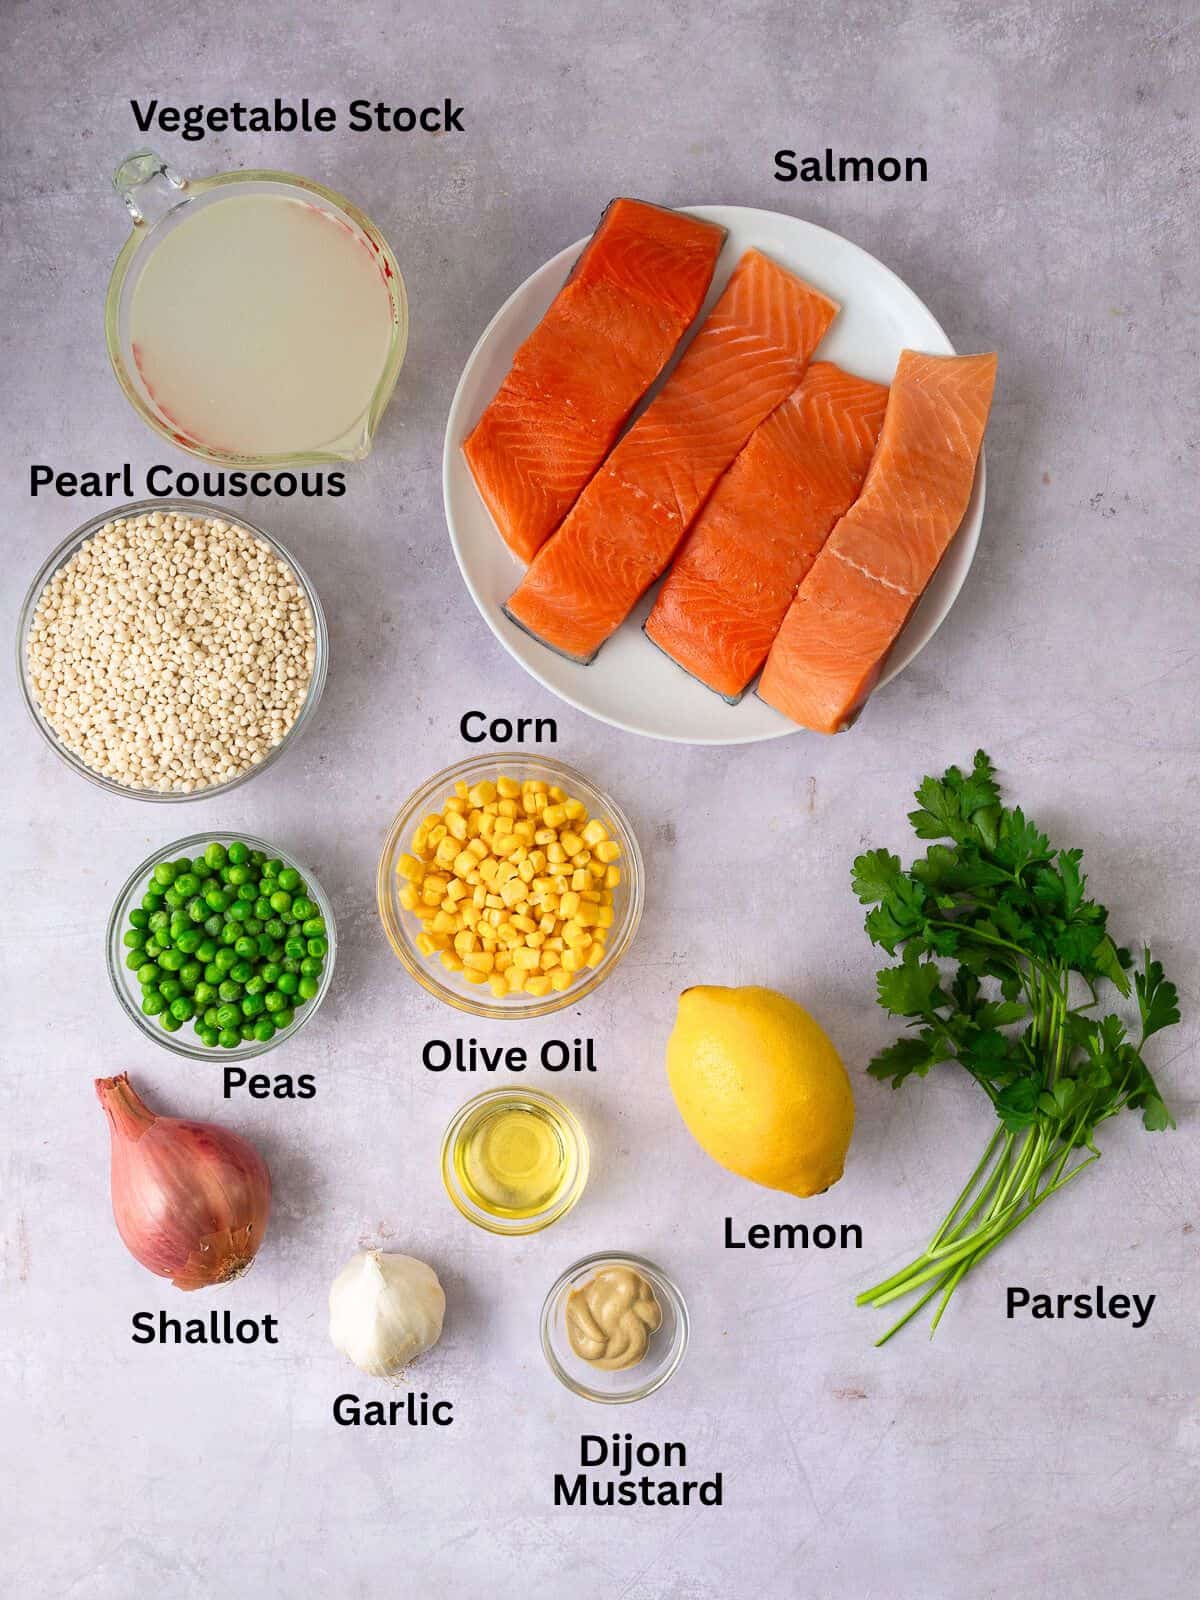
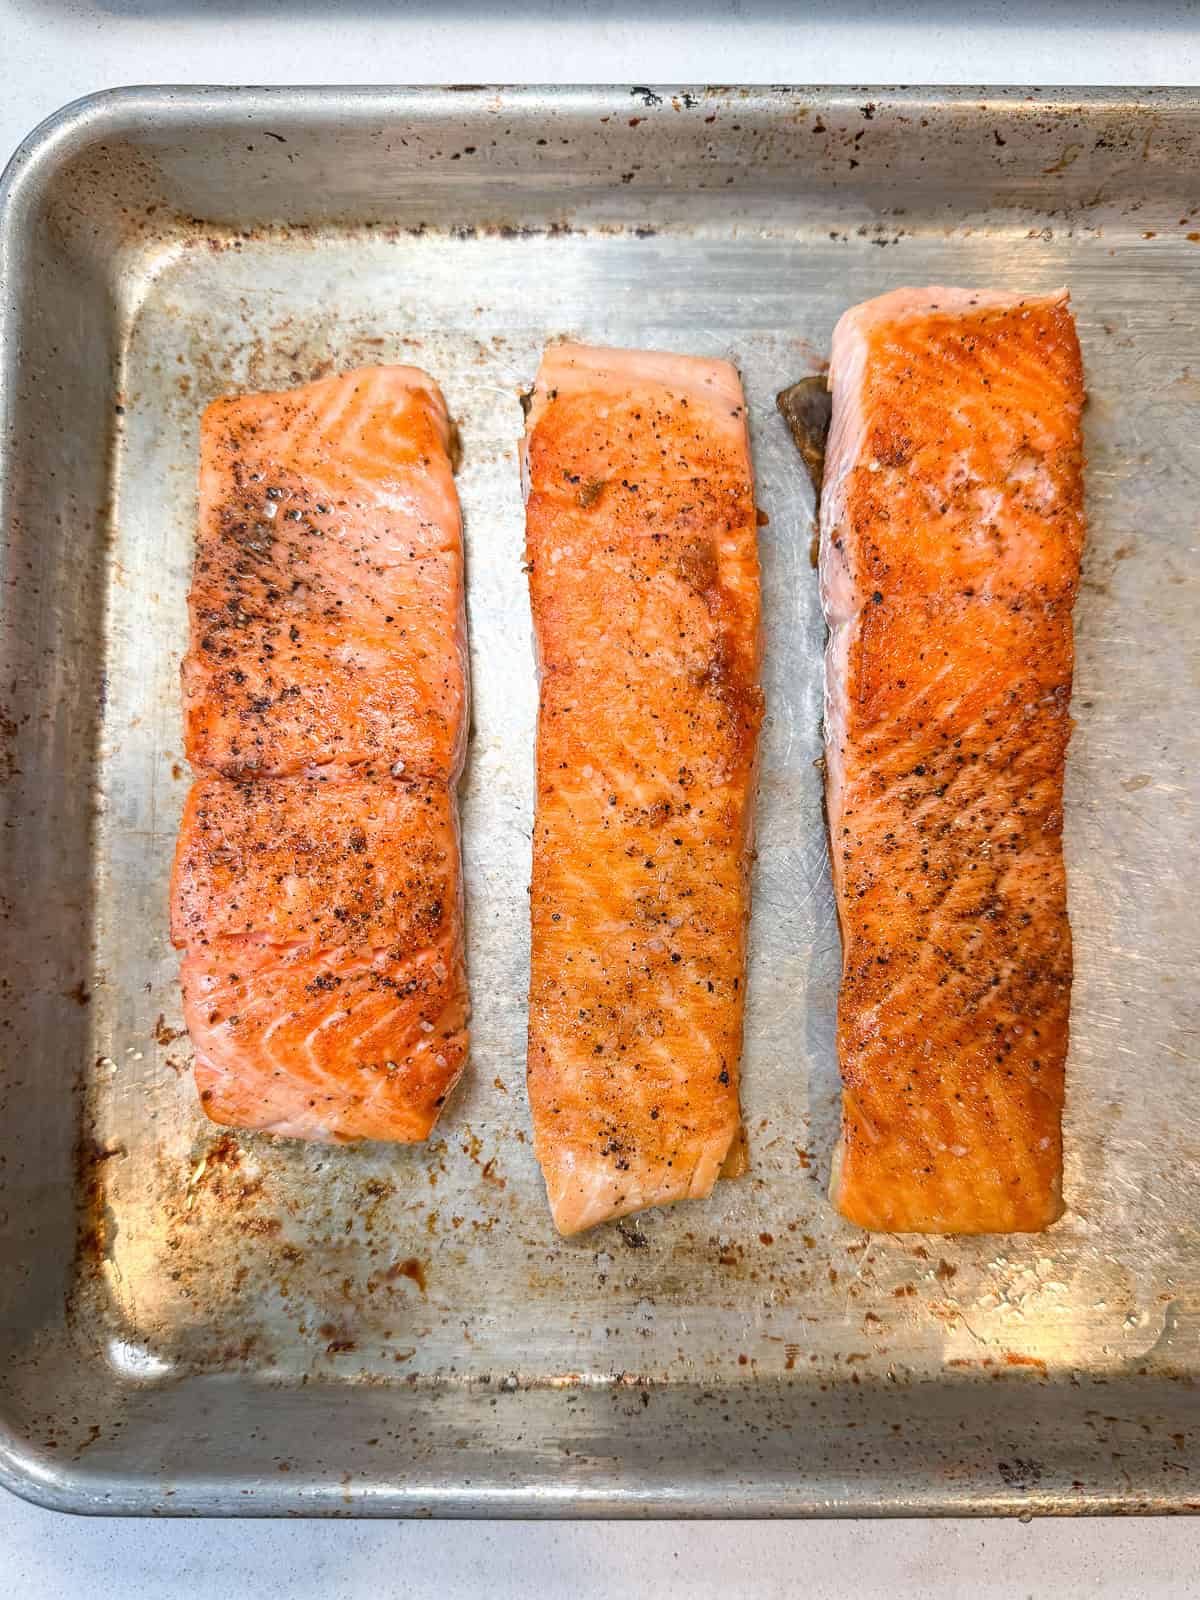
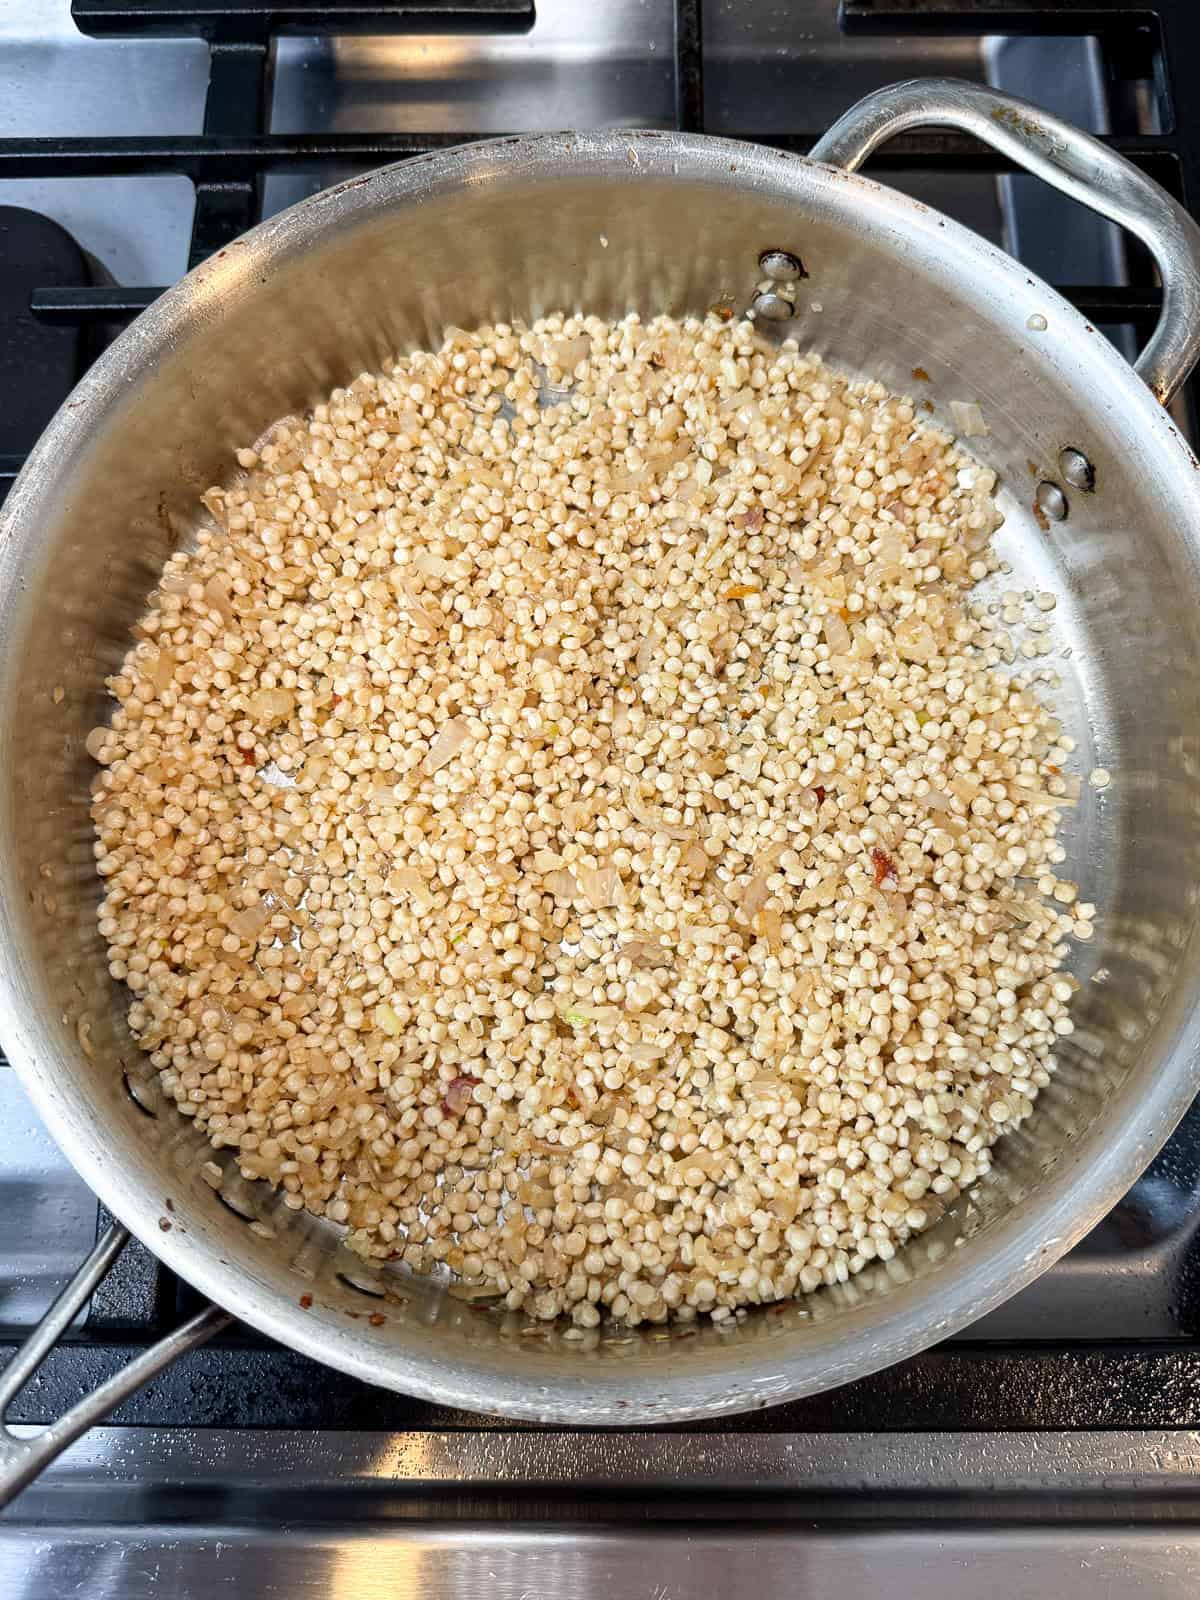
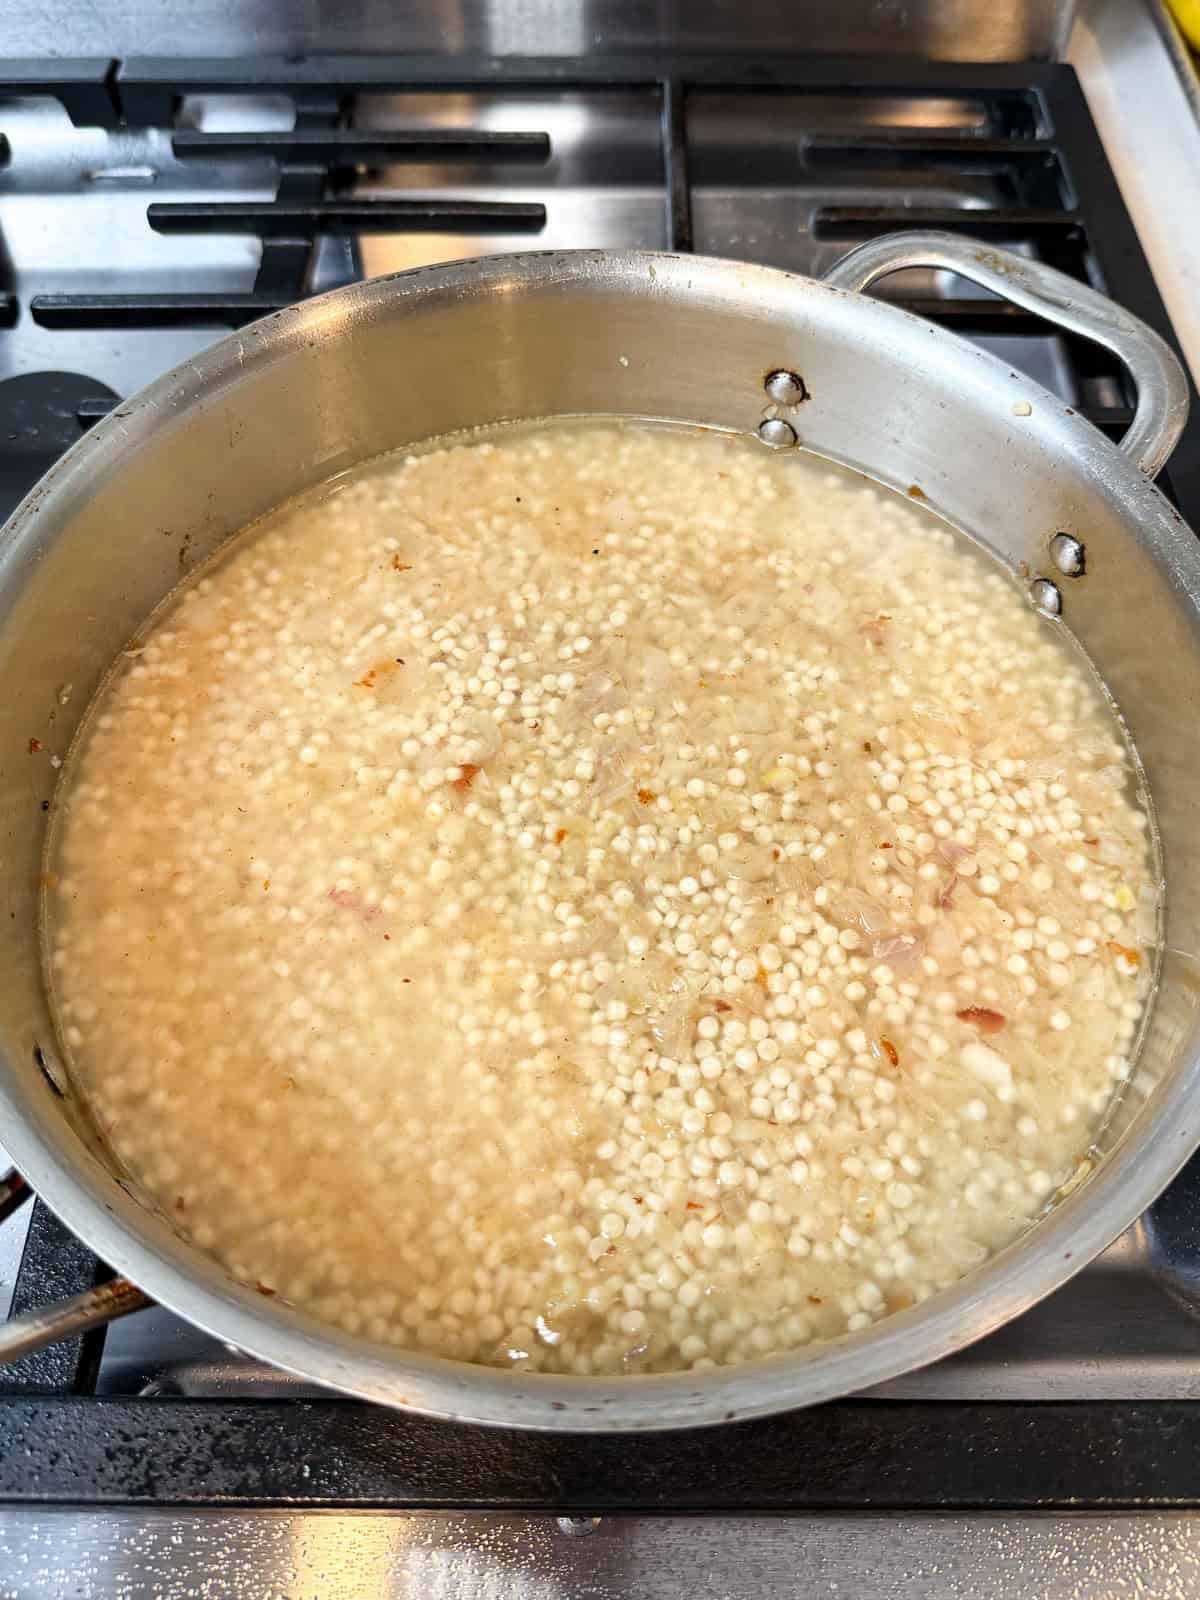
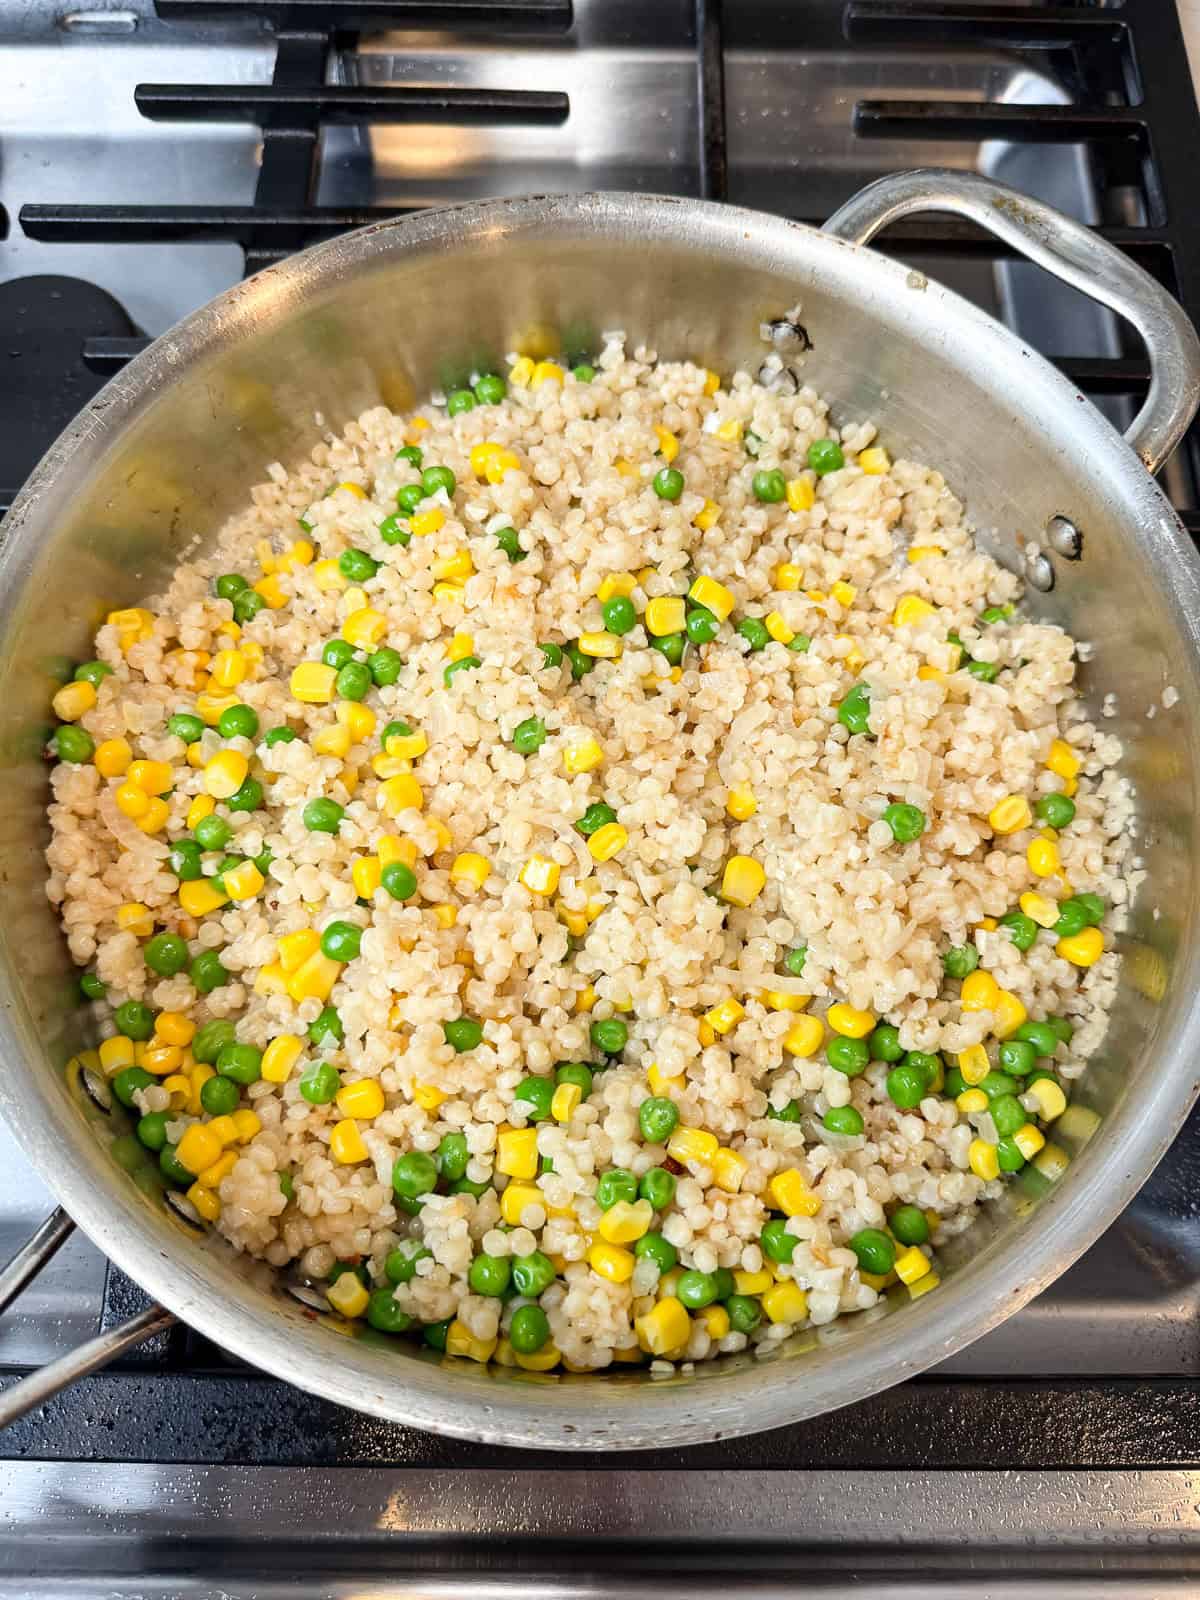
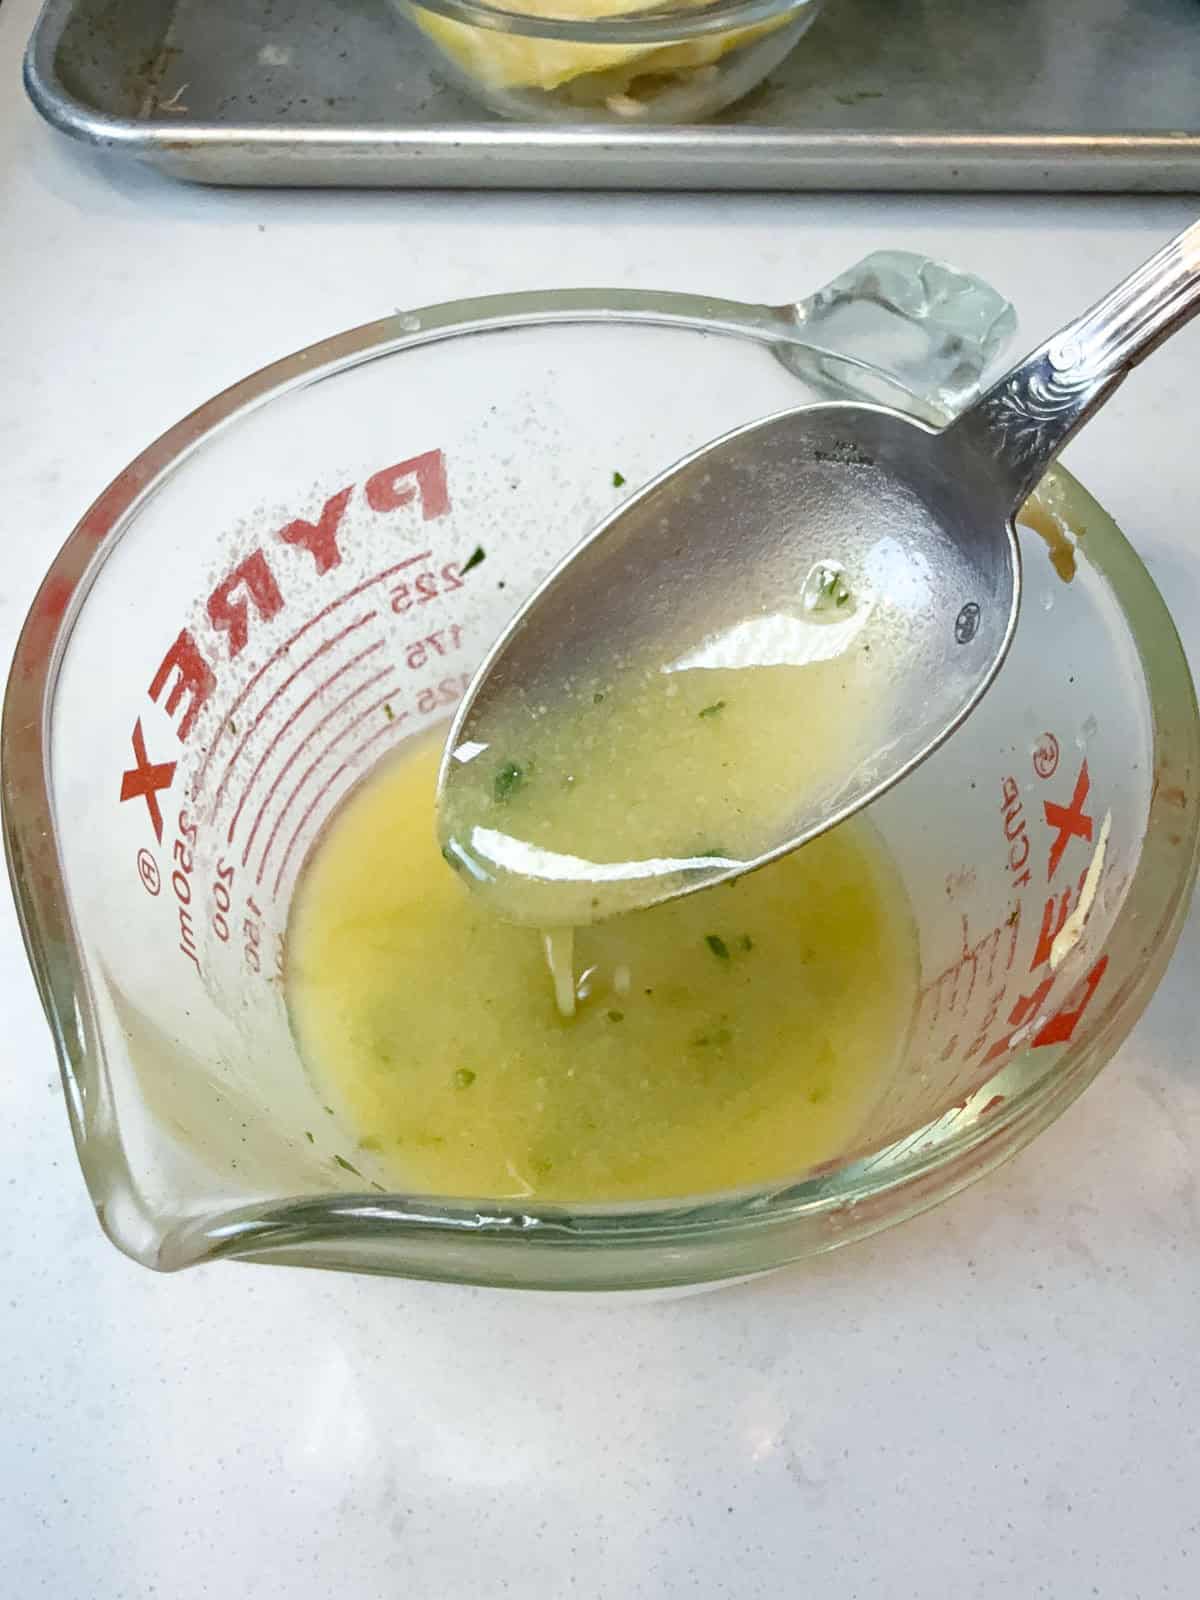
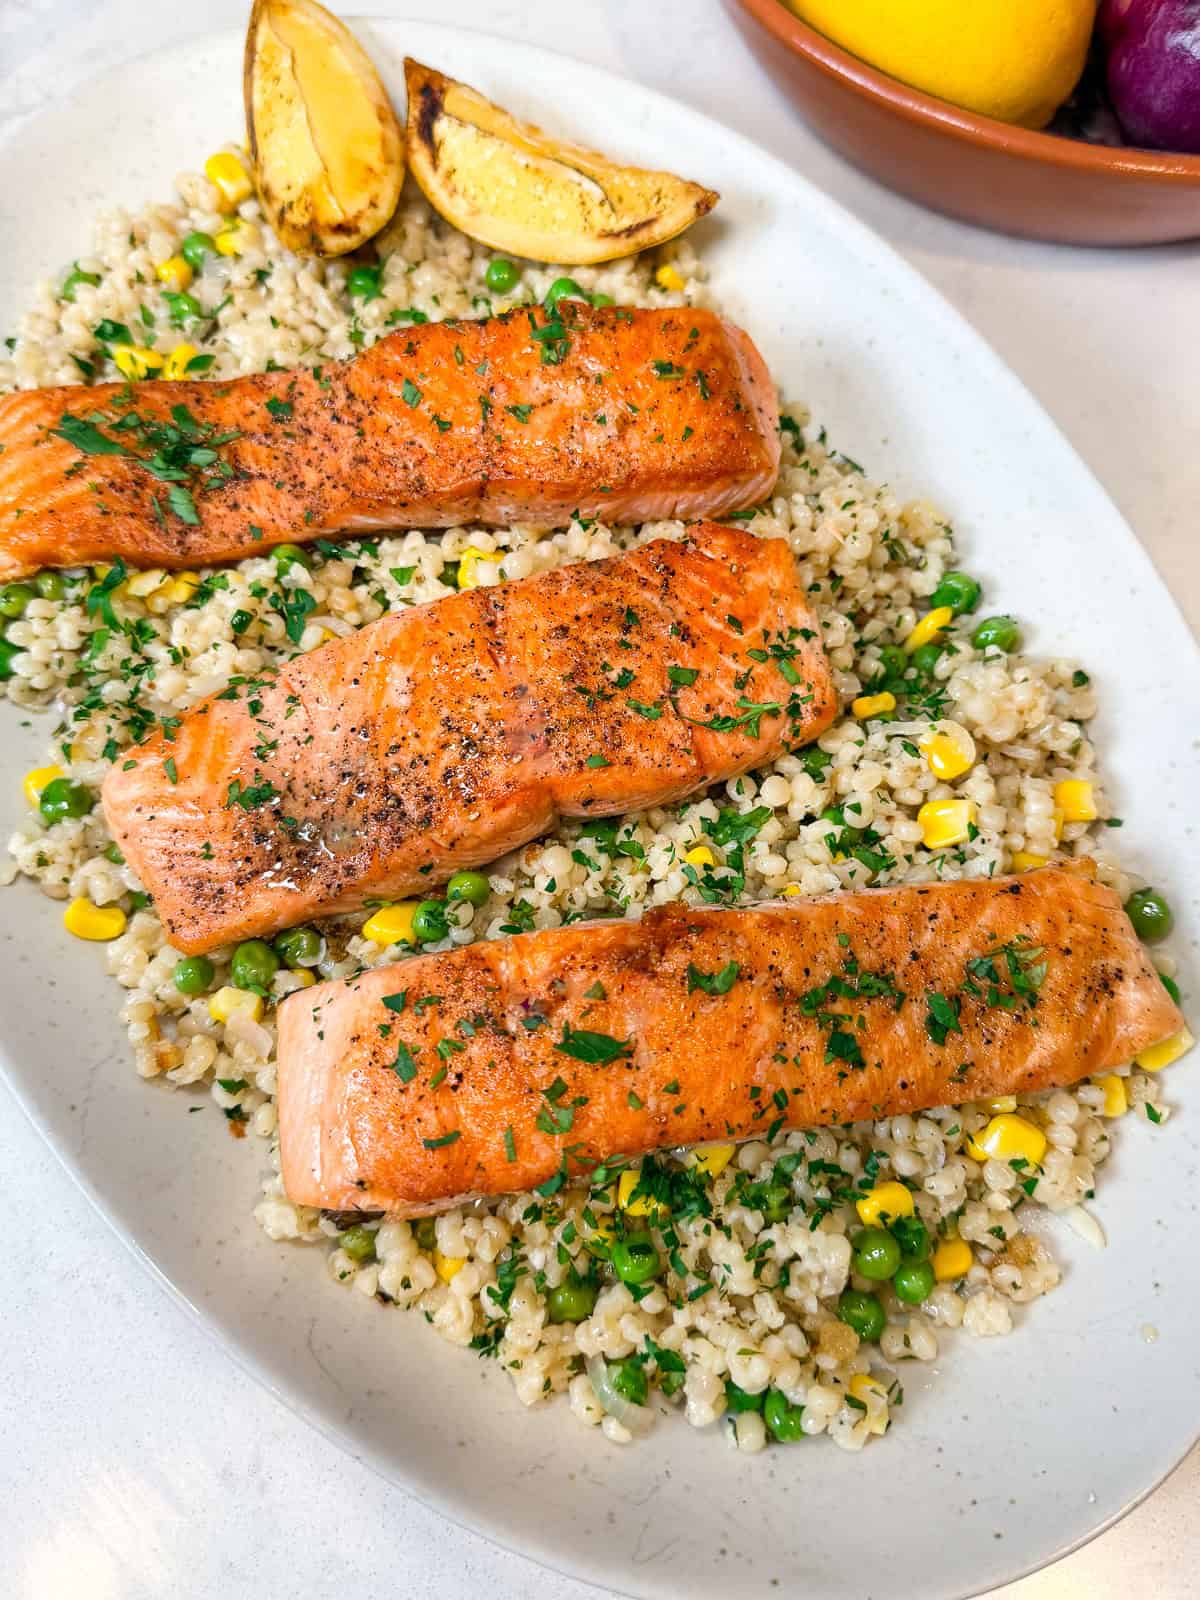
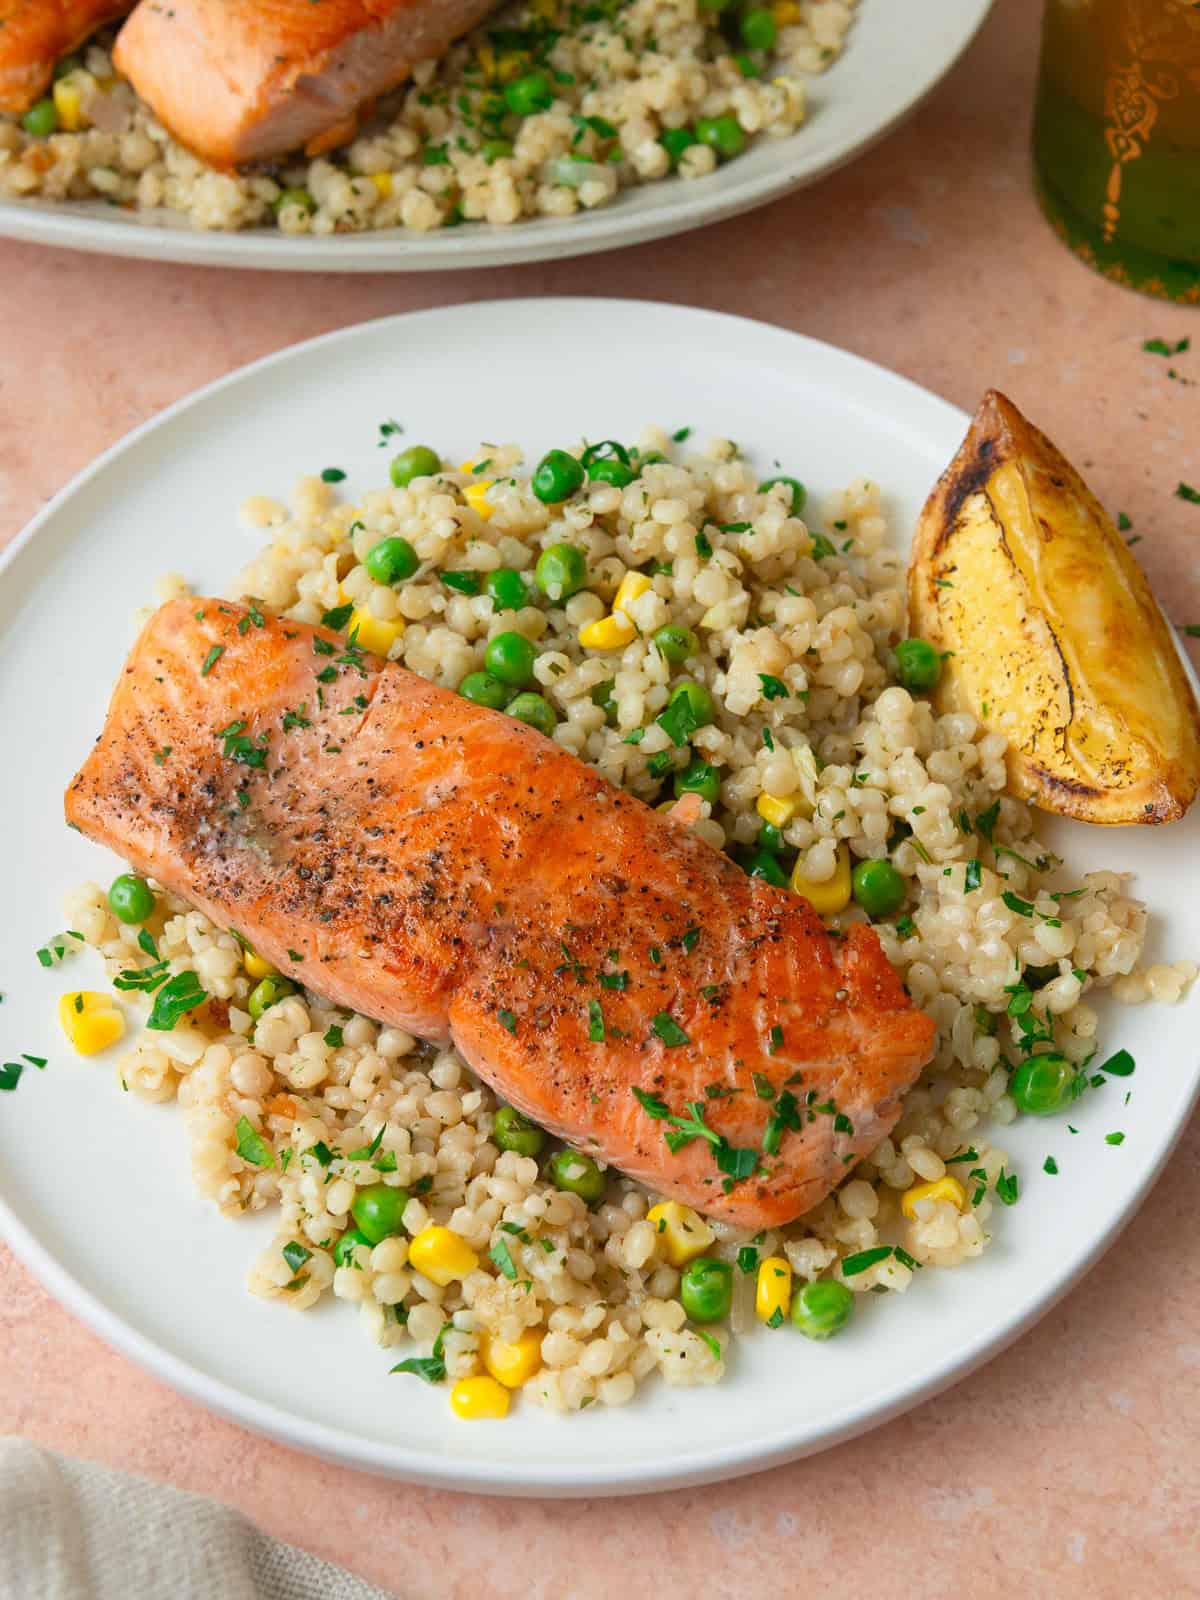
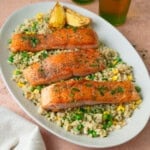
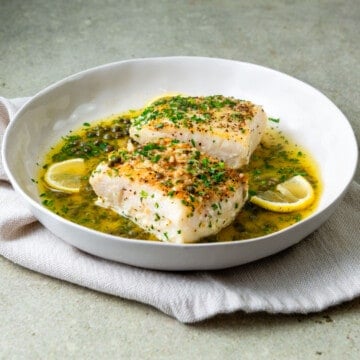
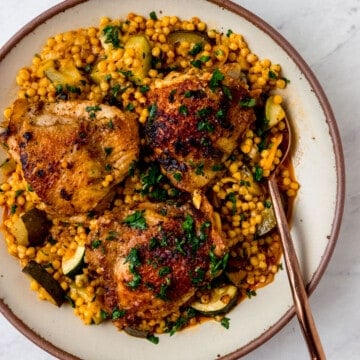
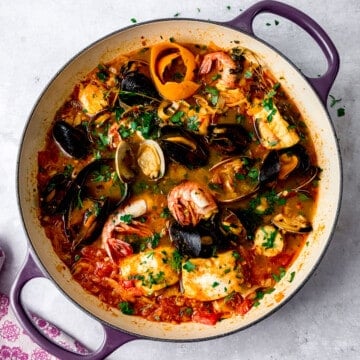
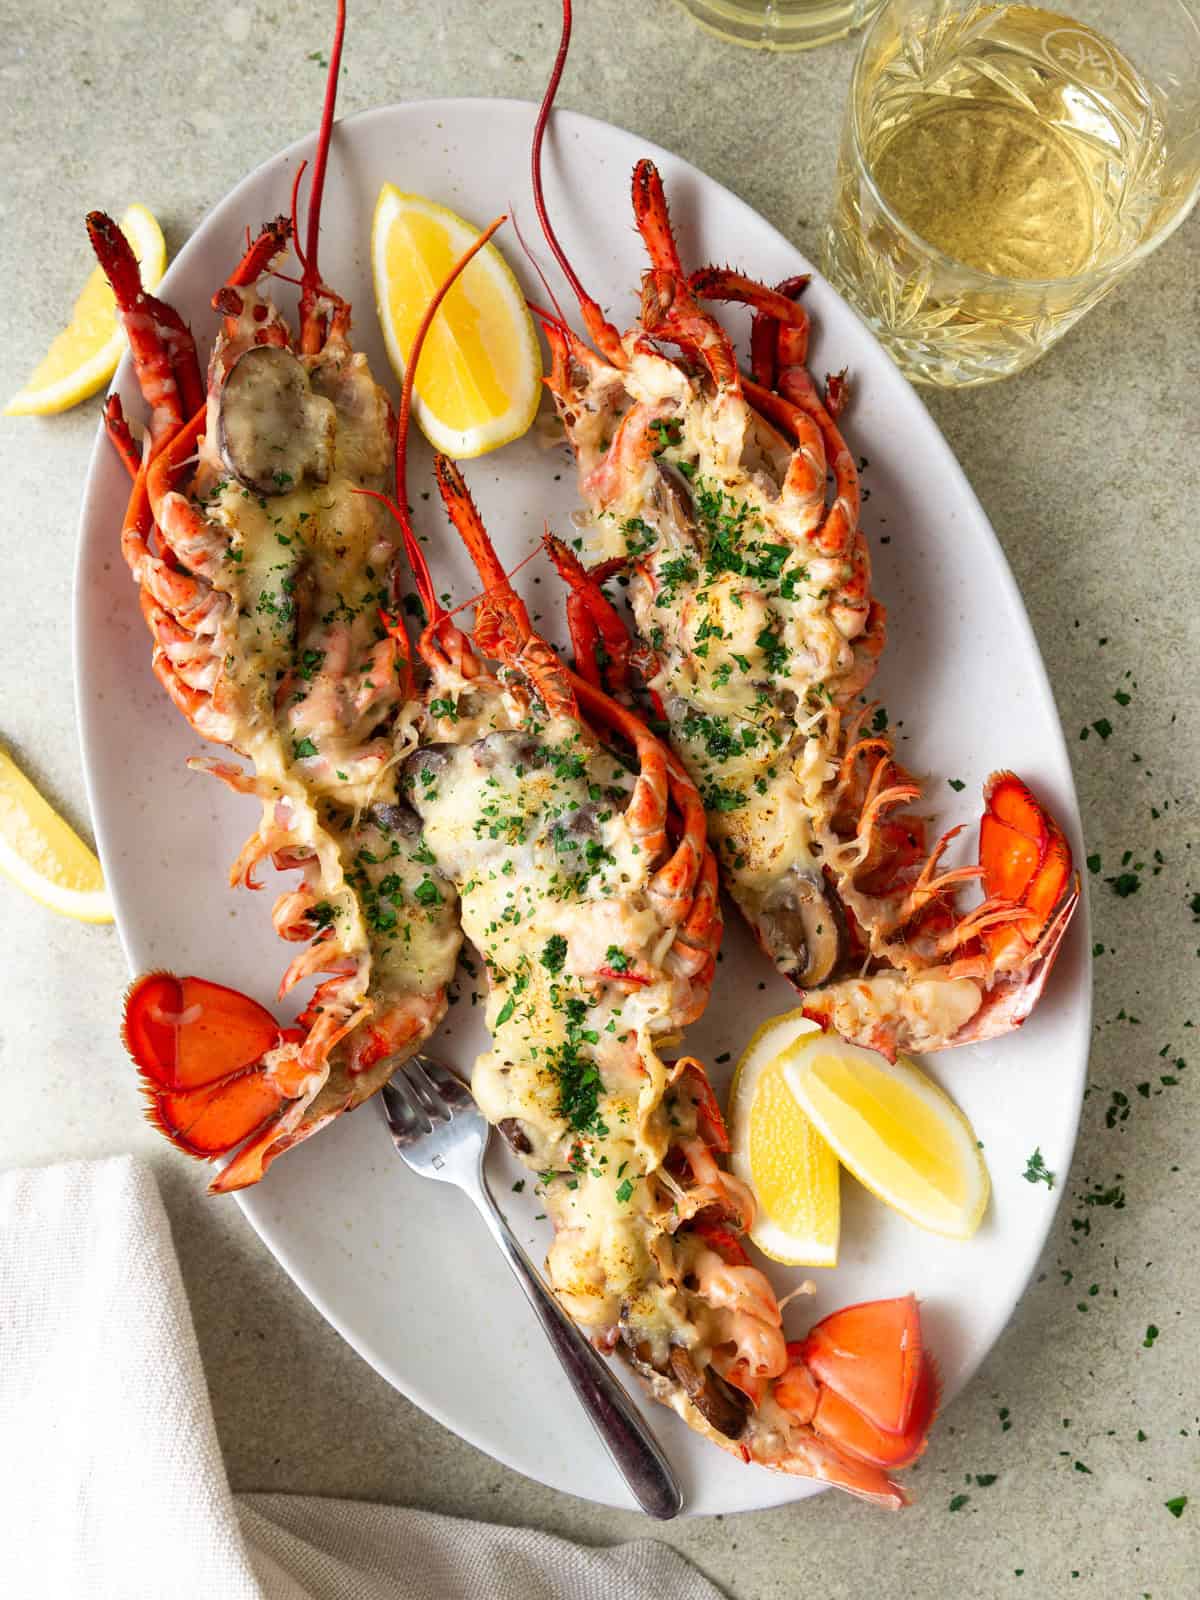
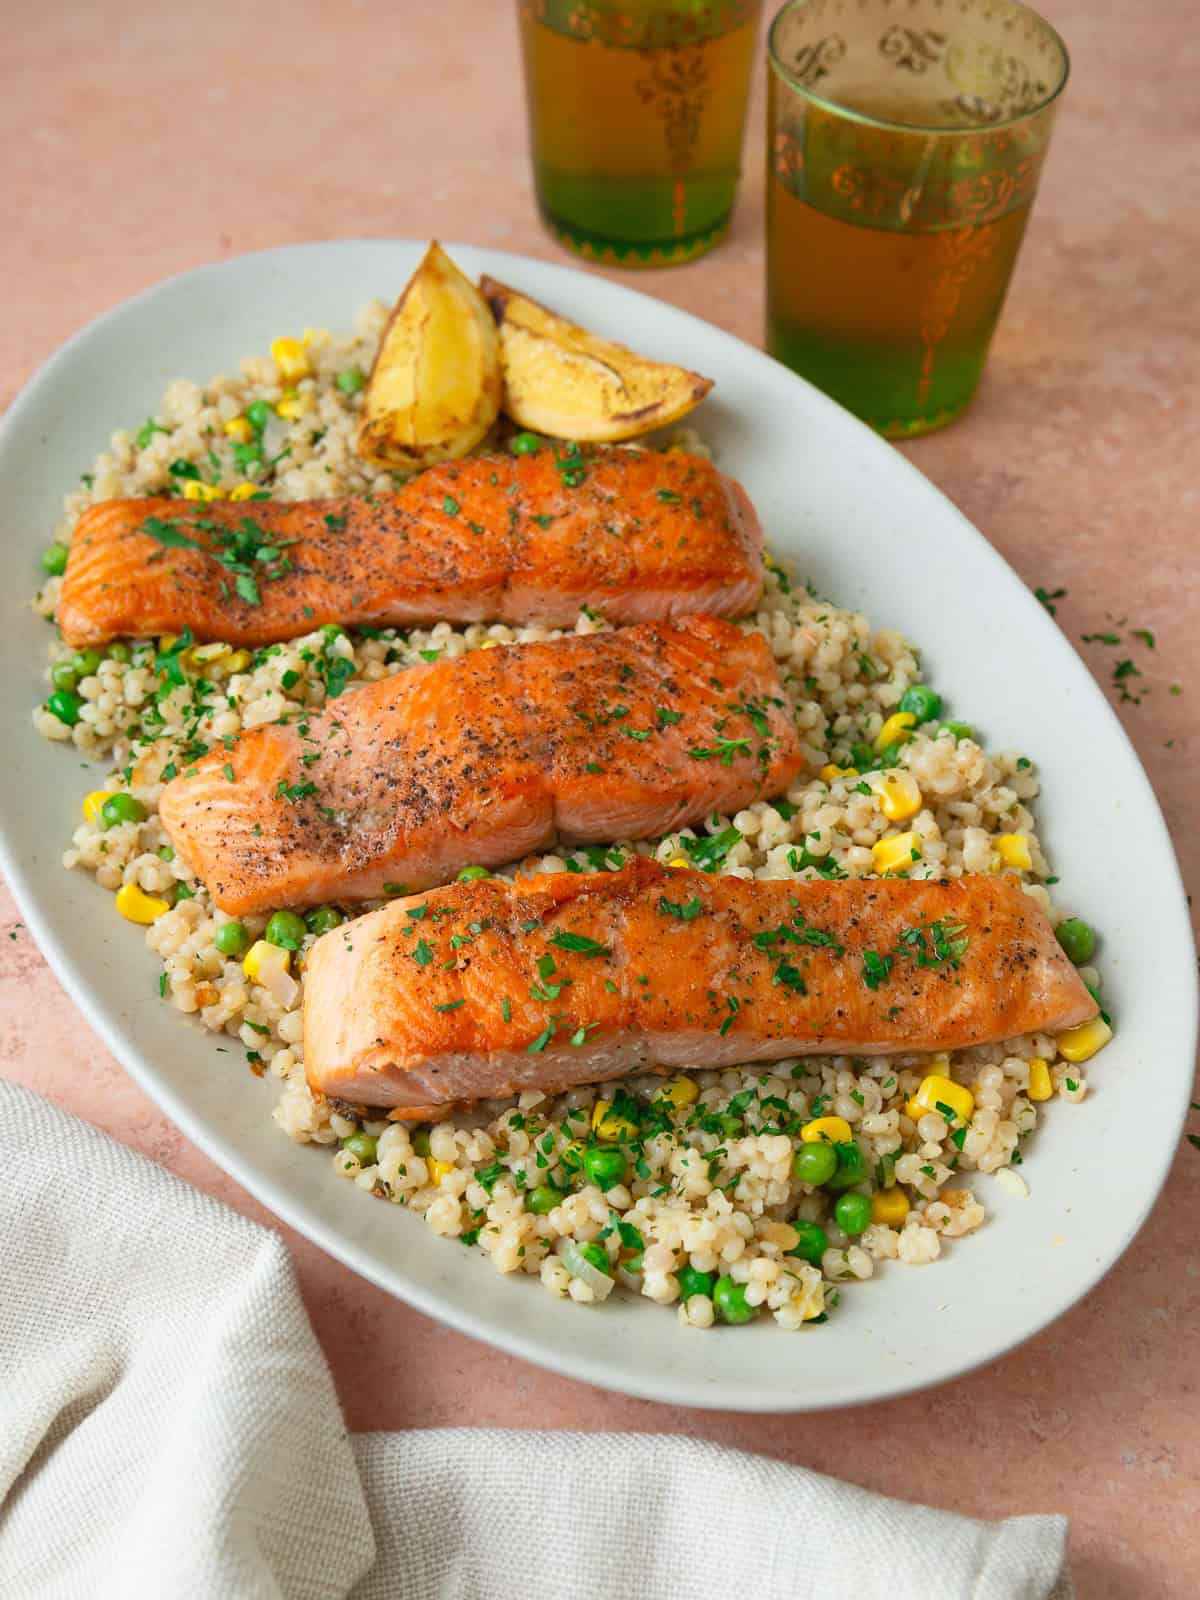
Seared Salmon with Lemon Herb Couscous- A simple, elegant seafood option featuring perfectly seared salmon served over fluffy pearl couscous with fresh herbs and lemon.
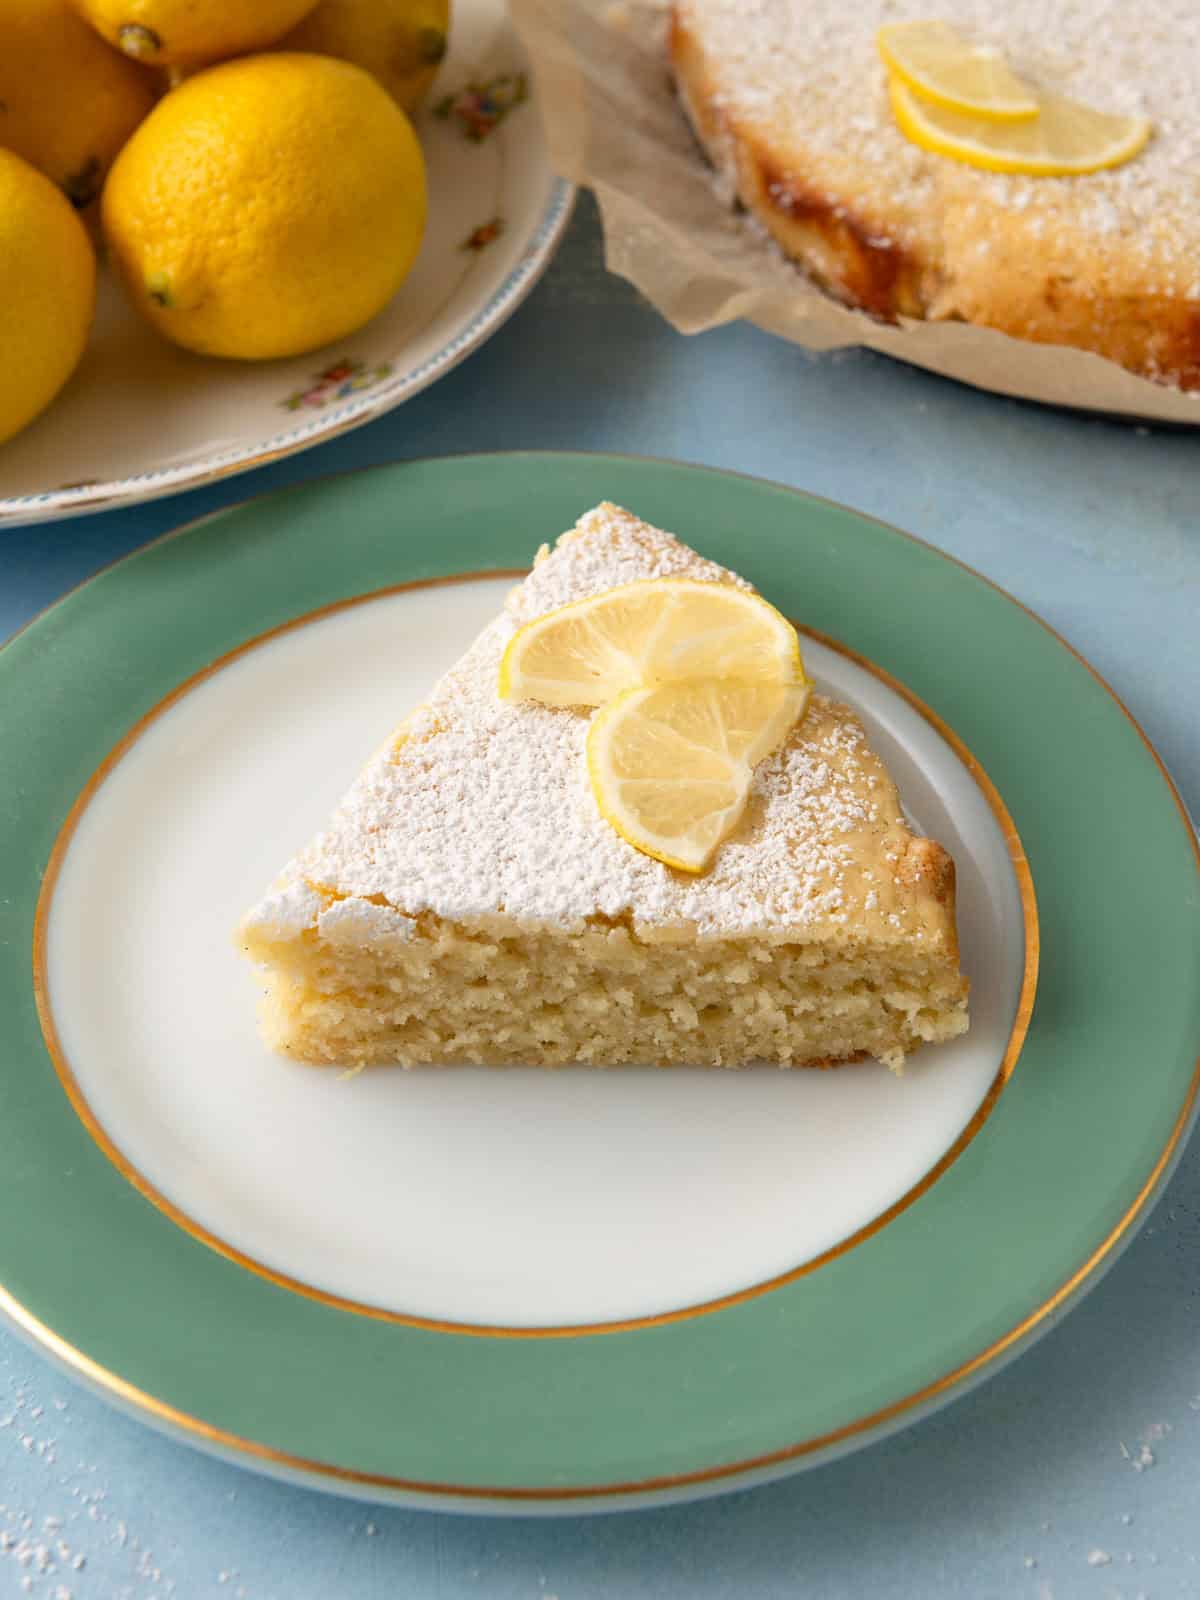
🍰 Dessert
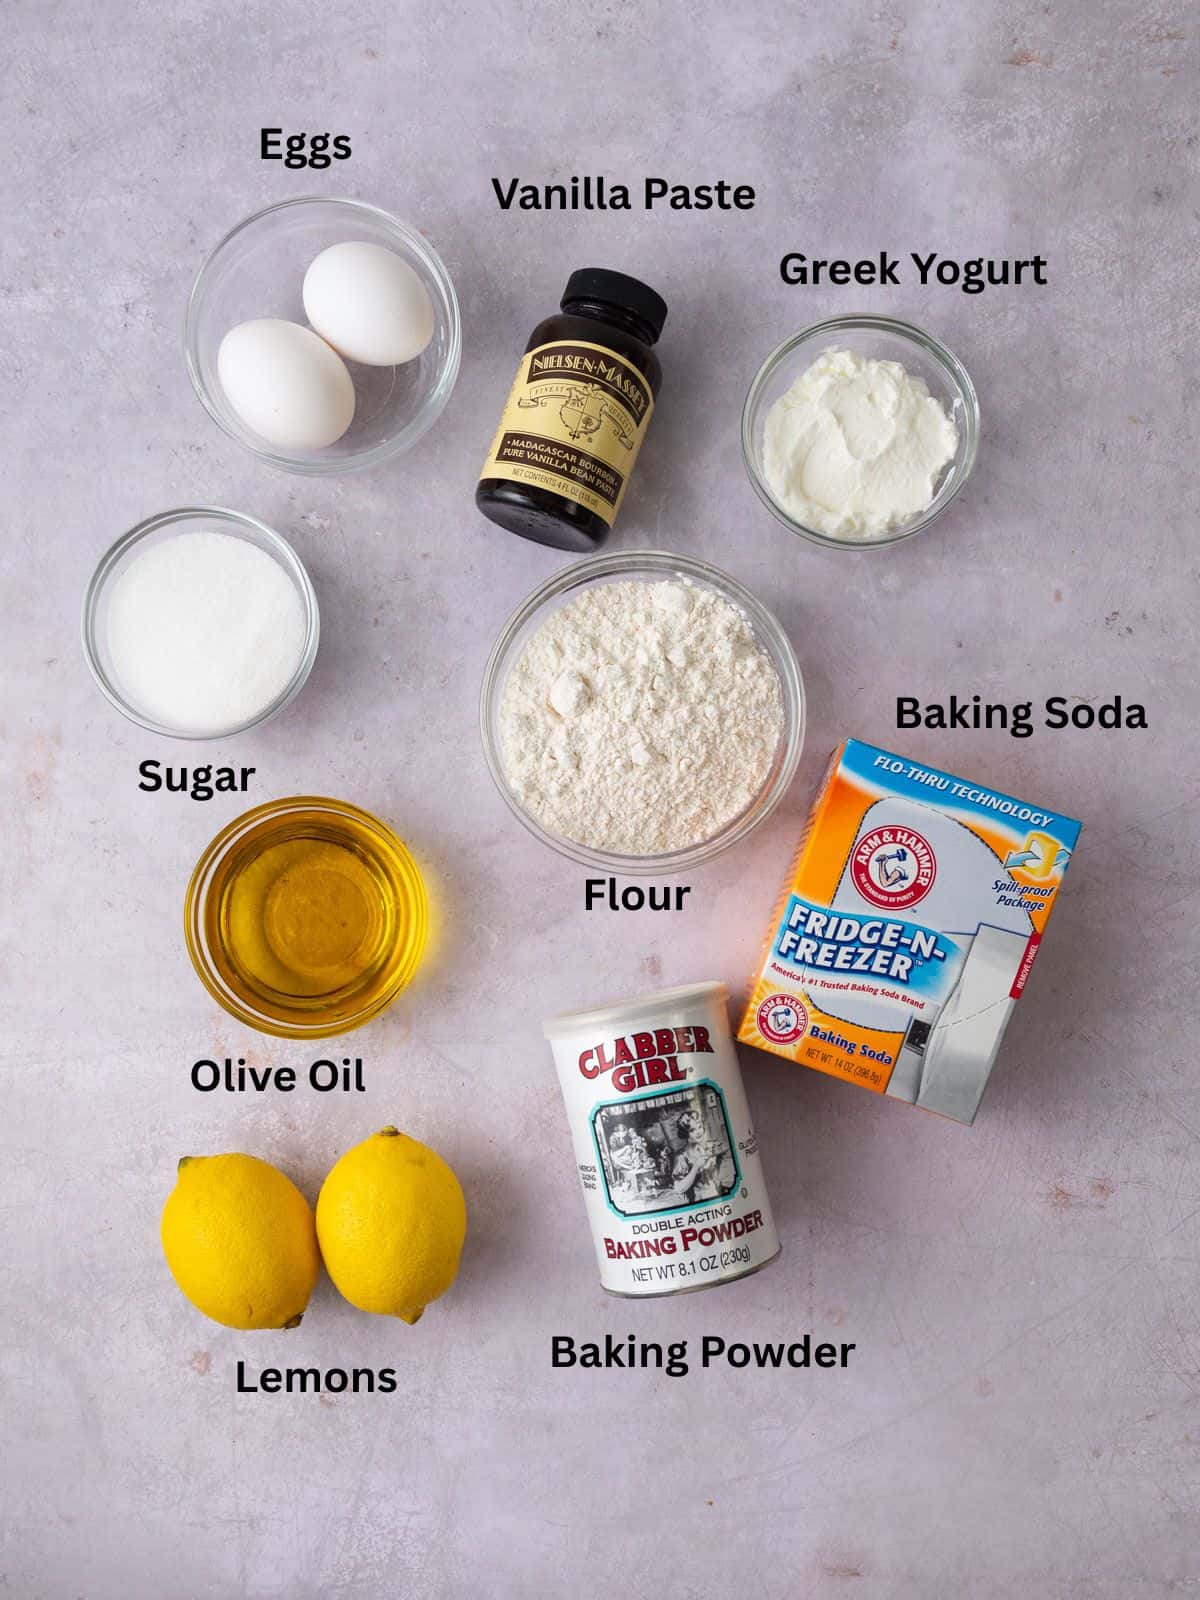
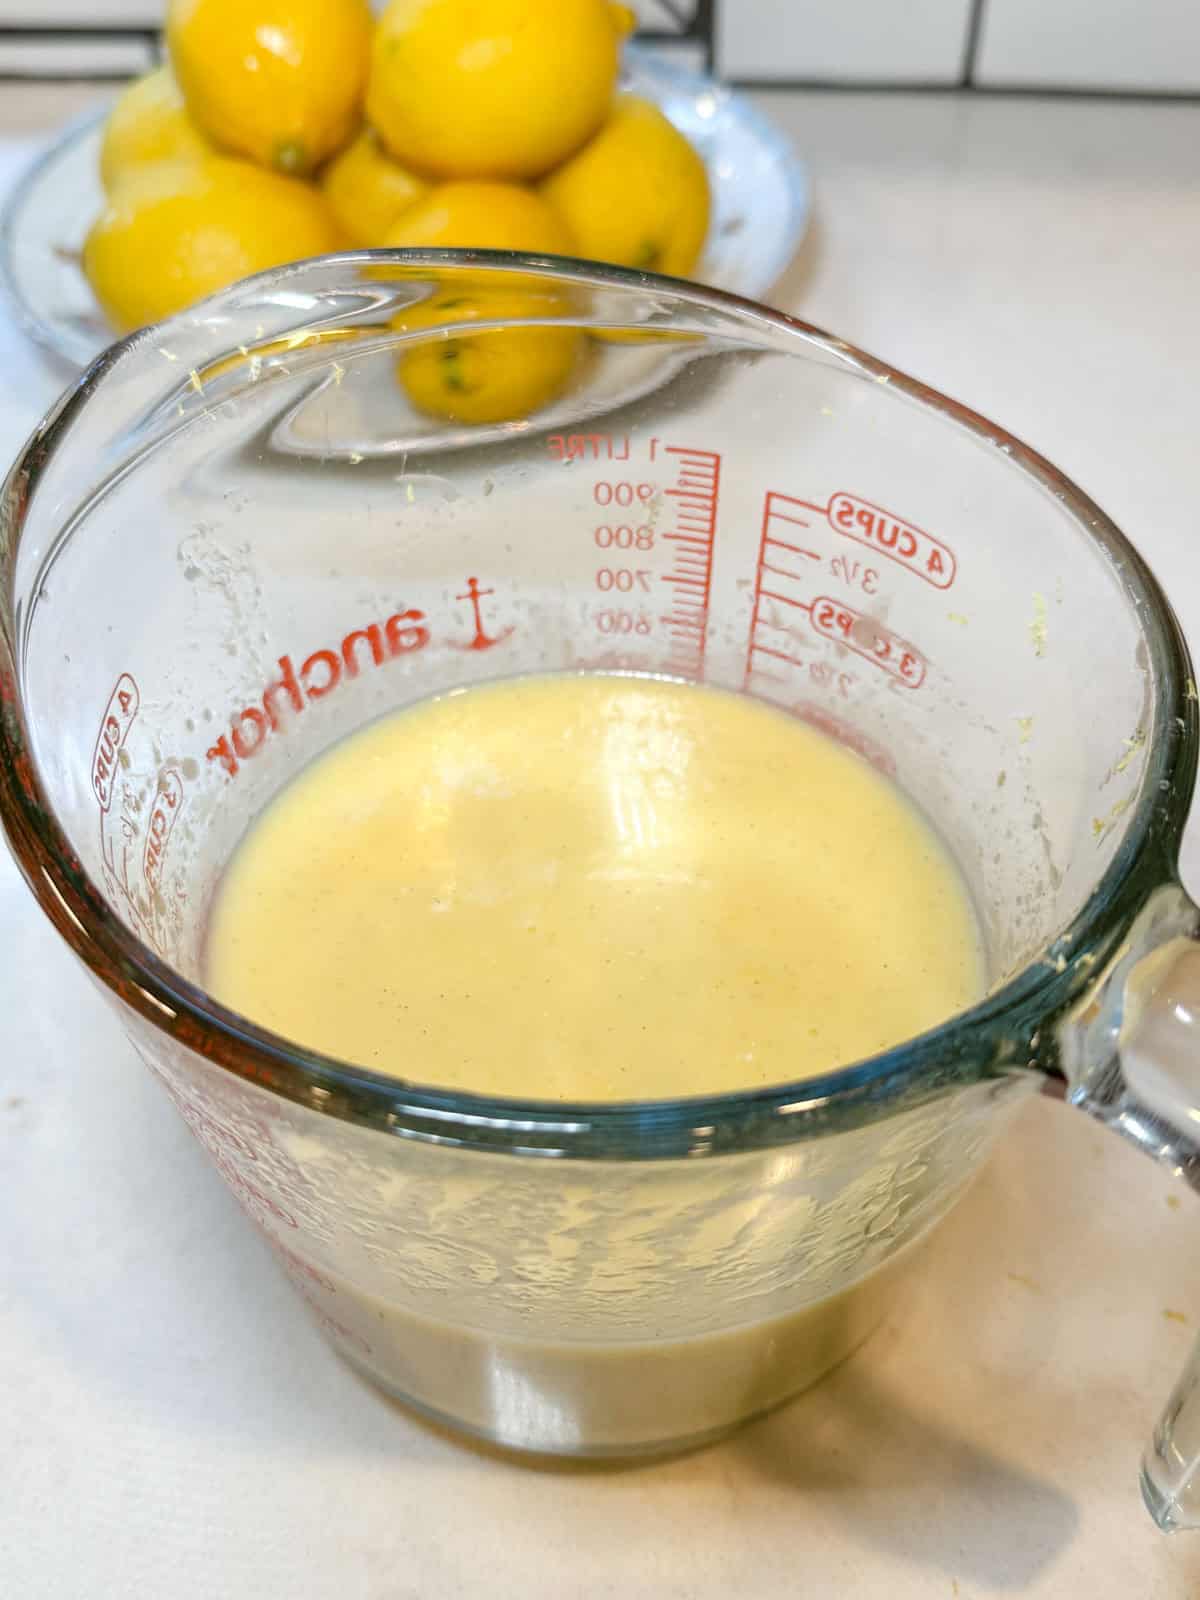
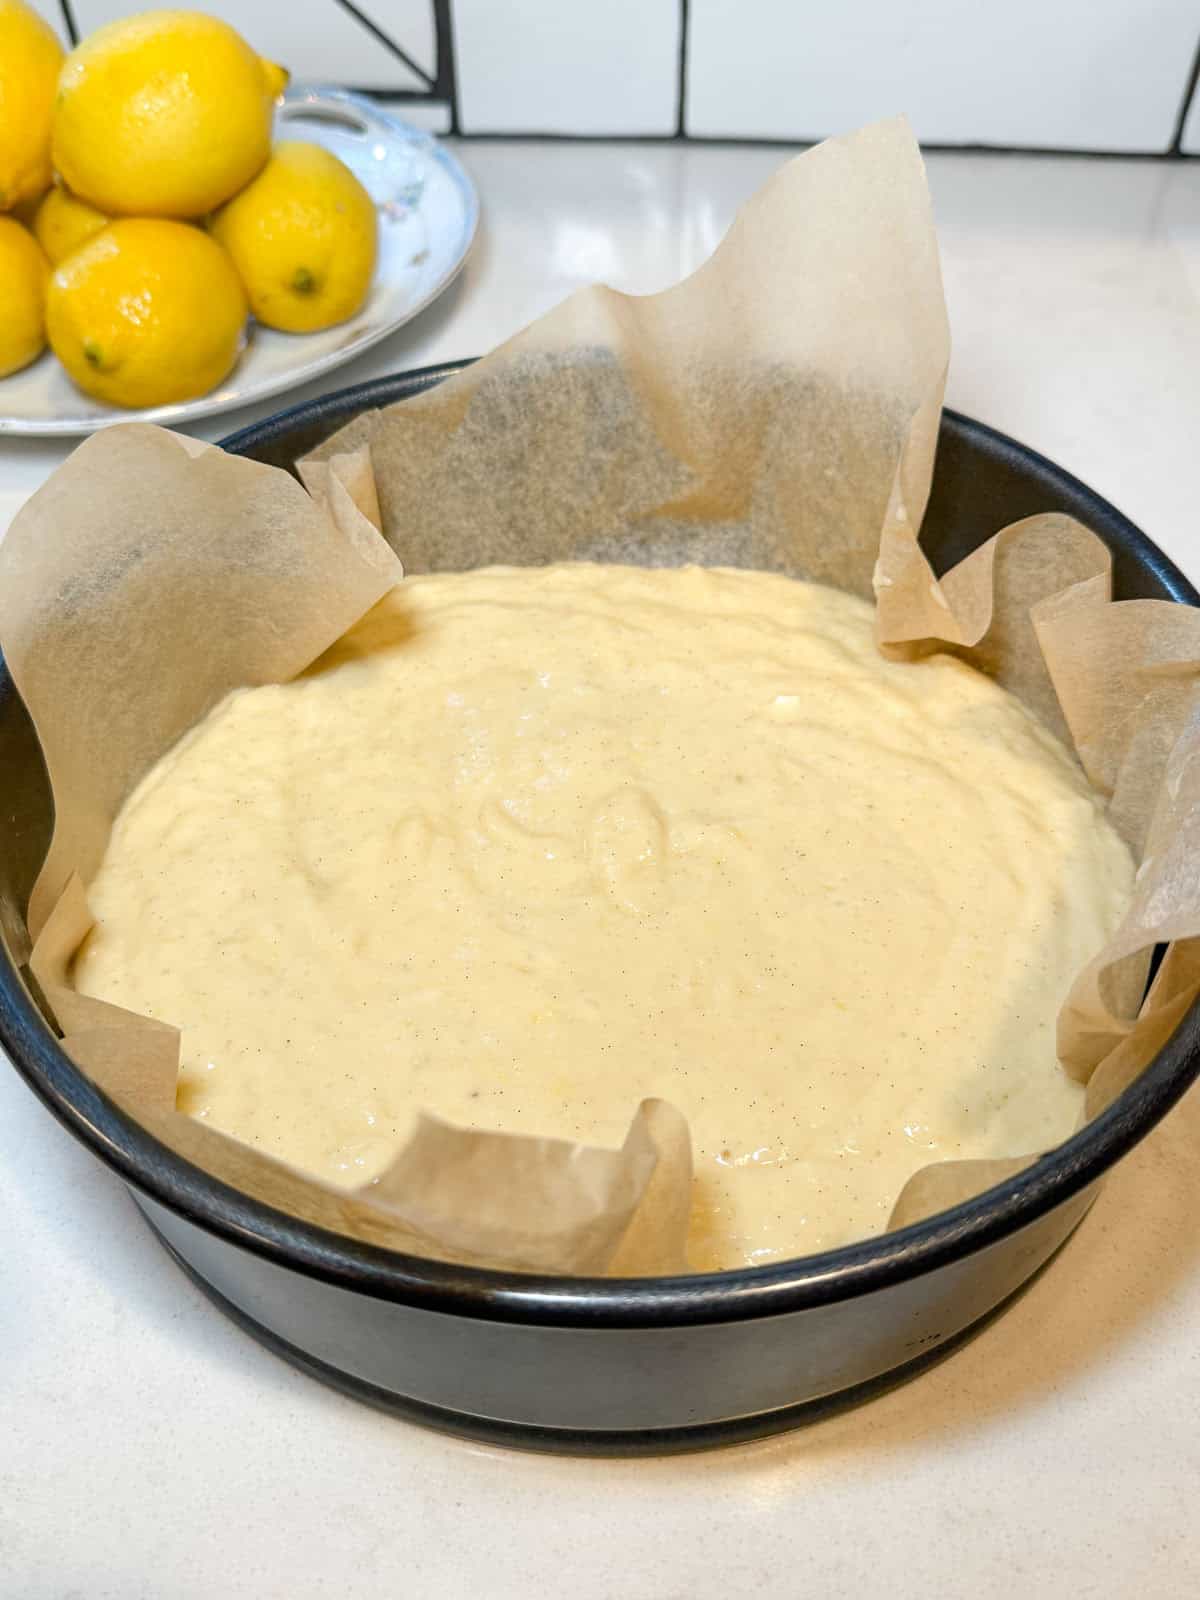
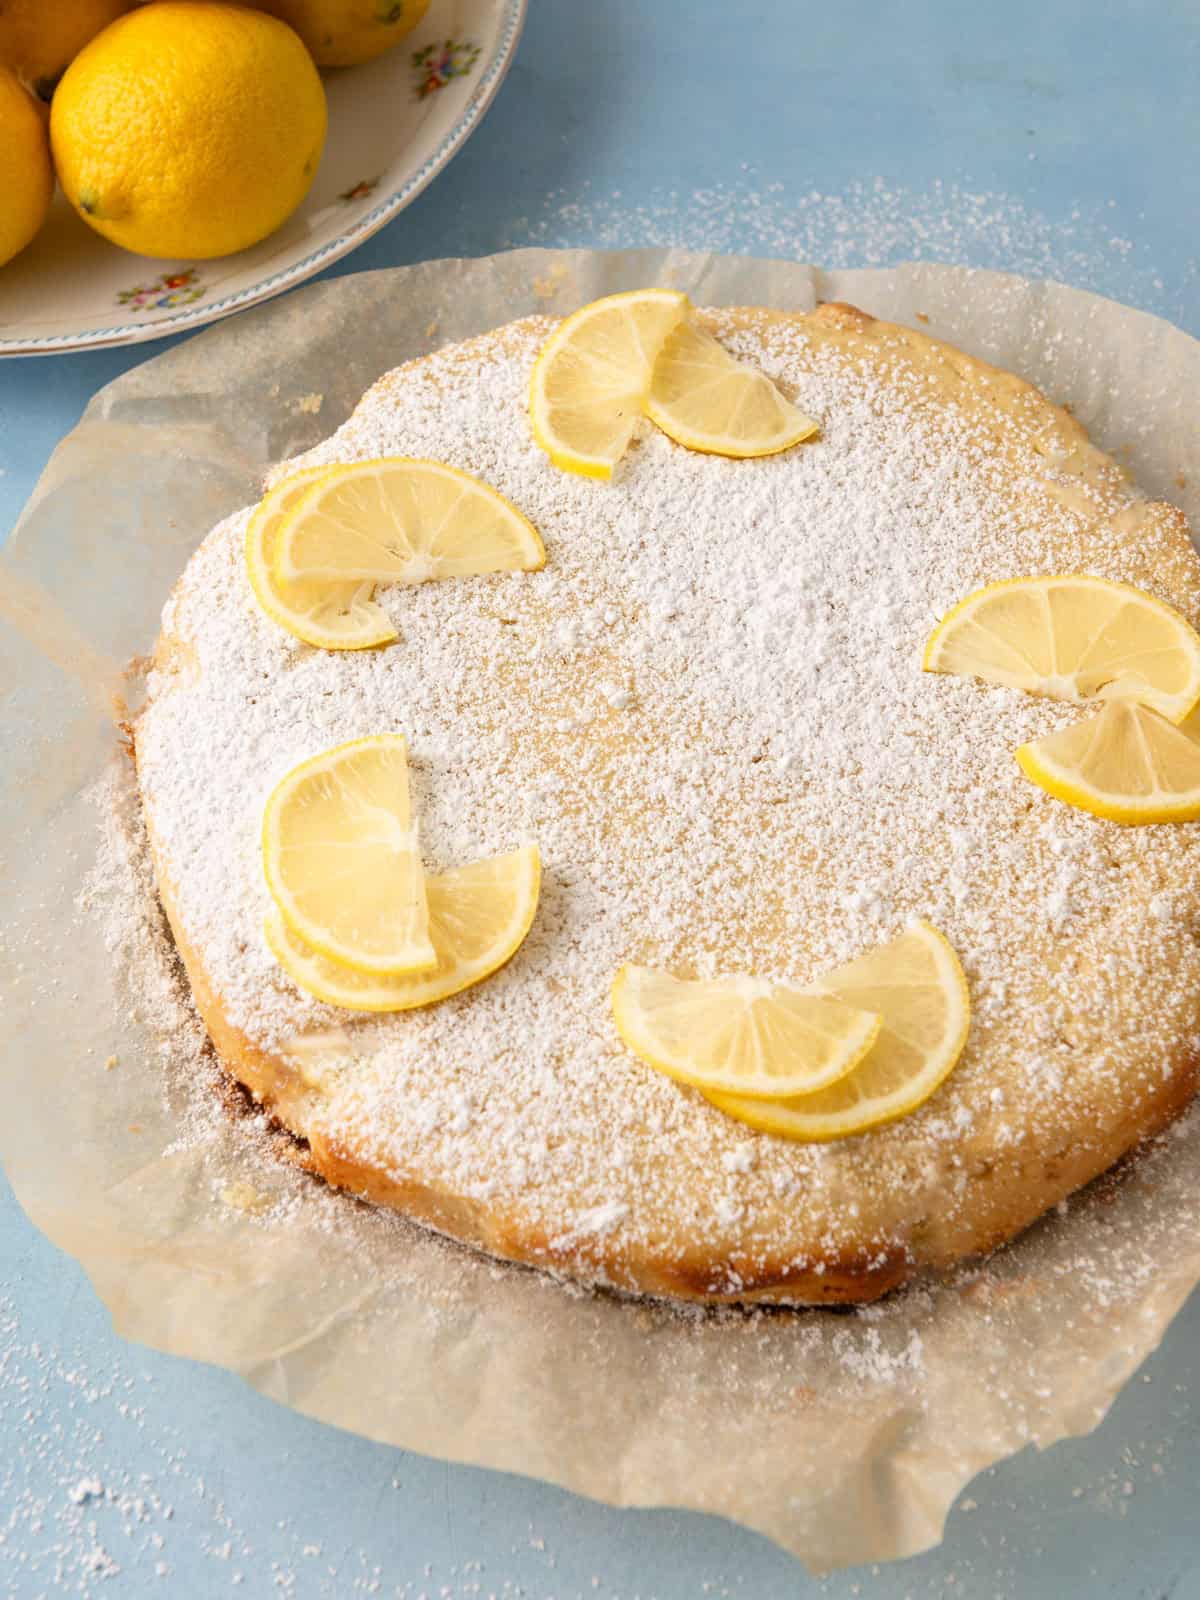
Lemon Olive Oil Cake- An easy one-bowl cake made with olive oil, yogurt and fresh lemon juice. It's light, tender and perfectly citrucy.
📍 Make-Ahead Tips
- Whipped feta can be made 2–3 days in advance
- Lemon olive oil cake tastes even better the next day
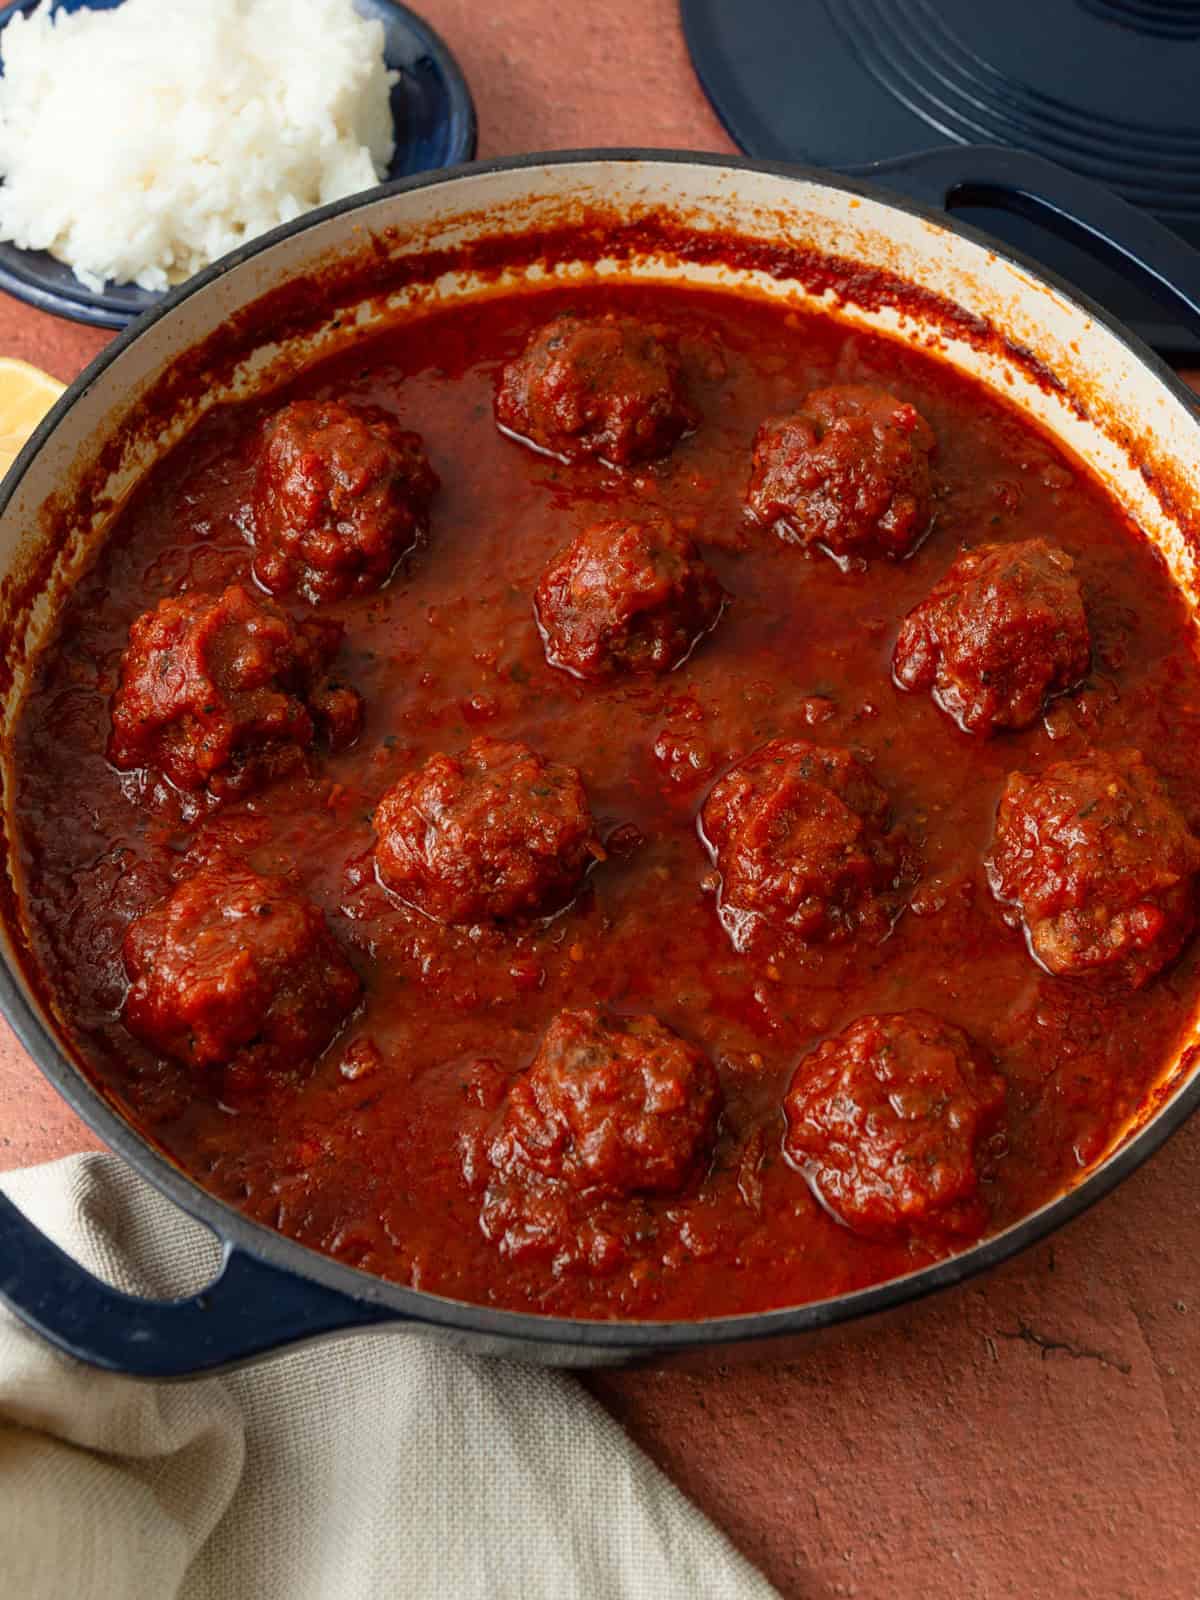
- Osso buco can be fully made ahead and reheated
- Make the vinaigrettes the day before
- Assemble the potato leek tart ahead, then bake before serving