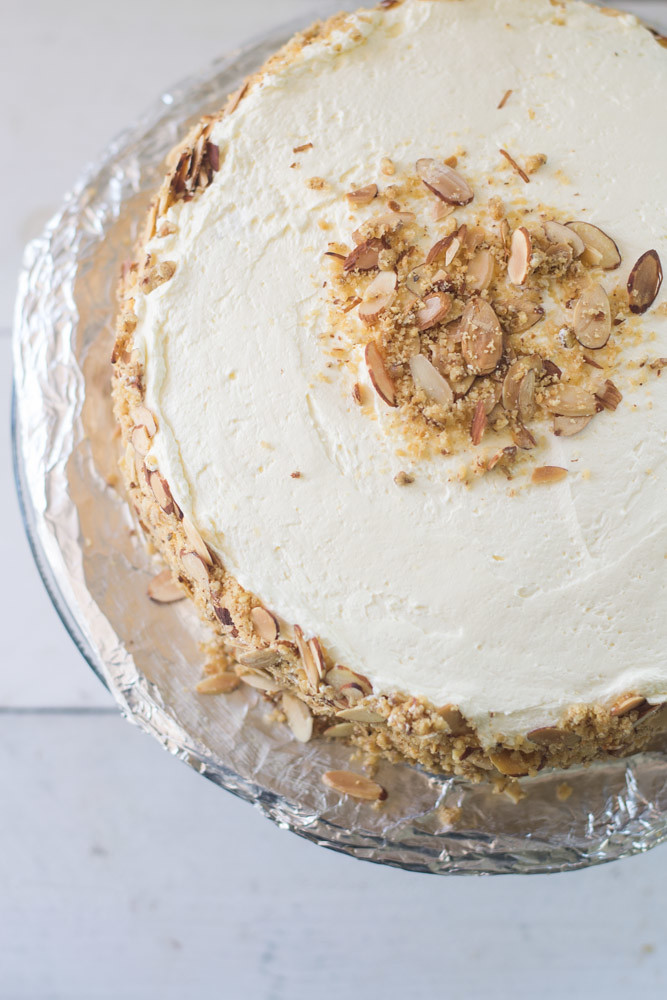
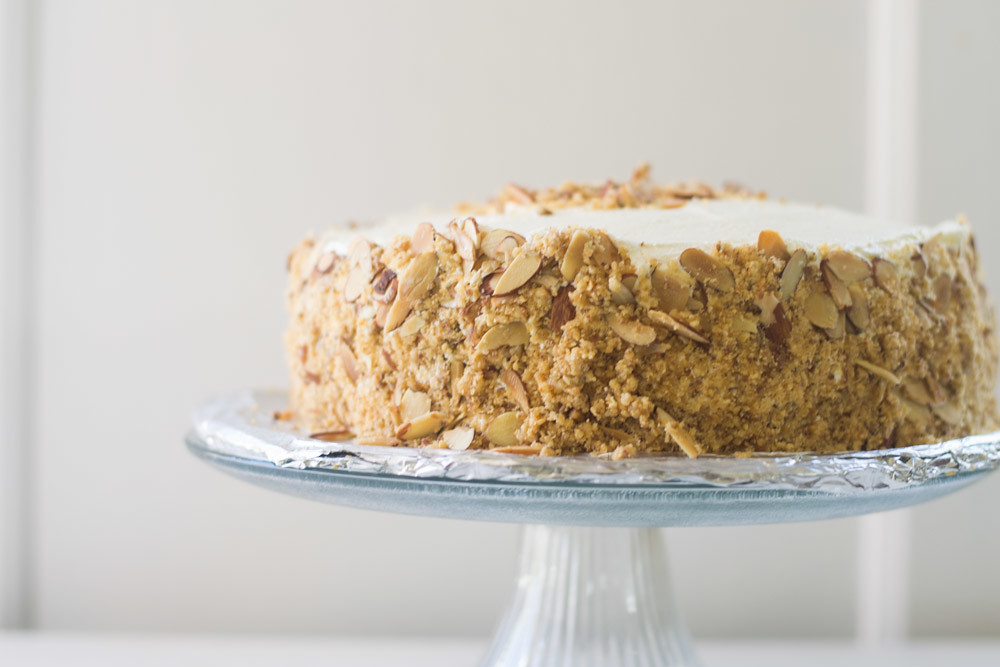
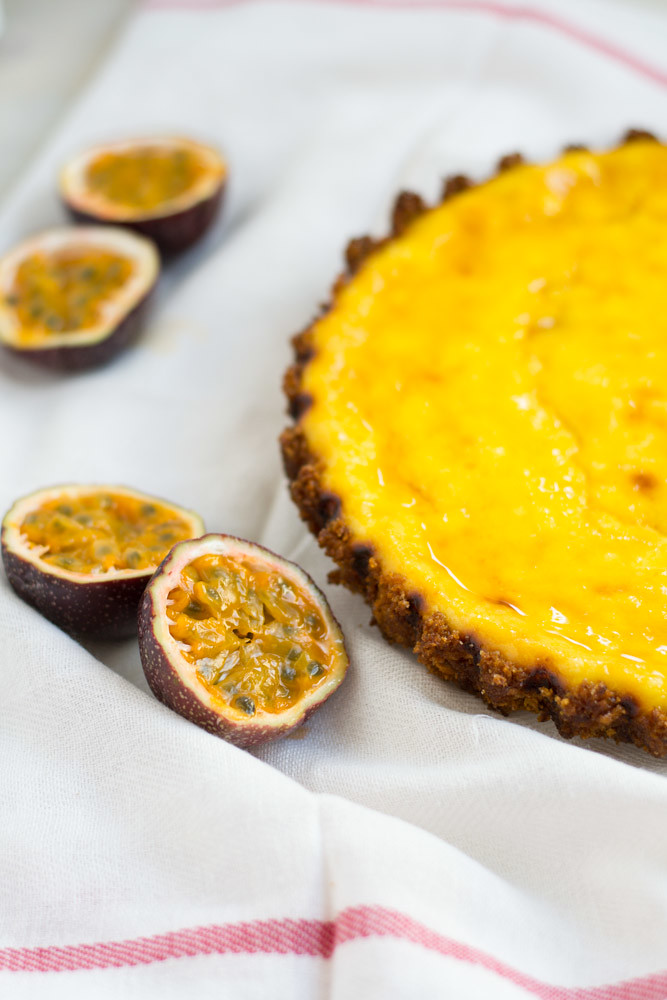
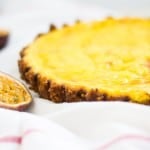
Sometimes you just have to roll with the classics. I have made all sorts of twists on the classic lemon bars but hesitated to ever share my recipe for classic meyer lemon bars. So far I've done a Hawaiian twist with passion fruit and for another, threw in some herbs to make lavender lemon bars and thyme lemon bars. But really, there is nothing better than clean, simple, bright organic meyer lemons. Try making my Meyer Lemon Almond Cake with Simple Syrup, you will be glad you did.

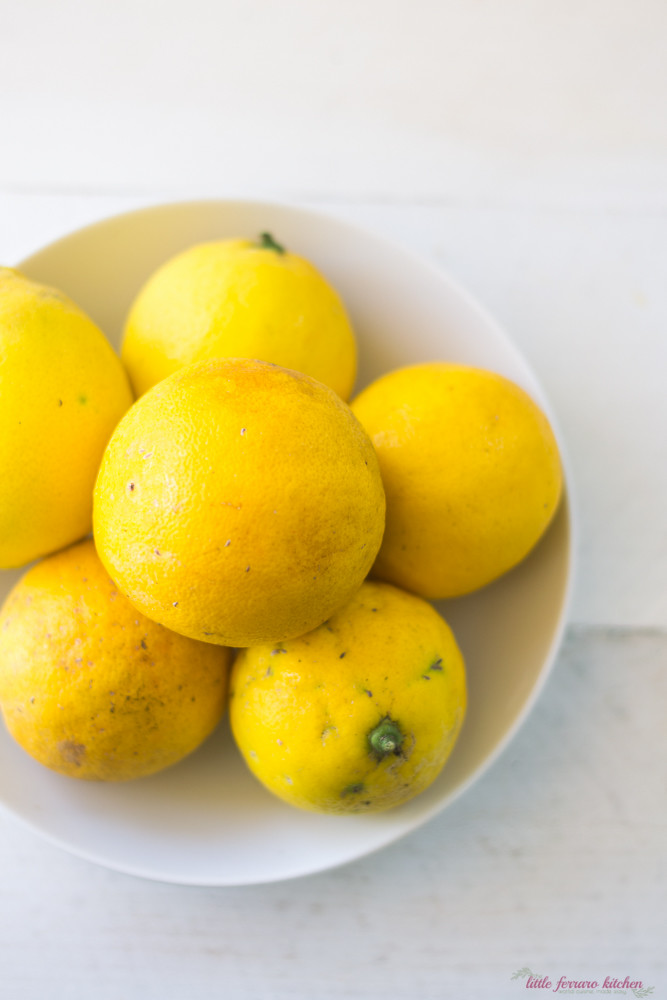
We were gifted with a bucket of meyer lemons. The zest is bright and the lemons are full of juice. They were plump and begging to be devoured. These were such perfect meyer lemons, I didn't want to cover them up in any way and just allowed this beautiful lemon to shine naturally.
I have found the perfect recipe and technique to make these the best meyer lemon bars you have ever had.

My tips on making the BEST lemon bars ever:
1) Use the whole lemon! Zest and juice. Use a good, sharp zester to get as much outer peel as you can.
2) Because you're using the whole lemon, organic lemons are the best! You won't get that waxy outer coating in your bars and overall they will be more flavorful and juicier.
3) Baking pan matters, go cheap: I have baked these in so many different pans and can honestly say that those inexpensive disposable metal tin pans are the best! Because the pan is tin, the heat reflects onto the crust, creating a perfect shortbread crust. DO not bake them in a glass pyrex! The crust doesn't cook as fast as it should and will be white and dull. Plus, the disposable pans make for easier cleanup!
4) Use the best ingredients you can afford: Because these are so simple and clean, the best ingredients will truly shine. Organic lemons, good quality unsalted butter and organic eggs make for a gorgeous and creamy lemon bar.
5) Good things take time. Allow dough to rest before baking and allow the lemon bars to cool completely before cutting.
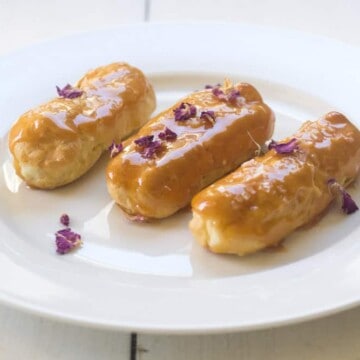
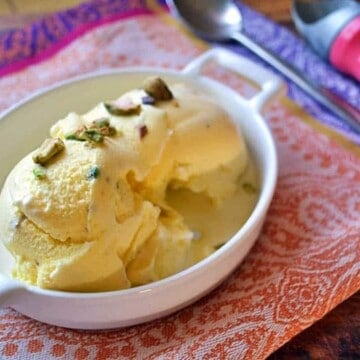
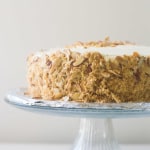
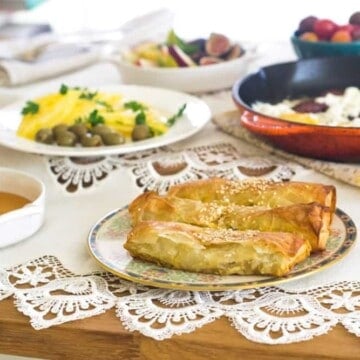
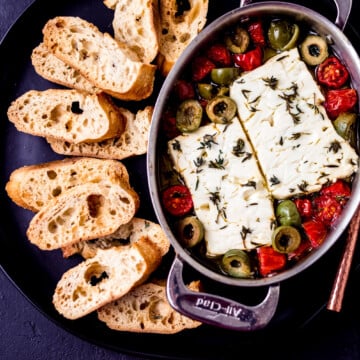
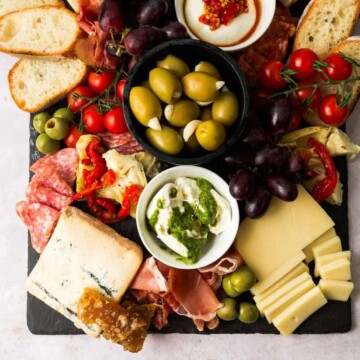
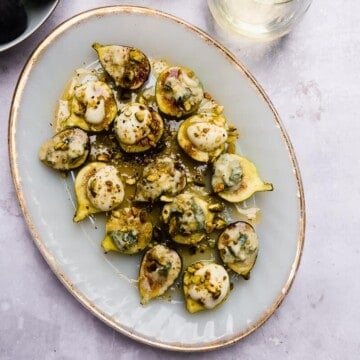
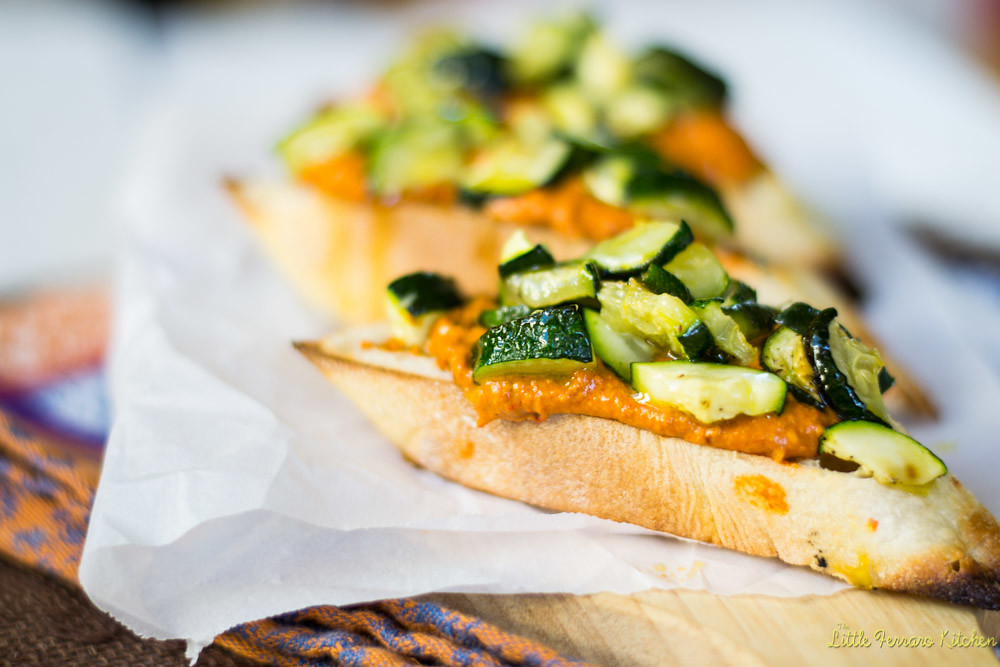
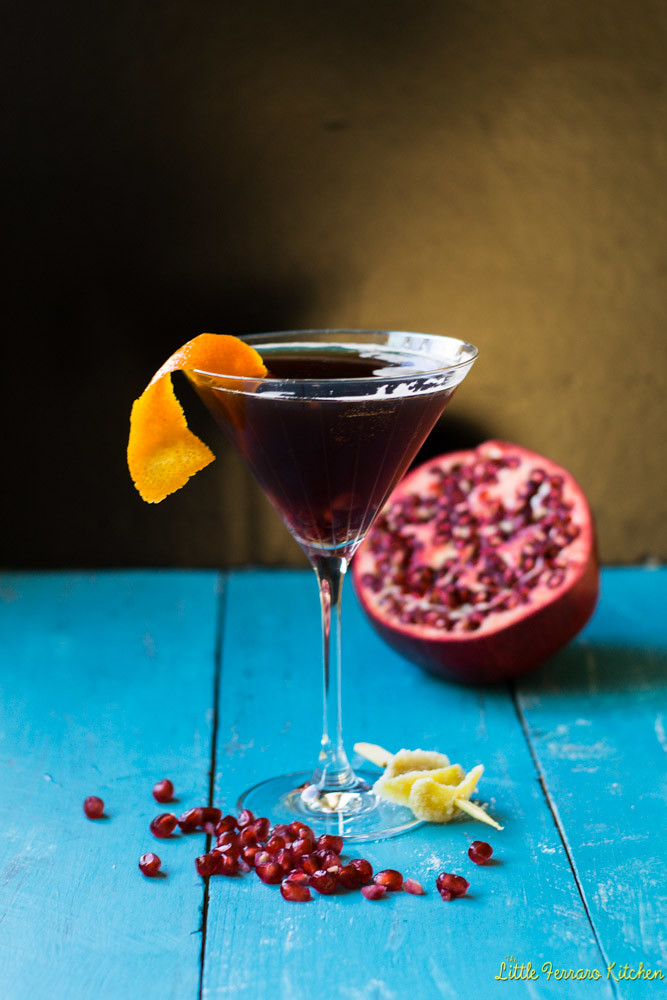
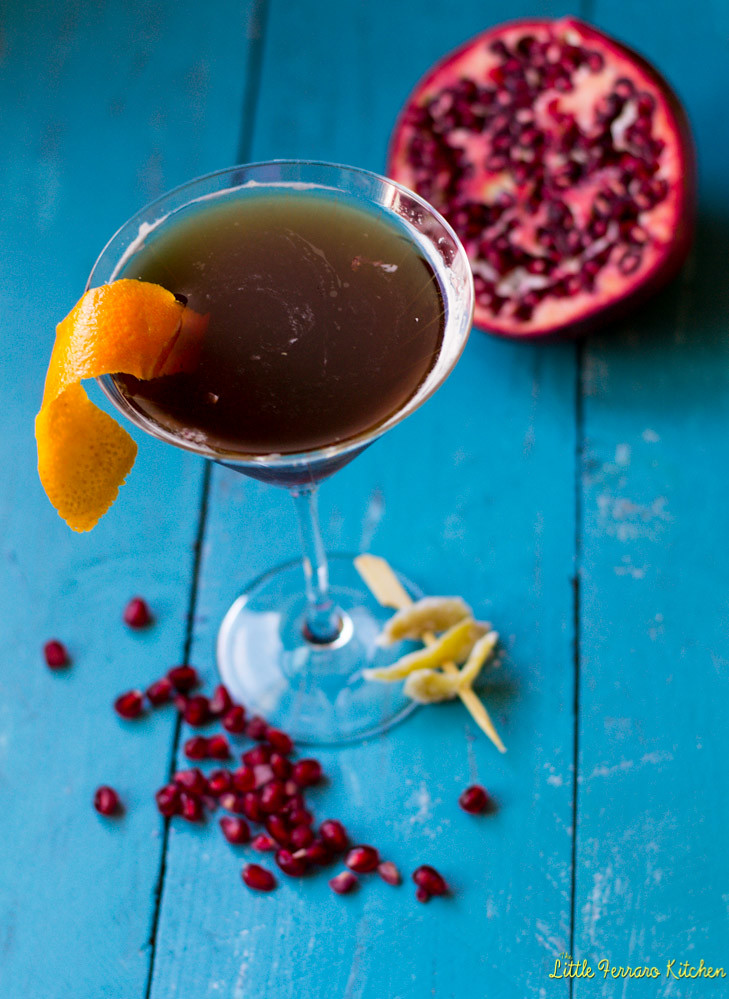
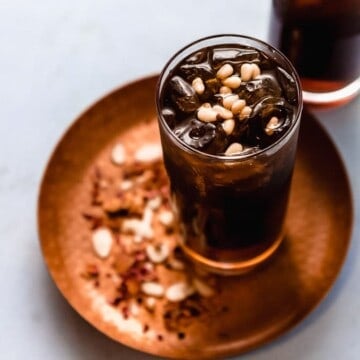
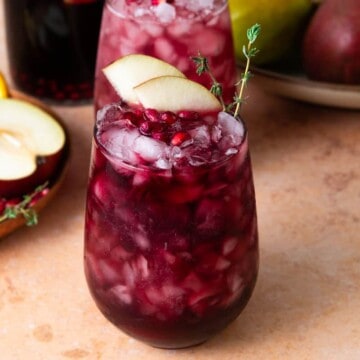
More lemon inspiration


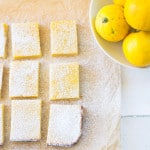
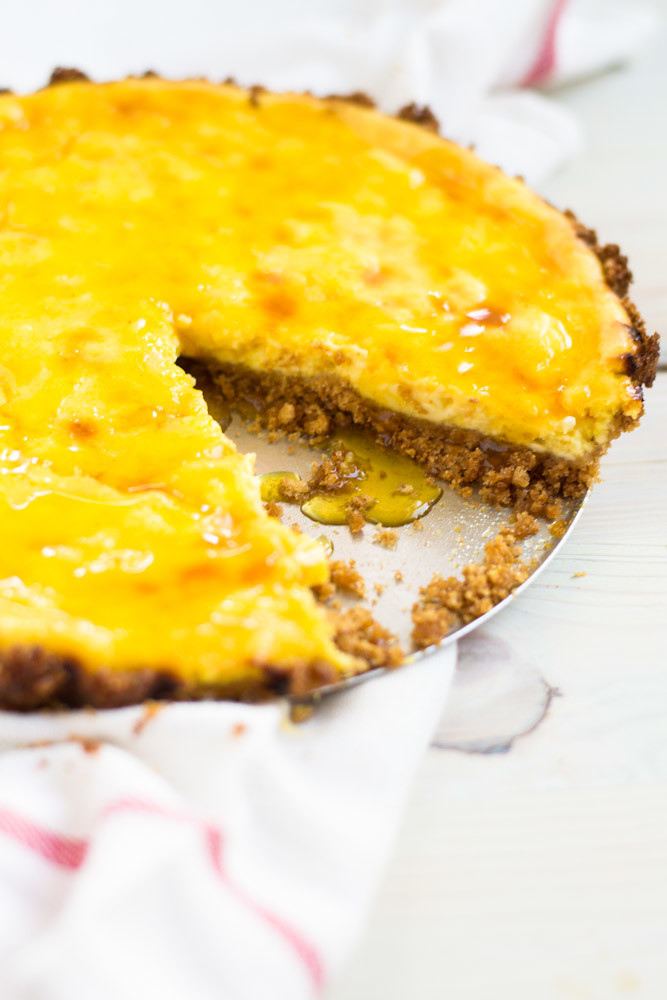
Meyer Lemon Bars
Ingredients
Filling:
- 6 eggs room temperature
- 2 cups sugar
- 1 cup fresh meyer lemon juice About 3-4 lemons
- Zest of 2-3 lemons
- 1 cup flour
- Powdered sugar for dusting
Instructions
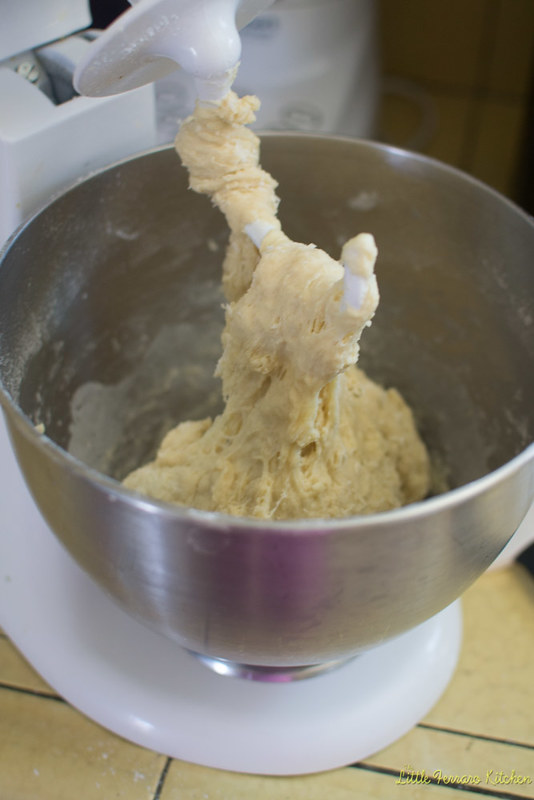
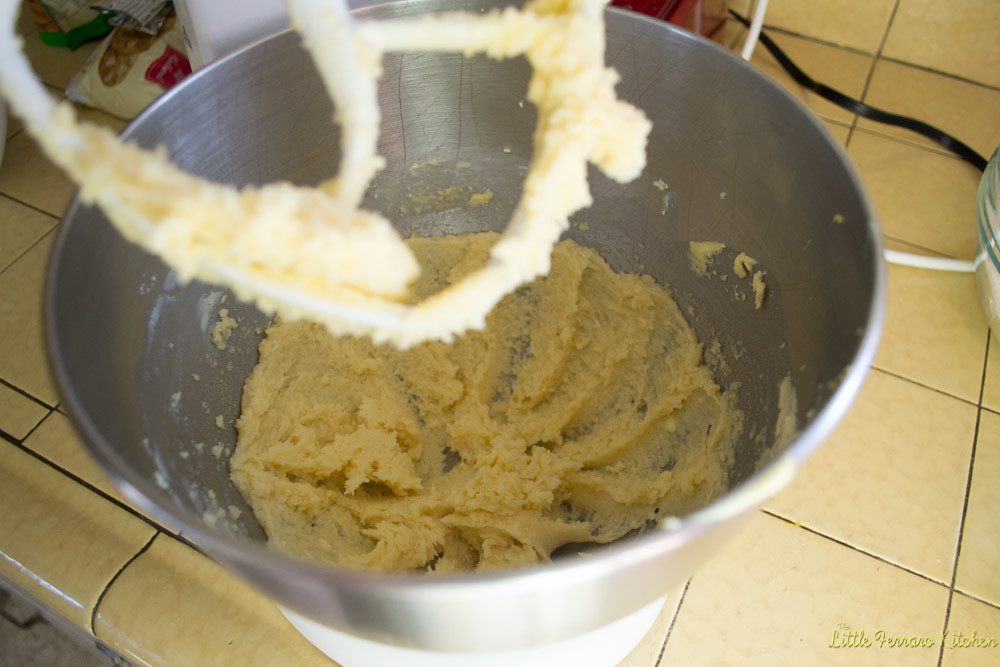
- Preheat the oven to 350 degrees F. For the crust, cream the butter and sugar together in a stand mixer until creamy and well incorporated.
- Then add the sifted flour and salt to the creamed butter, slowly while the mixer is on low. Continue to mix just until the flour is incorporated. Use a spatula to scrape the sides and bottom to make sure everything is evenly mixed.
- Line parchment paper in a disposable baking tin ( 9 X 7 inches should work fine) and pour dough into the pan, scattering the dough evenly within the pan. Then, use your fingers and the palm of your hand to evenly distribute the crust, making a ½ inch border on the sides.
- Place pan in the refrigerator for 15-20 minutes so dough can rest.
- To make the filling, place eggs, lemon juice and zest, sugar and flour in a large bowl. Use a whisk to break up the yolks and mix everything together.
- For a smoother texture, add filling to a blender or food processor and pulse a few times to mix everything together until there are no lumps. Set aside.
- Once the dough has relaxed, place in the oven and bake crust for 15 minutes until it is lightly golden brown but still soft to the touch. Allow to cool for 10-15 minutes.
- Then pour egg mixture into the pan and place back in the oven and allow to bake for 30 minutes. Once timing is done, use a butter knife to poke the filling. If it is still wet, bake for another 10 minutes, it it is mostly clean, remove from oven and allow to cool to room temperature before placing in refrigerator.
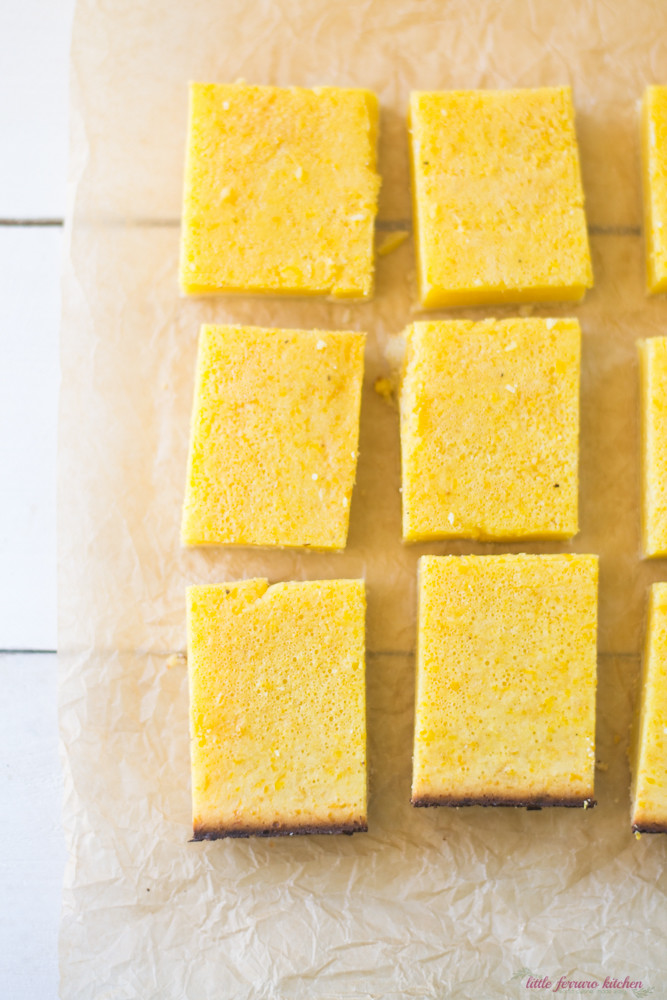
- Once bars have completely cooled, use a sharp knife to cut them into squares. The top with powdered sugar.