
Better late than never..
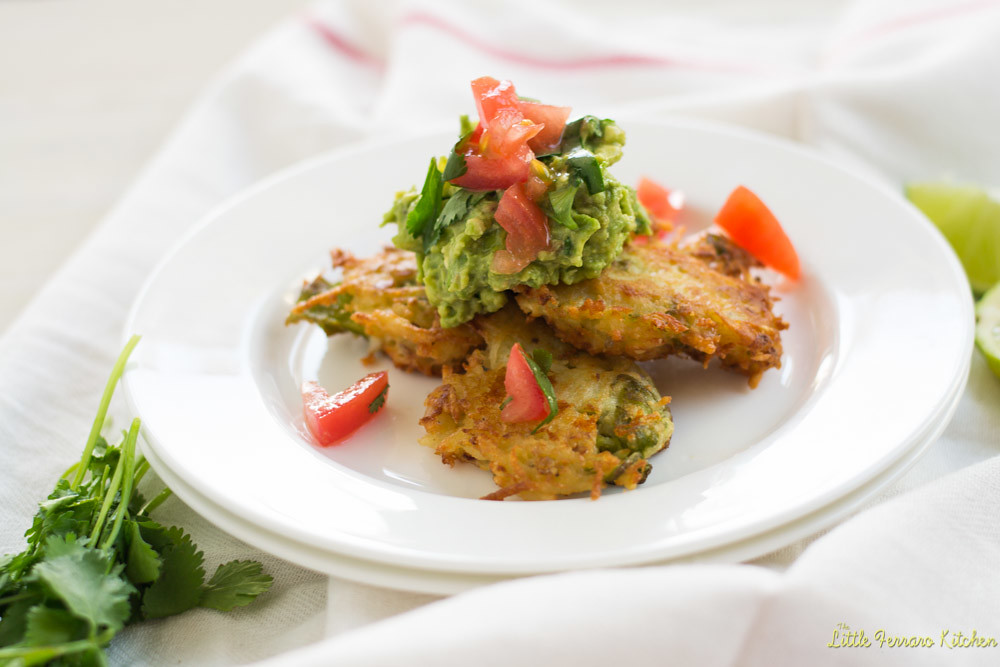
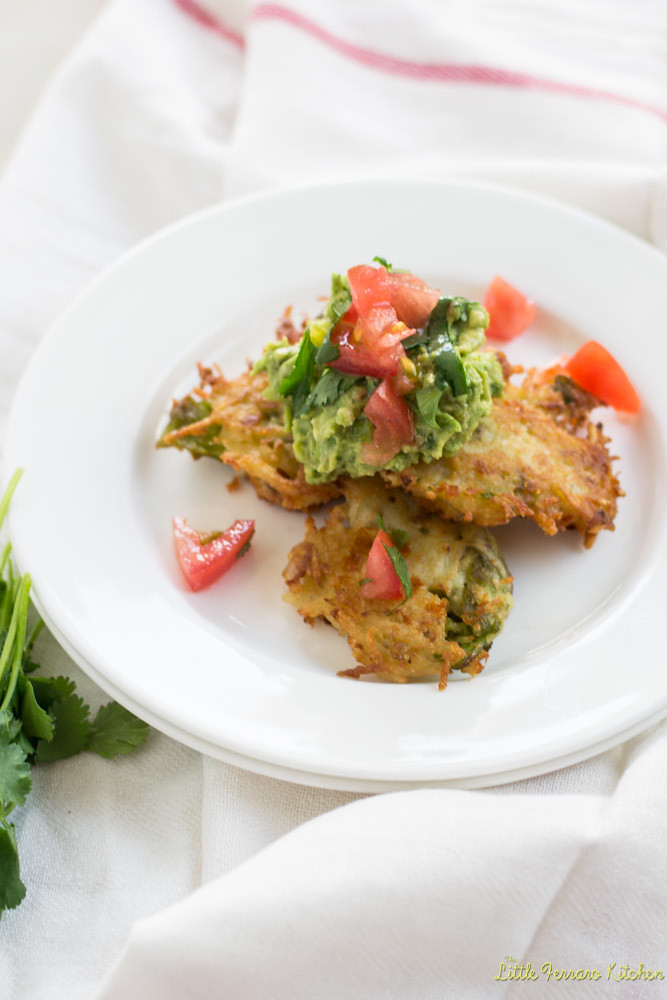
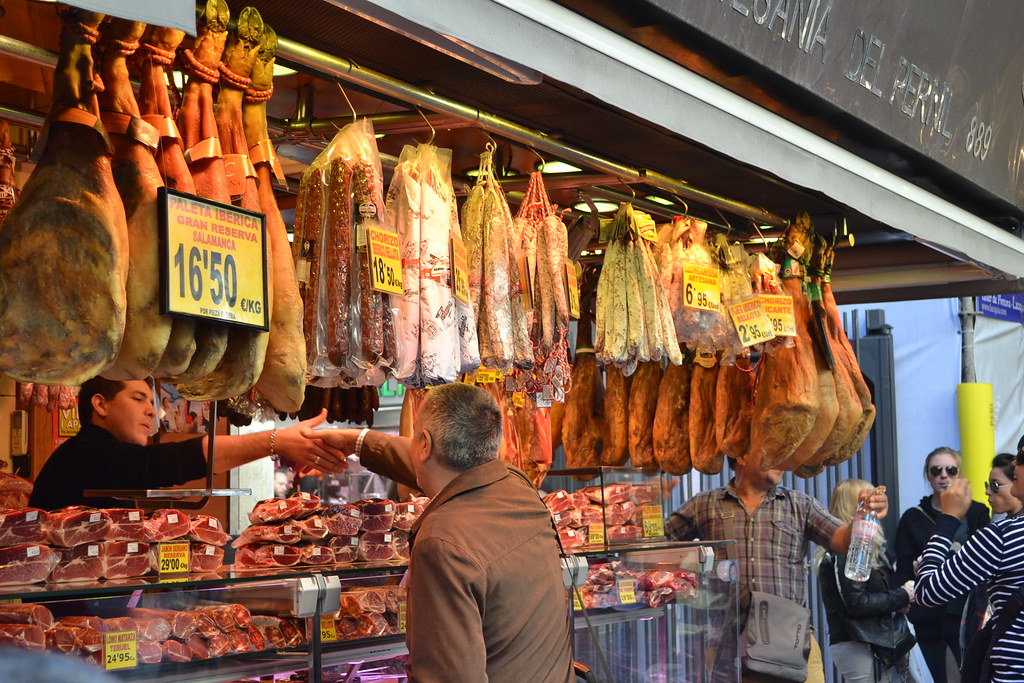
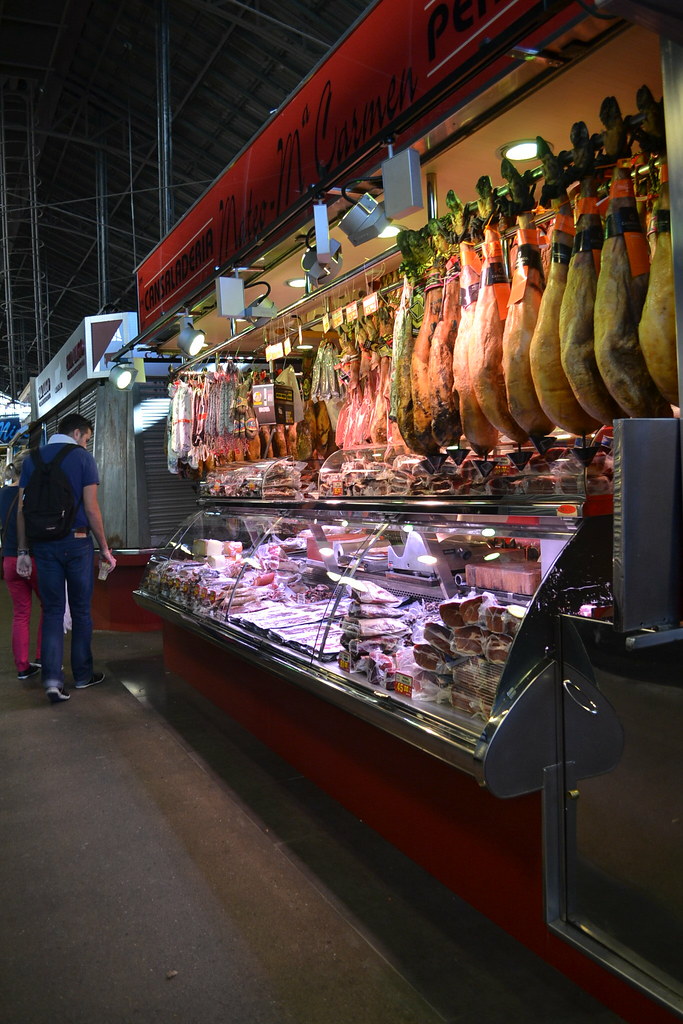
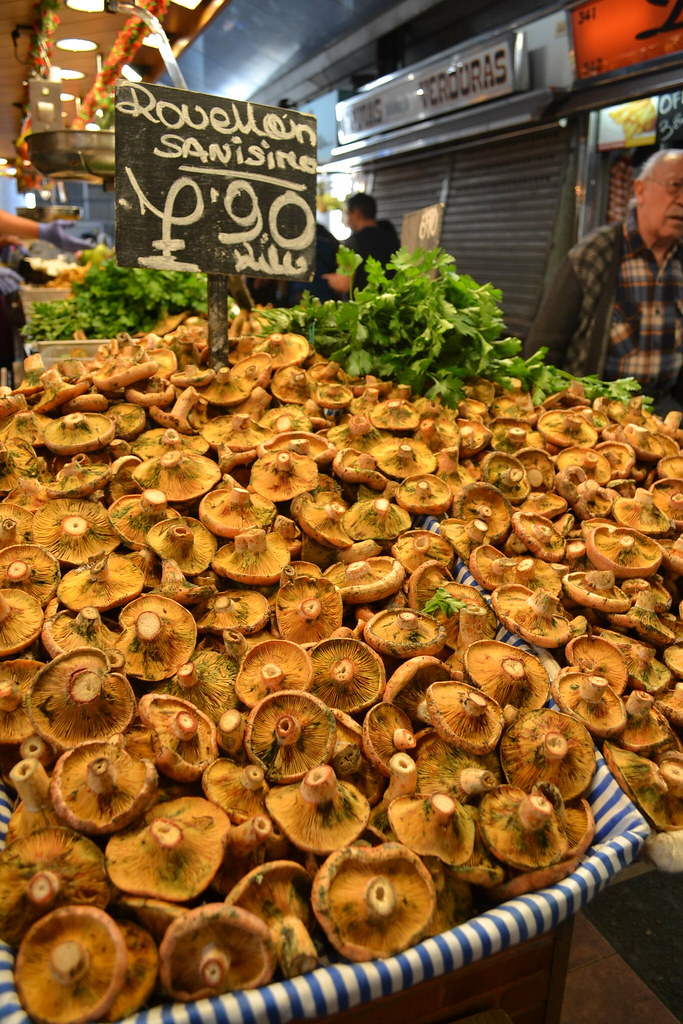
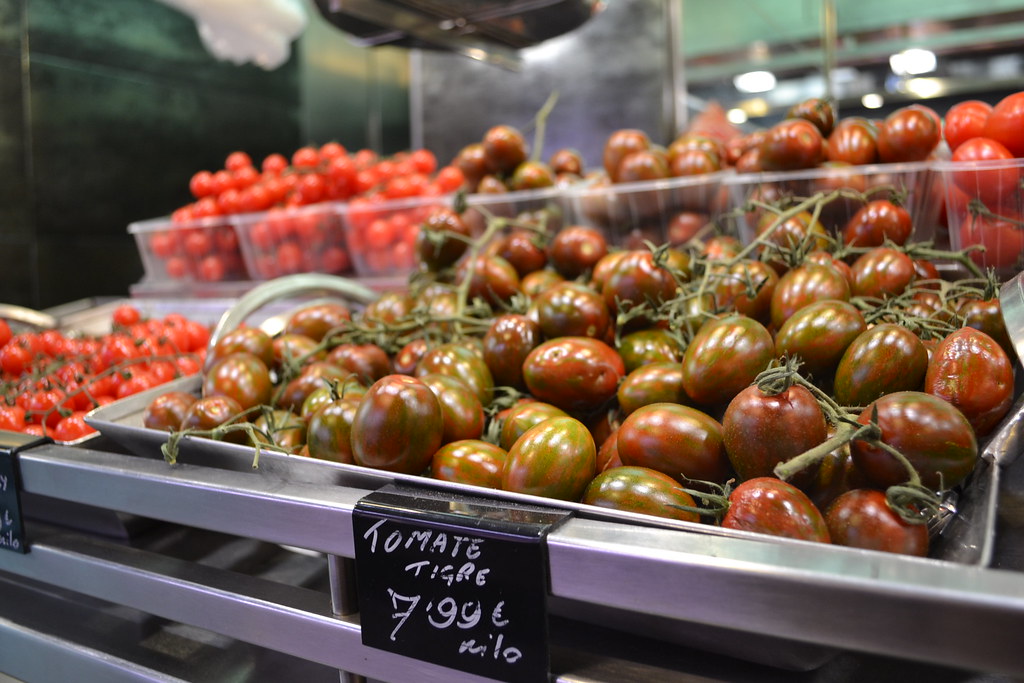
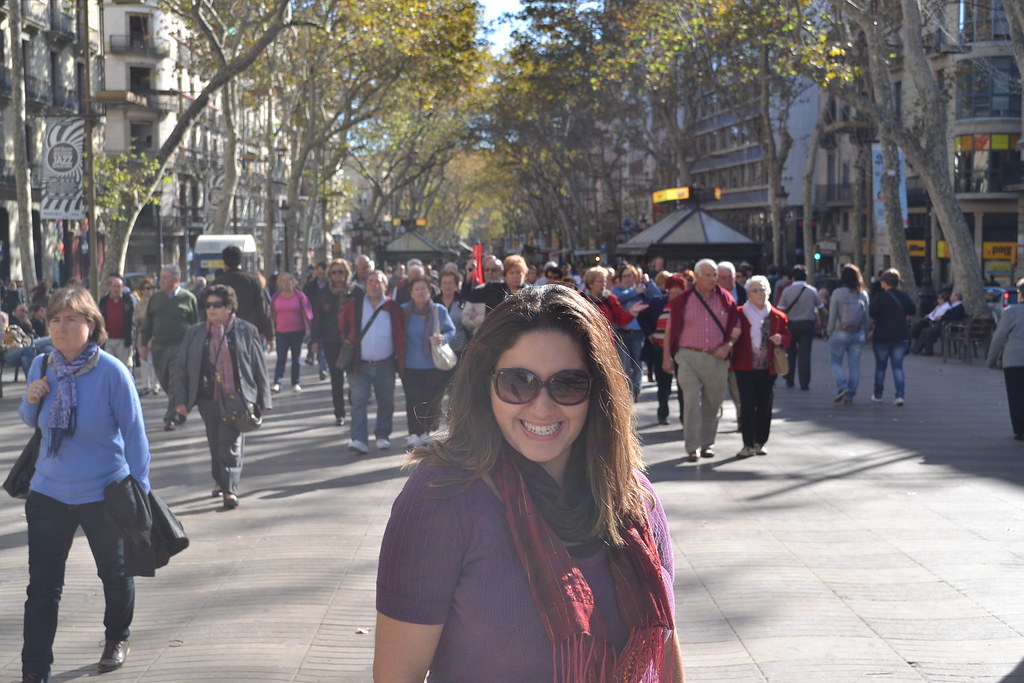
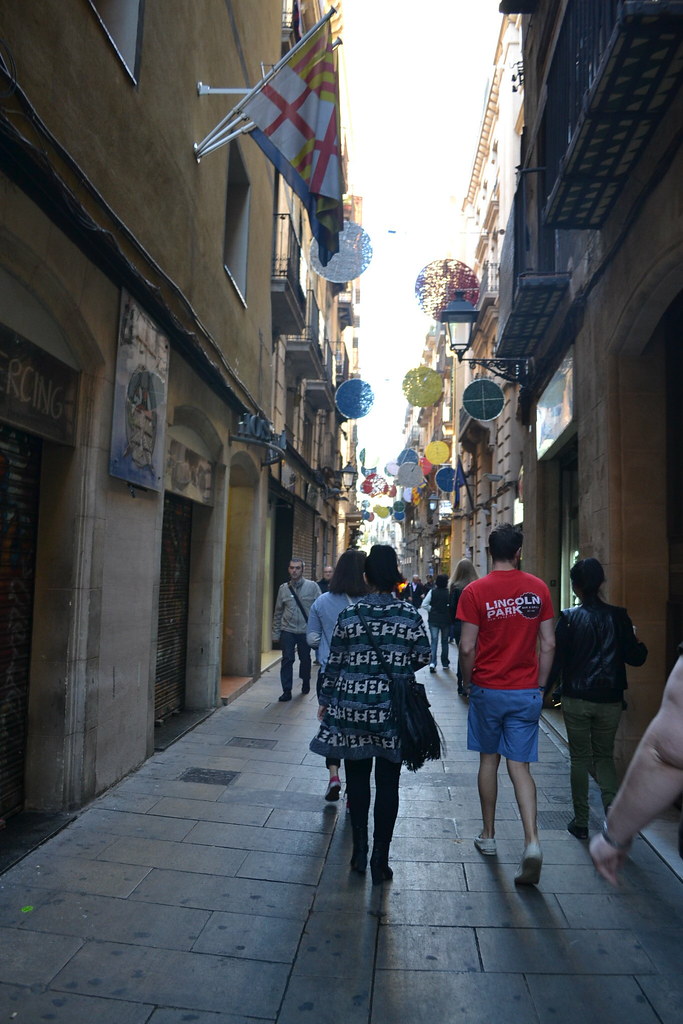
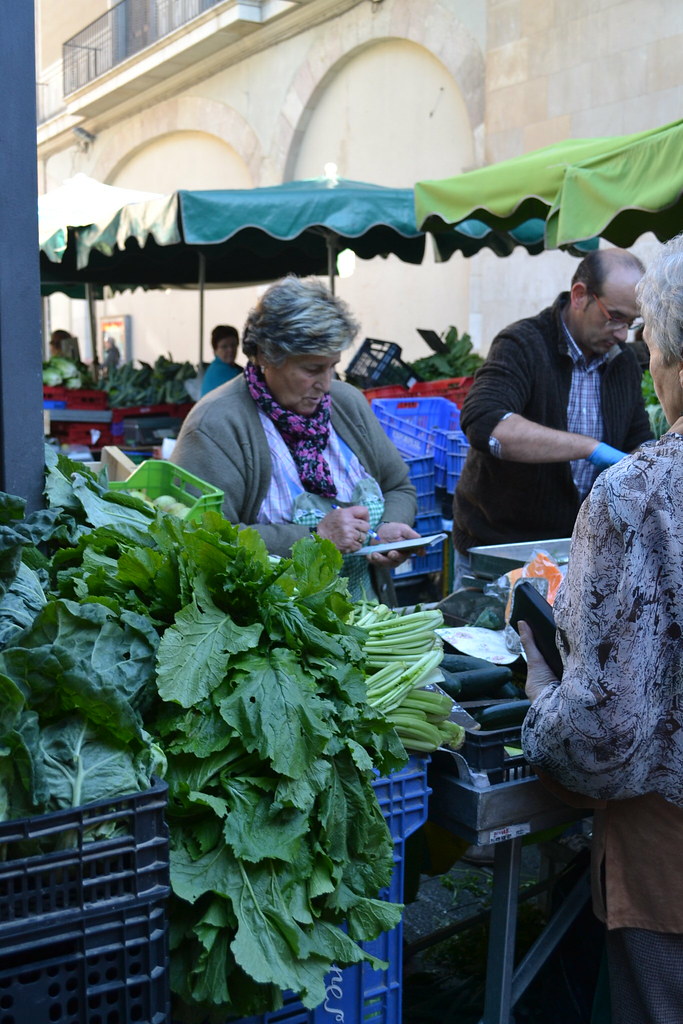
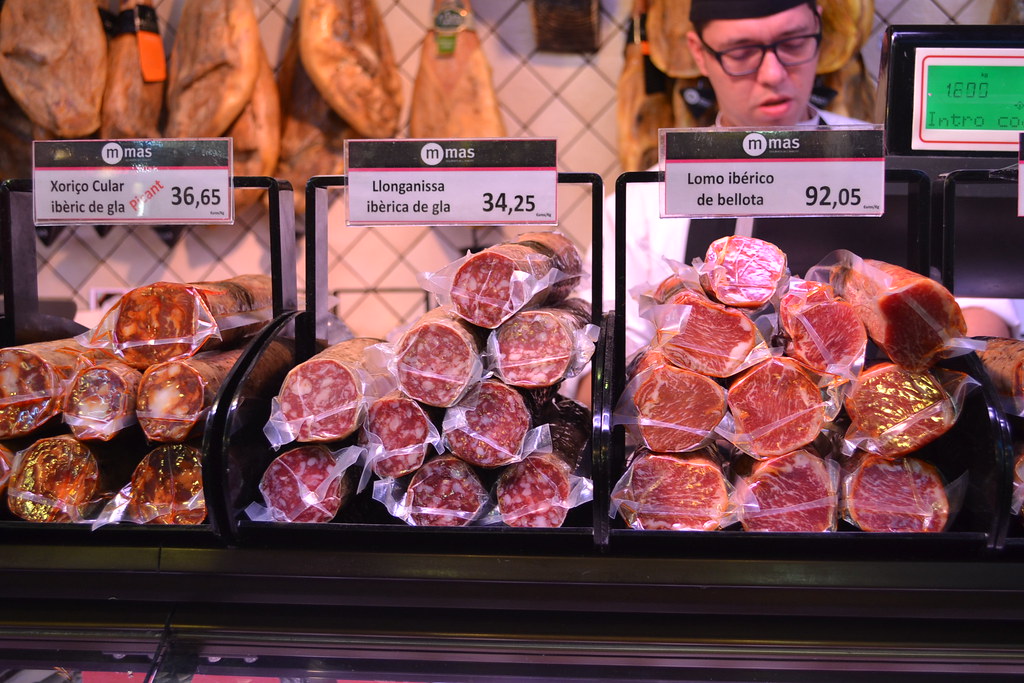
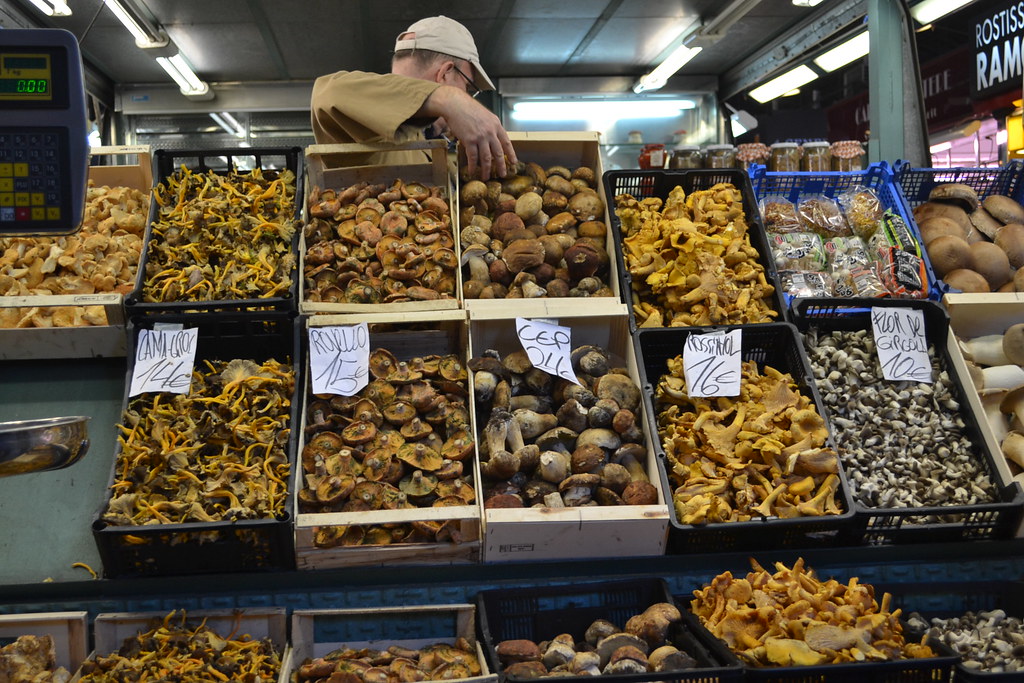
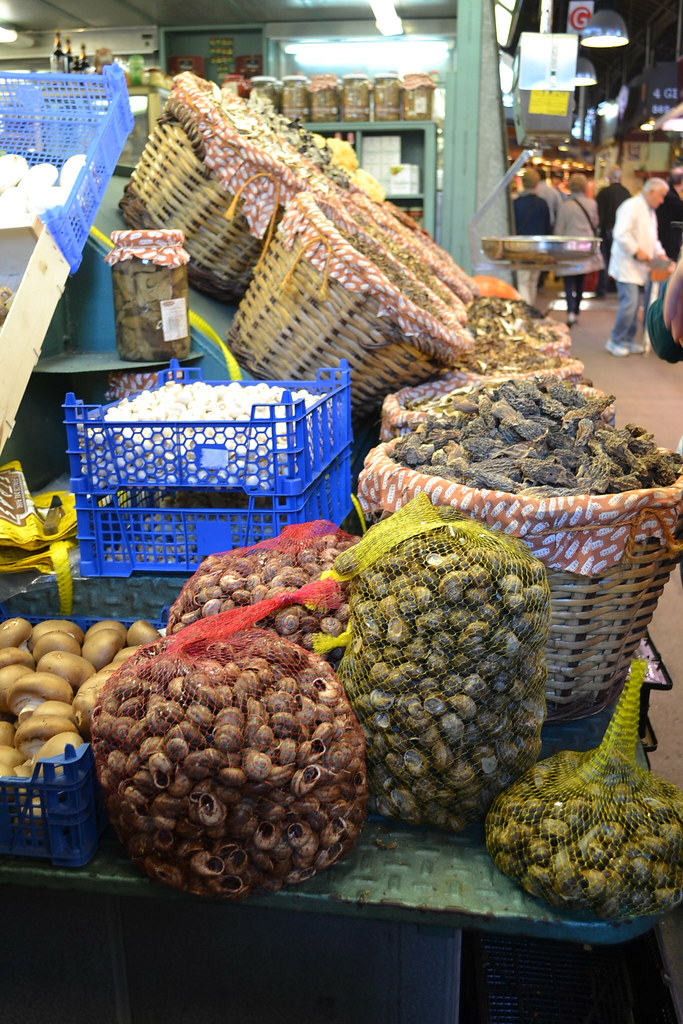
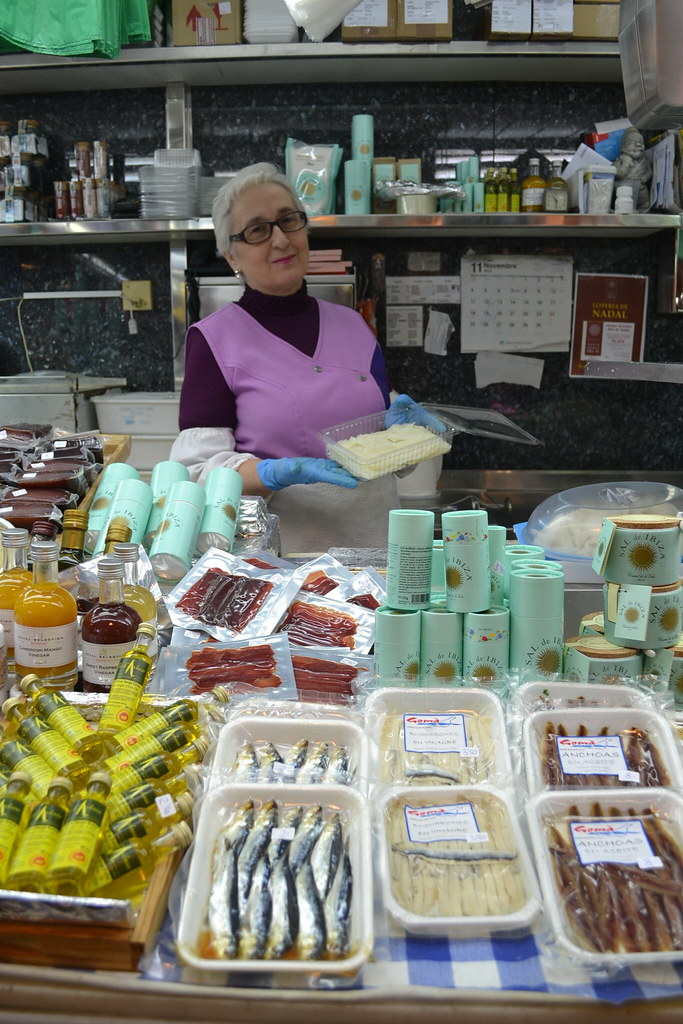
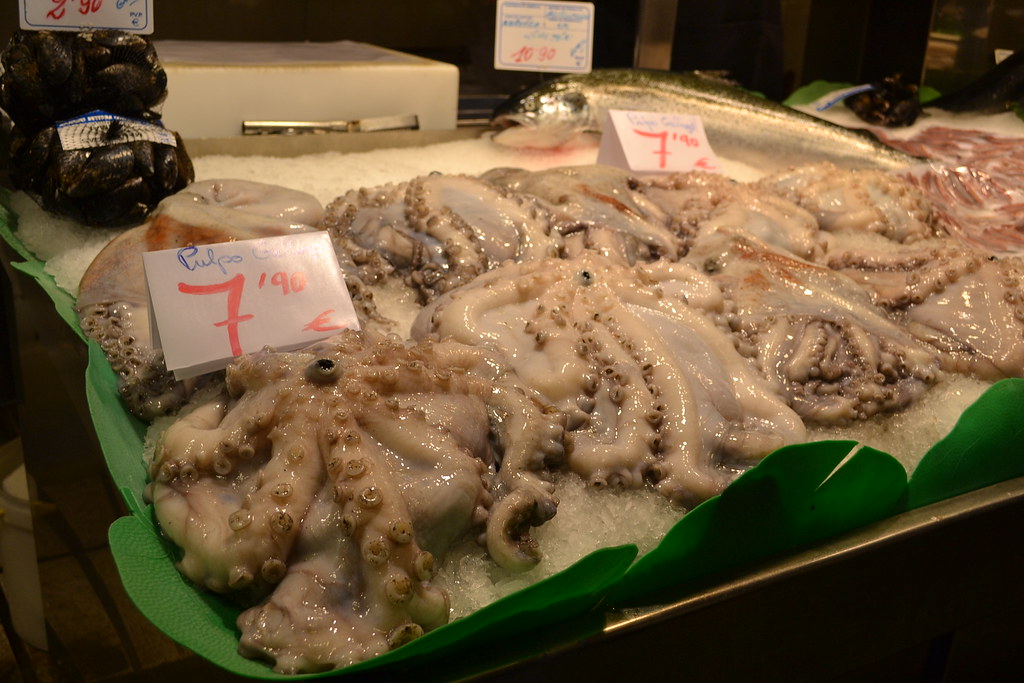
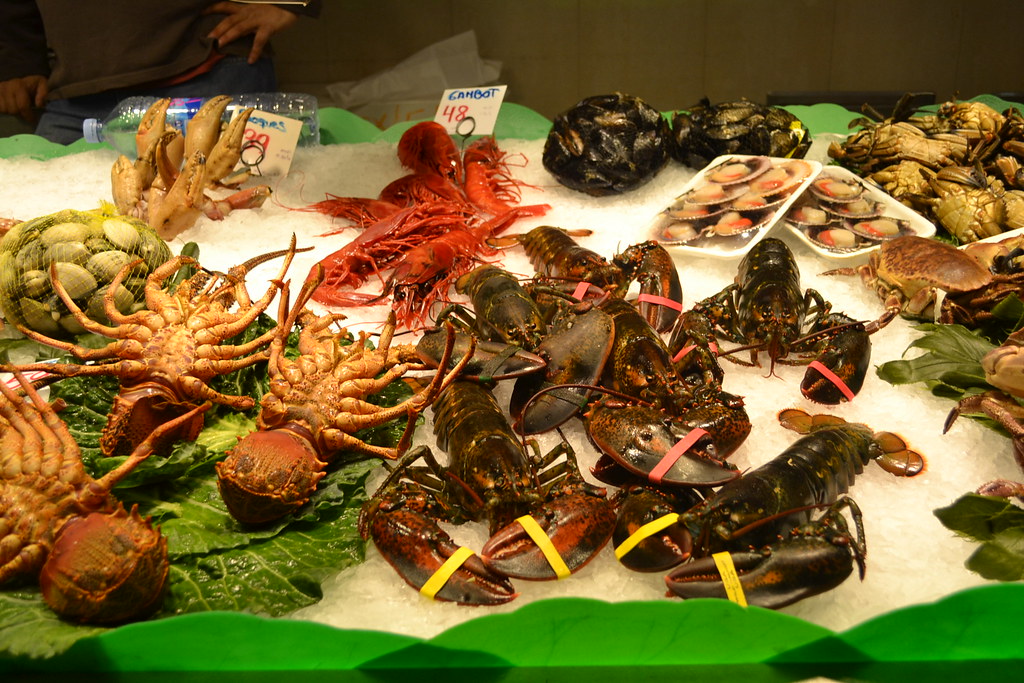
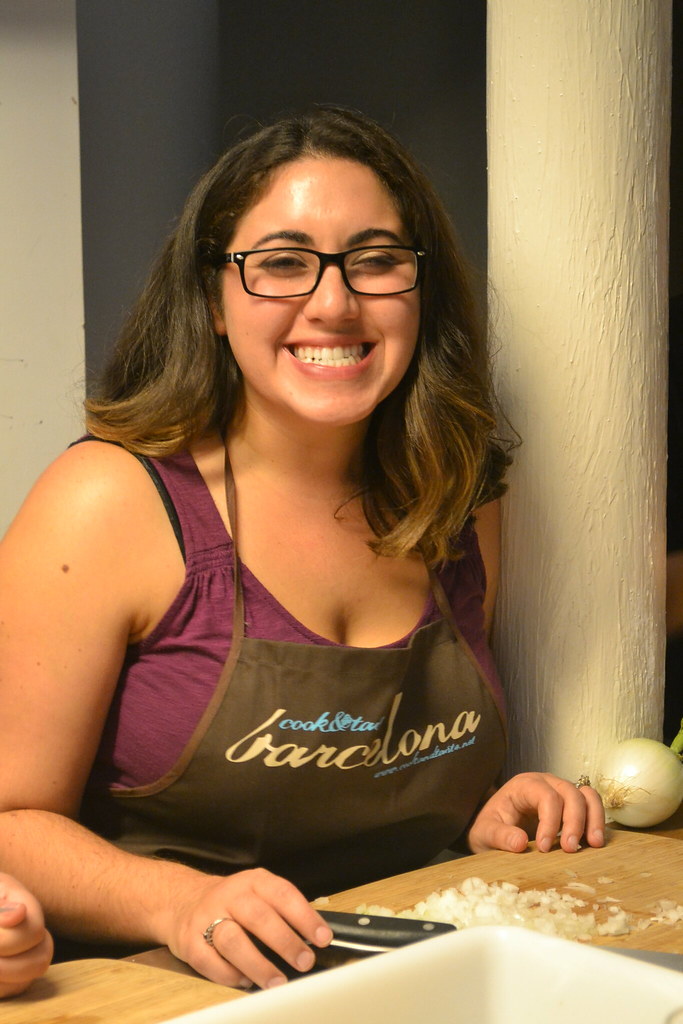
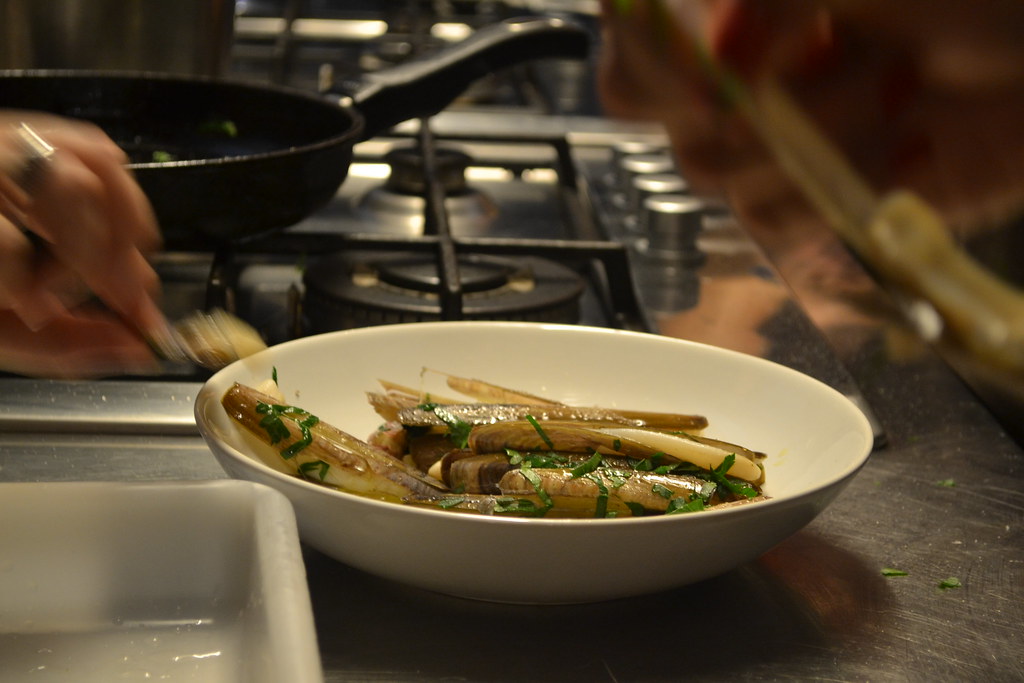
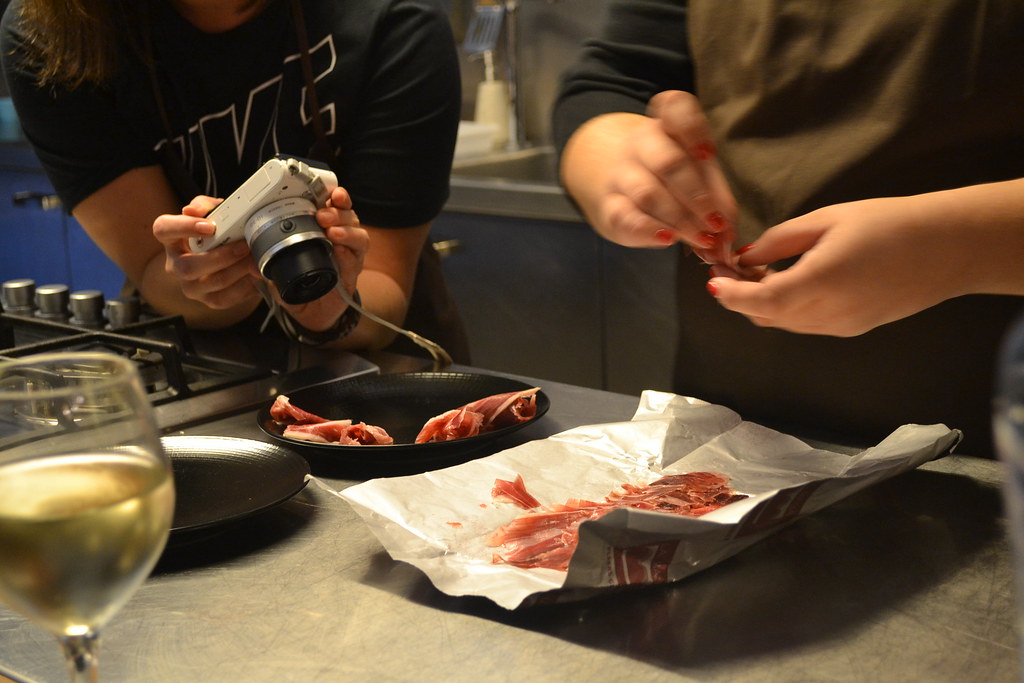
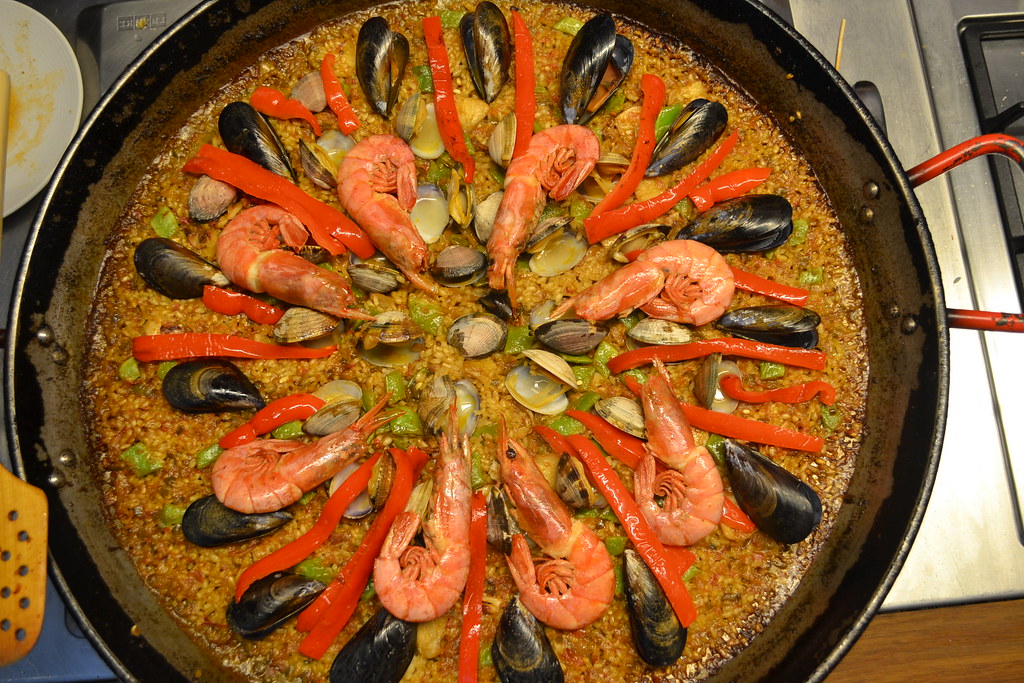
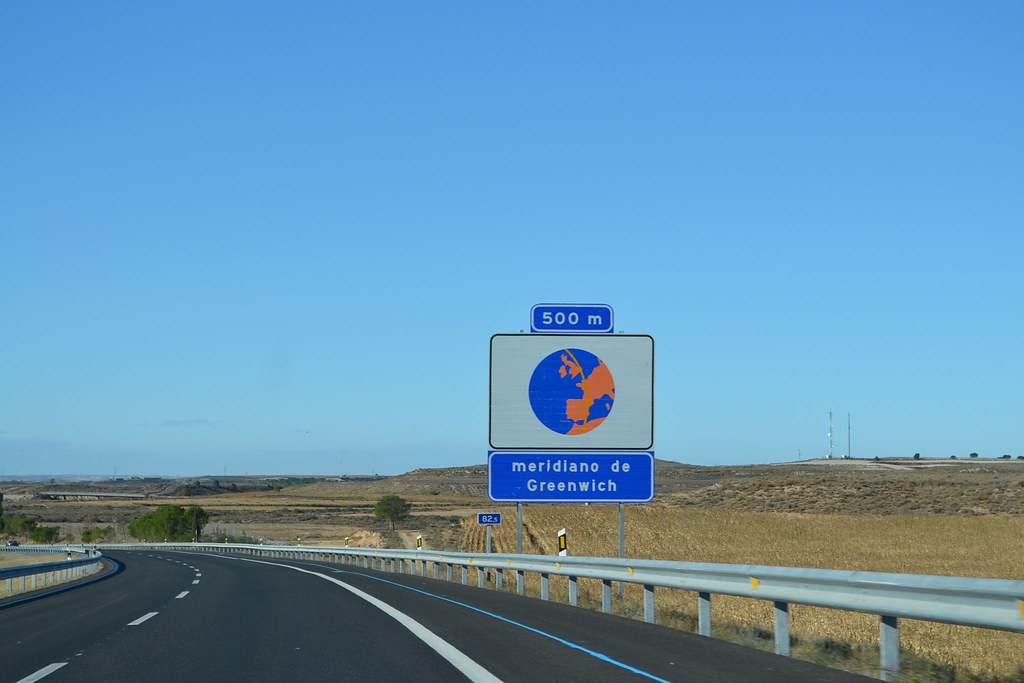
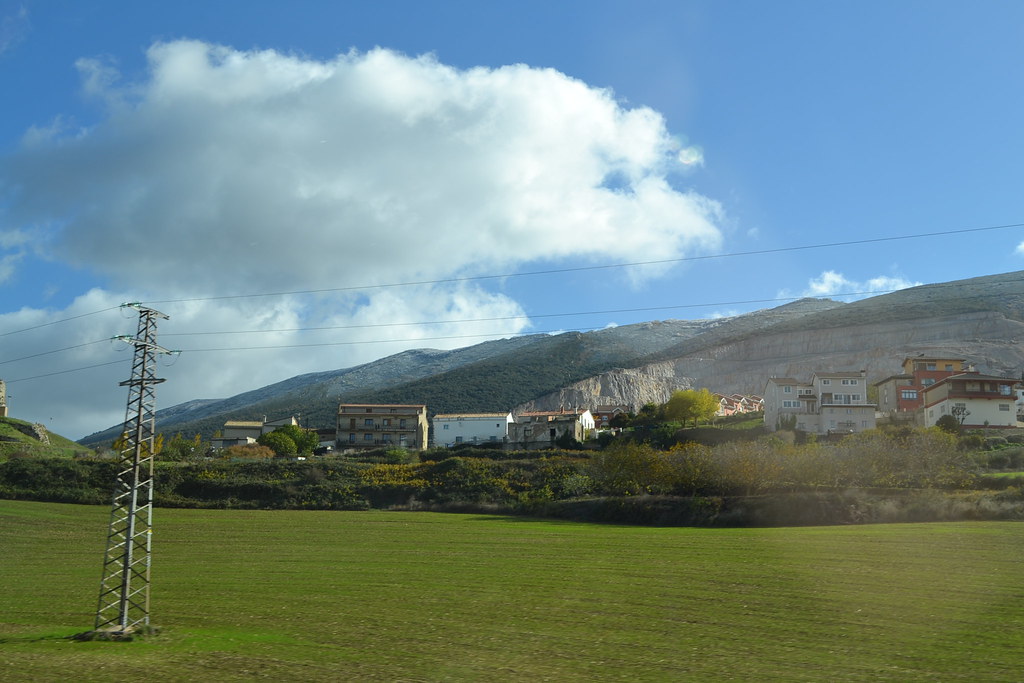
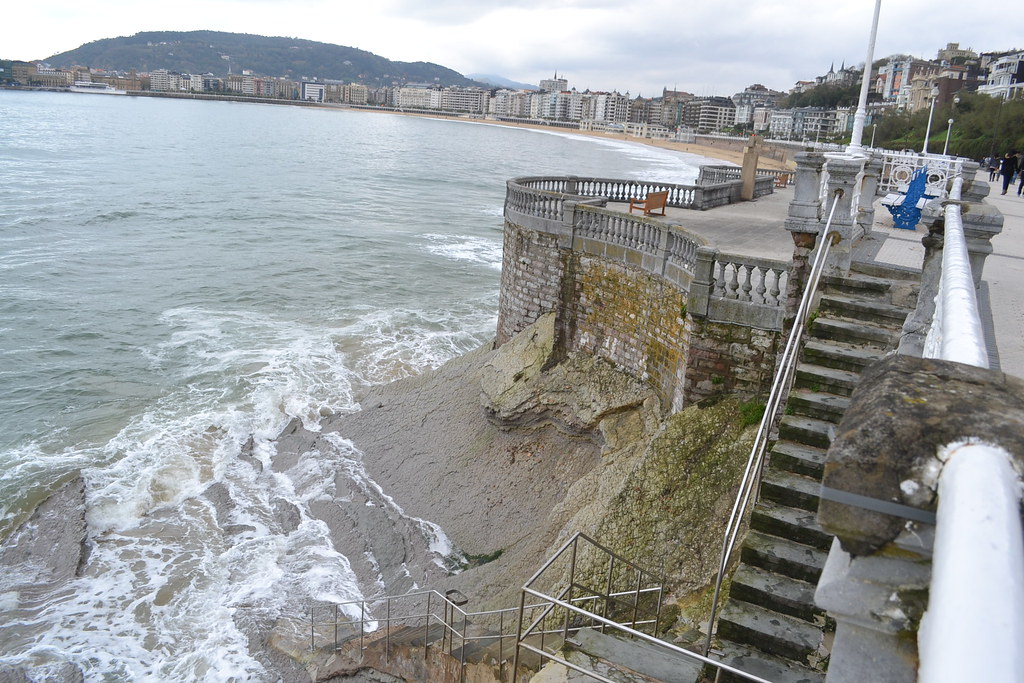
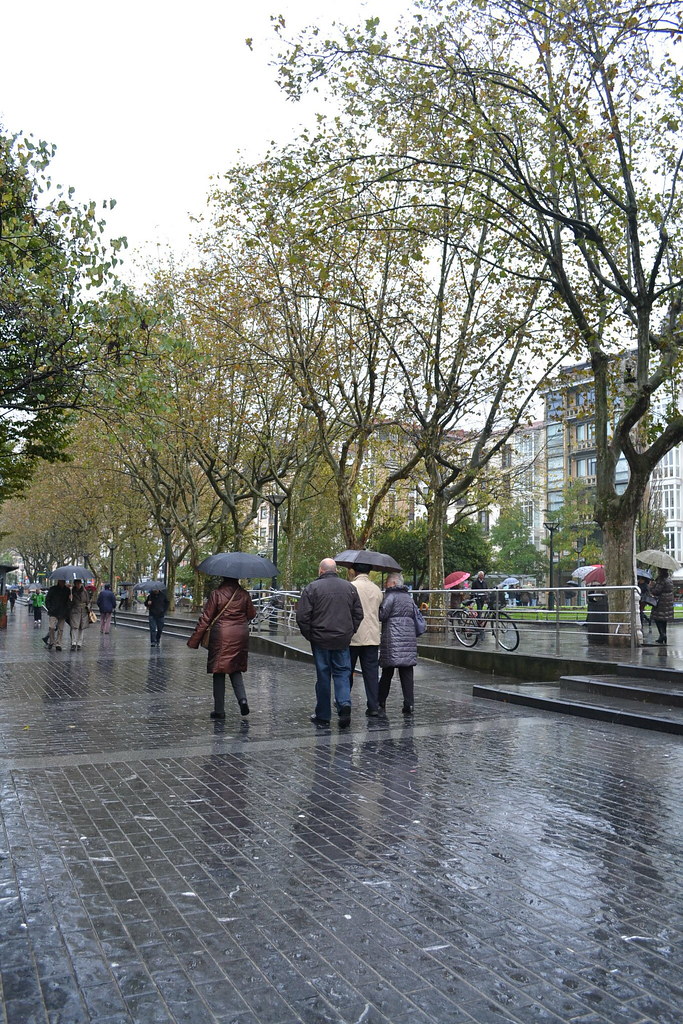
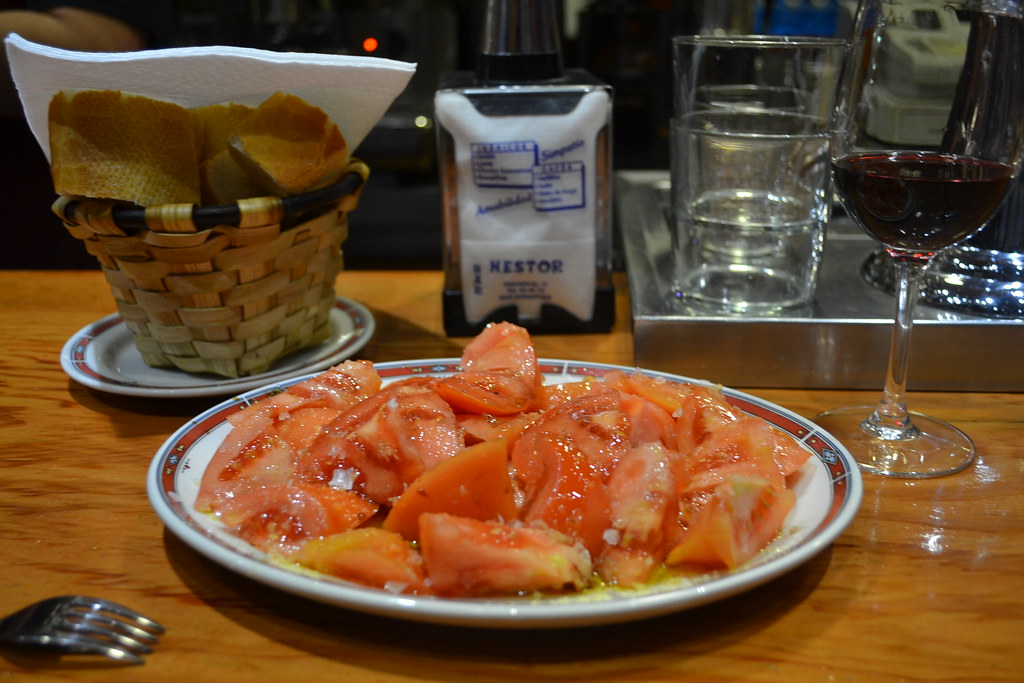
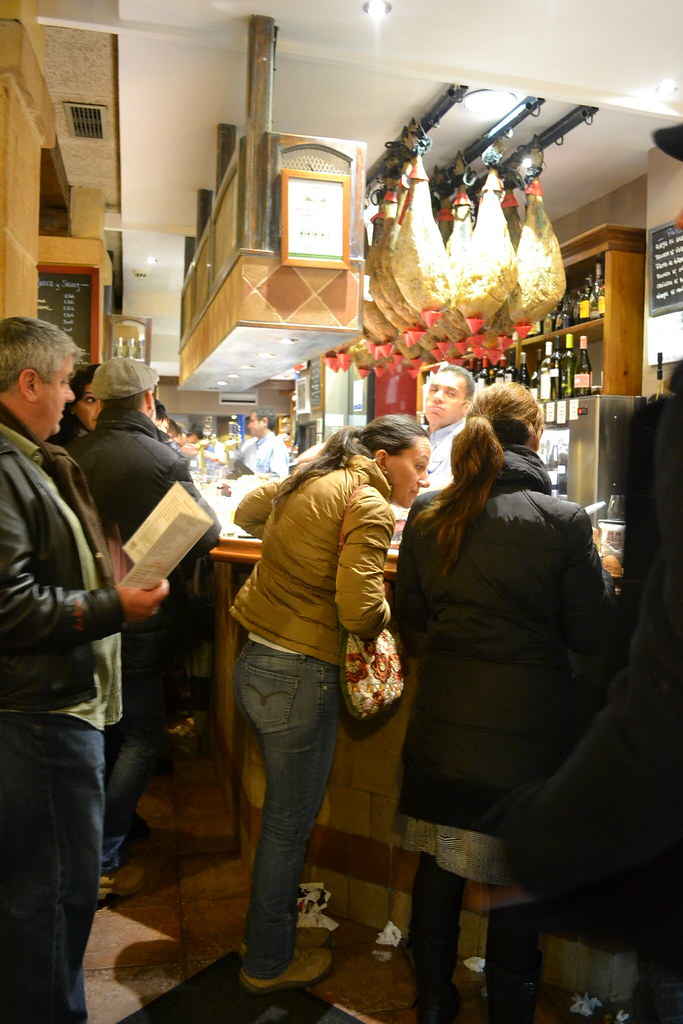
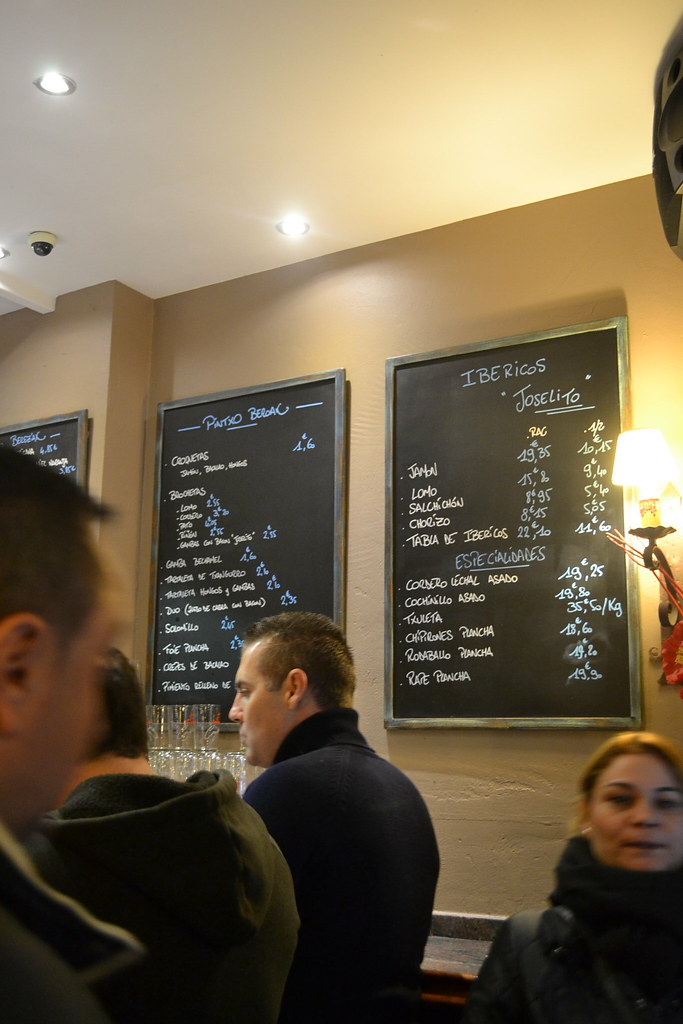
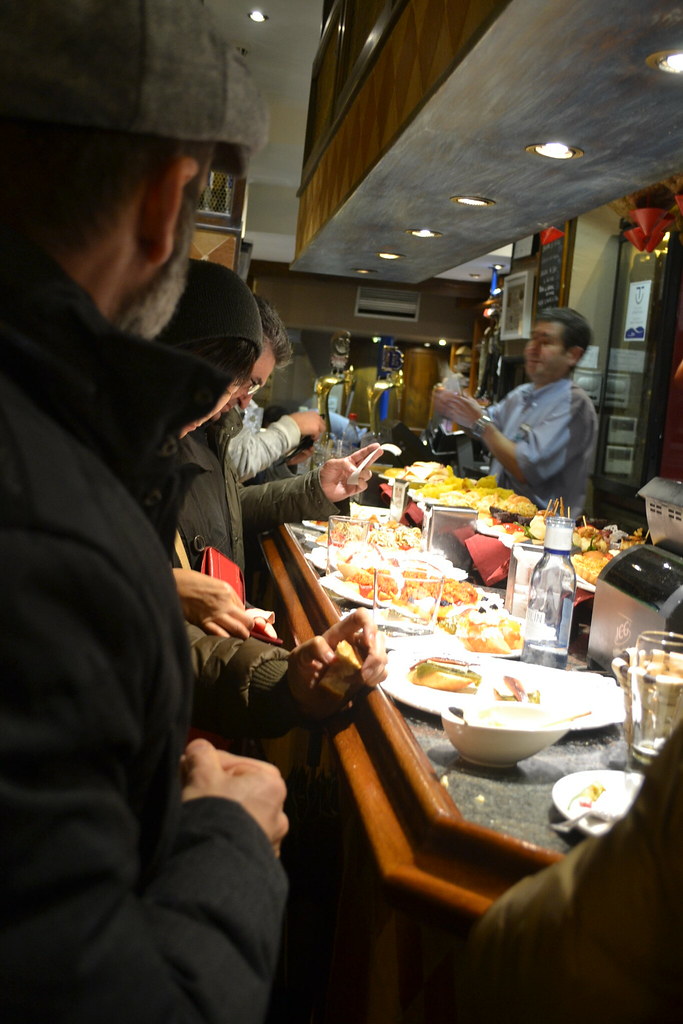
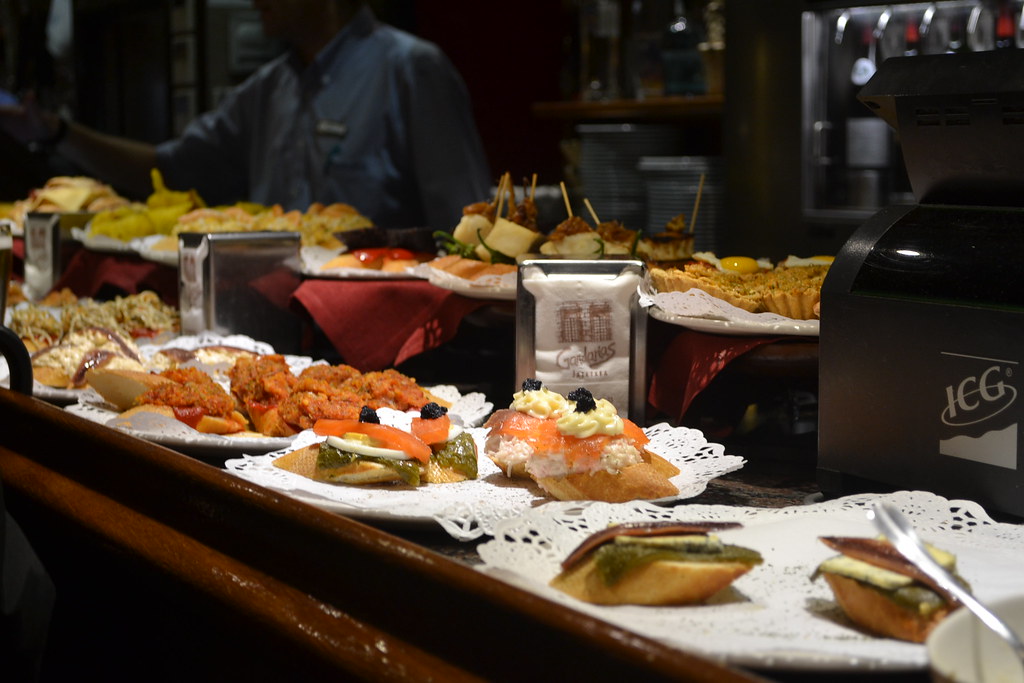
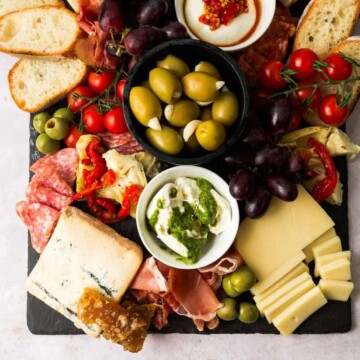
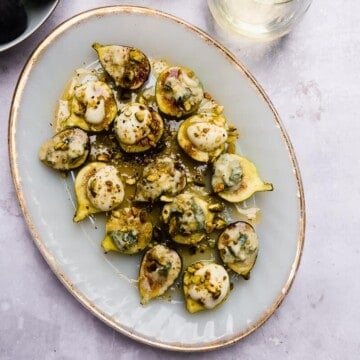
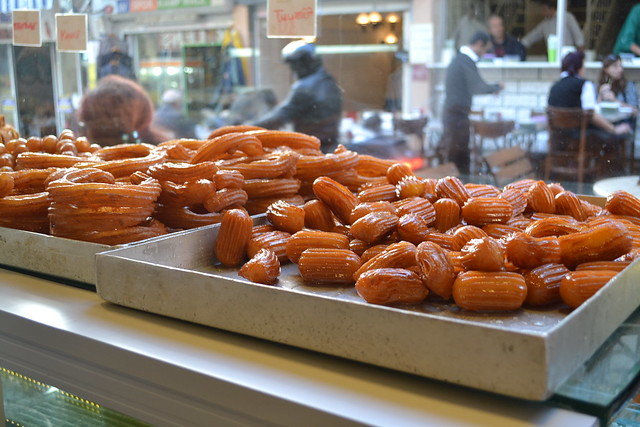
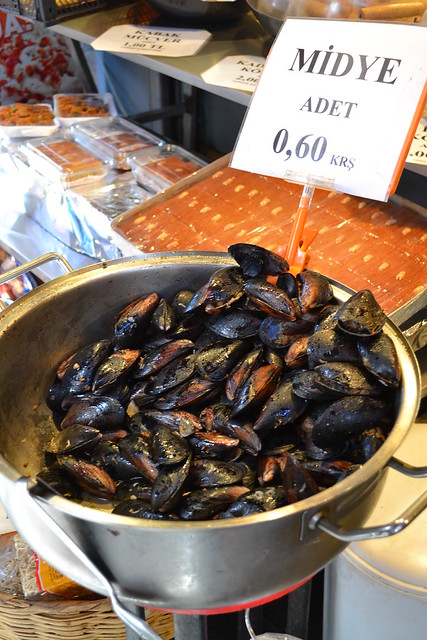
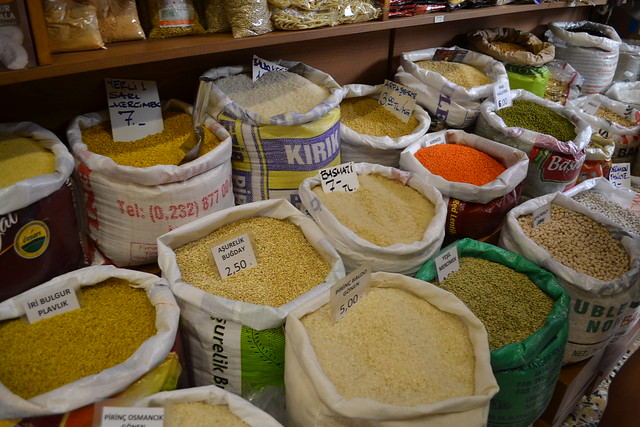
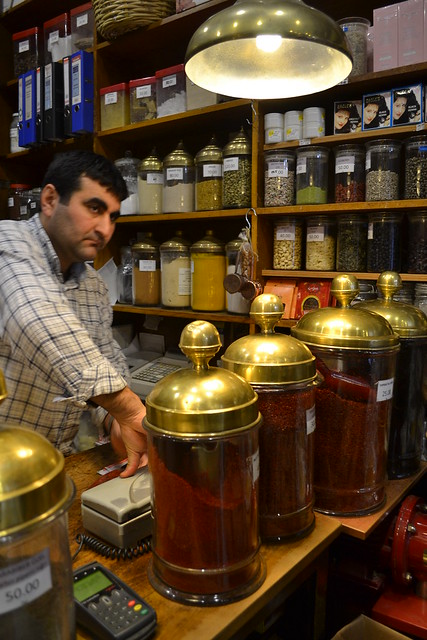
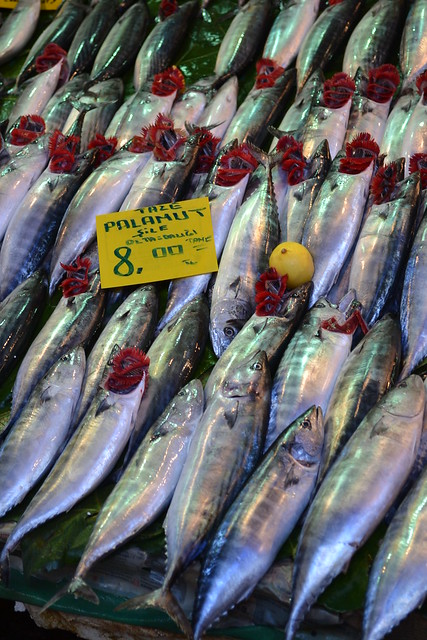
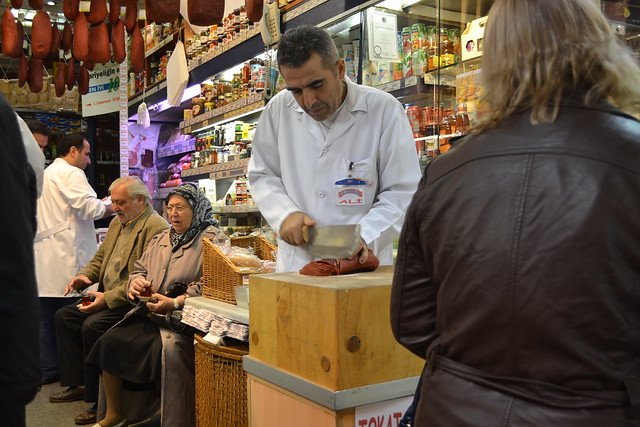
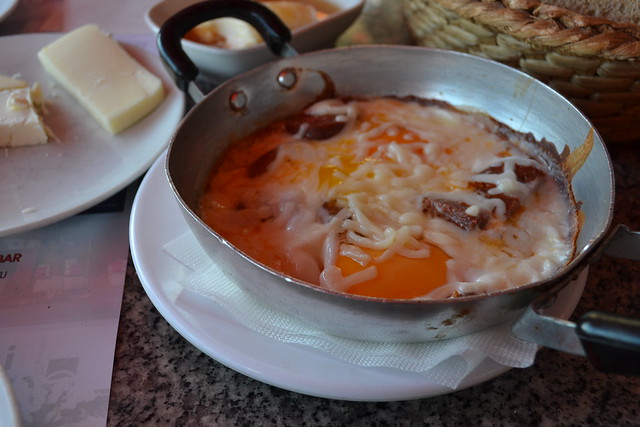
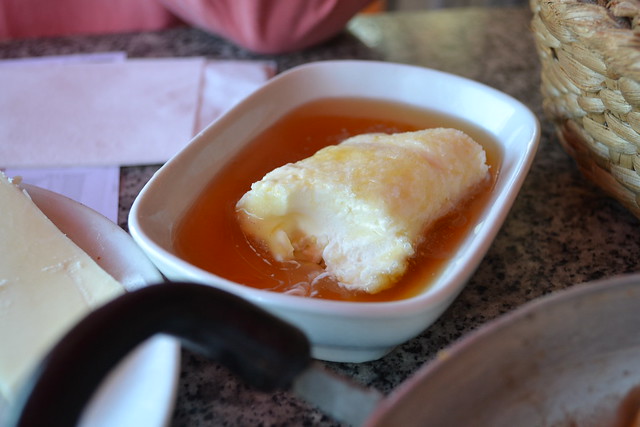
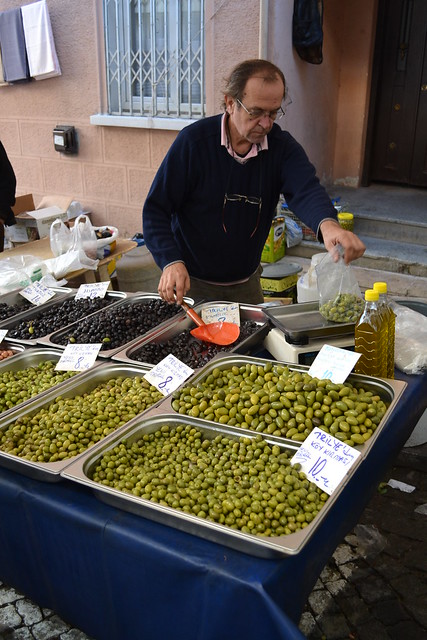
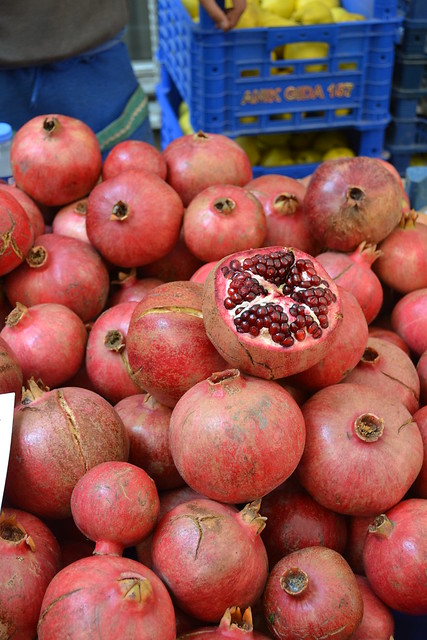
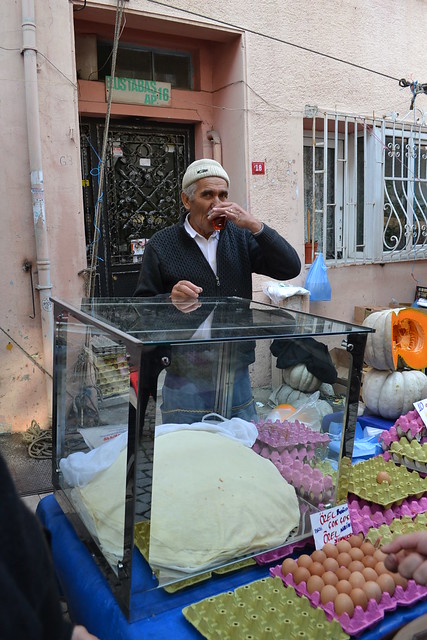
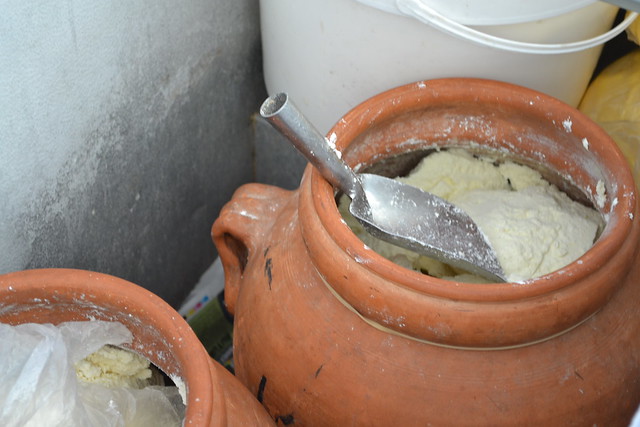
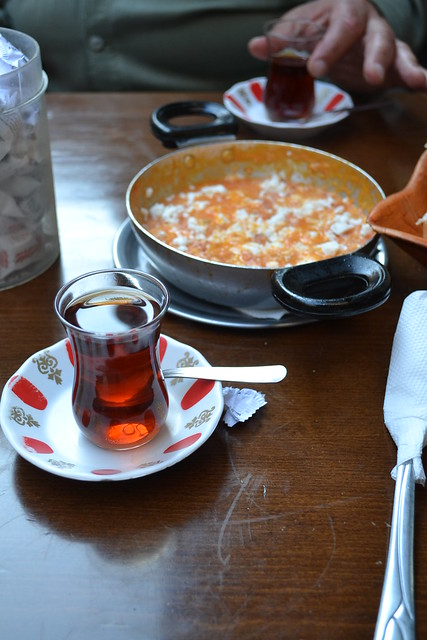
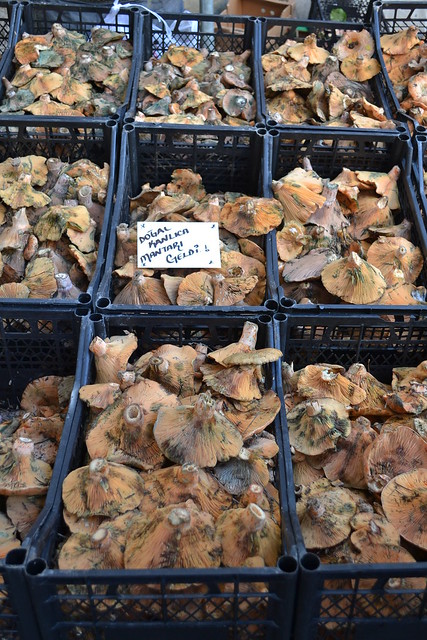
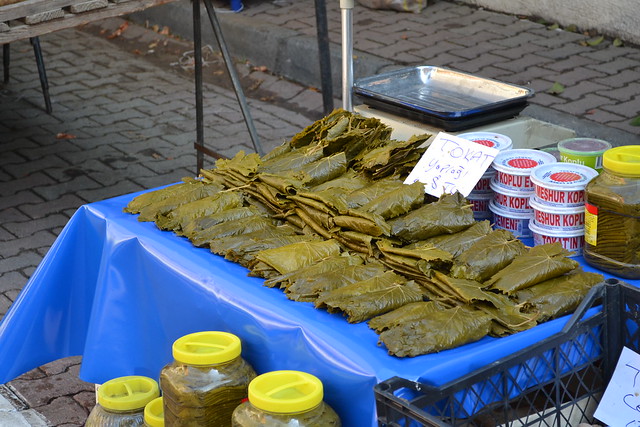
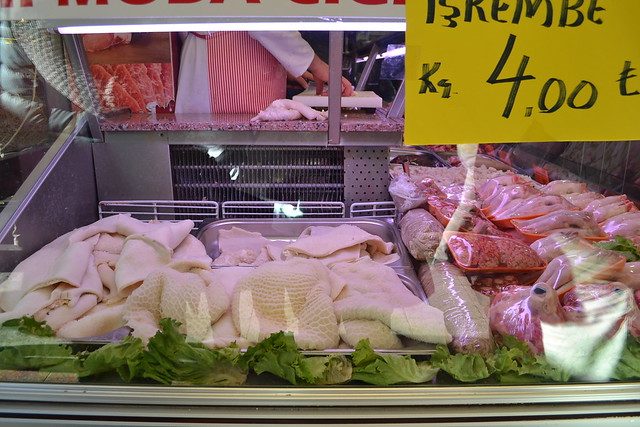
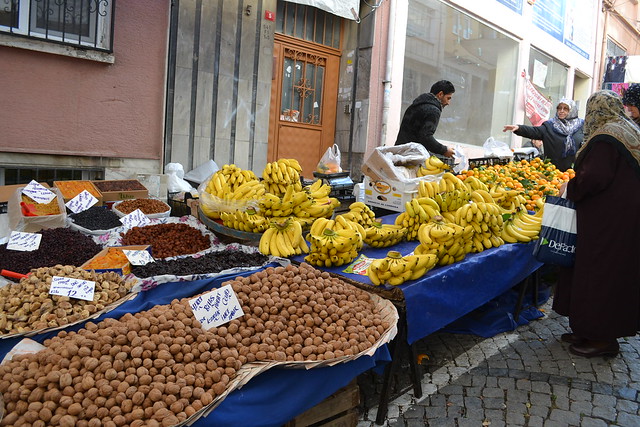
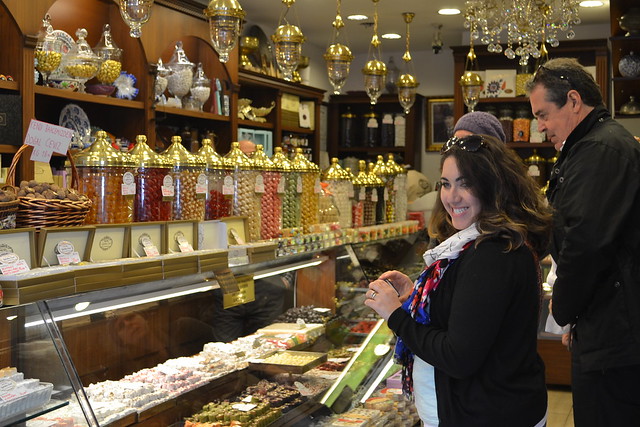
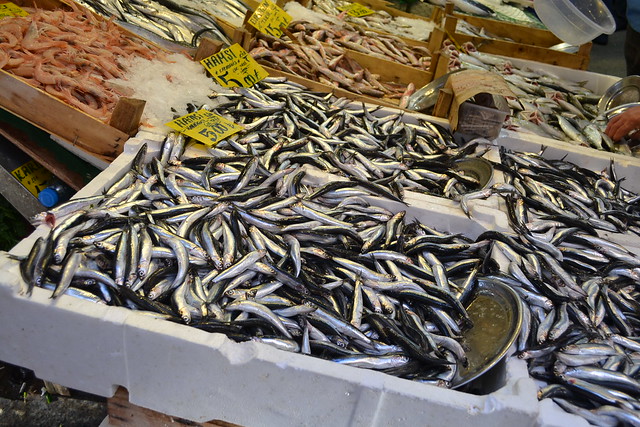
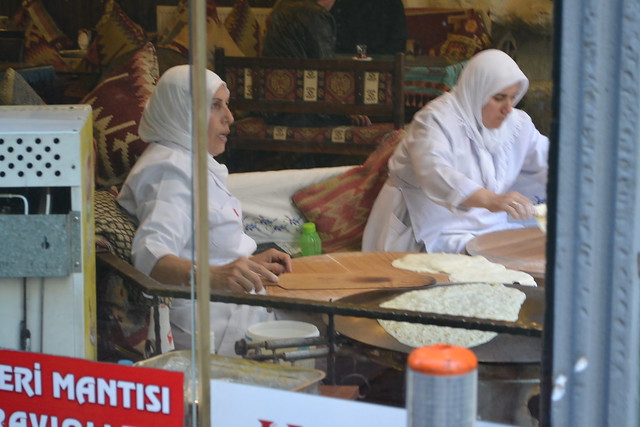
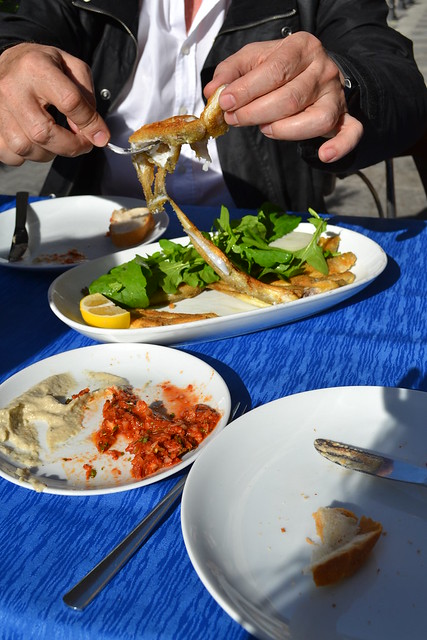
A few photos from our Spain excursion in November. We traveled to Barcelona and San Sebastian.


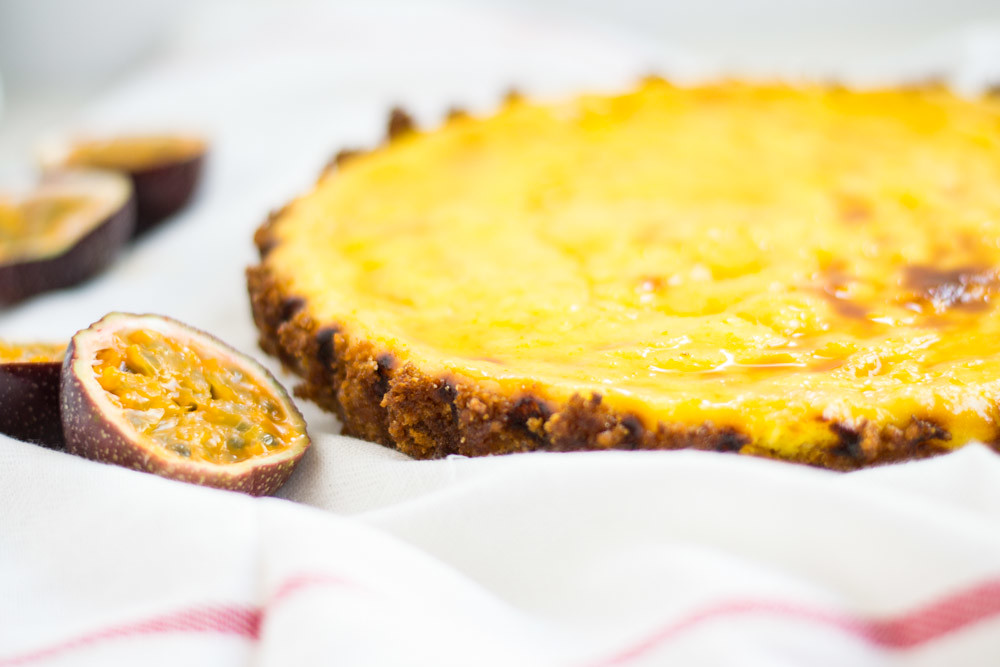
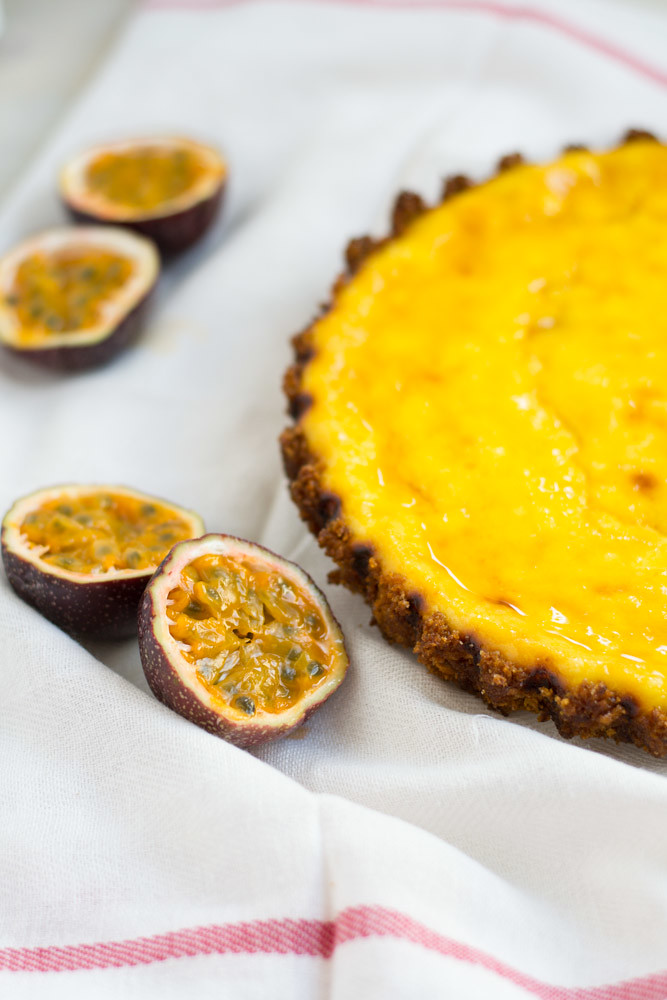
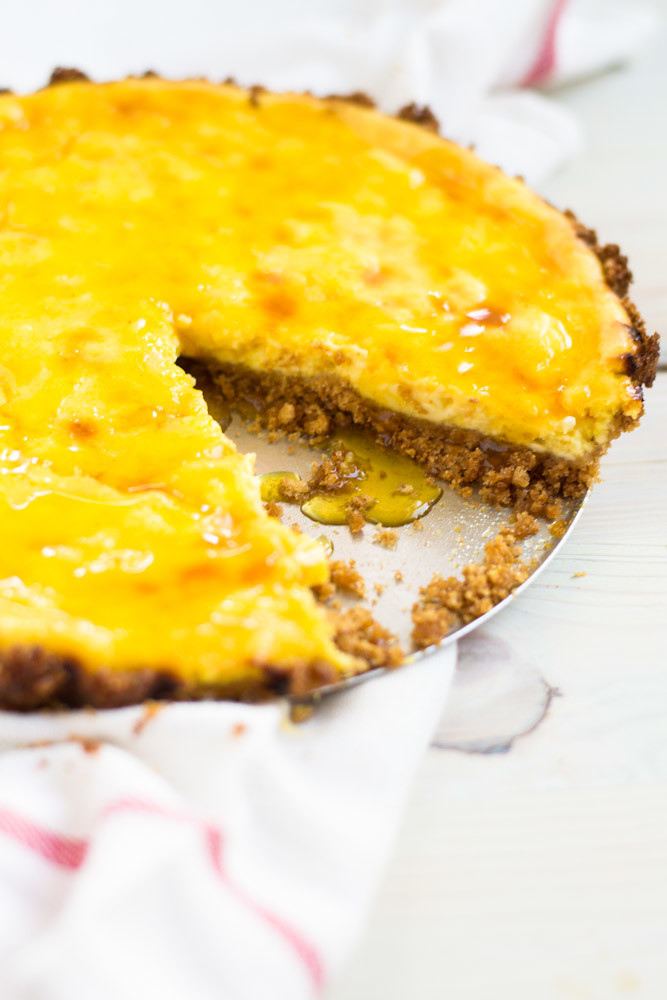
A tropical lilikoi cheesecake tart with made with fresh passion fruit juice and finished with a sweet and tart passion fruit glaze.

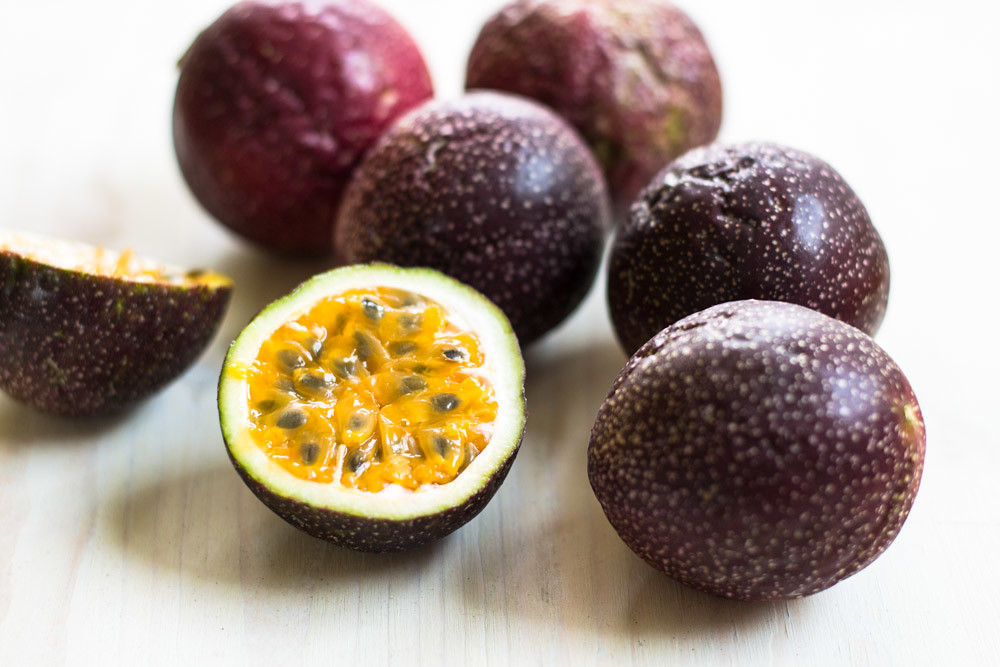
You will swoon at the first hint of this aromatic fruit. I told you about it before when I made lilikoi bars. My mom sent over a whole box of lilikoi from her tree and it actually made its way all the way from Hawaii to my doorstep.

Also known as passion fruit, they are much more expensive here on the mainland. I am never too far away from the flavors of my home in Hawaii.
A rule with passion fruit is to wait until the fruit gets a bit wrinkly on the outside. My mom's passion fruit are yellow in Hawaii but the ones you will find on the mainland will most likely be purple with a smooth round skin. If you want to get them riper quicker, put them in a paper bag for a few days and observe how the outside shell begins to wrinkle. This means that the juice inside is getting sweeter. Passion fruit will still have a nice tang to it, but won't be as tart when you allow it to ripen a bit more.

I have been dreaming about a sweet and tropical treat for sometime now but wanted to make something a little different than with my lilikoi bars, which are by the way...incredible! So lilikoi cheesecake tart was invented! I added fresh lilikoi juice to the cheesecake mixture and also poured lilikoi glaze all over the top of the tart. And let me tell you....it was pure heaven! If you can, after you make everything, allow it to cool and set up in the fridge before cutting into it. And enjoy the flavors of the tropics!
Oh, and please refer to this post to learn how to make lilikoi juice, however here is a Pulp product you can order.

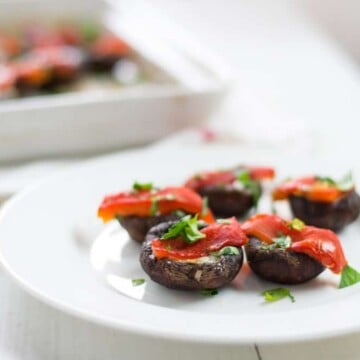
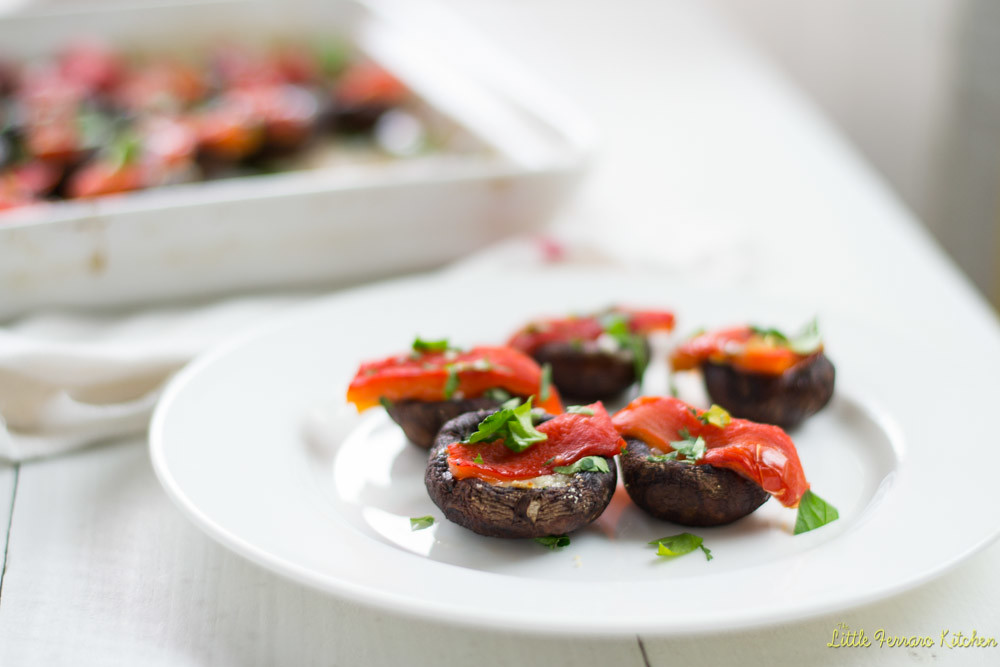
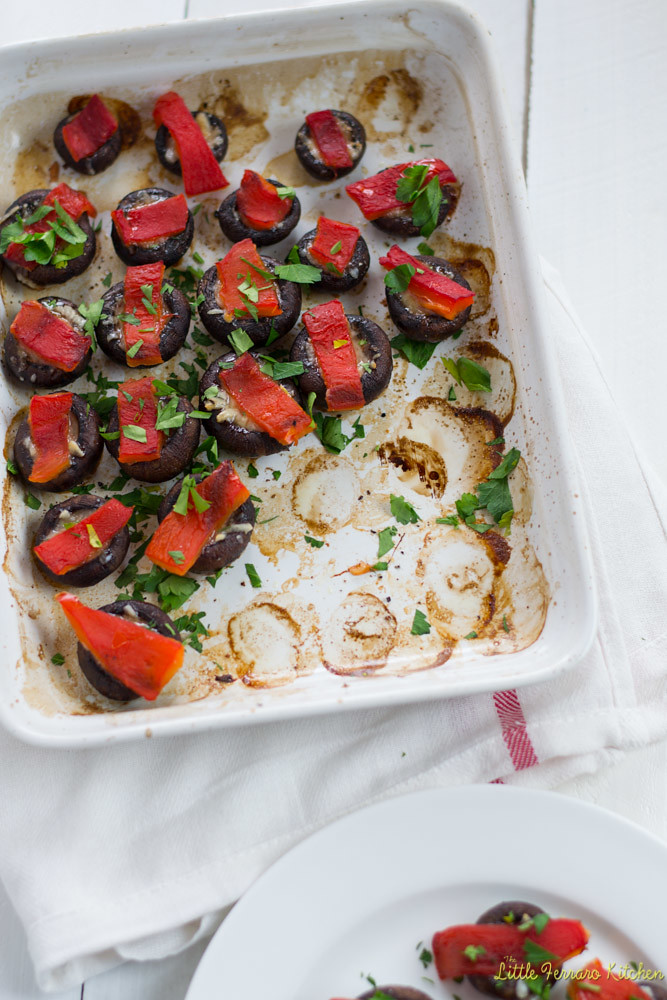
A simple 3 ingredient tapa, Manchego and roasted pepper stuffed mushrooms.

These are seriously the easiest bite you can make..because it's just 3 ingredients!! 3 awesome ingredients that is! For a great appetizer that is going to impress your guests, try my Steak crostini.

All I did was stuff mushrooms with shredded manchego cheese and topped with roasted red pepper. Both mushrooms and manchego were HUGE while we were in Spain and the mushrooms that we saw at the markets were just amazing. All different kinds, rustic and earthy. I had no idea how vast and necessary mushrooms were in Spain.
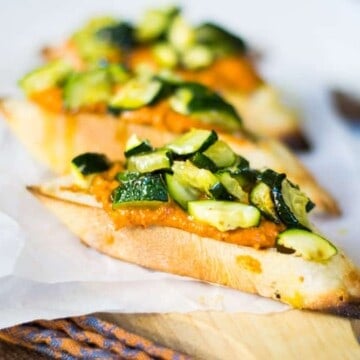
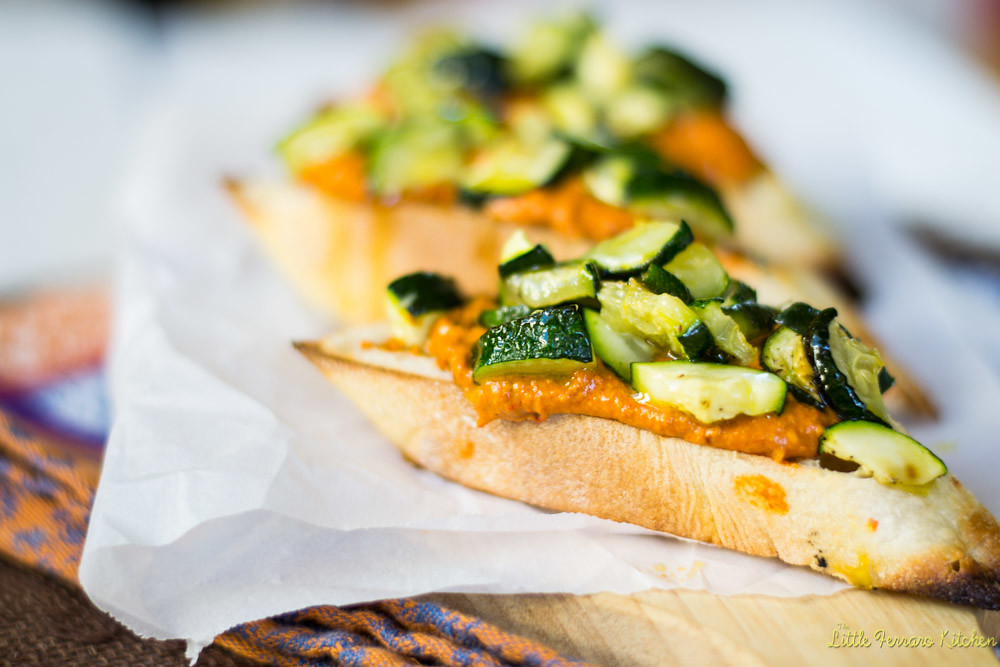
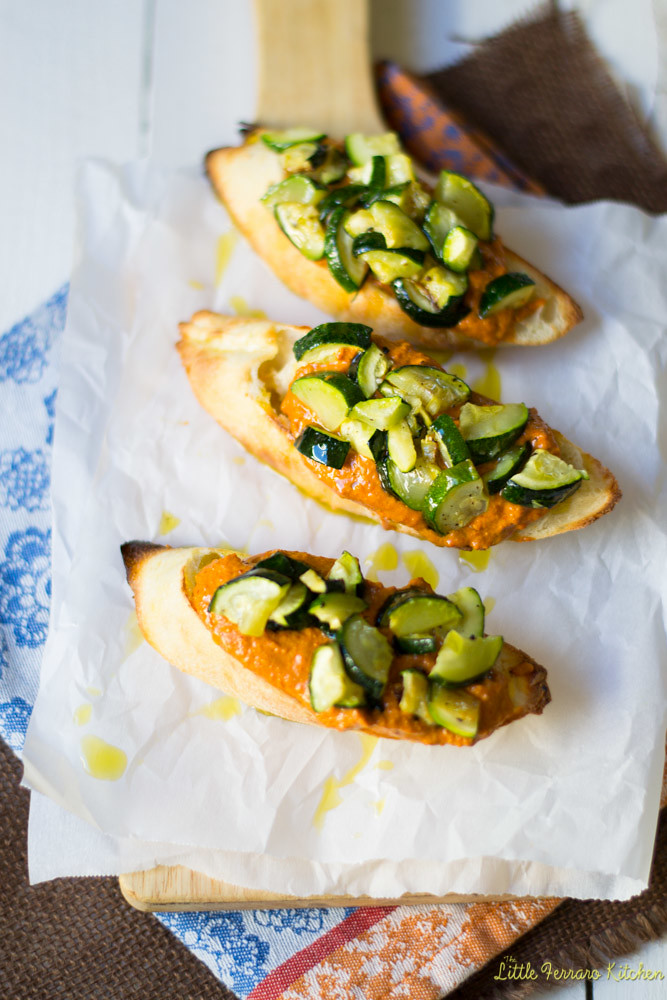
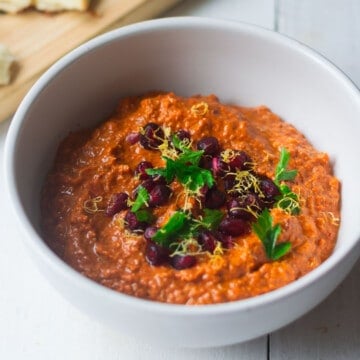
An elegant Spanish appetizer, these vegetable crostini are topped with a spicy romesco sauce and tender roasted vegetables.

Today we are continuing our trip through Spain and enjoying another favorite! Romesco sauce! I learned to make this sauce while taking a cooking class in Barcelona and couldn't wait to re-create it at home. It was spicy, nutty and creamy and just a delight when smeared with roasted veggies.
I thought we could make this into a fun bite-size tapa style dish and put all the flavors I enjoyed in one hand-held bite. The romesco sauce is so easy to pull together. The only thing you really need to find are dried ancho peppers which are becoming more and more mainstream.

A tip I have is: make sure you take the stem and seeds out BEFORE soaking. I did the opposite by accident and it was more difficult to remove the seeds. You'll see in the instructions. As far as the veggies go, that is completely up to you!

I also roasted some red onion (not shown here) and was snacking on that with the romesco sauce. But really, whatever vegetables are in season or you have on hand will be delicious with this sauce.
As far as instructions, I won't do step by step photos like I normally do because I think this recipe is pretty straight forward. Roast veggies in the oven and make the sauce in the food processor! That's really it! Don't you love easy and delicious appetizers like this?
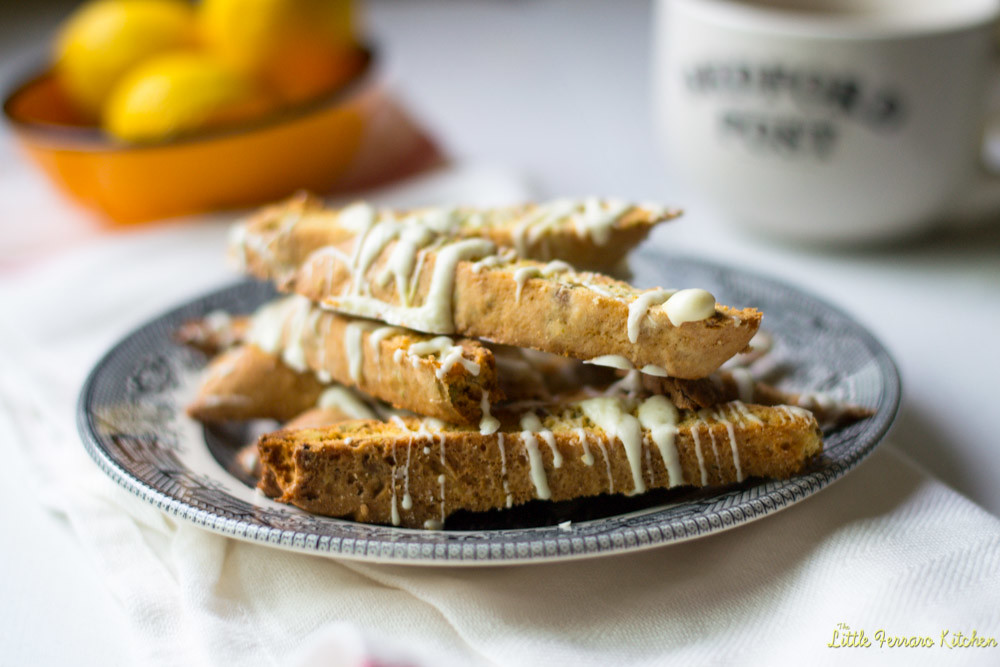
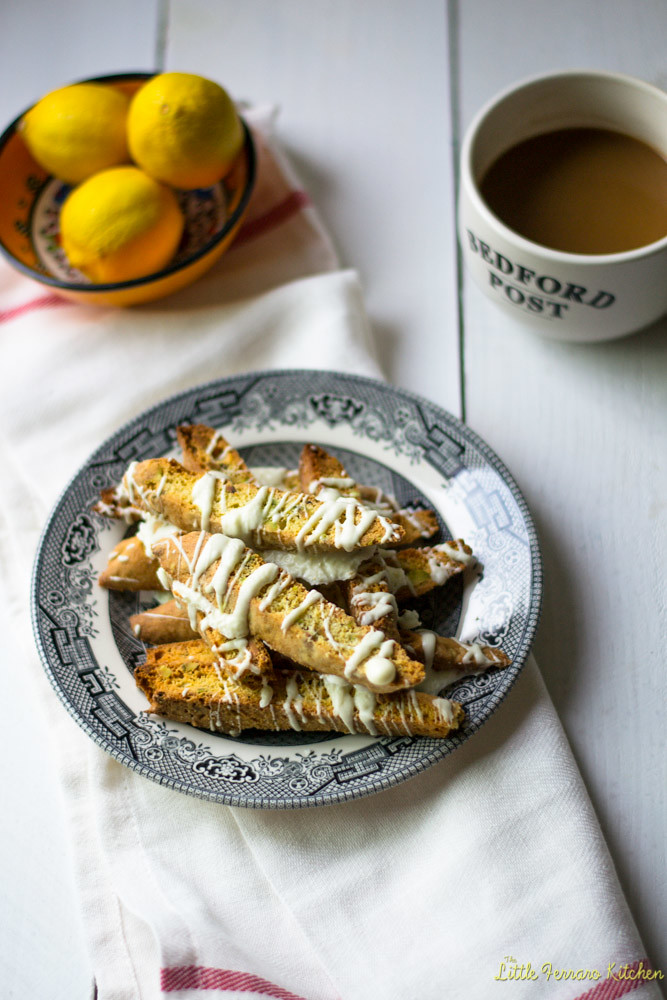
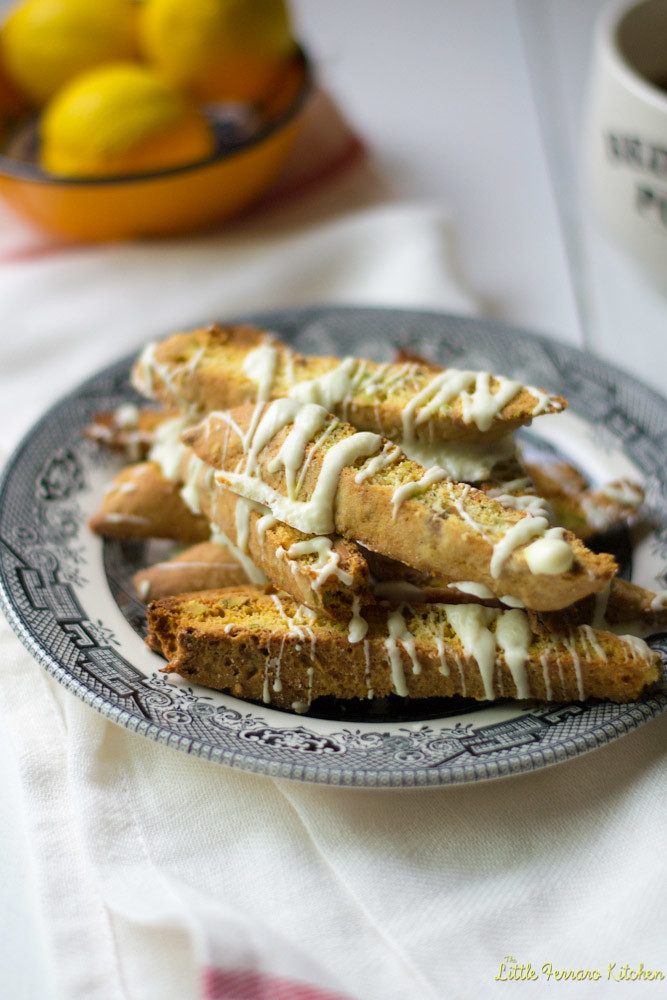
Biscotti has been the cookie of the year..for me. It's usually rugelach (especially my cherry-pistachio rugelach, but this year..it's biscotti! And a delicious one at that. I love mixing flavors and textures when I'm baking and I am obsessed with anything lemon and lemon zest, So today we have a gorgeous cookie with bright lemon zest, small chunks of pistachios studded throughout the dough and at the end, drizzled with melted white chocolate.

As I walked into the kitchen this morning and picked up a homemade lemon pistachio biscotti, sipping my freshly French pressed Kona coffee, I looked at this gorgeous breakfast view and knew I had to capture it on camera. It was so delightful. The sun usually peaks in my kitchen at about 9am and is almost too harsh to look at. But at 7am, it's beautiful.
My kitchen looks as though dawn is about to set and is slightly grey. You smell the brew of coffee at 7am on the dot and there are always sweet baked treats lined on the counter-tops. I wanted to capture this moment today..sipping my coffee..in my favorite mug and savoring the simple daybreak.

White chocolate is much different than melting other chocolate because it has a much lower boiling point and can burn very quickly.
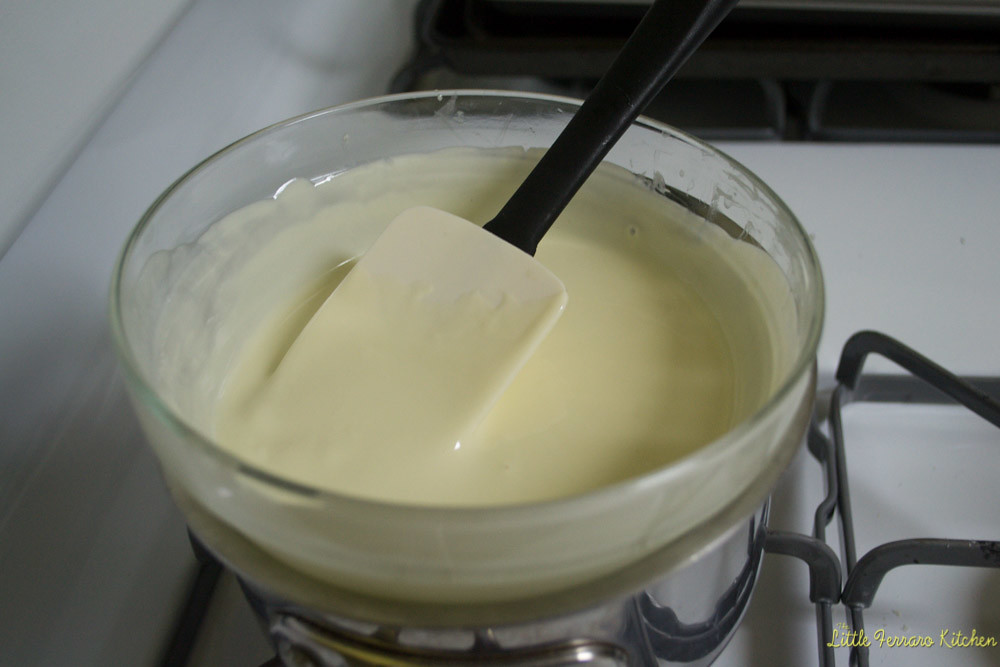
The trick to melting white chocolate is to use a double boiler. Have a pot of simmering water and a bowl that can fit snugly on top. The bottom of the bowl should not be touching the water, and the simmering water should ever so slightly and slowly heat the bowl, in which you have your white chocolate in.
As your bowl is slowly heating up, use your spatula to slowly and constantly stir the chocolate. A spoonful of coconut oil helps the chocolate melt evenly as well.
Coconut oil is a solid fat and melts beautifully when heated, So with 1 bag of white chocolate, add about 2 good sized tablespoons of coconut oil. Allow to melt together slowly and in about 5-8 minutes..you will have glistening, gorgeous and even more delicious melted white chocolate!

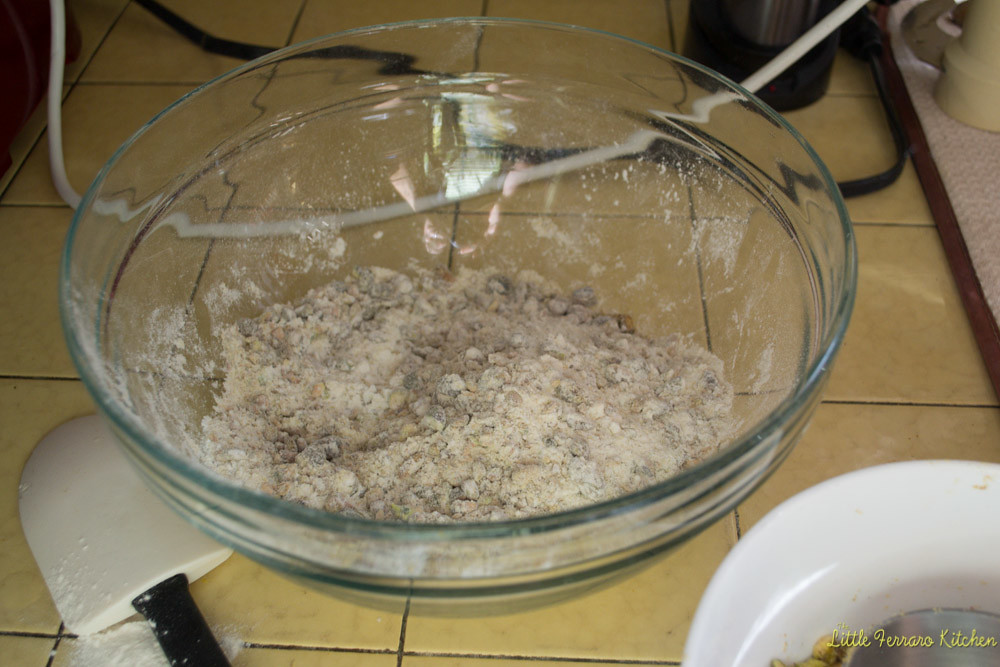
1) In a large bowl, add the sifted flour, baking soda, baking powder and salt into a bowl and set aside.
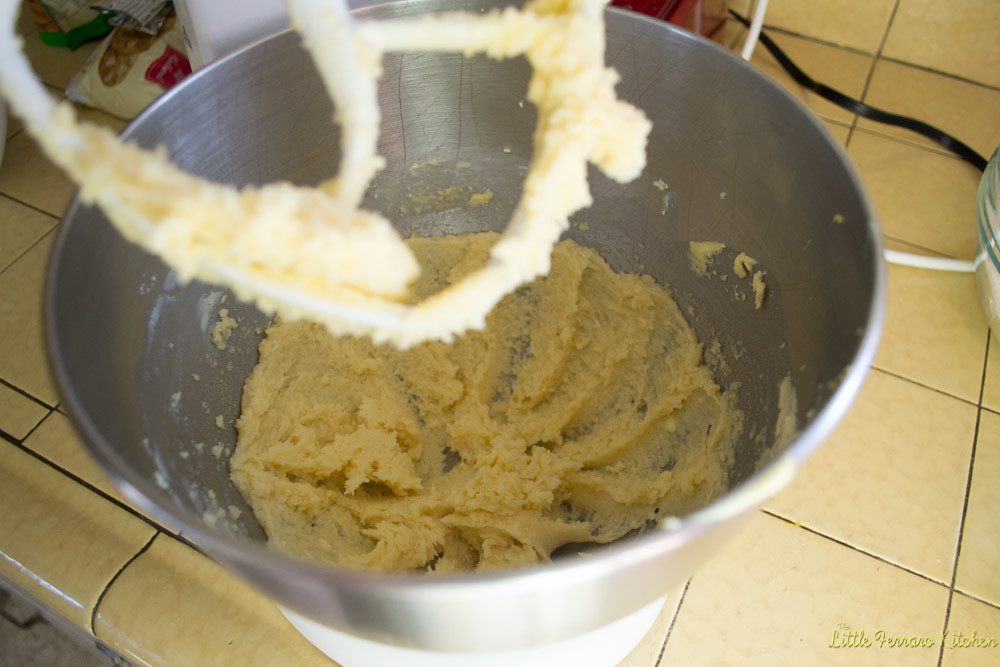
2) Using a stand mixer (or hand mixer is fine), mix together the butter, sugar, lemon zest and lemon juice and vanilla. Mix until everything is incorporated and mixed well. Next, add 1 egg at a time until mixed together thoroughly.

3) On low speed, add your flour mixture in 3 additions. When you are at your last addition to add flour, put the pistachios in with the flour and coat together so the pistachios are covered with flour. This helps them mix evenly so the nuts don't sink to the bottom of the batter. Mix everything until just mixed through.

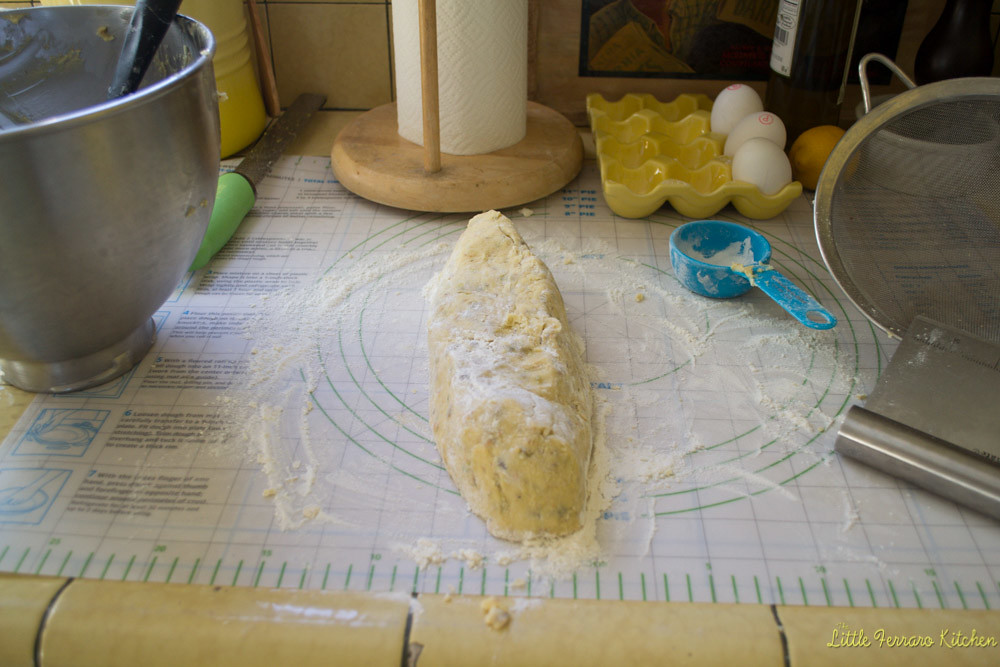
4) Place dough on lightly floured surface. It will be VERY sticking. Add about ¼-1/2 cup additional flour and coat on all side so it does not feel sticking anymore. Cut dough in half and wrap in plastic wrap and refrigerate for at least 20 minutes.

5) When dough is ready, bring it back to your lightly floured work surface. At this point you can either take each half and cut into thirds for mini biscotti or cut in half.
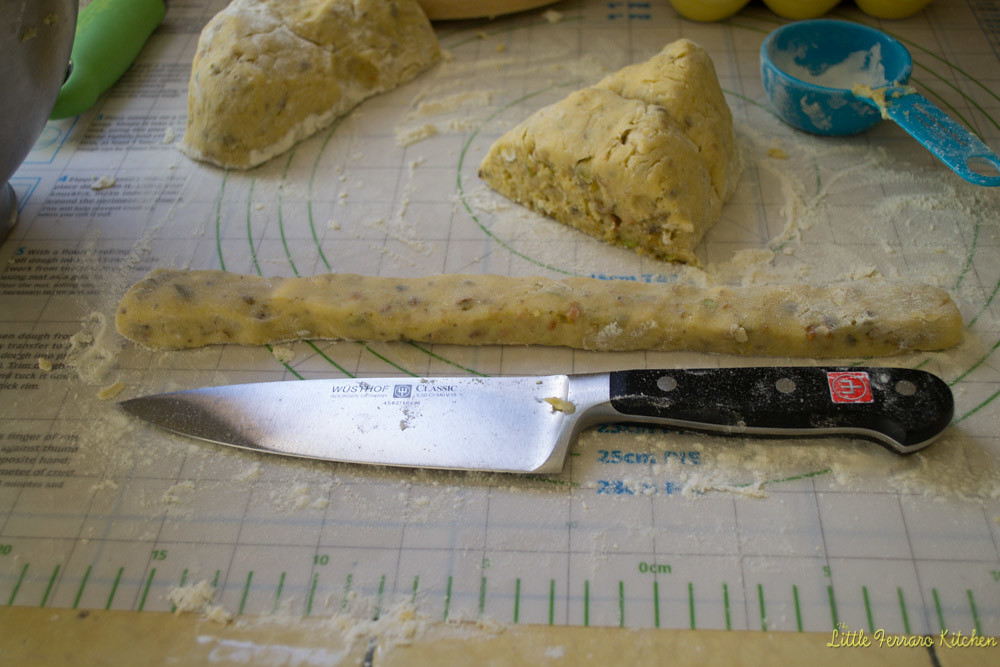
6) Take each piece of dough and gently roll it into a long log, about 9-10 inches long. Place it on a non-stick baking sheet. If you are doing mini biscotti, you can fit 3 logs on your baking sheet. If you're making larger biscotti, only place 2 because they spread a bit.

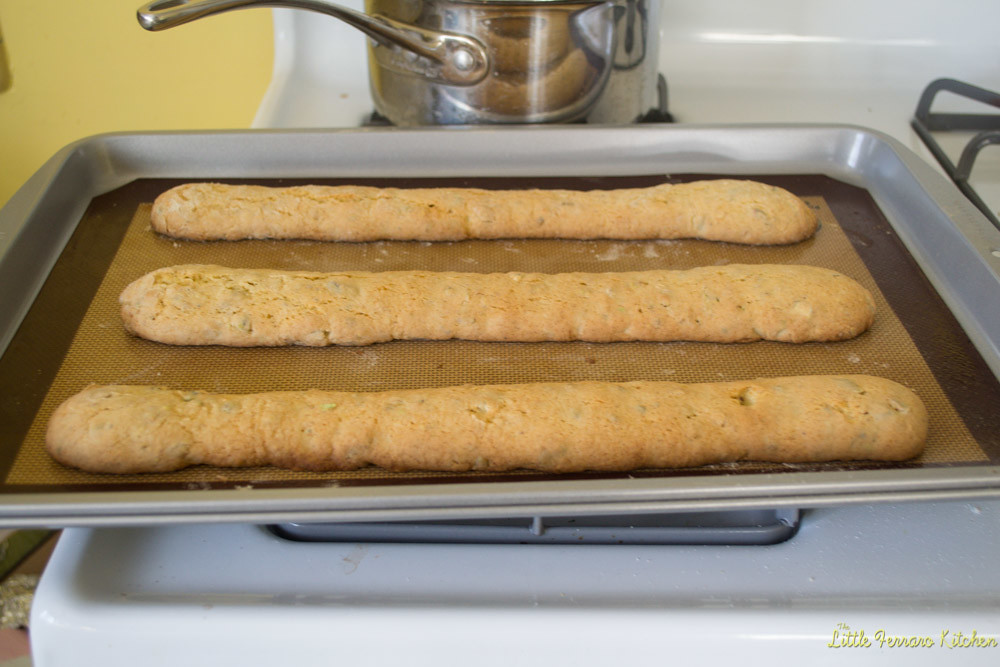
7) Bake logs at 350 degrees F for 20 minutes, rotating the sheets halfway through.

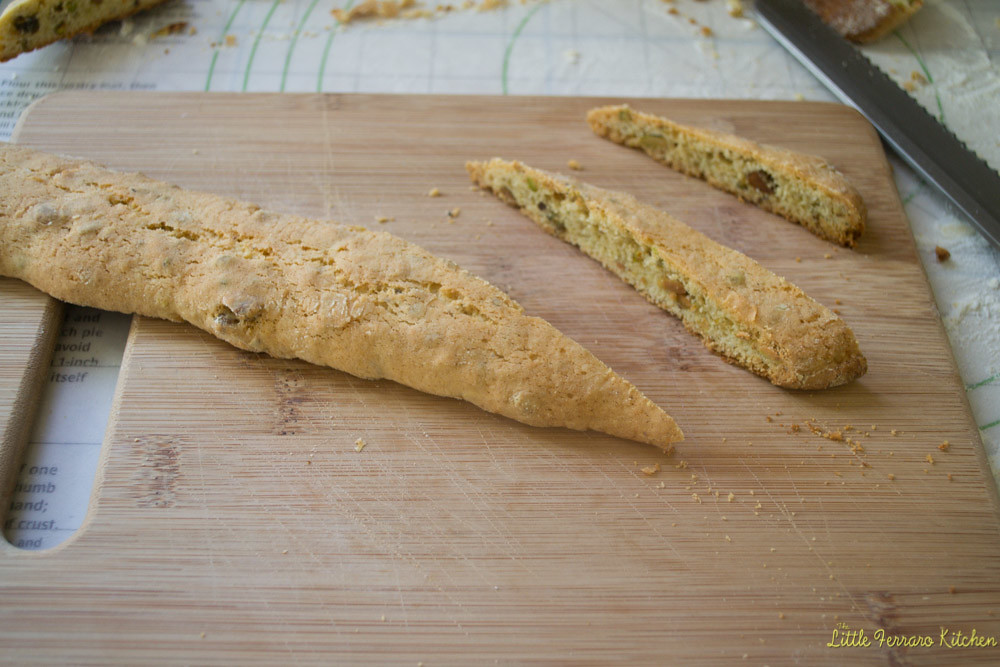
8) When done, allow to cool enough to handle and then use a serrated knife to cut the biscotti on a very sharp angle. Place cookies cut side up back on the baking sheet and allow to continue baking for another 15 minutes, rotating the sheets halfway through.

9) When done, allow the cookies to cool on a wired rack and make the melted white chocolate.
10) To make the melted white chocolate, get a double boiler ready by bringing a small pot of water to a simmer. Place a glass bowl on top of the top and make sure that the bottom of the bowl is NOT touching the water.
11) Add the white chocolate chips and coconut oil and slowly stir, allowing both the oil and chocolate to melt. Continue this until the chocolate is fully melted.

12) Then, use a spoon and drizzle the chocolate over the biscotti. Or you can dip half the biscotti into the white chocolate. Allow cookies to rest on baking sheet or wire rack until chocolate solidifies on the cookie.
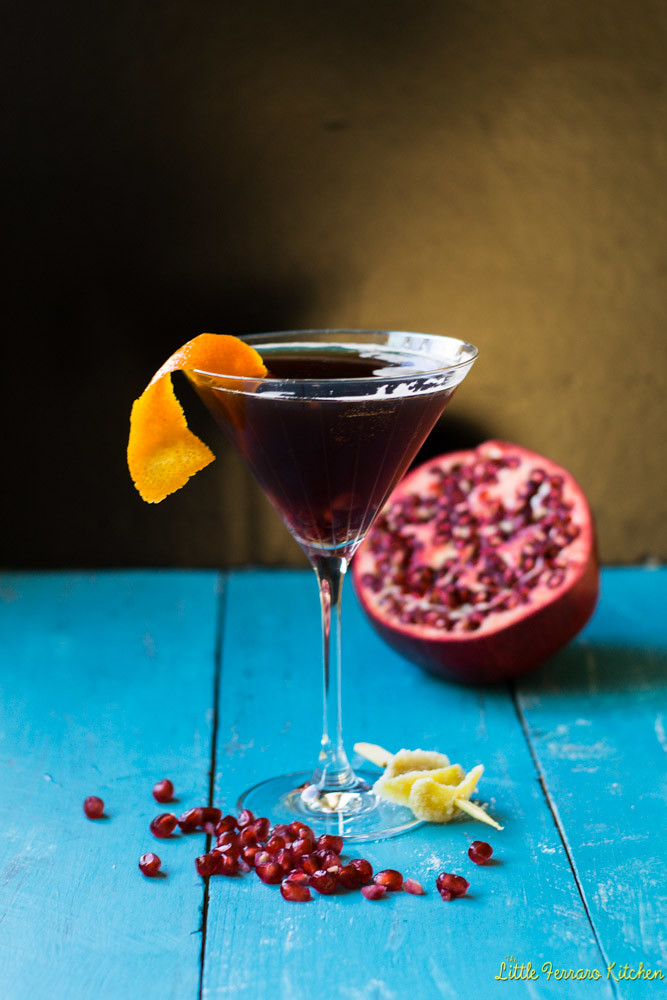
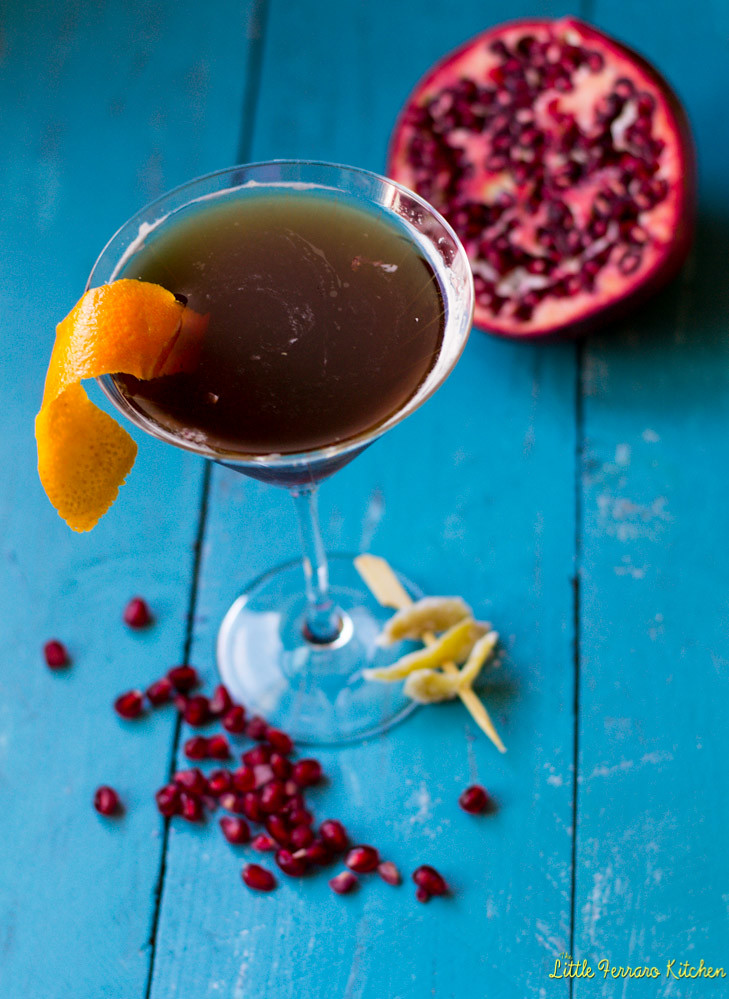
This pomegranate ginger cocktail has a zippy ginger simple syrup and served with sweet and spicy crystalized ginger.

These are some of my favorite drink flavors. Tart pomegranate and spicy ginger make for a good cocktail to me.
I absolutely adore pomegranate as it is such a beautiful fruit and holds such deep history. Pomegranates are one of the several bites we have during Rosh Hashanah to bring in the Jewish New Year and I have also heard that pomegranates were seen as a "symbol of life" and ancient Egyptians would be buried with pomegranates in hopes of a second life. (Historians, do I have this right?)

This ice cold cocktail has warm flavors and looks gorgeous for the holidays.
Ginger is another flavor I absolutely adore. It's spicy and deep and we always have different forms of ginger in our fridge and pantry to spice up a dish or drink.
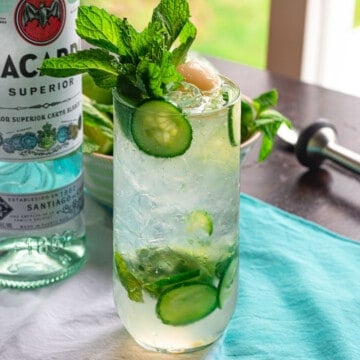
One of my favorite simple ginger tricks is to make ginger simple syrup, which is amazing in cocktails Like my Ginger Lychee Mojito. It keeps well and takes 10 minutes to make and is always ready when you are!
I also leave a piece of the ginger root in with the syrup and the entire concoction permeates with the fresh smell and awakens all your senses.

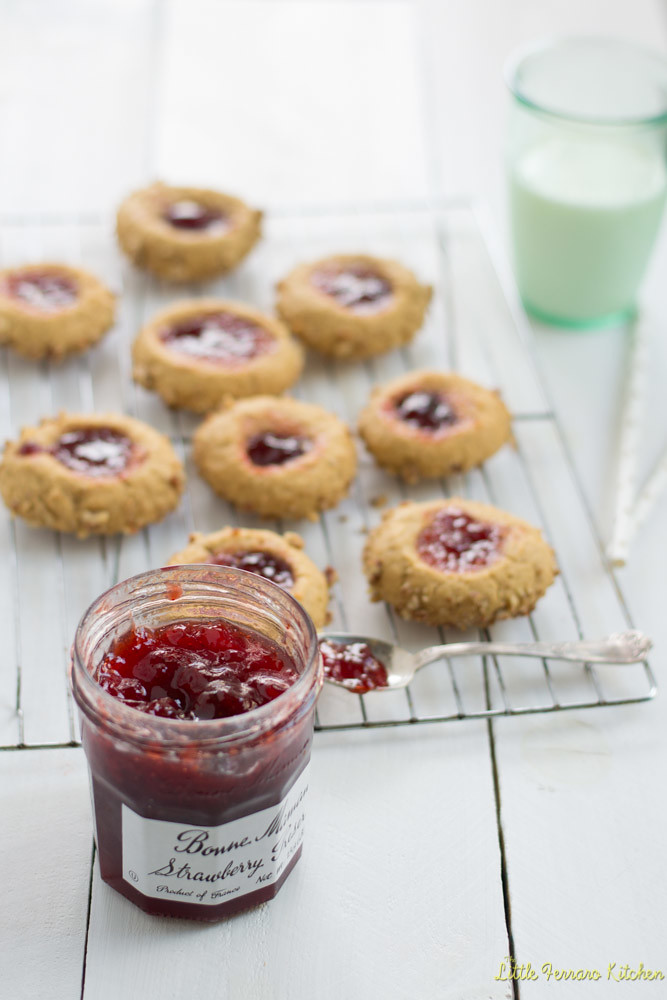
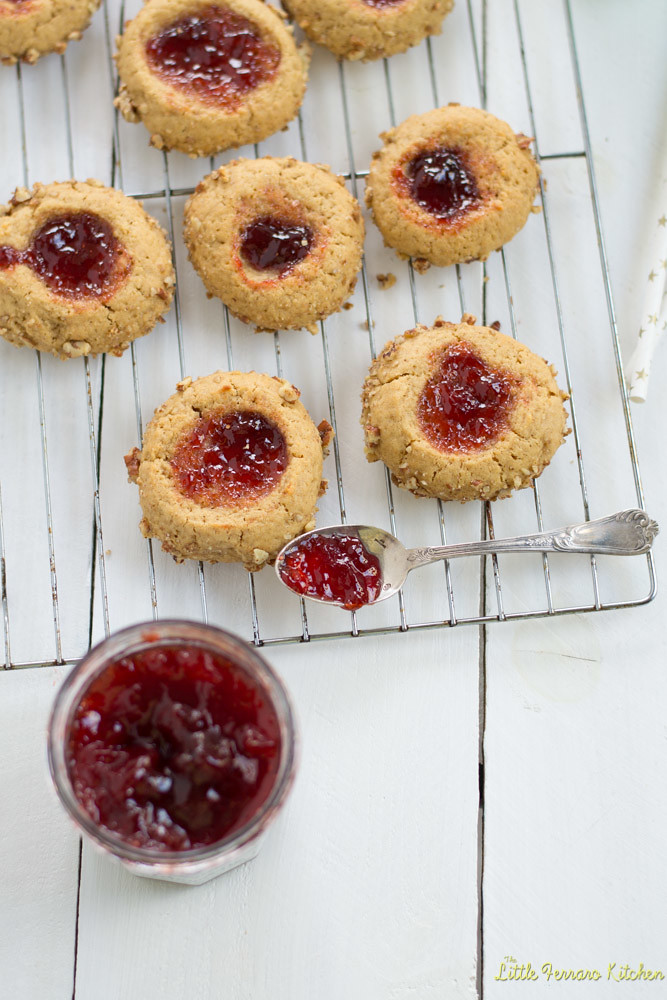
Peanut butter and jelly thumbprint cookies made with a sweet and nutty peanut butter cookie dough and filled with strawberry jam. A classic flavor combination made into delectable sweet cookies.

These peanut butter and jelly thumbprints are a snap. I used the same dough recipe for my Peanut butter surprise thumbprints and just filled them with my favorite jelly (seriously..this is the best!).
To make it a bit more fun, I rolled the sides of the cookie in chopped almonds before baking. You can use any nuts and or jelly filling your little sweet heart desires too!

Try one of my favorite Italian wedding cookies or Sticky Cinnamon Bun Rugelach. They are fun to make and hold for a few days, the perfect for cookie gift boxes!
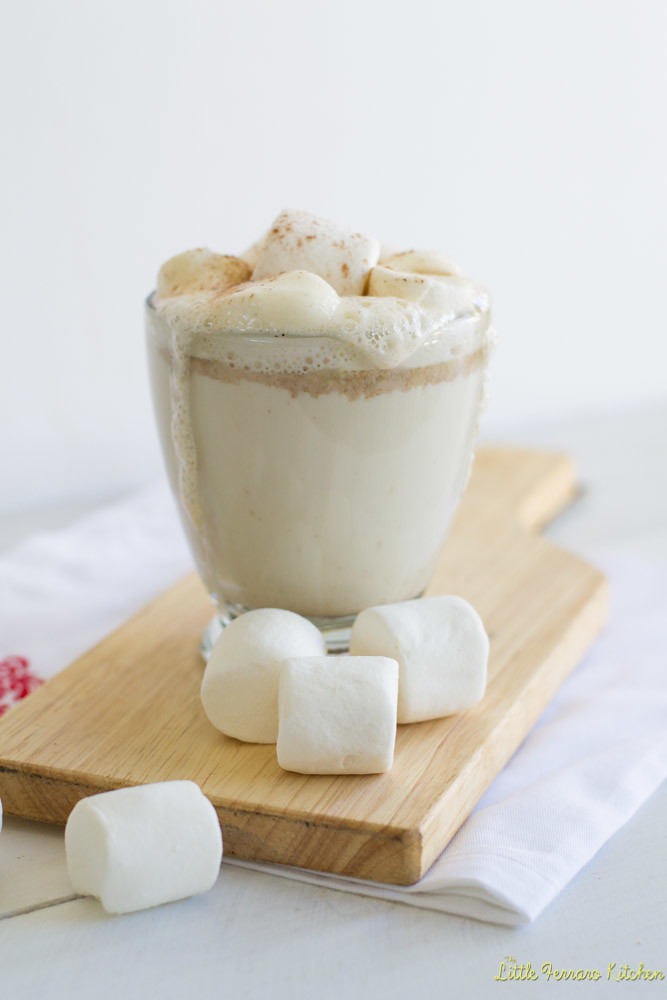
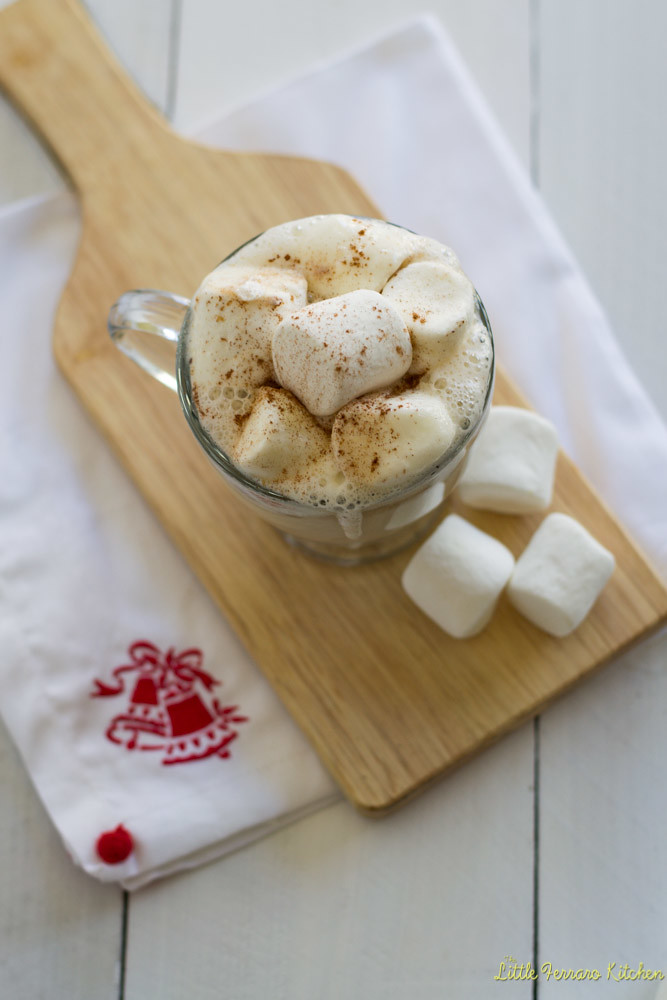
Oh do I have a sweet treat for you! Boozy White Hot Chocolate is steeped with warm spices of cinnamon, cardamom and nutmeg and spiked with a touch of hazelnut liqueur. The ultimate holiday sweet treat!

Because we’re all getting into the sweet Holiday spirit, I thought a sweet and boozy nightcap sounded deliciously festive! So therefore, Boozy White Hot Chocolate was born and let me tell you, this is such a treat!
Confession: I can’t eat regular dark or milk chocolate, so I have to succumb to the sweet white chocolate and sometimes it’s not exactly my favorite. So my advice is to get the best quality white chocolate you can find. I used Ghirardelli, which is delicious! It’s sweet and melts perfectly but doesn’t offer that odd and chalky aftertaste that the cheaper brands do.

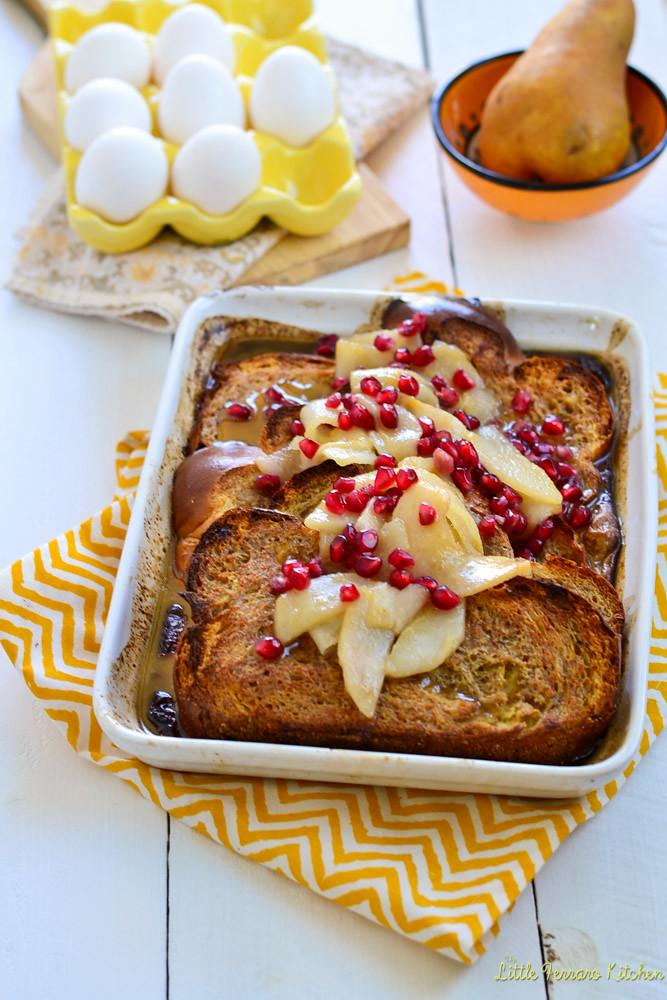
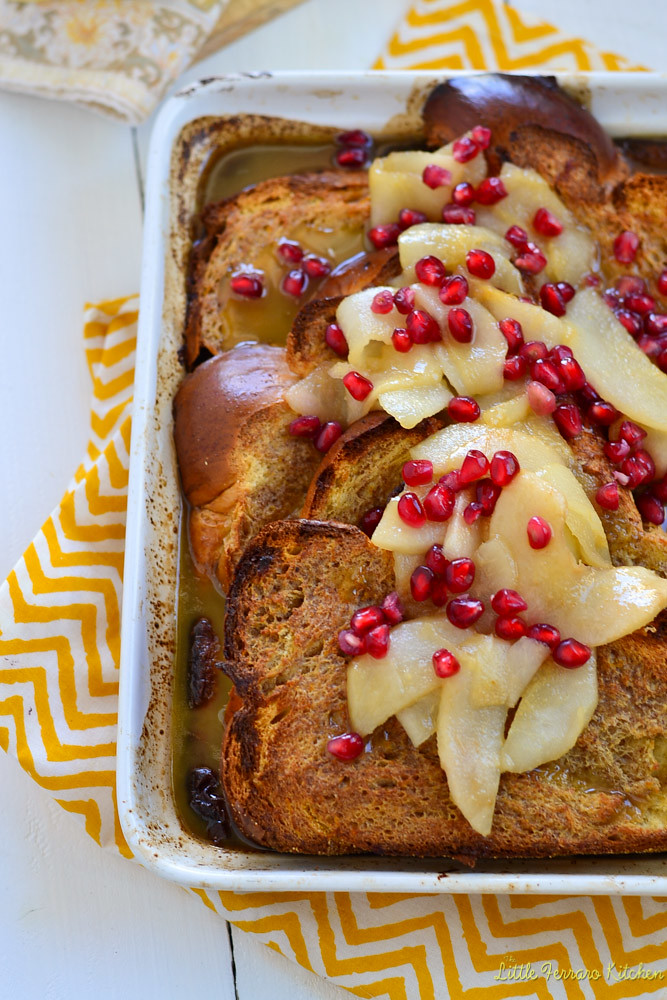
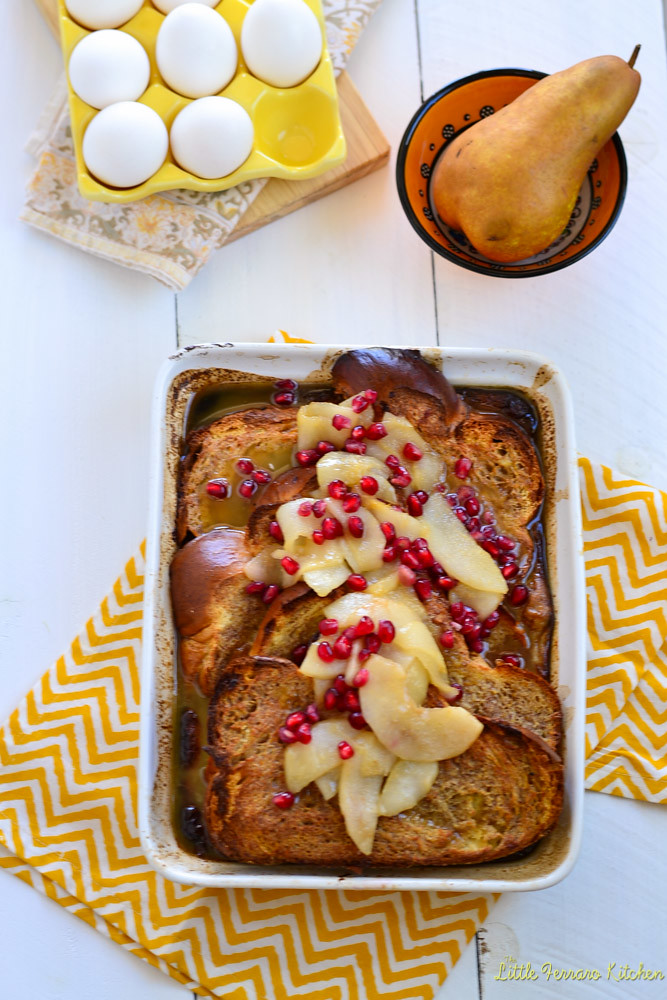
This baked french toast is the epitome of a perfect breakfast. With an eggnog flavored custard, the baked french toast is finished with sauteed pears and sweet pomegranate seeds.

There is nothing more satisfying than waking up to the smell of cinnamon and nutmeg baking away in the oven during the Holiday season.

Eggnog is the theme of the day with an eggnog inspired custard for the thick challah to soak in.
Cinnamon, nutmeg, a bright zesting of orange zest and of course a good hefty shot of Brandy offers every single bite of my favorite Holiday flavors!
Pears and pomegranates are so gorgeous this time of year, the pears are ripe and sweet and the pomegranate seeds are so eye-catching and bright red, it's hard to resist.
As the eggnog french toast is resting after it's baked, quickly saute sliced pears in butter and brown sugar until they soften and then at the very last minute, sprinkle with gorgeous bright red seeds.
More great brunch ideas are:
Savory Pancetta and Cheddar Waffles
Matzo Brei Eggs Benedict with Lox
Loaded Veggie Frittata with Sweet Potato and Hatch Chiles

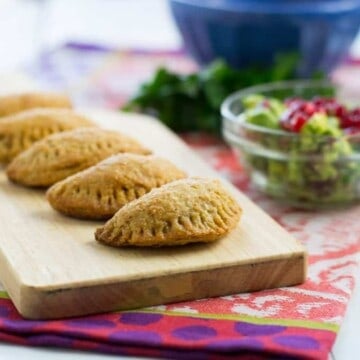
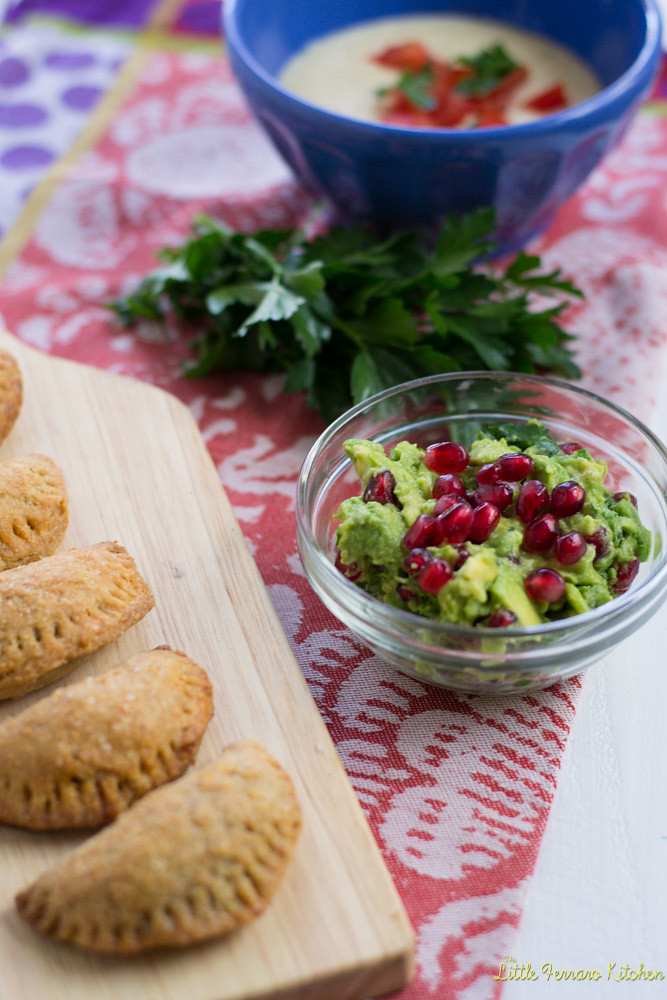
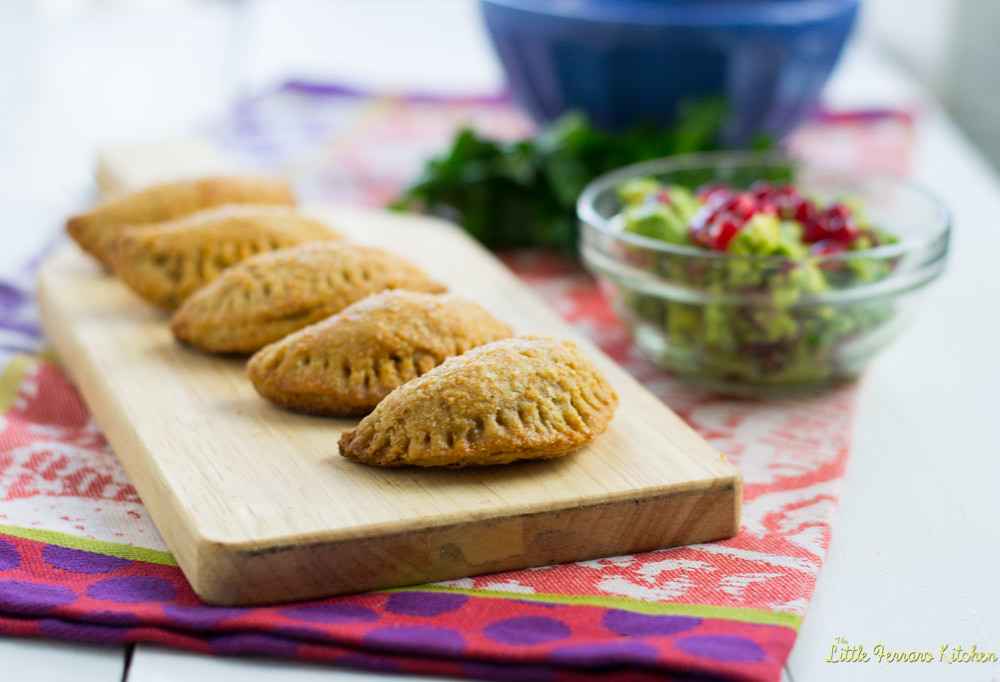
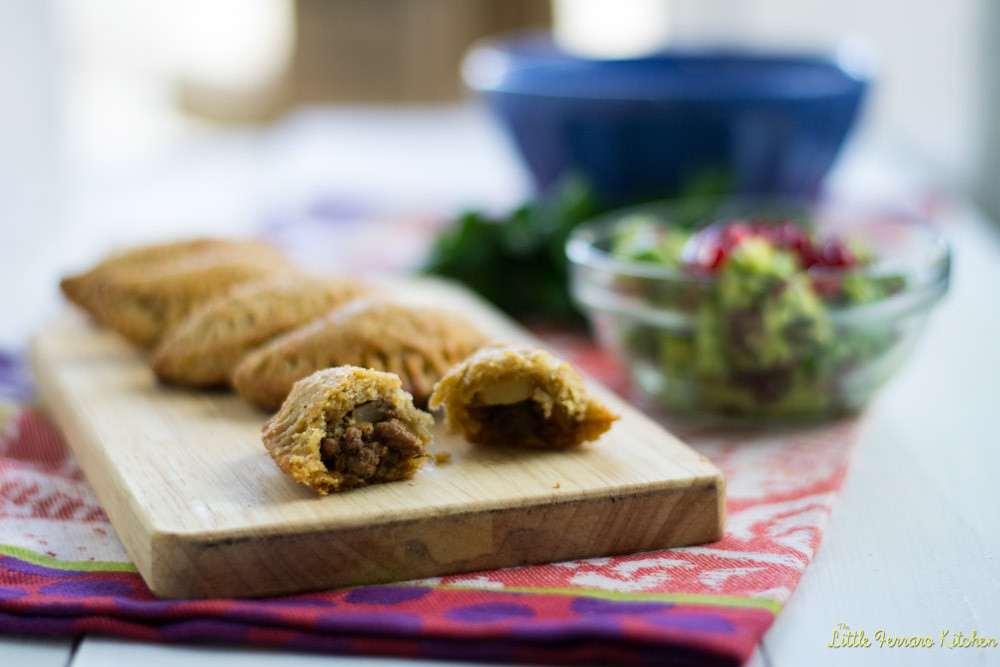
Baked beef empanadas are filled with a bold beef filling seasoned with paprika and oregano and served with 2 delicious dips! These small pastries are perfect for your parties!


Hodgson Mill's recently asked me to enter their #HaveAGrain Holiday Baking Contest, and of course I couldn't say no! I love their flours and this time they sent me a gorgeous box of assorted whole wheat baking flours to work with! I have the options to create anything really..sweet, savory, appetizer or main dish, as long as I used one of their whole wheat flours and it had to be original and photogenic. Then the recipe will be tested by the Hodgson Mill's kitchen judges and judged based on creativity, taste and presentation. The prizes in the categories goes anywhere from an Ipad to a William Sonoma gift card...which would be mighty sweet to get this Holiday season.
Originality was the name of the game and a cranberry loaf wasn't going to cut it. Though that does sound nice too, doesn't it? After asking some of my fellow baking friends their opinions, my friend Toni (one of my awesome bloggy-friends who is a well known Mexican cuisine fan) suggested empanadas! And since I am in desperate need of something savory after making a weeks worth of cookies (coming soon..just wait), this sounded just perfect. So baked beef empanadas it is! And to throw in another twist to the contest, I also utilized the flour a second time to make a queso dip (again...Toni's suggestion). Genius right? The other dip is a simple avocado and pomegranate salsa with fresh lime juice. I love both the color contrast of the dark red and green, which is very festive now and the flavor combo of the creamy avocado with the tart seeds is just divine!
So what do you think....Do you think this is IPad winner worthy enough?
Oh and warning...there are a lot of components to this dish, but believe me, it is WORTH every step! All the savory flavors and spices added are fabulous. Once you taste the warm paprika beef against the buttery pastry with the cool avocado salsa, you will thank me (and yourself for making this!)


We just dined at the #4 restaurant in the world. Mugaritz has earned 2 Michelin stars which is the equivalent of the Food Oscars. Renowned chefs work their asses off and try to be as original and creative as possible to even earn just 1 star. Mugaritz focuses on gastronomical cuisine, and as I like to think of it..a chess game between your mind and palette- who will take over?
We knew we were in for an experience like no other.
As their website states, "the challenge is on the table, you chose how to address it".
So let me introduce you to all the courses and I will try and do my best and describing what I tasted, felt and thought. There were approximately 20 courses of small bites totaling about a 3 hour experience.
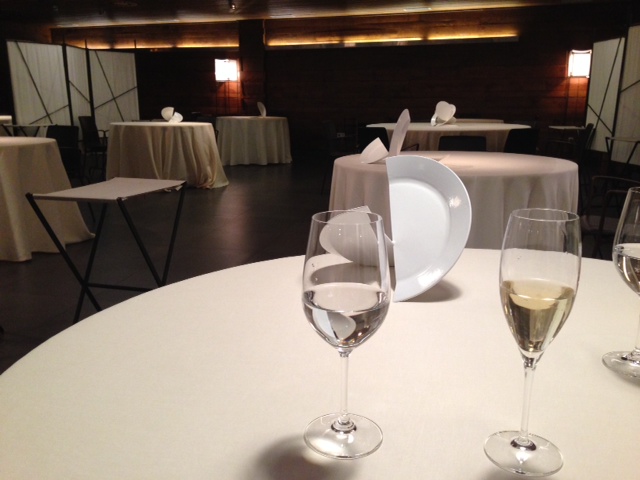
It is off-season in San Sebastian and the start of winter. Even though it was a rainy Friday night, Joe and I were both a little taken back by how quiet and empty the restaurant was. They greet you with "we want to make you feel at home" and even though we did feel more realized and comfortable, the initial feel was a bit blank. The restaurant is a huge open space with minimal decorations in the way. I was thinking that they want you to think of your plate as the art against a clean, blank canvas. I do love the abstract plates on the tables. Those were pretty neat.
They then took us into the kitchen and gave us a quick tour of how they work and then presented us with our first bite. A blood and foie macaron (sorry, I don't have the photo). Before telling us what it is, the chef had us guess the flavors. I didn't guess blood at all, but he explained that both egg whites (what macarons are made of) and blood have the same protein component, albumin. This allows the blood to whip up just like egg whites would to make the macaron. This was a delicious bite. It was salty and a bit briney. At this point I thought we were in for the win.
Edible Stones-
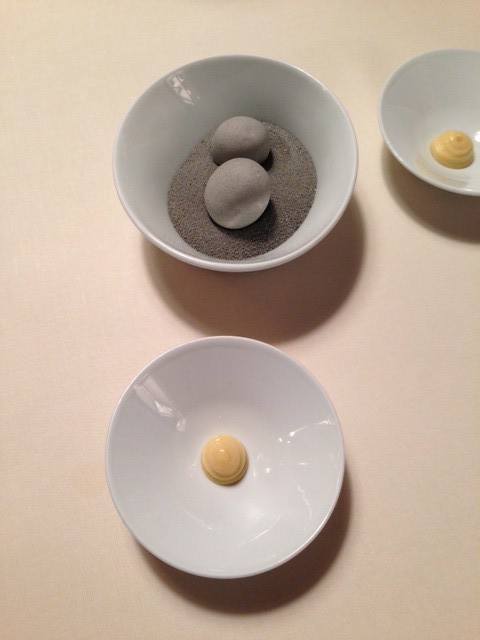
I believe this is one of their signature dishes. A perfect example of gastronomical cuisine and your mind playing tricks with you. This looks like rocks sitting on grey sand. What it actually is, is a boiled potato covered in edible clay. The sand is made up of breadcrumbs dyed with ink. This was a fun start and tasted good. Oh, and the sauce was used to dip the potato in, a dijonnaise I think.
Carrots and Smeared Flowers-
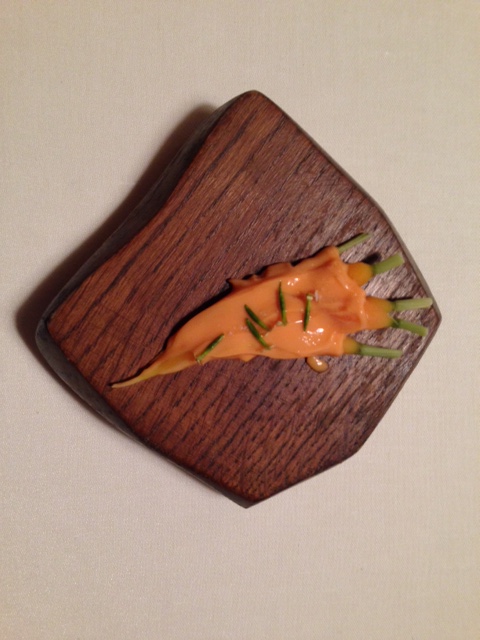
This photo is angled a little off (sorry), but you'll get the idea. These are baby carrots with a carrot puree/ The dish was adorable to look at and the carrots were s sweet, almost like candy.
Tendon with Honey, mead, yolk an dipping ash-
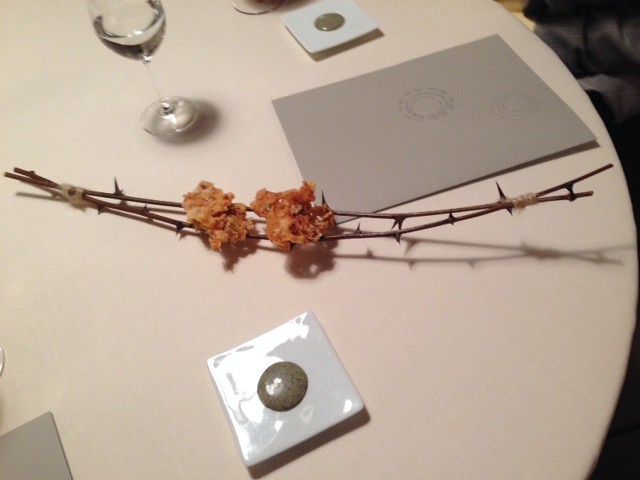
They must have an insanely fun time thinking of ways to plate their dishes! This is a piece of food art, visually. This was where things started to get interesting and I wish I didn't know what I was eating before I did. Just as the name says, its tendon, but I forgot to ask from what animal. This tasted like a very crunchy and hard cracker. It was a bit sweet when dipped in the ashy honey sauce. If I didn't know what this was, I would have never guessed it was made from tendon!
Chicory, Sesame seeds and Honeycomb-
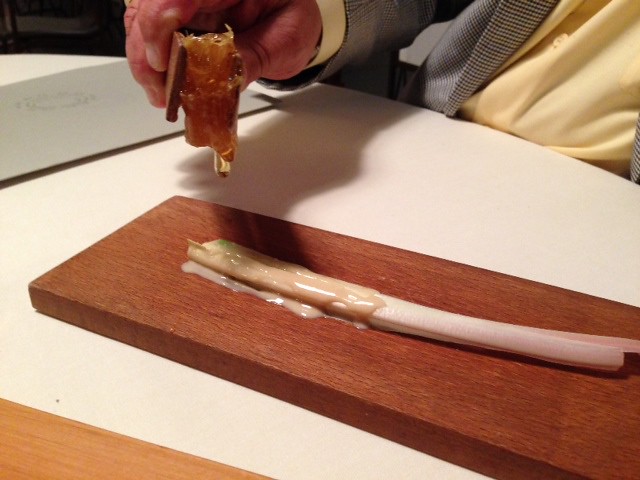
We had the most fun interacting with this dish. A simple chicory leaf (which I had to google) and on a separate plate was wooden tongs holding a small piece of honeycomb. You were supposed to ick up the wood tongs and gently squeeze the honeycomb and then drizzle honey all over the leaf. This tasted great...a savory leaf with sweet clean honey..we loved this!
Ice Shreds with Shrimp Perfume-
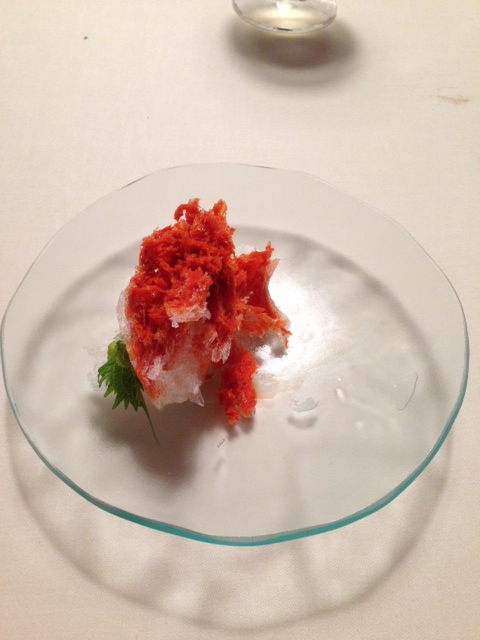
I will never, ever forget this dish...ever. You know when you taste something or smell something and it makes such a huge profound reaction, you know you will never ever forget that moment. That's how this dish was. What it was, was a plate of very light ice shreds, or similar to a light shaved ice. Separately was a small vile of dark orange liquid that you were supposed to then pour over the ice and eat before it melted. The orange liquid was the most concentrated shrimp flavor I have ever had. Now I love a good shrimp bisque, but think of that flavor times 100! This was so intense, in such a pure shrimp flavor, that Joe and I both had a difficult time finishing it. Even when I took a sip of water right after, I could still smell the condensed shrimp smell for the remainder of the night every time I drank water. This..was a little much for us.
Tanned Lobster with Fermented Rice-
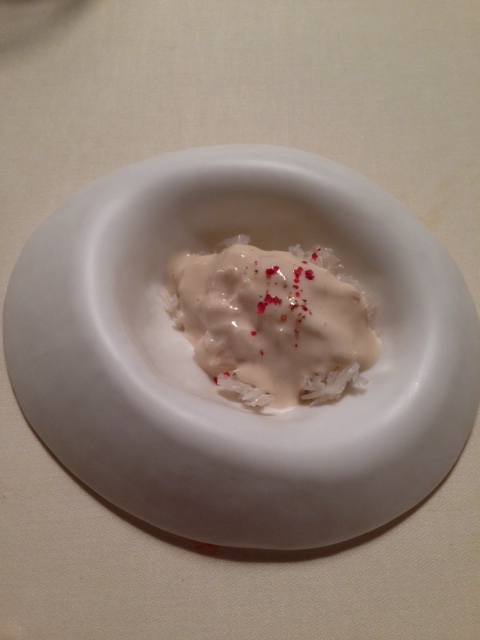
This was another interesting dish. I had to step back in time and remember the fermentation lecture in my Microbiology class a few years ago. As I sat at the table last night, I was confirming in my head..."rice...goes bad...bacteria eats sugar..ferments...yeast...alcohol". These keywords were not exactly getting me whipped up and exited as I remember my Micro professor telling us what would happen if we left cooked rice out overnight. I took a quick whiff of the dish first and the initial smell that hit me was yeast. You know...that sweet, yeasty, pungent smell we know so well when making bread. The flavor tasted just like that...room temperate, and almost glue-like starchy rice with sweet pieces of lobster. I would give this dish....2 stars.
Threads of Crab with Macadamia Nut Cream-
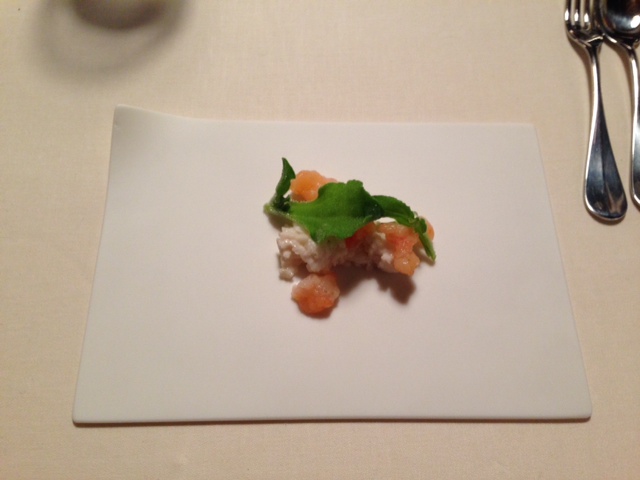
Yes! finally something I recognize...crab and macadamia nuts! I love crab and I love nut creams. Nuts can make some of the best creams, milks and sauces so I was really excited about this dish. The crab was tender, sweet and very well shredded and the nut cream was luxurious and creamy. This, I enjoyed.
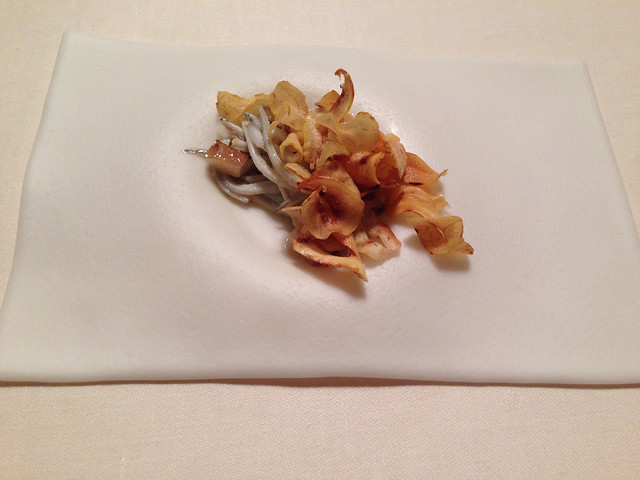
You read that right...baby eels. Another dish that I wish I didn't know before I ate. Joe said he almost had a difficult time finishing this one, because he knew what it was. See...the whole mind over palette challenge. Its crazy!
So according to the waiter, baby eels are a delicacy and are only available during the cold winter months. We were the first ones to have this dish and they were very proud of serve it. Baby eels are scooped up from their environment and quickly sautéed for the dish. Without knowing, you think you're enjoying a pasta dish, it has the same exact texture- a bit al-dente. But then you look closer and that's when you see it...baby eyes! Now I'm great with "face on my food", you know, like lobster heads and shrimp heads...those don't bother me at all! Bit this....baby eels with tiny baby eyes was a game changer. Another texture I don't think I will ever forget. The flavor was great though, garlicky and delicious...but alas this was another mind over palette challenge.
Poultry Juice with Tofu-
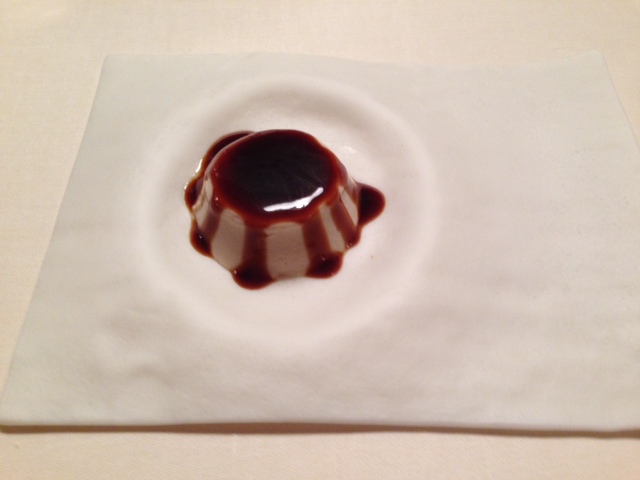
This dish confirmed my challenge with soft textures. Think of a very condensed chicken stock flan. Odd right? Soft tofu was the base but then poured on top was a very concentrated, not salty, but concentrated chicken jus. Picture the most amazing chicken stock you have ever made and then reduced for hours and hours. It was thick and the poultry flavor was pronounced well. What threw me off besides the soft texture was that it was at room temperature. After having the room temperature fermented rice, this dish did not exactly save the day. Another one that we both have difficulty finishing.
Textures of Coastal Fish-
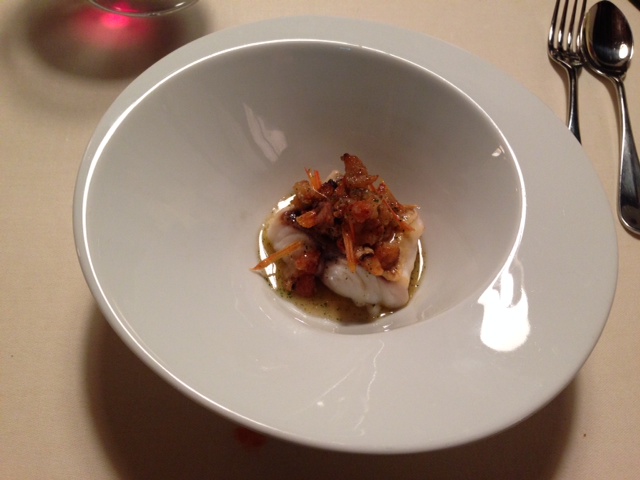
At this point our palettes felt like it just lost a match with Mike Tyson. Our mind and taste buds were exhausted and I was begging for some texture..anything..crunchy, snappy and fresh. This dish was a variety of fish (I forgot to ask what). There was a filet of fish, what I think was hake that was cooked perfectly and a little under done and was topped with another variety of fish. I think I would have enjoyed this more if it was not after palette punching dishes as served previously. The dish, again was a huge flavor boost of seafood.
Sweetbread of Lamb with Seasonal Mushrooms-
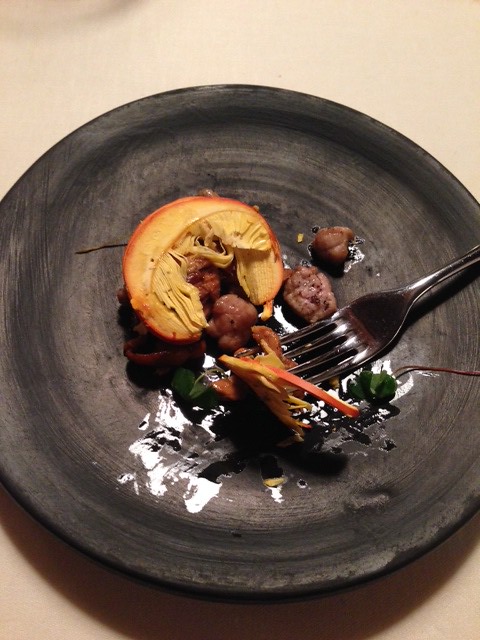
The colors of this dish are beautiful. Mushrooms are gorgeous in Spain and the mushroom used here was left raw and sliced very thin, it was wonderful to taste. And sweetbreads on the other hand, I like as well and had them in France a few years ago, however, being that sweetbreads is a gland, it offers an almost 'organy' taste. Which I don't mind if it was cut with something bright and sharp. The earthy mushrooms with the earthy and savory sweetbreads was a good dish, but again, after finishing several heavy on flavor dishes, I was still eager for something to brighten my senses.
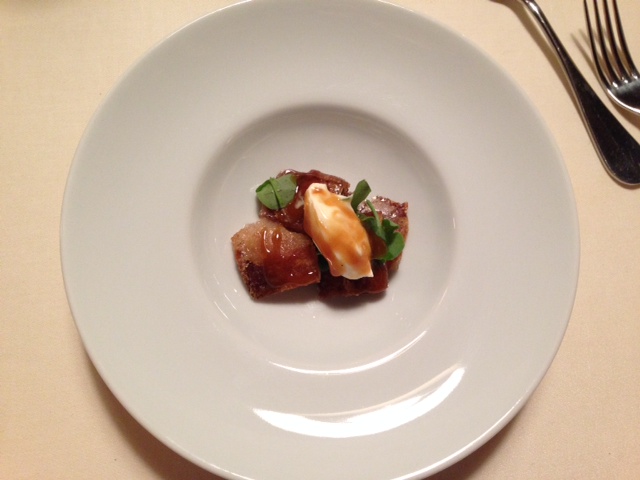
Iberian Pork Tail with Sour Leaves and Crème Fraiche-
Picture the crispiest pork belly you have ever had! With small pieces of pork meat and fat still accompanying. The first 2 bites were rockin- almost like a thick cut of intensely fatty bacon, crisped up to perfection. The crème fraiche helped cut the fat of the pork, it was cool and creamy, so that was a nice addition. But again, and this is probably just a personal thing, I was still craving something fresh and green!
Frozen Almond Turron-
Yes...dessert!! Oh I was so excited about this and it did not disappoint! This was almost like an amazing almond ice cream terrine an on the outsides was this see-through thin edible wafer paper. I saw them all over Barcelona and it was the perfect book-ends to hold the terrine in place. This was not overly sweet with great almond flavor.
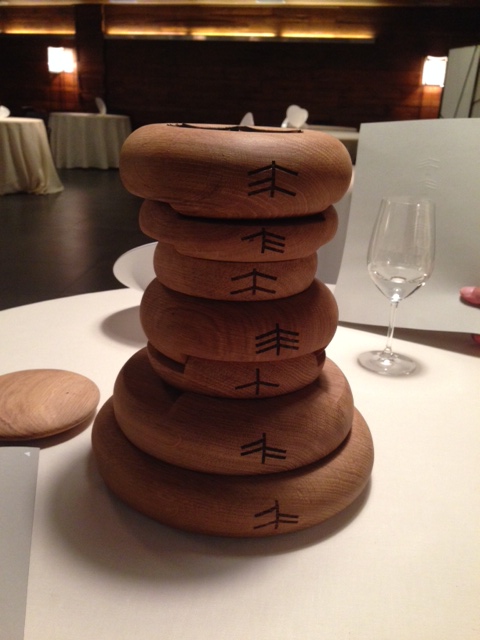
7 Deadly Sins-
This was a fun dessert to pay with! each tier represented a "sin"; pride, envy, gluttony, etc. I didn't take a photo of each layer (sorry), but each had different treats like mini chocolates and condensed fruit syrup. It was fun.
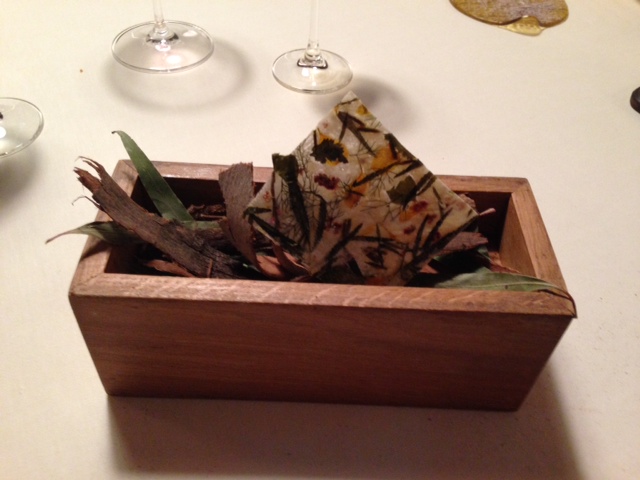
Edible Paper with Dried herbs (extra dessert)-
This was an extra little treat because I don't eat chocolate (it gives me headaches, so I jut avoid it). This was paper-thin edible paper with dried herbs from their garden! They plated it in a small box with other dried leaves that I don't think were edible because I smelled a bit of eucalyptus. The paper was sweet and some of the herbs they sued were sweet and floral...it was a fun thing to try!
Ok...well that covers our dinner at the #4 restaurant in the world! I have to say that I really believe the Chef and his imagination and creativity are far passed what we are accustomed to in this lifetime. He is so advanced in flavor profiles and imagery, I don't think we have caught up yet...if that makes sense? Each course had a strong purpose and was beyond what any of us thought. It was artistic, creative and straight forward. We are so glad we were able to challenge our minds and palettes.
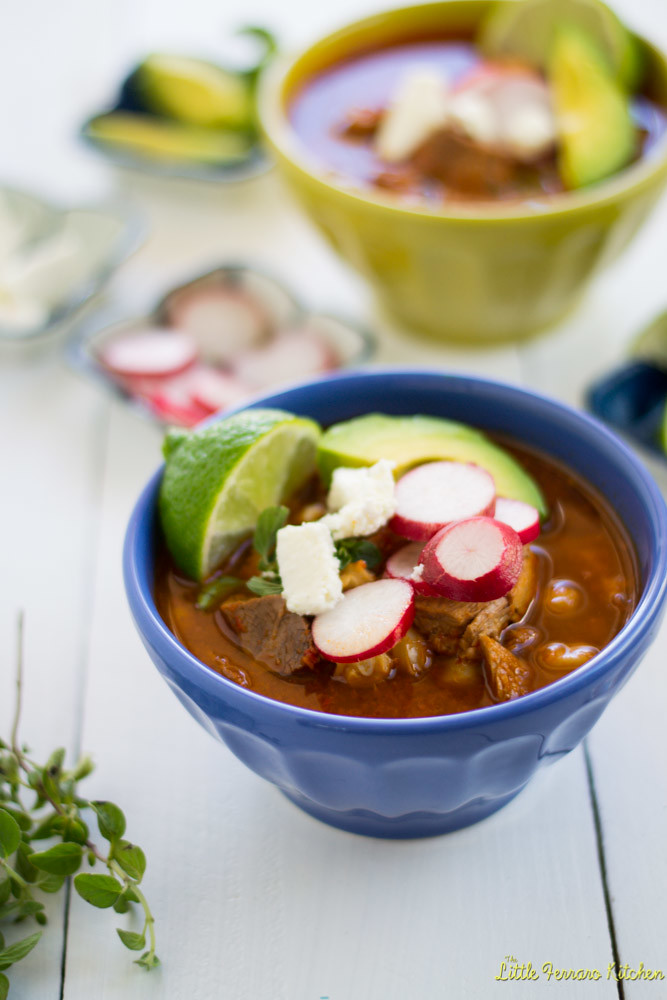
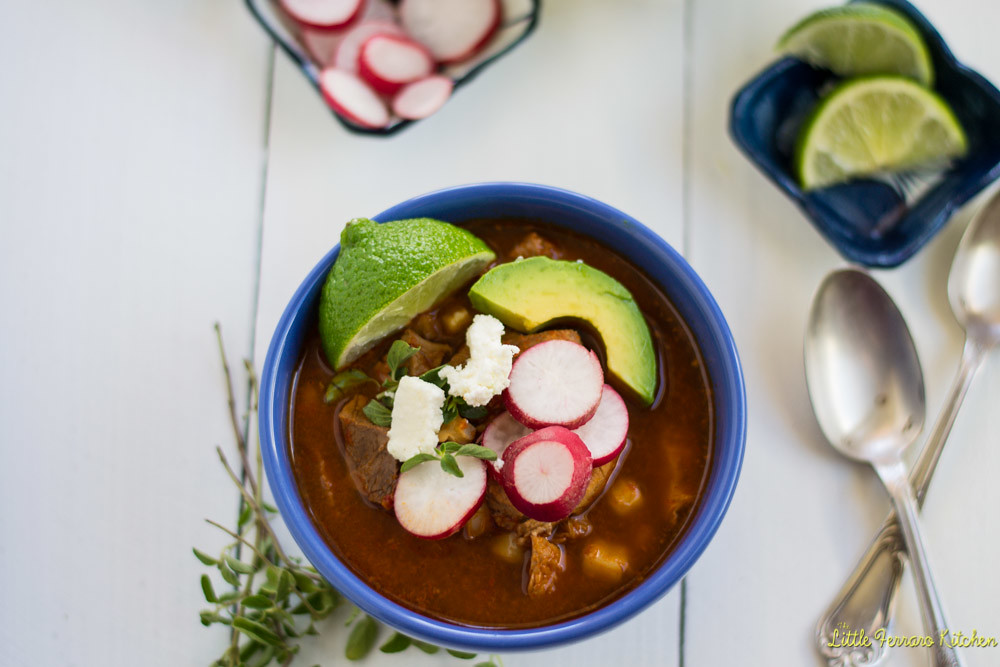
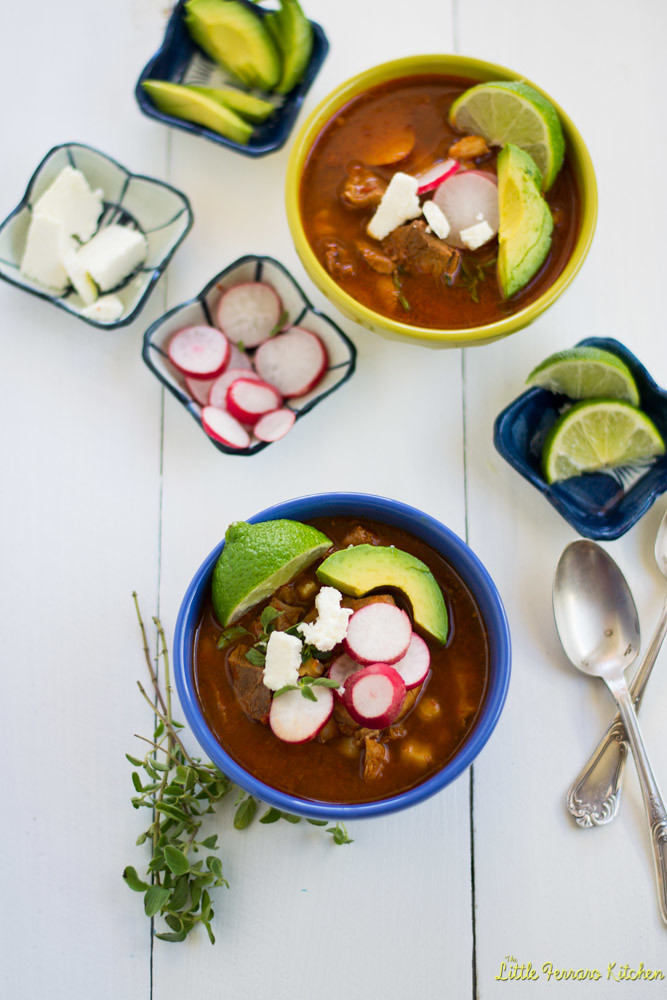
Pozole Rojo is a delicious and smoky Mexican stew made with an aromatic broth of dried chiles, onions and oregano and full of pork and hominy.

I can see my Mexican friends yelling at me. "But there's no cabbage!", "Where's the cabbage?" Yes. I am fully aware that I missed the most important garnish to this rustic soup, but I still hope I made all my Latin friends proud by making their classic and so delicious Pozole Rojo. For a South American stew, try my Argentinian beef stew.
For months my mouth would water as I listened my Mexican friends brag and show off photos of this "amazing" pozole made by their mom, aunt, cousin, sister or family friend and no one would give away the recipe. They would bloat and show off how comforting and time consuming this soup was and then here's this white girl begging to find out what the flavors of this masterpiece was made up of.

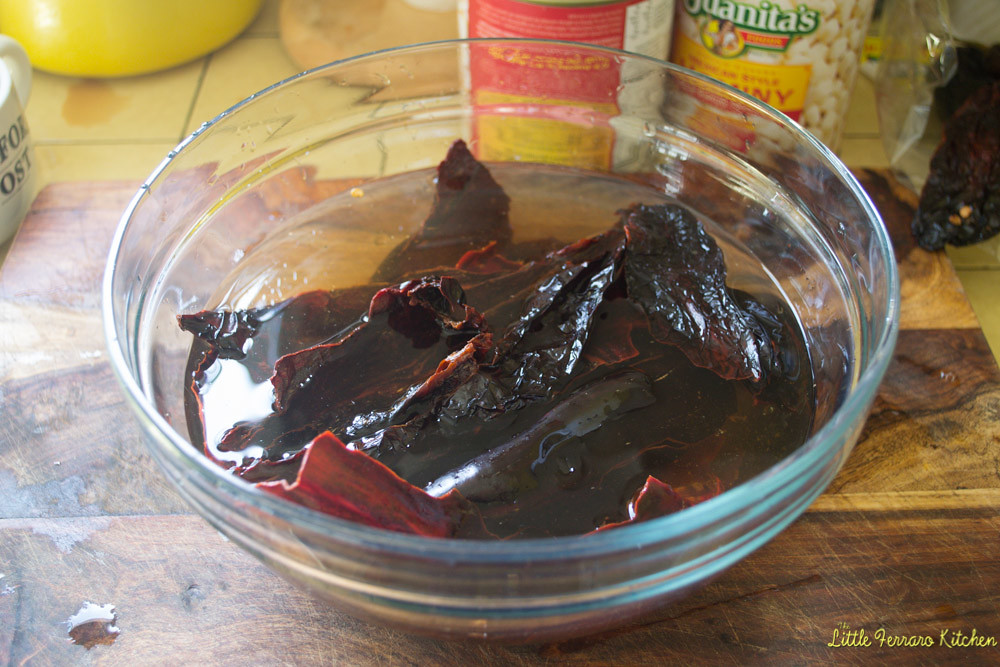
Pozole rojo is a deliciously hearty Mexican stew with hominy and either pork or chicken. The deep red broth is made with dried chile's and aromatics such as onion, garlic and fresh oregano. I used both guajillo and ancho chile's which gave it a rich deep smokey flavor. My tip: take out ALL the seeds and stems from the chile's. The peppers still have a nice smokey kick to it with a little heat, but by removing the seeds, you won't be running to the fire extinguisher and will still have all the flavor.
Also, I should note that this is a somewhat time consuming soup, easy, but takes time. You first have to make the pork or chicken broth and allow your meet to cook and broth to come together for at least 3 hours. Then you add in all the rest of the ingredients and allow it to simmer for another 30 minutes (at least). It's a tad time consuming but so so worth it. And like any labor intensive meal, it tastes even better the next day. And the next.
Method:
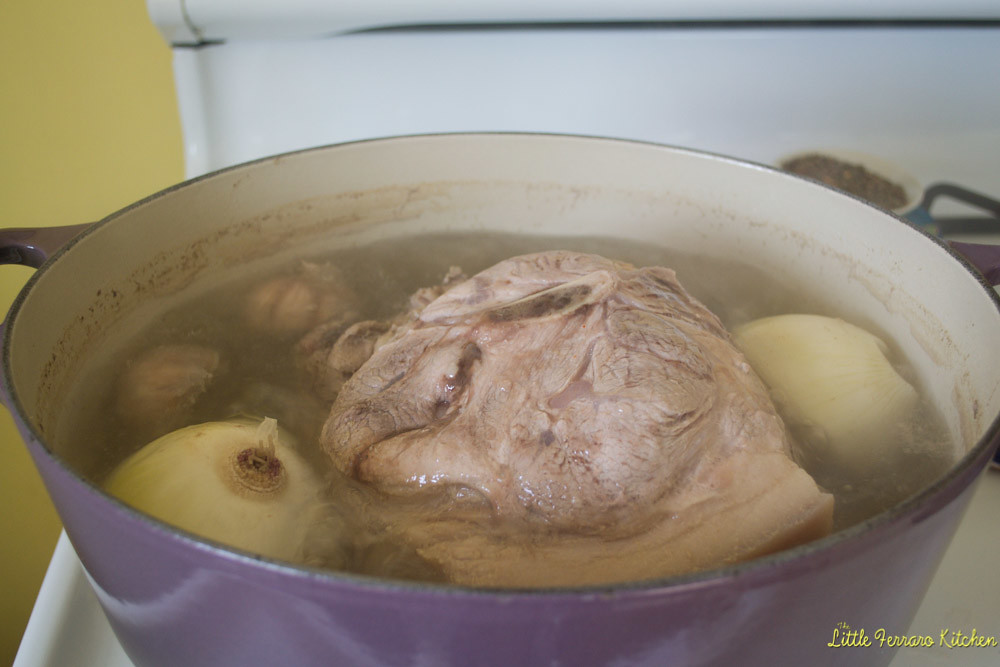
1) In a large soup pot, add pork, 1 onion cut in quarters, 1 garlic bulb cut in half, 3 bay leaves, salt and pepper. Cover everything with water and allow to simmer for 2 hours. As water begins to evaporate, add hot water to keep the broth at the same amount.

2) While stock is cooking, make the chile sauce. Cut open your dried chile's and remove all the seeds and stems. Soak the chiles in water for at least 30 minutes to soften.

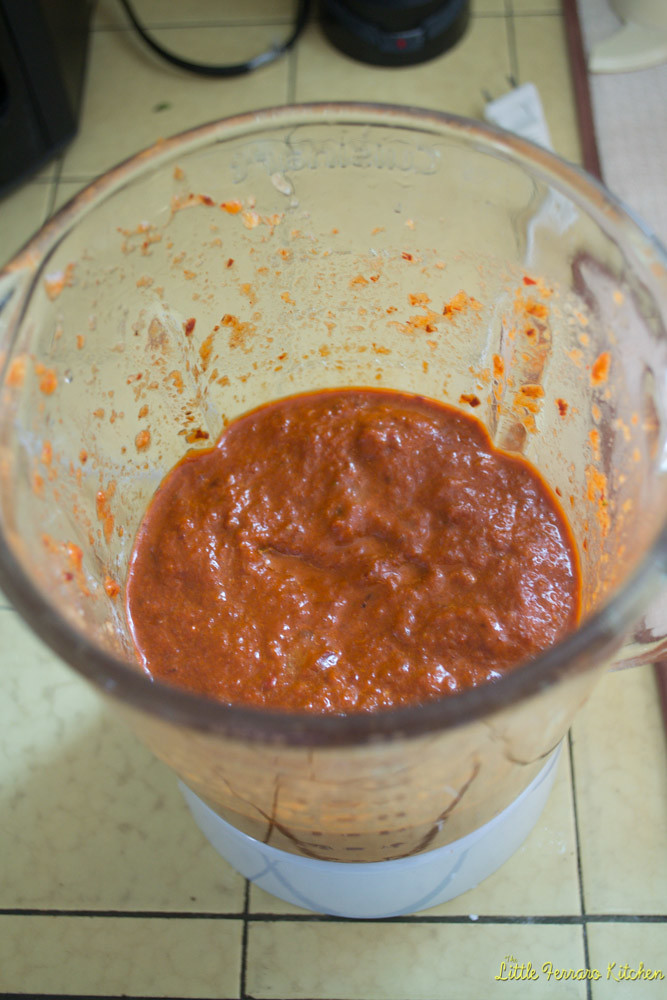
3) When chiles are soft, add them to your blender (or food processor) as well as 1 onion (roughly chopped), 6 garlic cloves, few sprigs of fresh oregano, drizzle of olive oil and about ½ cup of the chile water (from soaking). You may need more depending on consistency. Blend everything together until it is all pureed.

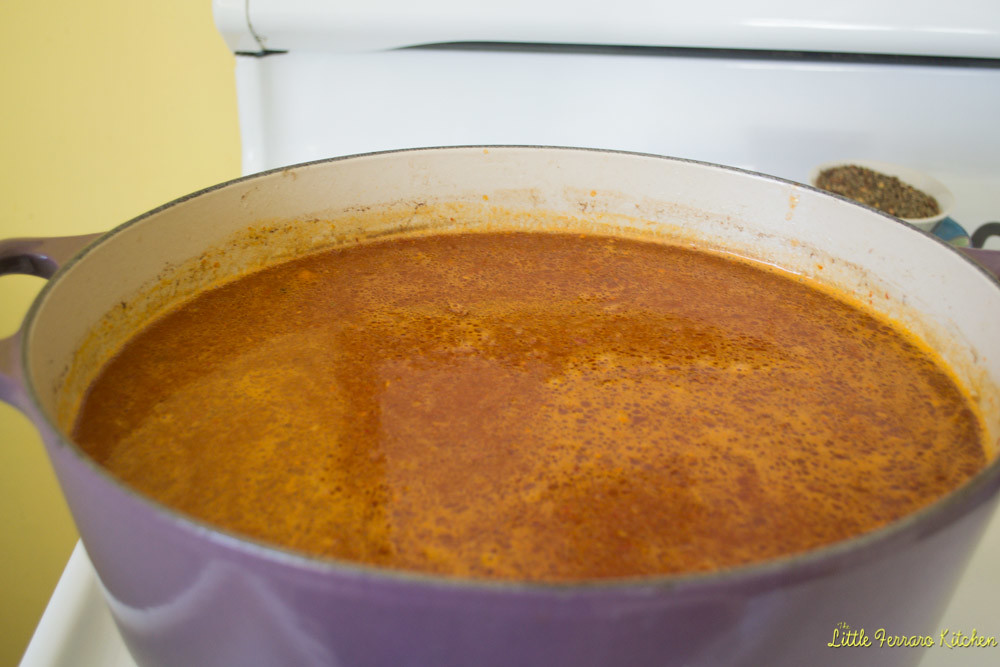
4) When stock is done and pork is cooked through, remove pork to cutting board and shred or cut into bite size pieces. Discard stocks onion, garlic and bay. Then add the pureed chile sauce to pork stock and store through. Add hominy and cubed pork. Taste for seasoning.

5) Bring soup to a gentle simmer and allow to continue cooking for an additional 30 minutes.
6) When pozole rojo, ladle soup into bowls and top with garnishes, such as sliced cabbage, sliced radishes, fresh oregano, avocado, like and tortilla chips.

Pozole rojo is a bit time consuming (yes, but so worth it), for a quicker meal with loads of intense Latin flavor, this Mexican noodle soup called sopa de fideos only takes a handful of ingredients and fraction of the time. And if pork isn't your jam, try my vegetarian red pozole loaded with hominy, beans and squash!
And if you're looking for other hearty stews, try my Dominican sancocho recipe!
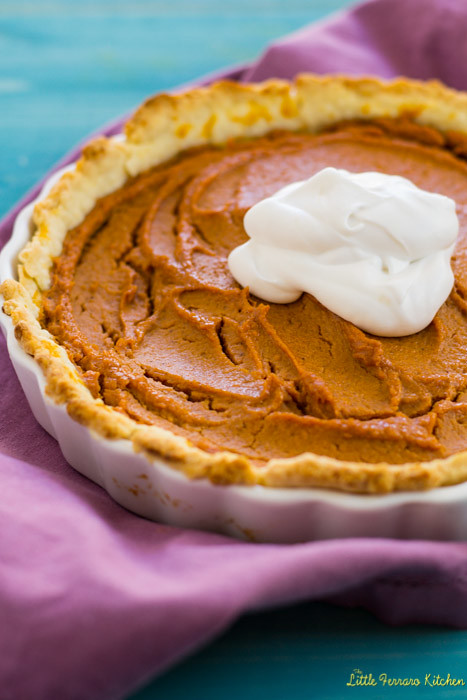
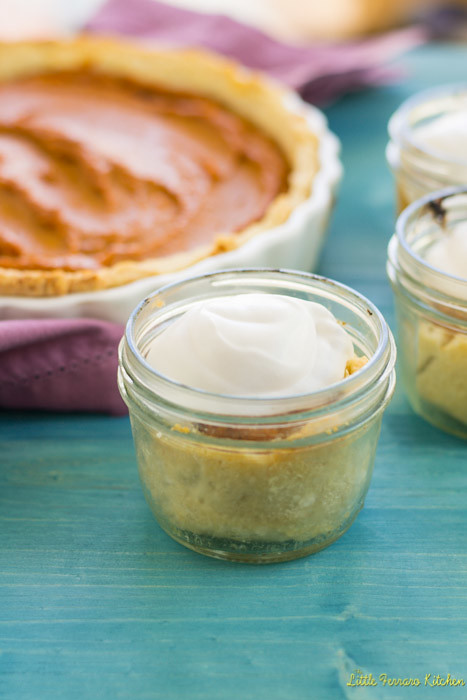
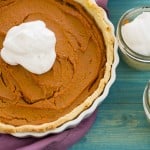
Sweet potato pie gets even better when topped with luscious coconut whipped cream. This classic dessert with a twist of Coconut and flakey crust should wind up on any table that deserves a wonderful sweet finish.

I topped this gorgeous pigmented pie with a healthy dollop of coconut whipped cream!
The flavor of coconut is extraordinary, like on my Coconut Creme Brulee. But I have to say, at first I had some trouble whipping the coconut cream up. I had enough sweet potatoes to make enough for an army! As you can see here, I made little mini sweet potato pies in a jar and also had enough for a large pie. The dough is enough for either 2 pies or 12-14 mini mason jars.
So here are some tips when making coconut whipped cream:
1) Chill everything!! Chill the canned coconut milk overnight in the fridge and chill the mixing bowl and beaters.
2) When you open the can, remove the very watery/thin part and only whip up the thicker coconut milk.
3) Keep your eye on it. Start slow and gradually go faster. It won't whip up like very stiff whip cream but it will get thicker.
4) Add powdered sugar when it begins to get soft. I learned that the coarser sugar weighed it down and it did not fluff up as I liked (at first).

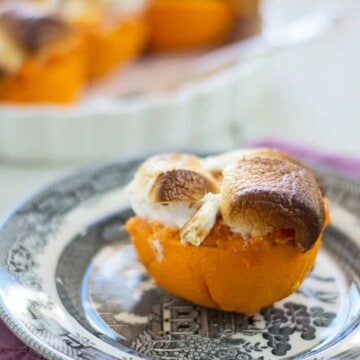
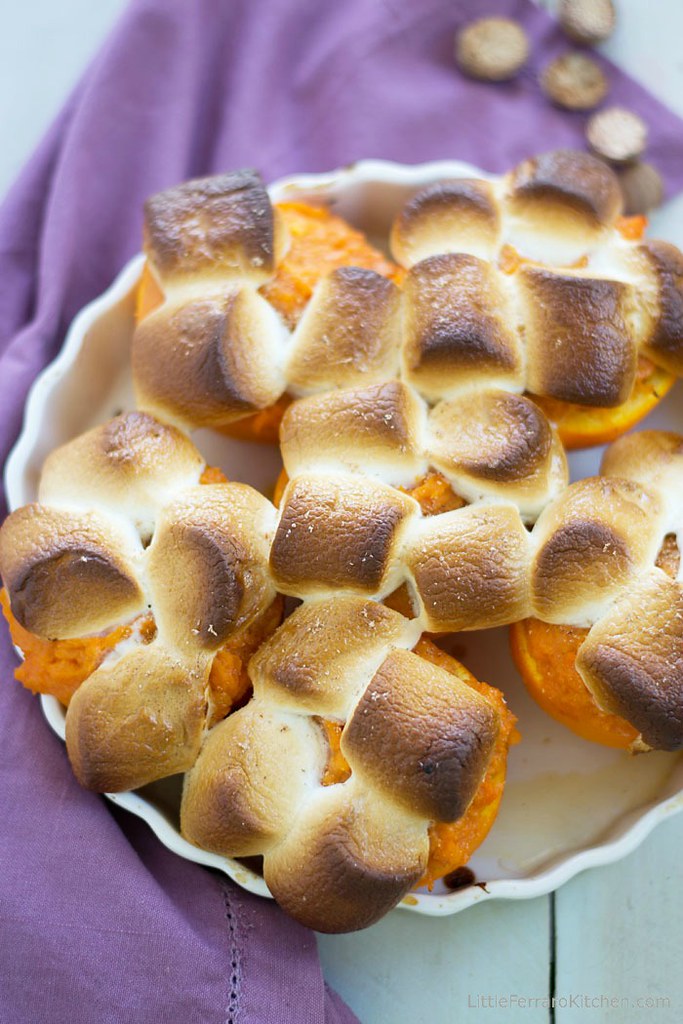
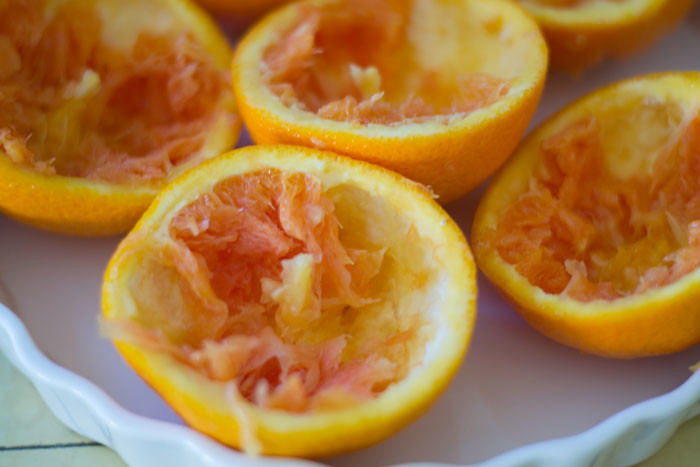
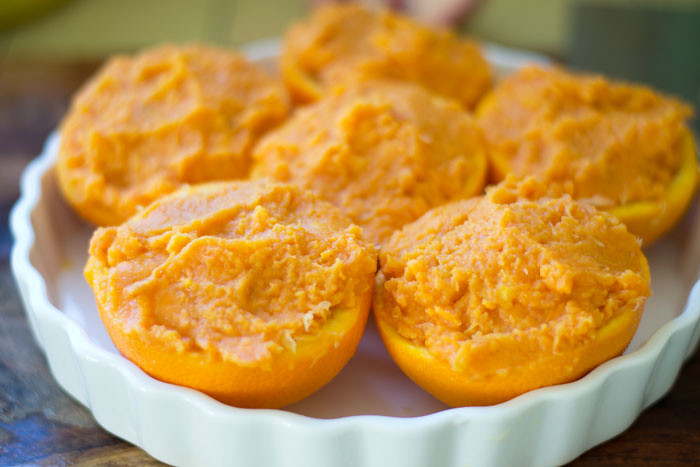
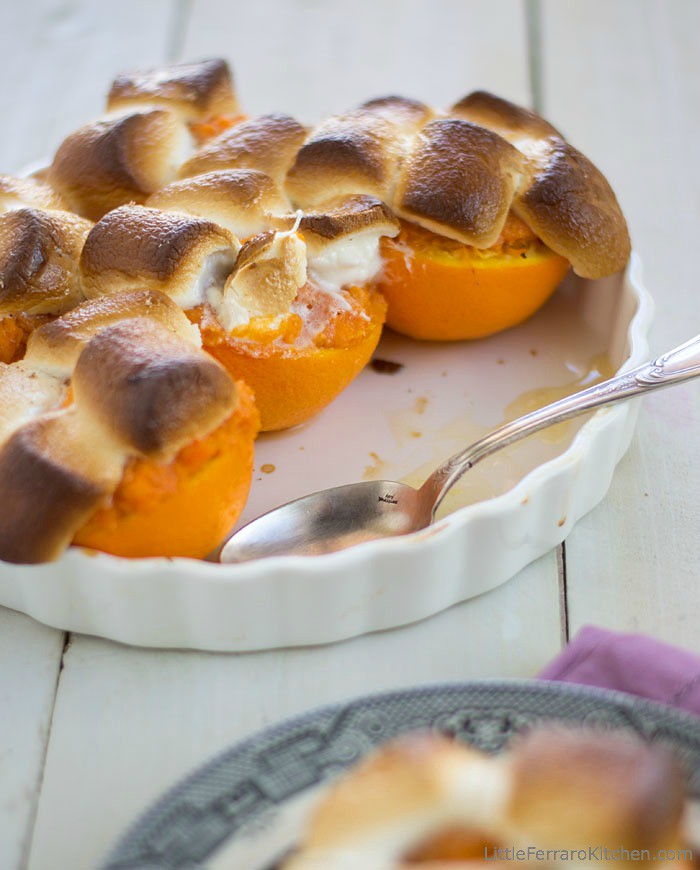
A twist on Thanksgiving sweet potatoes, these sweet potato stuffed oranges are flavored with a bit of brown sugar and served right in orange cups.

So these stuffed oranges is my mom's recipe. When I was growing up, she made this every year. We would buy those huge bags of oranges and make trays and trays of them. The only difference with the original recipe, is that my mom used to (and this was way before we both went whole-foods/organic eating) use canned sweet potatoes. They were these dark orange cubes of mush sitting in its thick sugary syrup. Now that we know better, the new recipe has changed to boiling whole sweet potatoes and sweetening with a touch of brown sugar.
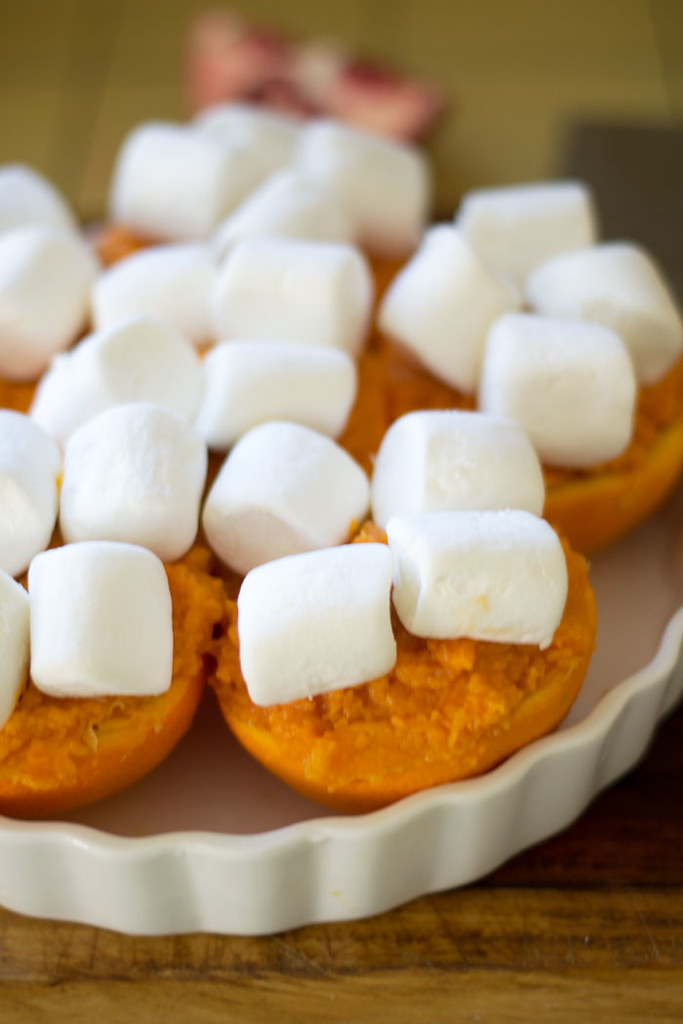
How cute are those pillows of marshmallow perfection? I know it's Holiday season when mom buys marshmallows! And how cute are these little orange cups snugly fit on your Thanksgiving plate...very cute!
The secret (according to mom) is to not scoop out all the flesh of the orange. She says that's the best part. After you eat the sweet potato , the orange is soft and delicious and you kind of drag your teeth along the inside of the orange and enjoy the sweet fruit juice.

And speaking of Thanksgiving...have you heard about Thanksgivvikuh?? Yup....Thanksgiving + Hanukkah in 1! It looks like this year the 1st night the 'Festival of Lights" falls on Thanksgiving. Which means Turkey and cranberry latkes...oh man..does that sound awesome or what? And keep your eye out because a few blogger friends and I will be hosting a Thankgivikkuh event on November 1st..so excited!
Method:
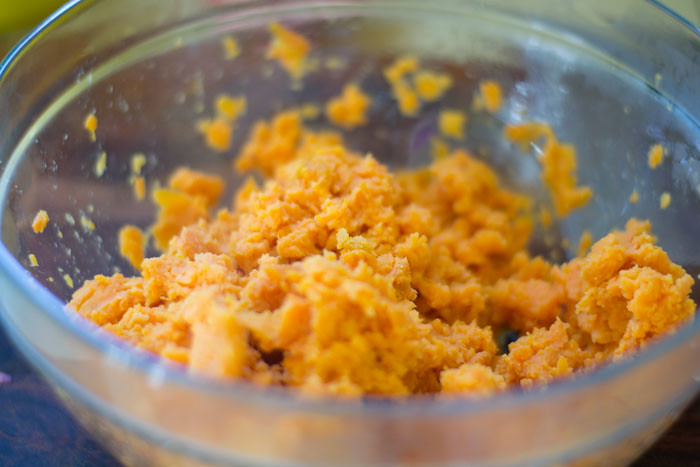
1) Peel and boil sweet potatoes until fork tender Then drain and place potatoes in a bowl. Use a fork to mash them up. Then add brown sugar and a pinch of salt.

2) Cut oranges in half and use a fork or spoon to cut out the orange flesh. Have the sweet potato bowl near you so all the orange juice and flesh goes straight in there. Leave some orange fruit pieces intact. Discard seeds. Mix the filling well until most of the lumps are out. Taste for seasoning.

3) Place orange halves in an oven safe dish and scoop sweet potato filling in each one all the way to the brim.

4) Then top with a few medium-sized marshmallows.

5) Bake at 350 for about 15 minutes or until the marshmallows begin to brown and melt.

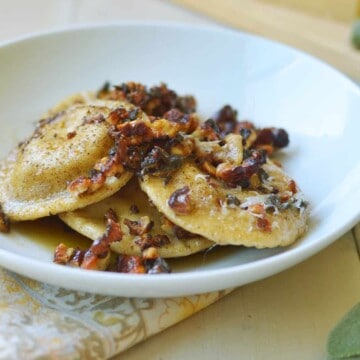
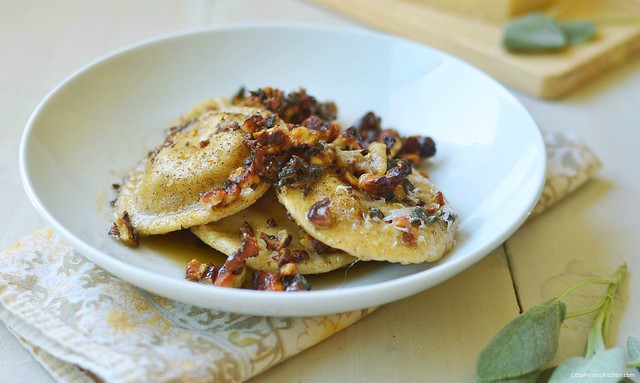
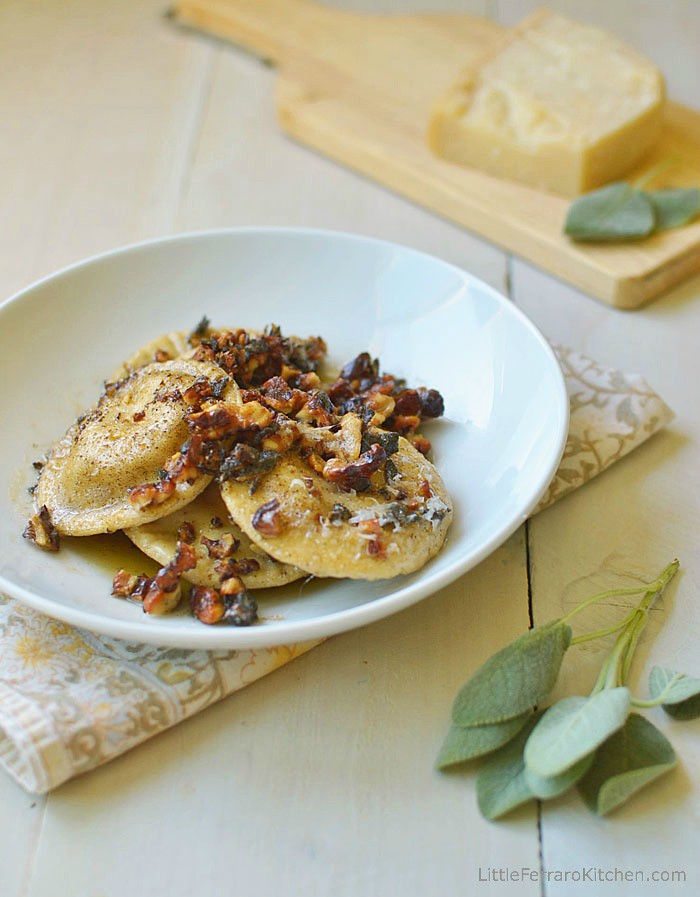
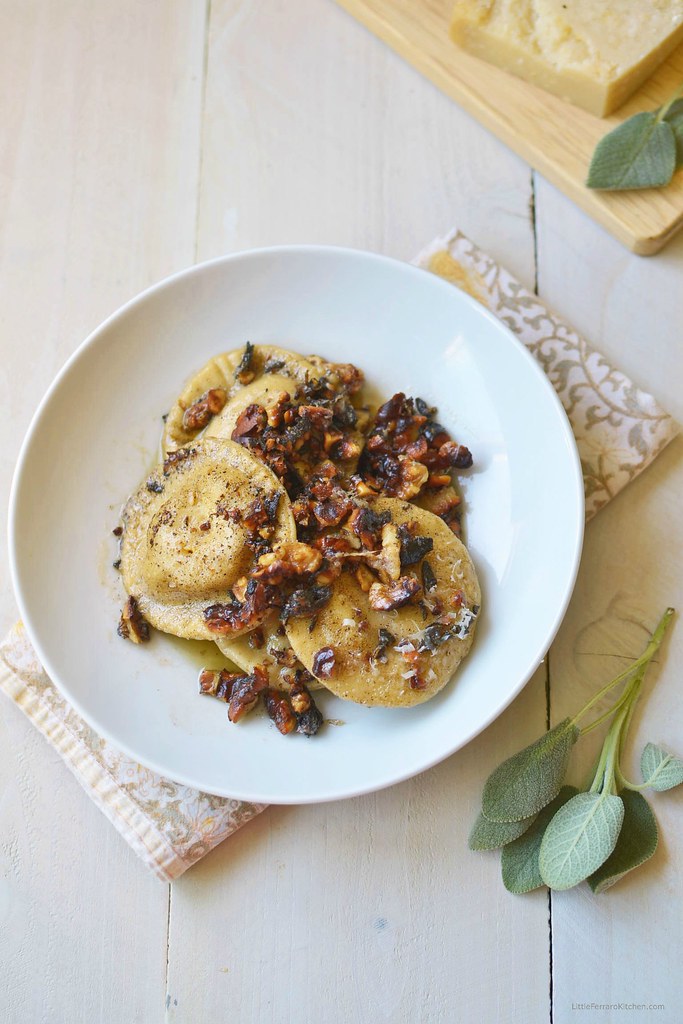
Comfort food at its finest! Pumpkin and ricotta filled ravioli tossed in a nutty brown butter sauce is what fall dinners are made for! And the perfect touch is crisp fried sage and a generous helping of grated Parmesan.

This may be, without a doubt one of my favorite pumpkin recipes to date! And it's all thanks to that savory and creamy pumpkin filling. If you have any extra pumpkin make my Mini Pumpkin Swirl Cheesecakes
Pumpkin Filling: Mix canned pumpkin, ricotta, Parmesan, egg and nutmeg together until creamy and this will be your ravioli filling. You can also use the same filling for a creamy pasta sauce or as a layer for a fall-flavored lasagna.

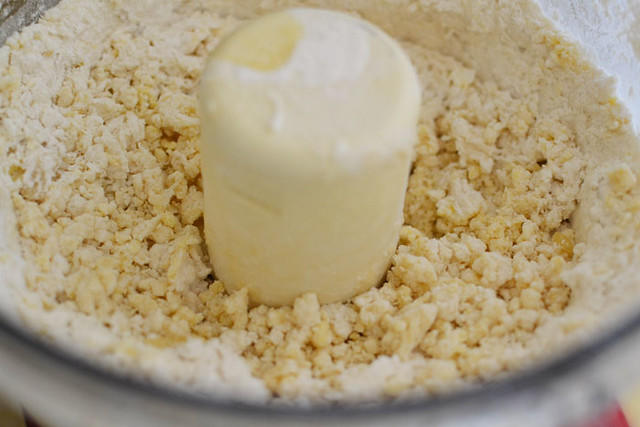
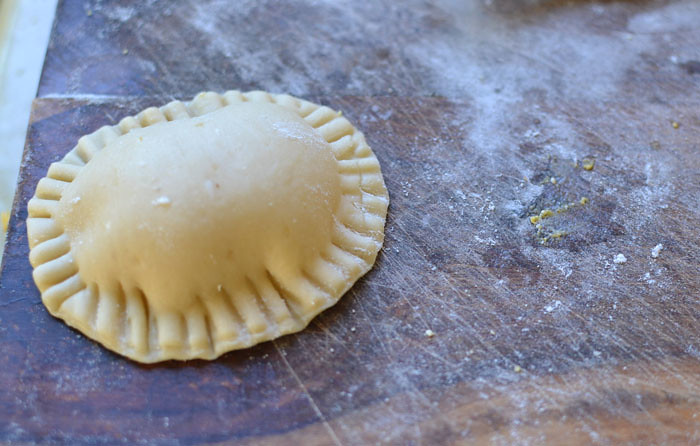
The pasta is simple, and you can mix everything in the food processor. What takes time is the rolling out of the dough. Of course if you have a pasta machine, it makes life a tad easier, but you have to roll it our a few times and on different settings to get the right "feel". You don't want it too thick or too thin. I can usually tell if I can see my hand print fairly easily.
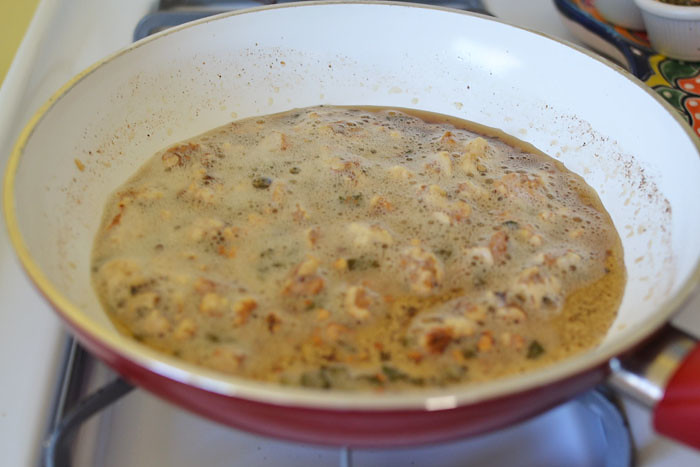
Use a non-stick skillet and add butter, walnuts and sage. Cook butter on low-medium heat until the butter turns a dark brown color. As soon as it darkens, turn off the heat and add whatever ravioli or pasta or use as a garnish like I did with my butternut squash risotto.
1) Place all the pasta dough ingredients in a food processor and pulse until it looks like coarse crumbs. Then while the processor is going, slowly drizzle in water until the dough comes together.

2) Place the dough on a well floured surface and knead it a few times until it gets smooth. Wrap in plastic wrap and refrigerate for at least 30 minutes.
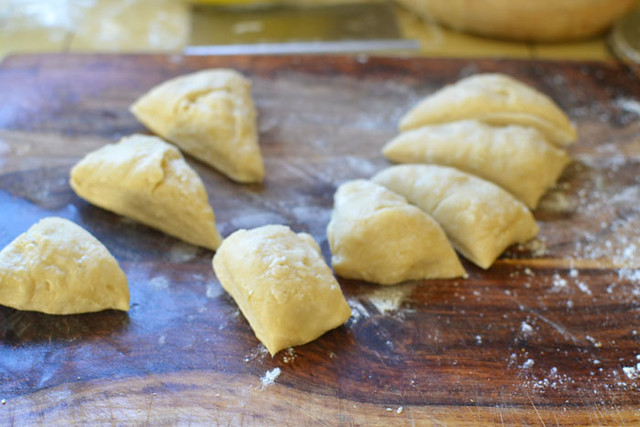
3) When dough is ready, cut into 8 pieces. Each piece will be a layer of ravioli dough. (You'll be able to fit about 3-4 ravioli after its rolled out).

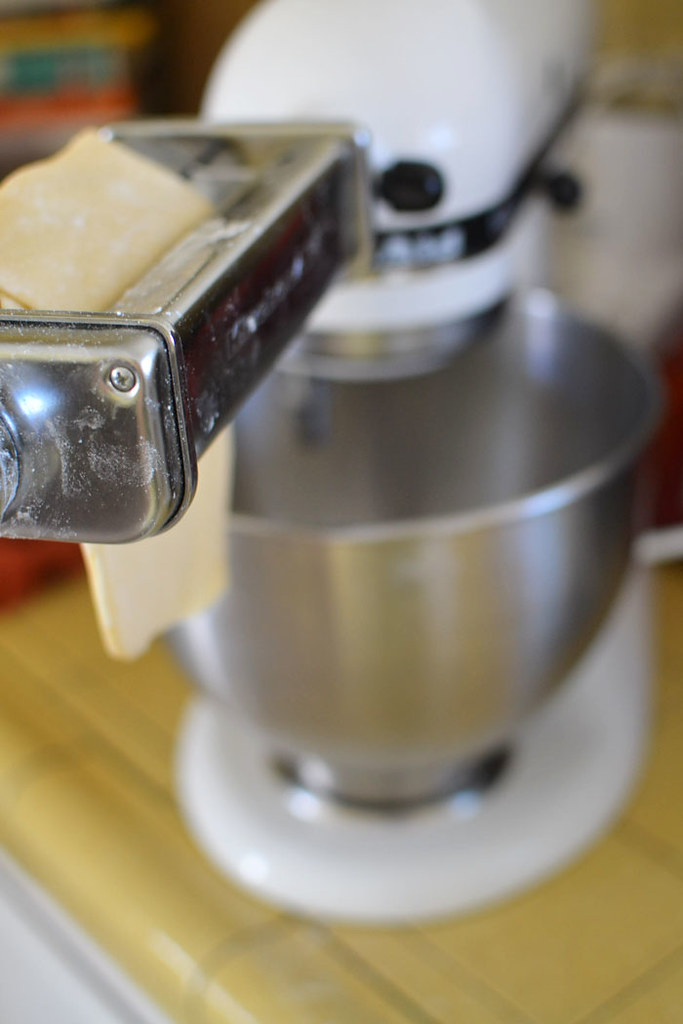
4) With floured hands, stretch out the dough slightly and flatten it so it looks like a thick disk. Run it through your pasta machine on the largest setting and allow the pasta to pass through twice (or so). Then go to the next smallest setting and do the same thing. I go up to setting 3-4. You want the pasta to not be too sheer but soft enough as well. Continue with the rest of the dough.

5) Place your pasta sheets on a dry surface sprinkled with semolina. You can also cover it with a damp cloth to keep it from drying out. Set aside to make filling
6) Now make the filling. In a bowl, mix together pumpkin, ricotta, egg and spices. Whisk together well so it becomes light/fluffy and incorporated.
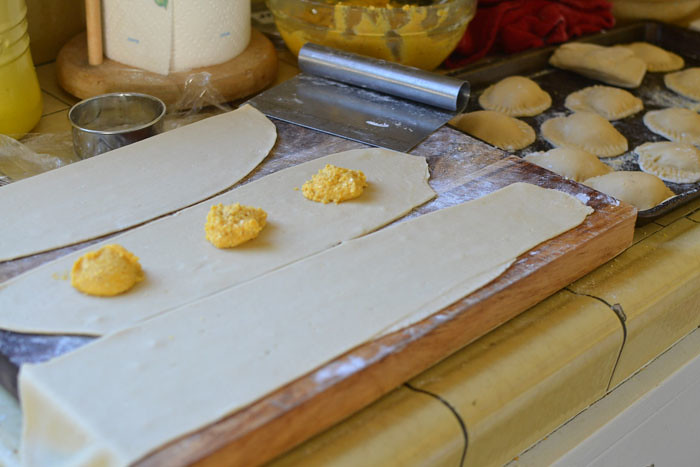
7) When ready, lay one sheet of pasta on a dry and floured surface and use a teaspoon to spoon filling, placing them about 1-2 inches apart. Don't put too much filling, a little goes a long way.

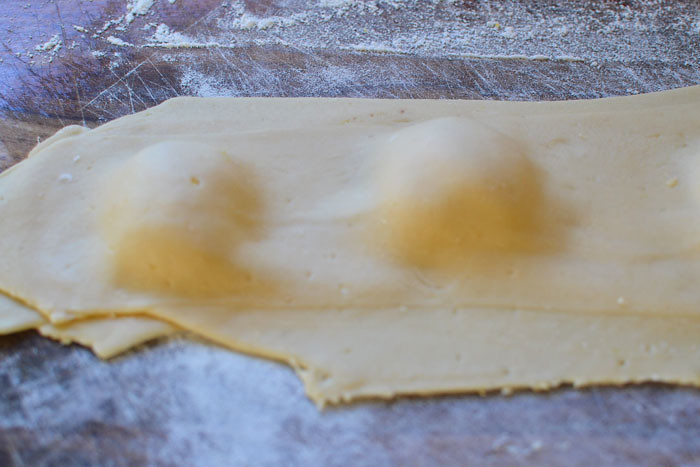
8) Place another sheet of pasta on top, making sure they lay evenly. Use your hands to gently seal the pasta around the filling. Then use a cookie cutter that is larger than your filling and cut out ravioli. Use a fork to crimp the edges. Place ravioli on surface sprinkled with semolina.


9) When ready, cook ravioli in salted boiling water until they begin to float, about 4 minutes.
10) Next, make the brown butter sauce. In a non-stick skillet add butter, walnuts and sage. Allow to cook on medium heat until the butter turns a dark brown color. As soon as it darkens, add in your cooked ravioli and toss gently to coat.

11) Plate the ravioli and sauce and top with fresh grated parmigiana.
More great pasta recipes:

Coconut and Pumpkin Bread Pudding is flavored with warm cinnamon and allspice and a drizzled with a decadent coconut anglaise.

When I am damned to make something, nothing stops me. Even in bustling 90 degree weather, I will stand in front of a stove and bake. Call me crazy. In fact, today I was in such a mood for ramen, Joe and I drove 20 minutes to find the 1 ramen joint that did not have air conditioning...and just for a bowl of spicy shoyu ramen. I really am crazy, aren't I?
I am envious of your snow and fall weather. I want to curl up in a sweater and bake pumpkin and apples up to my ears. But alas, we are stuck in this hot and dry conditions for the next few days. They call this "Santa Ana Winds", which are strong winds that come from inland and are incredibly dry and hot. The only good thing about this weather is that the ocean will be warm for swims and I never have a frizzy hair day (girl problems).


I was thinking of posting step by step photos for this recipe, but honestly, it is the easiest dish you will make. But really, this pumpkin bread pudding is a 1 pot wonder. Throw everything in and wait an hour to have a sweet breakfast treat. The creme anglaise takes a bit more finesse. It is basically heating up cream and slowly adding egg yolks to thicken. That's it. A super easy dish with a fancy name is what I'm always down for.
Oh and another tip...If you want, go "heavy" on the spice. I love the flavors of cinnamon and allspice and you can be a bit generous than I was in the recipe. But really, this is an "anything goes" type of bread pudding with a fun fall twist. Enjoy!
The Jewish New Year, Rosh Hashanah is just a few days away! A time when I remember dipping apples slices in honey and when I reminisce about my Grandpa dragging me to temple to hear him blow the shofar.

Tradition is to bring in the New Year as sweet as possible. Eat those sweet apples, honey, pomegranates and dates. The sweeter the better! This is a time to make resolutions, goals and prepare for the best year to come.
So in lieu of a sweet New Year, I asked some of my blogger friends to share some of their favorite recipes with apples and honey!
L'shannah Tovah! and I hope your New Year is filled with sweetness, joy, love and blessings.
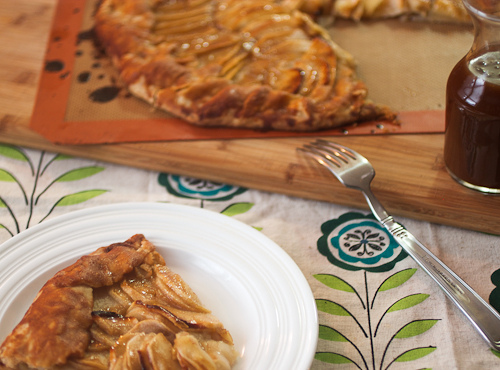
Honey Caramel Apple Galette by The Girl in the Little Red Kitchen

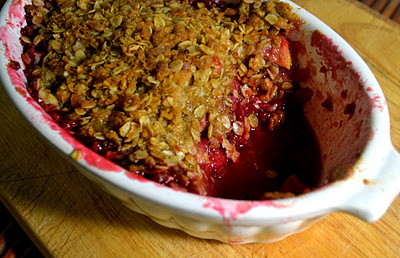
Raspberry and Apple Crumble by The Little Ferraro Kitchen

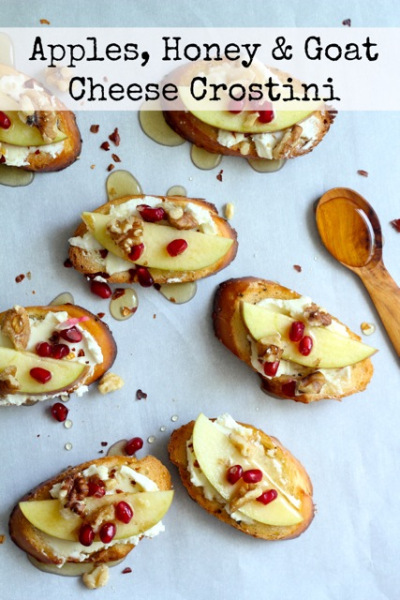
Apples Honey and Goat Cheese Crostini by What Jew Wanna Eat

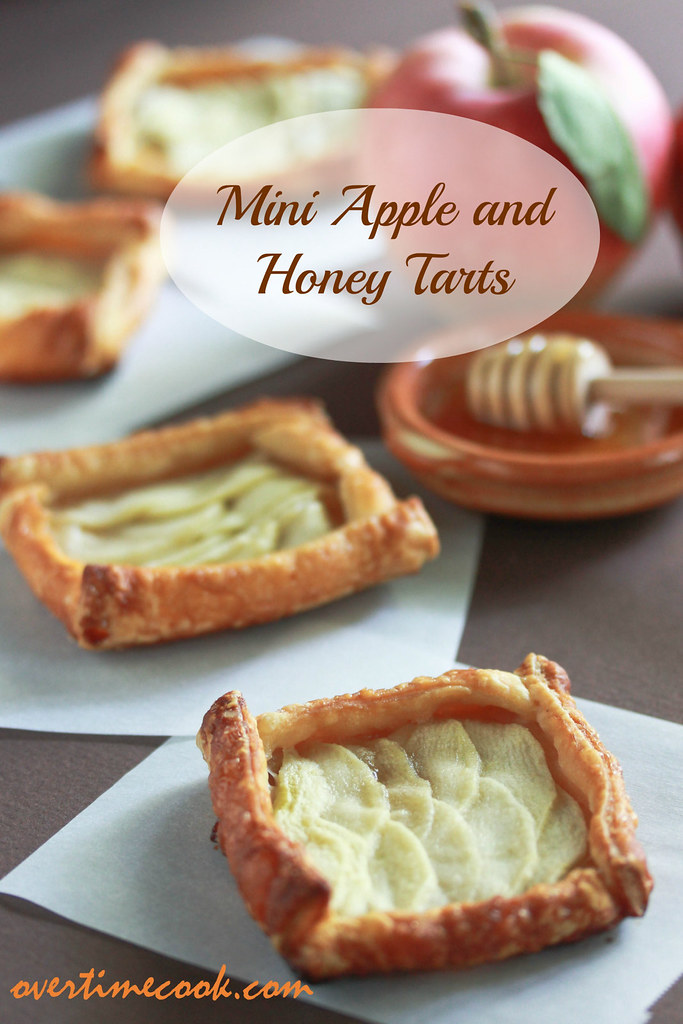
Mini Apple and Honey Tarts by Overtime Cook

Honey Apple Muffins by Food Babbles
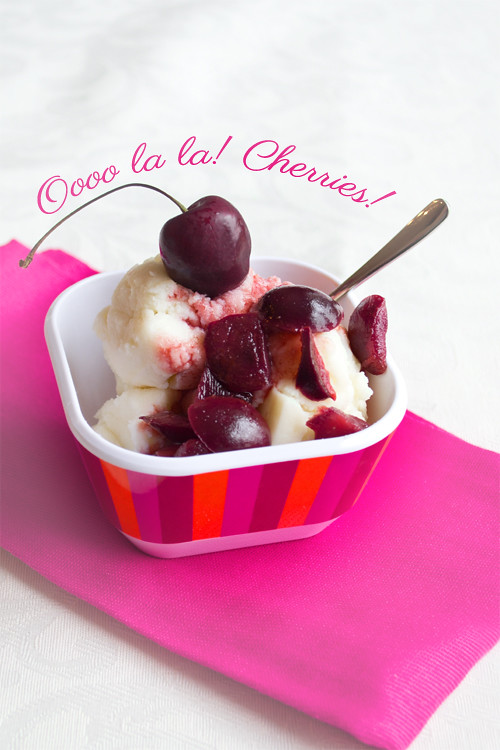
Ice Cream Sundae with Honey Roasted Cherries by Cook the Story

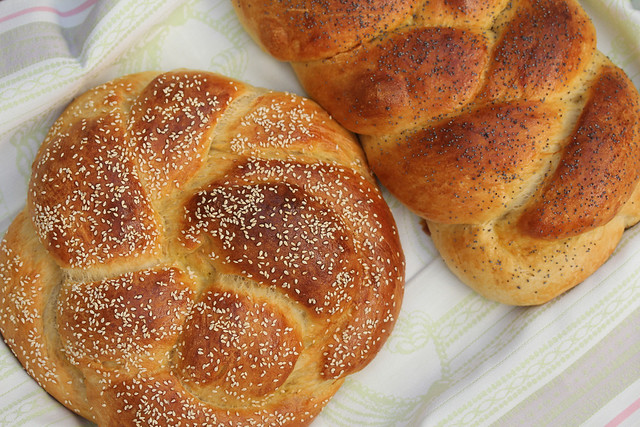
Honey Challah by Karen's Kitchen Stories

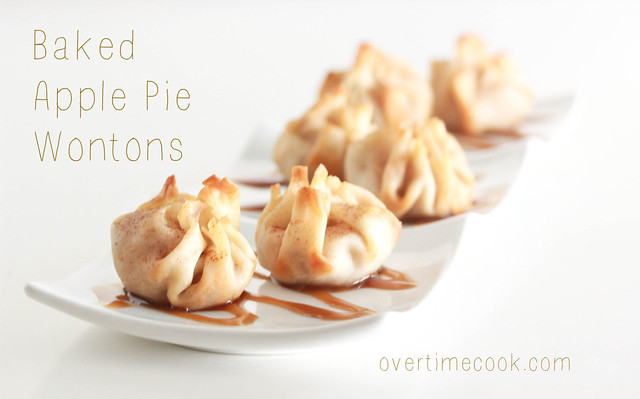
Baked Apple Wontons by Overtime Cook

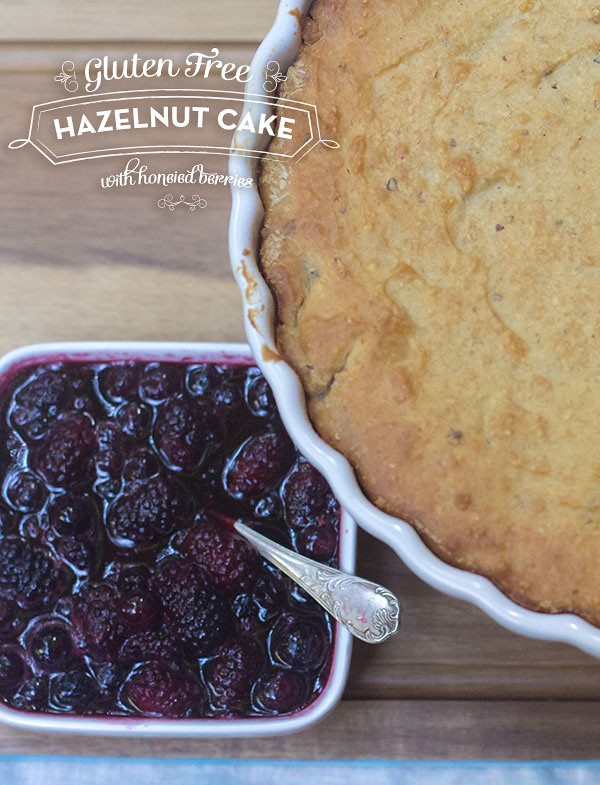
Gluten-Free Hazlenut Yogurt Cake with Honey Berries by The Tomato Tart

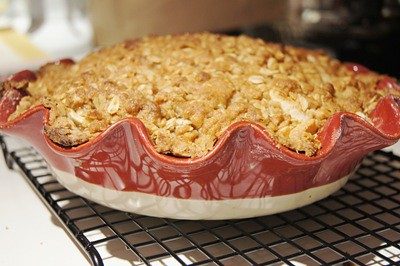
Double Crumble Hot Apple Pie by Keep it Sweet

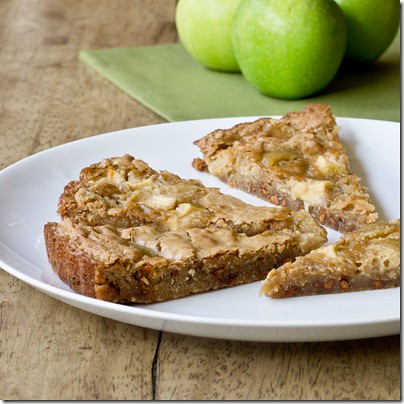
Apple Cinnamon Blondies by Keep it Sweet

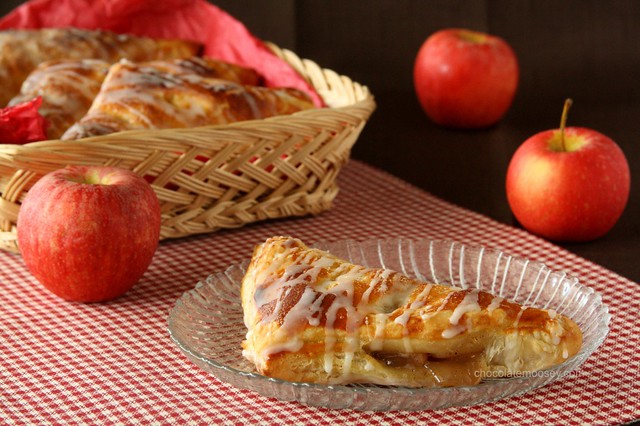
Apple Turnovers by Chocolate Moosey

Holiday Apple Kuchen by Karen's Kitchen Stories

And a few more......
Warm Buttermilk Custard Apple Pie by Life and Kitchen
Apple Cinnamon Baked Beans by Life and Kitchen
Honey and Sea Salt Peanut-butter by Cupcakes and Kale Chips
Double Apple Pot Pie by Yummy Smells
Apple Compote by The Hungry Goddess
Apple Cider Cinnamon Rolls by Chocolate Moosey
Quick and Easy Apple Sandwiches by Jew Hungry
Upside Down Apple Cake by Frugal Antics of a Harried Homemaker
Cinnamon Apple Chips by Shockingly Delicious
Tropical Honey Panna Cotta by Vintage Kitchen Notes
Vegan Holiday Bundt Apple Cake by Ricki Heller
Hawaiian Apple Lattice Pie by The Little Ferraro Kitchen
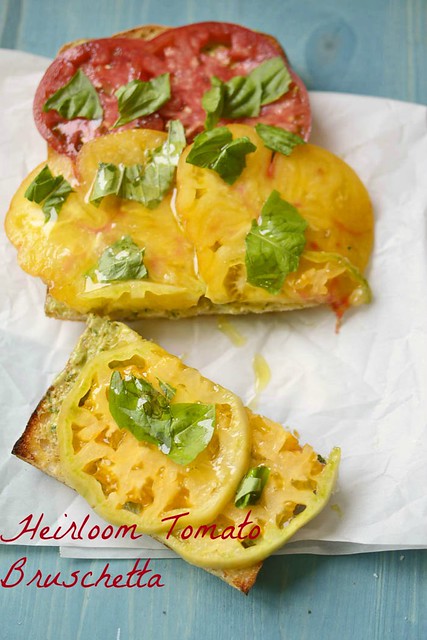
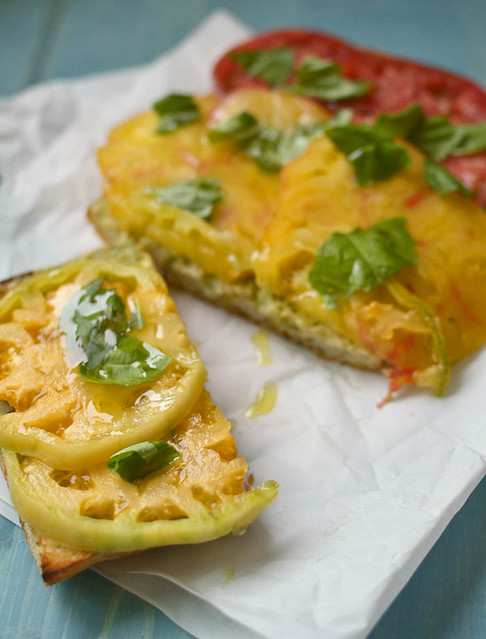
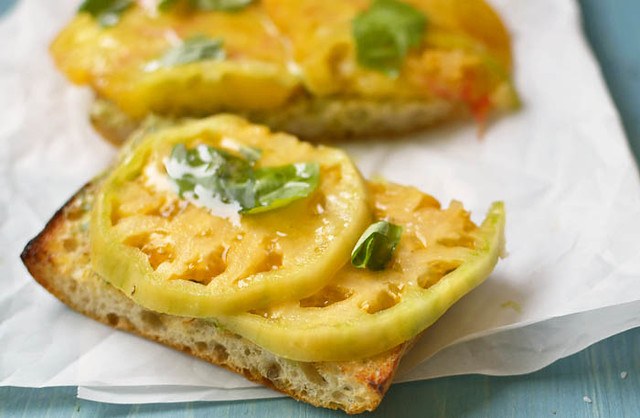
Tomato bruschetta with sliced rainbow heirlooms on crusty grilled bread. For another quick impressive appetizer try my Pan Con Tomate with Jamón.

This is not your standard tomato bruschetta. Usually when people think of their favorite antipasto bite, chopped tomatoes submerged in olive oil on sogging bread comes to mind.
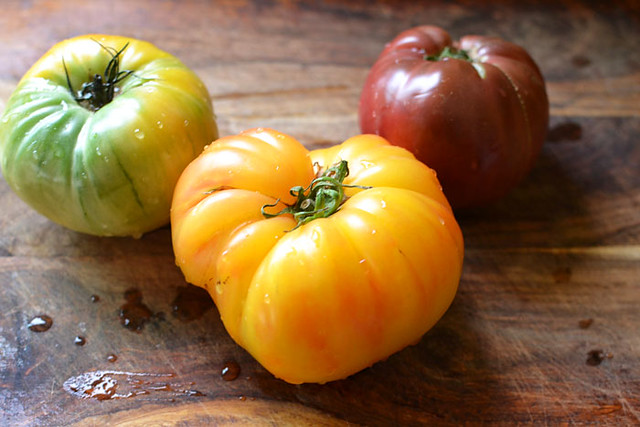
But bruschetta has many different variations. The definition says that bruschetta is toasted bread rubbed with garlic and topped with olive oil, I thought it would be fun to leave these beauties sliced large to show off their pretty illustrations.


I have been addictly in love with the tomatoes this season. The strawberries are sweeter, the corn is milkier (yes...milker) and the tomatoes, well, I think it's obvious how much I am loving fresh fruits and veggies.

I want people to enjoy and respect this gorgeous fruit as much as I do.

This bruschetta couldn't be any easier. Grill ciabatta and rub with a cut side of garlic. The heat from the bread slowly melts the garlic and permeates the bread. For the "glue", I used avocado tahini dressing, but I am sure that your favorite pesto or cheese bread would do wonders as well. Then you slice up your rainbow heirlooms and lay accordingly. Top with basil, olive oil and a good pinch of salt. Mmm....mangia!

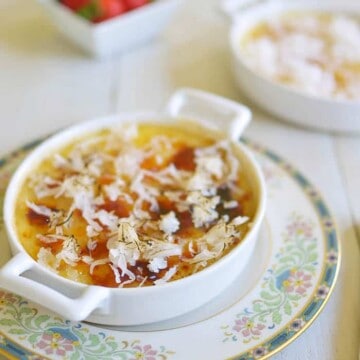
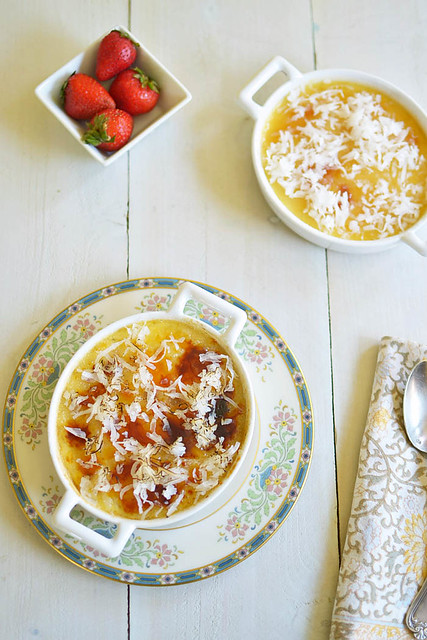
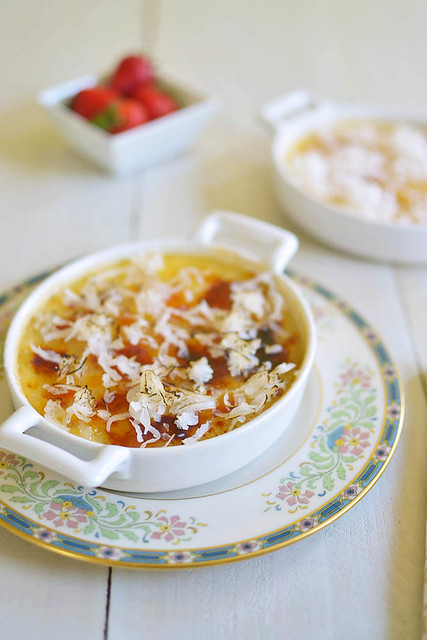
You can do this Coconut Creme Brulee a few ways. The creme has coconut milk in the recipe and then because I wanted even more coconut, I added sweetened coconut flakes too! You can leave that off and just have the classic sugar brulee or you can add a touch of sweetened flakes and then torch it! I think another delicious way to do it, would be to toast the shredded coconut first and then add it after you brulee the top.

Chocolate has a good reputation, it's always going to be the popular kid and the one people fall back on. But ya know...there are some other awesome sweet flavor friends out there too.


Directions
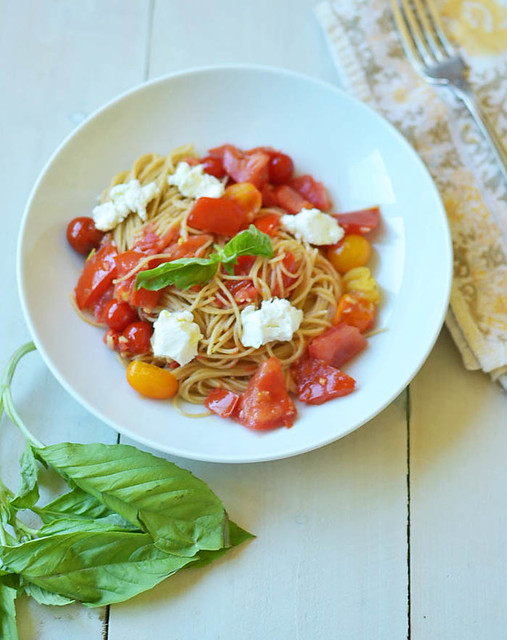
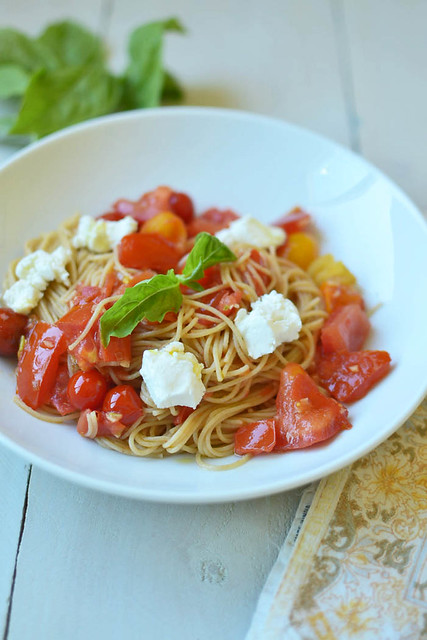
Heirloom tomato pomodoro is a quick and easy weeknight meal flavored with loads of garlic and tangy goat cheese for creaminess.

The word "pomodoro" means "tomato" in Italian, which makes perfect sense since this easy dish is a bowl of tomato love! This is also a very common dish during the summer time because it's so light and quick to make.

1.
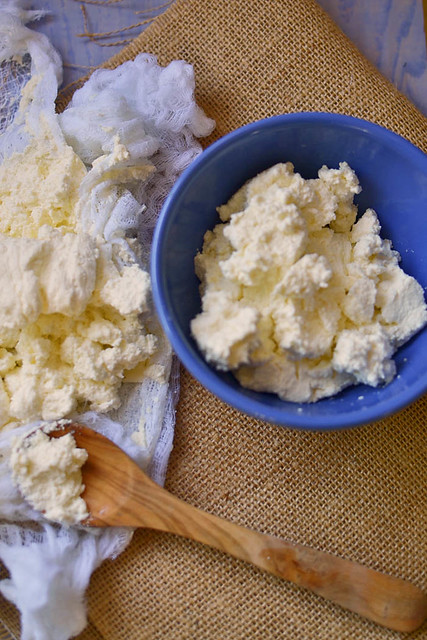
Learn to make homemade ricotta cheese made with just 4 ingredients.

The process is pretty easy really. All you need is milk and cream, acid and some time. Get the best whole milk you can find, you can taste the difference.
Then you bring it up to temp and get it nice and sweaty. After a few heightened degrees, acid is added it help form the curds. And speaking of curds, here's a vocabulary lesson for you!
Curds are the curdling cheese that starts to pull away from the whey, which is the liquid that's leftover.
Don't be surprised if you find yourself sneaking big spoonfuls. It's pretty addictive.
Also, another tip, thanks to Wonky Wonderful: As the curds are draining, do not..and I repeat..DO NOT press down on the curds to squeeze more liquid out. This will cause you to have a very dry cheese! Instead, just allow the liquid to naturally drip off and once you don't see any more liquid, then you should be goo to go. It took me a solid 2 hours.
Method:
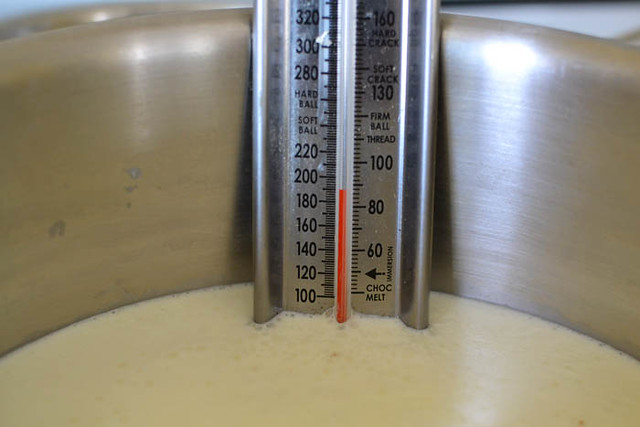
1) In a large pot, combine milk, cream and salt. Place on low-medium heat and use a candy thermometer to bring the milk up to 190 degrees F.

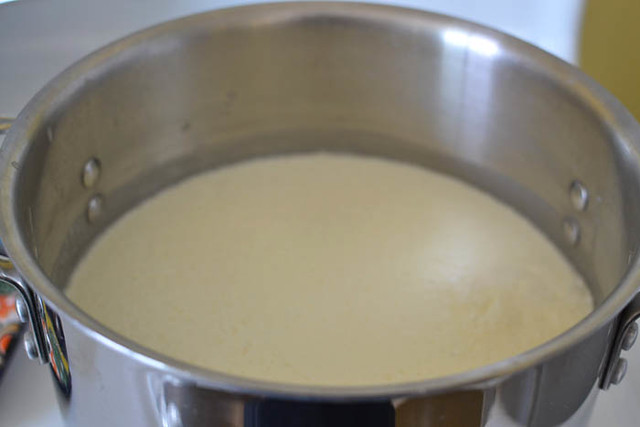
2) Once it reaches temperature, turn off heat and add lemon juice. Stir it once and allow to sit for 5 minutes. At this point you should see the milk beginning to curdle.

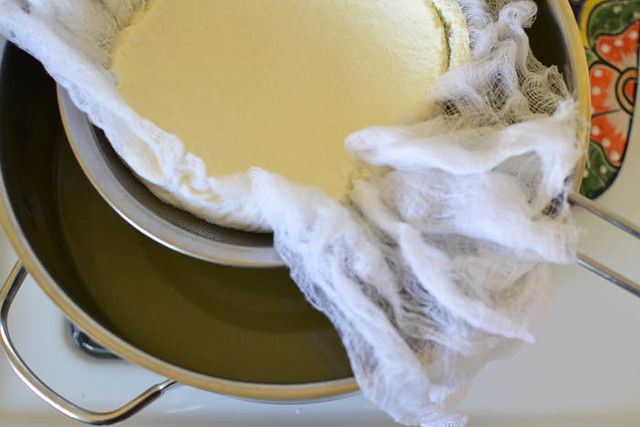
3) Line a large mesh strainer we several layers of cheese cloth. Place the strainer on top of a very large pot and ladle the milk mixture into lined strainer. You will need a large pot to catch all of the liquid, there will be a lot.

4) Allow the mixture to drain for 2 hours. Do not squeeze the cheese, just allow the liquid to nationally drip off.
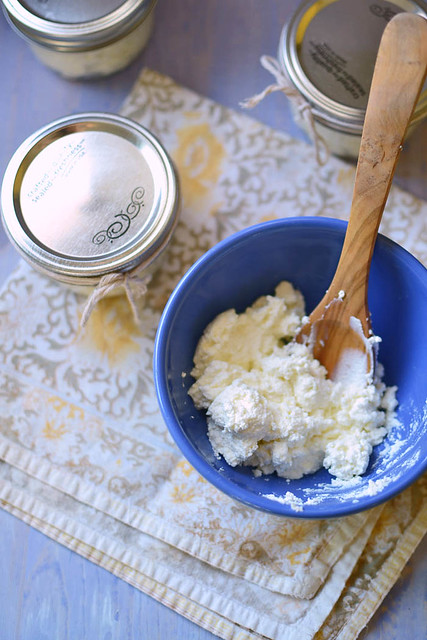
5) When done, scoop fresh ricotta into large or small mason jars and show off your work to your friends.


......Ends up on the blog!
We just got back from a food filling and fun hopping few days in Vegas!
And here are some of the amazing highlights from our trip.
First, we had an amazzzing suite at TheHotel which is part of Mandalay Bay.
And FYI....half of these pics are done with my phone!
We had so many fabulous dinners, my mouth is watering just thinking about them. One of the places we went to was Fleur by Hubert Keller in Mandalay.
The staff and chef treated us like royalty. Our palettes were gifted with truffles, scallops, oysters, potato crusted fish and gnocchi.
We loved this restaurant so much that we came back again for drinks. And look who we happened to chat with!
No biggie here....just chatting it up with Chef Hubert Keller about farmers markets and restaurant recs!
If that wasn't enough, we had another amazingly-intense food-giving-coma night at Sensei in the Bellagio. We found this restaurant becasue the chef is a "local" boy from my home town on the Big Island! We shared this fun dinner with my bloggy bff Shanna from Pineapple and Coconut and didn't stop talking or eating for a minute.
I mean...check out this 3 tier dessert platter, compliments of the Chef, of course!
So fun!
I have been dieing to try Bouchon ever since we went to French Laundry a few years ago. That is an entire different experience! Bouchon is in the Venetian and looks like an airy French cafe. I 've been hearing about their famous french toast and it was as perfect as described. A tall tier of soft, almost souffle like french toast with thinly sliced apples and deep syrup. We also ordered their Hash and Eggs and I have never tasted more perfect eggs in my life.
Dinner at Wofgang Puck's Vegas restaurant, CUT. If you like meat (specifically, Japanese and American wagyu), this is YOUR spot!
For dessert, Banana cream pie with bruleed bananas and raspberry and chocolate covered with meringue and warm raspberries!
And...a few more fun moments....
And for finding $20 bill on the way to our room......
Take me back!

I have a slight rant and vent to get off my chest.
I have noticed recently, and understandably it is summer, that many food bloggers and cooks are titling their recipes "Hawaiian ______" because it has pineapple in it.
I have seen Hawaiian hot dogs, Hawaiian dip, Hawaiian kabobs and of course, Hawaiian pizza.
Now don't get me wrong, I am all about trying different cultures and experiencing new foods, but...
I have some news for you. Putting a pineapple in it does NOT make it Hawaiian!
And, having grown up on the beautiful islands of Hawaii, I am taking this a little personally.
Pineapples have roots in South America where the Brazilians introduced pineapples throughout South America. It then reached to the Caribbean, Central America and Mexico. When Columbus was introduced to the pineapple, he brought it back with him to Europe and then it was the Spanish that introduced it to the Philippines and Hawaii. Finally in 1900, James Dole started a pineapple plantation on Oahu that grew substantially, however, Hawaii is not the largest grower of pineapples. (Source: Wikipedia). The Philippines has the most pineapple production in the world, and America isn't even in the top 5!
So why do we keep putting pineapple in our food and calling it Hawaiian?
Well...I just don't know! Do you put an avocado in it and call it "Californian"?
Hawaii is a melting pot of many different cultures such as Portuguese, Japanese, Chinese, Filipino, Korean and American.
But trust me, I don't remember putting pineapple in my cheese dip and calling it Hawaiian.
Hawaiian food is about celebrating the numerous cultures that traveled through Hawaii. It's about sustainable eating and using whats on your land and sea.
Here are some ono recipes you will find in Hawaii.
Kalua Pork
Lau lau
Haupia
So the next time you want to make something Hawaiian, what will you make?
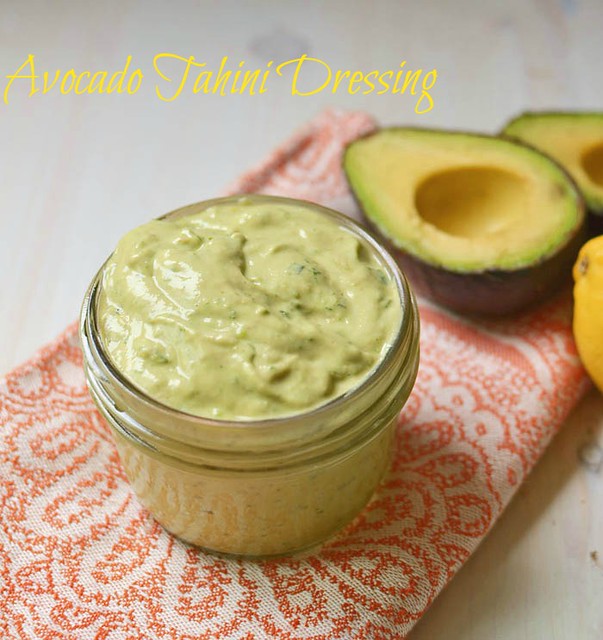
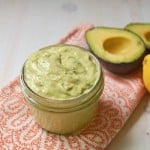
Avocado Tahini Salad dressing is perfect for hearty salads, grilled veggies and grilled bread.

Today is a super easy and quick recipe for avocado tahini dressing and just in time for summer.

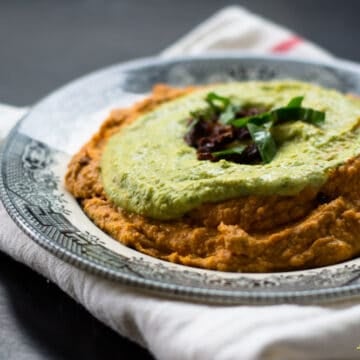
I've been known to try new things with avocado like my Creamy Avocado Hummus with Za'atar you know keep it sassy, right?
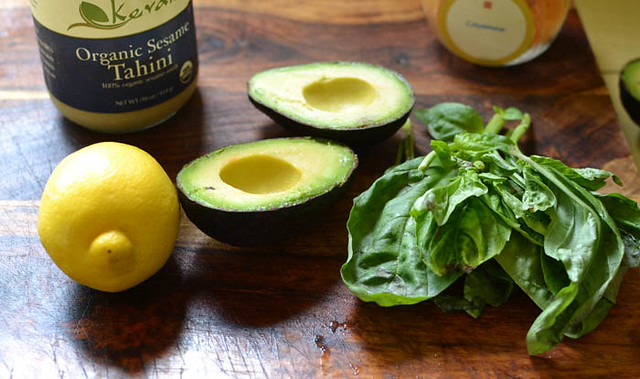
So..what about a salad dressing! It's thick, creamy and blends well with fresh flavors. Tahini is added to offer a nutty flavor and continue its creaminess and my favorite flavors were added to showcase the beautiful summer avocado.
This is a great dressing for hearty salads like my kale and chickpea salad and I spent the weekend spreading it over grilled ciabatta with fresh tomatoes (coming soon) and dolloping the dressing over hot grilled veggies. Just fabulous!
Save
Save
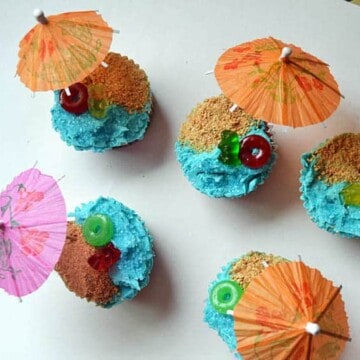
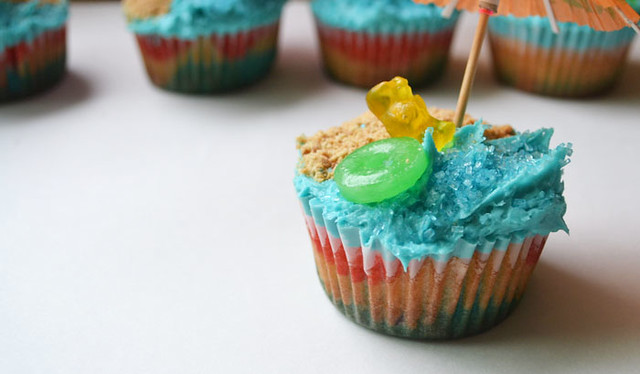
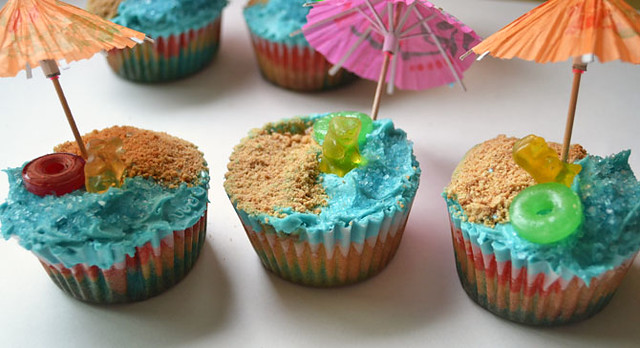
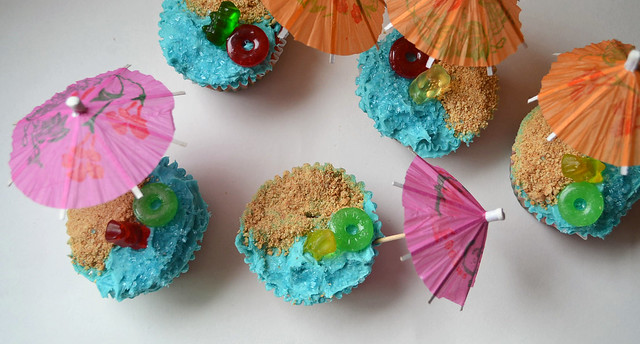
Fun and colorful Beach Cupcakes perfect for July 4th!

I am so thrilled that July 4th is just a few days away! Our little beach town is known to have multiple block parties each year we stick our little American flag on our beach cruiser bikes and make the rounds. Hula rides with us in Joe's bike basket and she always turns out to be the summer mascot!
So for this weeks #SundaySupper festivities, one of my favorite blogger gals, Jennie is hosting the #SundaySupper Summer BBQ Party and I am pretty excited to see all the BBQ treats and sweets that everyone is bringing!
And... you're going to laugh. I actually made these cupcakes LAST year! With the annual July 4th party, our block also throws the annual Ice Cream and Dessert Contest. It's pretty ligit and serious if you ask me. Huge tables are filled with themed and patriotic sweets and everything is timed to perfection until the call for the ice cream comes. Then everyone on our block runs to their homes and grabs their award-winning ice cream. I'm tellin' ya, I totally live in Mayberry by the Beach.

My contribution to the desert challenge were these festive and colorful cupcakes. I am really glad I saved the photos for 1 whole year so I can share these super fun and totally adorable patriotic treats with you!
Now if you know me, you know I rarely if ever eat processed foods and colored-candied treats, but ya know...once in a while for some fun is never a bad idea. I did color the icing and the cupcake batter using gel dye. But honestly, it was like a few drops. I have also used organic dye and it just doesn't produce the same color that I was looking for, not for this creation.
For toppings you can have as much fun as you want! The sand is made out of ground graham crackers and the "sea" is a wavy blue icing. I stuck a little cute gummy bear dude on his private island and gave him a life saver if he wanted to hit the waves. Someone else suggested a rolled up fruit roll-up as his beach towel and I think that is an awesome idea!

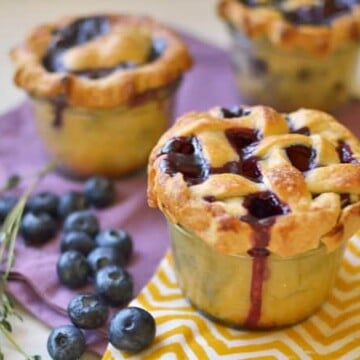
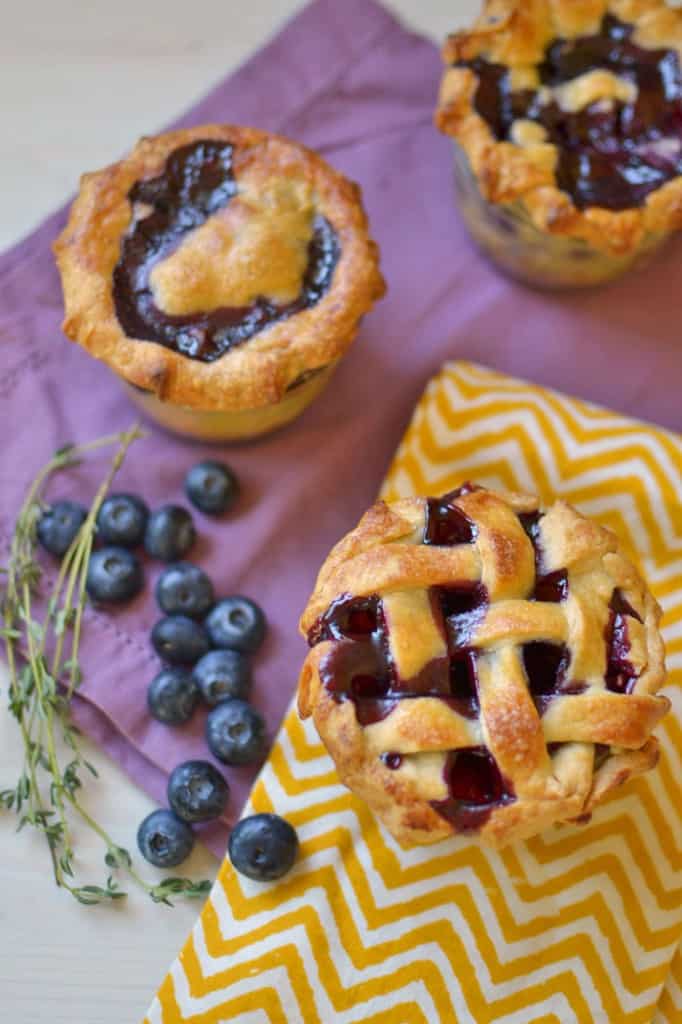
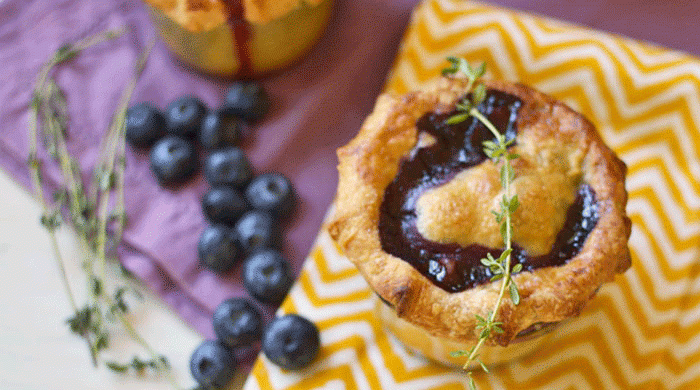
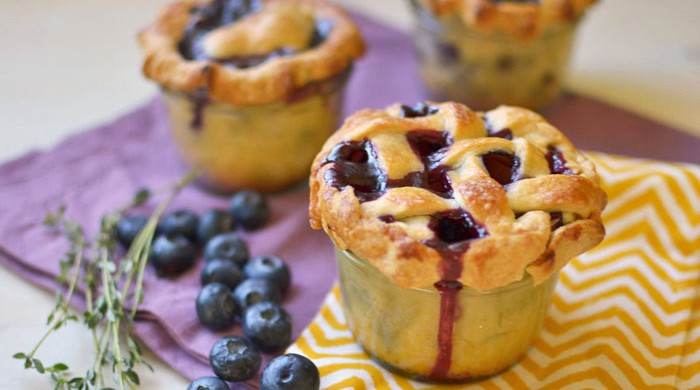
Little blueberry pie in a jar and flavored with a hint of fresh thyme, is the perfect single serving size for when you want something sweet.

I mean really...are these the cutest little gems you have ever seen? And so perfect for Holiday dessert! Because they are in cute little mason jars, these definitely qualify as portion control with no-guilt! Just don't ask me how much butter is in the crust. 🙂

Blueberries are gorgeous and plentiful now and because I apparently have a thing for putting fresh herbs in desserts, I put the two together and Blueberry Thyme Pie was born.
Method:
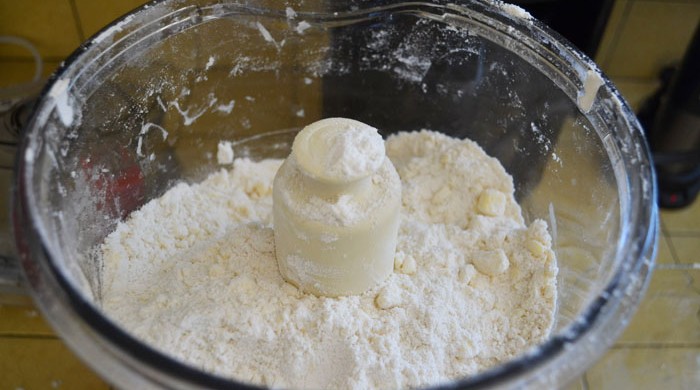
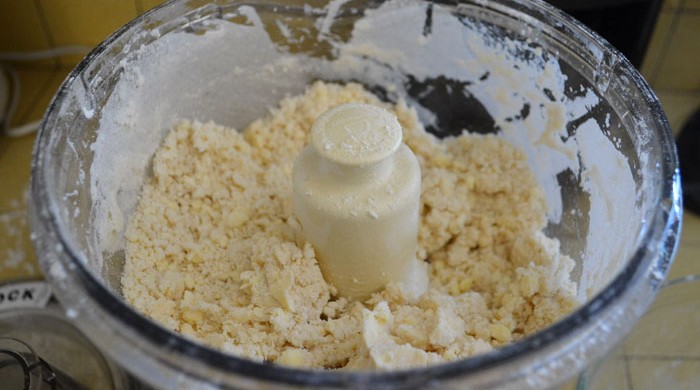
1) In a food processor, add the flour, salt and sugar. Pulse once to mix through. Add the pieces of butter to the flour and pulse in the food processor a few time until the mixture looks like little "peas".

2) Add ice cold water to the flour mixture, a few tablespoons at a time until the dough gets wet and its able to "stick" together. I added about 7-8 tablespoons of cold water. It can also look like wet send when you squeeze it together with your hands.

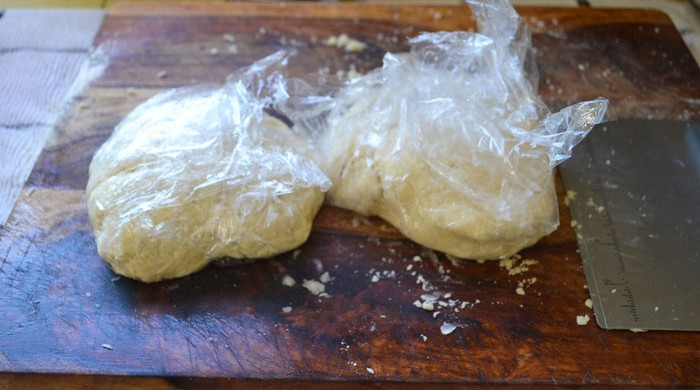
3) Place dough on a clean surface and form into a large ball. Cut ball in half and form into round disks. Wrap each disc in plastic wrap and chill in fridge or at least an hour.

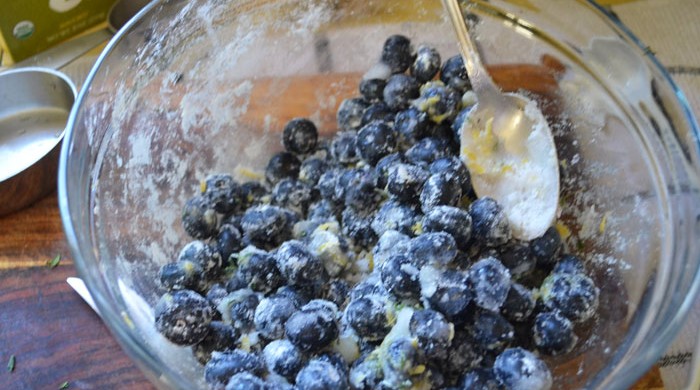
4) To make the pie mixture, in a large bowl, add the blueberries, sugar, lemon zest and juice, thyme and corn starch. Toss together with a spoon so everything is coated evenly.

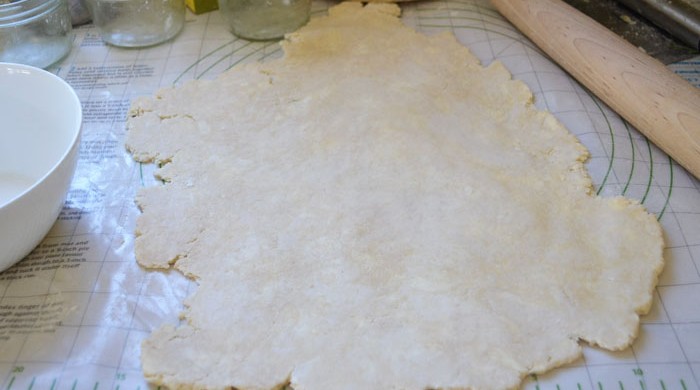
5) Take one of the dough discs and roll it out on a floured surface until it is about ⅛ thick. Then use an 8in round cutter (or a bowl, like I did) and cut out 8 inch circles.

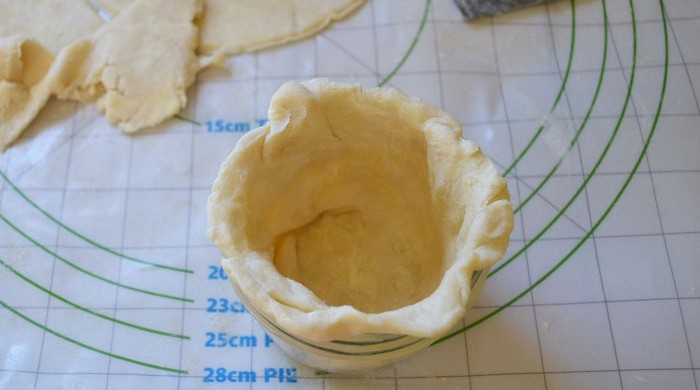
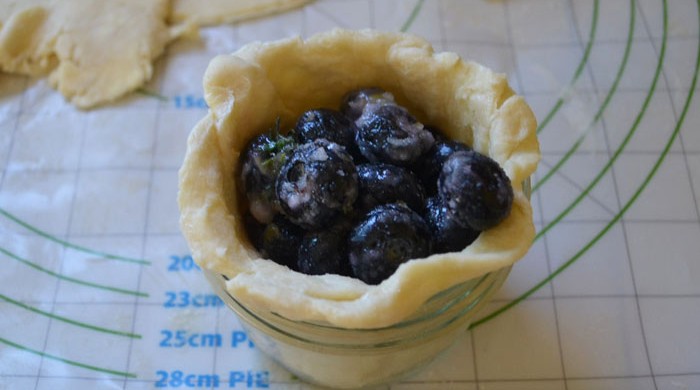
6) Place one of the circles into the jar, pressing the bottom down and the sides up and over the edge. Just make sure to not pull the dough, just press it in.

7) Then fill the jar generously with the blueberry mixture.

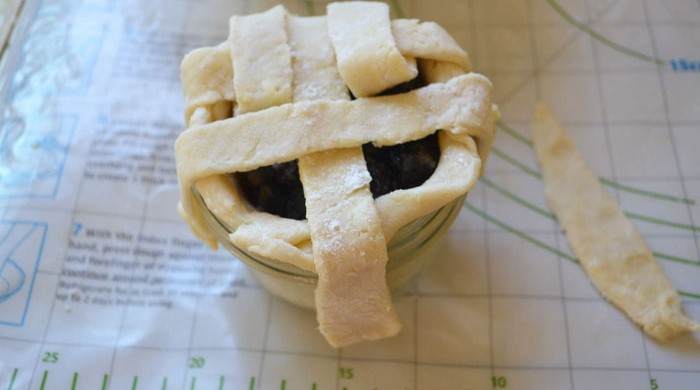
8) Use the other dough circle for the top of the pie. You can either cut it into strips and create a lattice look or place the whole thing on top, crimp the edges and cut small slits on the top.

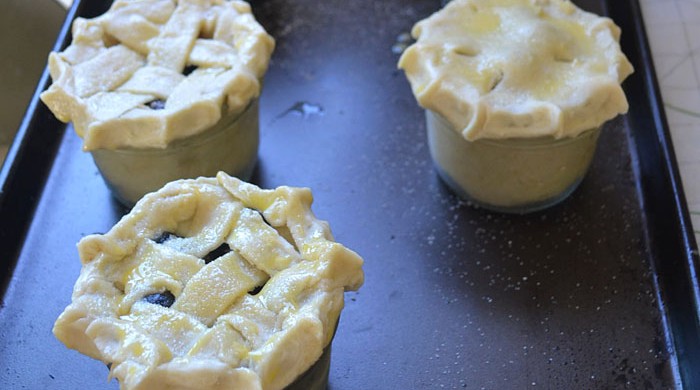
9) Brush the tops with egg wash using a pastry brush and sprinkle with sugar.
10) Place all jars on a cookie sheet and bake in 350 degree oven for 35 minutes and then cover with tin foil and continue baking for another 10-15 minutes, until the tops are golden brown and the fruit is bubbly.

11) When done, be very careful because the glass jars are very hot! Allow to cool for at least 20 minutes.

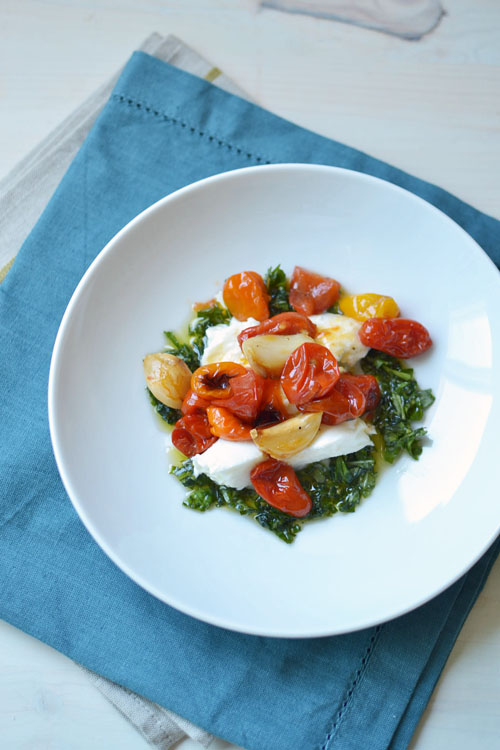
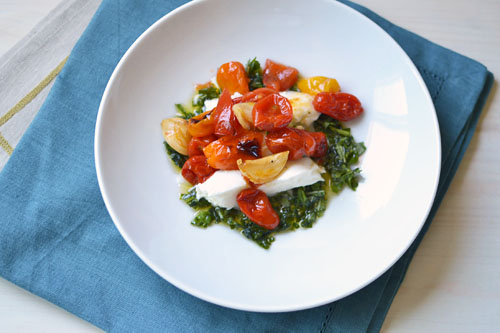
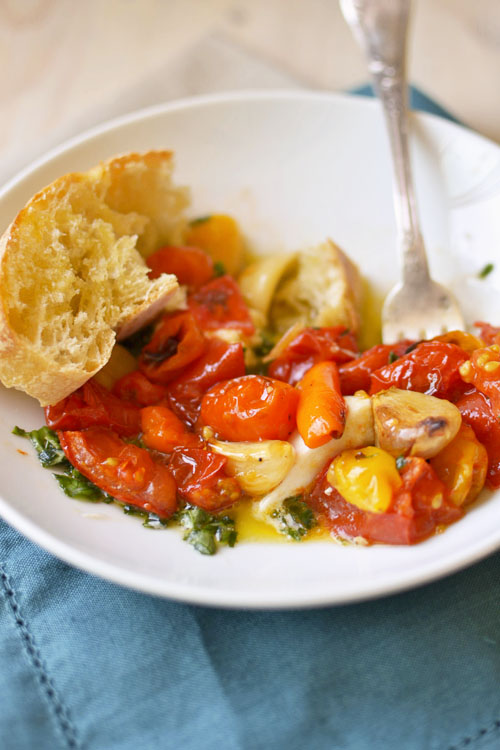
Roasted caprese offers a warmer and robust feel than the traditional salad, with roasted tomatoes and garlic and a fresh basil oil.

Well this has been quite the interesting weekend. I originally planned to post this recipe yesterday, but the weekend decided to take over and cause some slightly frightening events. It is fitting to finally post my favorite dish though, because it is somewhat comforting to me.
Sudday started off great. We went to the Angels and Yankees game and saw the Yankees kick some Cali butt!

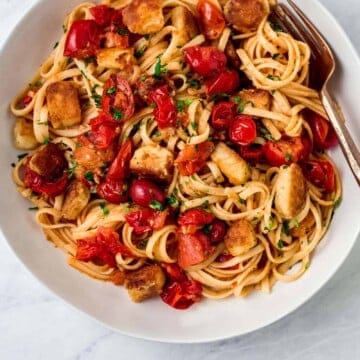
Now onto one of my my favorite dishes. Anything with Tomatoes like my Heirloom Tomato and Garlic Focaccia or my Roasted Cherry Tomato Bruschetta.
Roasted tomato caprese salad is simple, comforting and explodes with flavor. I eat this salad several times a week because it is that amazing.
Simple ingredients = amazing dishes. All that is here are roasted cherry tomatoes and mini bell peppers with whole garlic cloves. In a high heat oven the tomatoes begin to blister and slowly pop with sweet tomato juice. My favorite part are the whole garlic cloves. When they stay whole, the garlic becomes sweet and creamy and all you want to do is pop them in your mouth or spread it on a crusty toasted piece of Italian bread. To continue with the flavor explosion, I made a super quick basil oil, where i just pulsed together roughly chopped basil and olive oil. The basil's aroma opens up and cuts some of the tomato sweetness.

Chinese pot-stickers are on the menu for today. I have been reluctant to make these for a while because I first thought they would be too time consuming. I usually like to cook like any other Italian's wife where I make a large portion of something and everyone can grab from there.

Instead, these are individual and each one needs a little time and patience. But to be honest, these didn't take long at all and are fairly easy.
Of course you could make your own wrapper dough, but common...they sell them by the pack for a few dollars and I am no expert dumpling master.
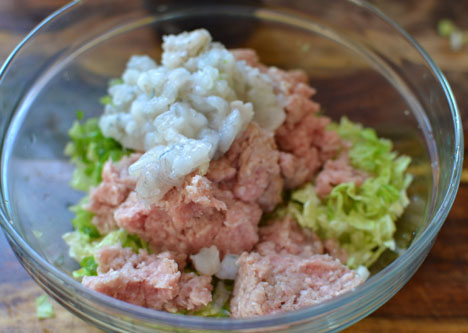
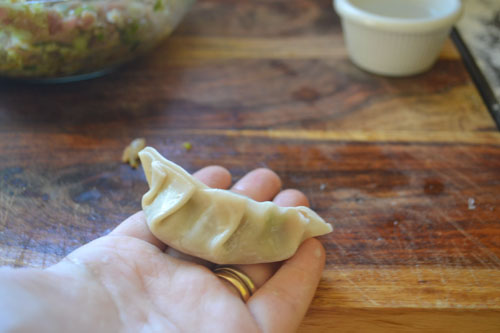
The filling is super flavorful and so easy to throw together. Ground pork, shrimp and Asian flavors of soy, ginger, garlic and sesame oil. One little bite sure does pack a whole lotta flavor. The folding method was not that hard as well. It may be a tad difficult to explain through writing so what I suggest is to YouTube the folding technique like I did and practice on a few. But for my first time, I'm pretty dang proud of myself!
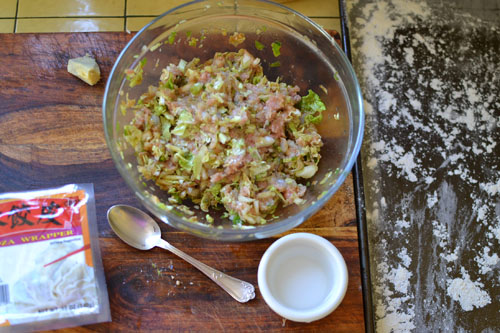
1) In a bowl, add together the ground pork, minced shrimp, cabbage, green onion and all the flavorings. Toss to combine until mixed through.

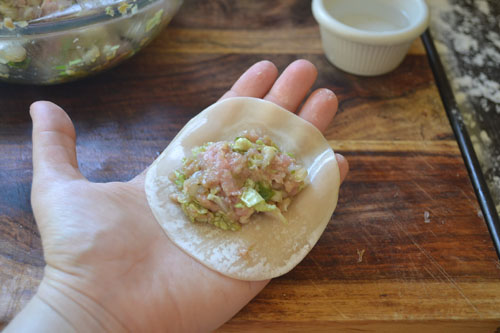
2) Place 1 wrapper in the palm of your hand and dip your middle finger into water and smear water on ½side of the wrapper. *This will help the dumplings stick together.
3) Place a teaspoon size of the filling in the middle of the dumpling.

4) Now here is the interesting part, take both sides of the dumpling and make "pleats" and make sure to crimp the sides well. You don't want any of the mixture peaking through, so if there is too much, take some out.

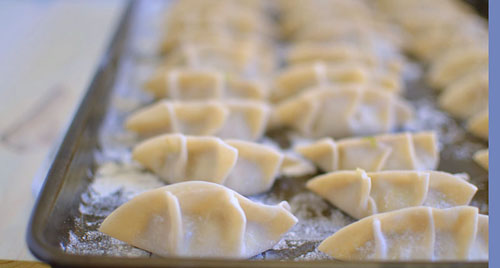
5) As you fill them, place each dumpling on a lightly floured surface so the bottom doesn't stick.


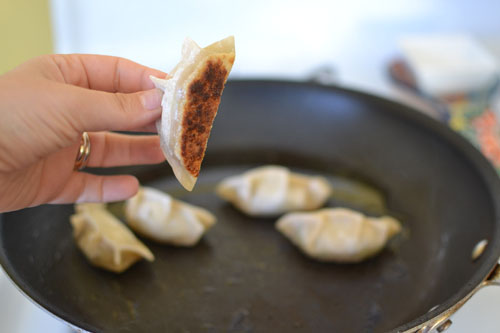
6) When ready to fry, heat a large non-stick skillet on high heat. Drizzle a touch of olive or grape seed oil on the bottom. Place 5-6 dumplings in the pan and pan fry until the bottom is crispy and golden brown.
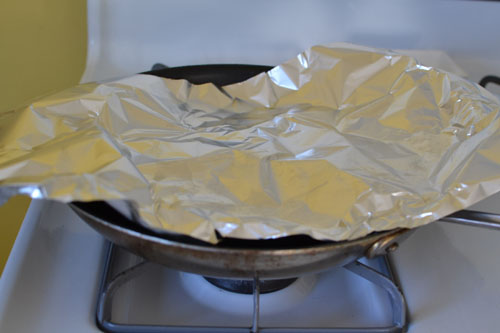
7) When bottom is golden brown, add ¼ c water to the pan. *Be careful, the water may splat up because the pan is very hot! Then cover the pan with a lid or foil and allow to steam until all the water has evaporated.

8) When done, serve with dipping sauce. In a small bowl, put together soy sauce, rice wine and chopped green onion.

And while you're looking for other Chinese recipes to try, shrimp chow mein is one of my favorite recipes with fresh vegetables and head on shrimp!
Ahh..it's good to be back. Joe and I went on another mini/post-grad vacay and hid out in Palm Springs. Even though it didn't break 100 degrees, there is nothing like the desert oasis to purify you of "real-life" duties. Because it is always 100 and over in the summer, we planted our booties by the pool and intermittently jumped in the pool as needed.


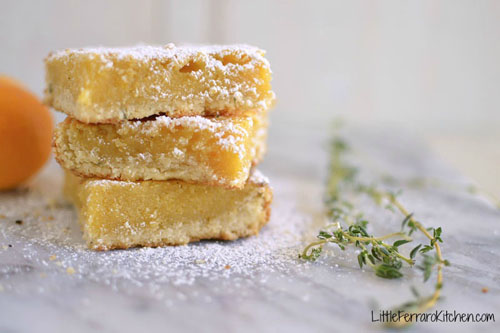
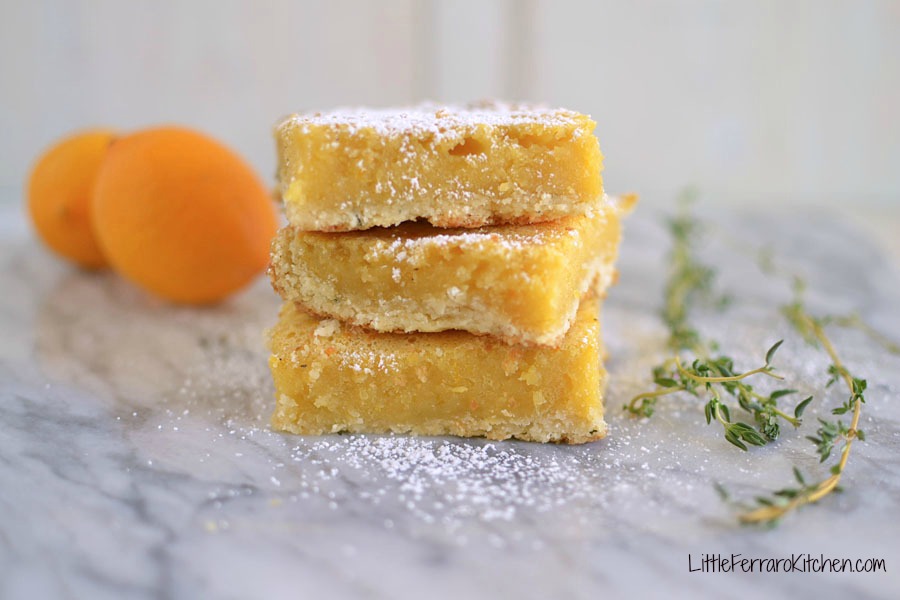
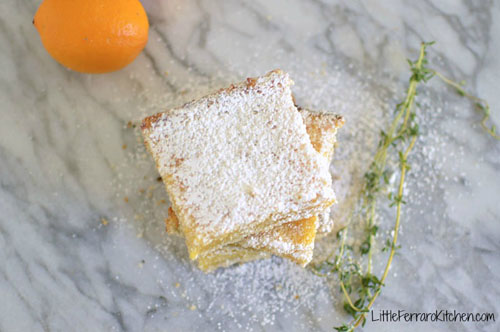
And speaking of savoring and enjoying, that is exactly what I did with these fruit bars (See, nice transition, huh?) I have a thing for fruit bars, such as these passion fruit bars, A Taste of Aloha-Lilikoi Bars with Fresh Lilikoi Glaze and kumquat-cardamom bars. If there is some sort of fruit juice involved, I seem to make it into a bar.
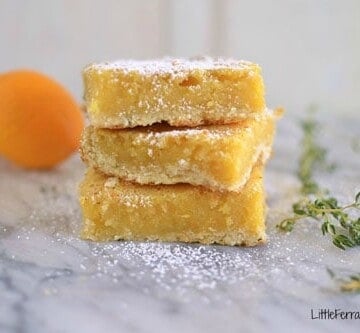
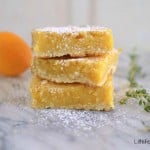
I've made simple lemon bars before and it is the usual go-to desert in this house because it is so easy, packs wonderfully and everyone loves them. But sometimes I get a wild hair and and add lavender. But this time I wanted something that mimicked the lemon, something bright and earthy. It was a toss-up between fresh thyme and rosemary. I love them both, but thyme won.
These are not as sweet as you would think with lemon bars. They are tart and the thyme mellows out the sweetness a little more but still leaves the herb delicate in the background like "hmm..what is that earthly aroma."
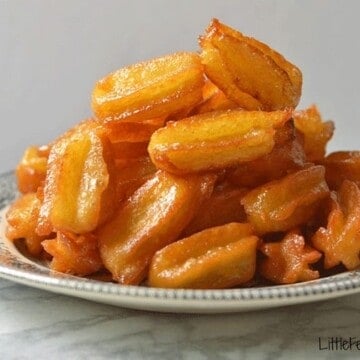
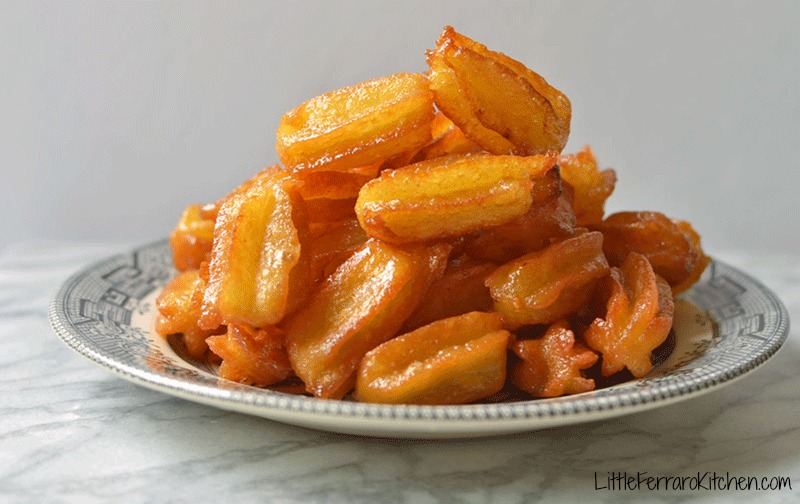
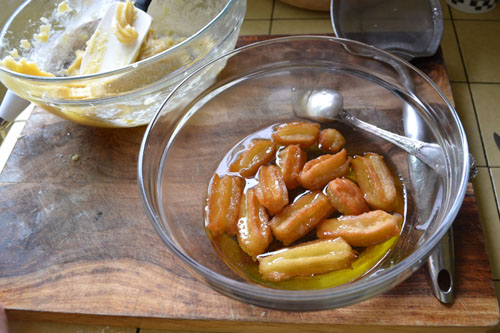
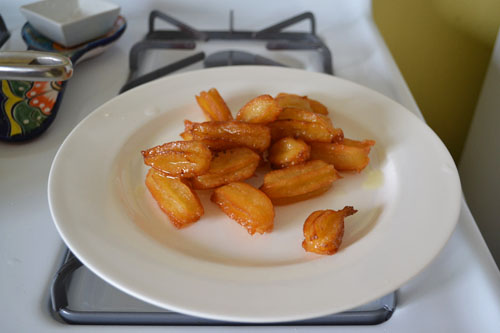
Persian doughnuts with floral flavors of rose water and saffron are also known as bamieh.

Assal pastries is in Southern California (Irvine for local folks) and is filled with Persian treats, including these addictive sweet Persian doughnuts. This is unlike the typical American bakeries we're used to here and is filled with aromas or orange and rose and colors of gold and pistachio.

Bamieh are Persian doughnuts that are fried and then soaked in a syrup.
The dough recipe is very similar to a pâte à choux, which is the dough used in making salted caramel eclairs.
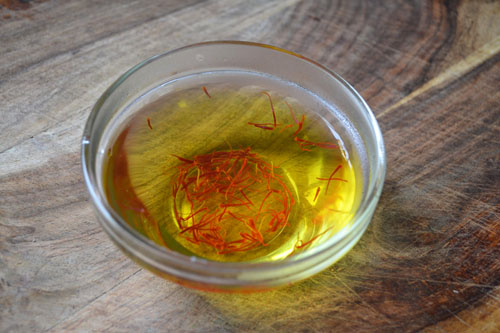
The simple syrup is made up of water, sugar and gorgeous floral, golden saffron.
This recipe for these Persian doughnuts makes a lot but trust me, they won't last long in your house. Once you coat the doughnuts in the saffron simple simple, the outside is glistening and gets a little sticky.
When you take a bite, you first notice the perfect outside which is crispy and sweet and then the inside is so soft and bursts with sweet syrup. The rose water is not overwhelming but noticeable.
If you can't find rose water, you can make it yourself! Here is a simple recipe for making rose water. I highly suggest keeping a bottle in stock.
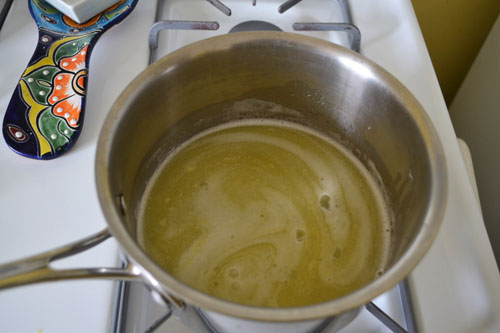
1) Soak saffron in a bowl with ¼c of boiling water for 20 minutes.

2) Make the simple syrup. In a small pot, add 1 cup sugar and ½ cup water and boil until thickened. Make sure it does not caramelize. When almost thickened, add 1 Tb rose water and 3 teaspoon saffron liquid to pot and continue boiling for 3 more minutes. When done, put aside.

3) In another pot, add 1 cup water, 2 Tb sugar and 3 Tb of butter. Put on low heat and stir until the butter is melted and everything blended.

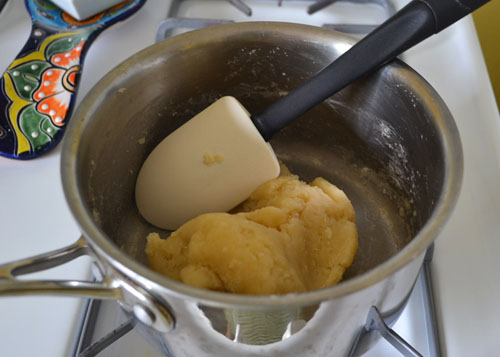
4) On low heat, add 1 cup flour to the pot and use a spatula to mix the flour into the butter until it looks like a dough ball. When done, remove from heat and allow to get at room temperature (I stuck it in the fridge to help speed it up).

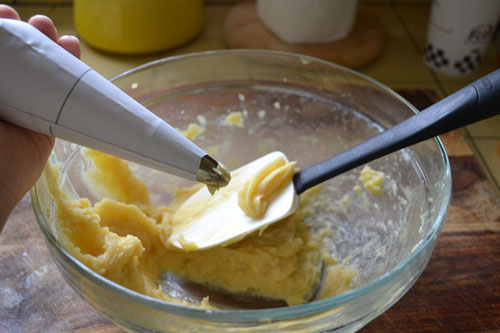
5) When dough is at room temperature, add it to a large bowl and mix in 2 eggs (1 at a time) until everything is incorporated. The dough is very sticky so it helps to use a hand mixer if you have one.

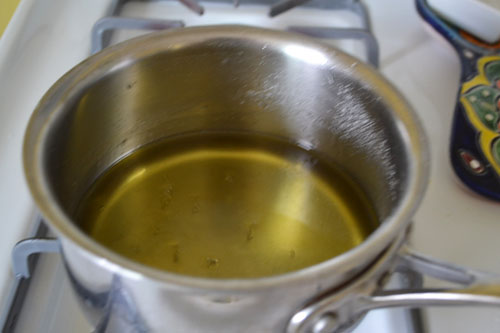
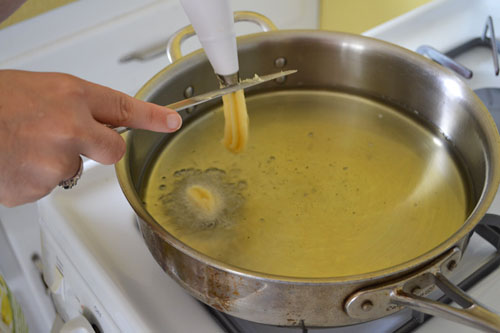
6) Heat a large skillet with 1 in of oil and bring to 375 degrees Fahrenheit.
7) Transfer dough to a piping bag with desired tip and squeeze out small doughnuts into the oil. Use a knife to help cut the dough as you're frying them.

8) Fry the zoolbias (dough) on each side until golden brown (2-3 minutes on each side). When done, use a mesh spoon to shake of excess oil and transfer them to saffron syrup. Coat the syrup all over the doughnuts.

9) Repeat until all dough and syrup is used.

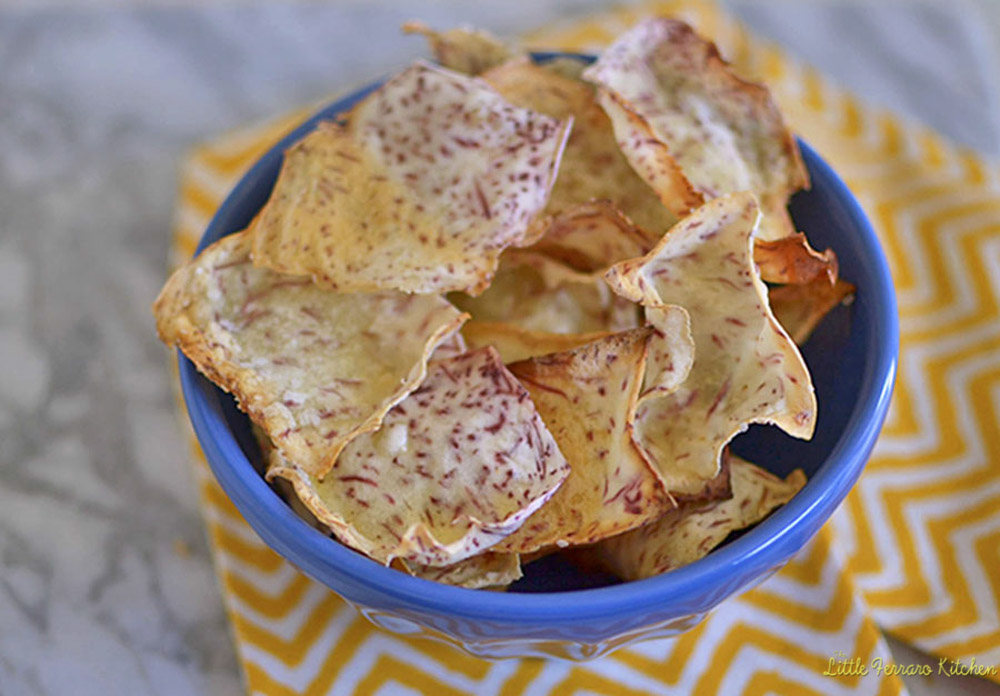
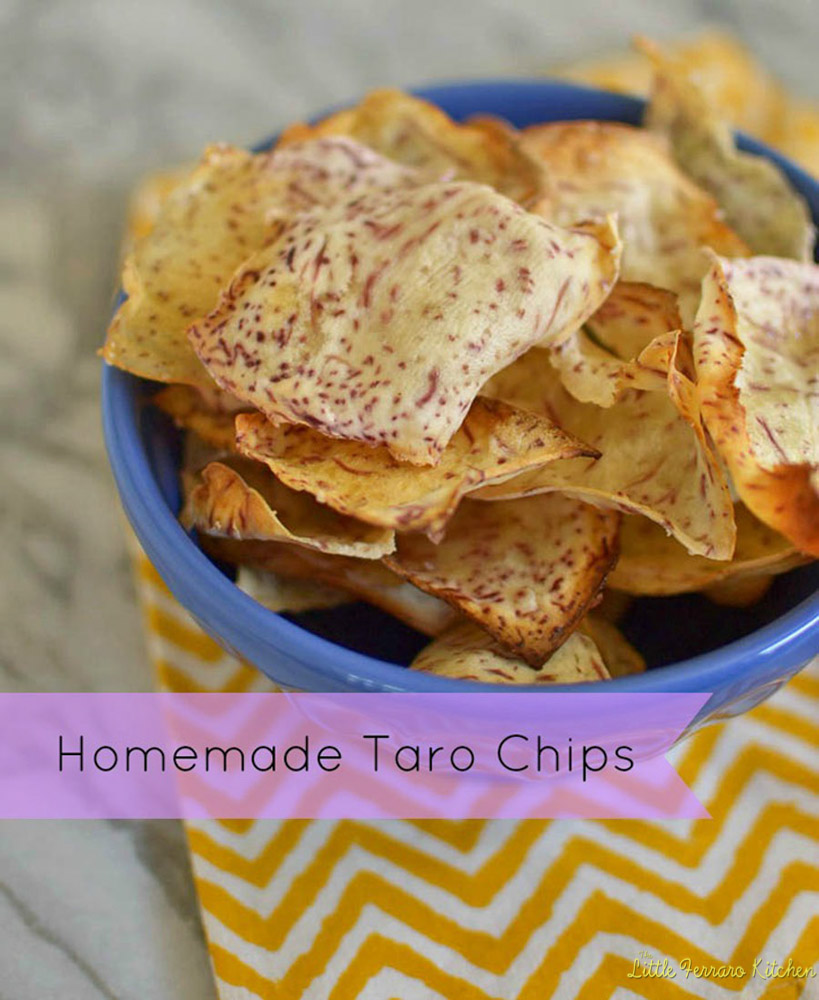
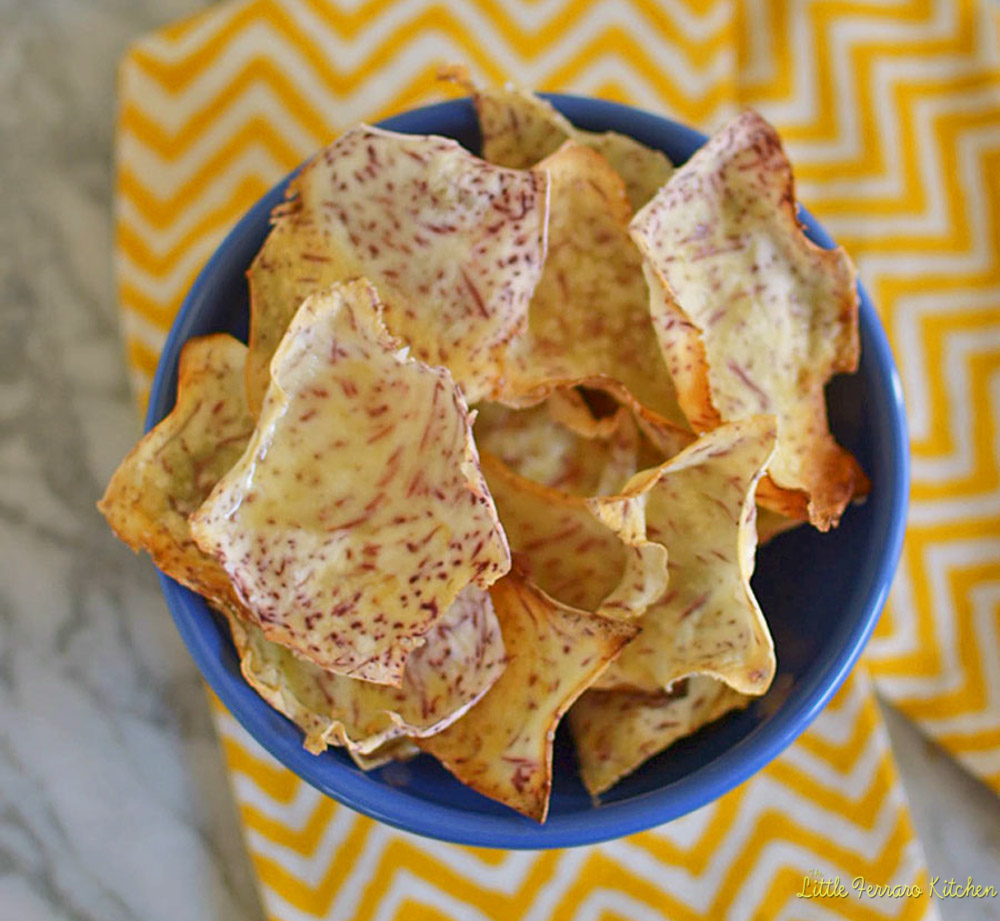
Crispy and baked homemade taro chips are so easy to whip up!

Taro is a tropical plant that is grown mainly for its edible tubers in Africa, Oceania and South Asia (just like sweet potatoes and yams). While its corms, (stems), are primarily used for cooking, its leaves are also edible. For another quick impressive appetizer try my Pan Con Tomate with Jamón.

There are a few things I miss from living in Hawaii. #1), my mom who just left a few days ago after spending a week for my graduation. #2, lilikoi aka passion fruit. And #3, taro chips.
Taro is a staple on the islands and my step-dad actually harvests the root right in their backyard. Check out the pictures here and for the recipe for taro and coconut.
After a trip to our favorite Asian market, I couldn't wait to slice up this purple root vegetable. And it couldn't be easier. I used one of my favorite tools, the mandolin and put it on setting 2 and sliced away. It's really starchy so be careful with your hands getting a little slippery and starchy.


Pheww....I can finally take a breath from all the fun festivities the last few weeks.
Last Wednesday, May 22 2013, I can officially say that I am now a college graduate!
This was such a huge moment in my life and I really want to share it with everyone!
My degree is Bachelor of Science in Community Health Education. It is similar to Public Health and I am so thrilled to be able to educate the community on health, prevention and healthy lifestyle changes. My dream would be to combine my love for cooking and blogging with health education.
A few highlights of my graduation.....
Yes, that is me, with the HUGE smile!
My amazing parents flew in from Hawaii! The only thing I asked my mom was to have a lei! She made the gold and black silk leis and flew in plumeria and orchid leis!
My amazing friends flew in from the East Coast too! I felt so loved!
Some of my college friends!
We did it!!
Of course we had to have the grad party!
My mom and I made these centerpieces! So easy, just daisies and limes and mini peppers! I love the orange and pink together!
The "bar" was a huge hit! I need to blog about these amazing mango margarita's that Joe was whipping up!
For the food, we catered a taco cart! Everyone loved them..who doesn't love tacos?
My amazing husband!
Thank you for sharing this special time with me!
Passio orange a guava is a classic Hawaiian drink and this POG cocktail has dark rum for an added kick.
Today is my graduation day! And I couldn't have asked a more perfect person than my fav wahine, Shanna from Pineapple and Coconut to guest post for me today! As you will see, we have a special "Aloha" bond and of course she made the most perfect cocktail for today's festivities!
You can follow Shanna's delicious treats on her blog, Facebook and Twitter!
--
Hi this is Shanna and I am the owner and operator over at the blog, Pineapple and Coconut. It’s funny that I am doing this guest post for Sam because a few weeks ago I had asked her to do a guest post for me as I was about to have a crazy busy month with finishing up (well almost finishing ) our kitchen remodel and moving into the house, I knew I wouldn’t have as much time to blog so I needed some help from other blogger friends to fill in some gaps. Sam also has had a very busy month with her graduation and wasn’t going to have much time for her blog as well and she asked me to guest post pretty much the same day I asked her. She made an awesome, classic Hawaiian dish, the Loco Moco, for my blog and I wanted to create a fun, Hawaiian drink to celebrate her graduation. So I created this Pog Daiquiri for her.
Hawaii is home away from home. It is my absolute favorite place on earth and every time I meet someone with a connection to Hawaii such as Sam, we almost always hit it off right away. Gotta love that Aloha spirit.
My family went to Hawaii ALL the time when I was growing up; my dad was an airline pilot and was actually based there when I was really little, and I remember having breakfasts at our hotels on Waikiki beach and my favorite treat to get, besides macadamia nut pancakes, was POG.
POG is a combination of passion fruit , orange and guava juices. I also love just guava juice, but there is just something so good about POG that every time I have it now it takes me back to having breakfast at the Beachcomber, Royal Hawaiian or Outrigger hotel when I was a kid. Except now as an adult – I add booze,which makes it THAT much better.
Sam and I also share a love of passion fruit, known as Lilikoi in Hawaiian. Her mom still lives in Hawaii and has Lilikoi trees in her yard. I wish they would grow here!! So when I was at the Hawaiian Lei Days festival here in Vegas at the beginning of May I spotted a vendor that sells these amazing salts and spices with different island flavors and I spotted Lilikoi Cane Sugar and I knew I wanted to use that for rimming the glasses of these drinks. It was a perfect addition to this POG Daiquiri.
I tried these drinks with regular Bacardi silver rum and with Bacardi coconut. I didn’t want to take away too much from the flavor of the POG since it’s not very strong, and I wasn’t sure if the coconut would be too overpowering, but it wasn’t. It really enhanced the flavor of the juice. Plus a little float of dark rum on top and a tropical umbrella straw transports you right to a beach on Hawaii. For a few moments at least. I also tried these on the rocks and blended, and I think a fruity tropical umbrella drink has to be blended.
So raise a glass of this POG Daiquiri in congrats to Sam on her college graduation!! Thank you for having me guest post for you!!
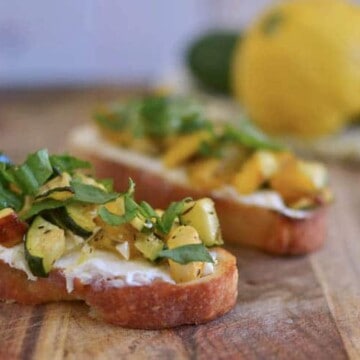
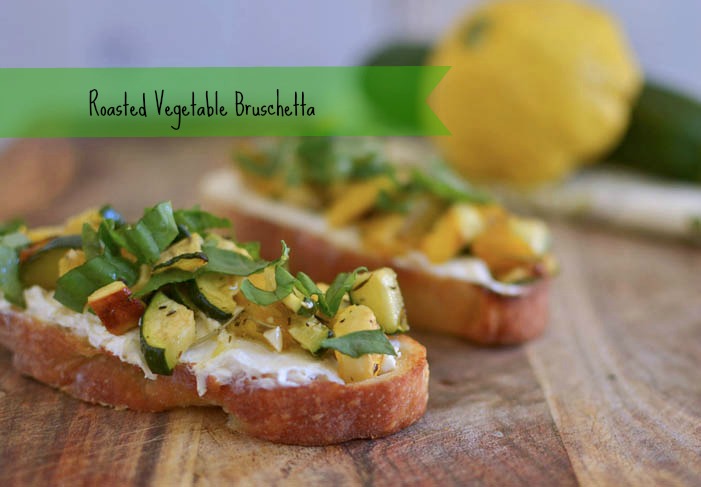
A simple and colorful appetizer, this roasted vegetable bruschetta has roasted zucchini that is flavored with herbes de provence and layered with tangy goat cheese.

A roasted vegetable bruschetta with zucchini is as simple and delicious as it gets. I was going to add roasted cherry tomatoes as well, but I thought the yellow and green was just so pretty.
I sprinkled herbes de provence over the vegetables and whipped up a combination of cream cheese and goat cheese laced with lemon zest.
This is such an easy appetizer and perfect for using all the gorgeous seasonal produce that is starting to bloom.
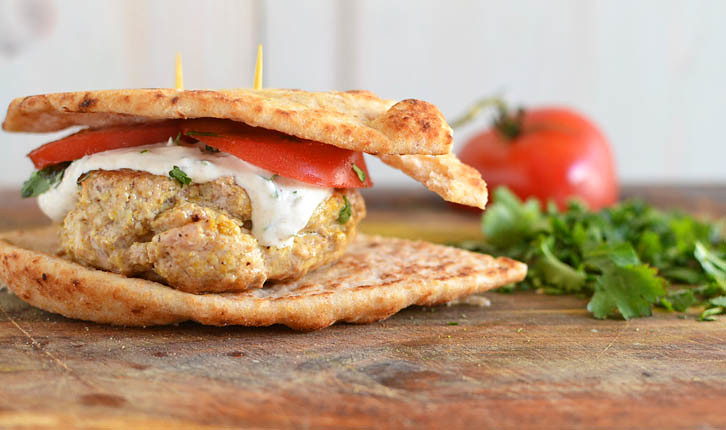
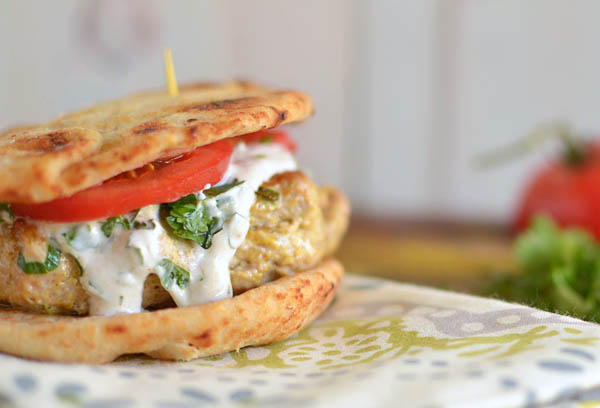
A bold and flavorful spin on the traditional burger, these Tandoori chicken burgers are seasoned with garam masala and warm curry.

These tandoori chicken burgers are super easy. All you do is add amazing spices and whip up a simple yogurt sauce, which I make all the time.
Large pita bread instead of burger buns and top with fresh tomato.
This is my kinda summer-grillin'!

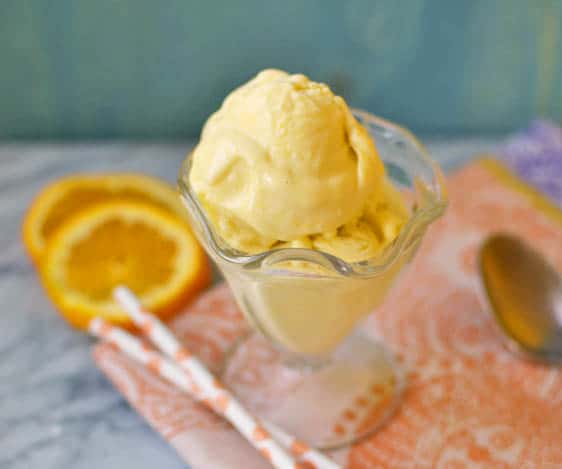
Burnt orange ice cream is loaded with layered flavors of caramel and deep citrus. This is not your every day orange ice cream.

Burnt orange ice cream is a gorgeous caramel with butter and sugar (well obviously) with fresh orange juice, orange zest and of course cream and eggs! Making the caramel was a magic experience.
It turned dark golden-orange and infused the cream mixture with a deep, rich flavor. Ladies and gentleman, this is not your momma's orange ice cream.
Method:
1) In a medium saucepan combine the cream, milk and orange zest and bring to a light boil. Remove the pan from heat, cover, and let stand while you make the other mixture.
2) In another saucepan, combine ½ cup sugar and orange juice and bring to a boil over medium high heat, stirring with a whisk until sugar is dissolved. Bring to a boil without stirring, but swirling the pan every so often. Do this until the the mixture turns into a deep caramel color.
3) Remove the caramel from heat and carefully add the warmed cream mixture together, while whisking until smooth. Put back on low heat, while whisking for a few more minutes.
4) In a separate bowl, whisk together the egg yolks, ¼c sugar and salt. Slowly had about ½ cup of the warm cream mixture to the eggs while whisking. You want to do this slowly to "temper" the eggs so they don't scramble and everything incorporates well. So this until everything is mixed together.
5) Bring mixture back into the saucepan and cook on low heat while stirring with a wooden spoon. The custard will thicken and you want to be able to coat the back of the spoon.
6) When ready, pour mixture through a fine sieve and into a clean bowl. Stir in vanilla and allow to cool to room temperature. Then place in refrigerator for at least 2 hours until cold.
7) When custard is cool enough, pour into your ice cream maker (I used my Kitchen-Aid attachment). Leave it on setting 1-2 for 20 minutes. At this point it was way too soft and I placed it in an airtight container and allowed it to freeze for a few more hours. The ice cream is silky and soft enough to scoop out easily.
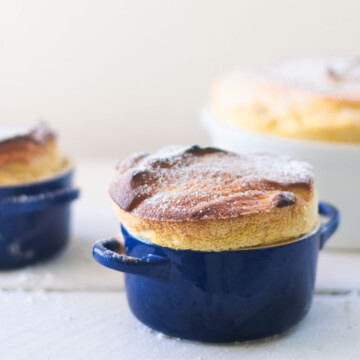
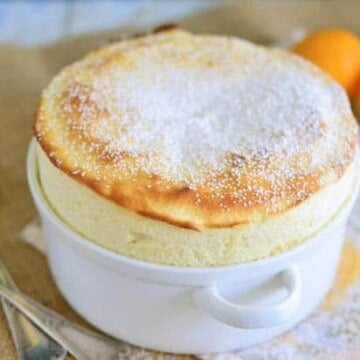
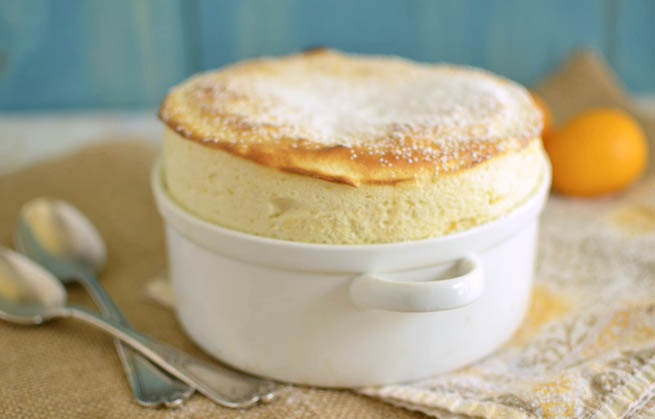
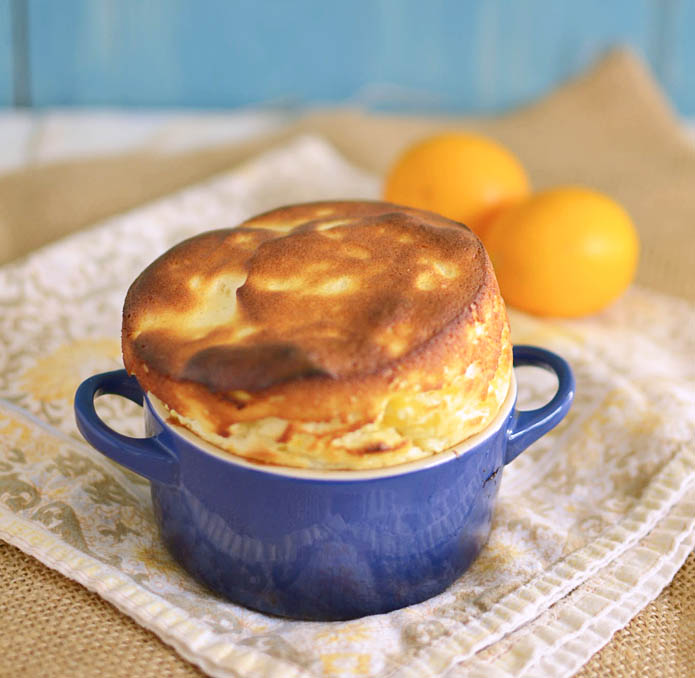
A step by step tutorial on how to make a gorgeous and tall Meyer lemon souffle.

Souffle is deemed the masterpiece of technique and the damsel of all things baking. The souffle is fragile, beautiful, delicate and oh so temperamental.
The first souffle I made was a savory cheese souffle and now for my 2nd souffle, a sweet lemon souffle was in order, since lemon desserts are some of my favorite flavors! As soon as meyer lemons are in season, lemon bars are always baked and this 4 ingredient no bake lemon pie is next on the list!

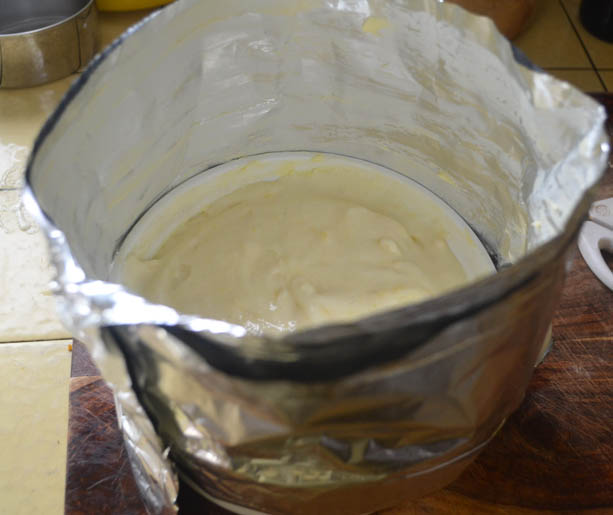
The trick with both of the souffles, is the tin foil collar. I initially got this idea from Julia Child and it is the key in making a grand souffle. The collar helps guide the souffle over the mold and holds it up and in my case, you have a few extra minutes to snap a few photos before it begins to sink. Score!
1) Preheat oven to 375 degrees F and position oven rack to the lower ⅔.
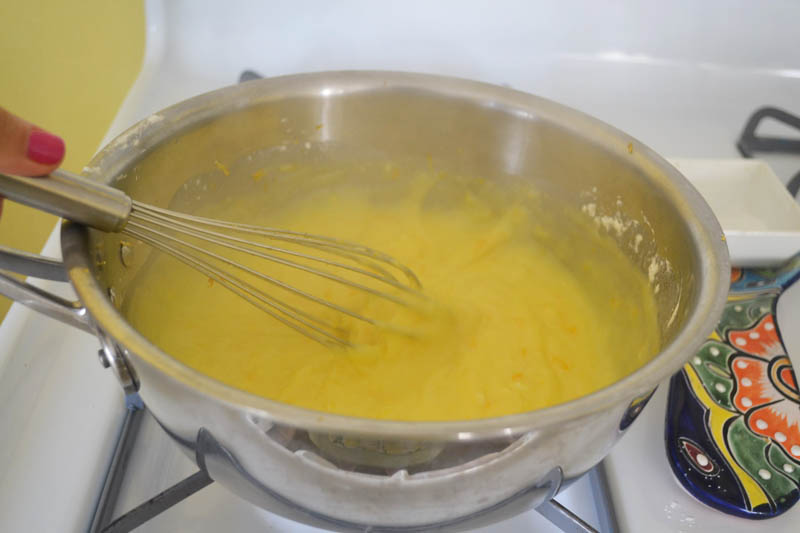
2) Make the lemon cream: In a medium pot, whisk together the egg yolks, milk, lemon juice and zest, cornstarch, sugar and salt. Over medium heat, whisk until the mixture begins to bubble, about 3-4 minutes. It will continue to get thicker, but constantly whisk it. Continue until it is very thick.

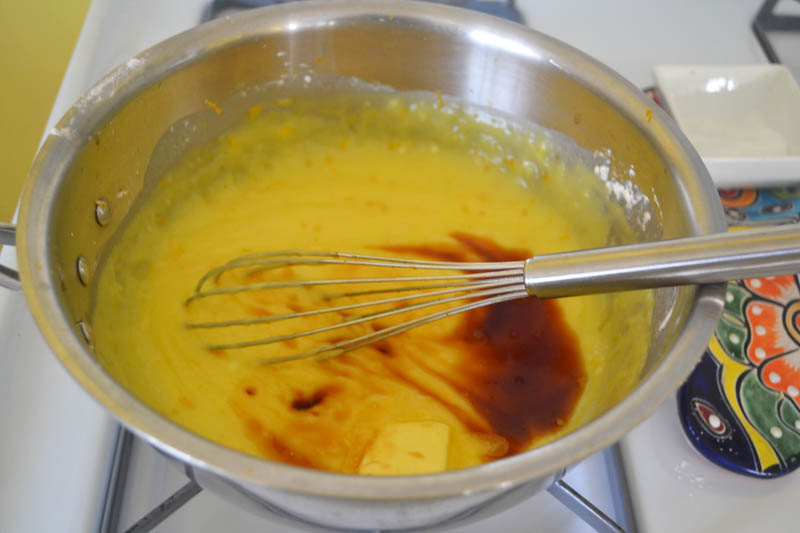
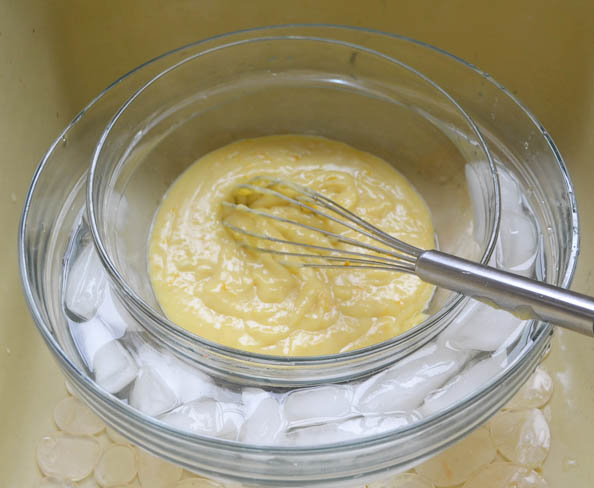
3) Turn heat off and whisk in the butter and vanilla extract. Transfer the hot cream mixture to a large bowl filled with ice to help cool down the mixture. Whisk every few minutes until it gets to room temperature.


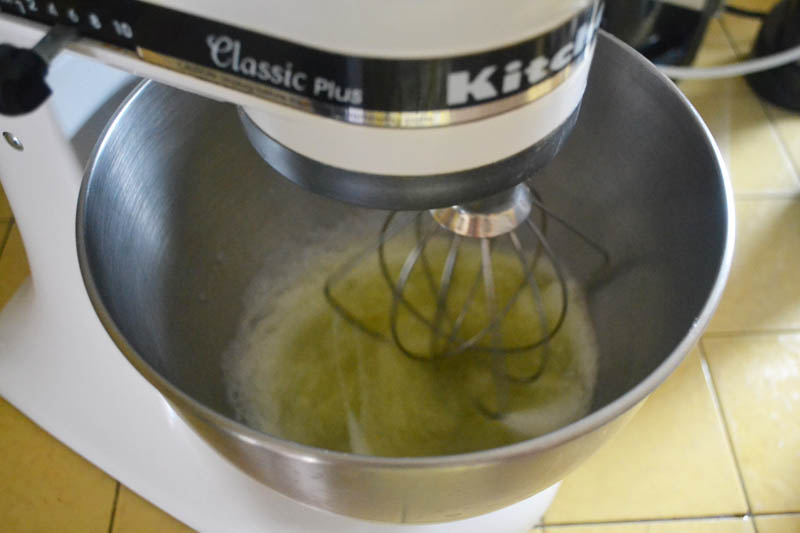
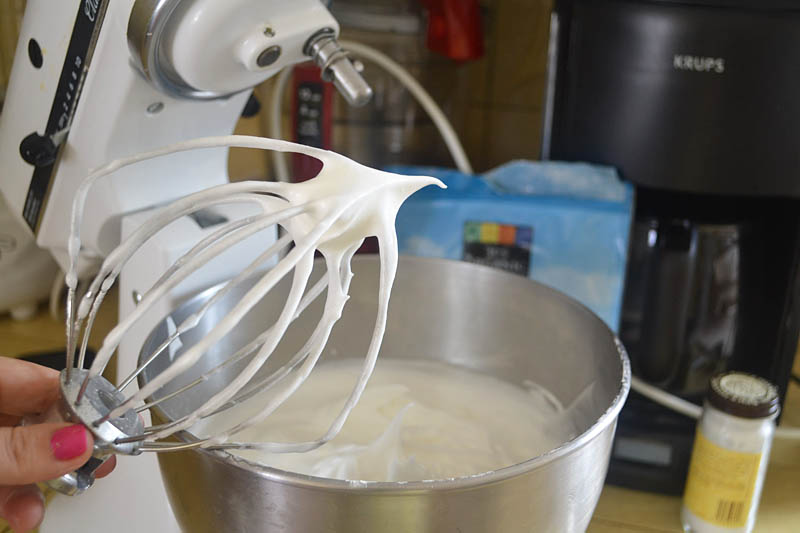
4) Make the meringue (egg whites): In a stand mixer fitted with a whisk attachment, add egg whites. Start on low and work to medium speed. You will see the egg whites begin to "break up" and start to get foamy. Add cream of tartar and continue whisking.

5) Continue whisking and gradually get a little faster. When whites are starting to form and are at "soft peaks" add confectioners sugar slowly, about 1Tb at a time while the whisk is going. Continue whisking until "stiff peaks" form.

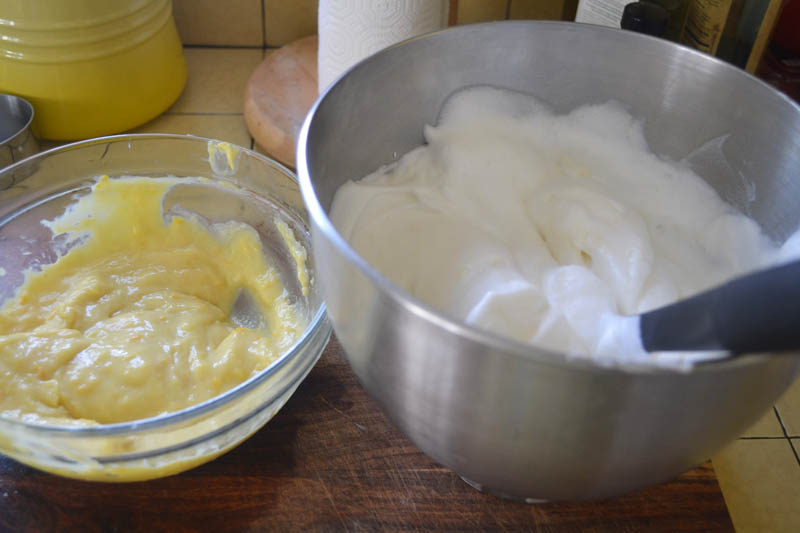
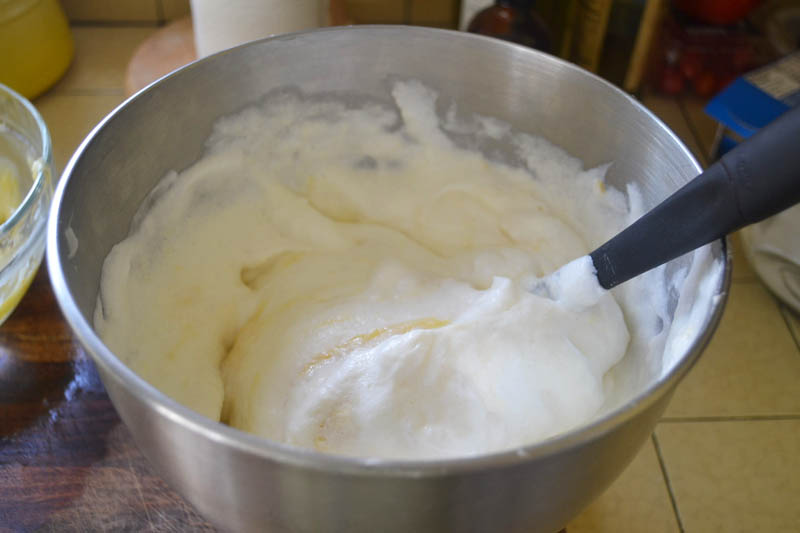
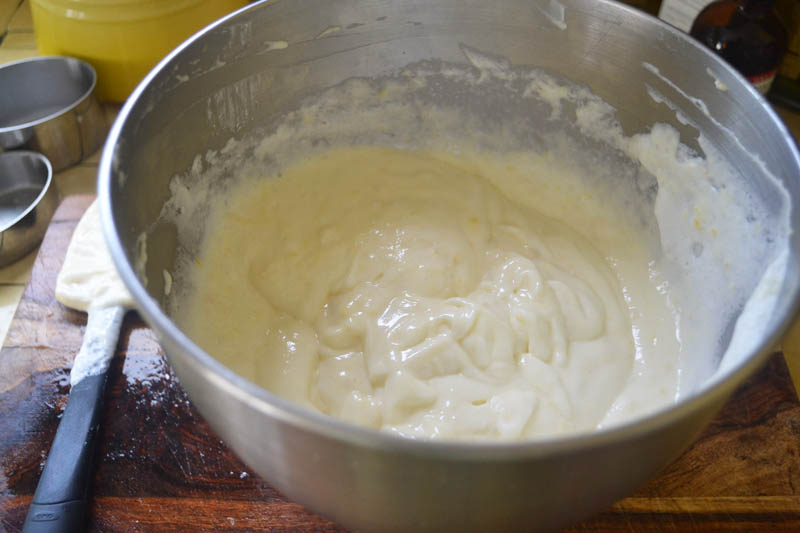
6) Next, place the egg whites and pastry cream bowl next to each other. Using a large, soft spatula take a large dollop of cream mixture and add it to the egg whites. Do not mix heavily, you want to FOLD it in. Fold by taking your spatula to the side the bowl then fold-up. You will see streaks of yellow and continue folding gently. Add the rest of the cream mixture about ½ cup at a time until incorporated.


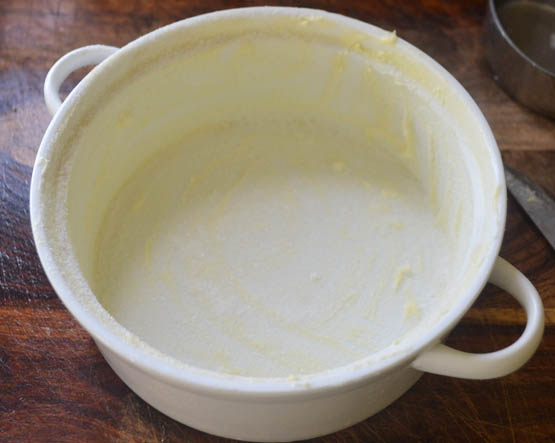
.7) For the molds: Grease a 6 cup mold with softened butter all over and dust with powdered sugar.
*This recipe is enough for a 6 cup mold plus 2 small individual molds.

8) Make the collar: Tear a long enough piece of tin foil that is long enough to wrap around the mold. Fold in half so it is not "too tall". Grease the inside of the foil with butter and wrap around mole, securing at handles.

9) Pour the souffle mixture into the dish and level off the top. Wrap the foil around the mold. (Easier after your pour mixture in).

10) Bake at 375 for exactly 20 minutes. No peeking! When done, dust with powdered sugar.

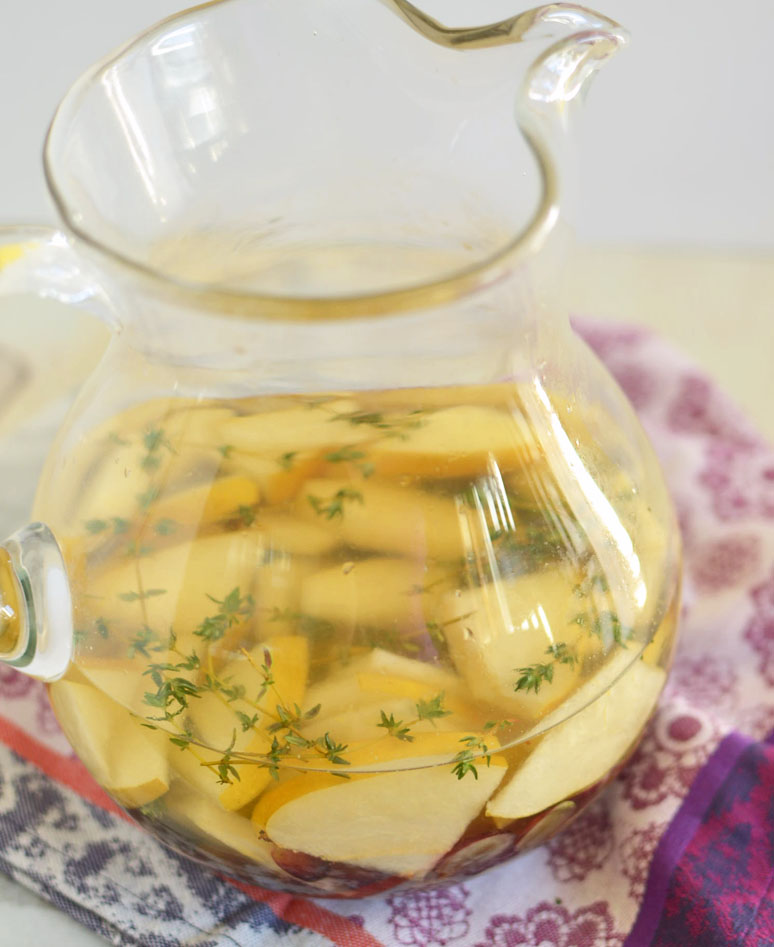
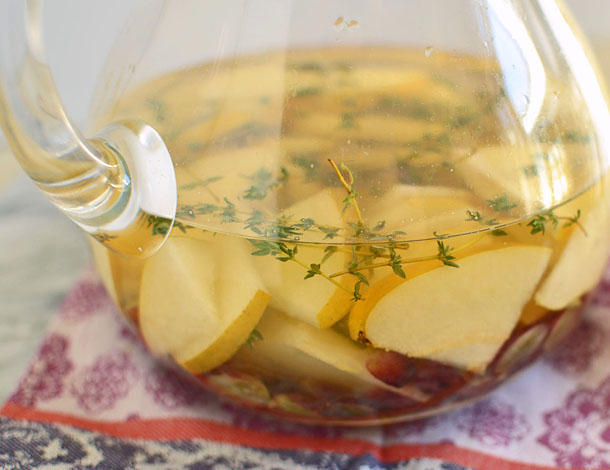
Pear grape sangria is a refreshing and fruity white wine cocktail.

Asian pear, grapes and thyme pulled together to form a gorgeous sangria. If you can let it sit OVERNIGHT, please do!
That's when all the magic happens. To pair with the fruit, I added some St. Germaine which has pear flavors and it was pretty awesome. The fresh thyme offers a light and earthy touch and is a fabulous contrast with the other fruit.
Classic Matzo Brei for Passover brunch, made with soaked matzo that's gently scrambled with eggs and finished with a pinch of salt and a drizzle of syrup.

There are no bells and whistles with this matzo dish. Nothing fancy and no fancy ingredients. It is simple, 'in your face'- 'give it t me now', matzo brei.

This is the way my Grandpa would make matzo brei when I was a kid . I would often spend the weekends with my grandparents when I was little and this was the first thing we woke up to on Saturday mornings. Before grandma and I shopped all day at the mall, grandpa was was already up making matzo brei.
Matzo brei is simple and quick, and that's the beauty of it. It is basically just soaked matzo + egg that is scrambled together in butter and topped with syrup.
Nowadays, I've seen matzo brei being made in a bunch of different ways, such as a matzo brei fritatta and baking it or making it savory with fancy herbs. But honestly, when I think of matzo brei, I just want it exactly like grandpa made it. Egg+ matzo+ syrup, that's it.
1) break up matzo and put in a wide dish ow bowl. Add enough water to cover matzo. Allow to soak for about 10 minutes.

2) Drain water out, squeezing the matzo to make sure all the water is out. It will look mushy. Add whisked eggs and mix together. Add salt and pepper.

3) Heat a skillet with butter and add matzo mixture. Scramble gently until eggs are light and fluffy.

4) When done, plate up your matzo brei and drizzle good maple syrup on top.
Slow Cooker Brisket with Red Wines and Onions