
Learn to make homemade ricotta cheese made with just 4 ingredients.
The process is pretty easy really. All you need is milk and cream, acid and some time. Get the best whole milk you can find, you can taste the difference.
Then you bring it up to temp and get it nice and sweaty. After a few heightened degrees, acid is added it help form the curds. And speaking of curds, here's a vocabulary lesson for you!
Curds are the curdling cheese that starts to pull away from the whey, which is the liquid that's leftover.
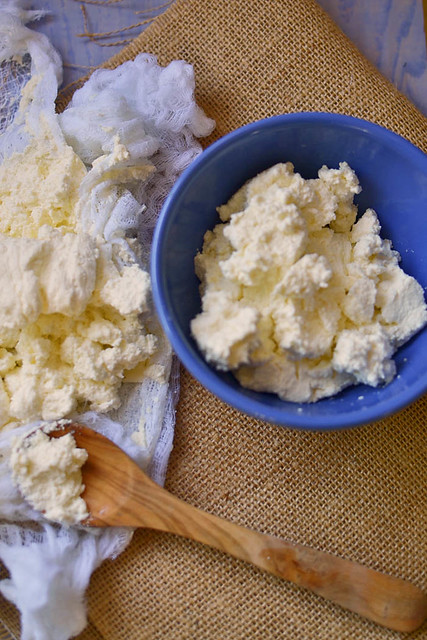
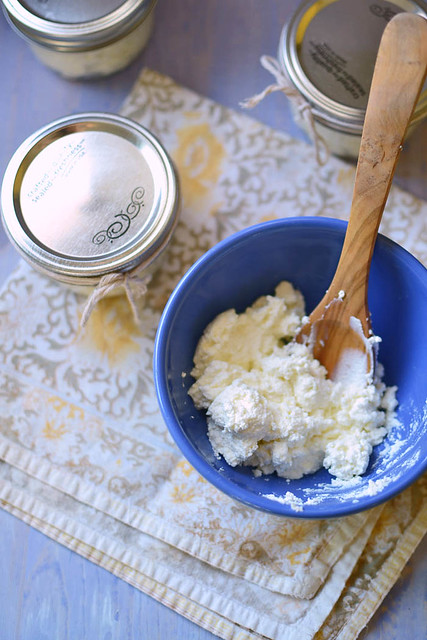
Don't be surprised if you find yourself sneaking big spoonfuls. It's pretty addictive.
Also, another tip, thanks to Wonky Wonderful: As the curds are draining, do not..and I repeat..DO NOT press down on the curds to squeeze more liquid out. This will cause you to have a very dry cheese! Instead, just allow the liquid to naturally drip off and once you don't see any more liquid, then you should be goo to go. It took me a solid 2 hours.
Method:
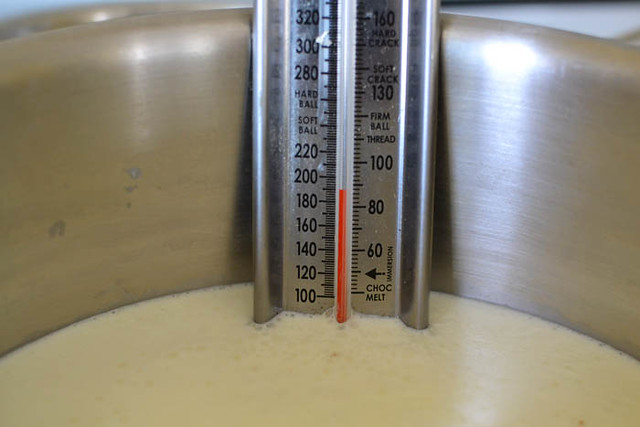
1) In a large pot, combine milk, cream and salt. Place on low-medium heat and use a candy thermometer to bring the milk up to 190 degrees F.
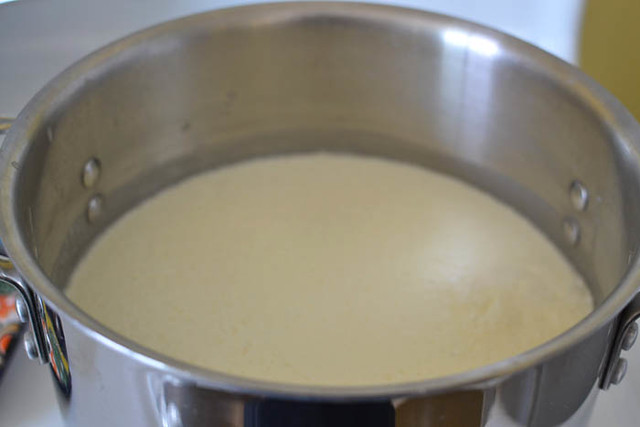
2) Once it reaches temperature, turn off heat and add lemon juice. Stir it once and allow to sit for 5 minutes. At this point you should see the milk beginning to curdle.
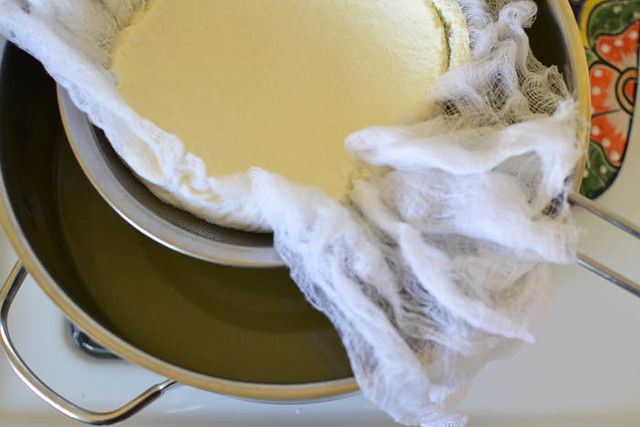
3) Line a large mesh strainer we several layers of cheese cloth. Place the strainer on top of a very large pot and ladle the milk mixture into lined strainer. You will need a large pot to catch all of the liquid, there will be a lot.
4) Allow the mixture to drain for 2 hours. Do not squeeze the cheese, just allow the liquid to nationally drip off.
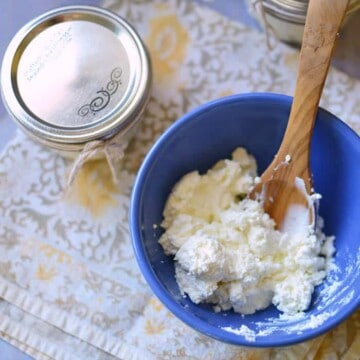
5) When done, scoop fresh ricotta into large or small mason jars and show off your work to your friends.
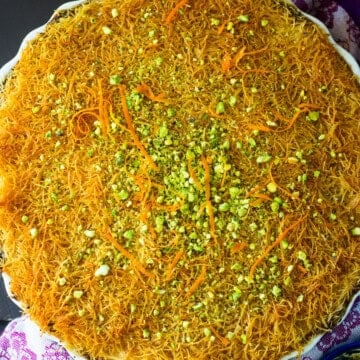
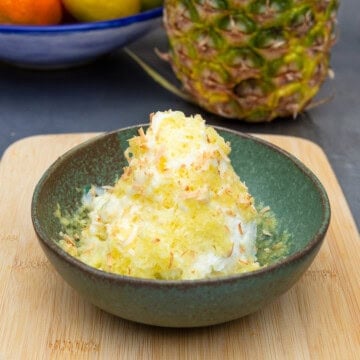
Recipes that use Ricotta


Homemade Ricotta Cheese
LittleFerraroKitchen.com
Ingredients
- 8 cups whole milk
- 2 cups heavy cream
- 10 Tb fresh lemon juice strained (about 3-4 lemons)
- 1 teaspoon salt
Instructions
- In a large pot, combine milk, cream and salt. Place on low-medium heat and use a candy thermometer to bring the milk up to 190 degrees F.
- Once it reaches temperature, turn off heat and add lemon juice. Stir it once and allow to sit for 5 minutes. At this point you should see the milk beginning to curdle.
- Line a large mesh strainer we several layers of cheese cloth. Place the strainer on top of a very large pot and ladle the milk mixture into lined strainer. You will need a large pot to catch all of the liquid, there will be a lot.
- Allow the mixture to drain for 2 hours. Do not squeeze the cheese, just allow the liquid to nationally drip off.
- When done, scoop fresh ricotta into large or small mason jars chill completely.


Stu B. says
I just did this using goats milk. Ended up with wonderful goat cheese.
Samantha says
Hey Stu! Such a great idea using goat milk...that's next on my list! Thanks for the suggestion.
DessertForTwo says
I've been wanting to do this for a long time. I need to make it happen!
Samantha says
It is SOOO easy...seriously!! I tried to make mozzarella...that was a disaster! lol
Dinaz says
Growing up in India, we used a lot of paneer in our cooking. After coming to the US I learnt to make my own paneer. Reading your blog I learnt paneer is the same as ricotta cheese!!!
Samantha says
Ah that is great to know! I didn't know ricotta and paneer are the same thing? Awesome!