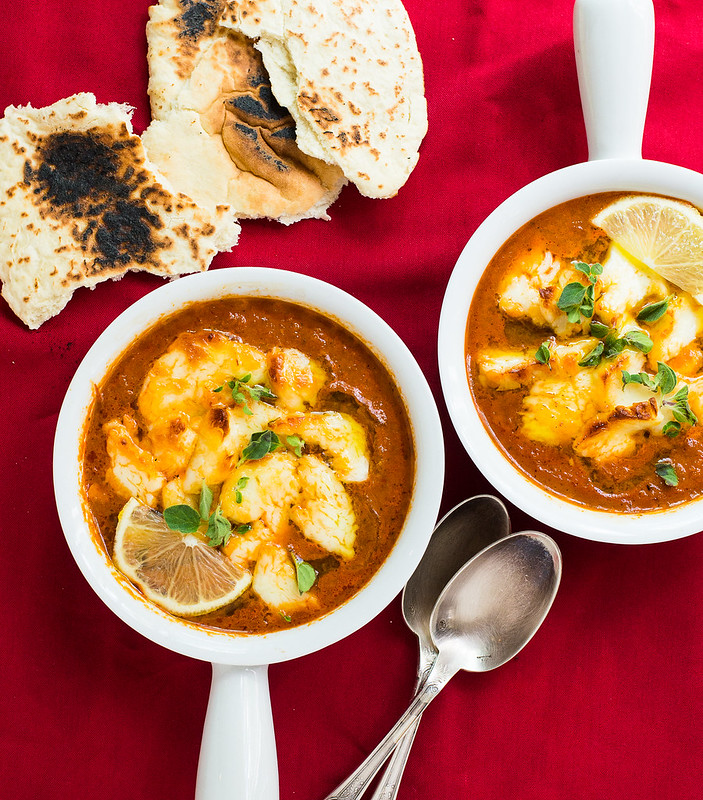
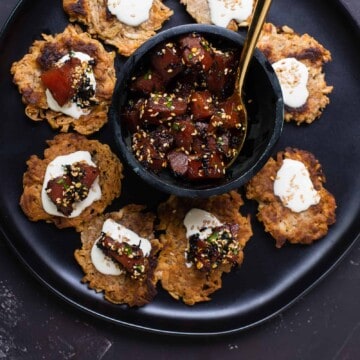
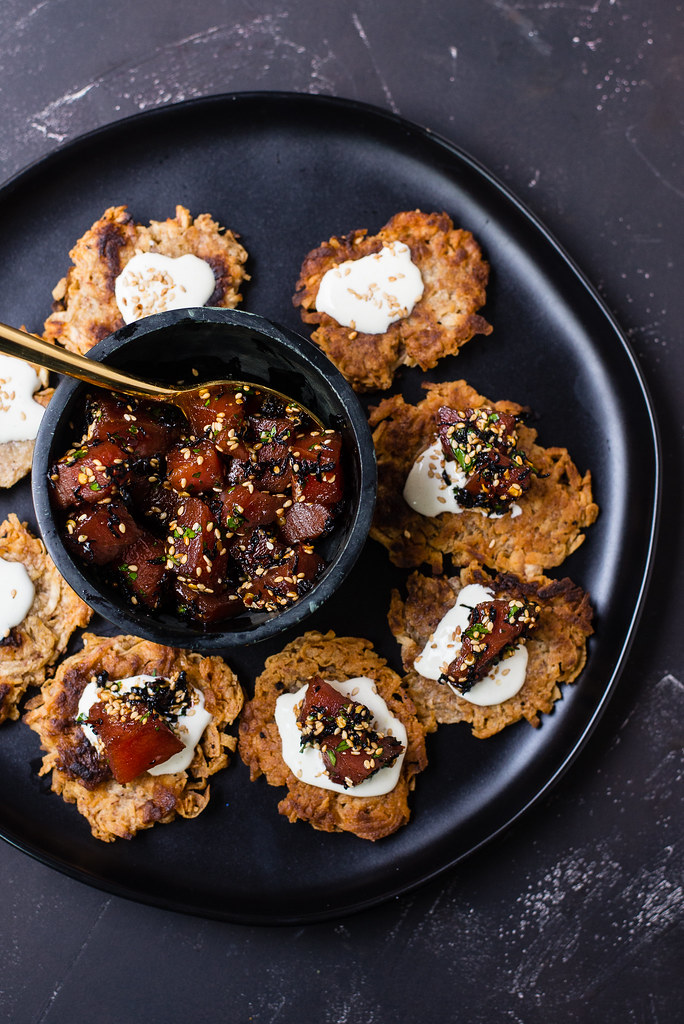
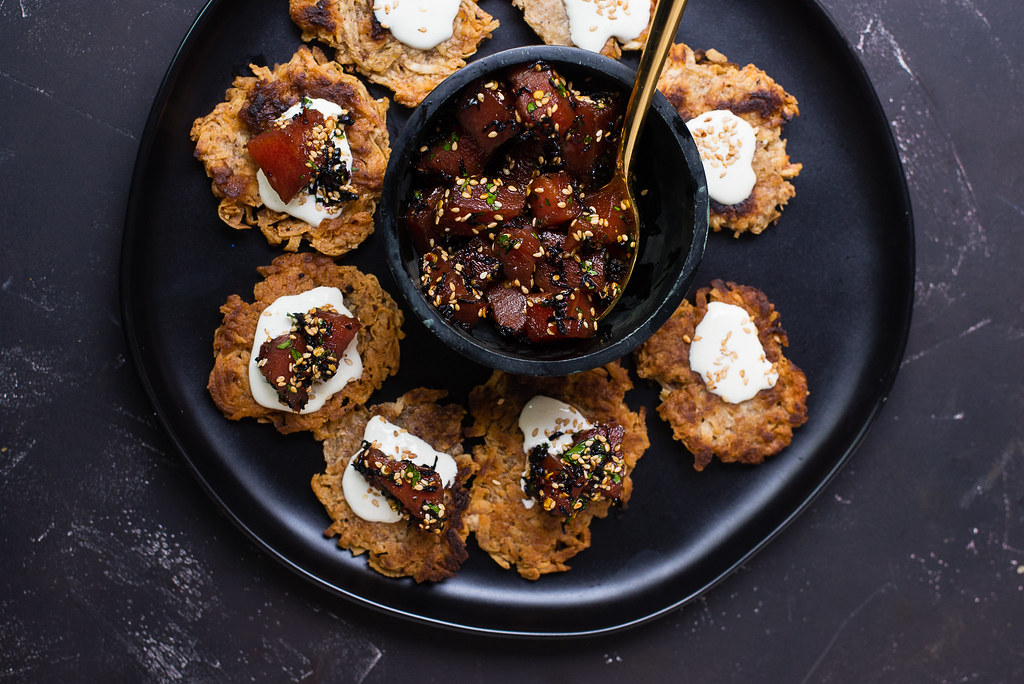
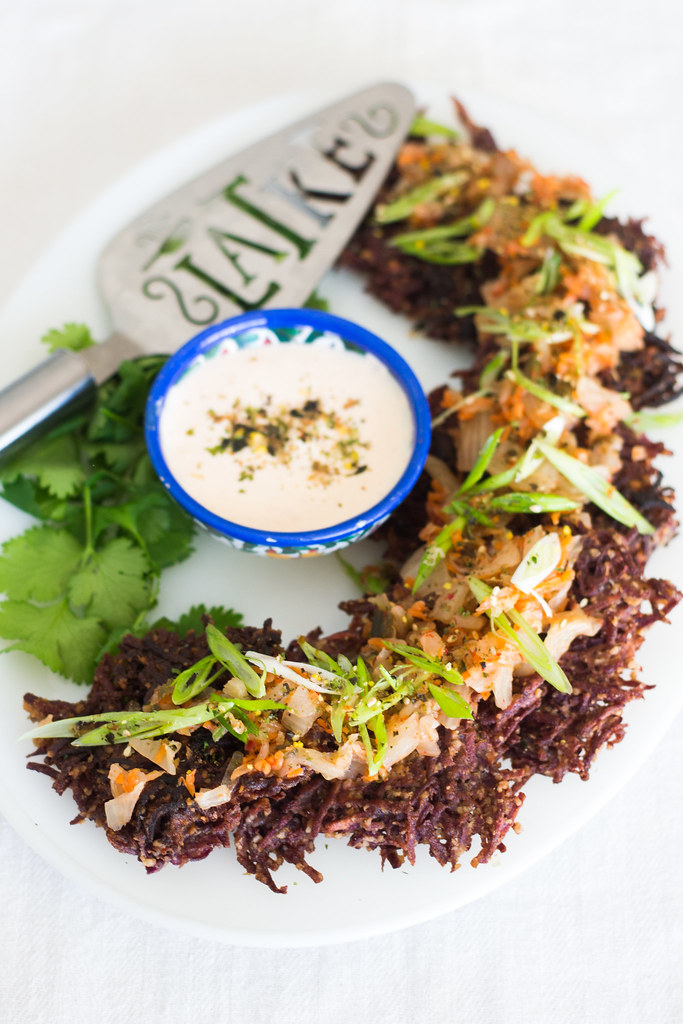
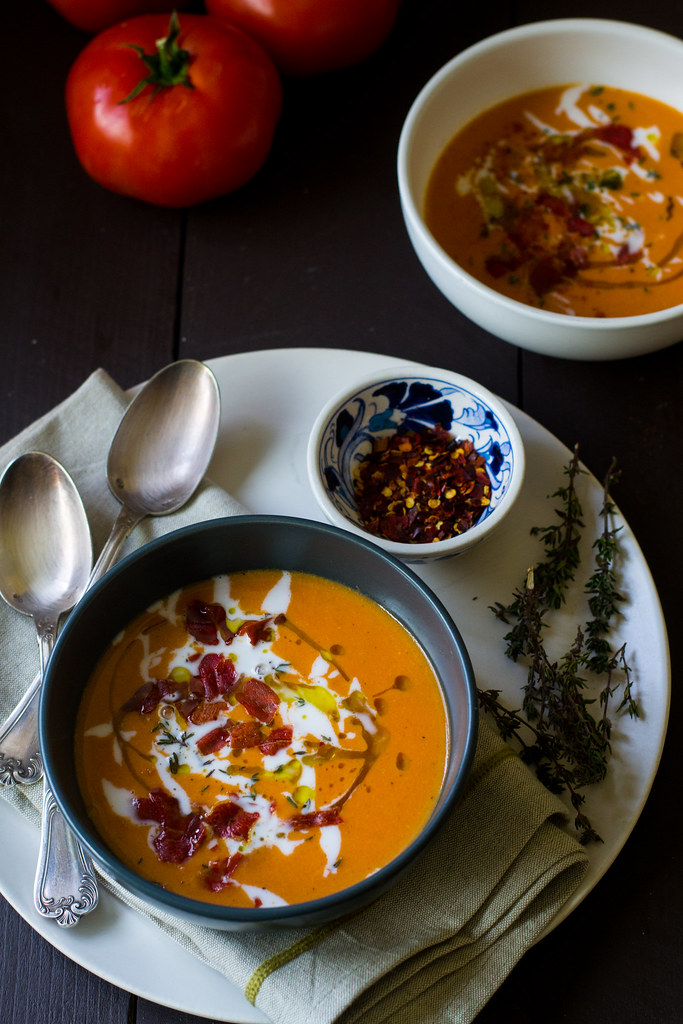
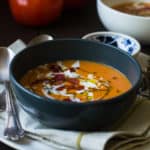
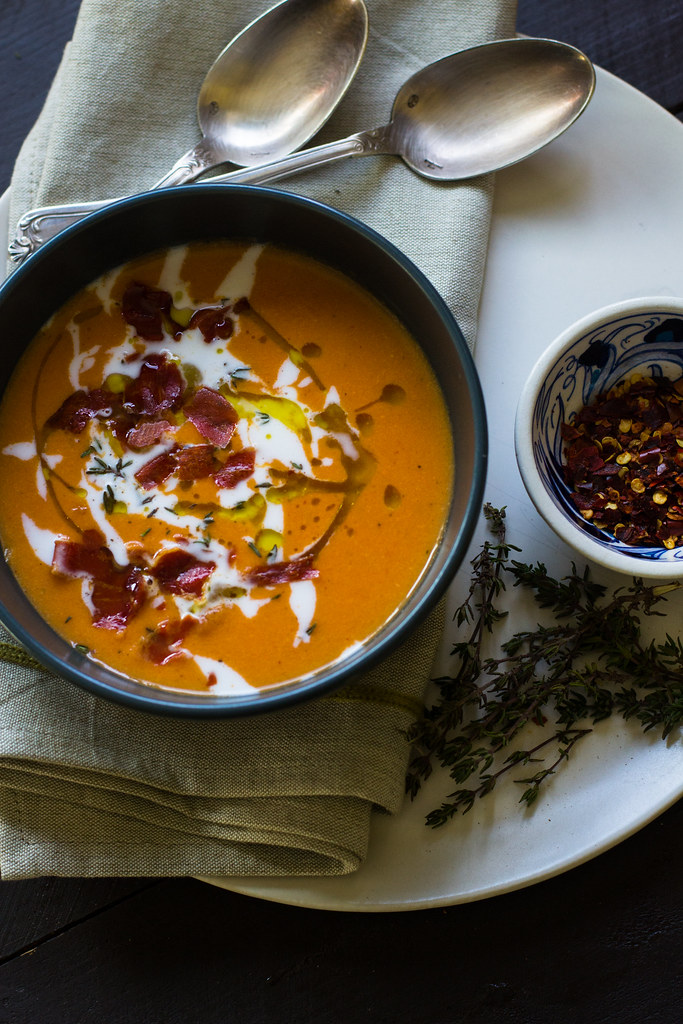
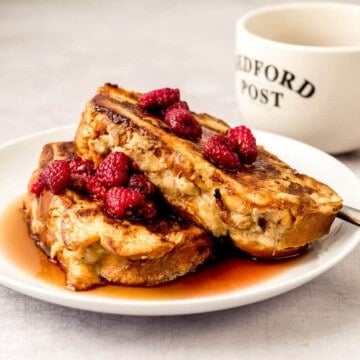
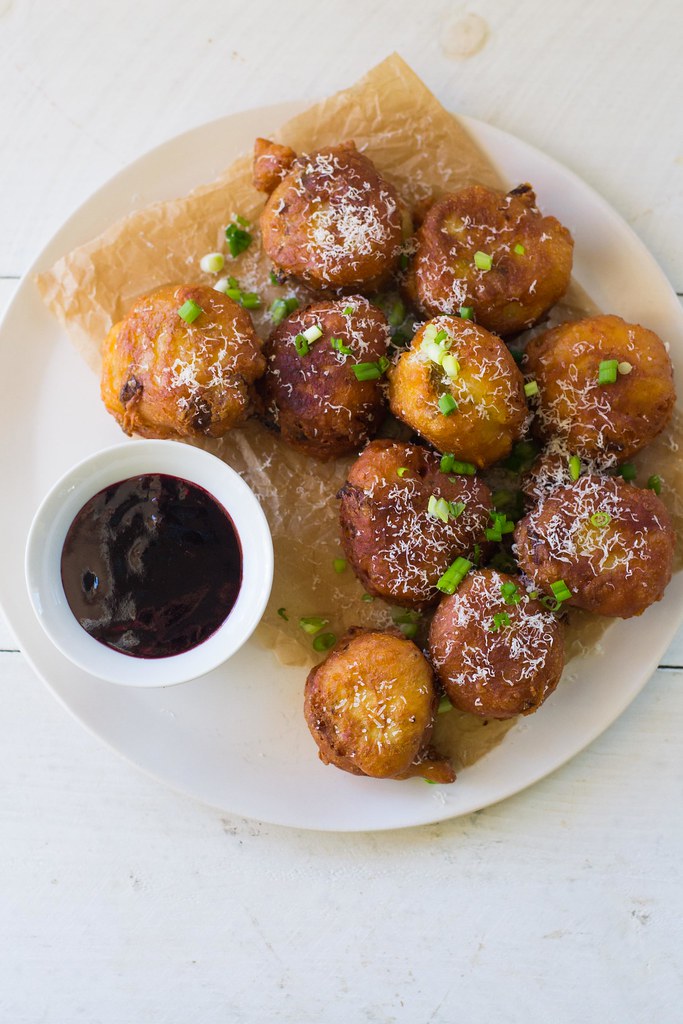
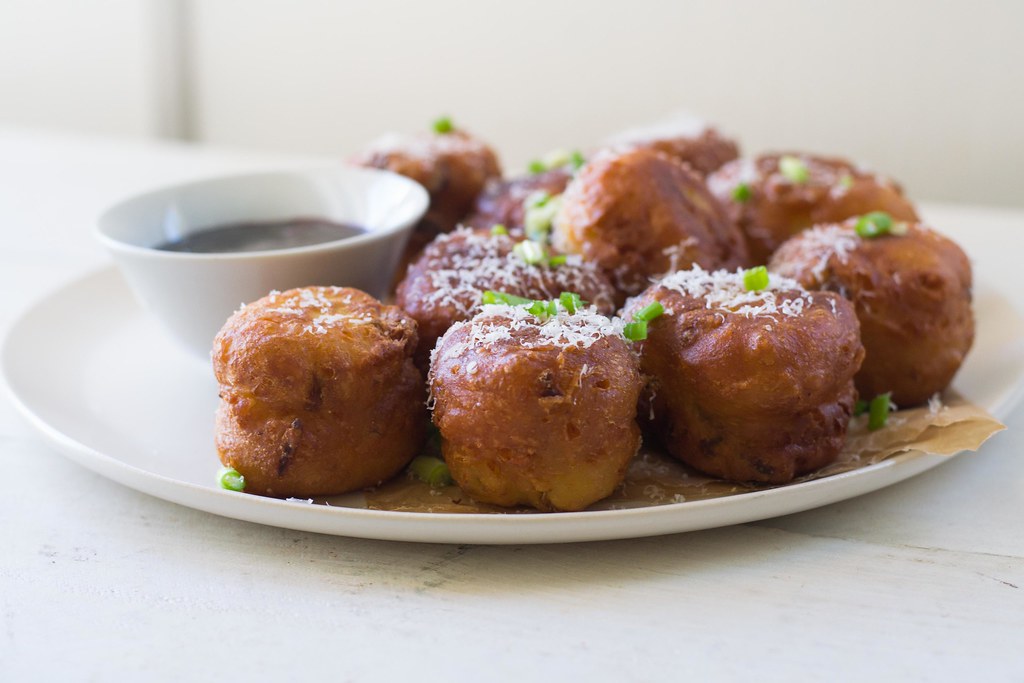
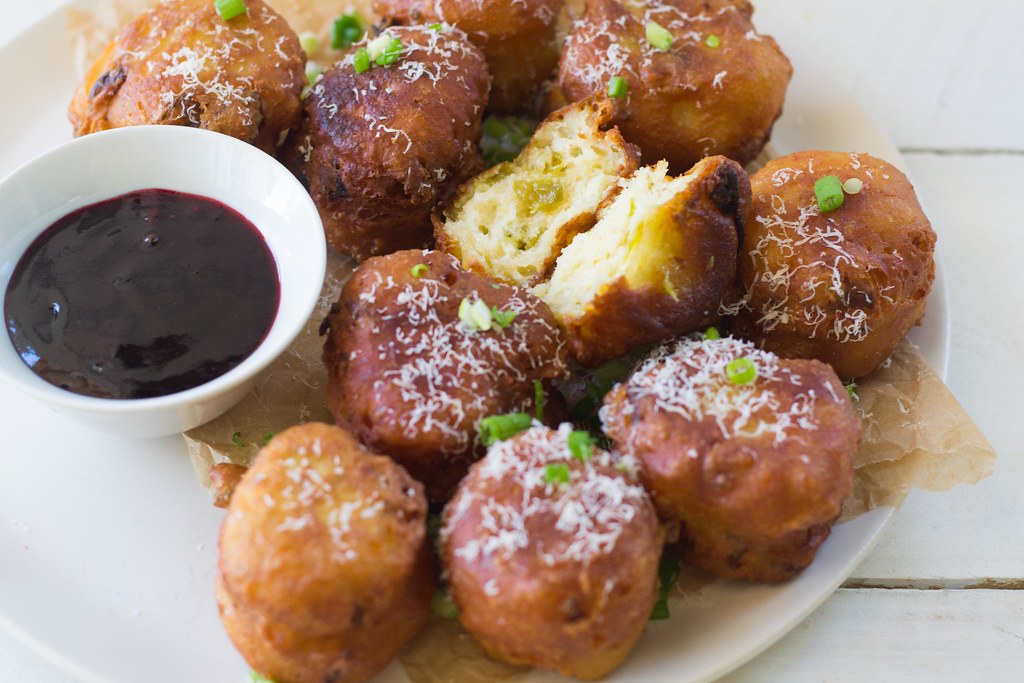
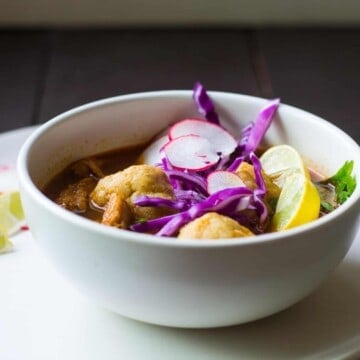
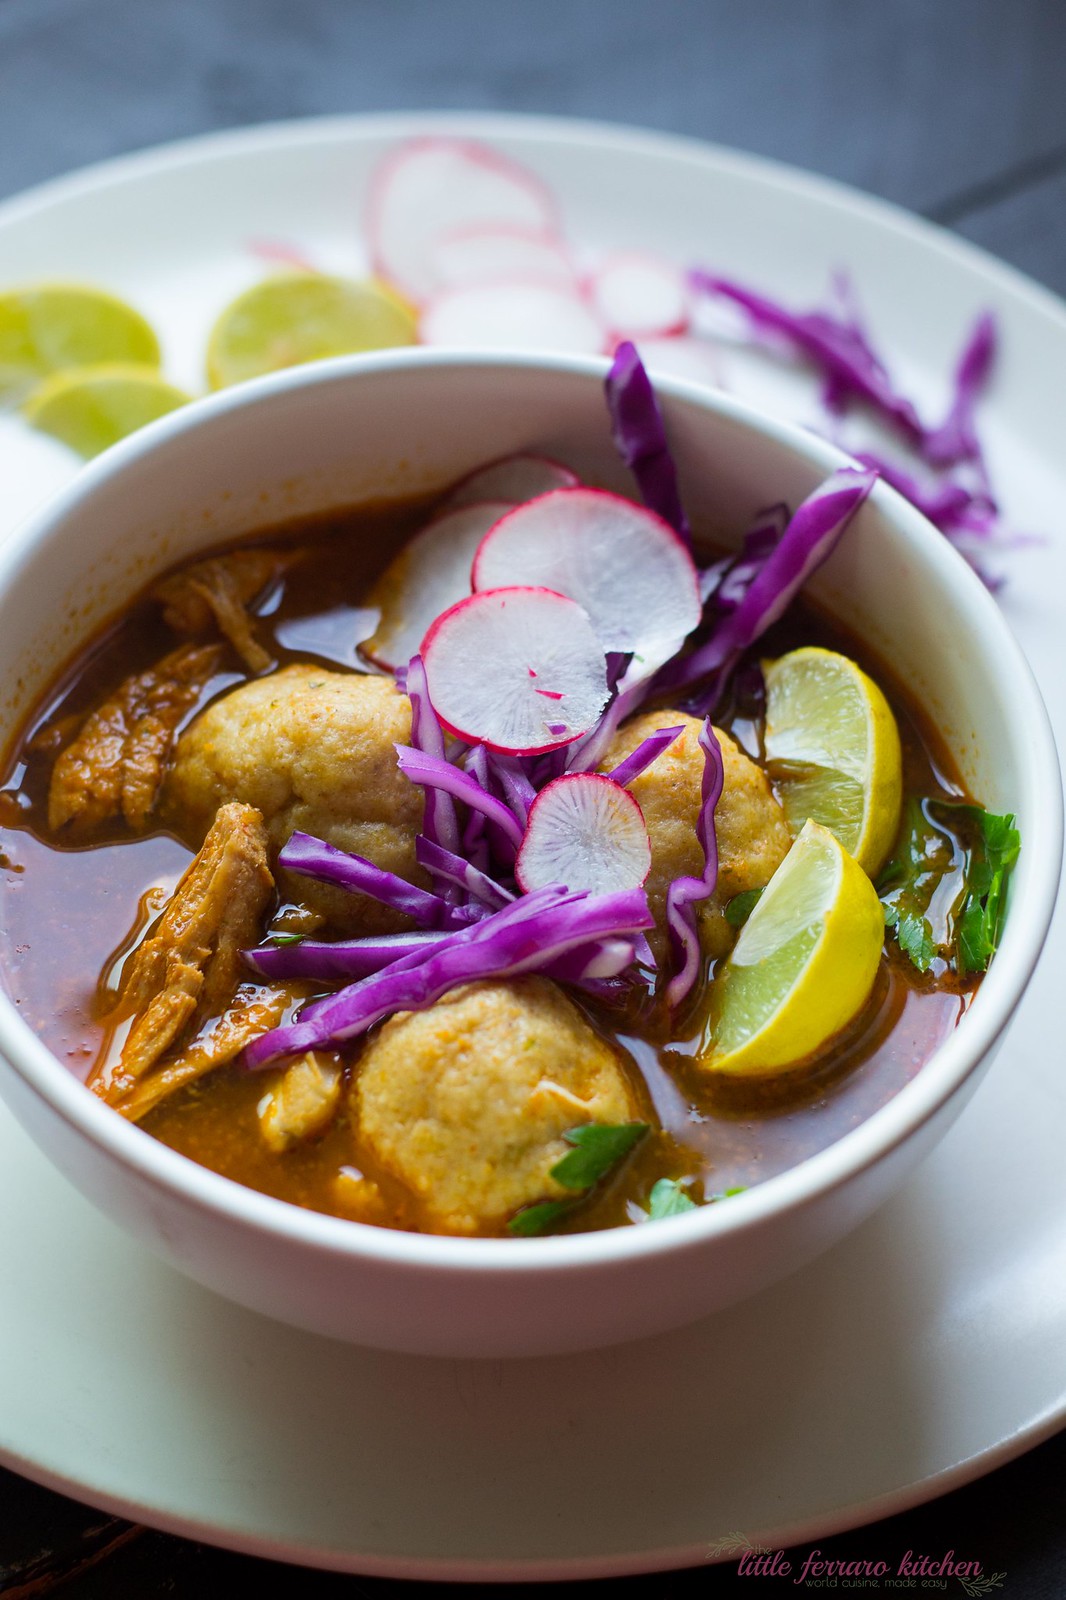
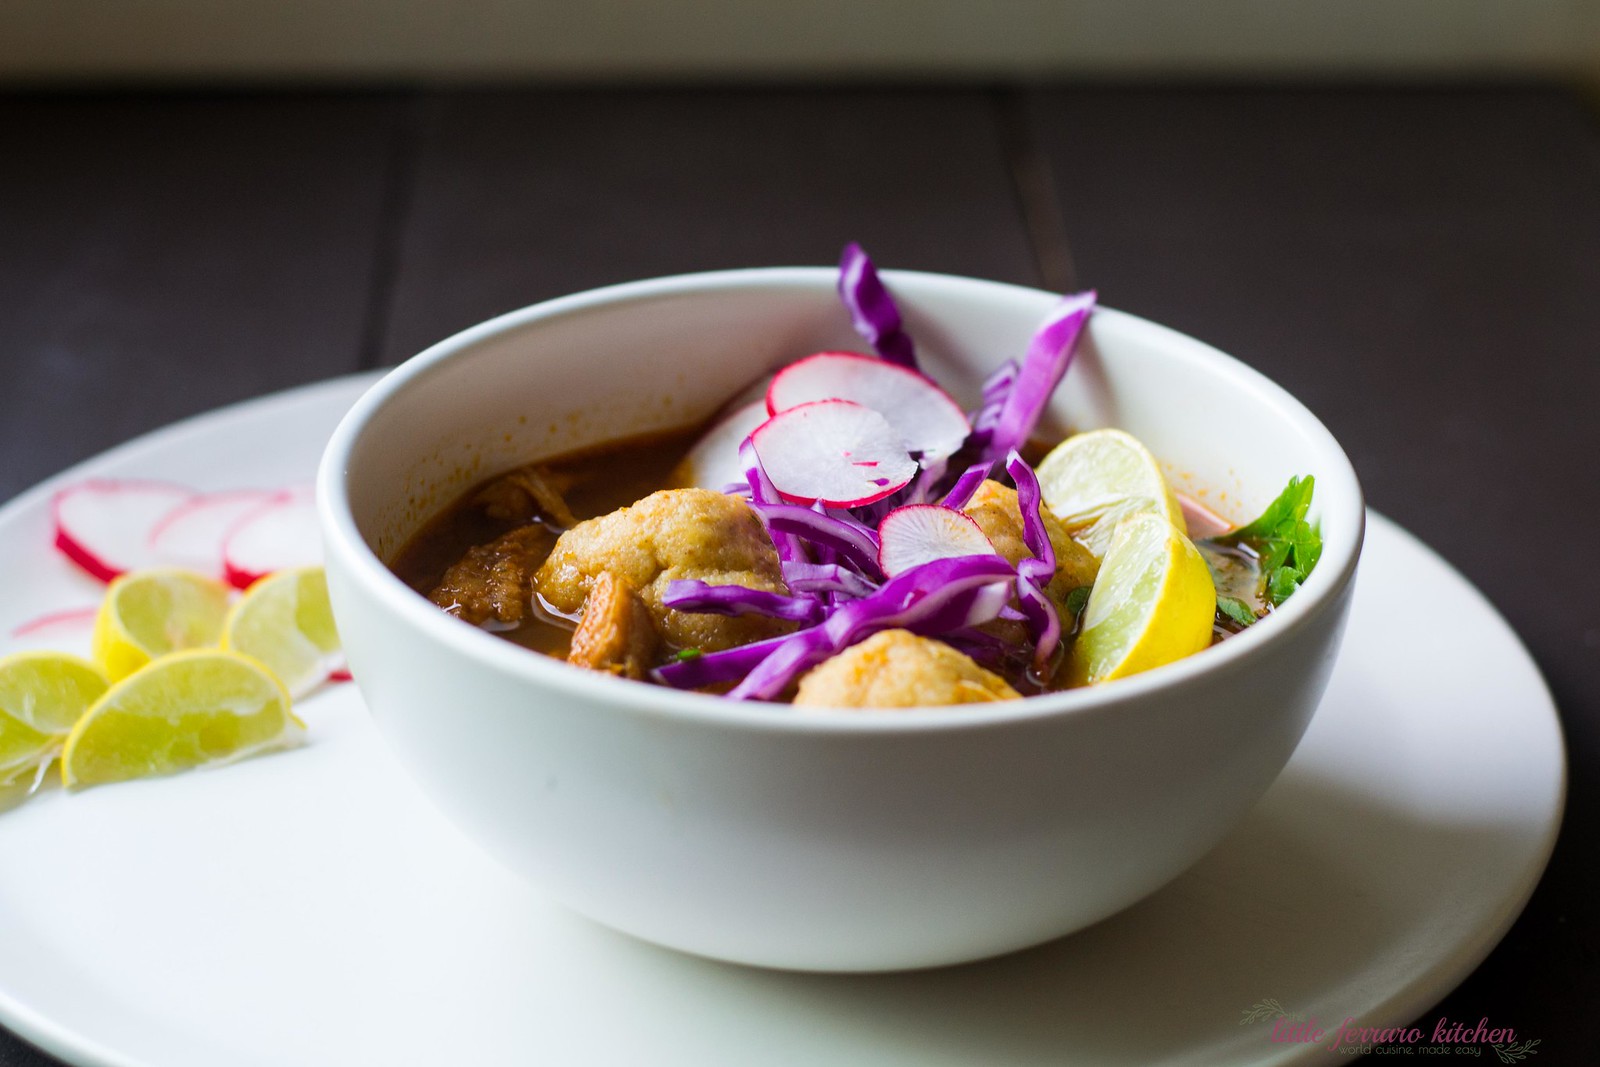
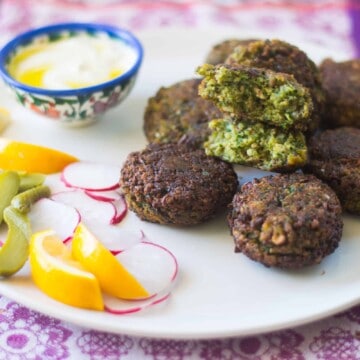
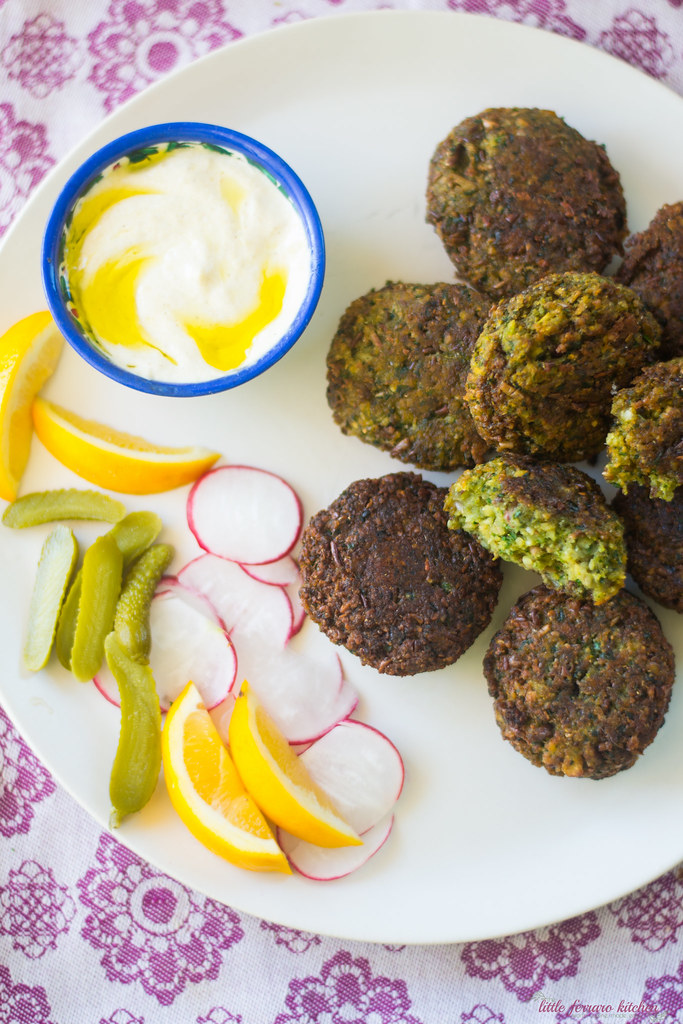
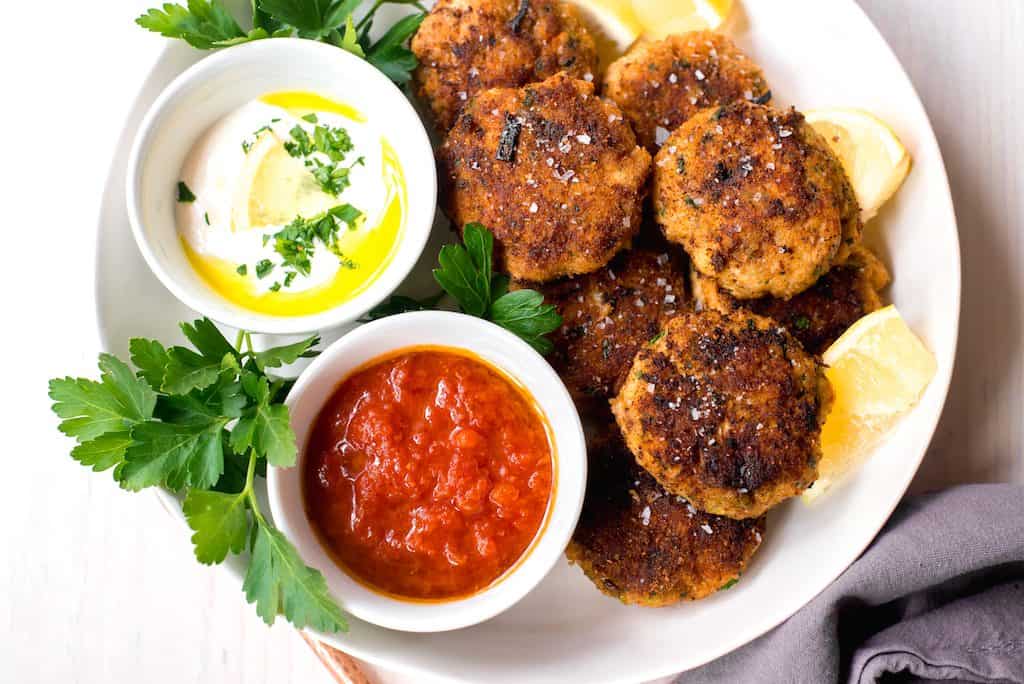
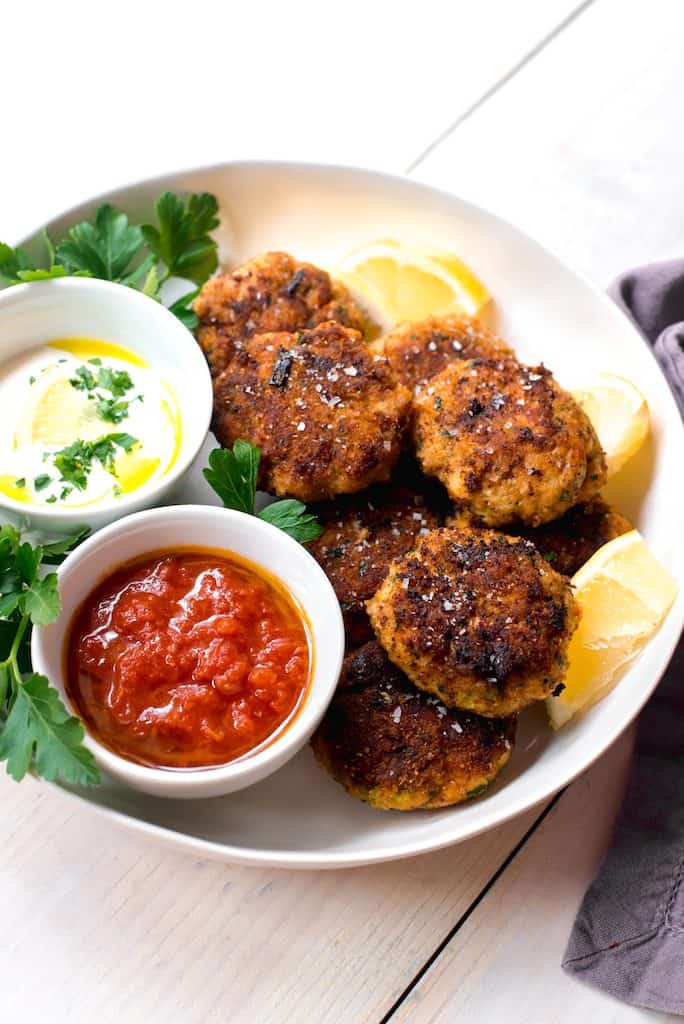
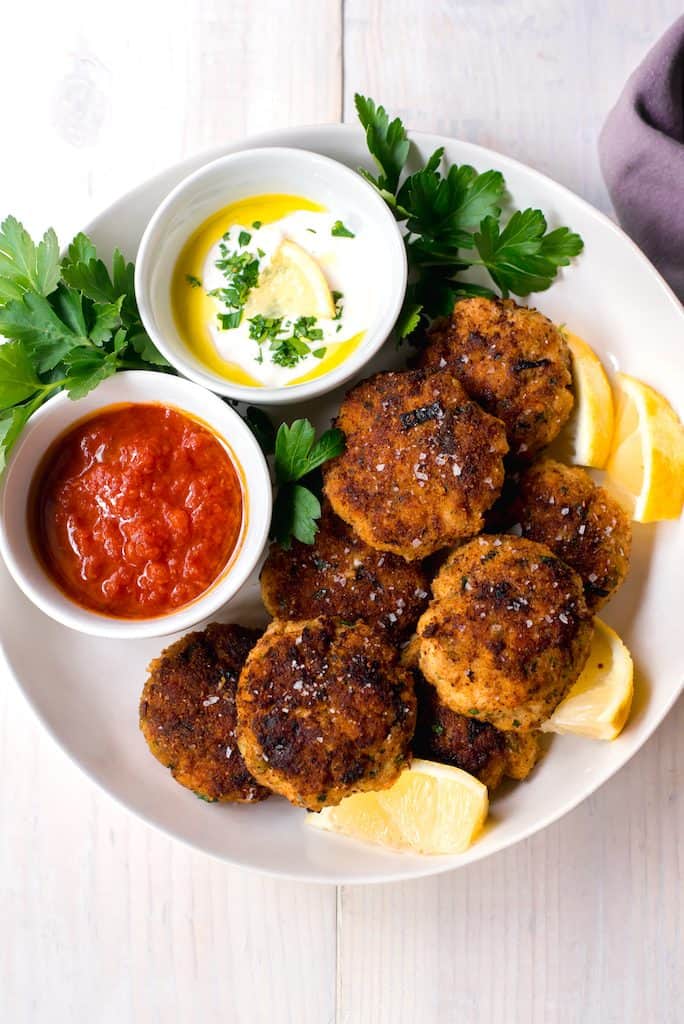
Mediterranean Fish Cakes full of bright lemon zest, garlic, leeks and spices and served alongside smoky cumin tomato sauce and lemon horseradish to dip into.
I was having trouble creating a name for for recipe. I have the notes app on my laptop and phone full of ideas I think of (mostly in the shower, that's where I do my most creative thinking) of various ideas, fusions and Jewish classics I want to reinvent.
These simple fish cakes have flavors of the Mediterranean
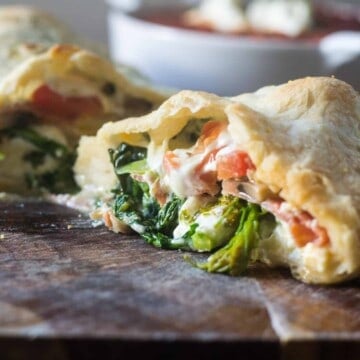
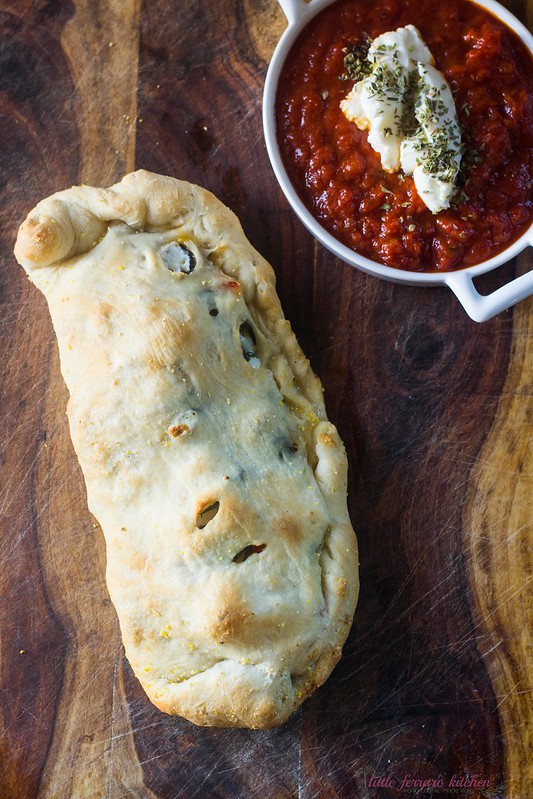
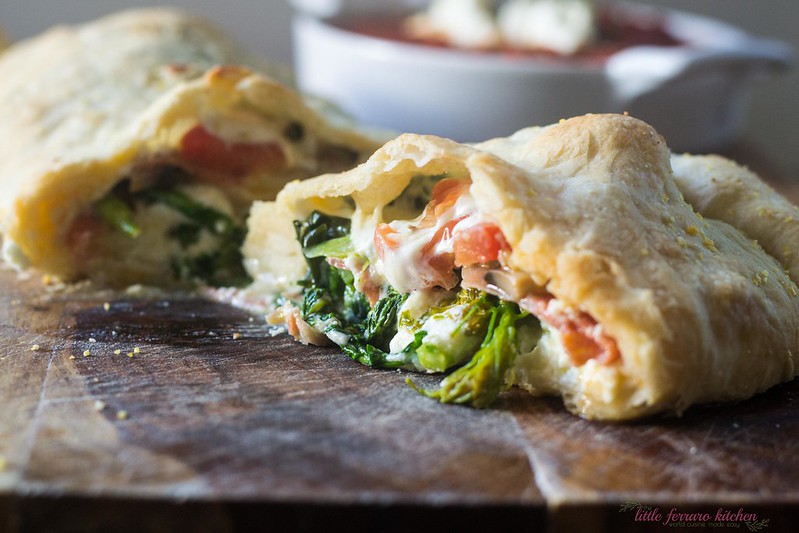
For the last 2 years, I have always wanted to create a Sephardic take on gefilte fish but alas, wound up calling these Mediterranean fish cakes instead. Growing up with lots of Jewish food in the house (hello stuffed cabbage!), yes I ate my fair share of jarred jellied gefilte fish, and honestly I don't remember hating it. Mom and grandparents served it usually during Passover on top of a square piece of matzo and garnished with red horseradish. Classic and I liked it.
However after recipe testing, I can not call these the gefilte fish that I had envisioned recreating. So that will take a few more tries to what I had pictured in my head. But, this recipe did come out to be amazingly delicious Mediterranean fish cakes and served alongside not 1, but 2 sauces to dip into.
Use any white fish you can find for these Mediterranean Fish Cakes
Use any white fish you can find as it is much milder and takes on the flavor you add to it nicely. Another suggestion would be to make these into fish sandwiches or fish sliders with the sauces spread onto both sides of the bread and perhaps a small handful of arugula too..yum!
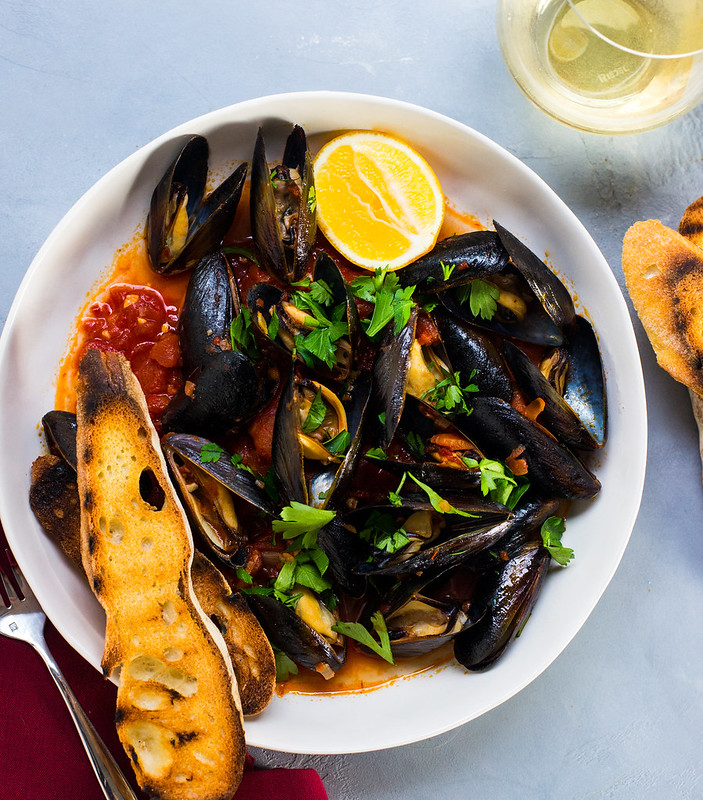
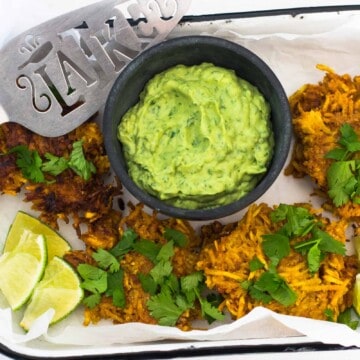
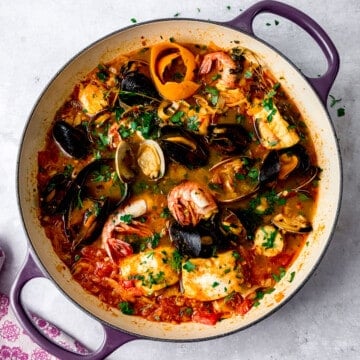
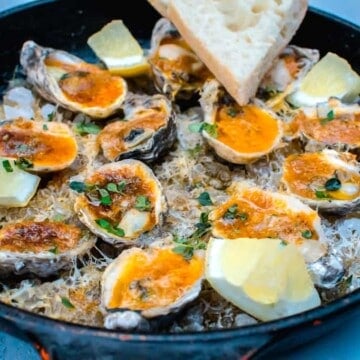
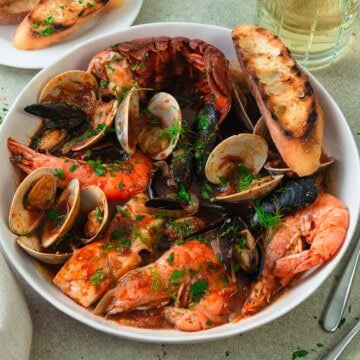
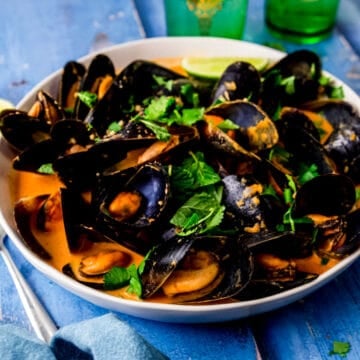
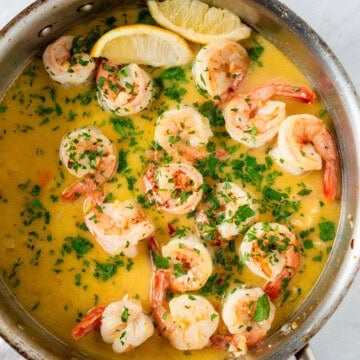
If you love fish recipes as much as I do, here are a few more suggestions. My recipe for Brazilian moqueca can literally be made in under 20 minutes and if you have a bit more time to cook (and lots of crusty bread), Cioppino with fennel and tomato is always a winner. For a fun chilled seafood try my Chilled Seafood Platter.
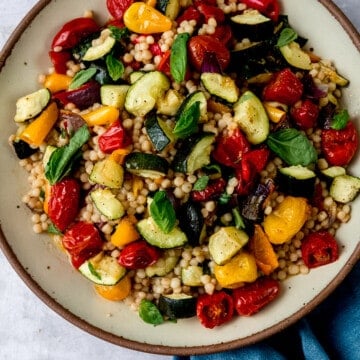
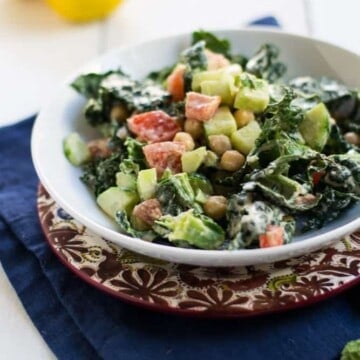
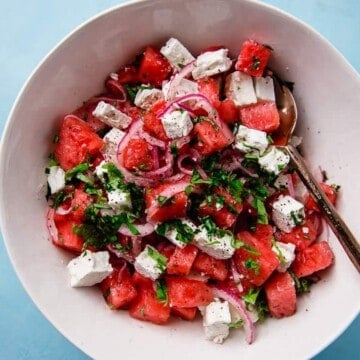
More seafood recipes

Even more seafood inspiration
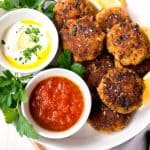
Mediterranean Fish Cakes with Lemon Horseradish and Cumin Tomato Sauce
Ingredients
Fish Cakes
- 1 teaspoon olive oil
- 1 leek cleaned and chopped into thin slices
- 1 ½ lbs white fish bones and skin removed and cut into chunks
- 1 egg
- 1 cup panko breadcrumbs divided
- 3 garlic cloves grated or chopped very finely
- 1 small bunch fresh parsley or cilantro stems removed and chopped finely
- Zest of 1 lemon
- 1 ½ teaspoon coriander
- 1 teaspoon paprika
- 1 teaspoon cumin
- ½ teaspoon salt + more for garnish
- Ground pepper
- Canola or vegetable oil for frying
- Lemon wedges for serving
Tomato Sauce
- Olive oil for drizzling
- 1 small shallot chopped finely
- 1 garlic clove chopped finely
- ½ teaspoon cumin
- 1 cup tomato sauce
- Salt and pepper to taste
Lemon Horseradish
- ½ cup mayonnaise
- ¼ cup prepared horseradish I prefer spicier but use less for mild flavor
- ½ lemon juiced
- Salt and pepper to taste
Instructions
- In a non-stick skillet, drizzle with olive over over medium heat and add chopped leeks. Saute until leeks are softened and cook through then add them to a large bowl and set aside.
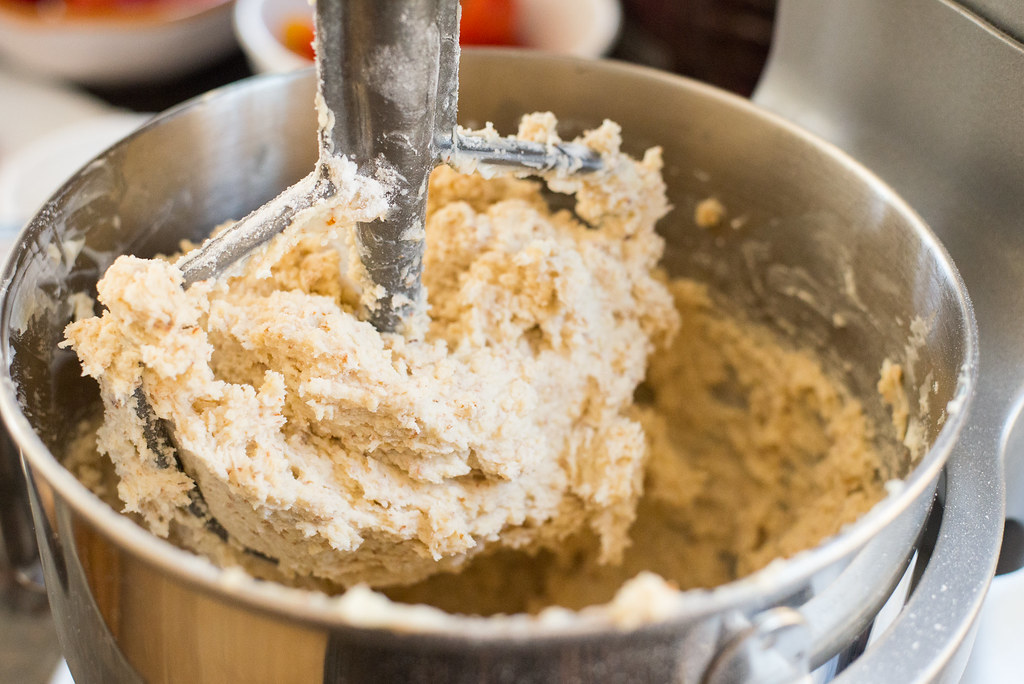
- Place the cubed fish in a food processor and pulse until fish is ground but not mushy and add fish to the same bowl with the leeks along with egg, ½ cup panko, garlic, chopped parsley, lemon zest and spices. Mix everything together and set aside.
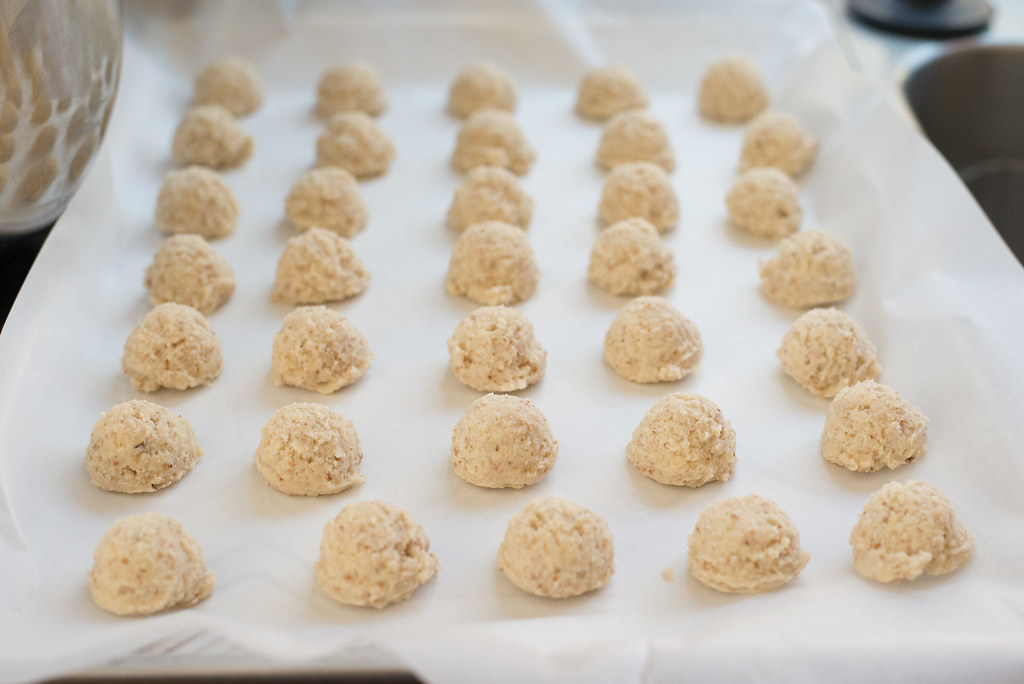
- Drizzle enough canola oil to coat the bottom of a wide pan and bring to medium-high heat. Form mixture into 10-12 patties and coat each fish cake with remaining panko on each side.
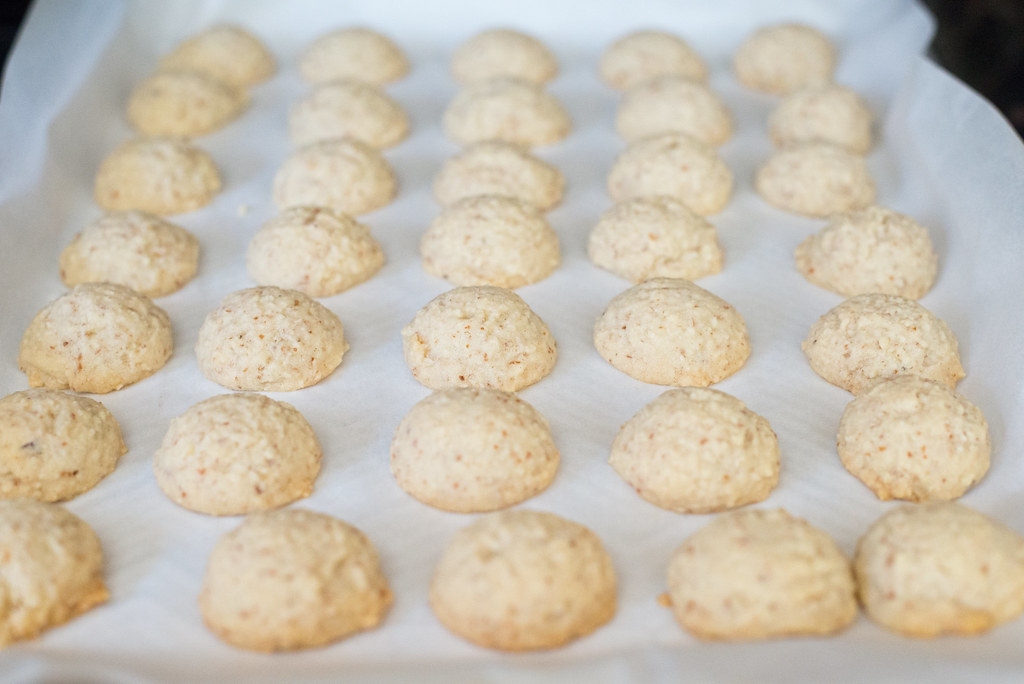
- Fry fish cakes for 4-5 minutes on each side until golden brown and garnish with an extra sprinkle of salt.
- To make the tomato sauce, in a small pot saute chopped shallot in olive oil until softened, about 2-3 minutes. Then add garlic and cumin and cook for another minute. Add in tomato sauce and salt and pepper and stir together, cooking for 10 minutes until heated through. Once done, set aside.
- For he horseradish sauce, stir together the horseradish, mayonnaise, lemon juice, salt and pepper and taste for seasoning.
- Serve fish cakes along side sauces and lemon wedges.