

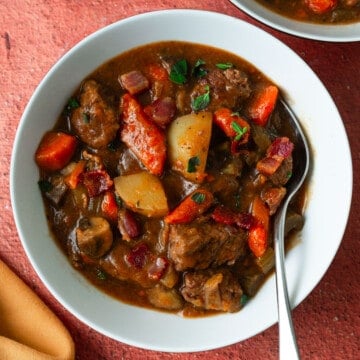
Stay warm with a bowl of this rich and comforting Zuppa Toscana soup! This hearty soup is made with creamy potatoes, savory sausage, crispy bacon, and tender kale, all simmered in a creamy broth. It’s the perfect cold-weather meal that’s sure to satisfy with every comforting spoonful.

About This Recipe
If you're looking for a warm, hearty, and ultra-satisfying soup, this Zuppa Toscana is exactly that! Inspired by the wildly popular Olive Garden soup, this hearty soup is packed with savory sausage, smoky bacon, and tender potatoes, all in a creamy broth. A handful of fresh kale adds color and a boost of freshness.
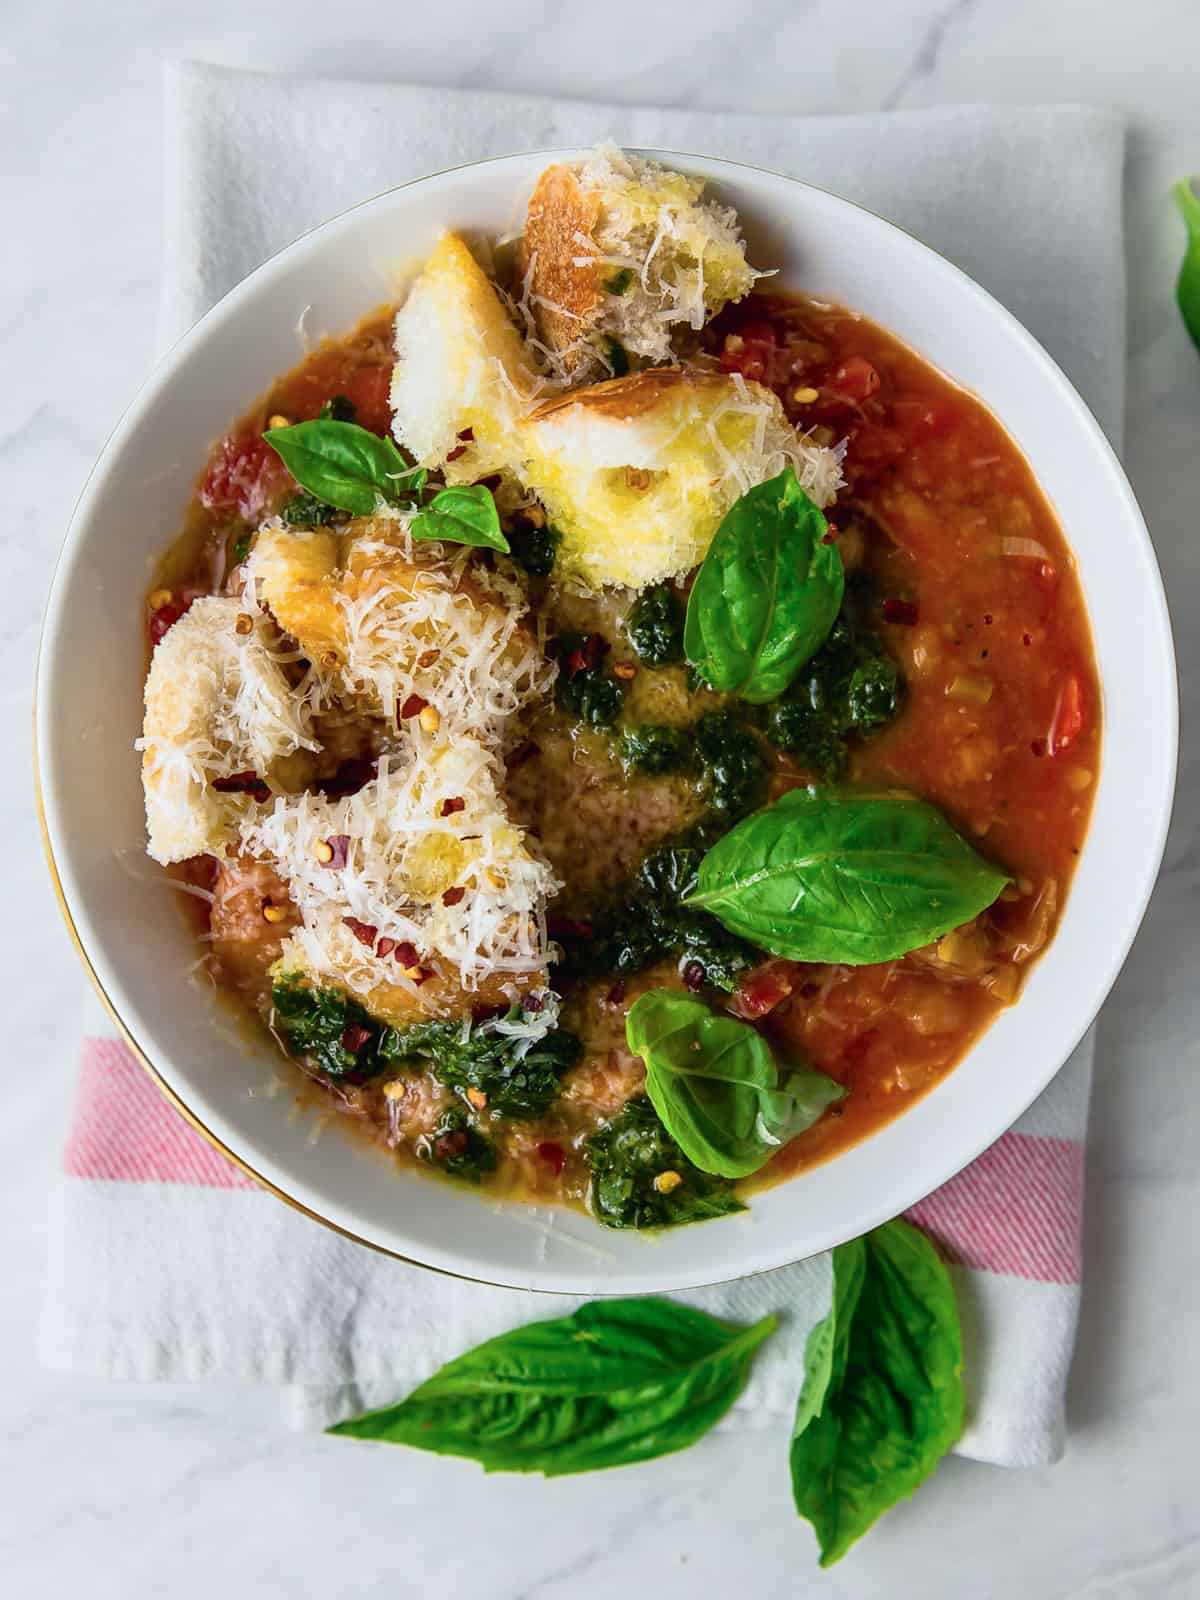
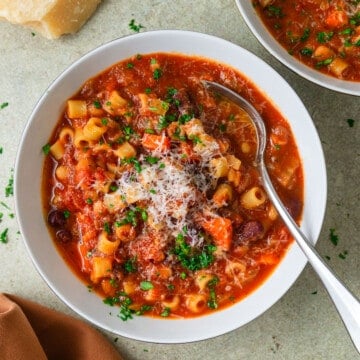
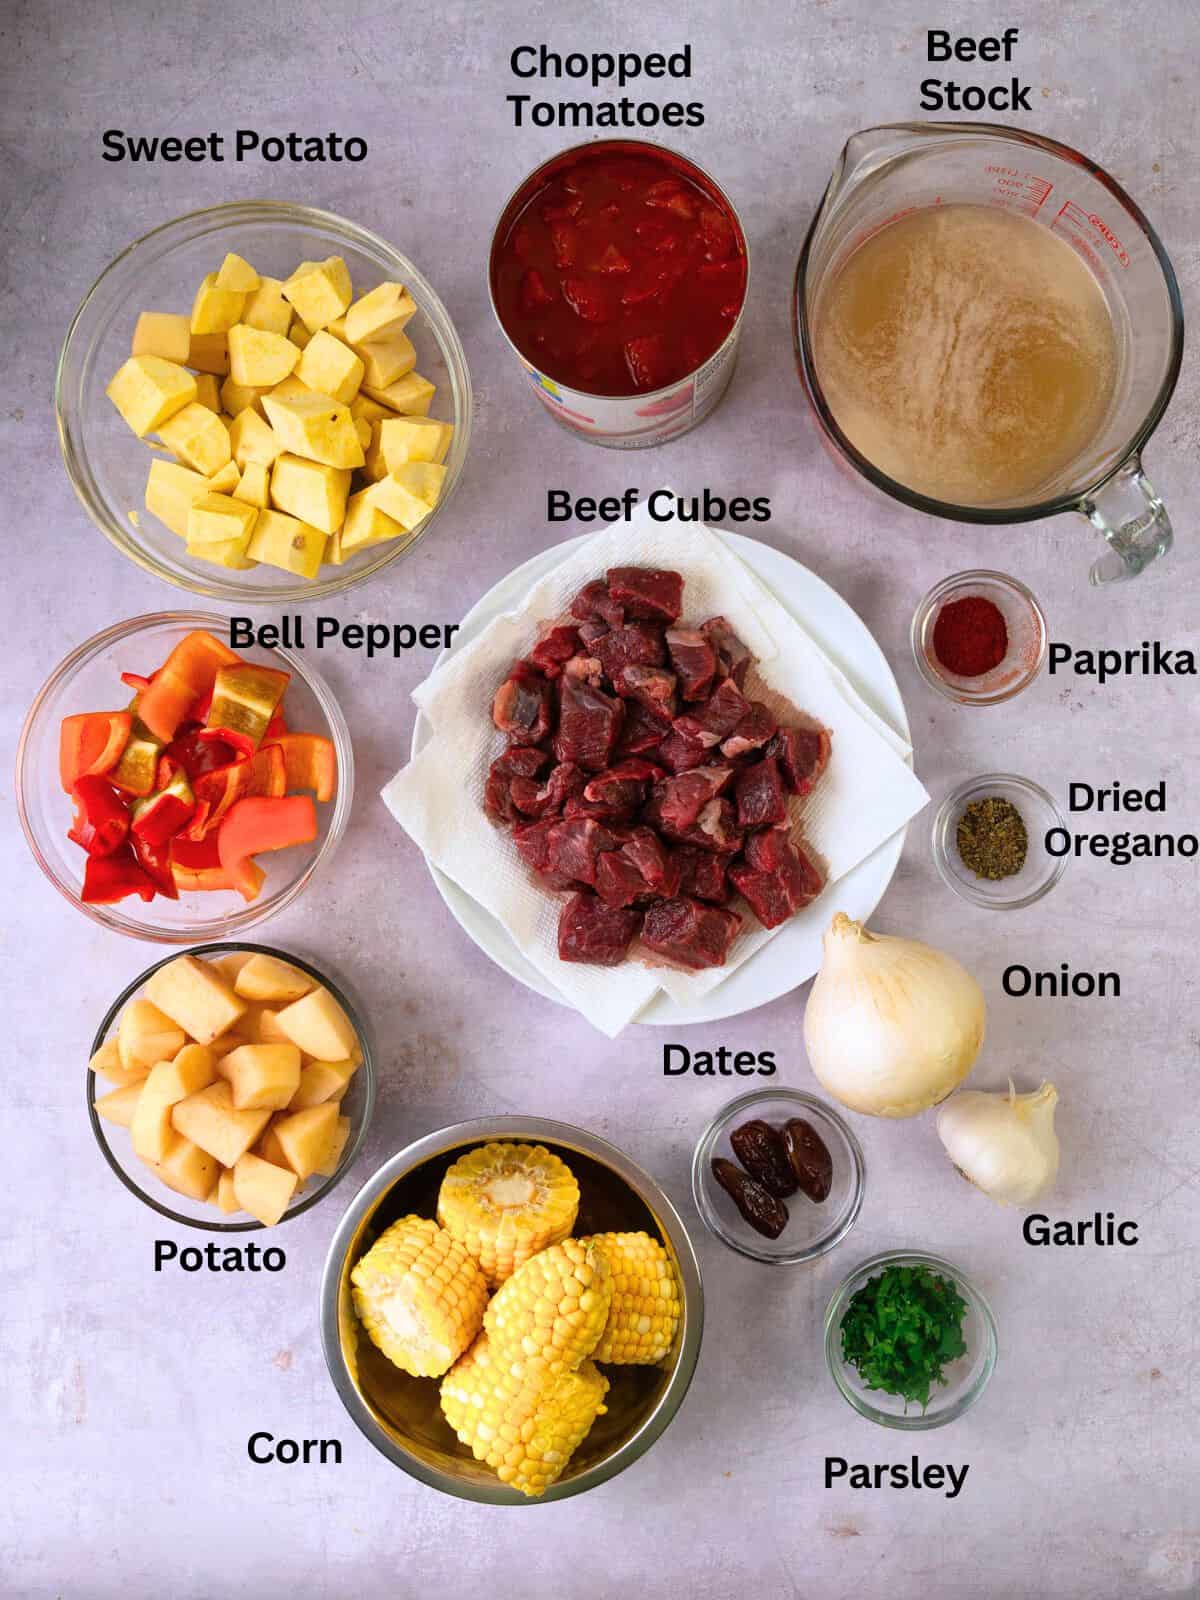
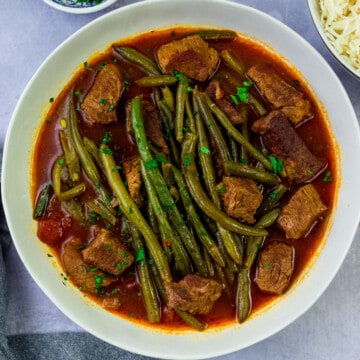
It’s an easy one-pot meal that comes together in under an hour, making it perfect for weeknights. For more hearty soups, try my Argentinian Beef Stew, or Vegetarian Pasta Fagioli for a meatless, yet filling soup.
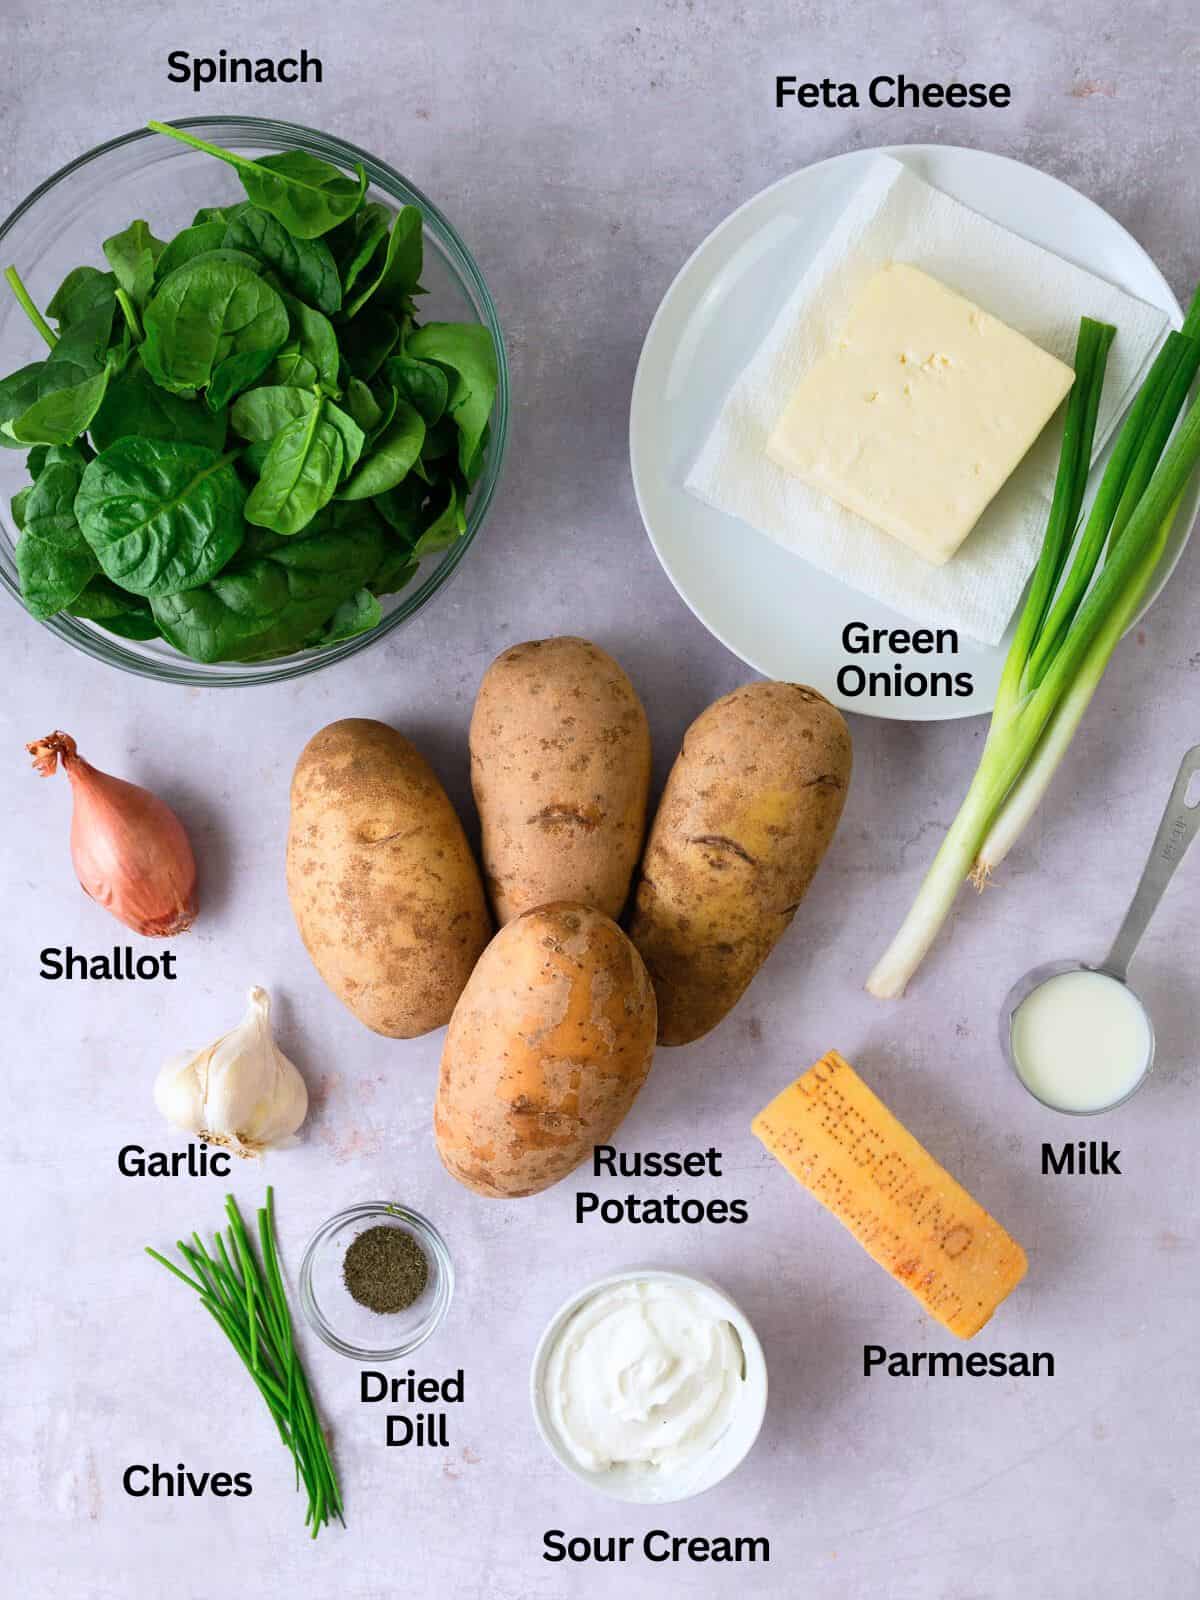
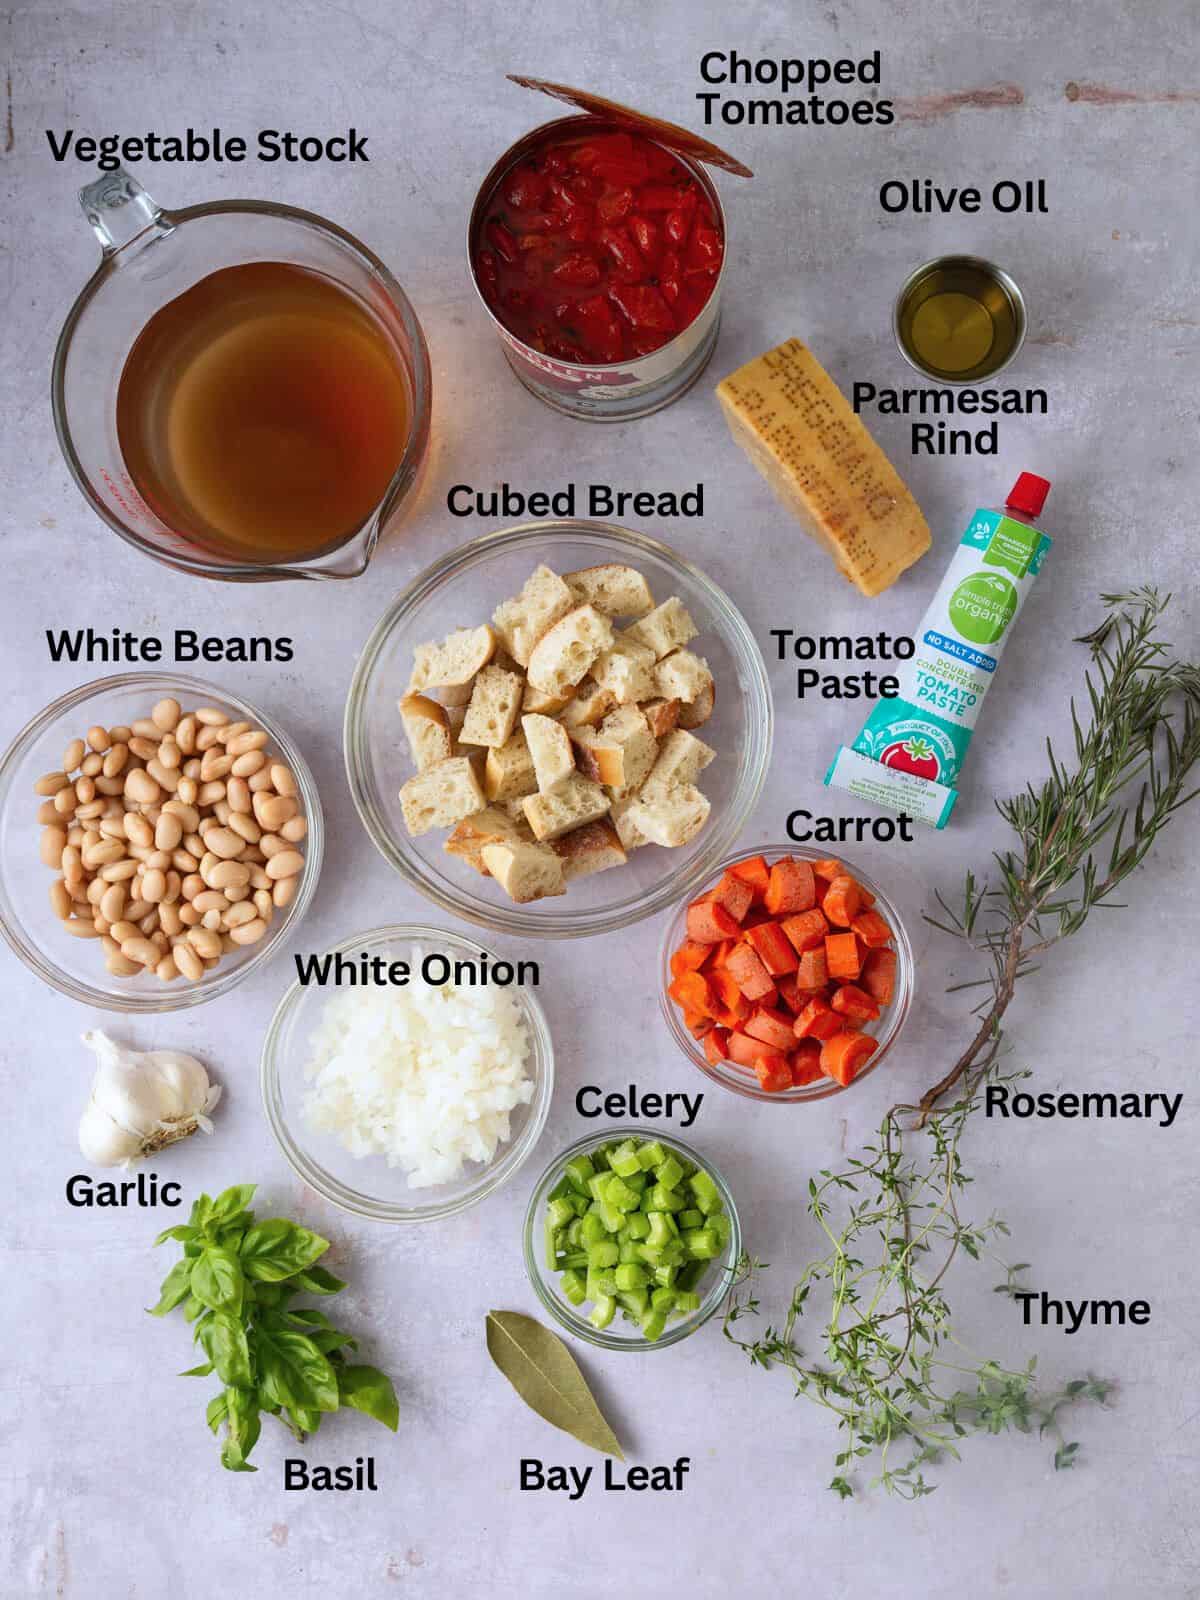
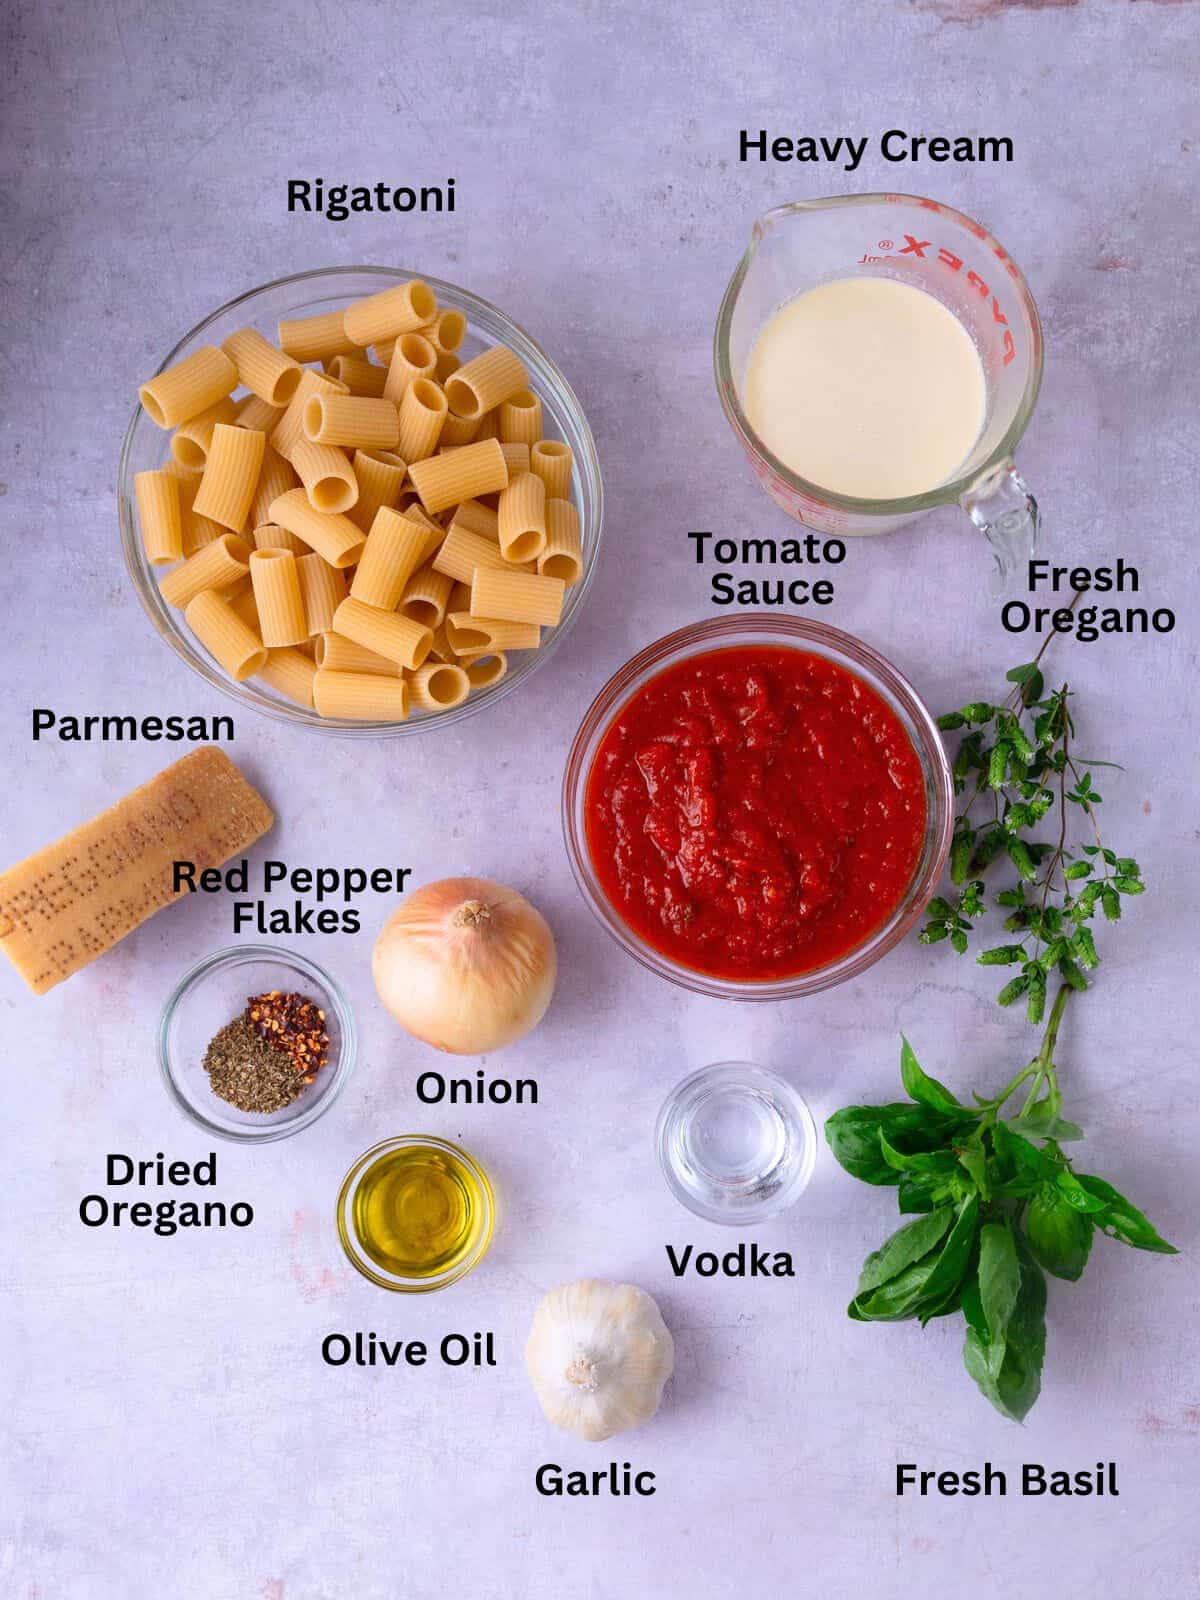
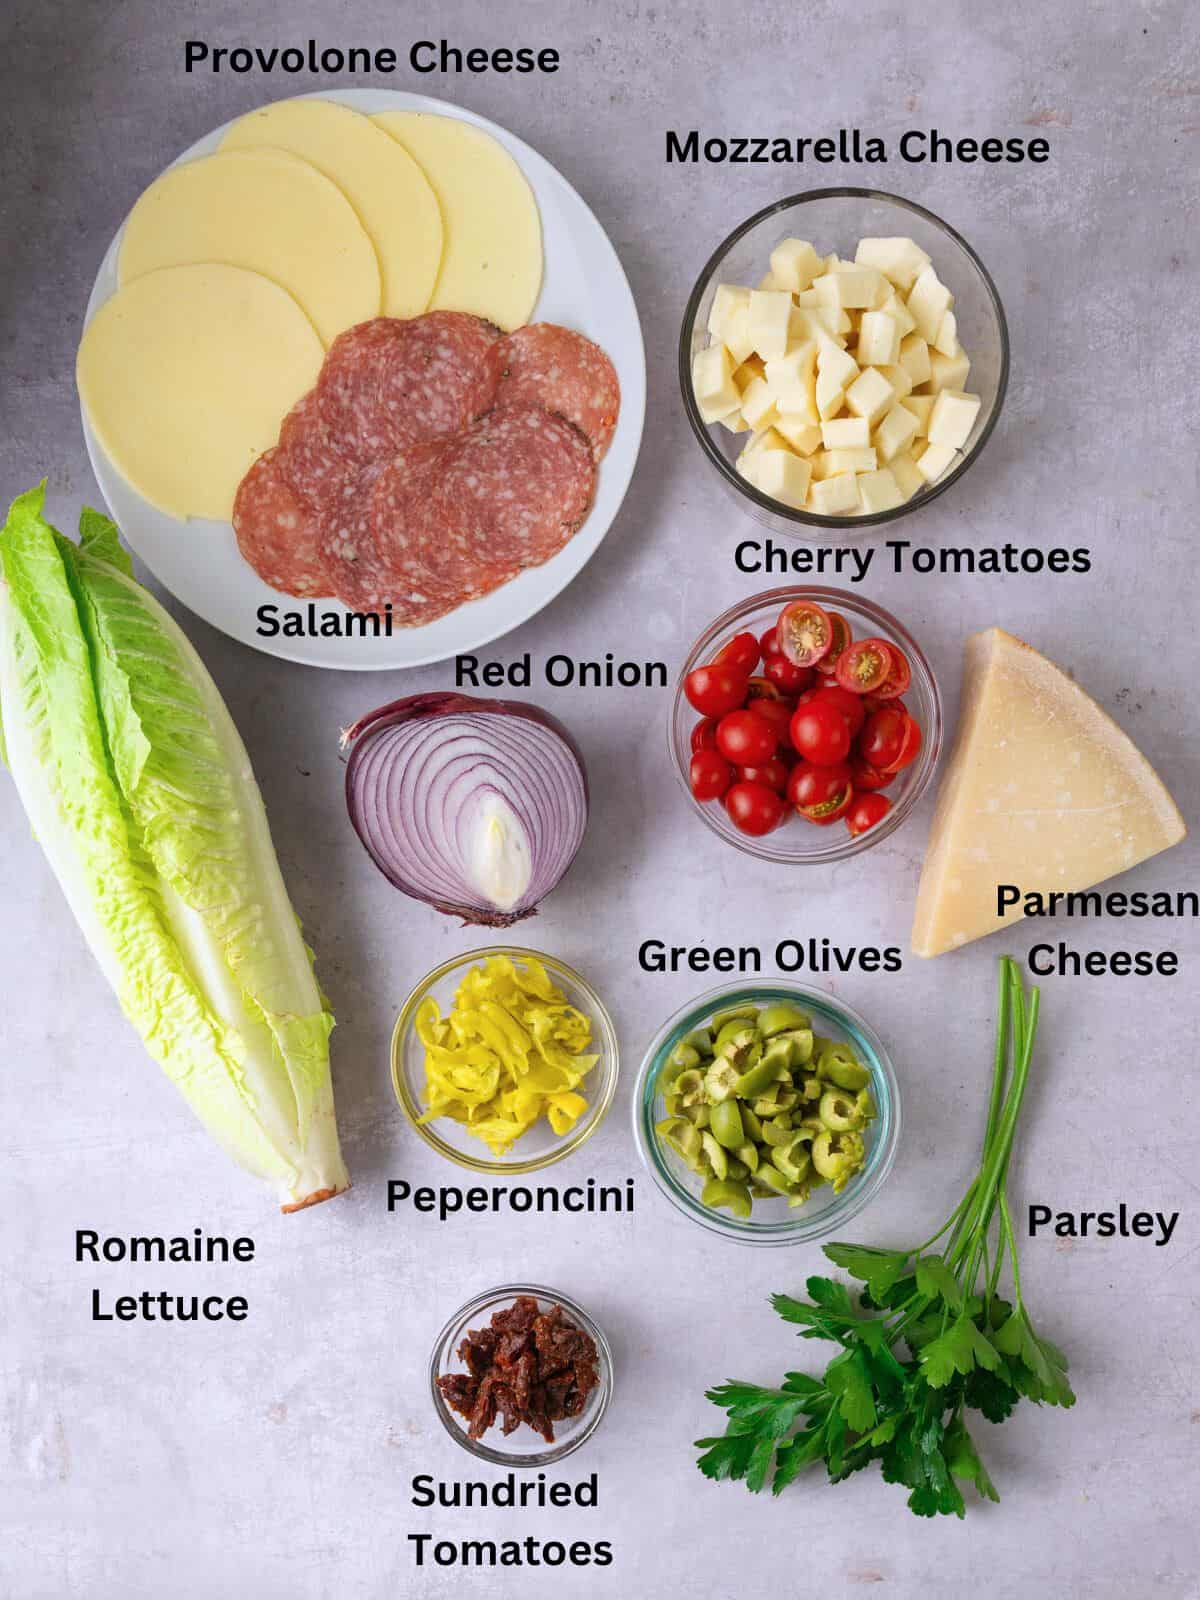
📋 Ingredients
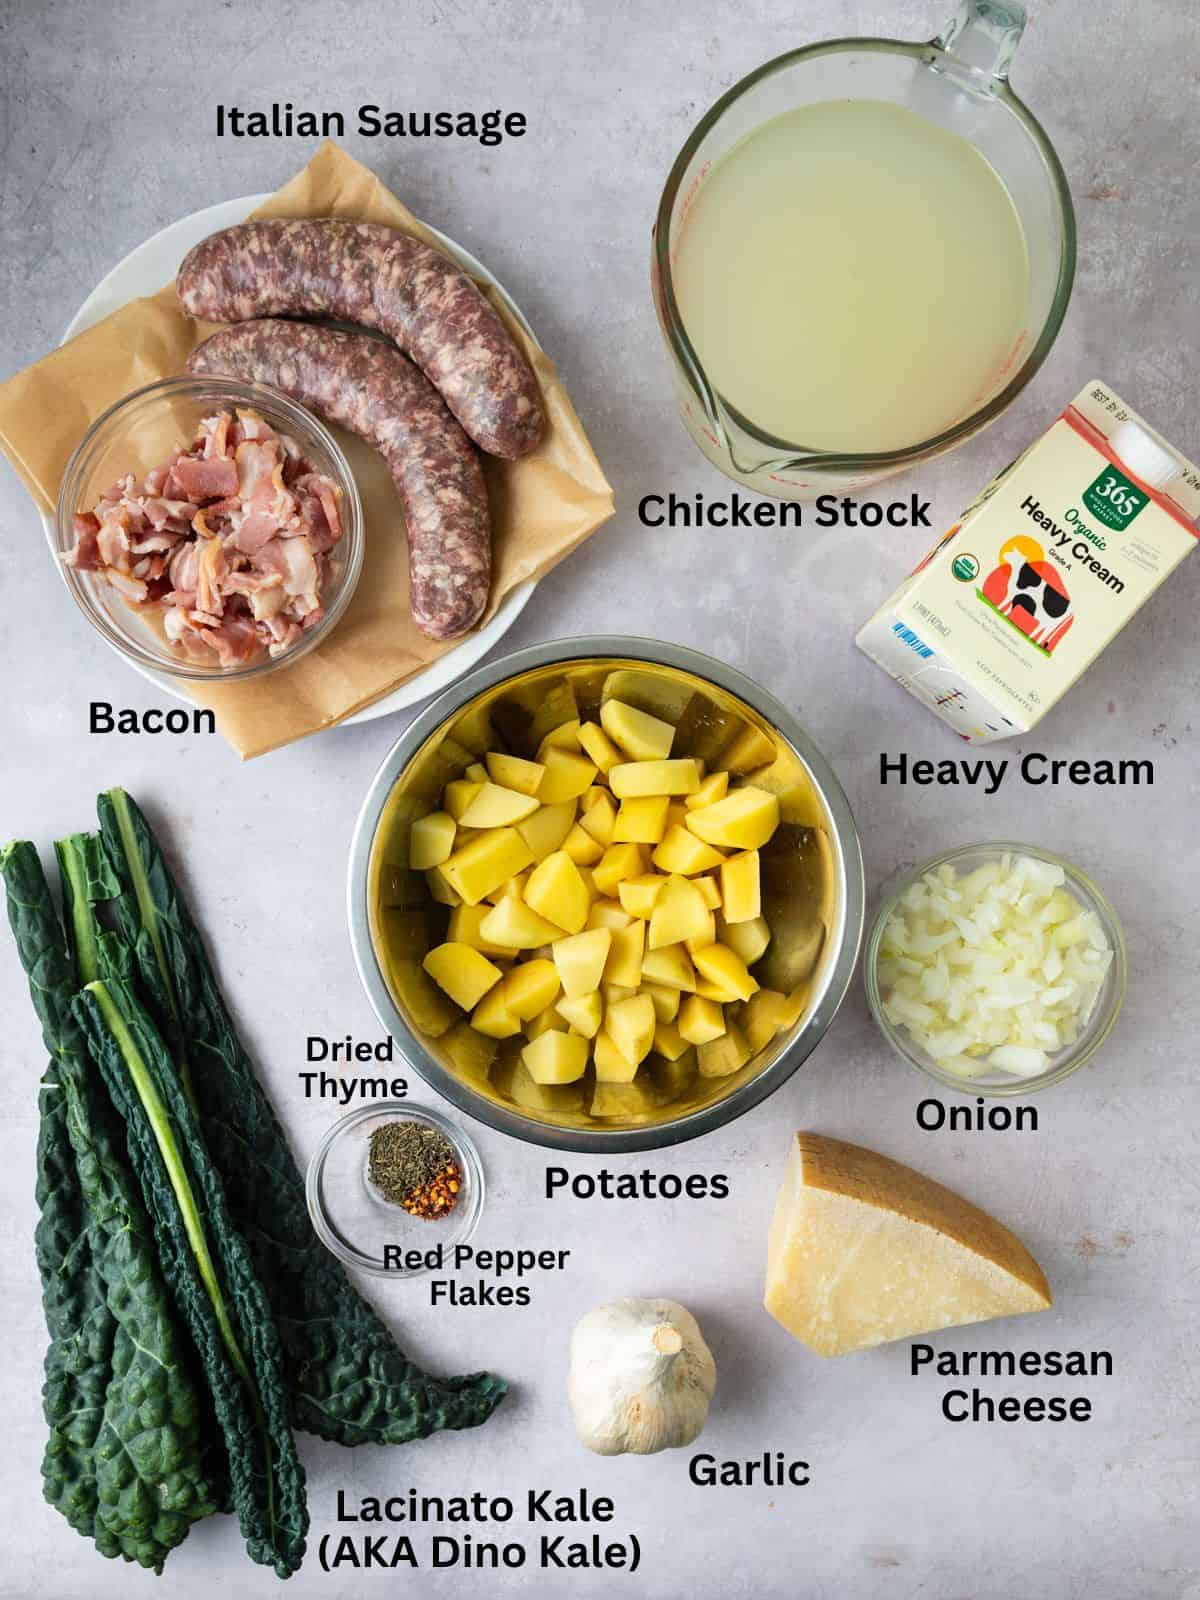
- Bacon – Adds a smoky, crispy element. You can use pancetta for a more Italian take or omit it for a lighter version.
- Italian Sausage – Mild or spicy sausage works well, depending on your preferred heat level. For a leaner option, try turkey or chicken Italian sausage.
- Red Pepper Flakes – Adds a subtle heat. Adjust the amount based on your spice preference. You can also add a teaspoon of Calabrian chili for a more complex flavor.
- Dried Thyme or Italian Seasoning – Either option works! Italian seasoning brings a blend of herbs, while thyme adds a slightly earthy note.
- Potatoes – Yukon Gold potatoes hold their shape well while becoming tender and creamy.
- Heavy Cream – Creates that luscious, velvety texture. For a dairy-free version, coconut milk works surprisingly well, but may add a bit more sweetness.
- Kale – I prefer Lacinato kale (dinosaur kale) for its tender leaves and mild flavor. Be sure to remove the tough stems before chopping. Curly kale also works, but it’s slightly more fibrous.
- Parmesan Cheese – A sprinkle on top enhances the savory flavors. Use freshly grated for the best taste.
See recipe card for full information on ingredients and quantities.
🍋 Substitutions and Variations
- Make it Dairy-Free: Swap heavy cream for full-fat coconut milk or cashew cream.
- Different Protein: Try turkey sausage, ground chicken, or even a plant-based sausage for a vegetarian twist.
- Use Different Greens: If kale isn’t your favorite, try spinach, Swiss chard, or even escarole for a similar texture.
- Lower Carb Option: Reduce the potatoes and add extra greens or cauliflower florets for a lighter version.
⏲️ Instructions
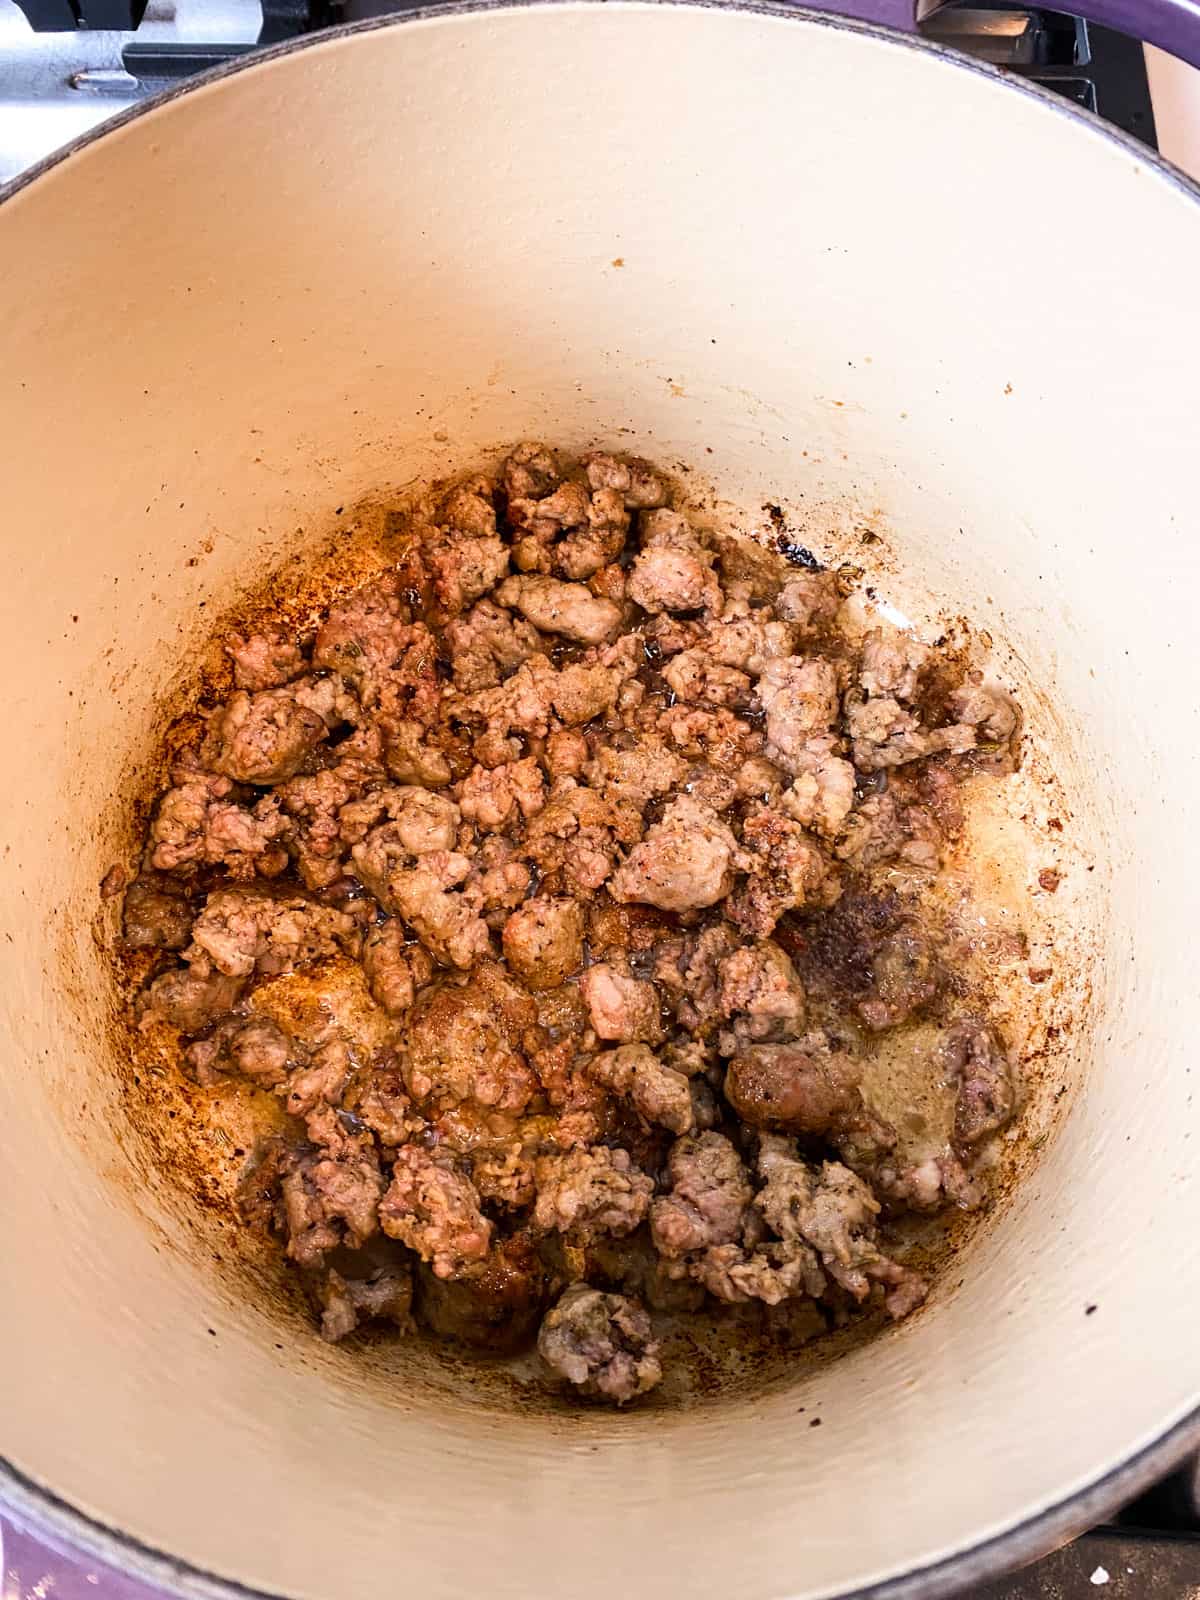
Cook the Bacon and Sausage: In a large pot or Dutch oven, fry the bacon over medium heat until crispy, then set aside. Cook the sausage until browned and set aside with the bacon.
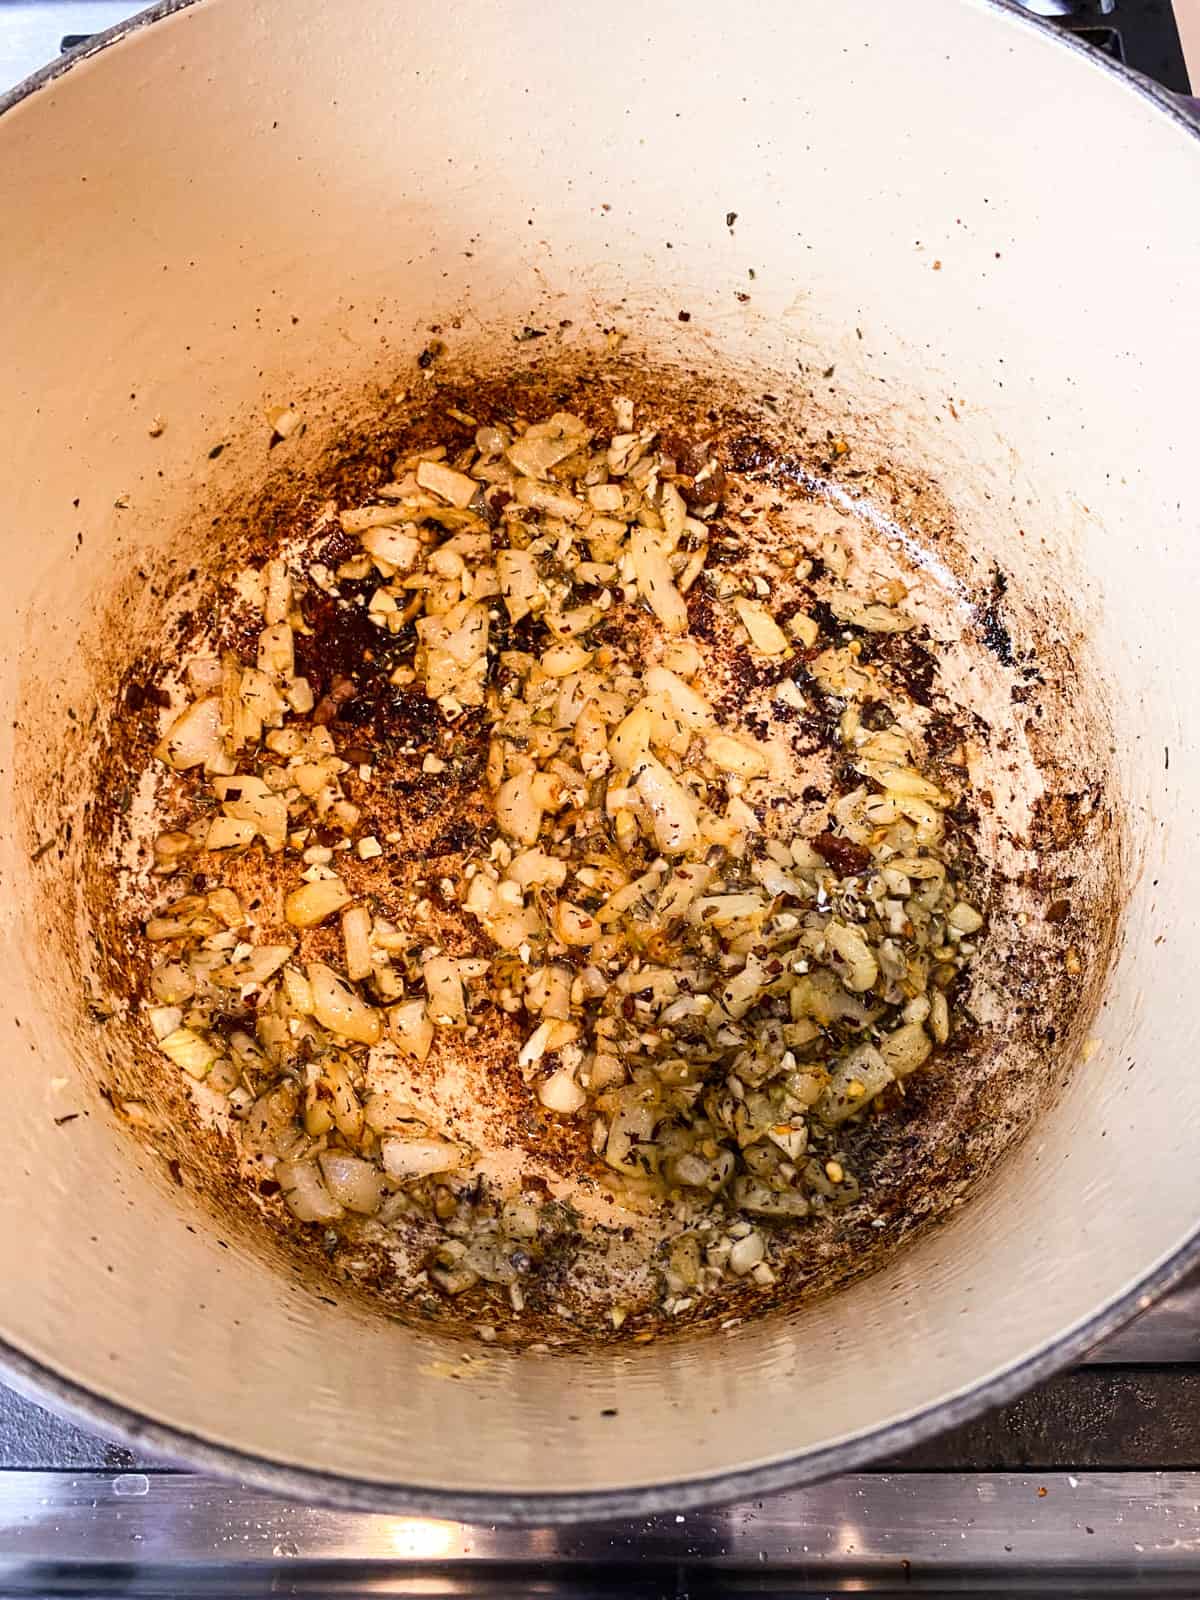
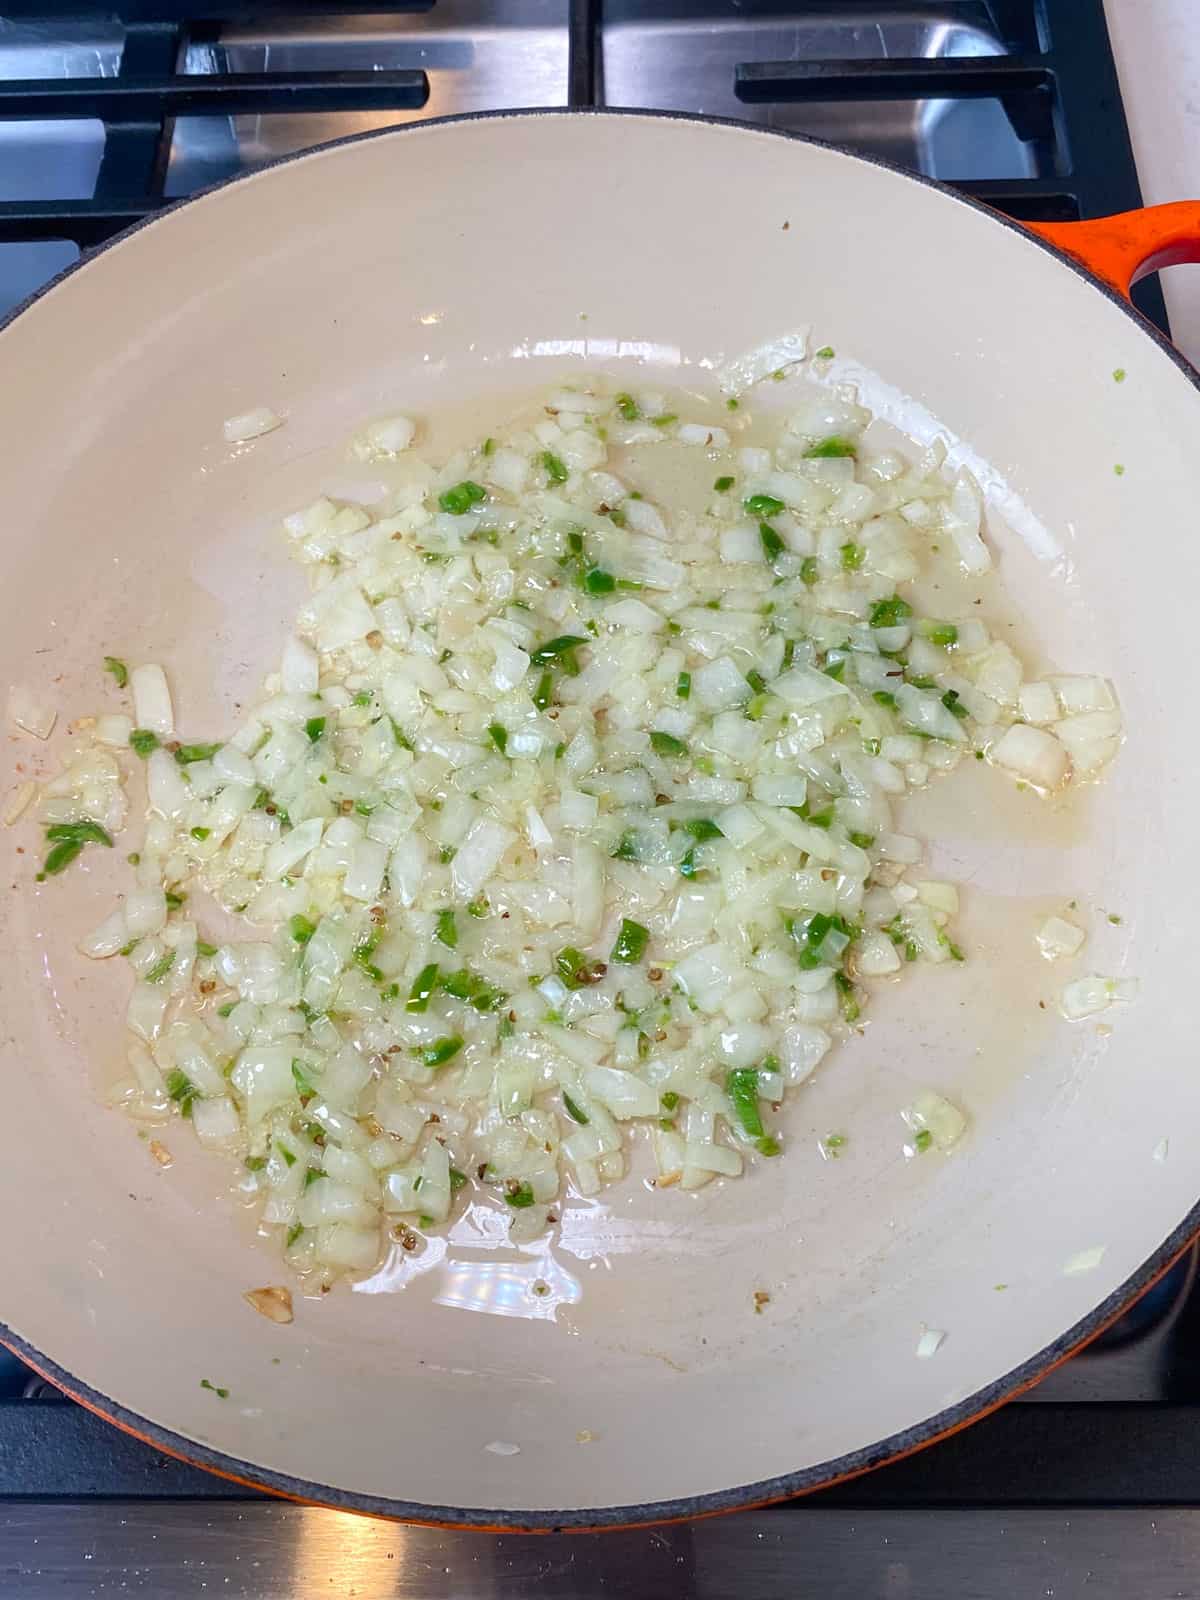
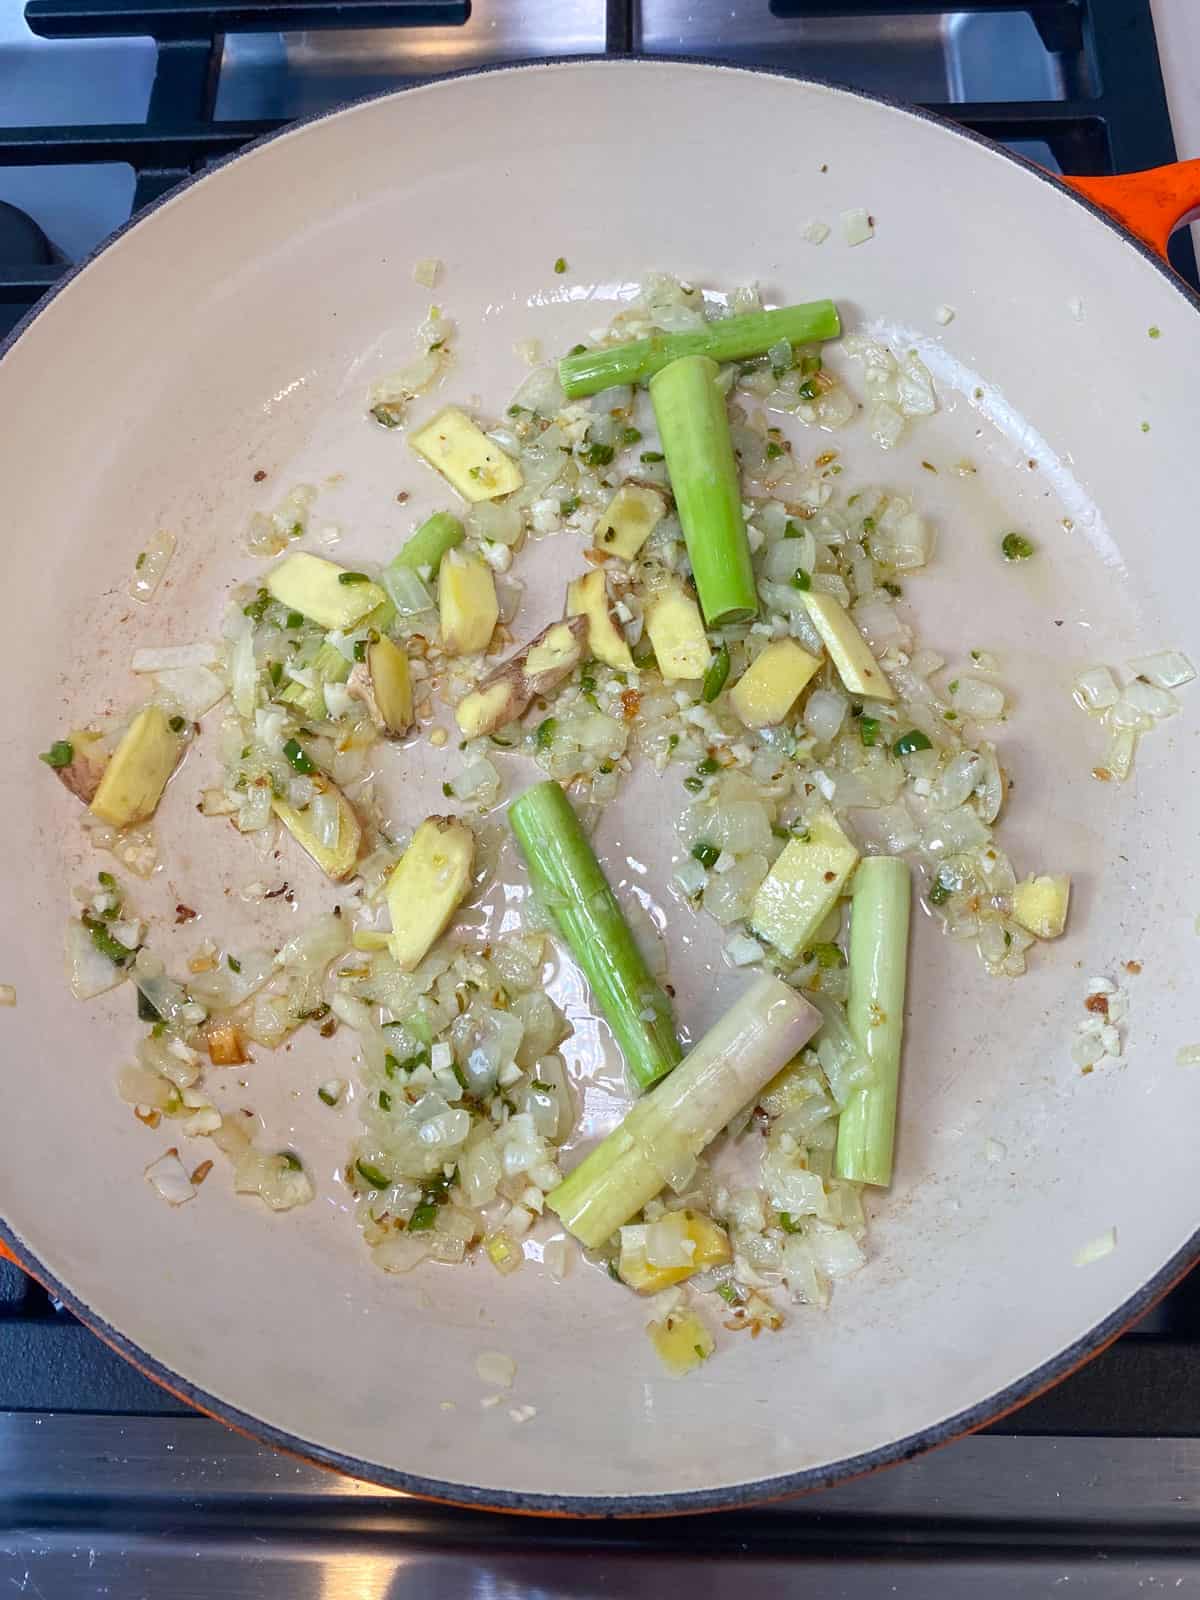
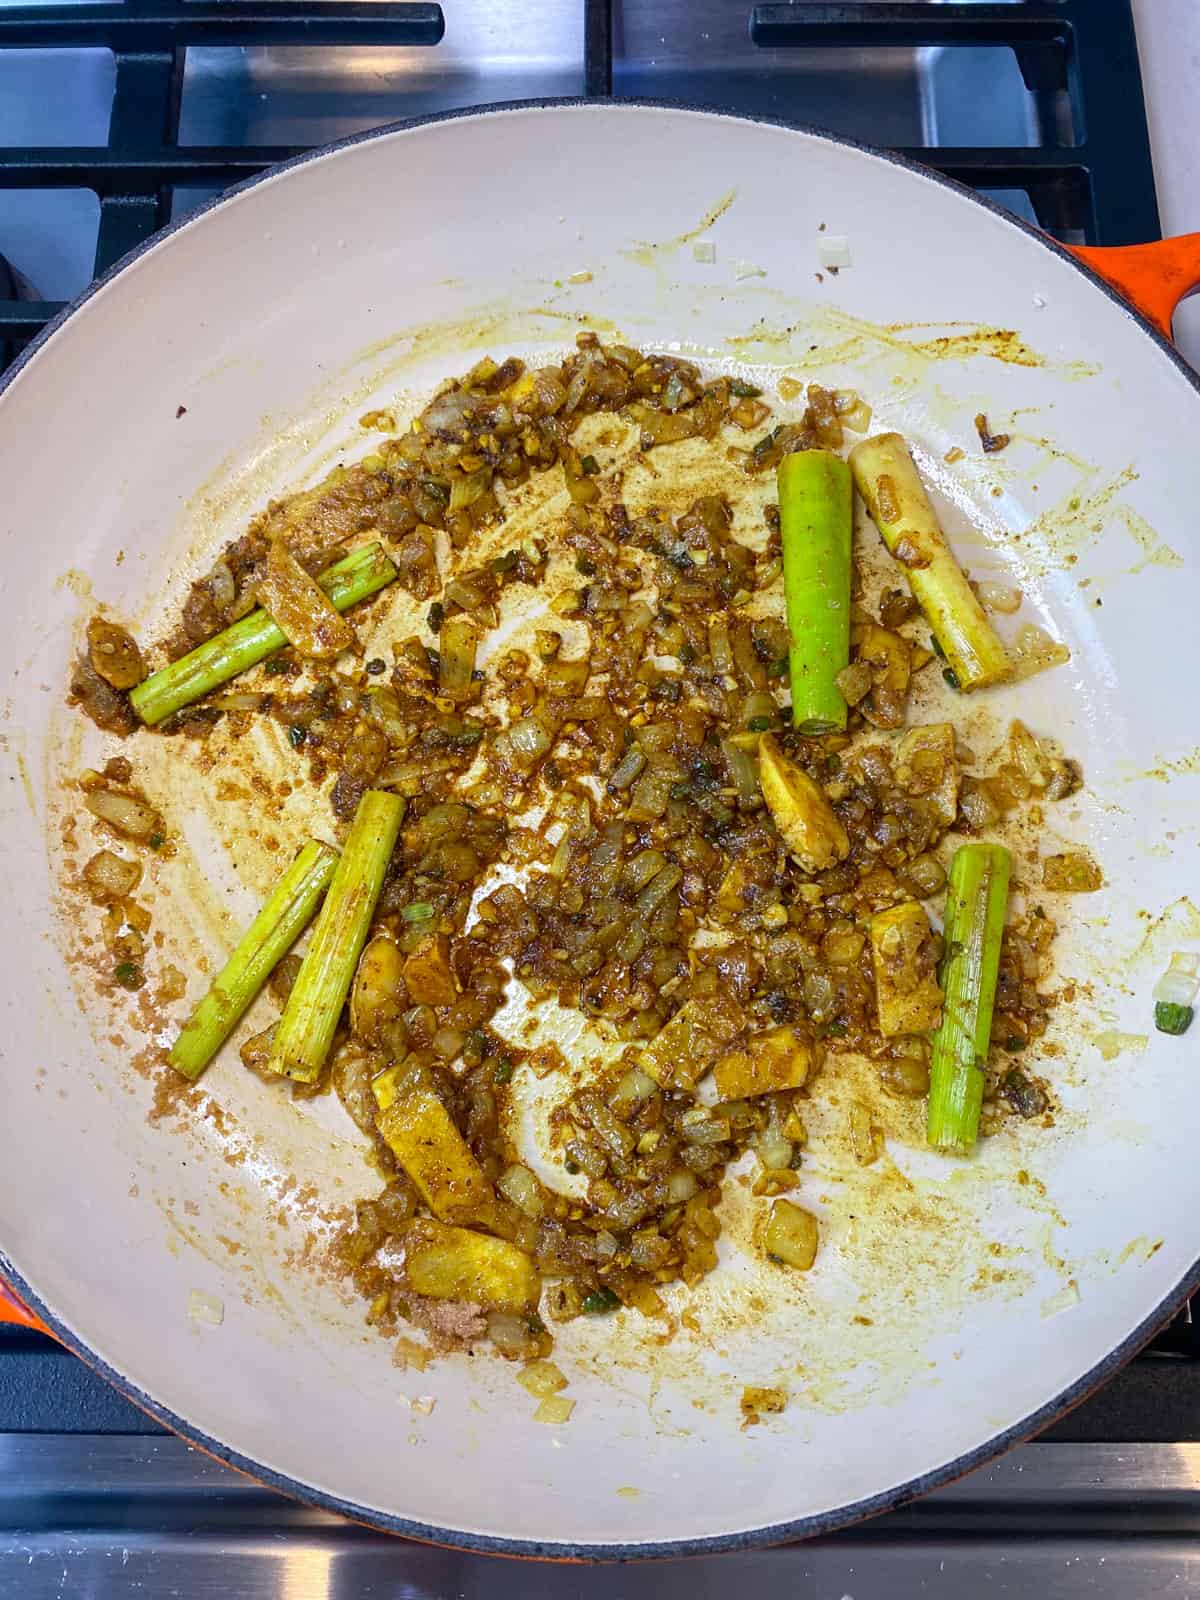
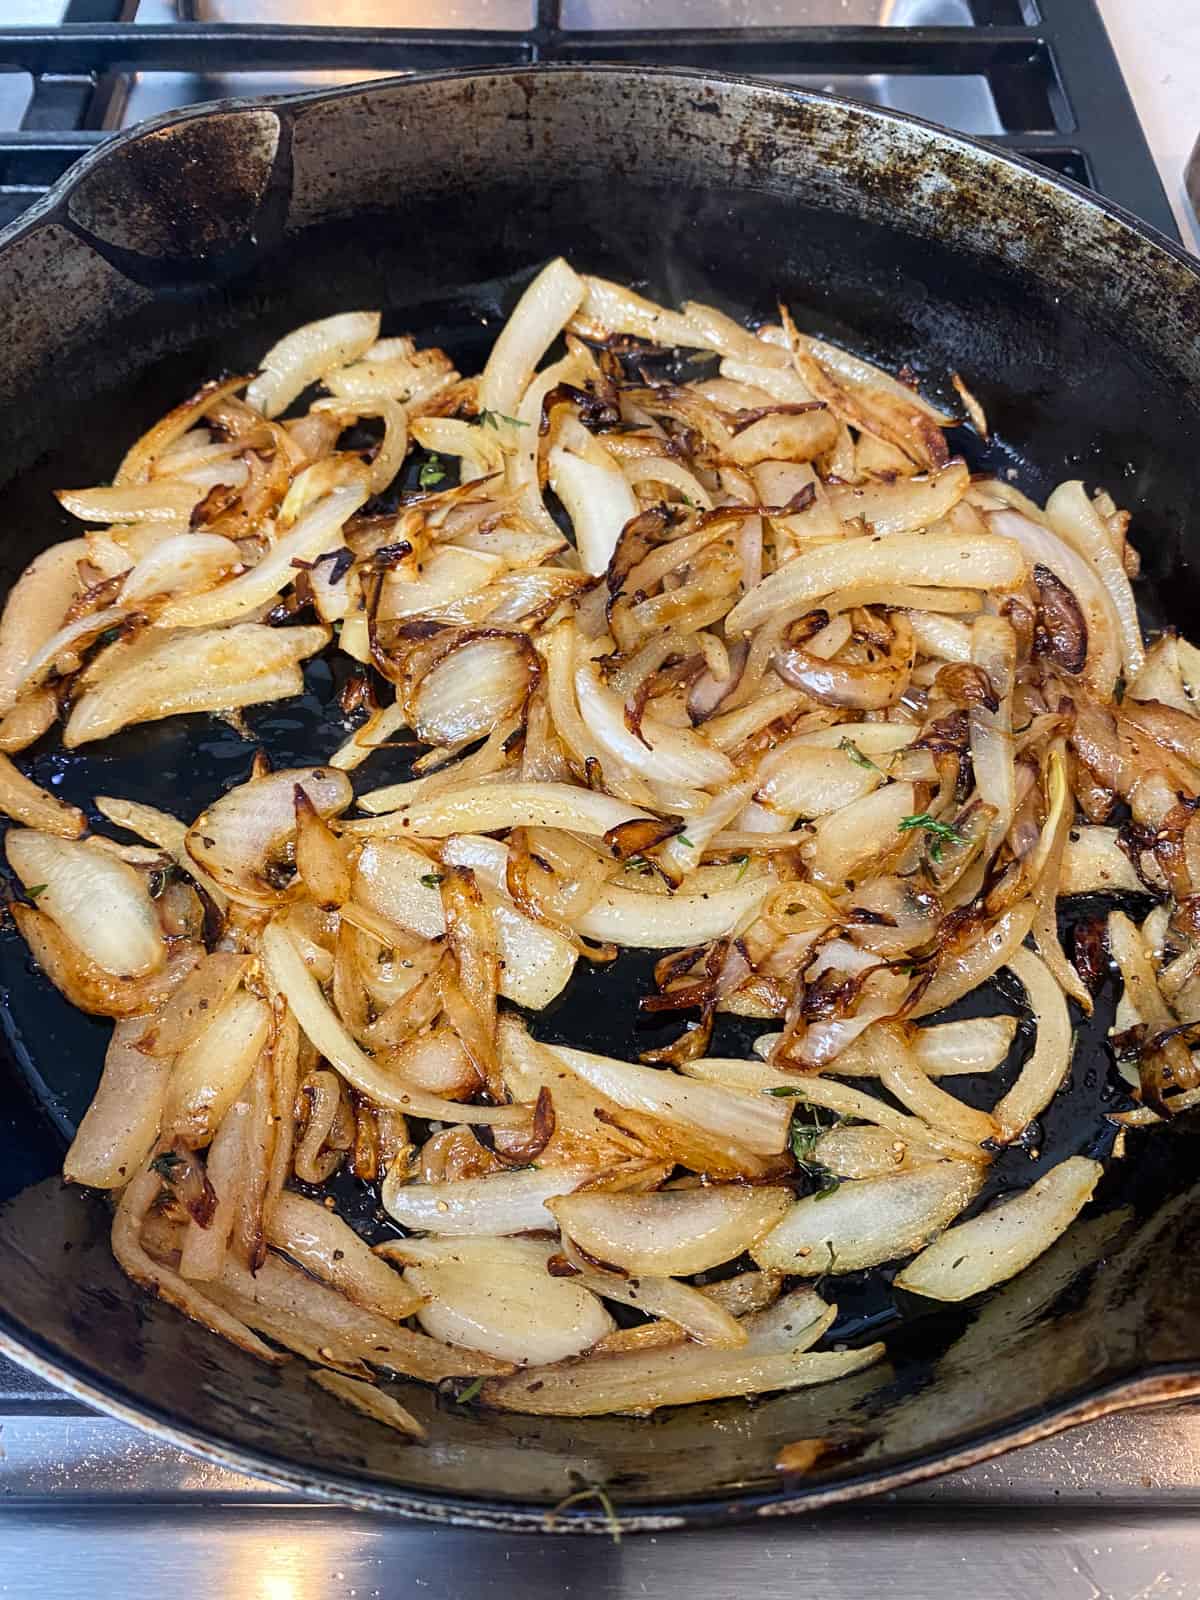
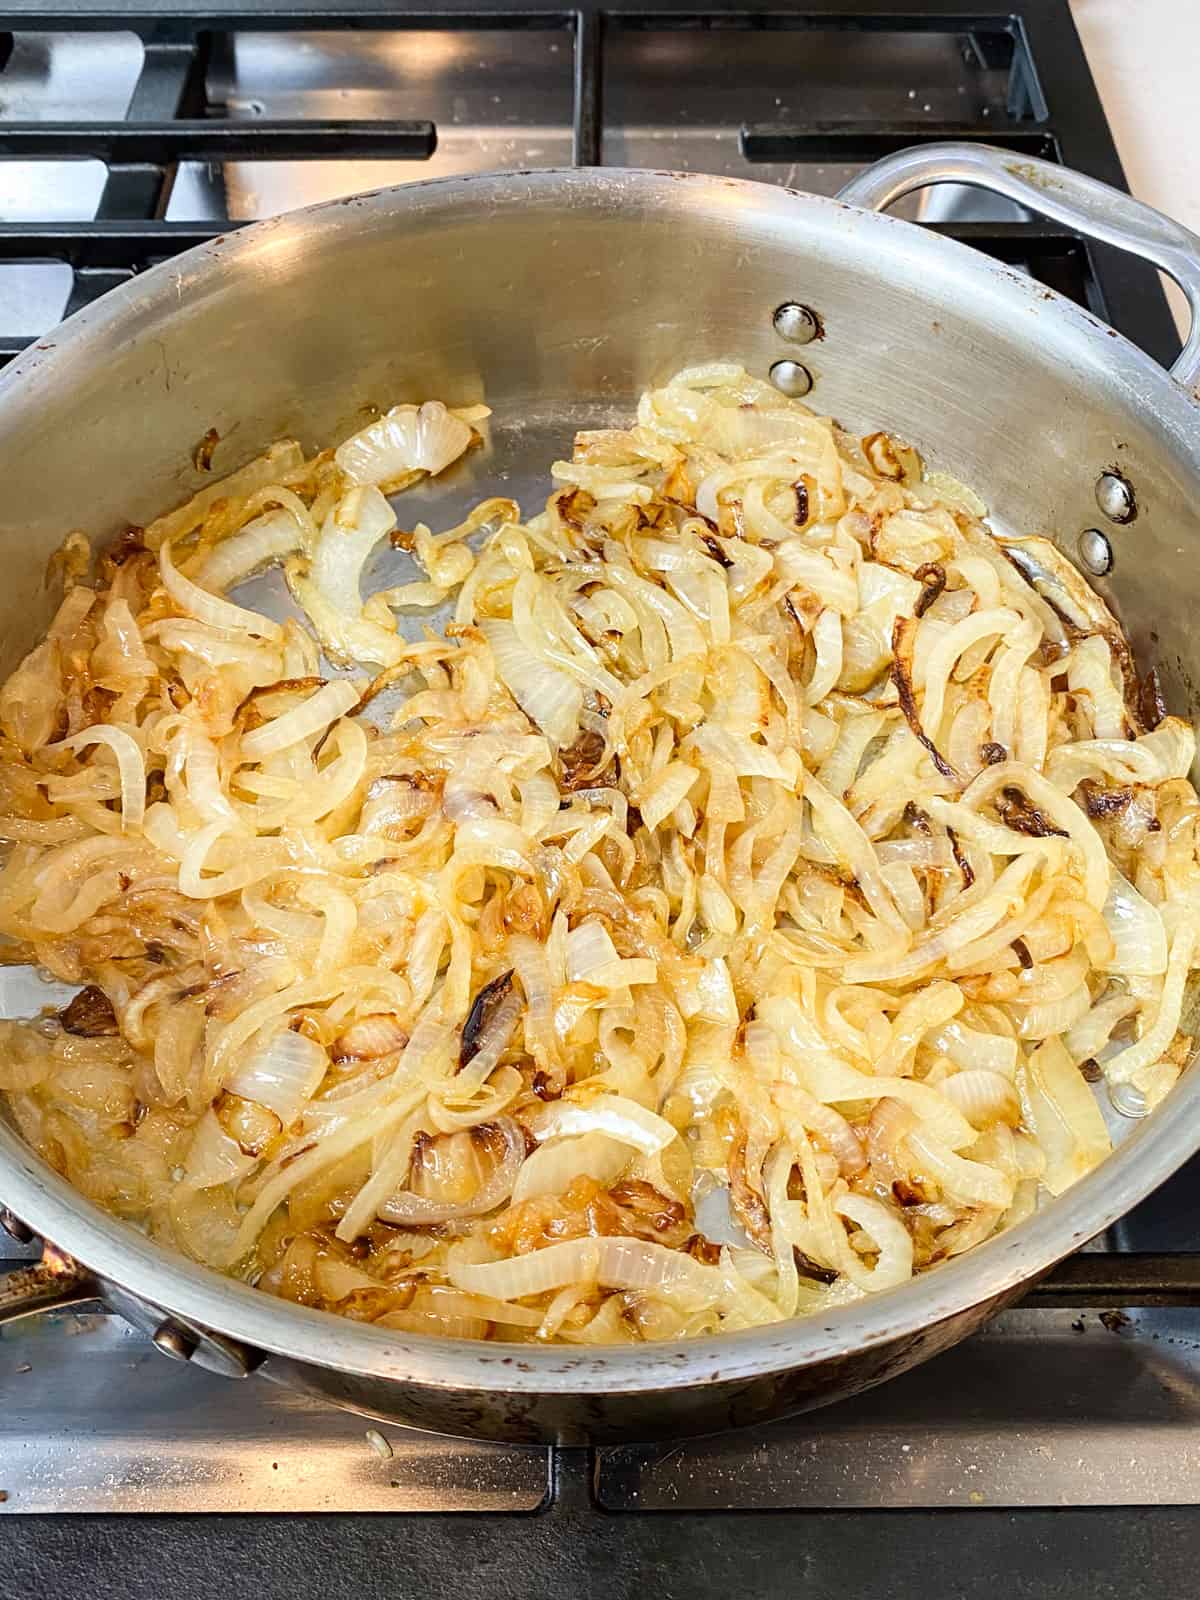
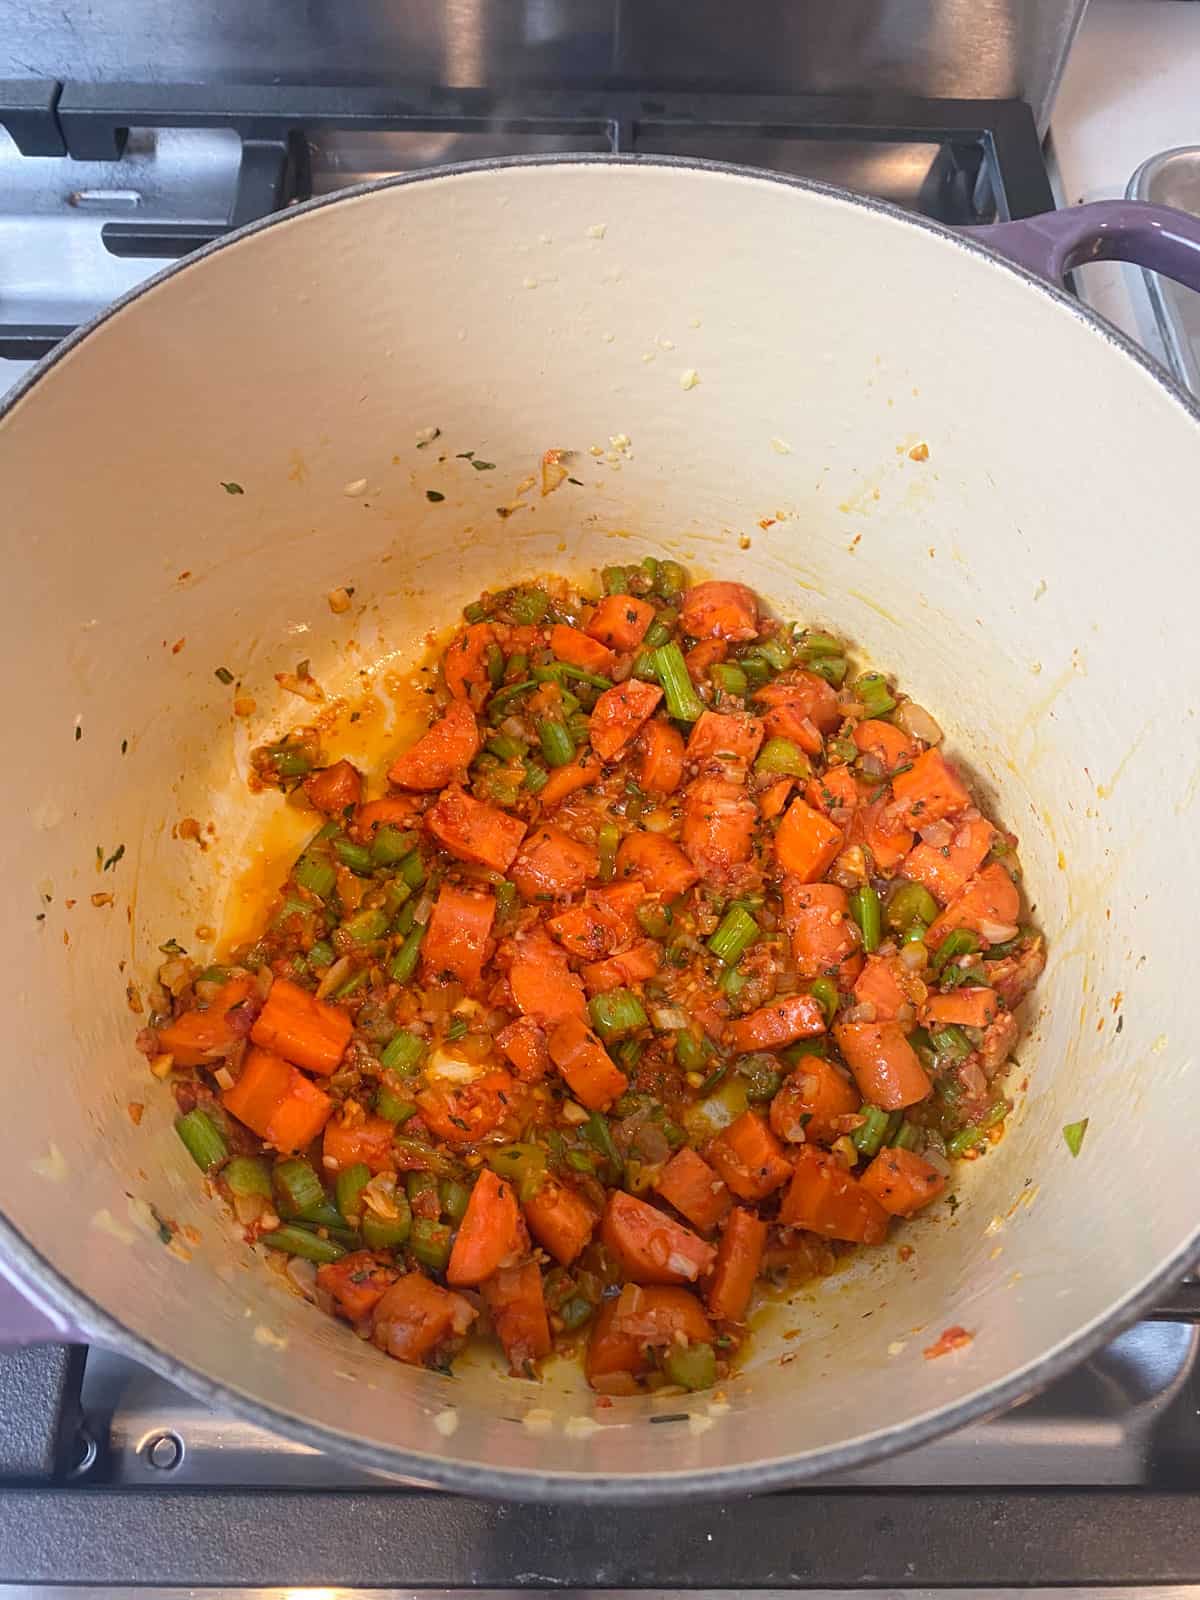
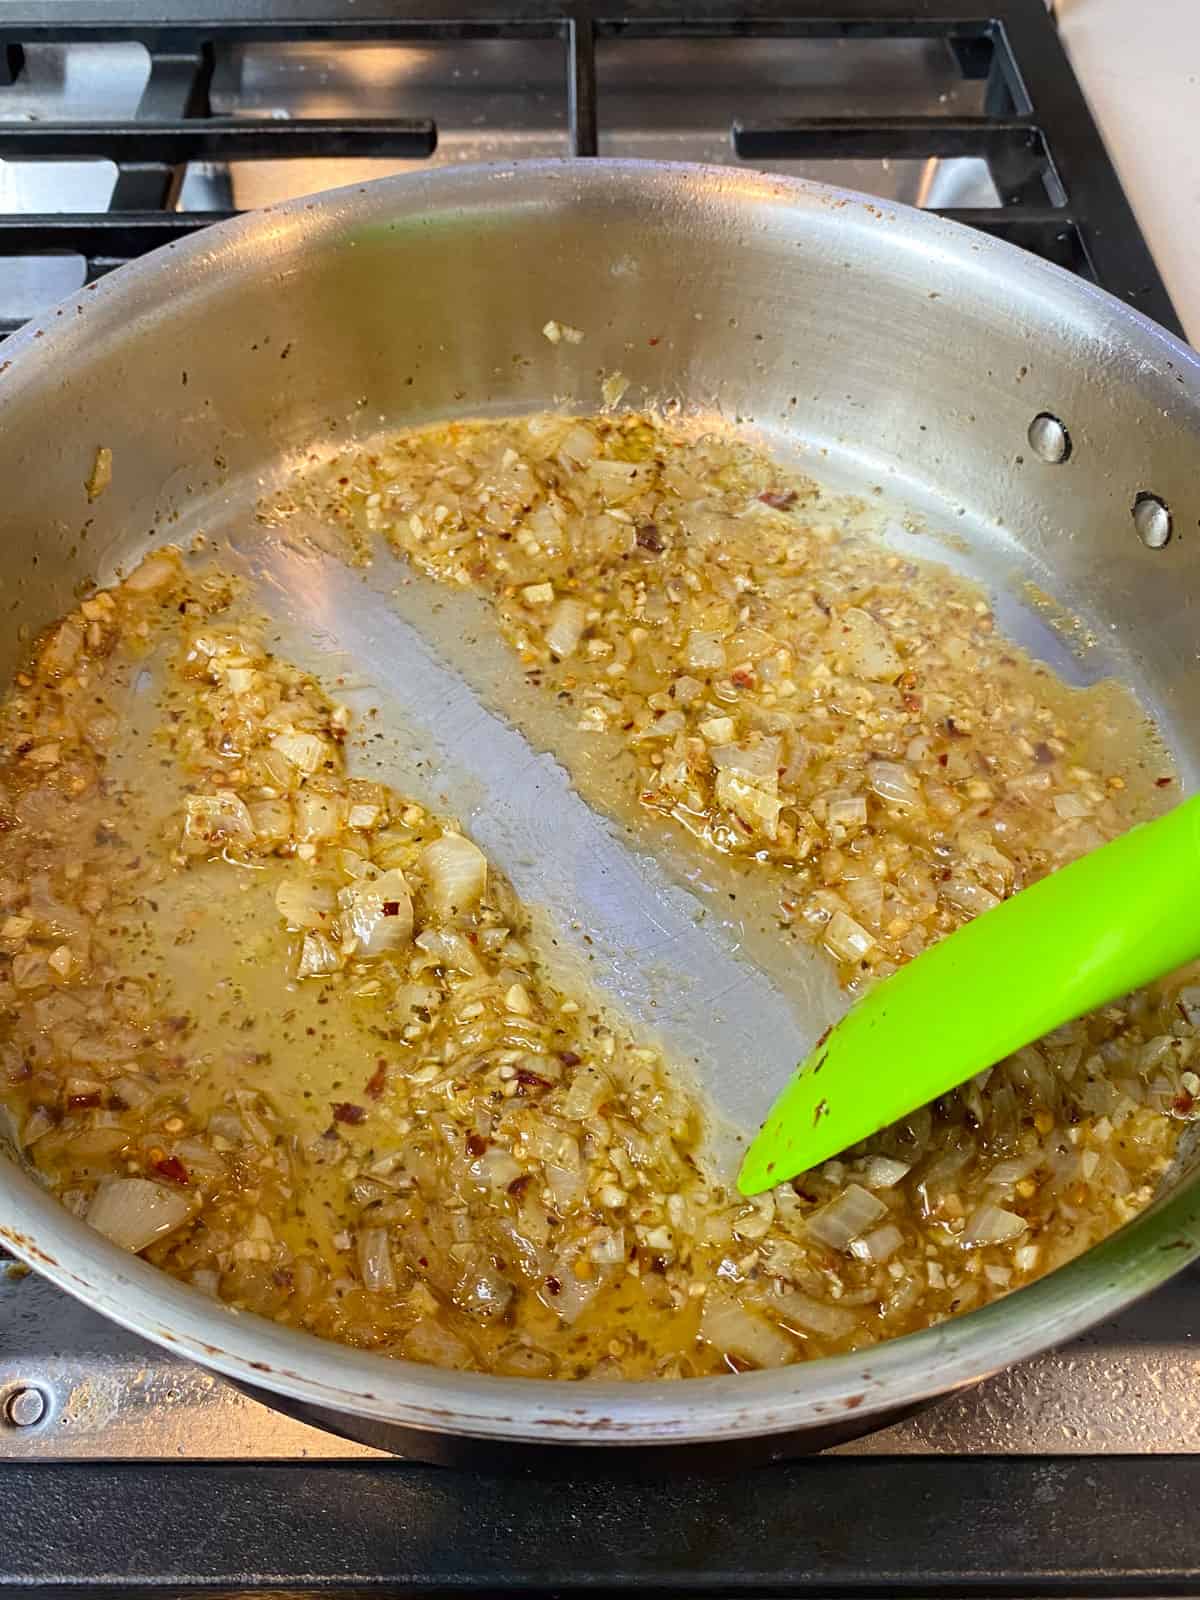
Sauté the Aromatics: Saute the diced onion until softened, about 5 minutes. Add the garlic, red pepper flakes, and thyme (or Italian seasoning), and cook for another minute until fragrant.
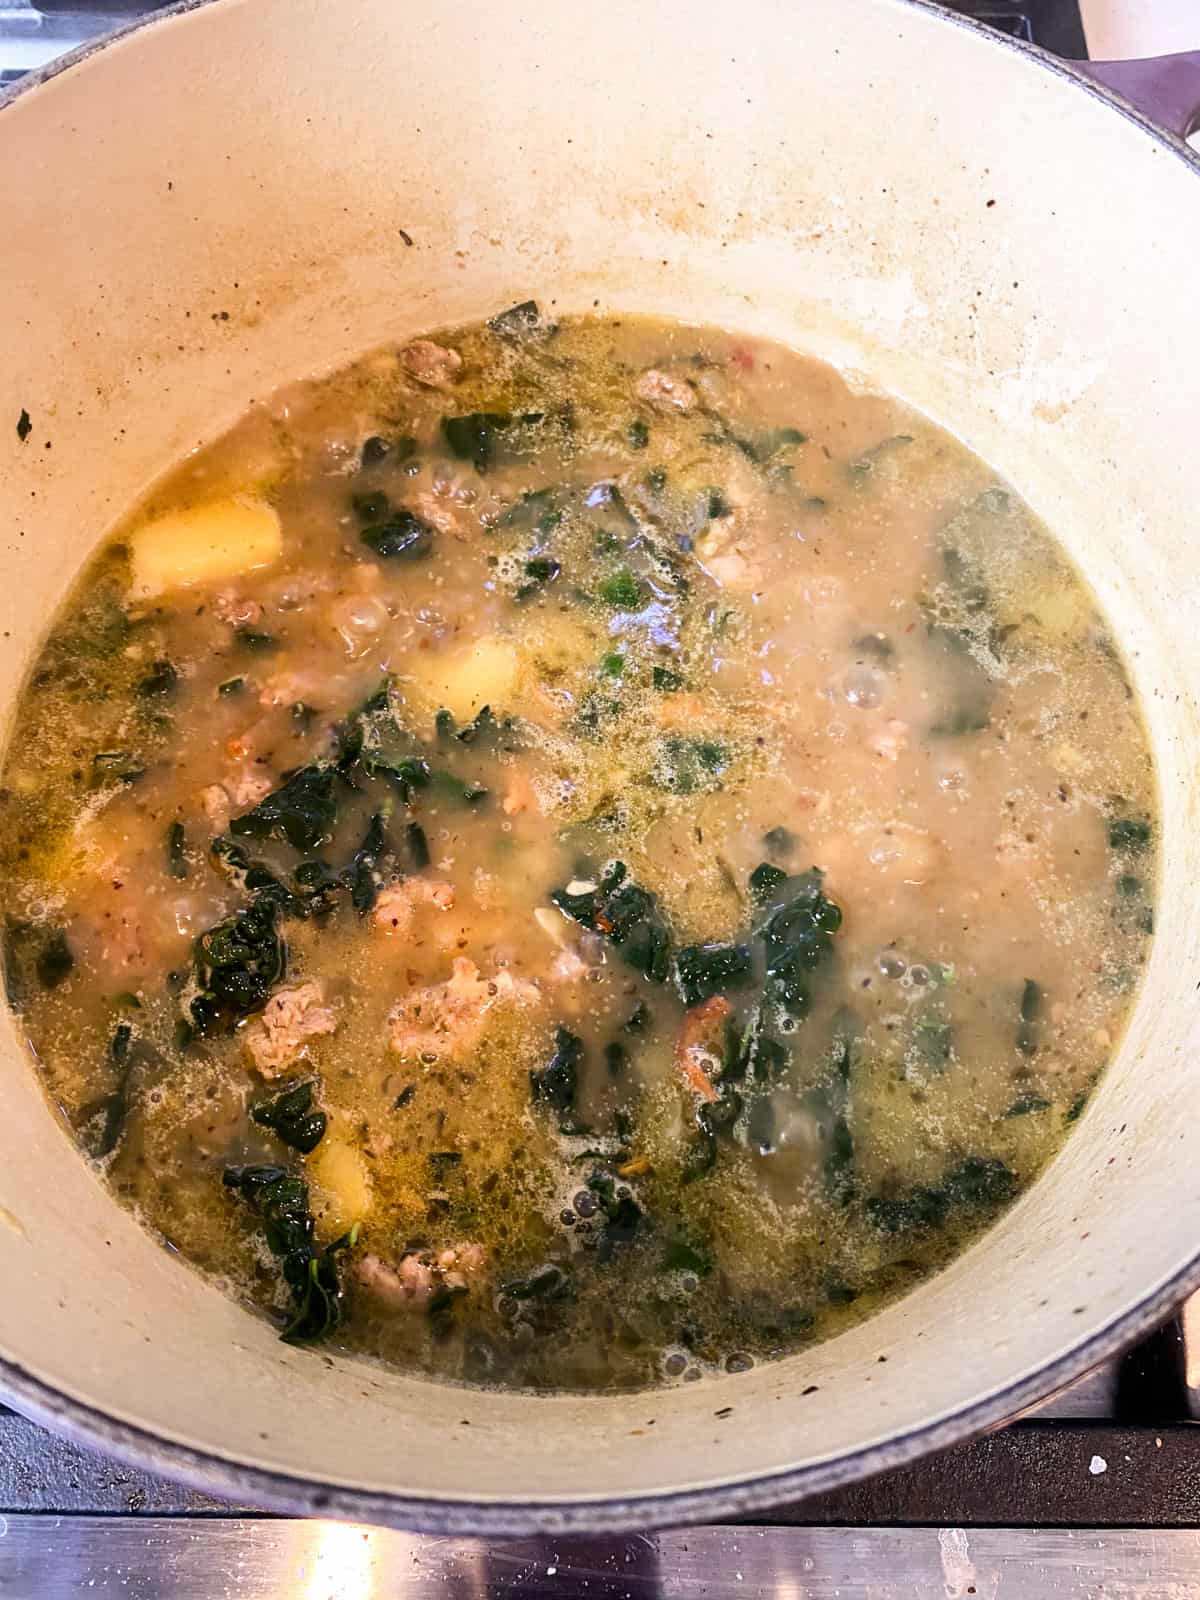
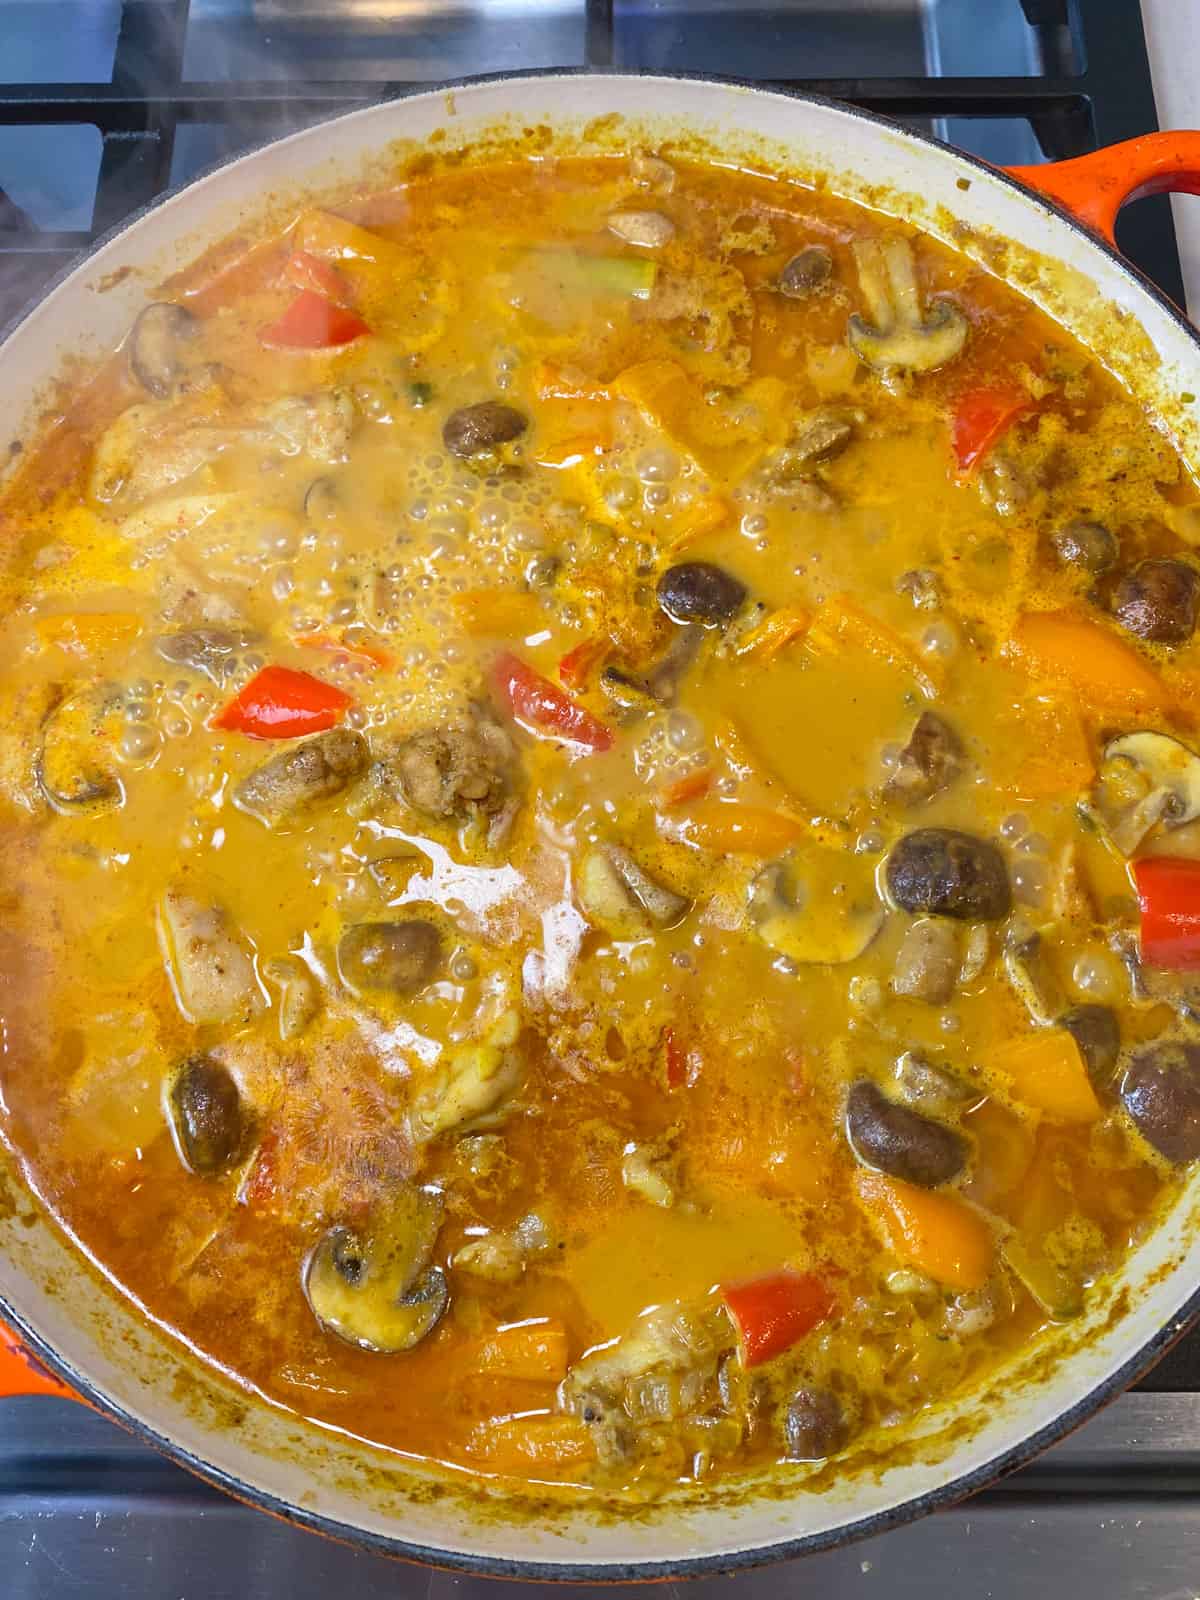
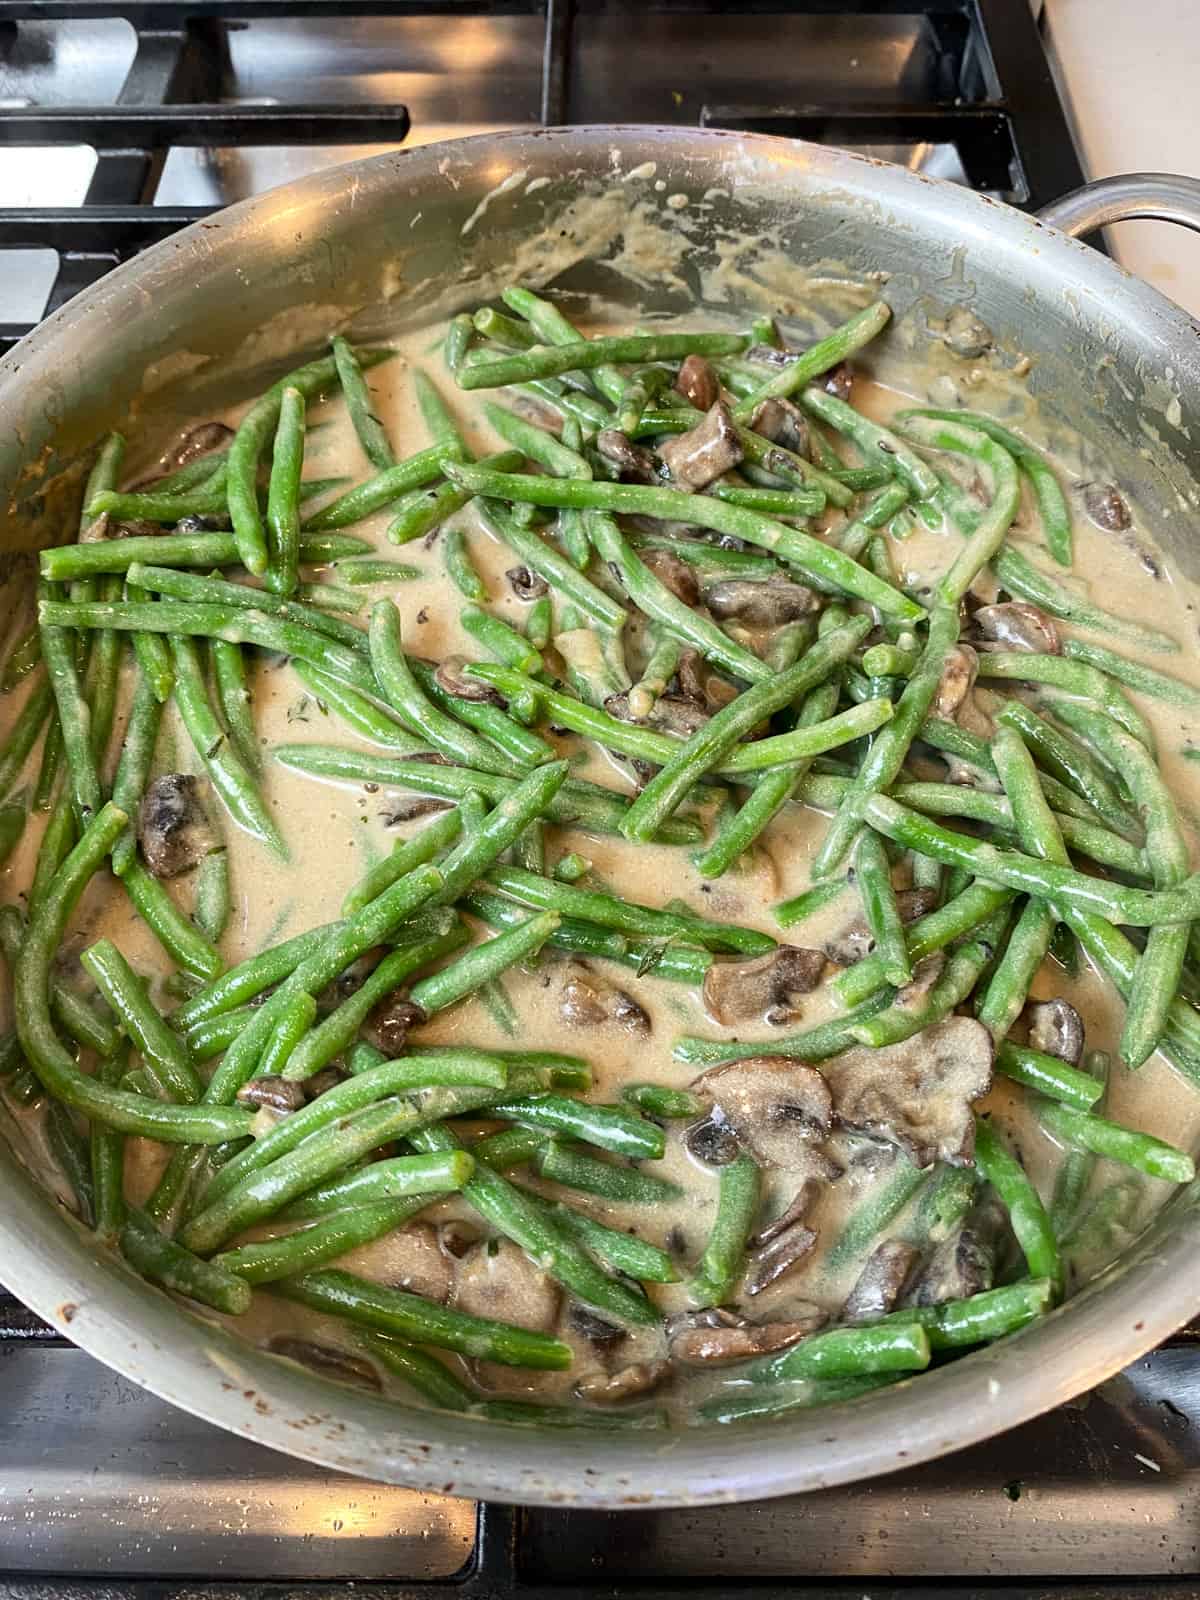
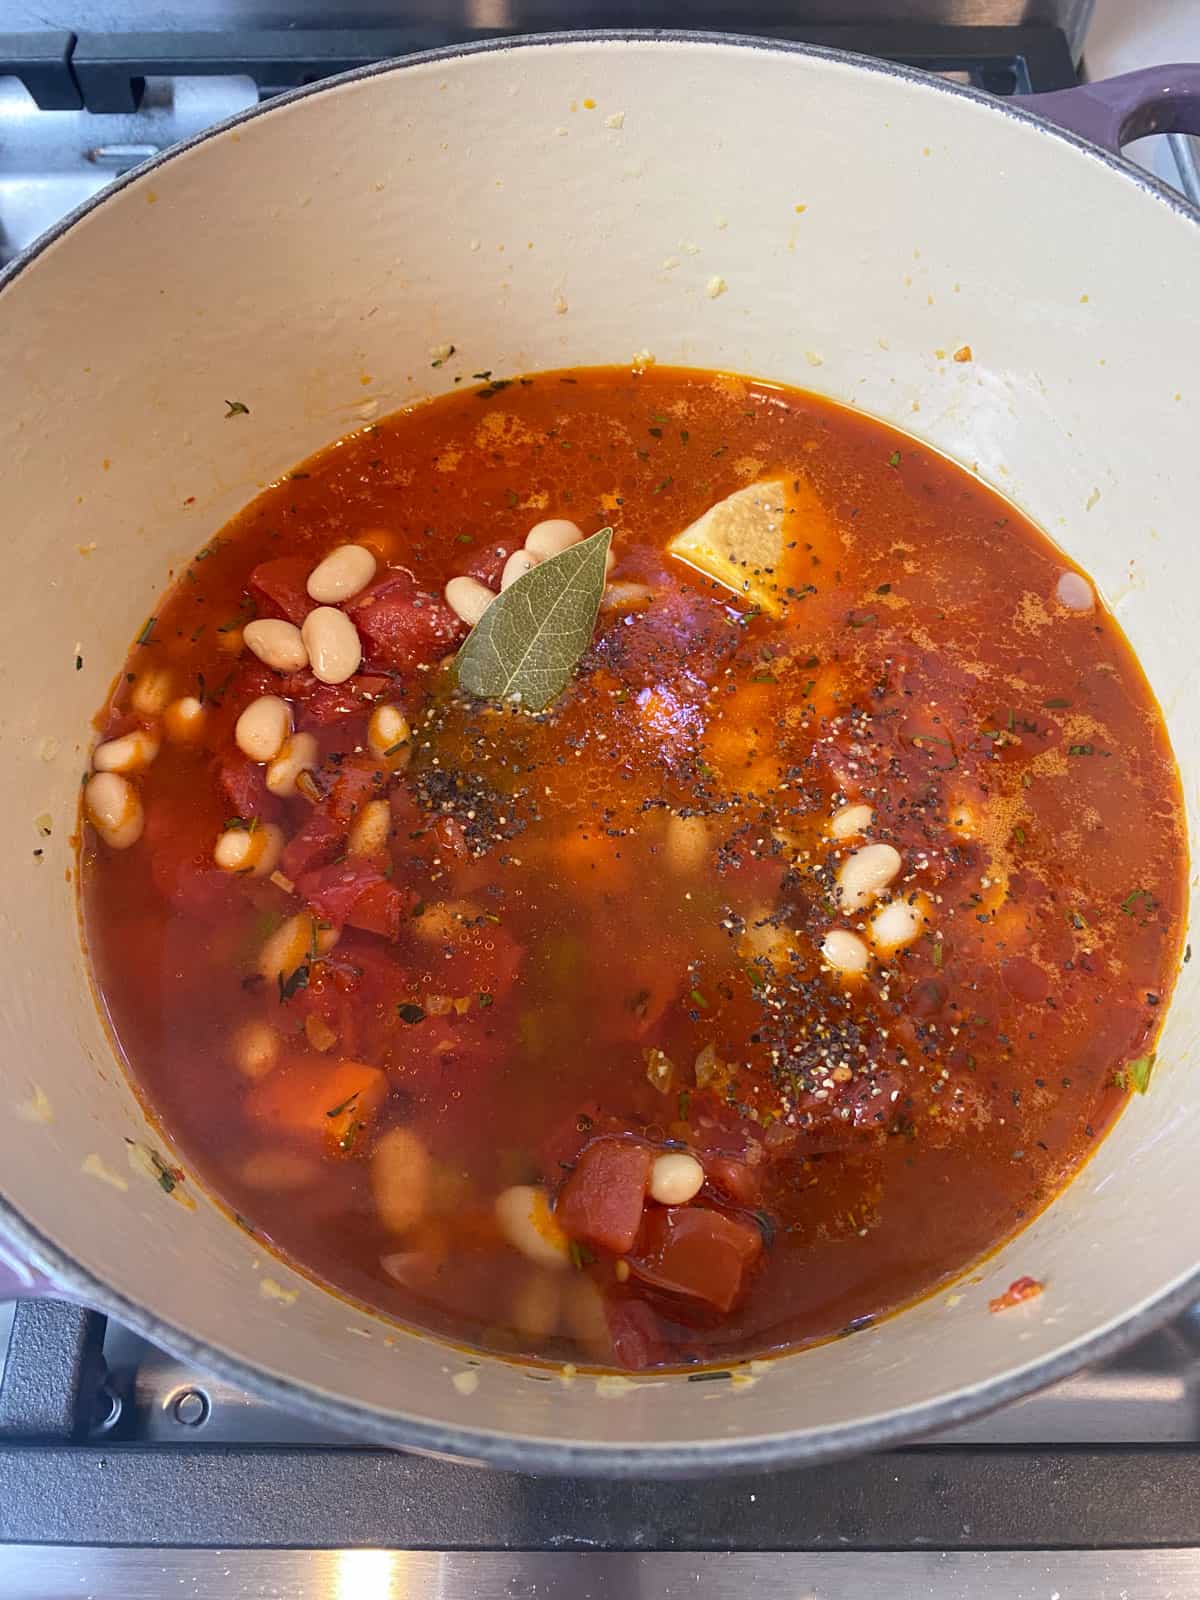
Combine the Vegetables and Meat: Add the potatoes and stock and cook until the potatoes are tender, about 20–25 minutes. Then add the sausage, bacon and kale.

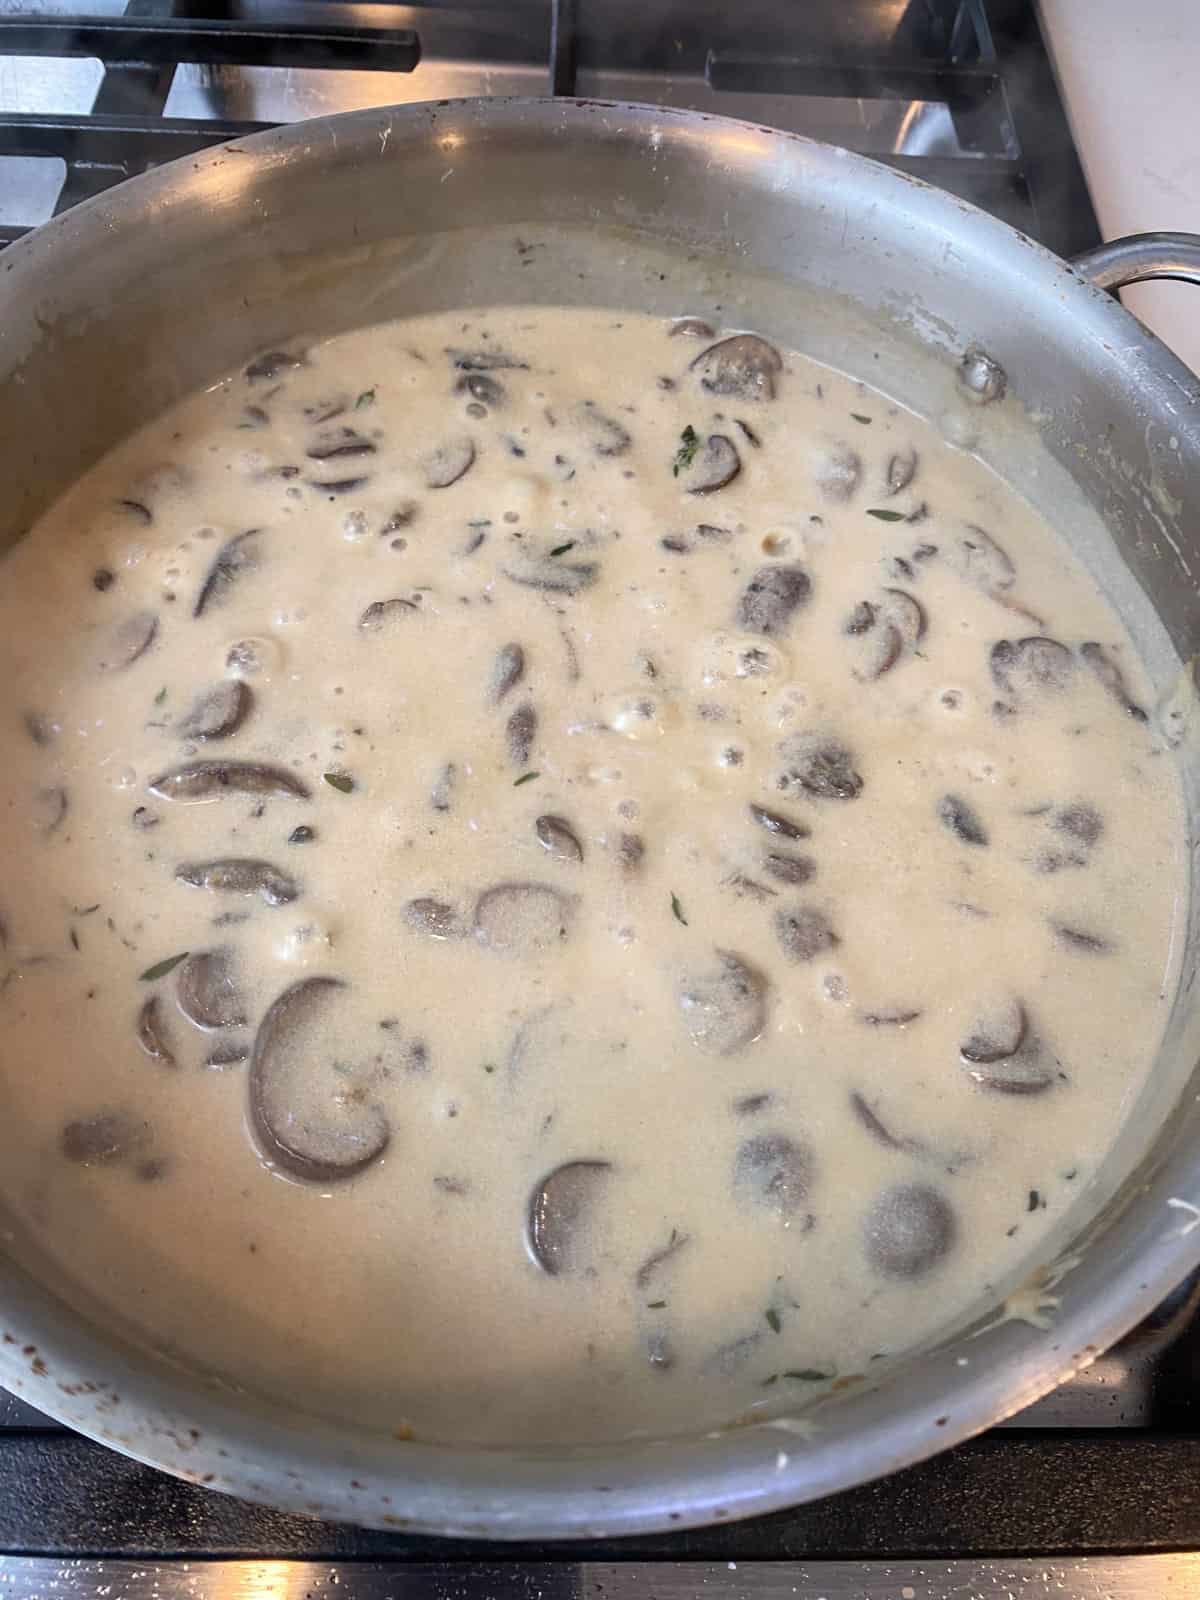
Add Cream and Serve. Add the heavy cream and continue simmering for 5 minutes. Ladle the soup into bowls and garnish with grated Parmesan cheese.
How to Make Zuppa Toscana (Video)
📍 Recipe Tips
- Crisp the bacon first: Cooking the bacon first allows you to use the rendered fat to sauté the onions and garlic.
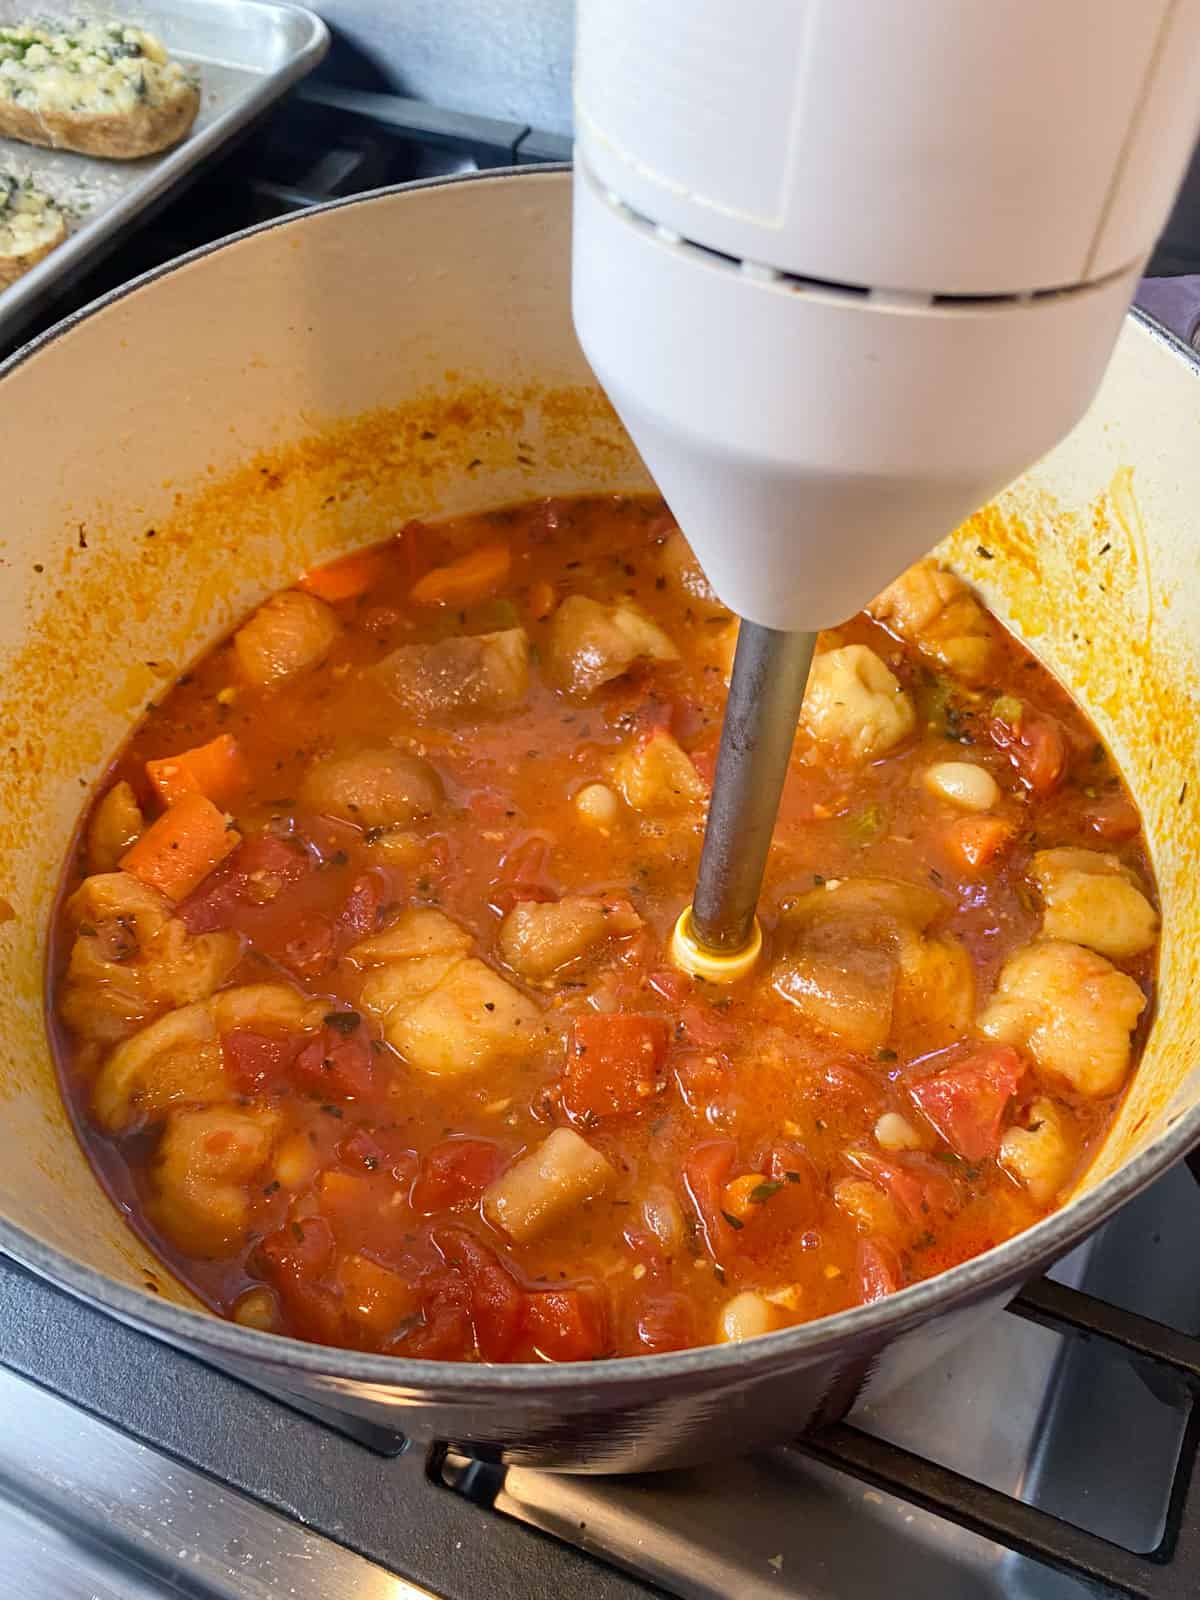
- Blend a portion for a thicker soup: For a creamier consistency, use an immersion blender to blend a portion of the soup before adding the sausage and kale.
- Let the flavors develop: The soup tastes even better the next day, so make a batch ahead for meal prep!

Serving Suggestions
Serve the zuppa toscana soup with puff pastry cheese straws or roasted garlic focaccia to soak up the creamy broth. A crisp Caesar salad adds a fresh contrast to the rich soup. And finish with an extra sprinkle of Parmesan and fresh black pepper just before serving.
More Soup Recipes to Try


Love this recipe? Please leave a 5-star 🌟🌟🌟🌟🌟rating in the recipe card below & a review in the comments section further down the page.

Zuppa Toscana with Sausage
Equipment
Ingredients
- ½ pound bacon cut into ½ inch pieces
- ¾ pound Italian sausage mild or spicy, your choice
- 1 small white or yellow onion diced
- 4 garlic cloves minced
- Pinch of red pepper flakes
- 1 teaspoon dried thyme or Italian seasoning
- 4 yellow potatoes peeled and diced
- 4 cups chicken stock
- 1 cup heavy cream
- 1 bunch kale leaves removed from the stalk and roughly chopped
- Grated Parmesan cheese for garnish
- Fresh cracked black pepper to taste
Instructions
- Cook the bacon: In a large pot or Dutch oven, fry the bacon over medium heat until crispy. Remove and set aside on a paper towel-lined plate. Once cooled, crumble the bacon.
- Cook the sausage: In the same pot, crumble the sausage and cook until browned. Remove and set aside.
- Sauté the aromatics: In the same pot, add the diced onion and cook until softened, about 5 minutes. Add the garlic, red pepper flakes, and thyme (or Italian seasoning), and cook for another minute until fragrant.
- Cook the potatoes: Add the diced potatoes and chicken stock to the pot. Bring to a boil, then reduce the heat to a simmer. Cook until the potatoes are tender, about 20–25 minutes.
- Optional – thicken the soup: For a thicker consistency, use an immersion blender to blend a portion of the potatoes directly in the pot.
- Combine everything: Add the cooked sausage, crumbled bacon and chopped kale and stir to combine. Pour in the heavy cream and simmer on low for another 5-7 minutes, or until the kale is wilted.
- Serve: Ladle the soup into bowls and garnish with grated Parmesan cheese and additional cracked black pepper, if desired.
Video
Notes
-
- Crisp the bacon first: Cooking the bacon first allows you to use the rendered fat to sauté the onions and garlic.
- Blend a portion for a thicker soup: For a creamier consistency, use an immersion blender to blend a portion of the soup before adding the sausage and kale.
- Make it Dairy-Free: Swap heavy cream for full-fat coconut milk or cashew cream.
- Use Different Greens: If kale isn’t your favorite, try spinach, Swiss chard, or even escarole for a similar texture.
- Lower Carb Option: Reduce the potatoes and add extra greens or cauliflower florets for a lighter version.
- Different Protein: Try turkey sausage, ground chicken, or even a plant-based sausage for a vegetarian twist.


