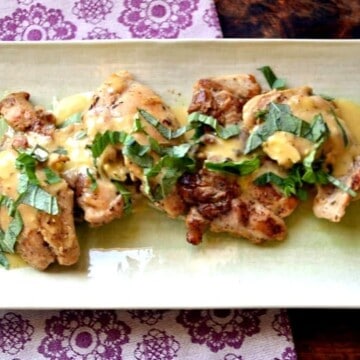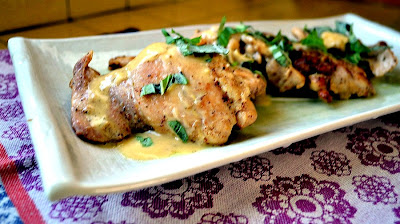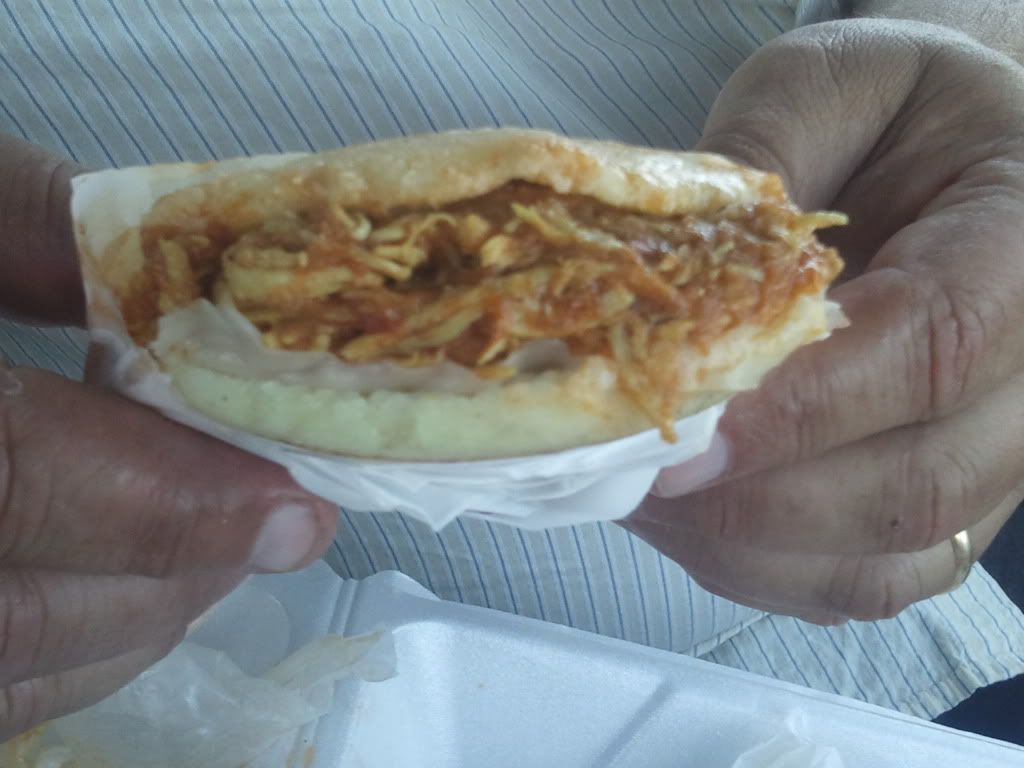
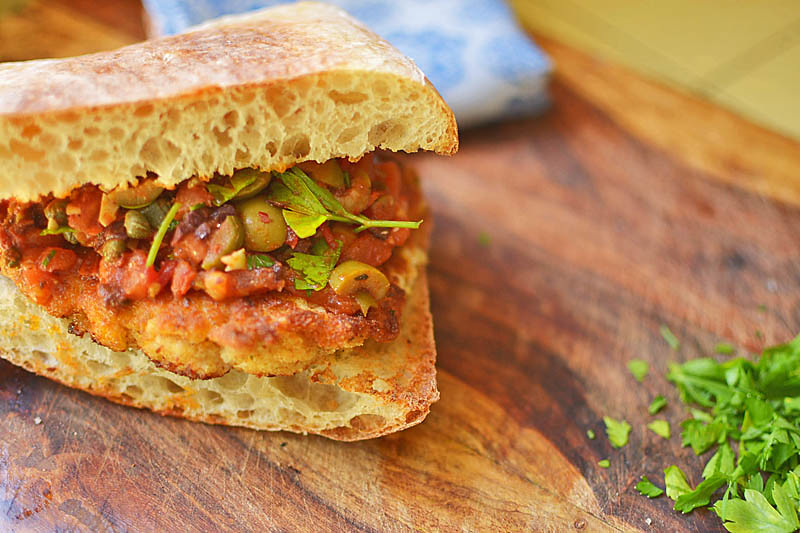
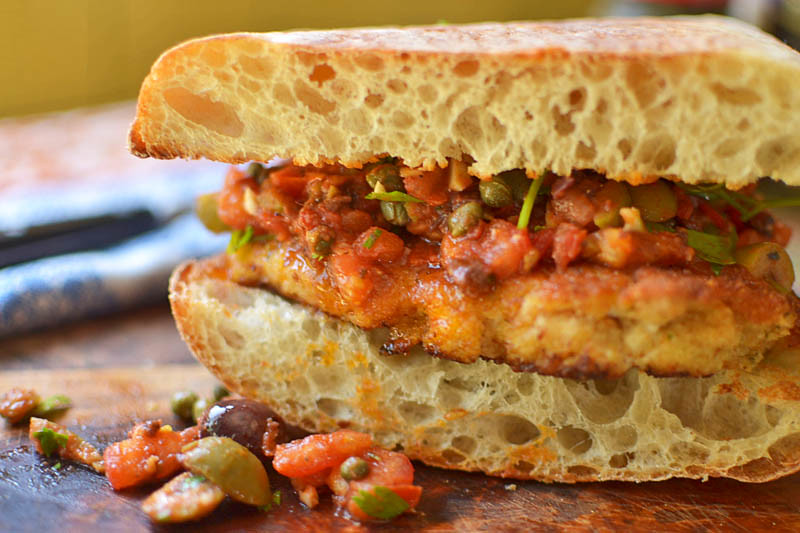
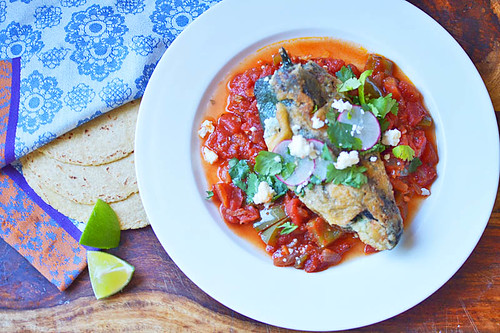
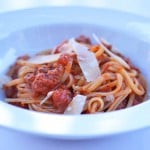
If you are looking for a hearty flavorful sandwich, you will love this chicken puttanesca sandwich! A perfectly fried chicken cutlet uis layered with a chunky puttanesca sauce with all the favorites including capers, olives and salty anchovies and sandwiched in a rustic ciabatta bread.
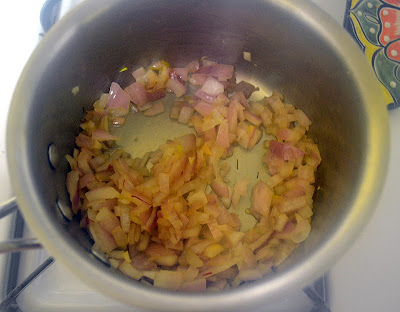
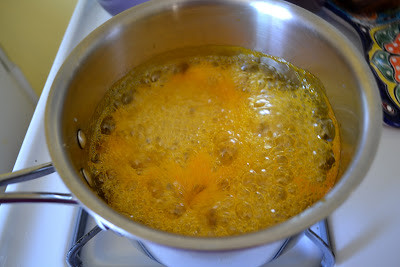
The smell is intoxicating, It really is the slow simmering anchovies that give off such a gorgeous aroma...it's pretty addictive and the trick is to allow them to melt down into the heating olive oil, that way a light salty flavor touches every single bite of the chunky tomato sauce.
The chunky tomato sauce poured over a perfectly crispy chicken cutlet and with some softly toasted ciabatta bread-this was a sandwich made in sandwich heaven.
Method:
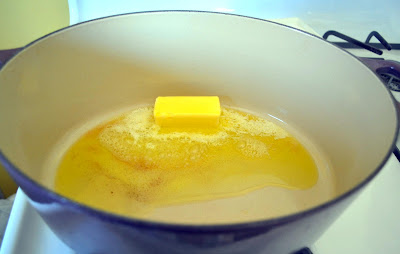
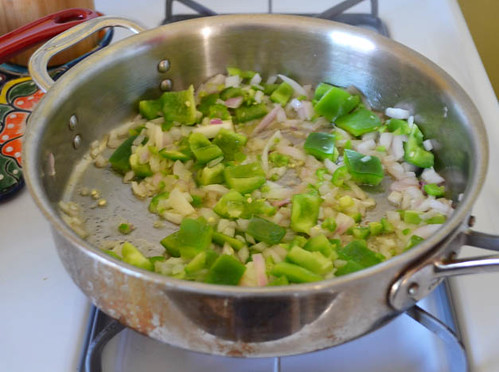
1) In a large skillet, drizzle some olive oil and add anchovies. Use a spatula to break the fish down and saute for a few minutes. Add chopped garlic, red pepper flakes and saute for another 2 minutes until lightly brown.

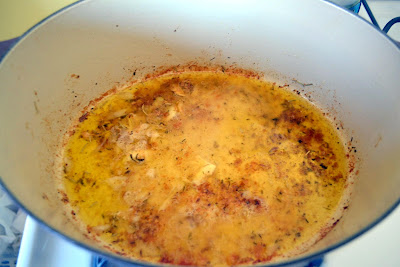
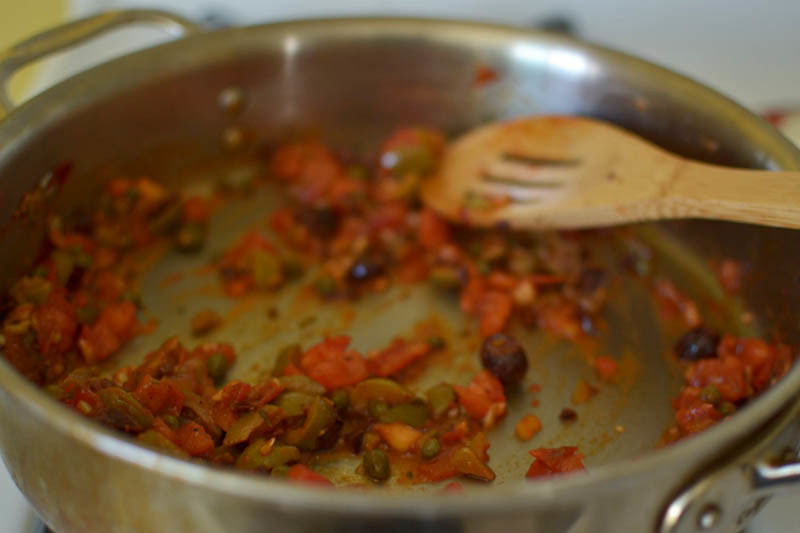
2) Add chopped tomatoes and olives and allow to cook until the tomatoes break down. About 3 minutes.
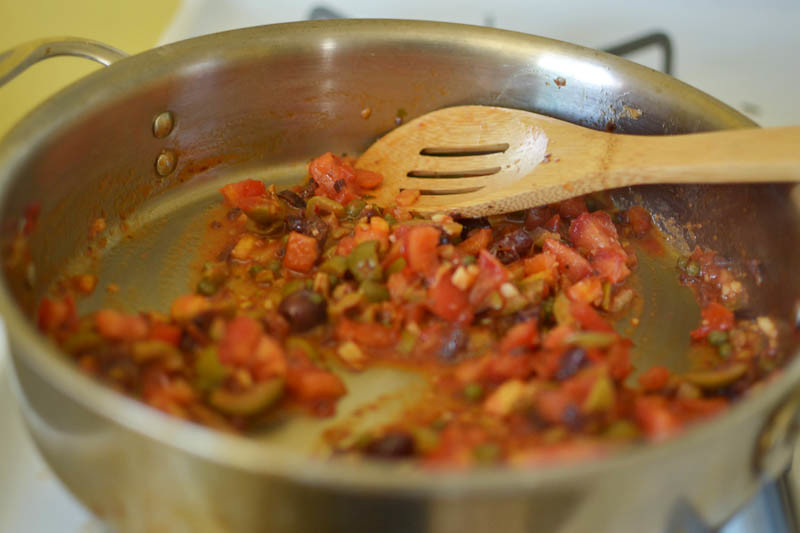
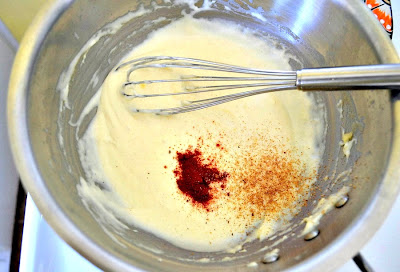
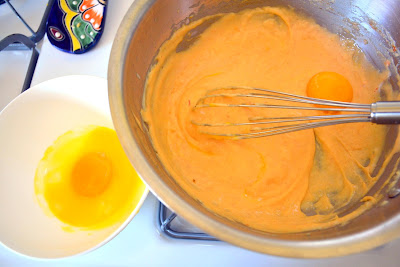
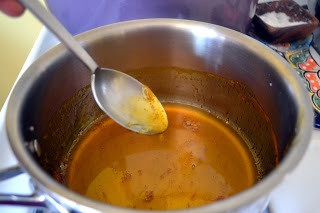
3) Add tomato paste and stir to incorporate. Add capers and cook for another 2 minutes for all the flavors to blend. Add chopped parsley and remain on low heat. Taste for seasoning.
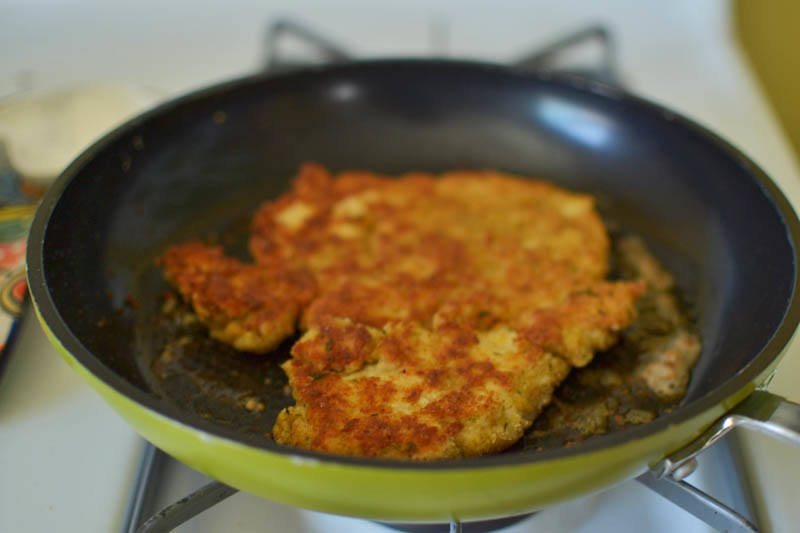
4) To make the chicken cutlet, pound the chicken breast if you haven't already.
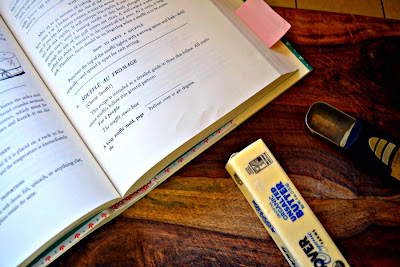
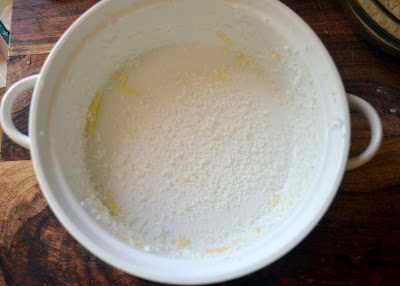
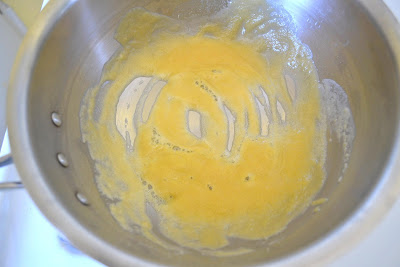
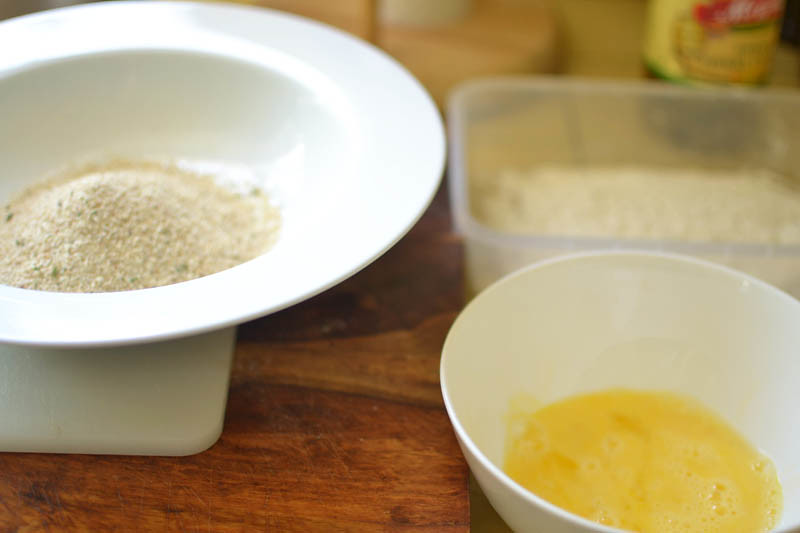
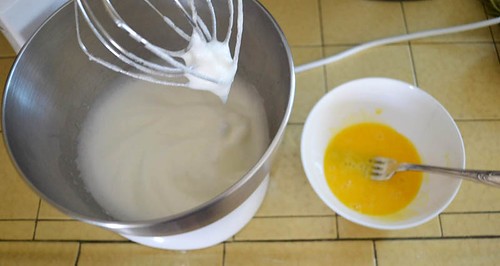
5) Dredge chicken breast in flour, then egg then breadcrumbs making sure everything is coated well.
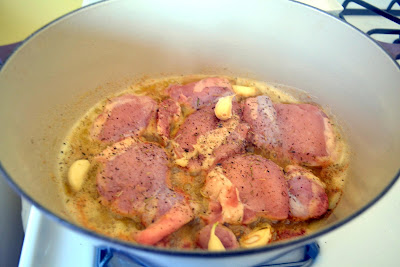
6) In a separate heated skillet with olive oil, place chicken in and allow to cook until crispy and brown on one side, about 5-7 minutes. Turn over and cook other side. Reserve chicken to plate when done.
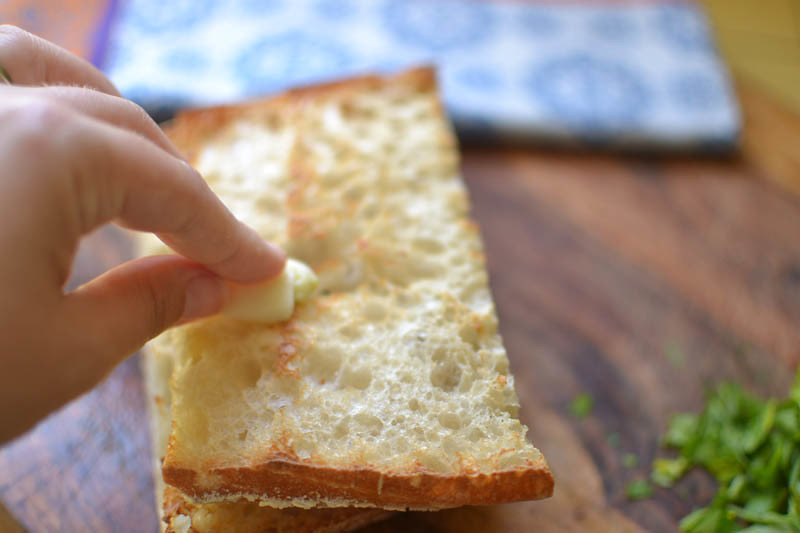
7) Slice ciabatta in half and grill to warm bread. If you have leftover garlic, rub garlic on the inside of grilled bread.
8) Assemble sandwich with chicken cutlet and topping with puttanesca sauce.
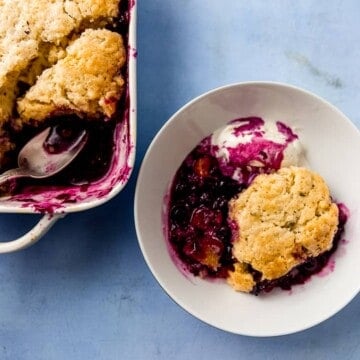
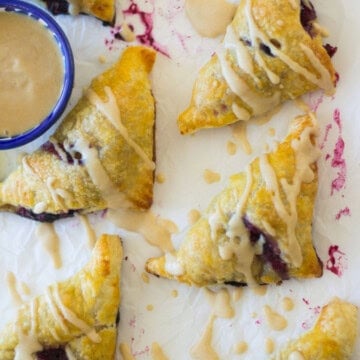
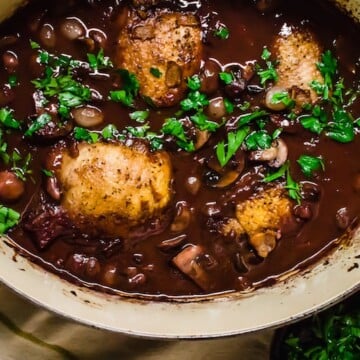
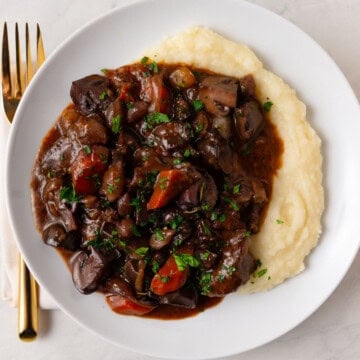
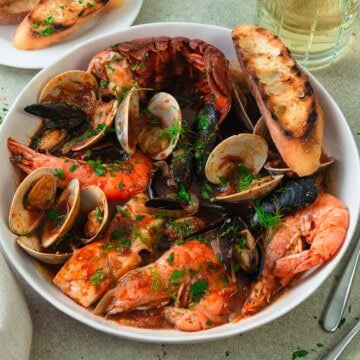
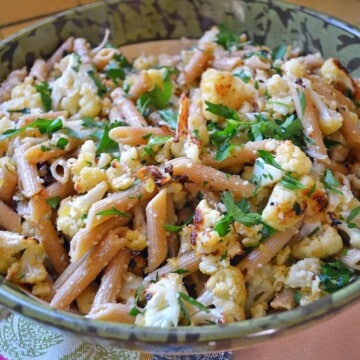
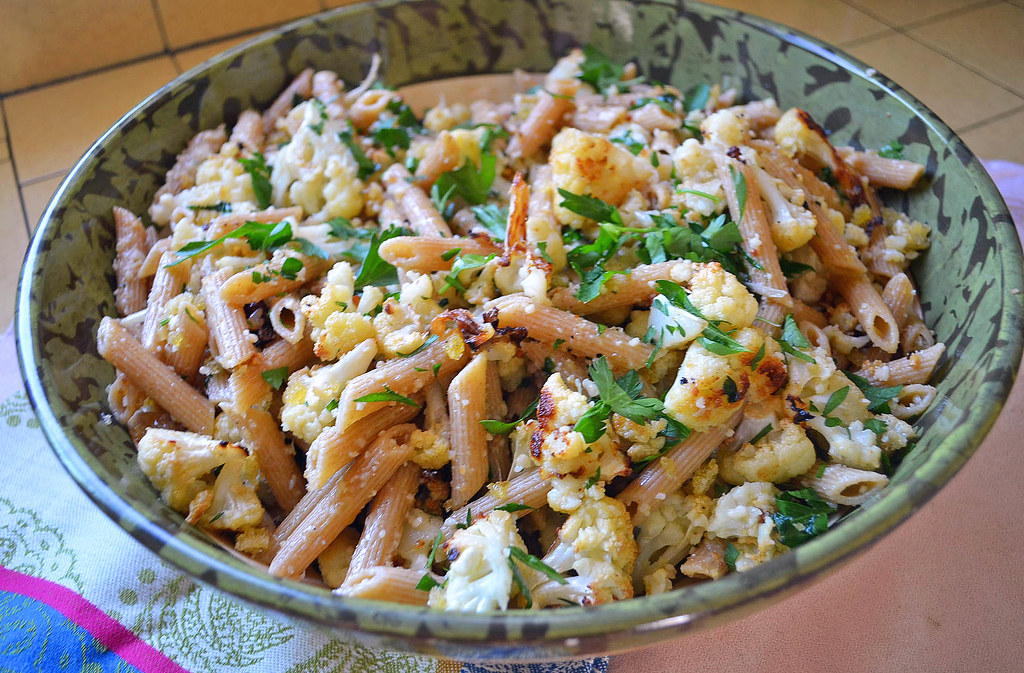
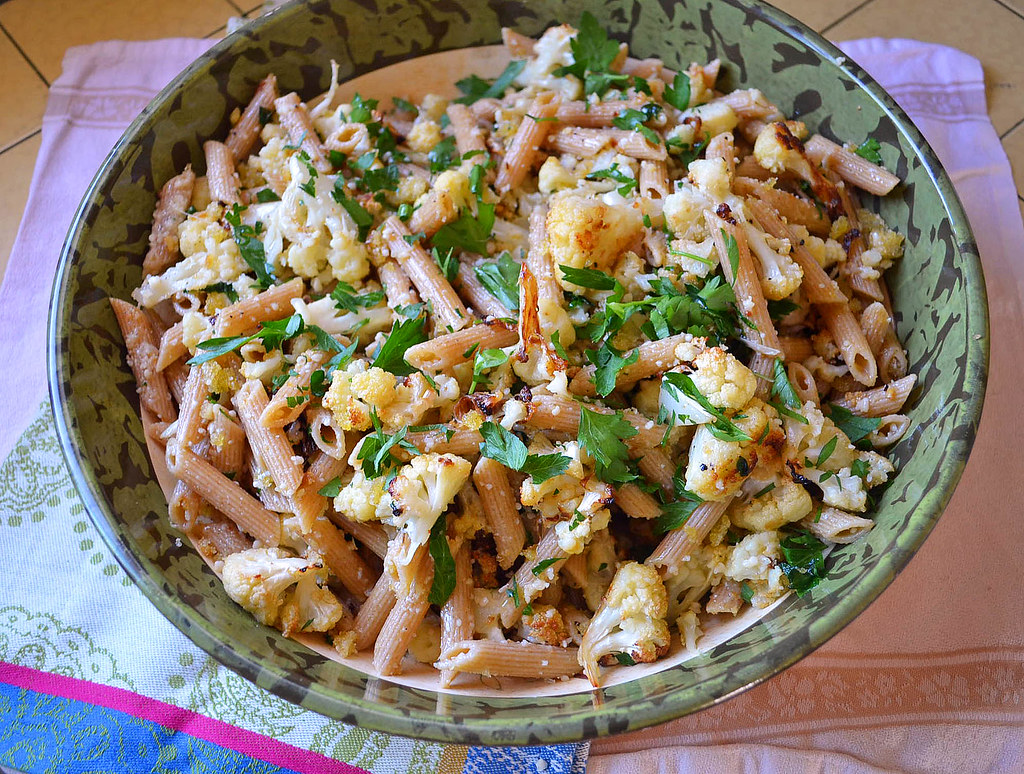
More sandwich and finger food inspiration


Chicken Puttanesca Sandwich
Ingredients
- 1 skinless and boneless chicken breast pounded
- ¼ cup flour
- 1 egg beaten
- ¼ cup bread crumbs
- 2 tomato chopped
- 2-3 Tb capers
- ¼ cup olives chopped
- 3 anchovy filets
- 2 garlic clove chopped
- 1 teaspoon red pepper flakes
- 1 teaspoon tomato paste
- Small bunch fresh parsley chopped
- Olive oil for drizzling
- Salt and pepper to taste
- ¼ sliced Ciabatta bread
Instructions
- In a large skillet, drizzle some olive oil and add anchovies. Use a spatula to break the fish down and saute for a few minutes. Add chopped garlic, red pepper flakes and saute for another 2 minutes until lightly brown.
- Add chopped tomatoes and olives and allow to cook until the tomatoes break down. About 3 minutes.
- Add tomato paste and stir to incorporate. Add capers and cook for another 2 minutes for all the flavors to blend. Add chopped parsley and remain on low heat. Taste for seasoning.
- To make the chicken cutlet, pound the chicken breast if you haven't already.
- Dredge chicken breast in flour, then egg then breadcrumbs making sure everything is coated well.
- In a separate heated skillet with olive oil, place chicken in and allow to cook until crispy and brown on one side, about 5-7 minutes. Turn over and cook other side. Reserve chicken to plate when done.
- Slice ciabatta in half and grill to warm bread. If you have leftover garlic, rub garlic on the inside of grilled bread.
- Assemble sandwich with chicken cutlet and topping with puttanesca sauce.


")